Hello. I have been busy crafting and have made a Christmas card using some Pinkfresh Studio washi tape:
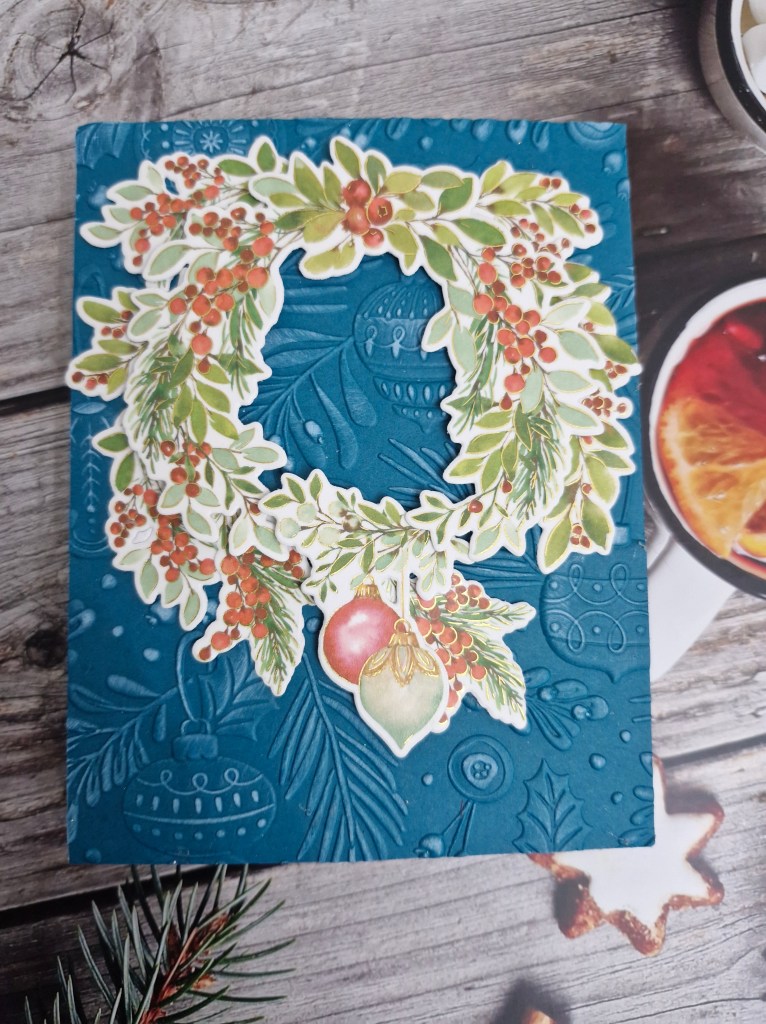
The first thing I did was to place the wide washi onto a piece of card, and use the matching dies to cut out the images.
I created the background using a Spellbinders embossing folder, then wiping over some white pigment ink to bring out the details more.
I then arranged the images in a wreath format, adding the dangly baubles at the bottom. Before using a combination of glue and 3D foam.
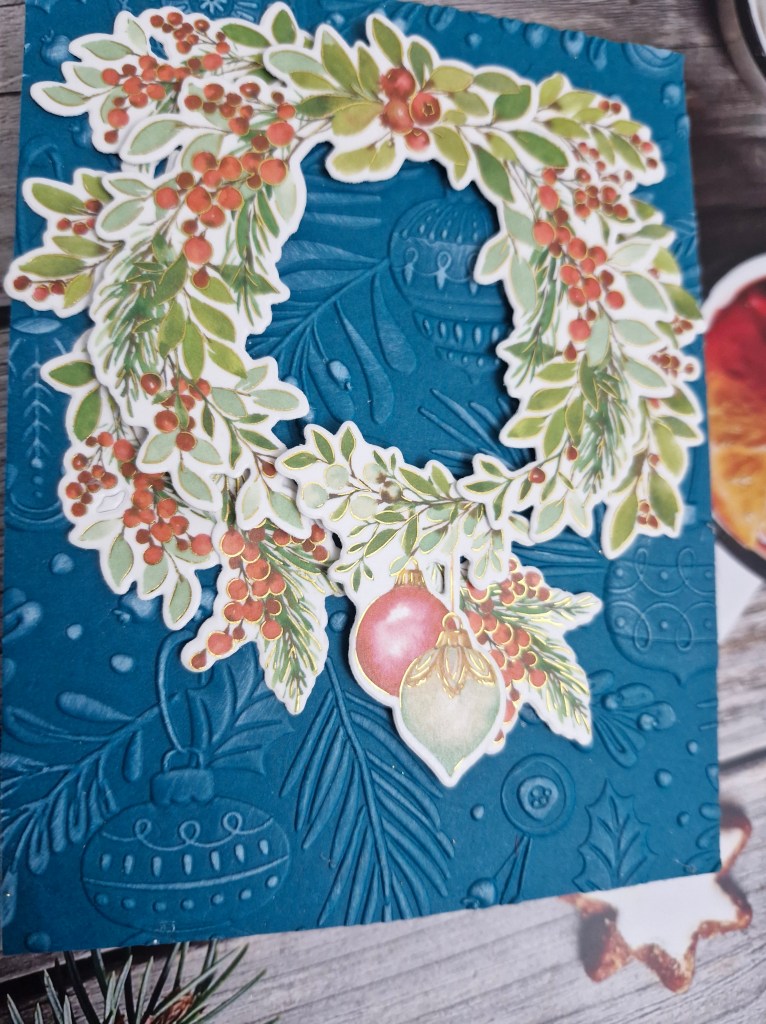
I have a selection of this washi tape from Pinkfresh Studio – the trickiest part is not applying it to the card before die cutting – it’s making sure the die is very well stuck down to the card piece surrounding the washi – low tack tape doesn’t stick to washi and the die can move – a lot! Ask me how I know…….
I shall be entering the following challenges:
Simon Says Stamp Wednesday Challenge – anything goes
Crafty Catz – anything goes – option to use dies/punches taken
CYHTP – embossing folder – option to use pumpkins not take
Krafty Chicks – anything goes
Allsorts – magic of the season
Ally’s Angels – anything goes
Merry Little Christmas Challenge – anything goes Christmas


Spectacular! And very unique product to have washi tape that is not cut into a tape roll format! Building it into a wreath has made this into a stunning Christmas holiday card! Thanks for sharing at Ally’s Angels!! –Becca
LikeLiked by 1 person
Wonderful card. Love the wreath and so glad you shared over at Crafty Catz
LikeLiked by 1 person
A really pretty card Lynda. I love your wreath and it looks gorgeous against the embossed background.Thanks for sharing with us at Krafty Chicks challenge. Hugs, Denise x
LikeLiked by 1 person
Love that EF and the colour you used to showcase it. The wreath is so pretty.
LikeLiked by 1 person
Your washi tape wreath is lovely!
Glad it worked out!
Thank you for joining us at Allsorts!
LikeLiked by 1 person
Just beautiful!~ Awesome embossing folder! Well done! Thanks so much for joining in the fun at our Can You Handle the Pressure challenge! Good Luck and we hope you’ll come back often.
Darlene <a href=http://www.darscraftycreations.blogspot.com/>DAR’S CRAFTY CREATIONS</a>
Can You Handle the Pressure Co-Owner
LikeLiked by 1 person
Such a pretty washi tape and love the embossing! I always have a hard time lining up stamped images with matching dies, I can imagine it’s similar with washi tape but you managed so well!
Thanks so much for sharing this week at Allsorts challenge!
Ellie
http://www.simplyellibelle.com
LikeLiked by 1 person
So lovely!
LikeLiked by 1 person
Such an effective way to use washi tape,many thanks for sharing with us at Allsorts challenge.
B x
LikeLiked by 1 person