Happy Fruity Birthday

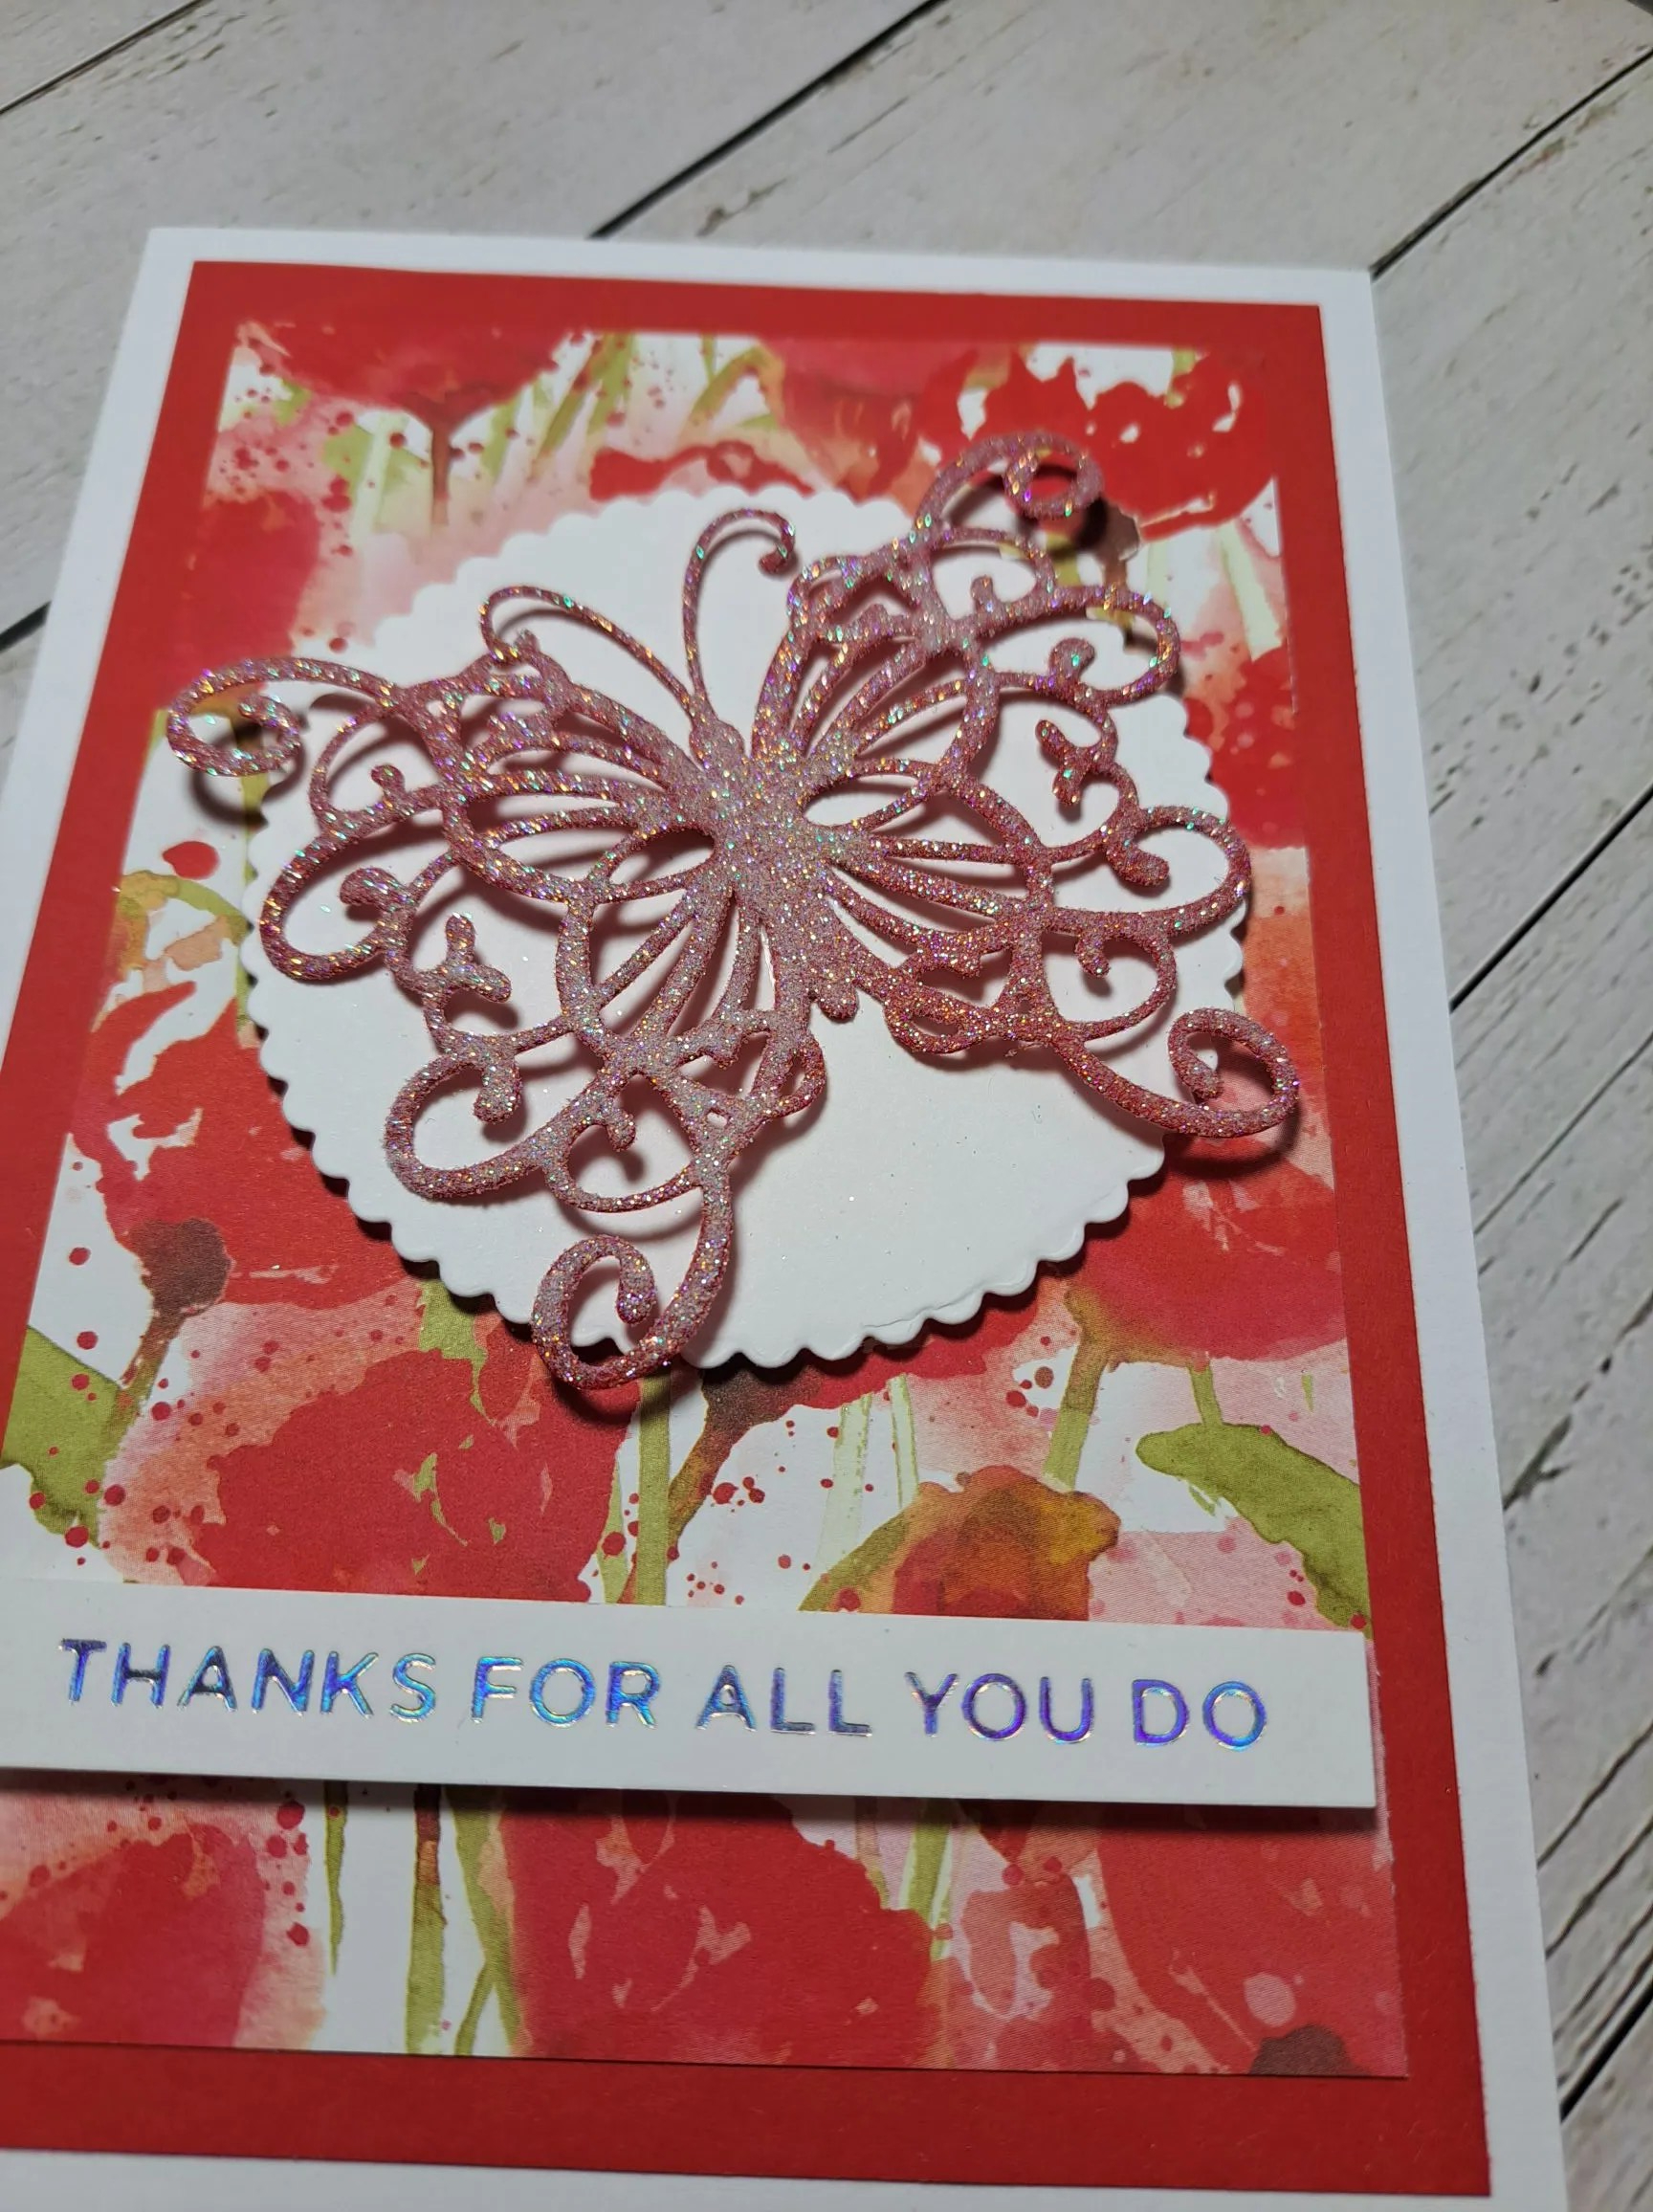
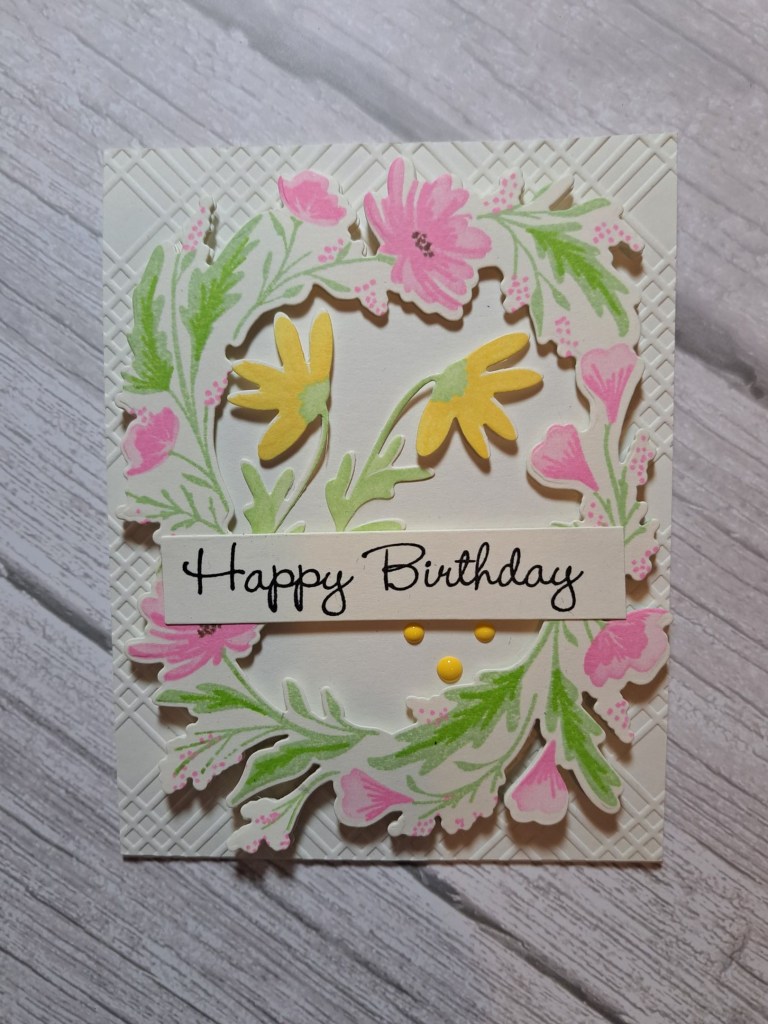
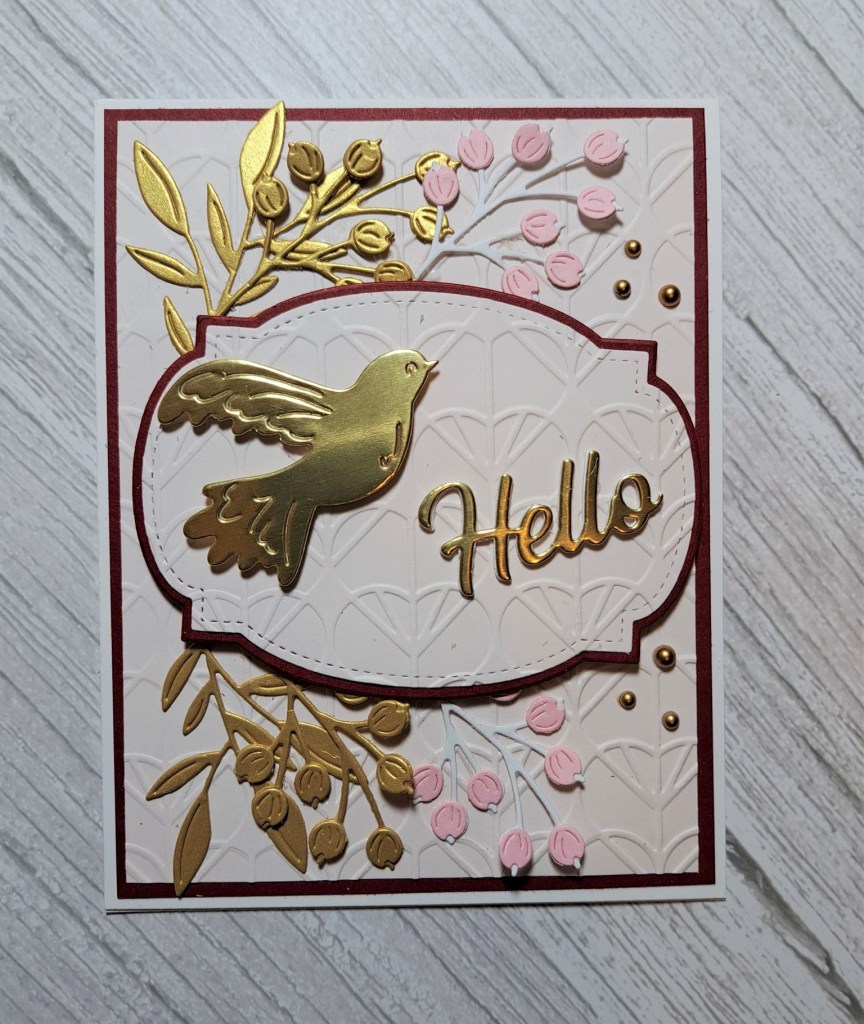
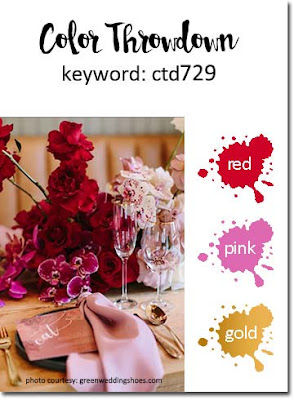
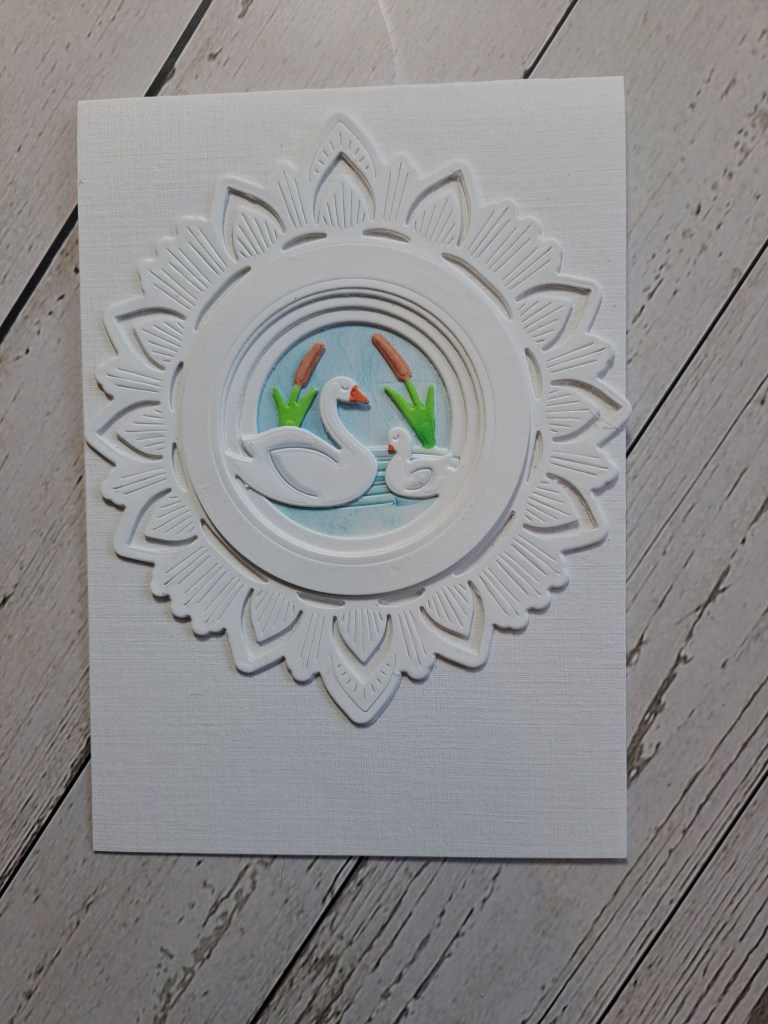
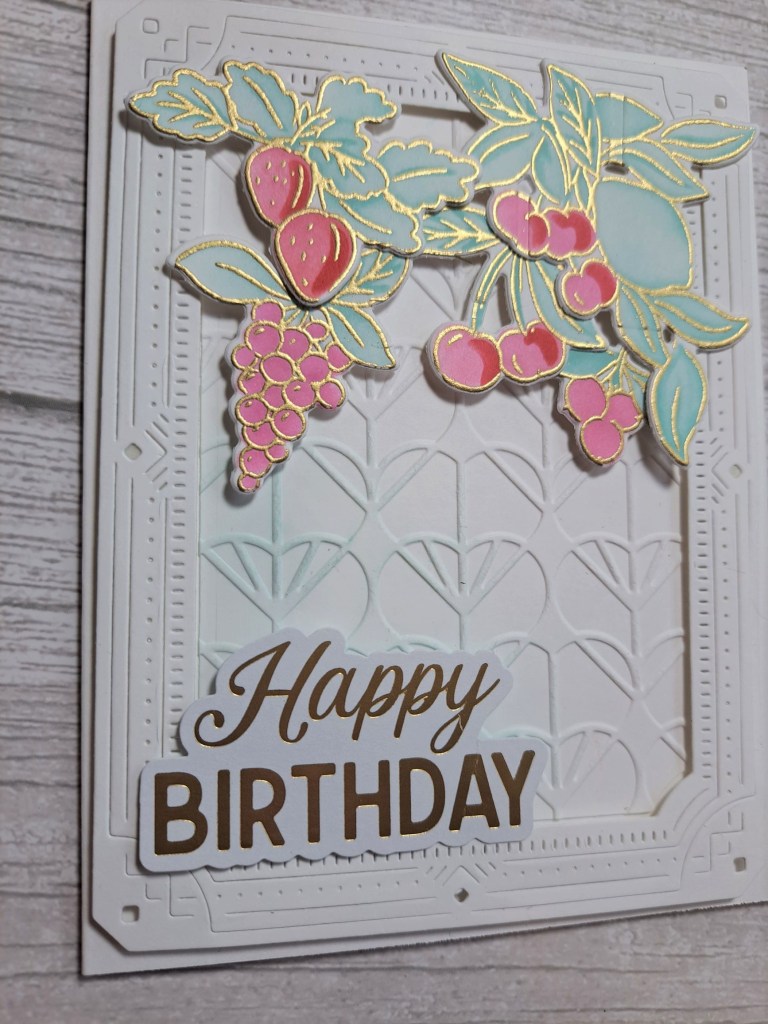
Having just been a part of the Pinkfresh Create and Connect event this weekend, and being able to do two classes, I did watched a third class this morning and whilst the instructor was using more realistic colours, I decided to use the colours for one of the challenges I will be entering (sky blue, pink, red):

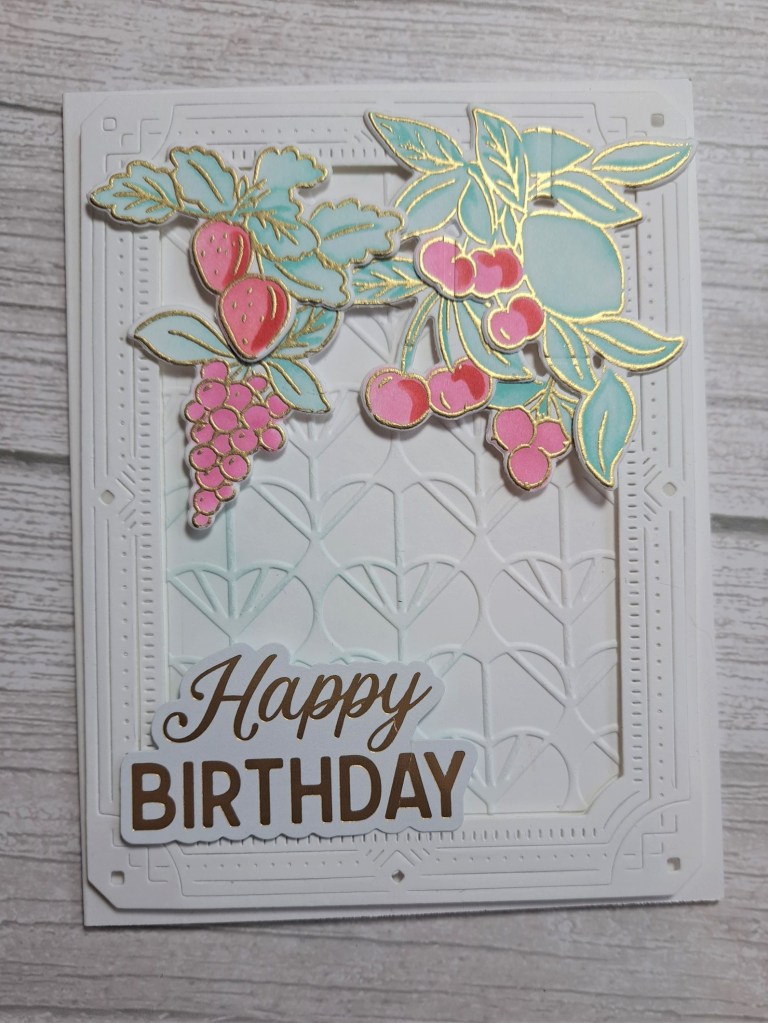
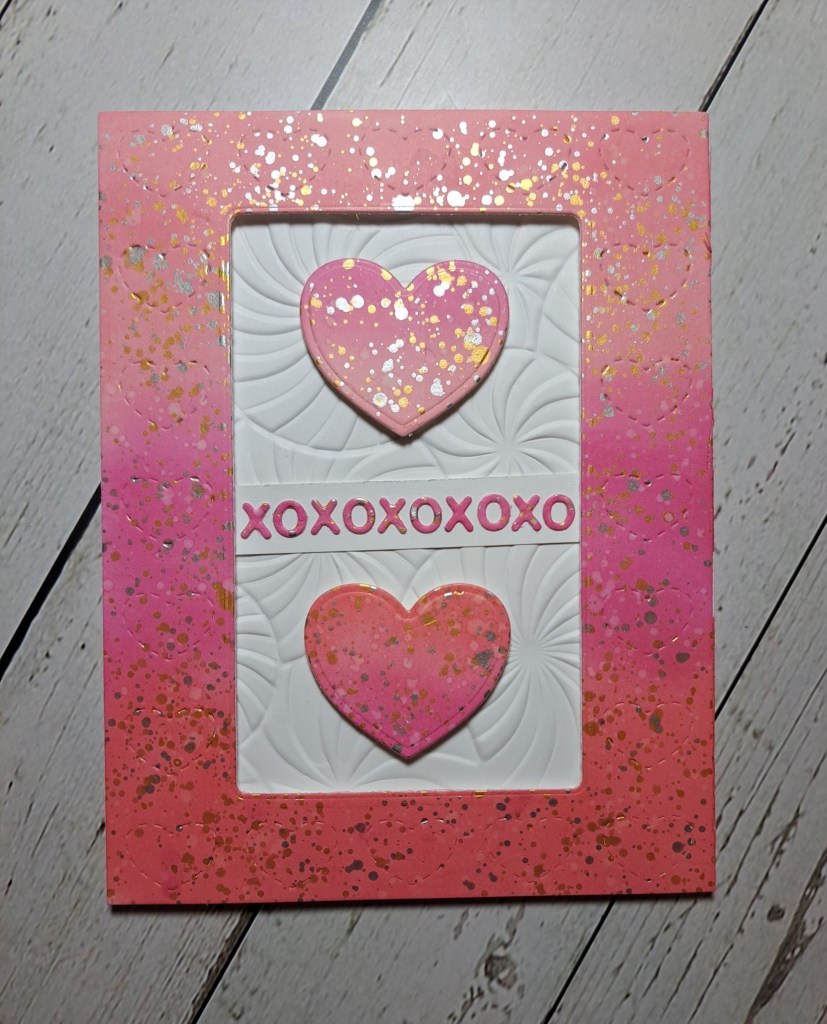
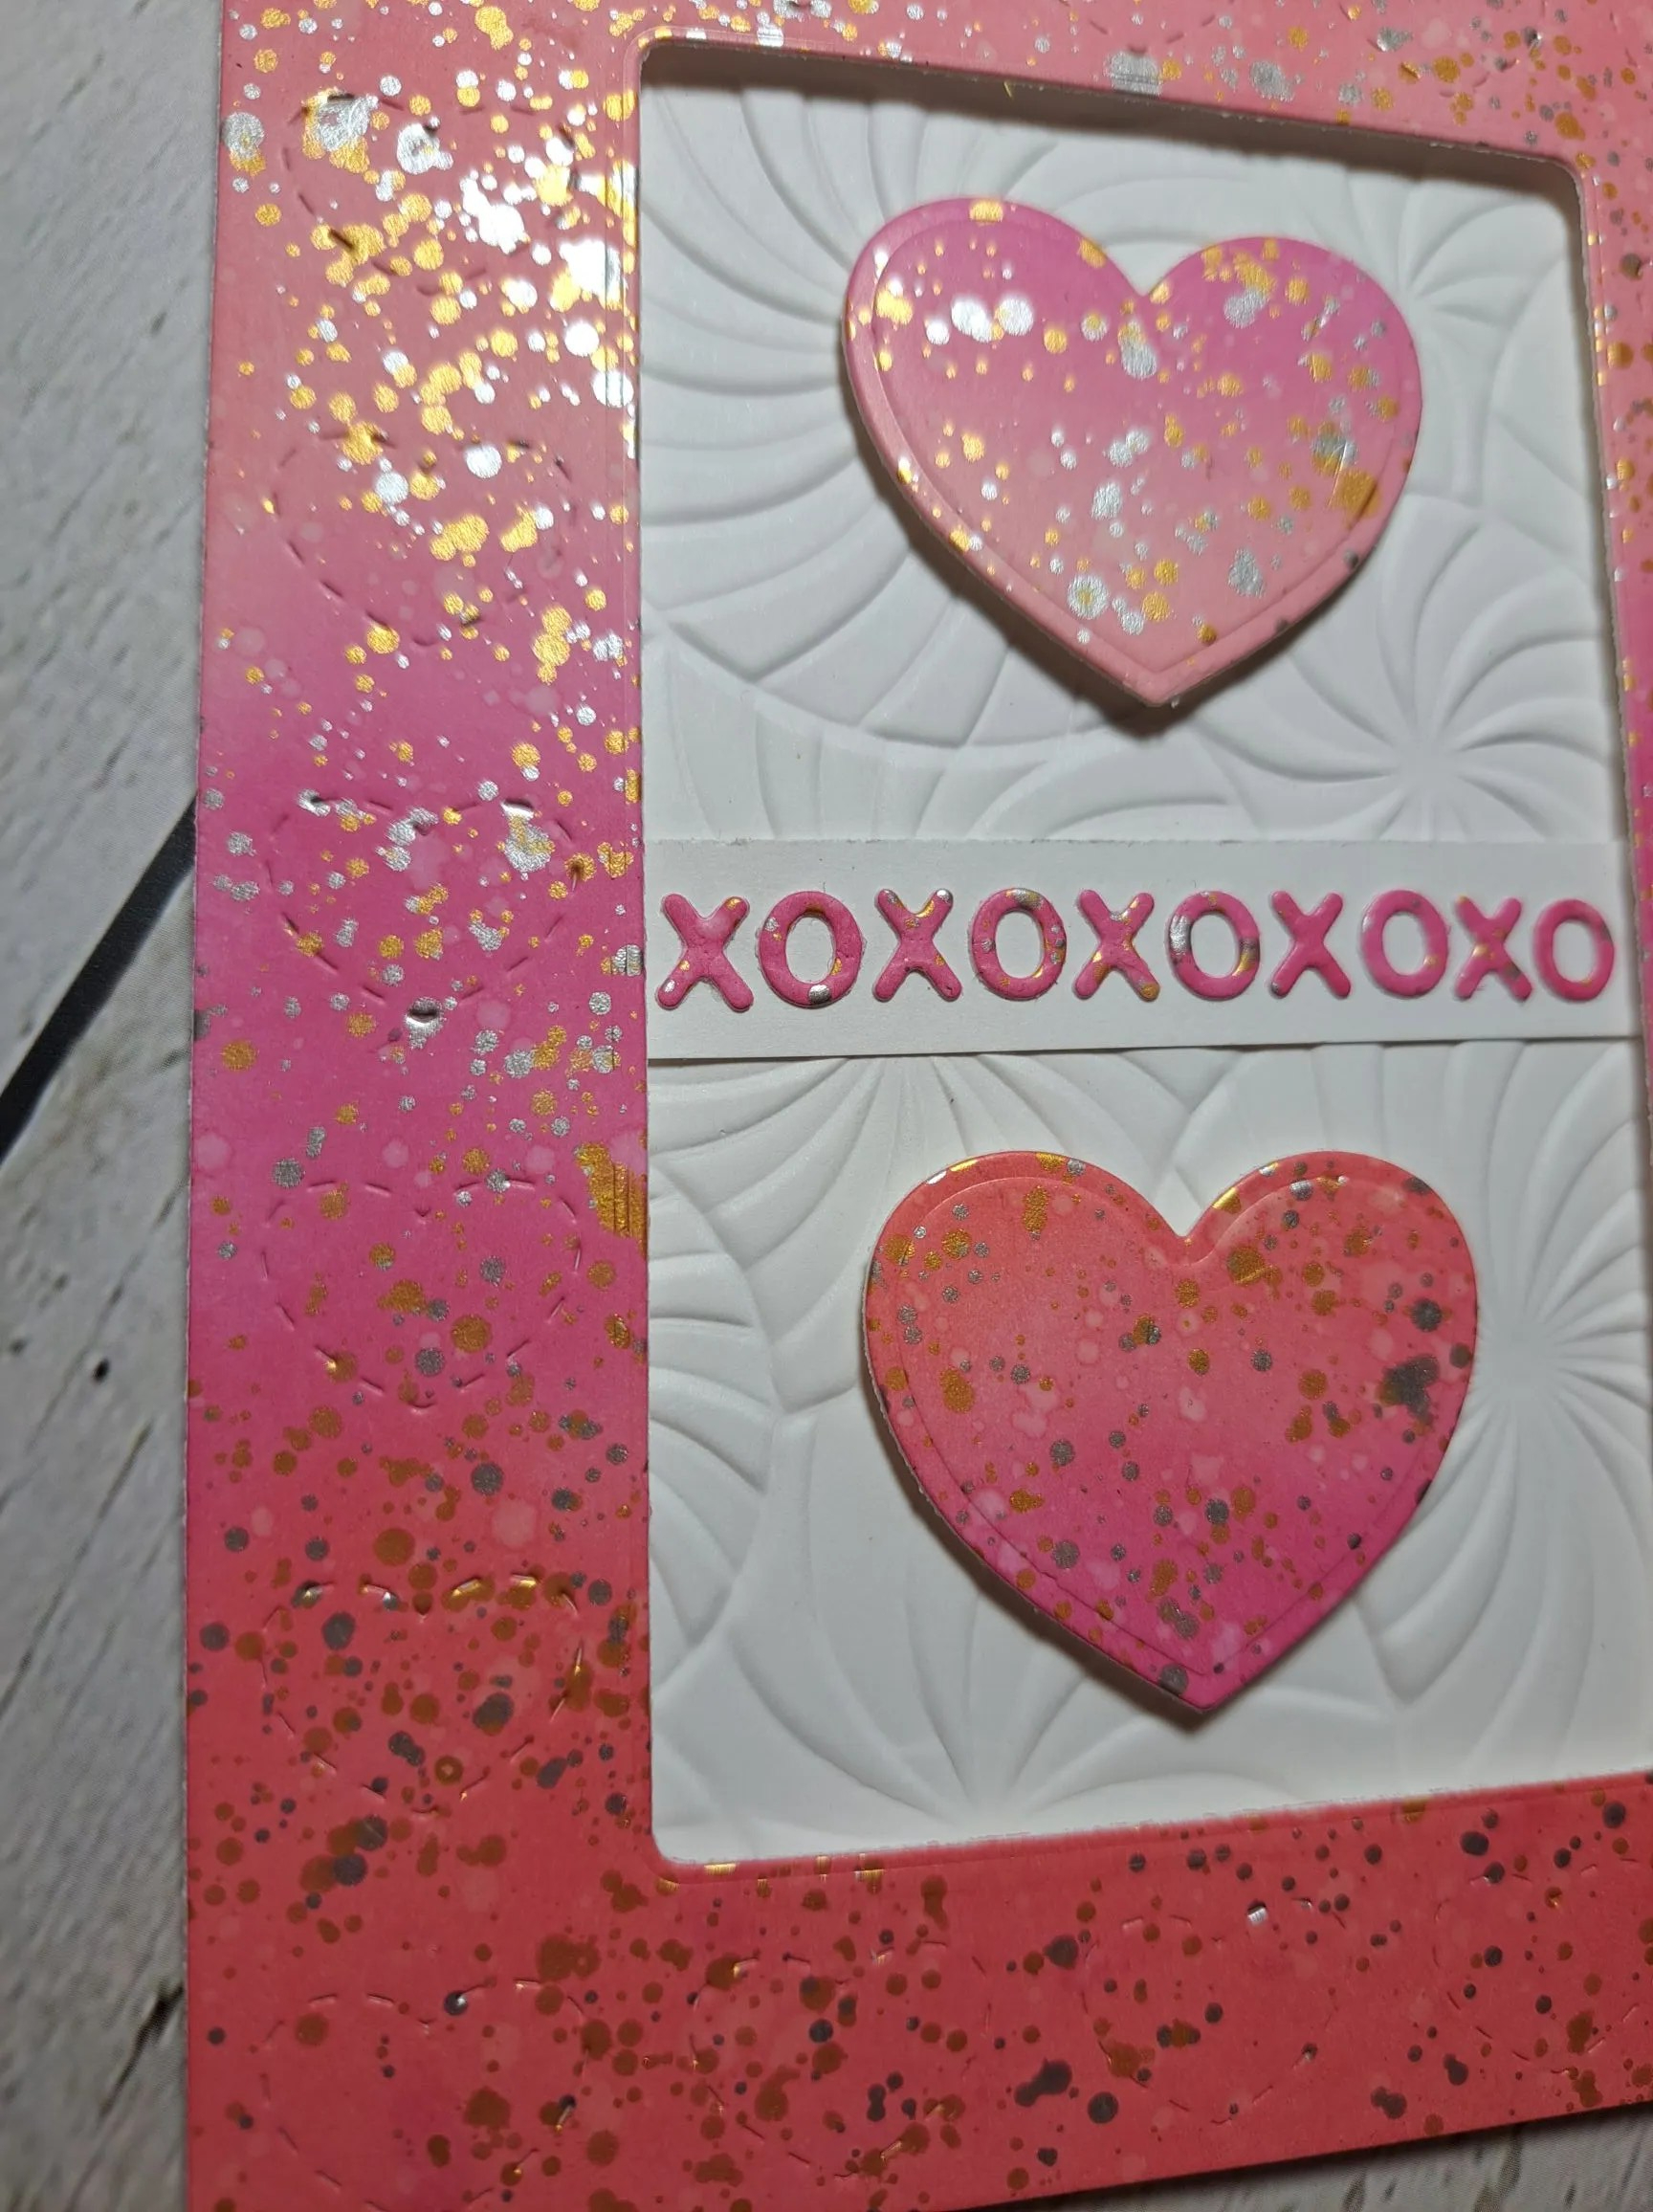
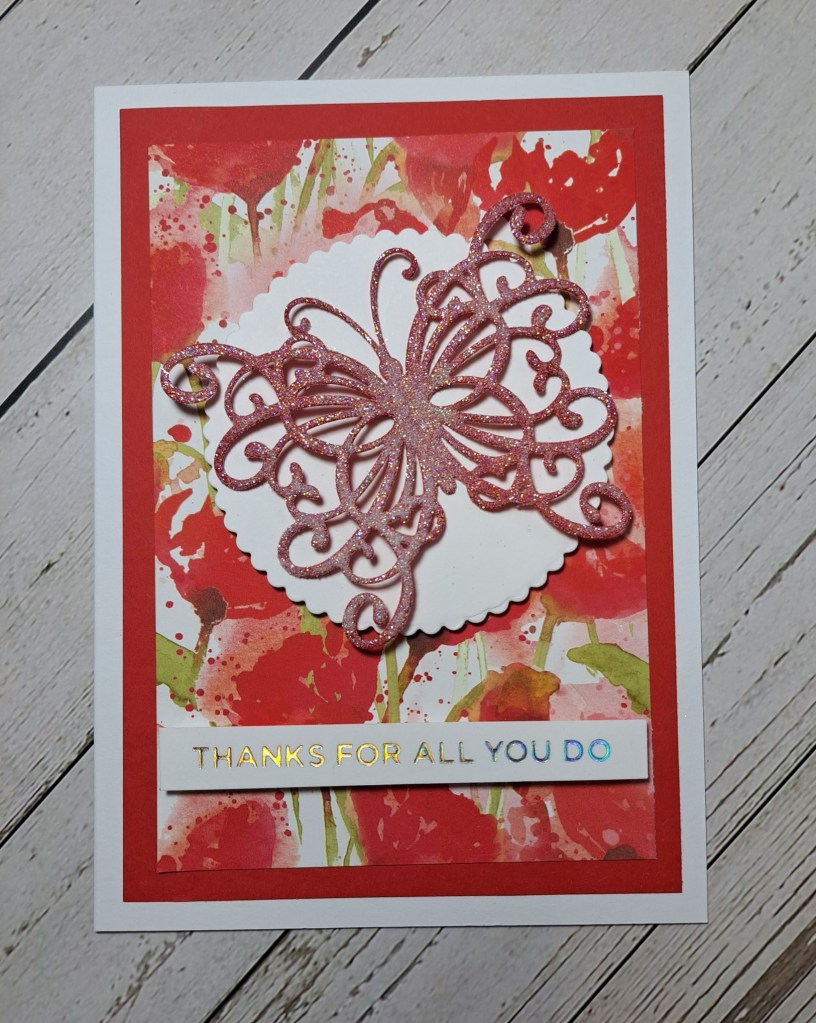
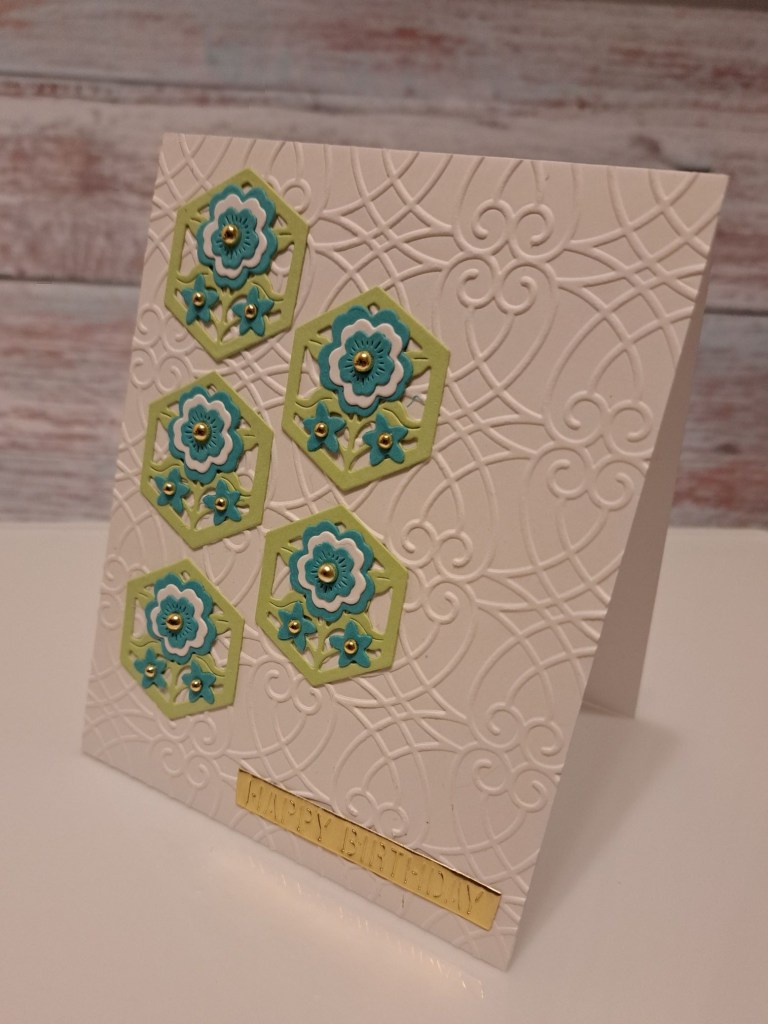
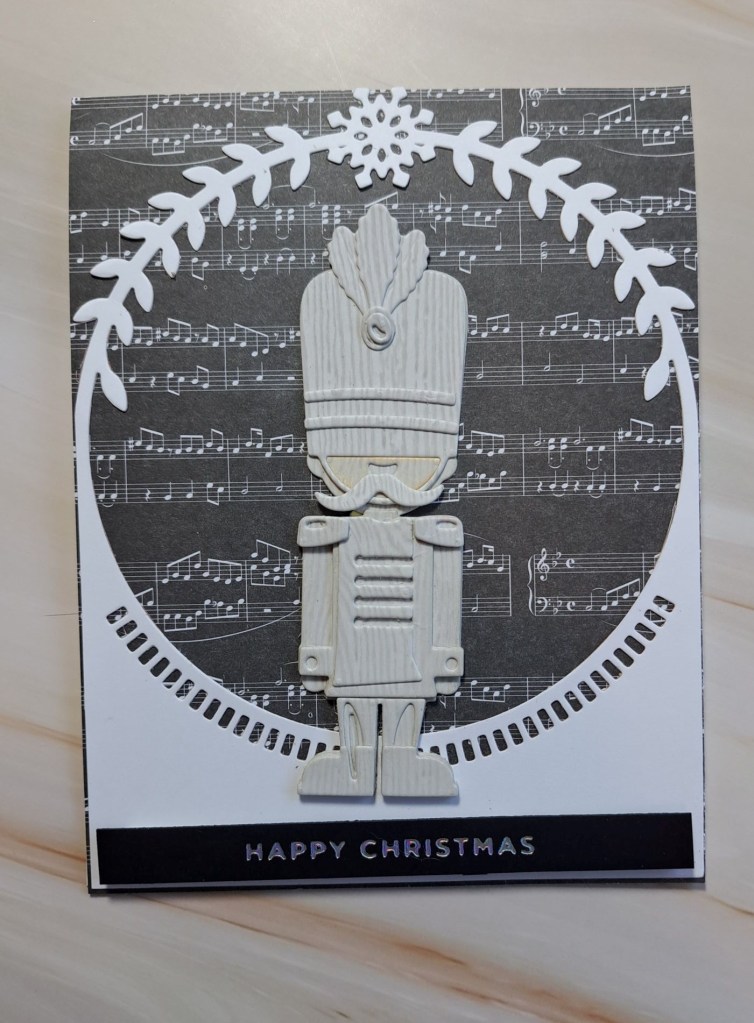
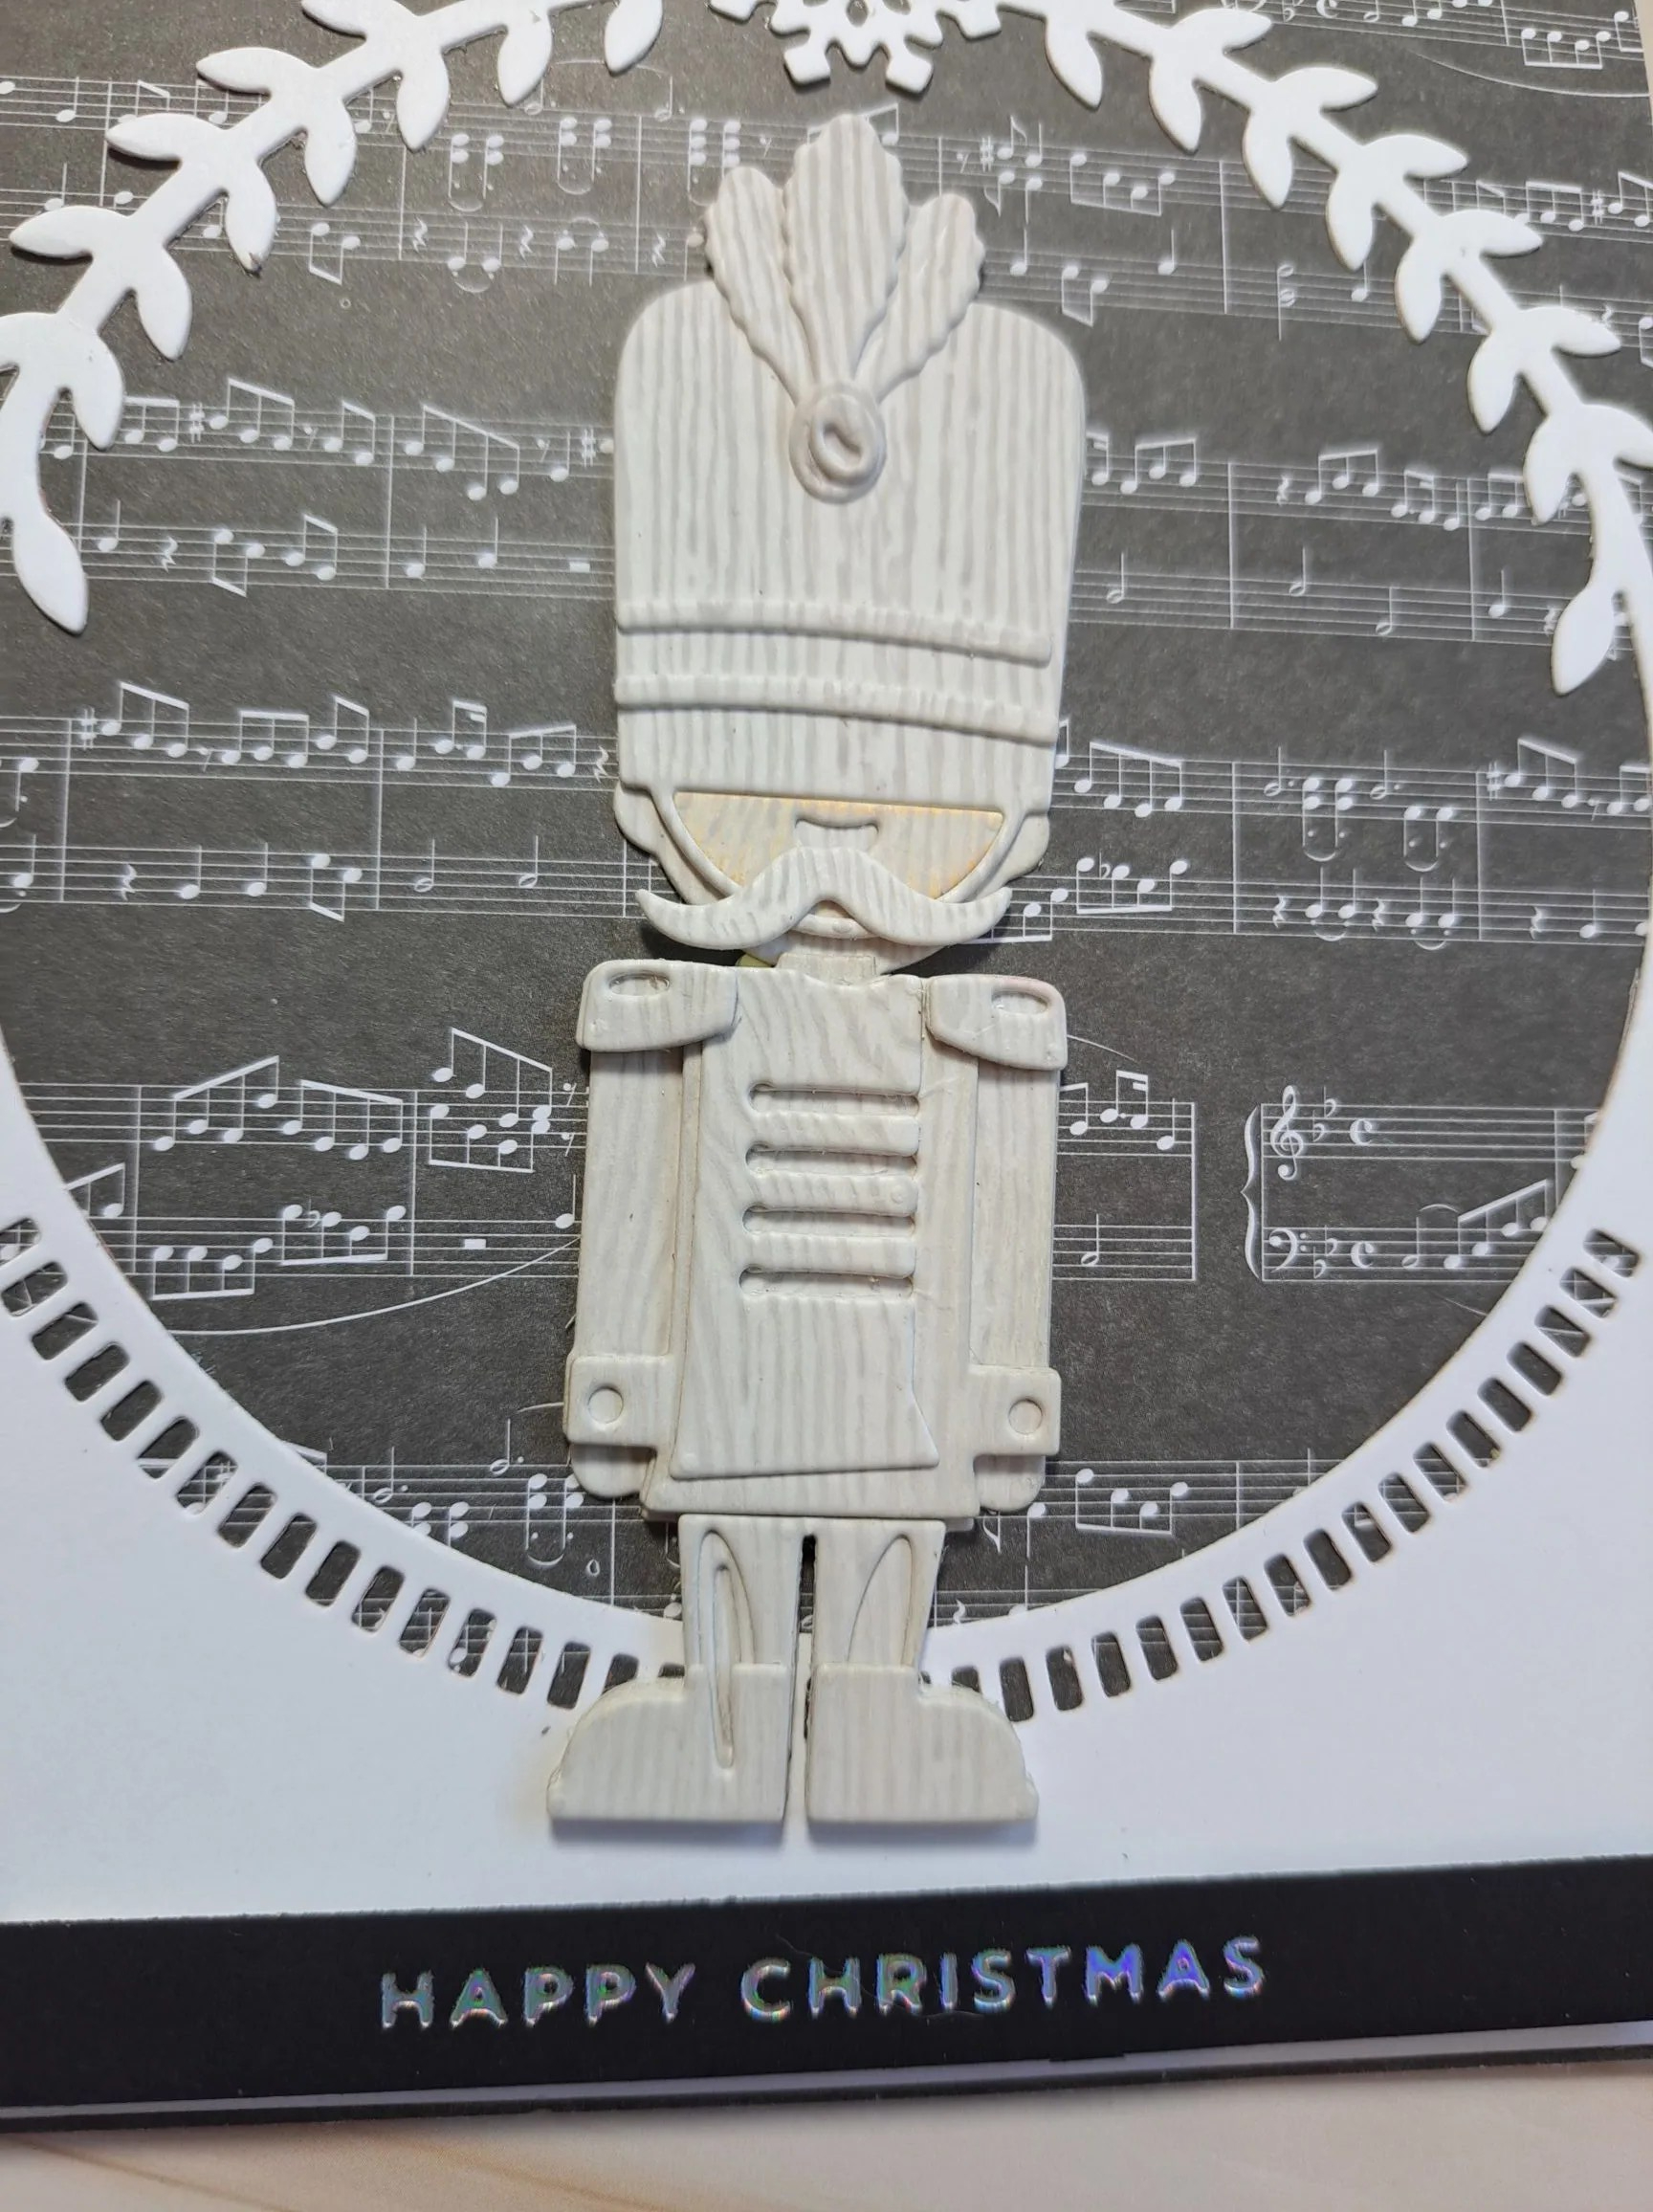
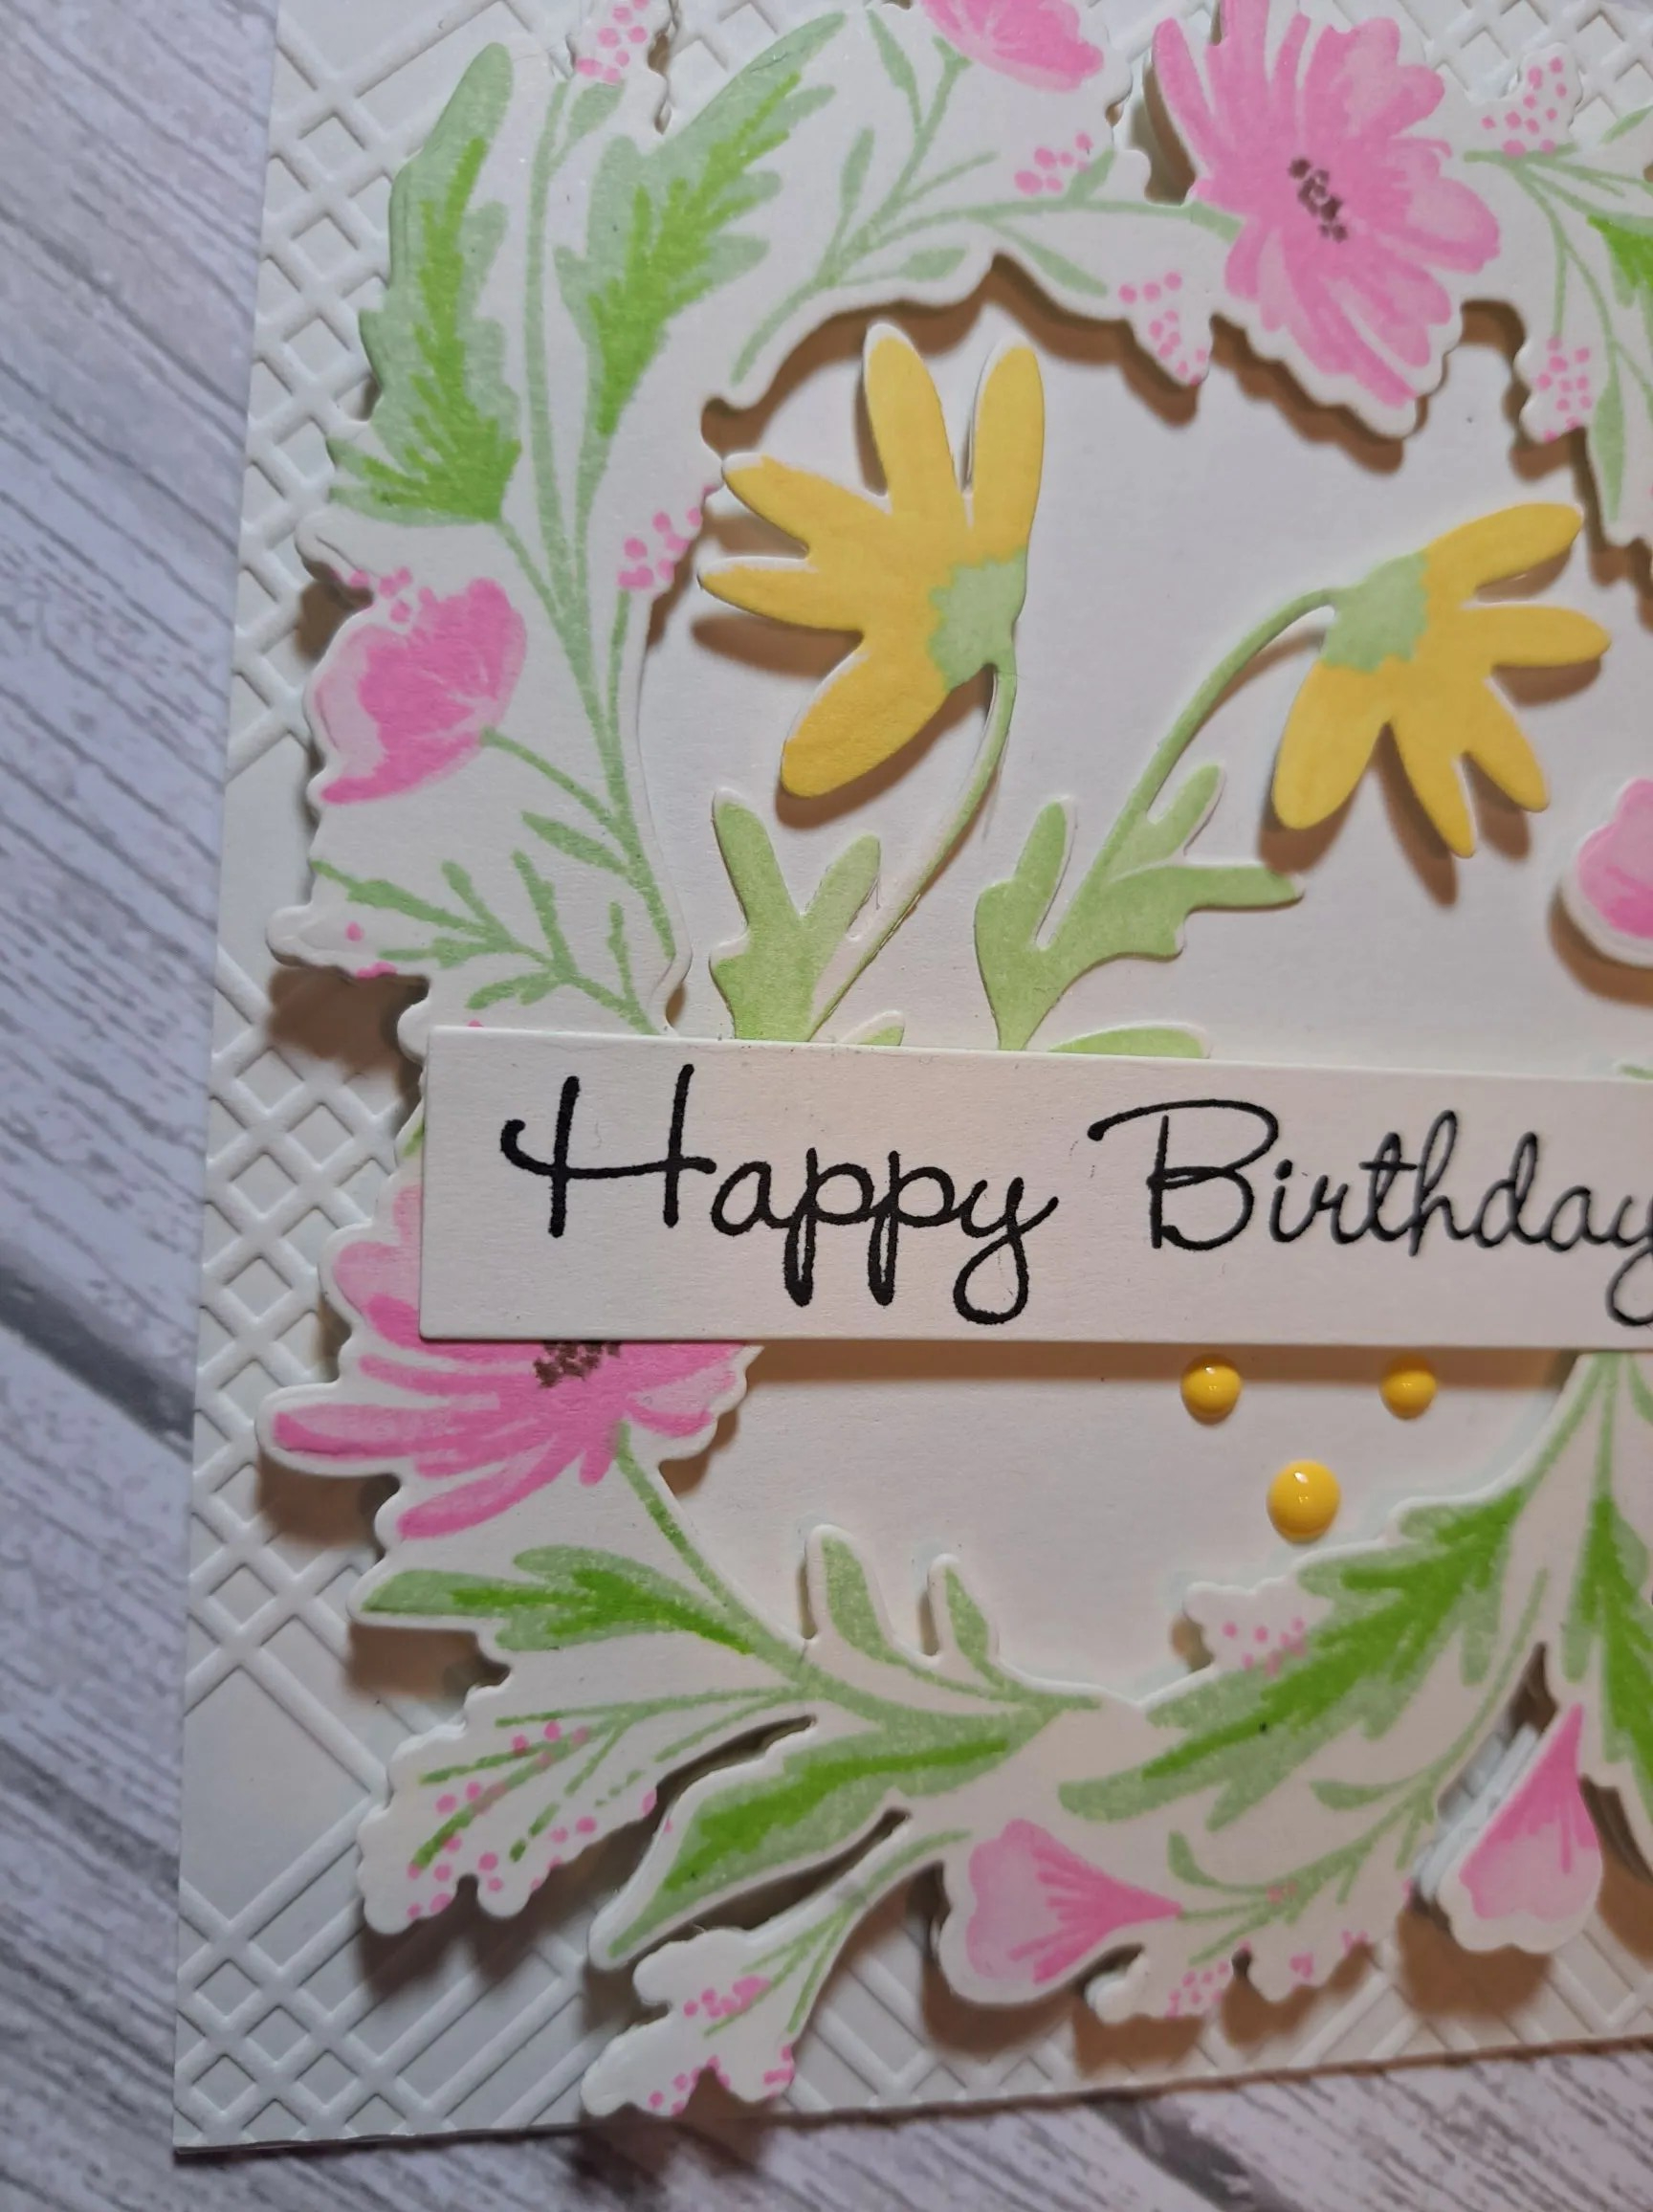
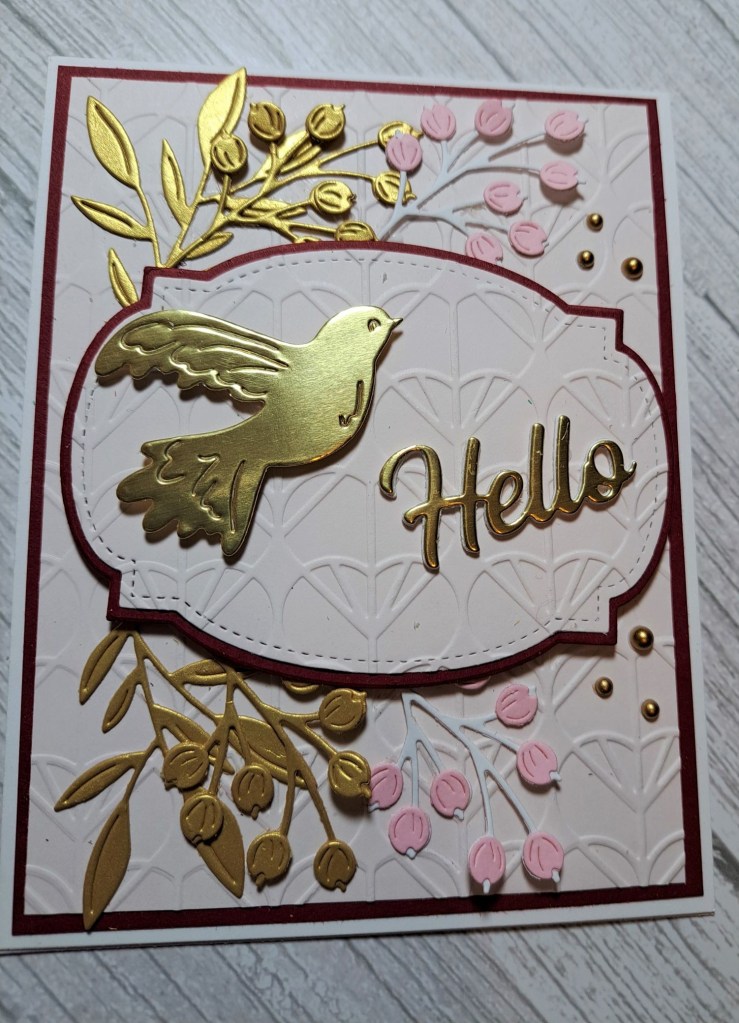
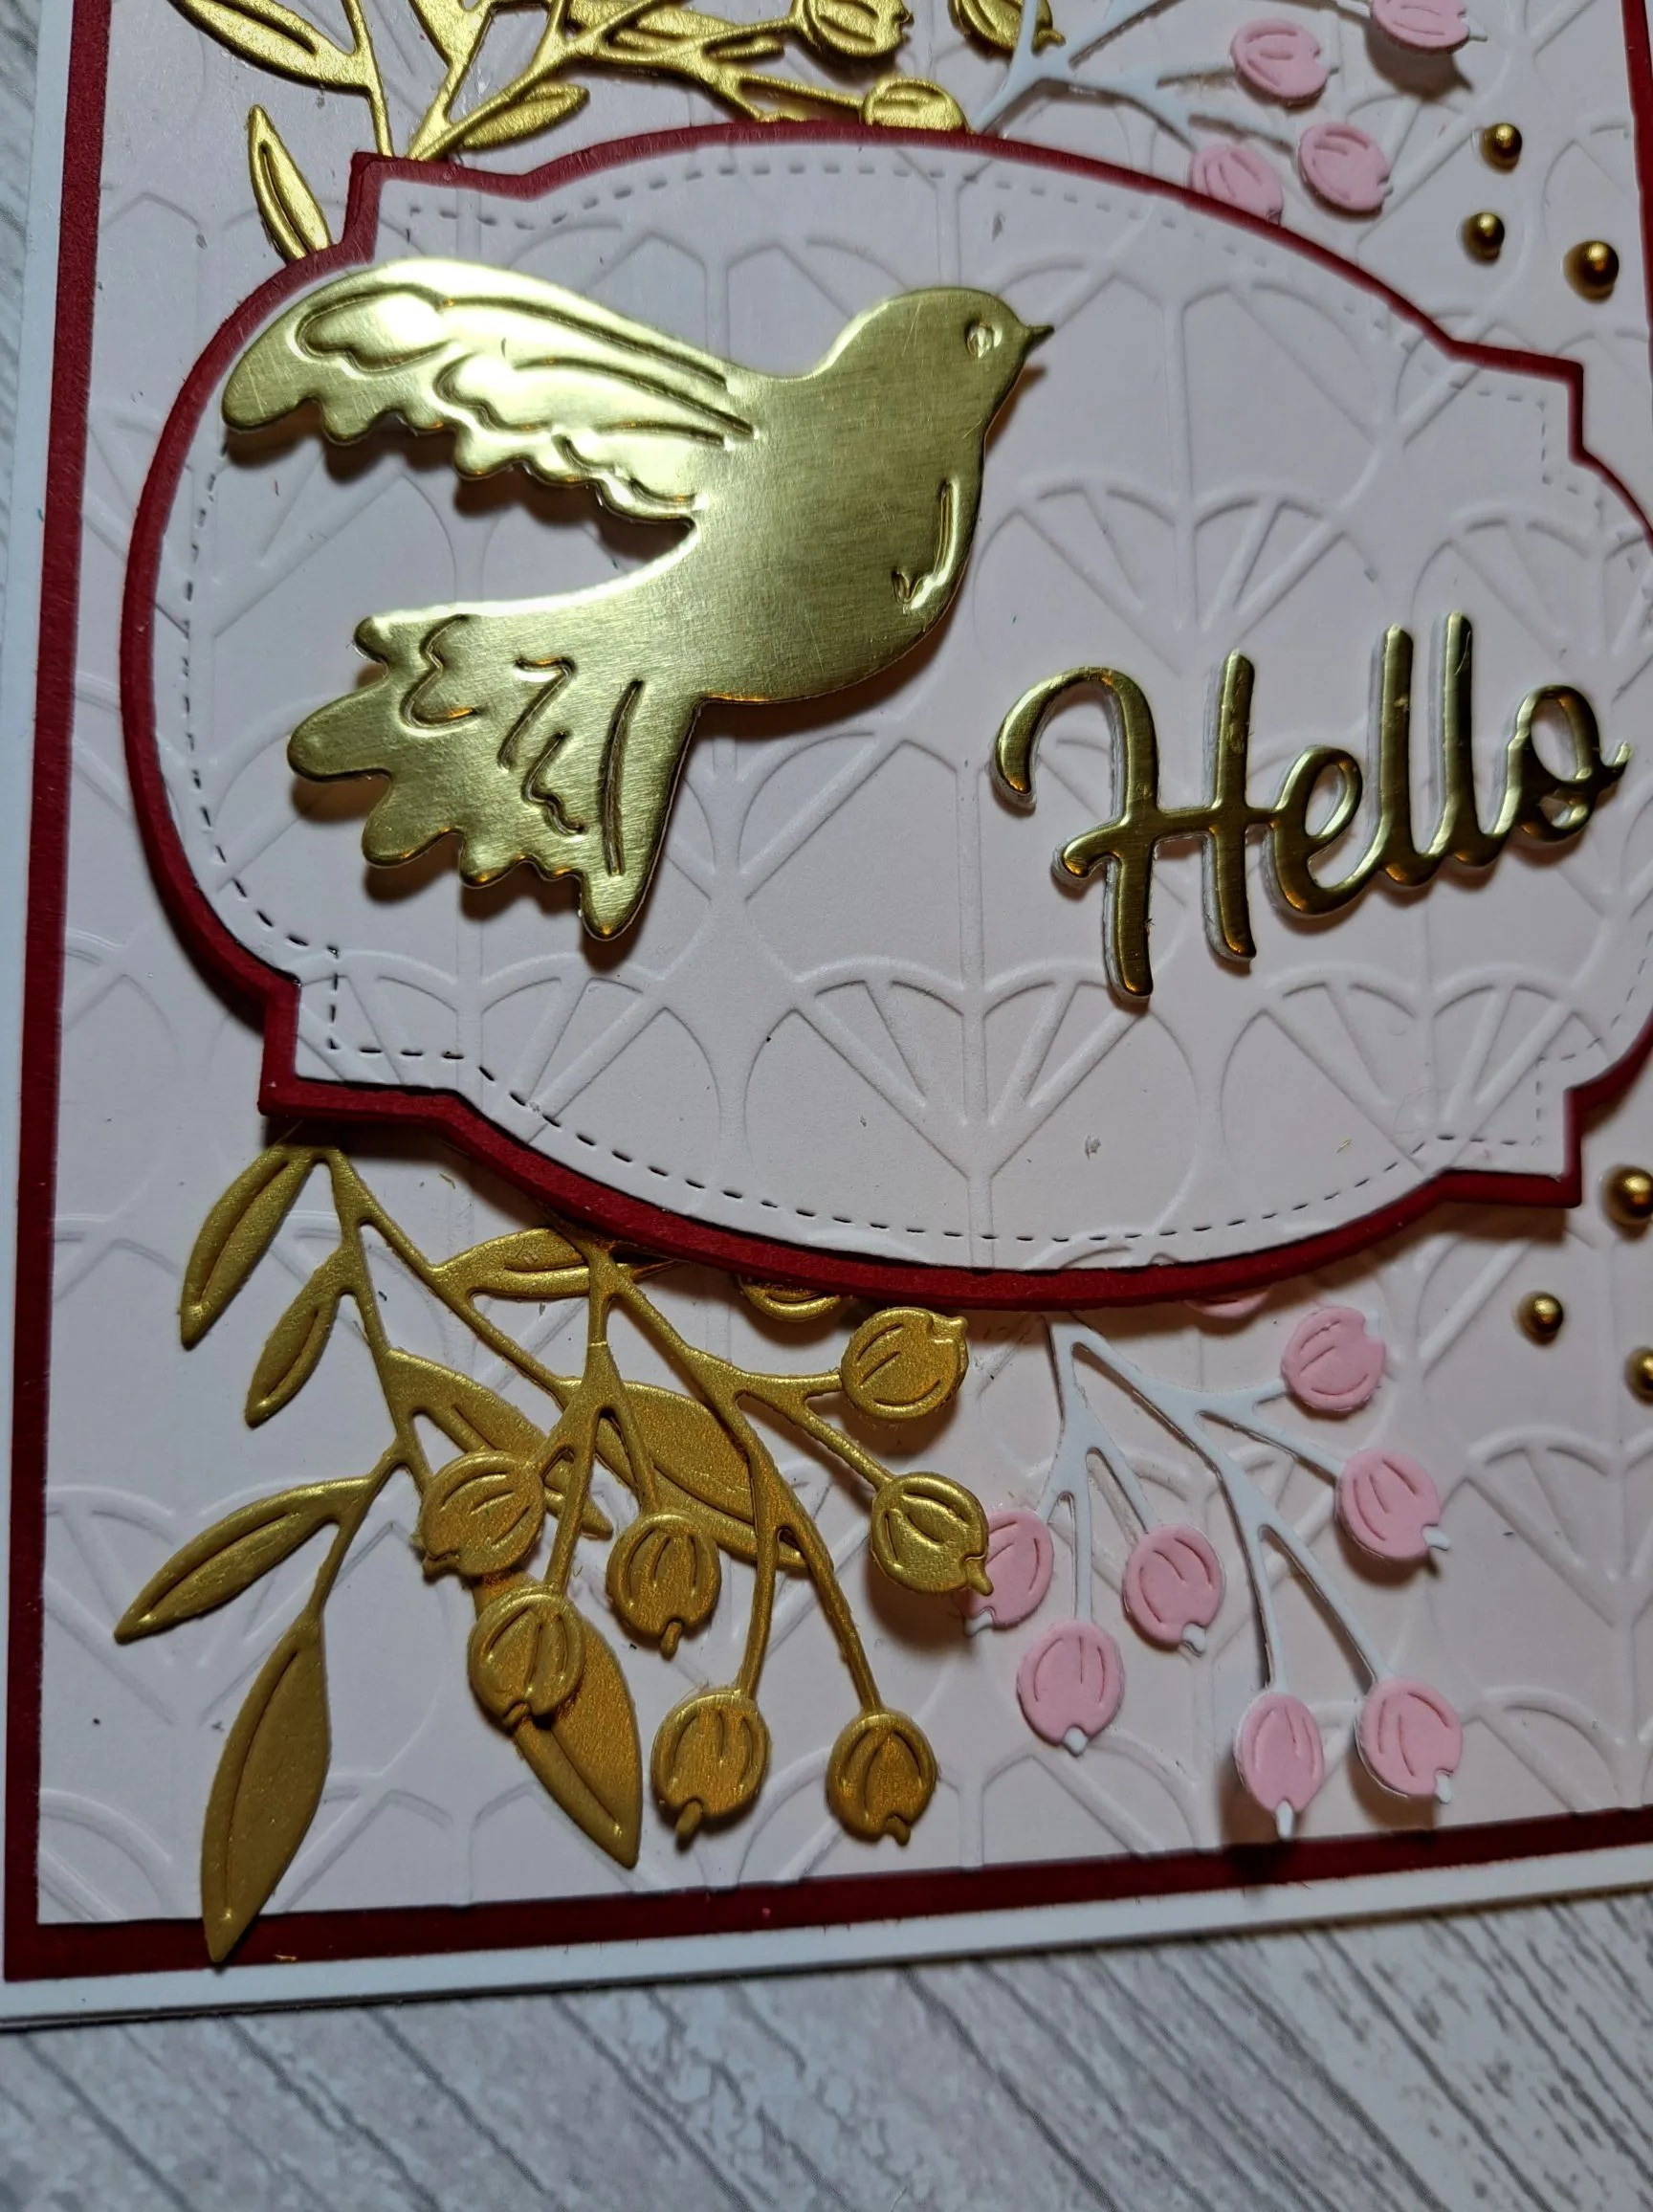
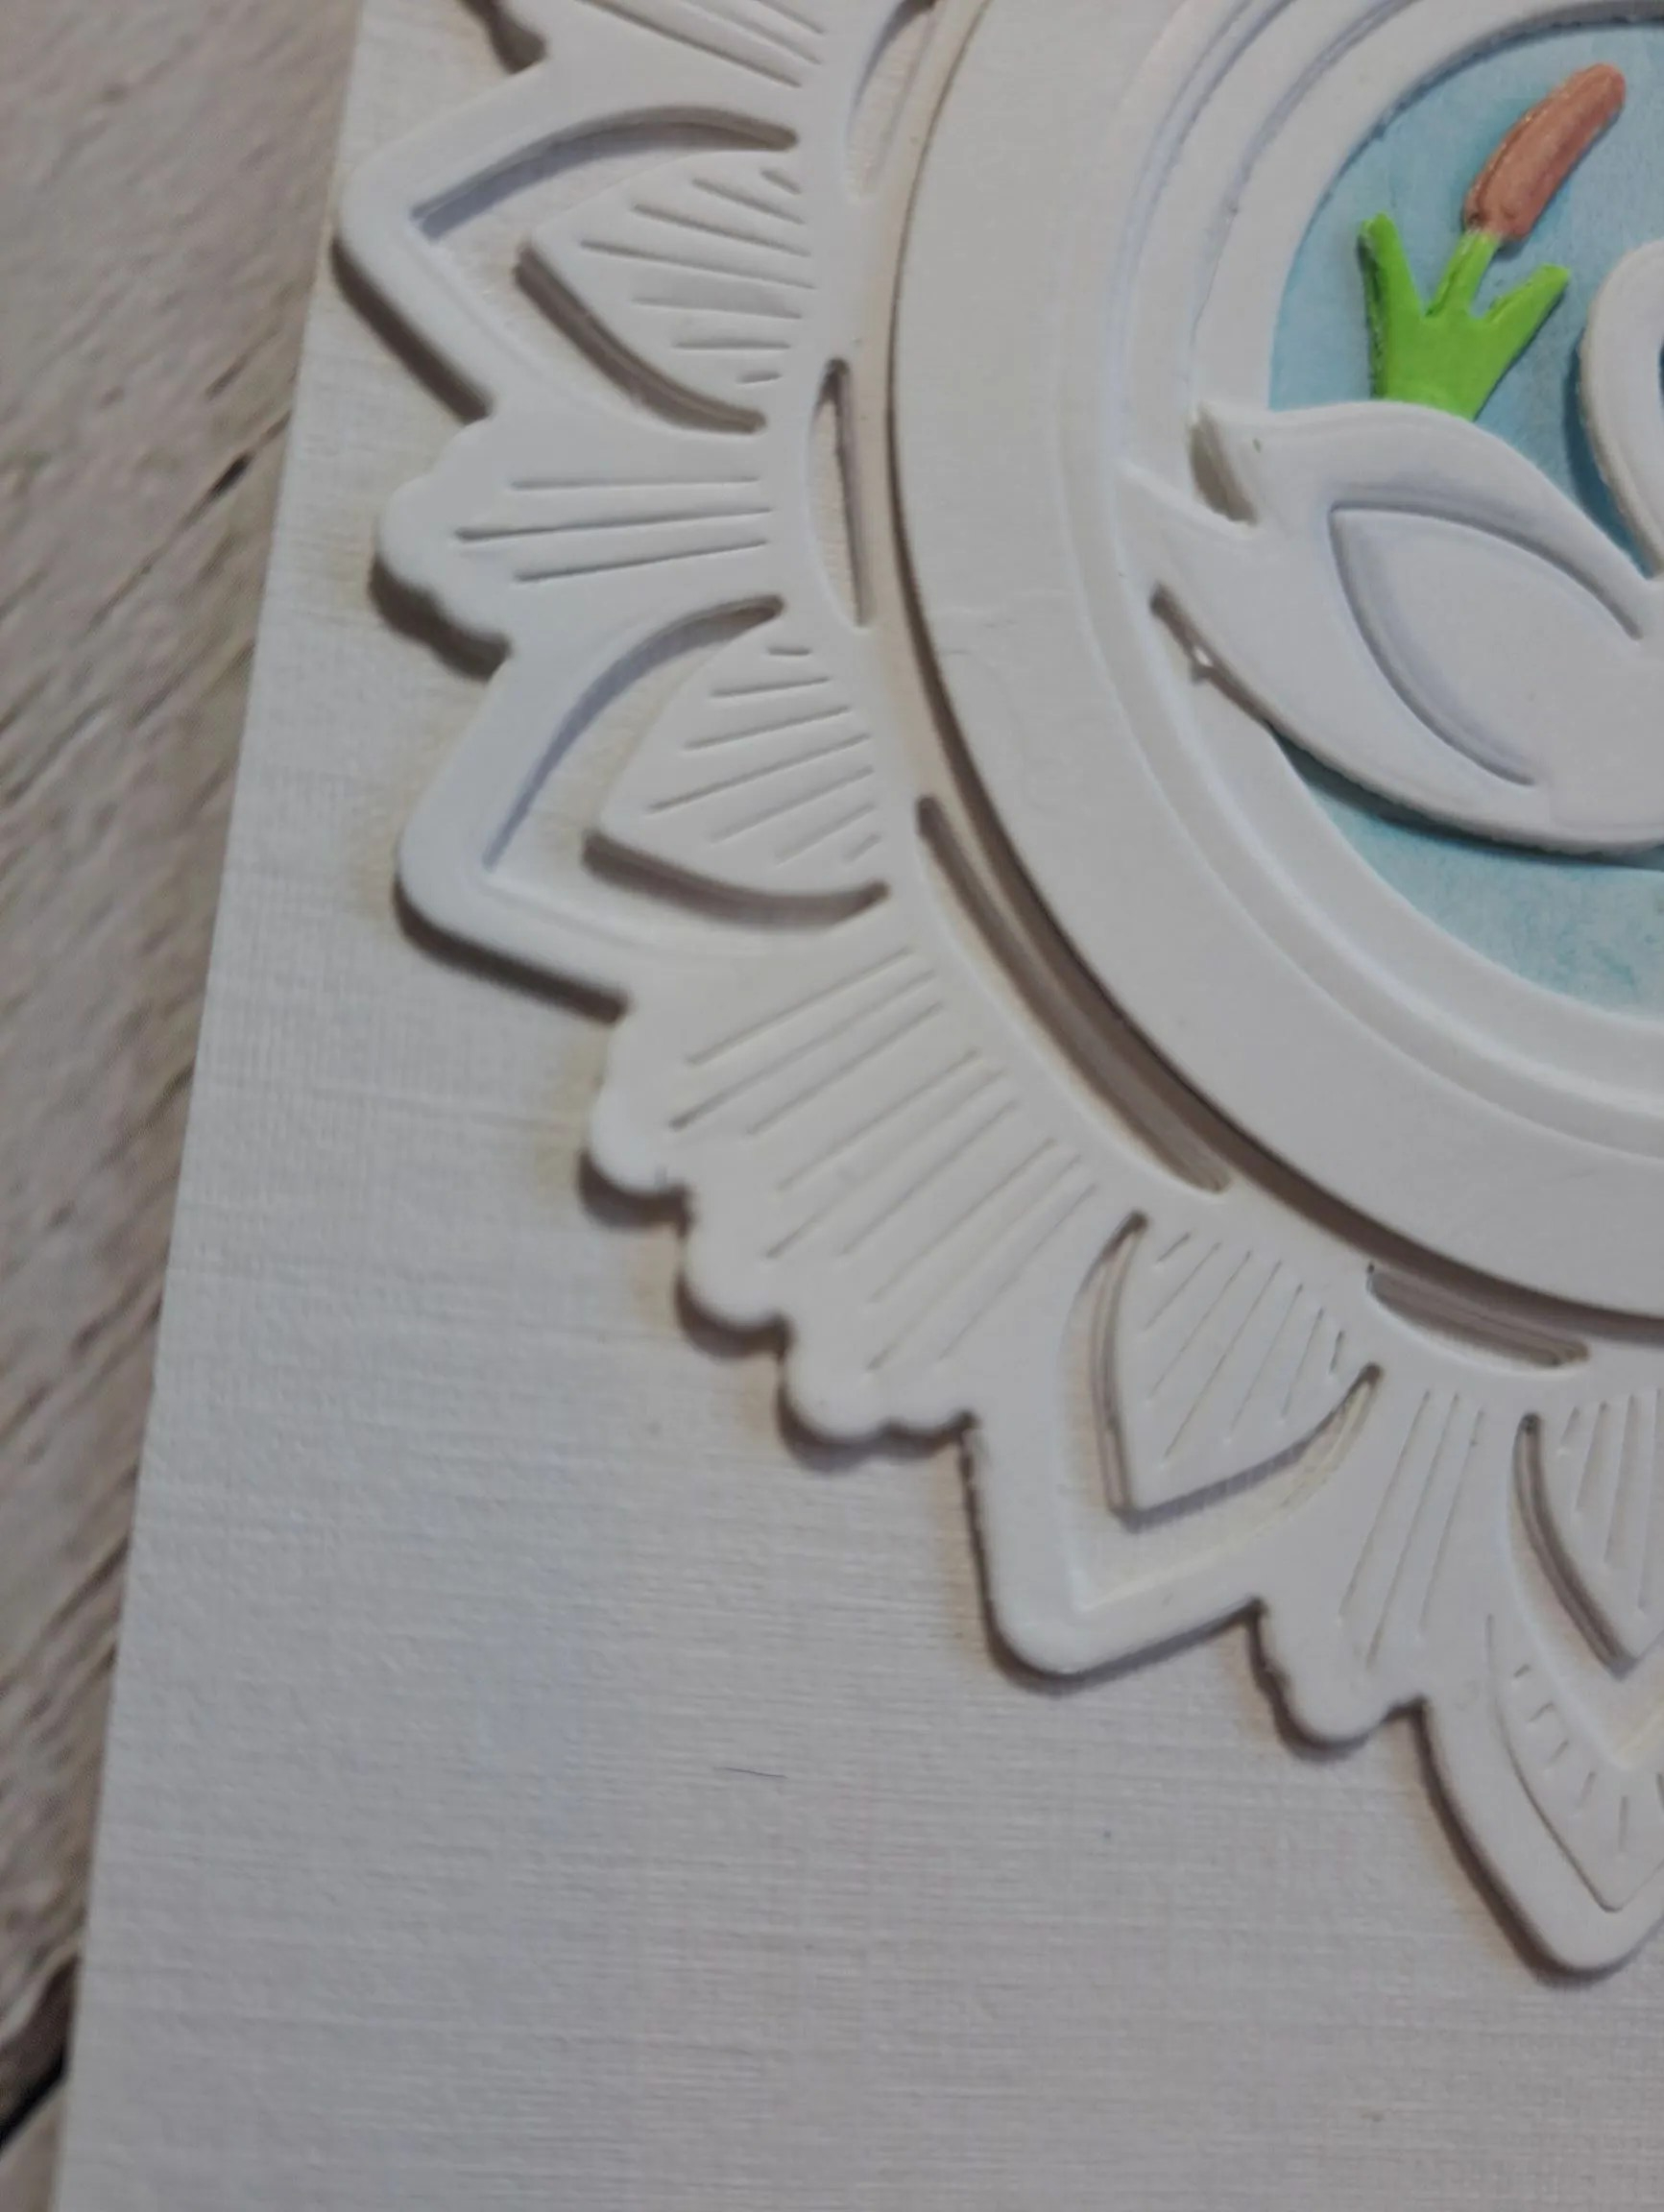
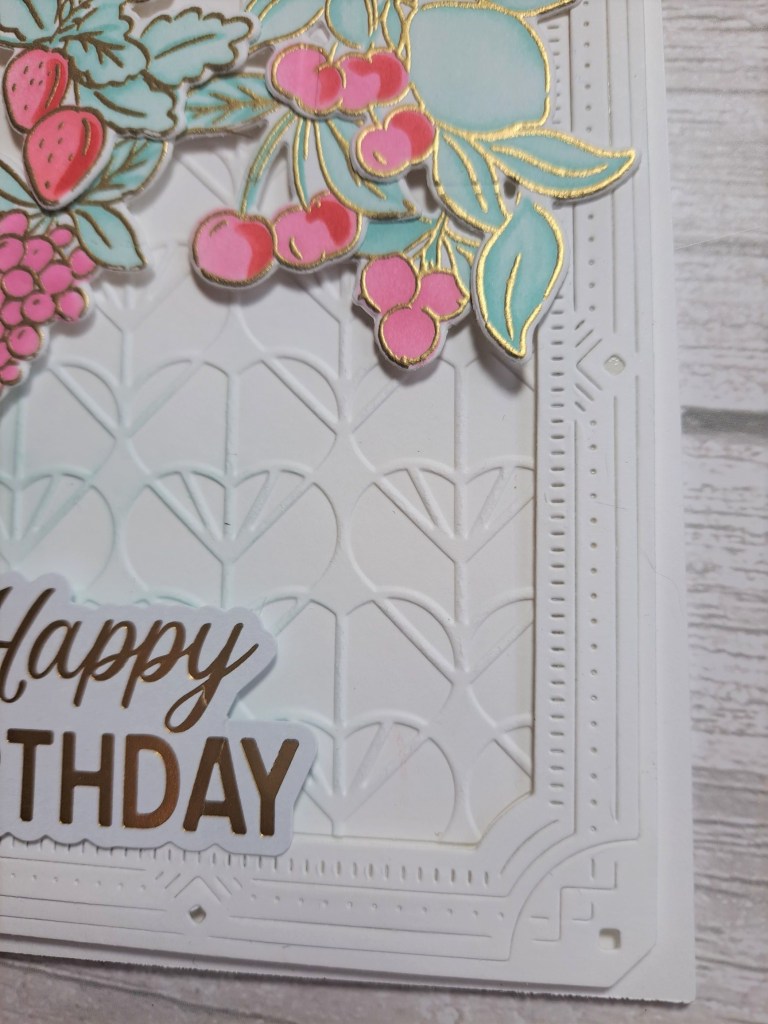
I gold heat embossed the stamp – a huge slimline stamp – then used the matching die to cut out all the elements. Before choosing which of the elements to use, I die cut the frame – also from Pinkfresh and a previous event – and die cut the inner piece but then dry embossed that inner piece with a Spellbinders embossing folder, and ink blended just a little of the light blue in the bottom corner – to try and ‘connect’ the images and the sentiment.

I inserted that piece then played with which elements to use, where to use them, how to arrange them. I chose a sentiment from this recent event, then adhered all the elements with a mixture of 3D foam and wet glue.

This stamp, die and stencil set also comes with the matching washi tape – another huge roll – and the die cuts out all the elements – playtime for another day…..

I shall be entering the following challenges:

Krafty Chicks – occasions

Here Is A Place To Startanything goes

Beyond The Blueuse one or more stencils – (at least 6 layering stencils with this stamp set)

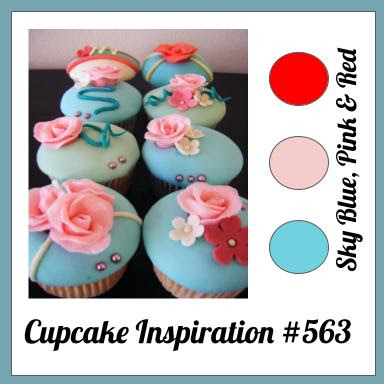
Cupcake Inspirations – sky blue, pink, red

CYHTP – embossing folder – (option of things with wings not taken)

X is for ‘XOXOXO’

Hello once again. The Alphabet Challenge has reached the letter ‘X’, Dawn is hosting, and we want to see your ‘XOXOXO – Hugs and Kisses’ cards. Here is my card:

Onto a Distress white heavy-stock panel I ink blended some pink Distress Oxides – I find I can blend them better than the inks – then splattered with metallic acrylic paints in gold and silver.

I took another white panel and ran through through s Spellbinders embossing folder, adhered it to a card base.

Once the ink blended and splattered panel was dry, I used a Time For Tea designs ‘Stitched Hearts’ cover die – I think you can just make out the stitched hearts around the pink edges – and also used inner rectangle to cut out the middle.

Out of that pink cut-out piece, I die cut two hearts and added them to the card as you see, and also cut out the x’s and the o’s, after putting the strip onto double-sided sticky tape, then adding them to another white strip – trying very hard to keep them aligned……

I hope you can come and join us. I’m looking forward to your take on the theme. xx

I shall be entering the following challenges:

Inspiration Station photo inspirationinspired by love and hearts

Here is a place to start anything goes – option to pick a palette not taken

Lil Patch of Crafty Friends anything goes

Crafty Gals Corneradd a heart

Papercraft Challenge hearts

Cardz 4 Galz – red, white, pink

Hello once again. Cardz 4 Galz has started a new challenge and this time the theme has been chosen by Pamela – a girlie card with red, white, and pink. Here is my card:

I struggled with this colour scheme a little – I am not a pink kinda girl 0 but it is a challenge, isn’t it, so I went with it and created a card I am quite pleased with.

Onto a 5 x 7 inch card base, I matted a piece of patterned paper with red.

The butterfly is an old one from Sue Wilson, which I die cut in red, then added a glue spray, then added glitter.

To ensure the butterfly didn’t get lost on the background, I added a scalloped circle, and then added the foiled sentiment.

I’m looking forward to seeing your red. white, and pink creations – maybe it will give me some ideas for future challenges with these colours……..

I shall be entering the following challenges:

Crafty Animals anything goes with an animal

MMM Challengeall creatures great and small

Shopping Our Stash something starting with ‘B’

Ally’s Angels anything goes

Birthday Wishes

I had a chance to play with some new products from Spellbinders:

I cut a white panel and used a Spellbinders embossing folder to create the background, layered onto a white card base.

I then did some die-cutting – when I say ‘some’ die-cutting I really mean quite a bit. I was using the colours from the current challenge at Color Hues, and die cut the hexagons, flowers, and all the layers from white, teal, and lime green card stock. I had no idea when I began which colour I was going to use for which layer, so I played around until I found the layers that I wanted, then glued them all together.

I then played with the positioning of the hexagons until I was happy with the layout above, glued the floral images down, added some small gold gems to the flowers then thought about the sentiment.

I used a debossing sentiment – also from Spellbinders – and some of their gold card stock to match with the centre of the flowers.

I’m getting quite used to the small fiddly layering dies, and instead of dreading them I embrace them wholeheartedly….and the only thing I get just a little worried about are the colours for each layer, but with a colour challenge that is taken care of……

I shall be entering the following challenges:

Allsorts – anything goes – option of wings not taken

Color Hues – lime green and cyan

Creative Knockouts – birthday

Time Out – birthday

Everybody Art – birthday

Lil Patch Of Crafty Friends – anything goes

Christmas Soldier

The Holly and Ivy Christmas Challenge has started a new ‘anything goes Christmas/Festive’ challenge. Here is my card:

Channelling Tim Holtz yet again, I die cut the soldier layers from the white and grey woodgrain card stock – just colouring his little face a tiny bit. I also used some double sided sticky sheets for each piece – a great tip from Tim – not so much glue oozing out of the edges….!

The background is a piece of patterned paper, to which I added a Spellbinders die cut, and a foiled sentiment.

Doing the soldier this way – and many of the ‘Colorize’ dies I would imagine – would look great from this card stock….

I hope you can come and join us with your Christmas/Festive creations and get your stash ready and waiting for the end of the year. xx

I shall be entering the following challenges:

Most Magical Time of the Year anything goes Christmas/Halloween

Sparkles Forum Christmas ChallengeChristmas and non-traditional colours

12 Months Of Christmas anything goes Christmas – option of into the woods not taken

Creative Crafters Challenge anything goes

CAS – Circles

Hello there. I was lucky enough to be chosen as the winner for AAA Cards Challenge in January 2023 with this card here – and so was invited to be Guest Designer for an upcoming challenge. I accepted of course……

The theme is ‘Circles’, and it must be CAS. Here is my card:

This is the third card I made – the theme was a real struggle for me. I went through the CML app and searched ‘circle’, looked through what came up, and came across this stamp set from Uniko which I haven’t used in absolutely ages…..

Onto a white card base, I first stamped the sentiment – a CAS sentiment – then took my newly delivered ‘Lost Shadow’ Distress Oxide ink, and my ‘Salvaged Patina’ Distress Oxide ink, and stamped what you see here. I used two of the smaller stamps in the Uniko set, and I did use my Misti when stamping.

Even though Distress Oxides stamp better than the inks – I still feel a second or even a third stamping gets a better impression.

I am loving the ‘distressed’ look of the stamps, and when I first stamped them I thought they were faulty – but no – just the way they are.

The teal and grey are also a good match for each other.

I hope you can come and join in the AAA card challenge with ‘CAS and Circles’ as the theme – I hope to see you in the gallery over there. xx

I shall be entering the following challenges:

Krafty Chicks – CAS

Crafty Catz – anything goes – option black, grey and one colour – black, grey, teal

Floral Frame Birthday

After a busy week, I was able to create a card over the past couple of days, and completed today:

The base colour is cream from my stash, a Creative Expressions cream coloured card stock. I first took an A2 panel and dry embossed it with a Spellbinders embossing folder. I then attached this to the card base.

I then took another cream panel, and ink blended the floral frame (The Greetery) using the layering stencils. I used a light pink for all the flowers, stamping them twice for the base layer, and then for the added detail layer – using the same light pink – stamped three times to create a darker pink. I then used the outer and inner edge dies to cut the frame out.

I then took another stencil set from The Greetery and ink blended the two yellow flowers, using the die panel to cut those out.

I was going to attach the frame straight onto the embossed panel, but I thought the centre looked too busy with the dry embossing behind it, so I die cut the outer edge of the frame from another piece of cream card stock and attached it to the back using 3D foam tape – to create a more solid centre, and create some dimension and shadow behind the frame.

The yellow flowers were inserted, the sentiment stamped and the sentiment strip adhered with glue on the edges, and 3D foam on the centre.

I added some yellow dots to balance the yellow above the sentiment strip.

I shall be entering the following challenges:

Color Throwdownyellow, light pink, cream, green

CYHTPembossing folder option of hearts not taken)

Inkspirationaluse stencils

AAA Birthday birthday and use stencils

Unicorn Challenge birthday

Stencil Funstencils – option of hearts not taken

Beautiful Blossoms flowers and mood board

A Golden Hello

Hello there. It seems I have a thing about creating cards with birds at the moment. My two previous posts are with swans, and now I have a card with a golden dove:

Onto a white card base I adhered a red layer, then a blush pink dry embossed panel,. using a Spellbinders embossing folder. I die cut the central label shape using a Gina K Designs ‘Master Layouts‘ set, the same blush card, and layered with the same red card. I fiddled around to ensure that the central label embossing matched the background embossing – a little fiddly but I achieved what I wanted to do.

I then began die cutting……..

I used Spellbinders floral dies, and die cut them all in the blush card and white card, then decided to cut them again in a brushed gold from Spellbinders, played around with which colour for which layer, and then decided I needed a darker pink card for some of the buds on the floral pieces – and you can see what I ended up with. There was a lot of die-cutting and assembling the different colours and the different layers until I was happy.

The bird is from The Greetery, die cut using the shiny gold card from Spellbinders, and I also used the shiny gold for the sentiment, but also added three layers of white behind it to make it more substantial.

Using two different types of gold, and two different pink tones seems to work quite well – the bird still stands out as it is shiny…..

I even added some more bling using Trinity Stamps gold embellishments….

I shall be entering the following challenges:

Color Throwdown red, pink, gold

Simon Says Stamp Wednesday Challenge – fun with dies

Lil Patch Of Crafty Friends anything goes

Creative Fingersanything goes

Die Cut Divas die cuts and add some gold

Ally’s Angels anything goes

More swans….

I am hosting the new challenge at The Alphabet Challenge. The theme was chosen by another team member who has since left the team, but we are staying with the theme chosen – ‘Water’. There are a lot of possible choices – as you can see from the Design Team inspiration makes. Here is what I have gone with:

This card took a little planning, a little frustration – but I believe the outcome was worth it. I actually gave this card to my mum-in-law for her birthday.

The swans are from Hero Arts, one of their ‘Looking Glass’ collection of dies. I love to use these sets of dies to create a scene – but I find them difficult – despite watching the YouTube videos – over and over again…….my brain just doesn’t want to take it in….

I added circle frames, and added a decorative die cut from a Pinkfresh Studio die set.

The layers of the swan scene were coloured – the sky and water were ink blended with a Distress Ink, the reeds and swans coloured with Copics.

I hope you can come and join us with your ‘water’ themed creations – either making a water scene, using water-colours…….I;m looking forward to seeing a variety in our gallery. xx

I shall be entering the following challenges:

Allsorts Challengeanything goes with option ‘I Love’……(Hero Arts Looking Glass dies)

Simon Says Stamp Wednesday Challenge fun with dies

Lil Patch Of Crafty Friends anything goes

2 Crafty Critter Craziesanything goes with critter as main focus

Crafty Animals anything goes with an animal

Ellibelle’s Corner anything goes

Crafts Galore anything goes

Swans and Hearts

Hello once again. Cardz 4 Galz has started a new challenge. Debbie is hosting, and she has chosen the theme of ‘Insert one or more hearts‘. Here is my card:

The background heart panel is a Turnabout stamp from Concord & 9th, stamped using a pink and a grey to cerate a simple backdrop.

I die cut the two swans from white, then again from gold and layered them – slightly off-setting the gold. The black and orange added for the beak and face.

The oval die was cut from grey card stock, then the scalloped layer cut from gold – a pink, grey, and gold card – simple yet I feel quite elegant.

I hope you can come and join us with your creations which include one or more hearts. xx

I shall be entering the following challenges:

MMM Challenge love is in the air

Simon Says Stamp Monday Challenge love is in the air

Get Creative Challenge hearts

Crafting Happiness love

Die Cut Divasdie cuts – add some gold

Dragonfly Dreams love