Hello once again. I am here with another try and a CAS card. It’s a style I try every now and again when a challenge theme inspires me:
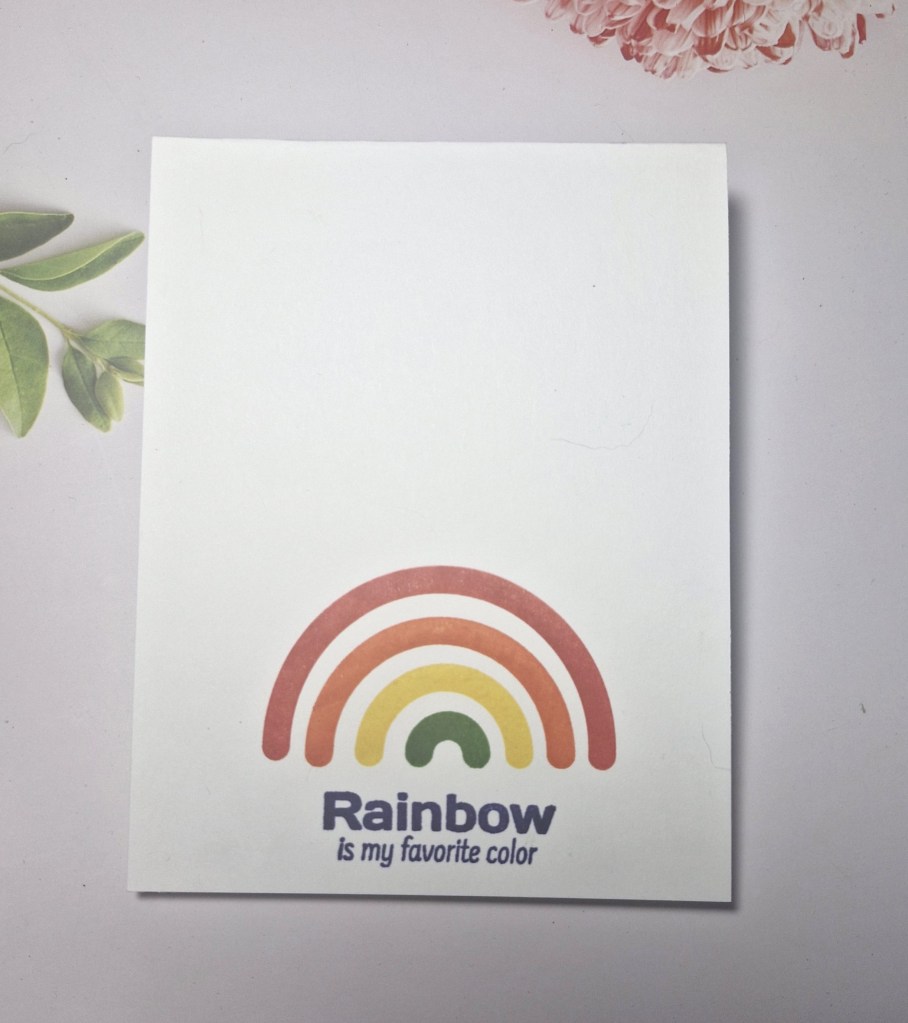
The current theme at CAS on Friday is ‘Rainbows‘. I searched through my CML app – it’s surprising how many items I have in there which I have tagged with that word – and a stamp set from Simon Says Stamp popped up. This stamp set is from 2021 and a kit they put together.
I used the four solid arch stamps to create the rainbow, and four colours of Concord & 9th inks. These inks stamp the best on solid images, in my humble opinion.
The process, for me, was quite involved…….I placed the card base in my Misti, then added another piece of card on top – like a practice panel. I arranged the first arch, stamped the red on the practice panel, liked how it looked, then removed that panel and stamped the card base.
The other three arches were aligned and stamped the same way, using an orange, yellow, and green, trying the keep the bottom of each arch and the distance between the arches the same.
The sentiment is also from that same stamp set and stamped in blue.
I was quite pleased I didn’t get any ink smudges. That usually happens to me when I attempt a CAS card, especially when I am stamping directly onto the card base.
As mentioned, I am entering the current challenge at CAS on Friday.
Hello there. It;s been a busy week, but I am here with a couple of cards for the new challenge starting at ABC Christmas Challenge. We always have themes for our letters, and this time they are:
J is for Just Enough (CAS)
&
K is for Knitwear
Here are my cards:
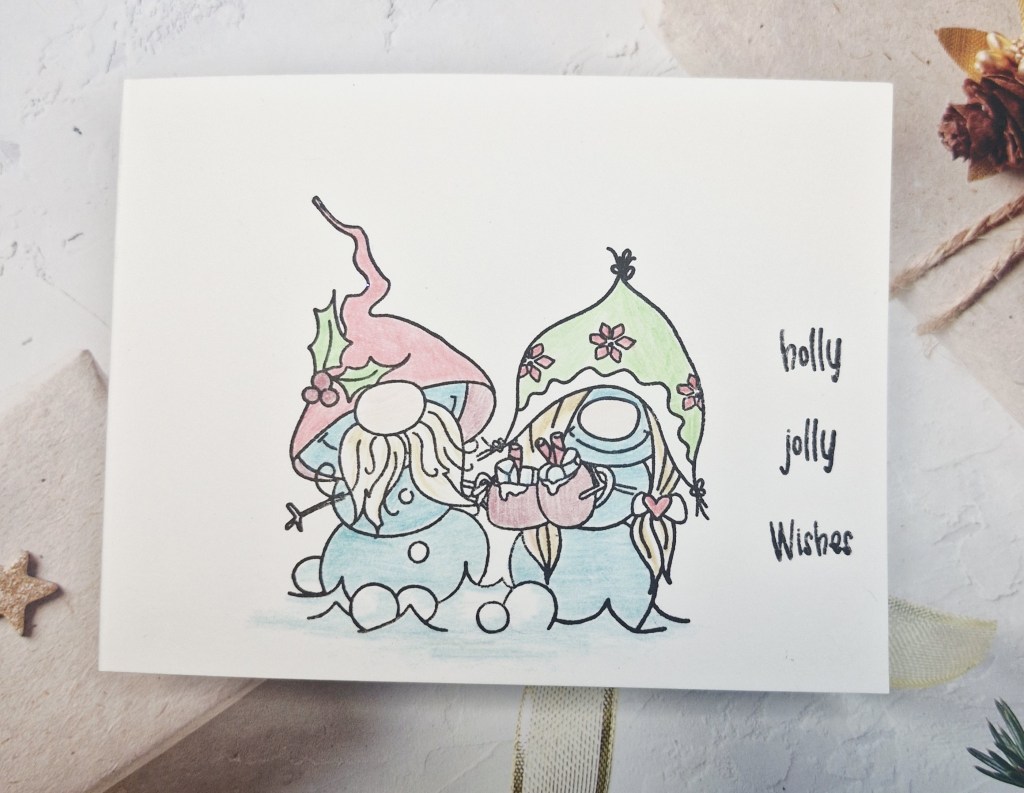
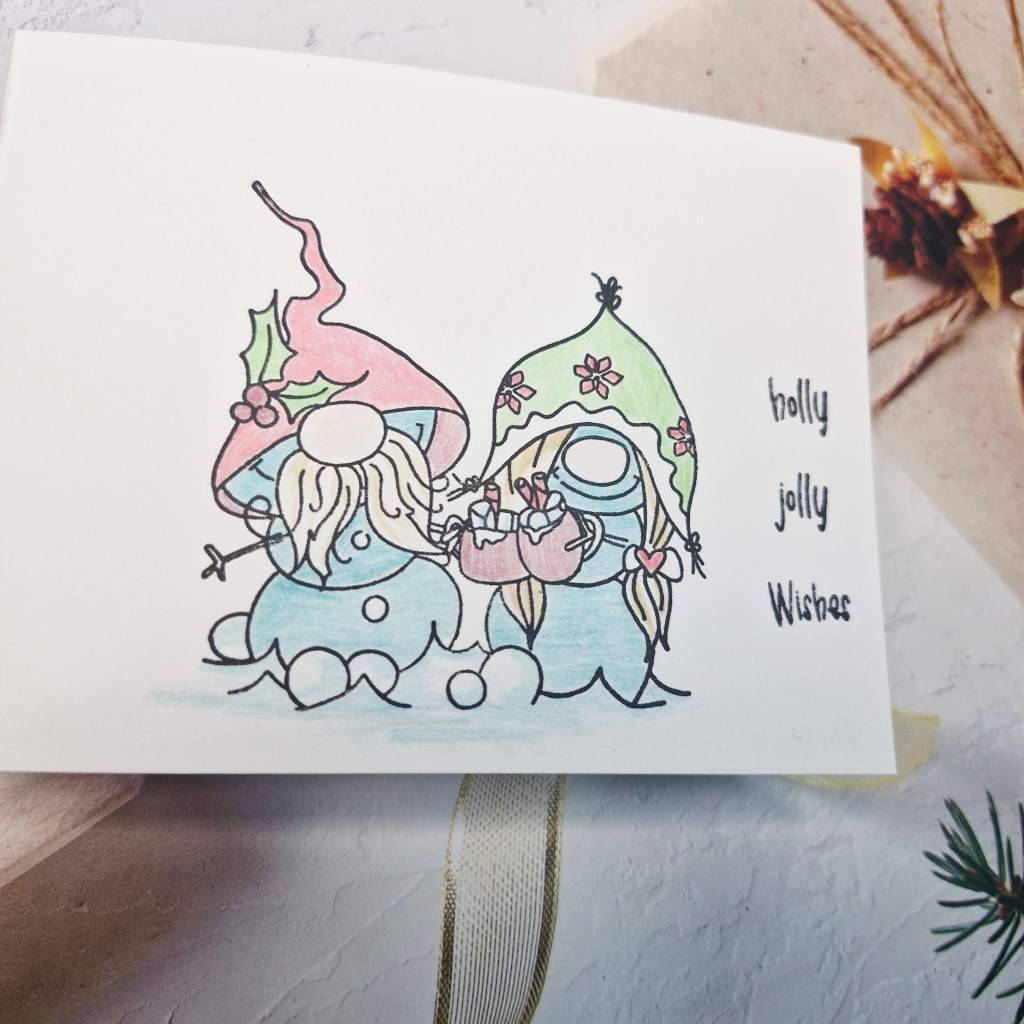
J is for Just enough (CAS)
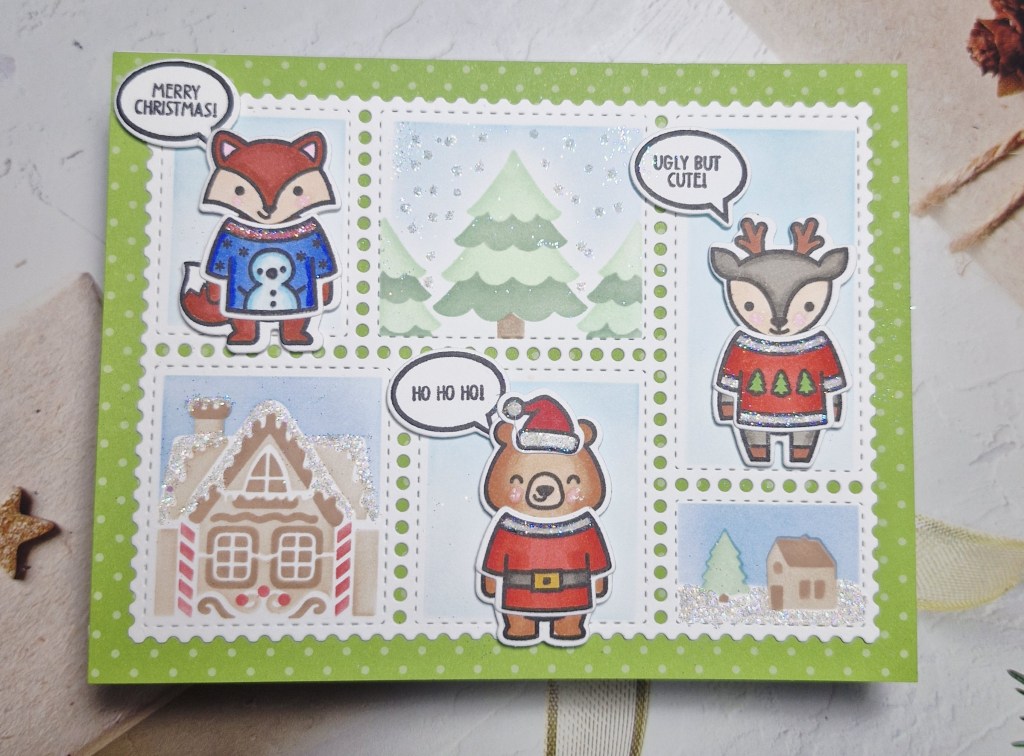
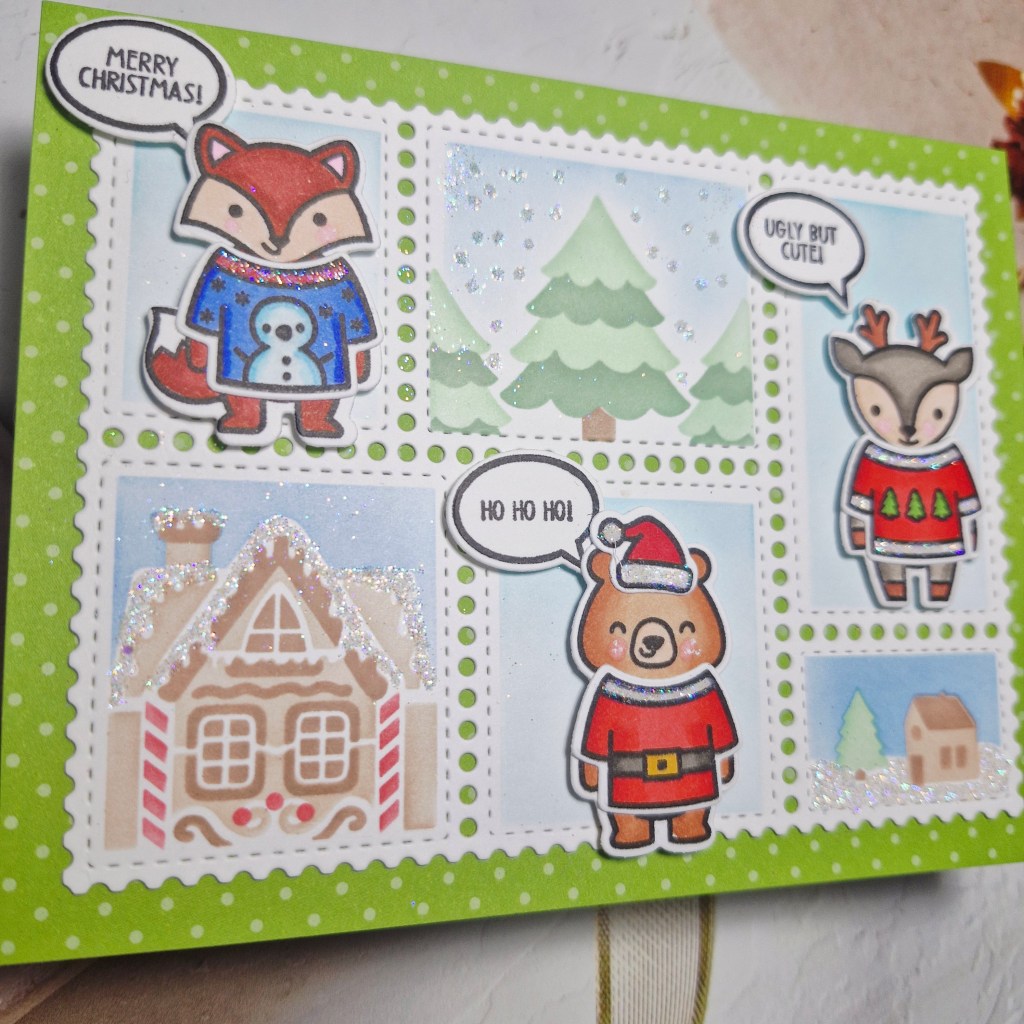
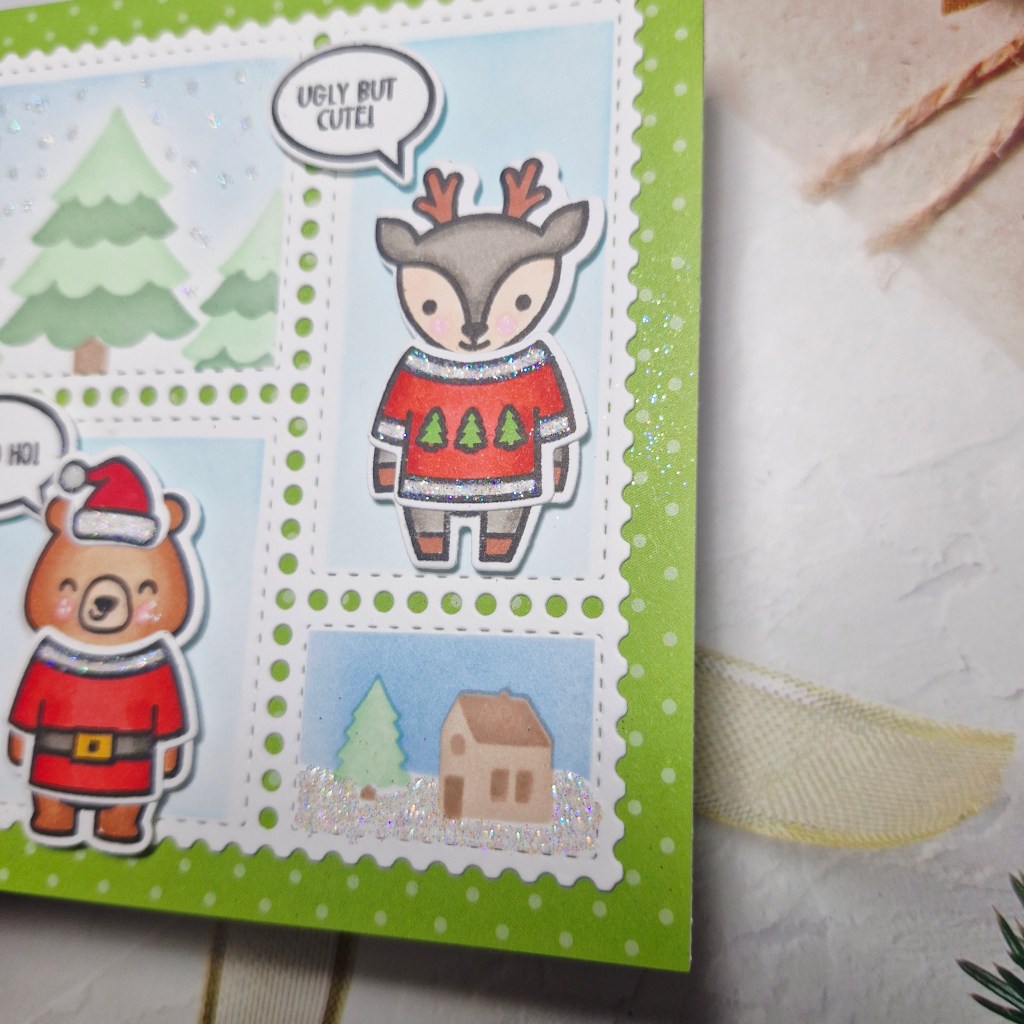
K is for Knitwear
For my first card, I chose a Polkadoodles stamp set, and stamped directly onto the white card base, then coloured with pencils. I find Copics show through on the revers side, and I wanted this card to be one layer, no additional elements, to keep it very purely CAS.
My second card took a little more time. My first step was to stamp the Lawn Fawn critters, then colour them with Copics, before die cutting them out. The sweaters were also stamped, coloured, then die cut, and attached to the critters. The edges of the sweaters I also added some Lawn Fawn Prisma glitter for a little more sparkle.
All of these stamps came from the same stamp set – ‘Ugly & Bright’.
The background is some patterned paper from Heffy Doodle.
I used the Waffle Flower postage collage die, then a couple of the Waffle Flower Christmas postage collage stencils – picking which images were going where after placing my critters – then ink blending , adding more glitter to some of the elements, before stamping and die cutting the small bubble sentiments.
I hope you can come and join us with your Christmas creations following one or both of our Christmas themes. xx
Hello again. I have a card to share for my next voyage into the CAS realm.
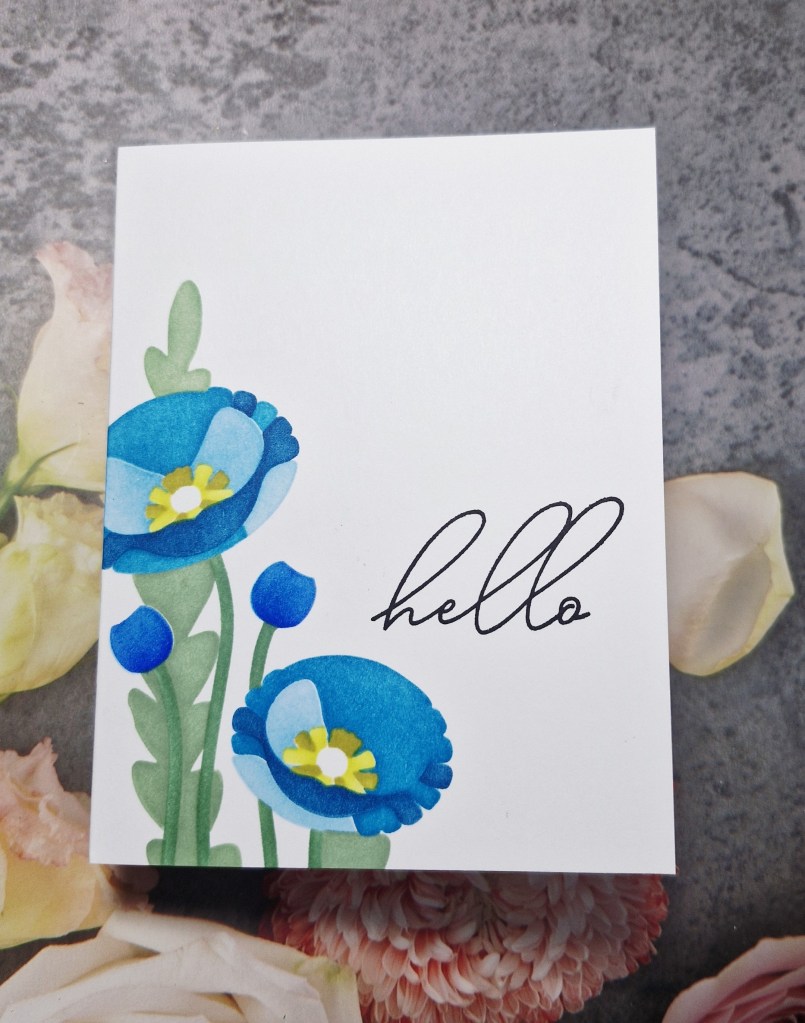
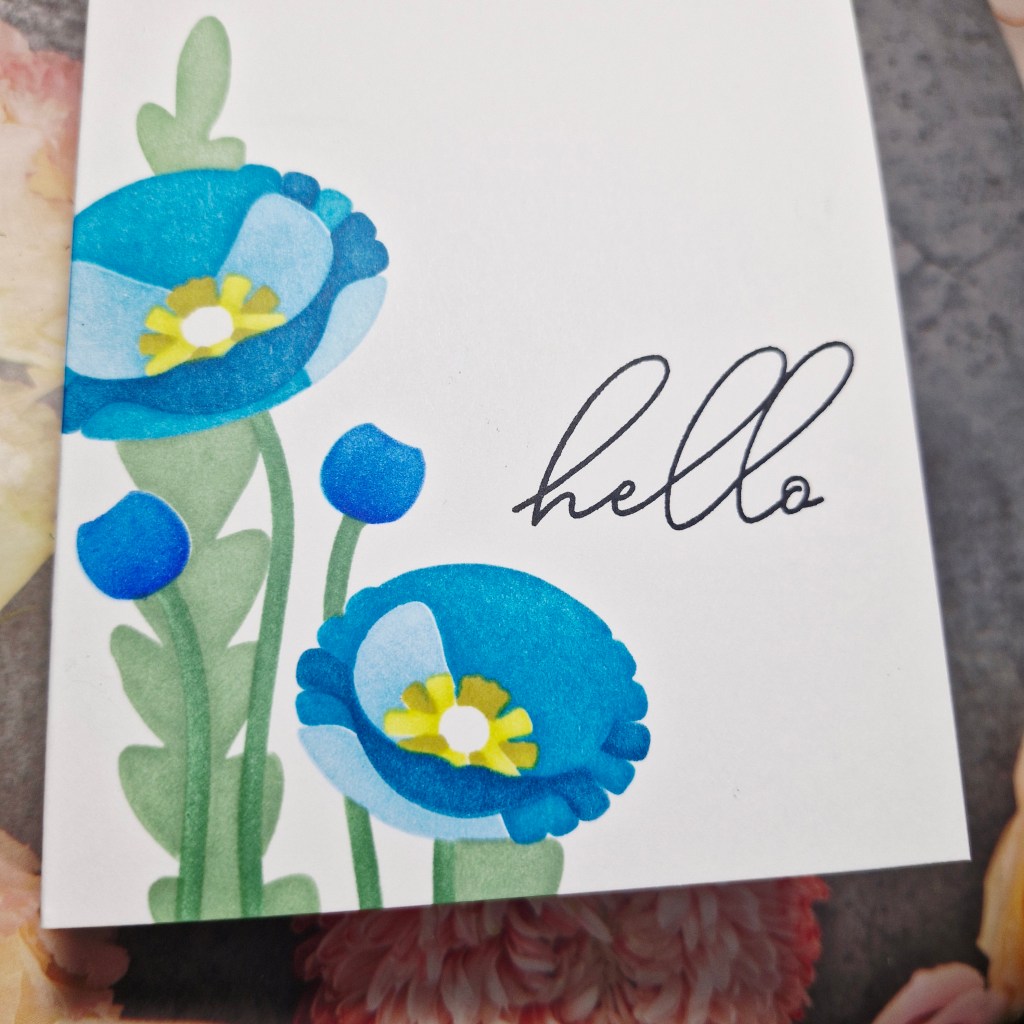
This card was created by using a Spellbinders stencil, selective masking, and ink blending.
I took the stencils and decided which part of the whole image I wanted to put down into the bottom left corner. This was done directly onto a white Neenah 110lbs card base, used some low tack tape to mask off areas I didn’t want, and used Pinkfresh Studio inks.
This did take a little planning, and initially I didn’t want the two buds on there, but when it came to ink blending the uppermost flower and the leaf and stem, I realised that there would be gaps – so I went back in with the relevant stencils and joined everything up to my liking.
The complete image takes up most of an A2 card, with a total of three flower heads and 4 buds, but as you can see I ink blended two flowers and two buds, moving the stencil down further past where it should be so they were coming off the edge.
The stamped ‘hello‘ is also from Spellbinders, and the same monthly release.
Hello everyone. It;s been a fairly busy week, but I have time to create another CAS card:
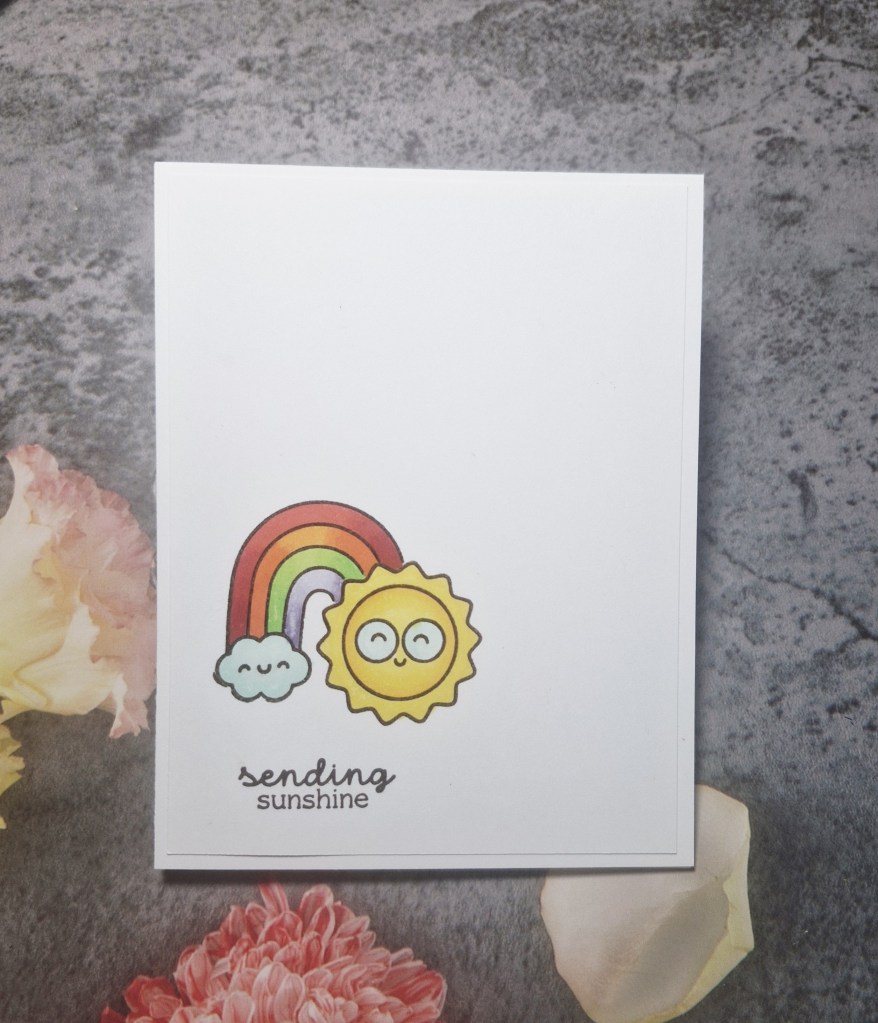
For this card I used a stamp set from an SCT ‘Let’s Stamp Together‘ kit, I believe is from Taylored Expressions.
I first took a white panel and stamped the sun image, then stamped again onto some masking paper, cut it out, stuck it down on top of the stamped image, then stamped the rainbow image on top.
Once the sun mask was removed, the sun covers the cloud on the other end of the rainbow and looks like one image.
Once both images were stamped in dark brown amalgam, I heat embossed with clear, as I wanted to colour straight away, and didn’t want to wait until the ink dried. Even when I dry the ink with my heat gun, I find alcohol markers sometimes still smudge and smear the outline.
I chose to colour with Copics, adding a little shading, then stamped the sentiment, cut down the white panel slightly and adhered to a white card base.
Even though it is CAS, I don’t like that Copics will show through a card base if coloured directly onto it.
I hope I will have more time to craft these next few days, and so you may see more of my cards coming up. xx
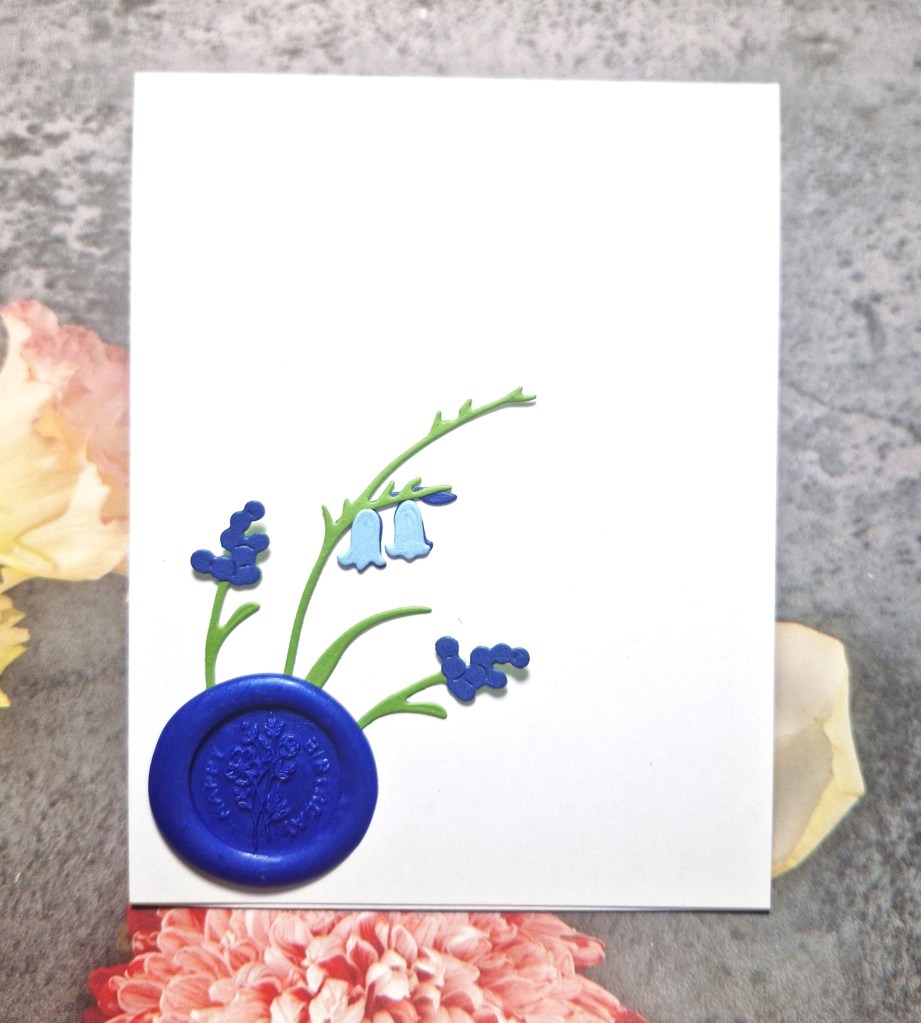
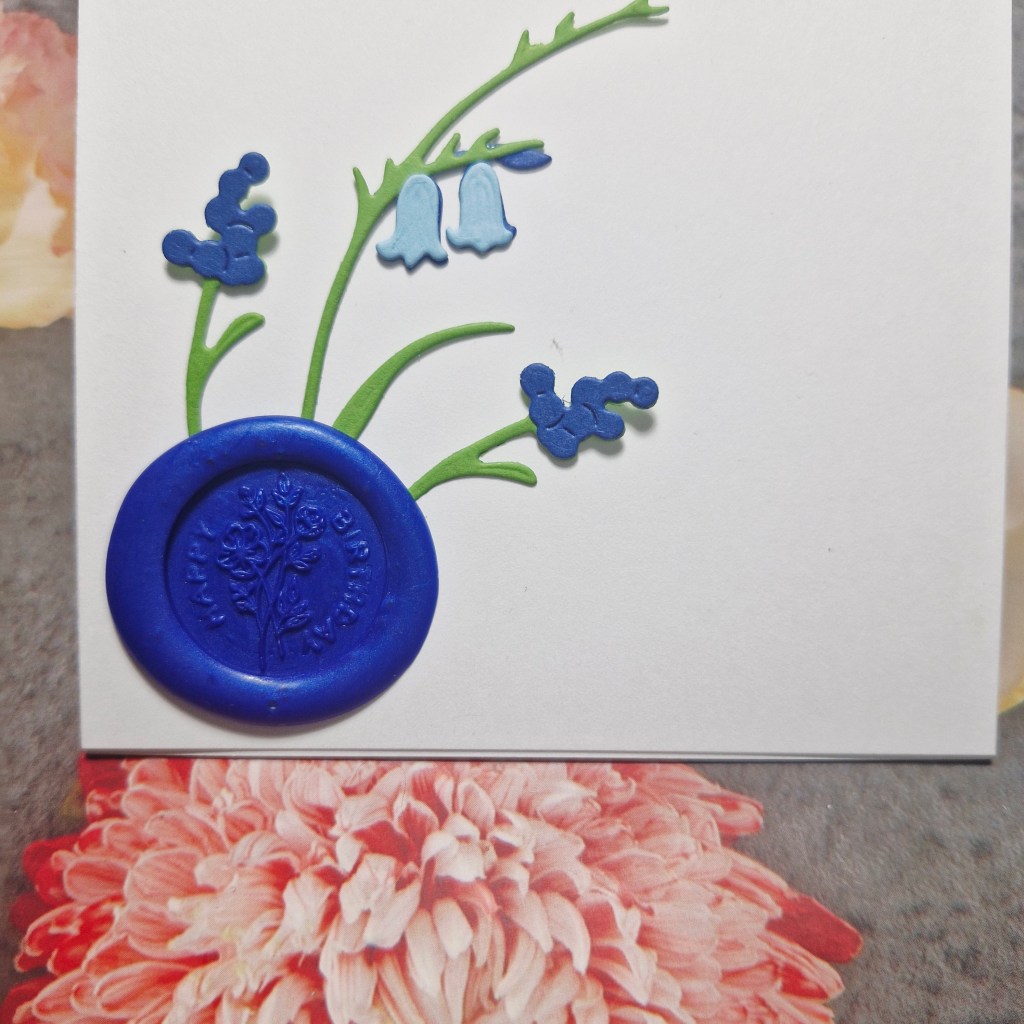
Hello again. I’m venturing into the CAS genre again – a struggle for me as I do like dimension and embossing folders and gems – all the things, really. Whether this is a true CAS card – with die cuts and wax seal – it certainly is for me…… :)
This was really quick to put together, as I had the bluebells and lilac pieces from The Greetery already made from a previous session, as well as the wax seal.
I placed the florals, adding wet glue to the base of their stems only, then glued down the wax seal to cover the bottom of the stems.
The wax seal from Spellbinders says ‘Happy Birthday’ – difficult to photograph with this colour. I could have used some gold or white pen to highlight the words, but I like to simplicity as it is.
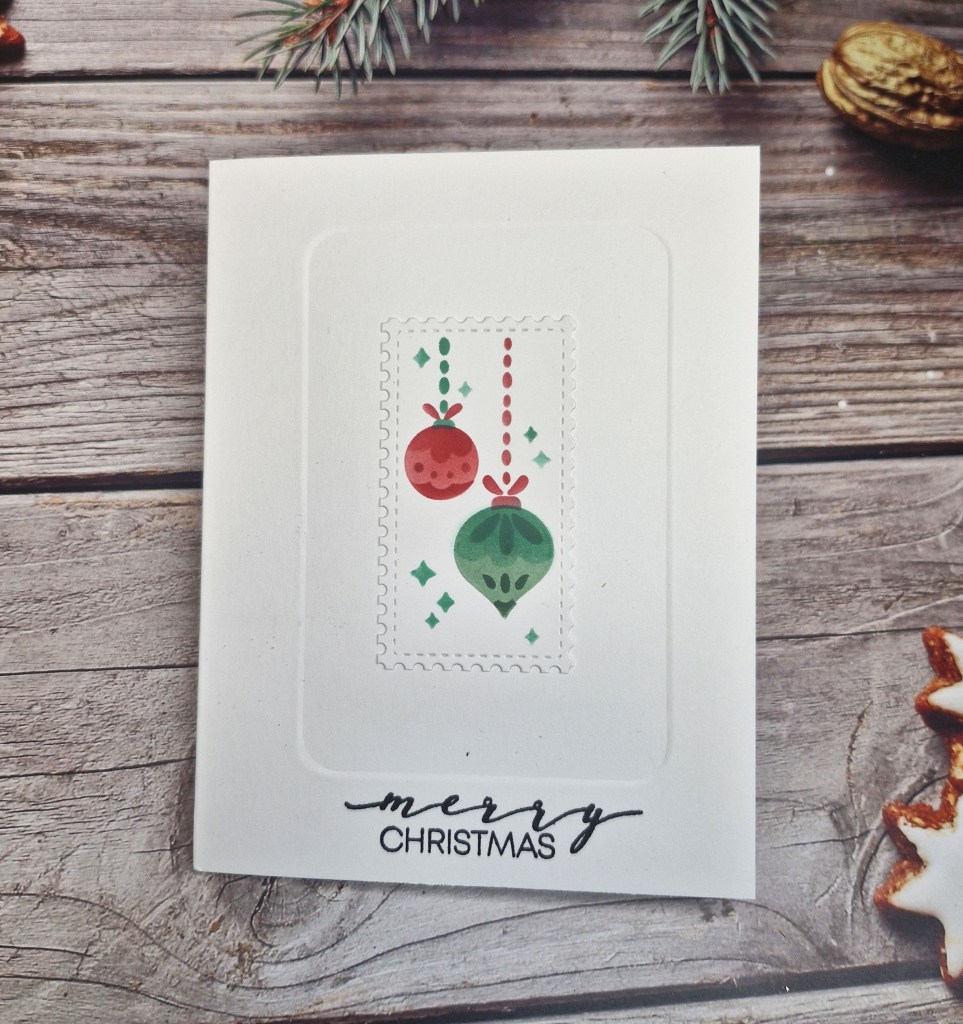
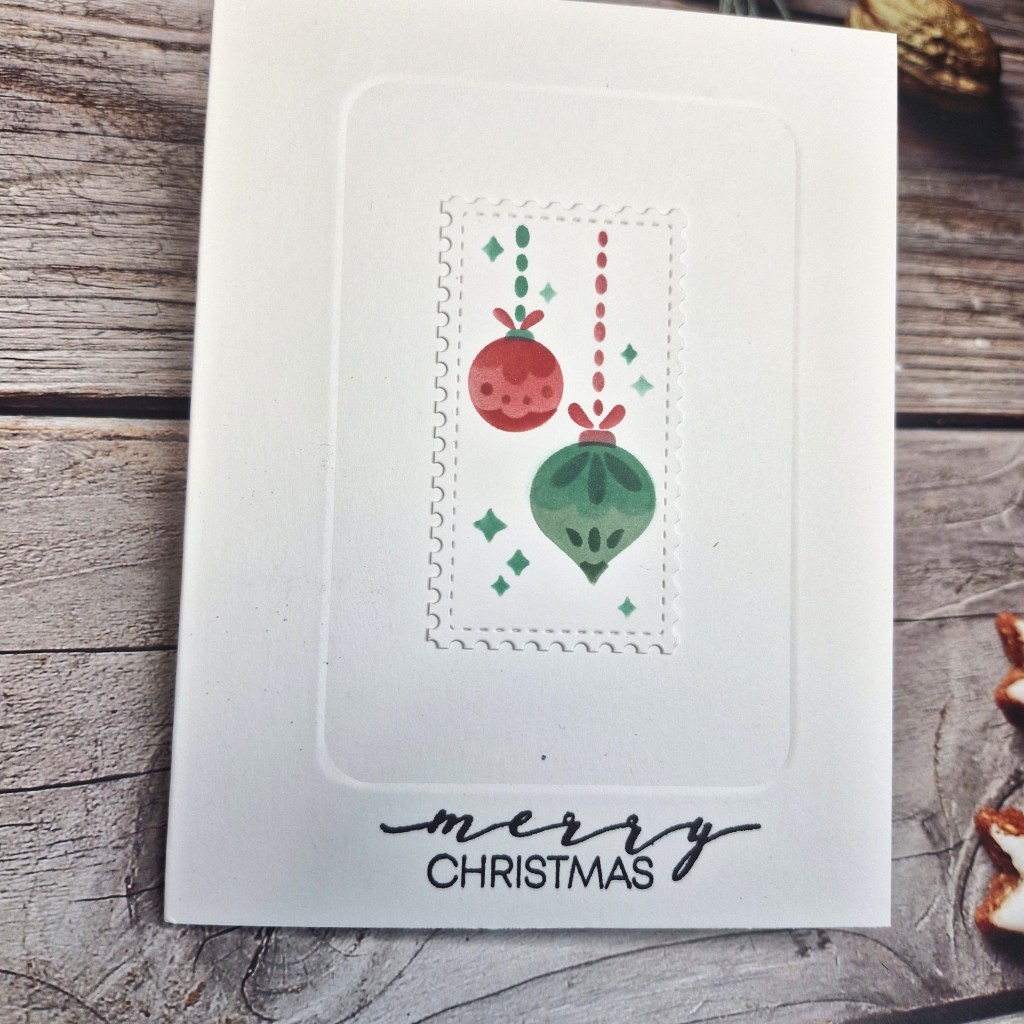
Hello. I am venturing into the CAS realm again with this card:
For the image on this card, I ink blended the whole of the Waffle Flower Christmas Collage stencil, then chose this one image for this card. The other images will be used on another card.
I first took a A2 card base, and used Clarity Crafts embedders to create the impression. I have a DT friend who is on the Design Team for Clarity Crafts, and she does some fabulous CAS cards – you might want to check our her blog here. Anyway, she uses the embedders and has given hints and tips – which I try to follow – and this time I think it worked….
After using the embedder, I stamped the sentiment, then attached the image with glue.
I find it hard not to add plenty of things and not add dimension -but I will persevere with the CAS look sometimes – just for fun…
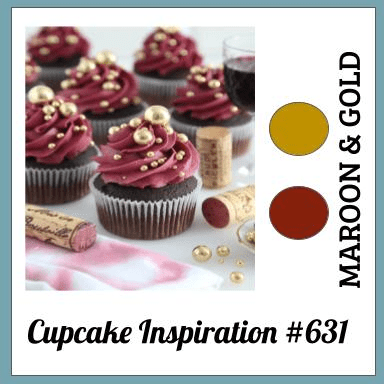
This colour scheme was inspired by the current challenge at Cupcake Inspirations – to use maroon and gold.
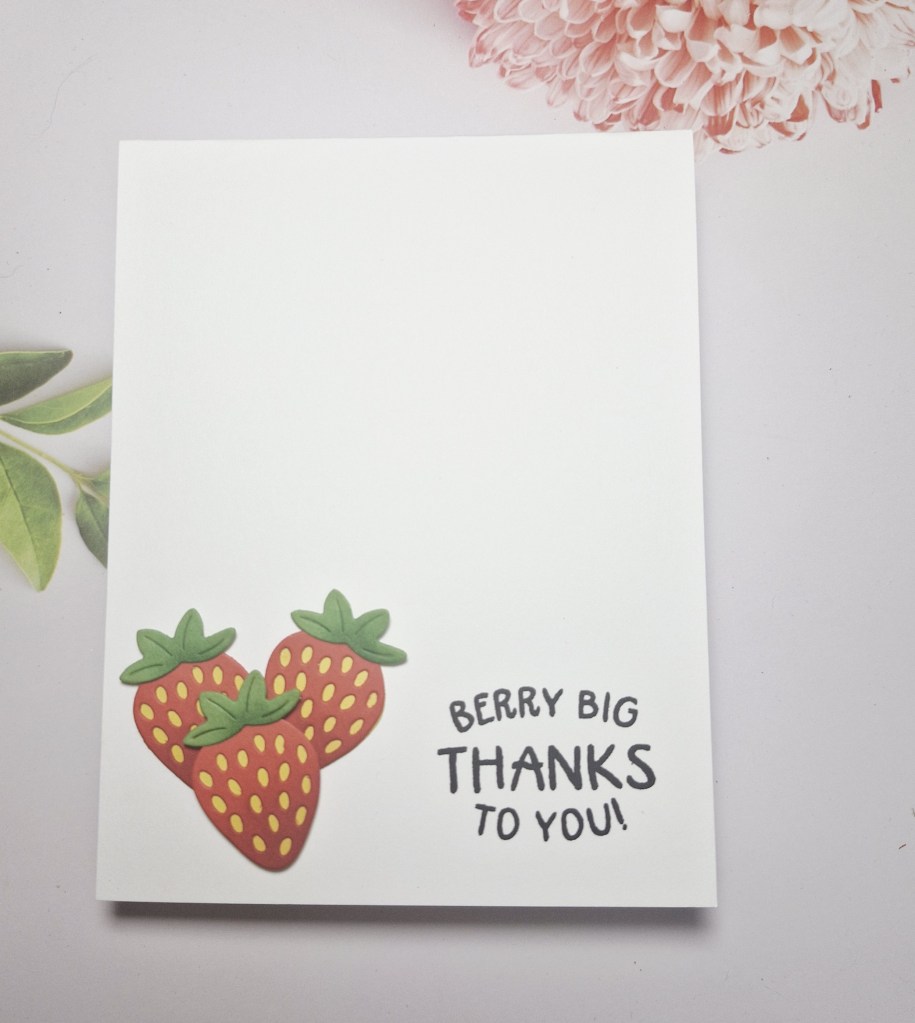
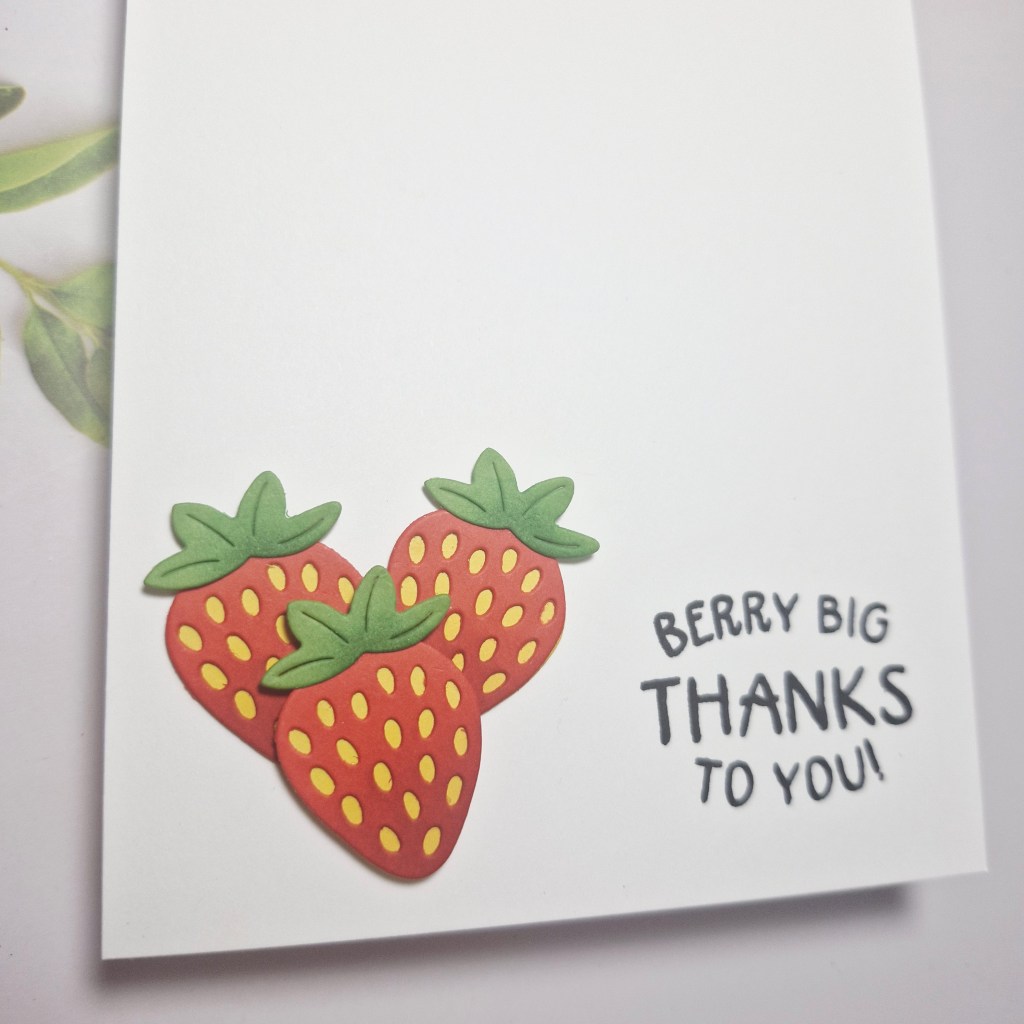
This is another die set from Concord & 9th, another cabin gift set from one of their summer camps.
I first started by using a Neenah 110lb card base, and onto the front of that card base I dry embossed a rectangle stitched die – this creates detail without adding dimension – I think so, anyway….. :)
The die was cut twice to obtain the dark red and the gold, and the two hearts – from the same die set.
The red outline of the letters was glued directly to the card base, the gold letters inserted – and yes – I did lose the two itty bitty pieces from the inner of the letter ‘o’ in you – so I grabbed a little scrap and die cut just that part again to obtain them.
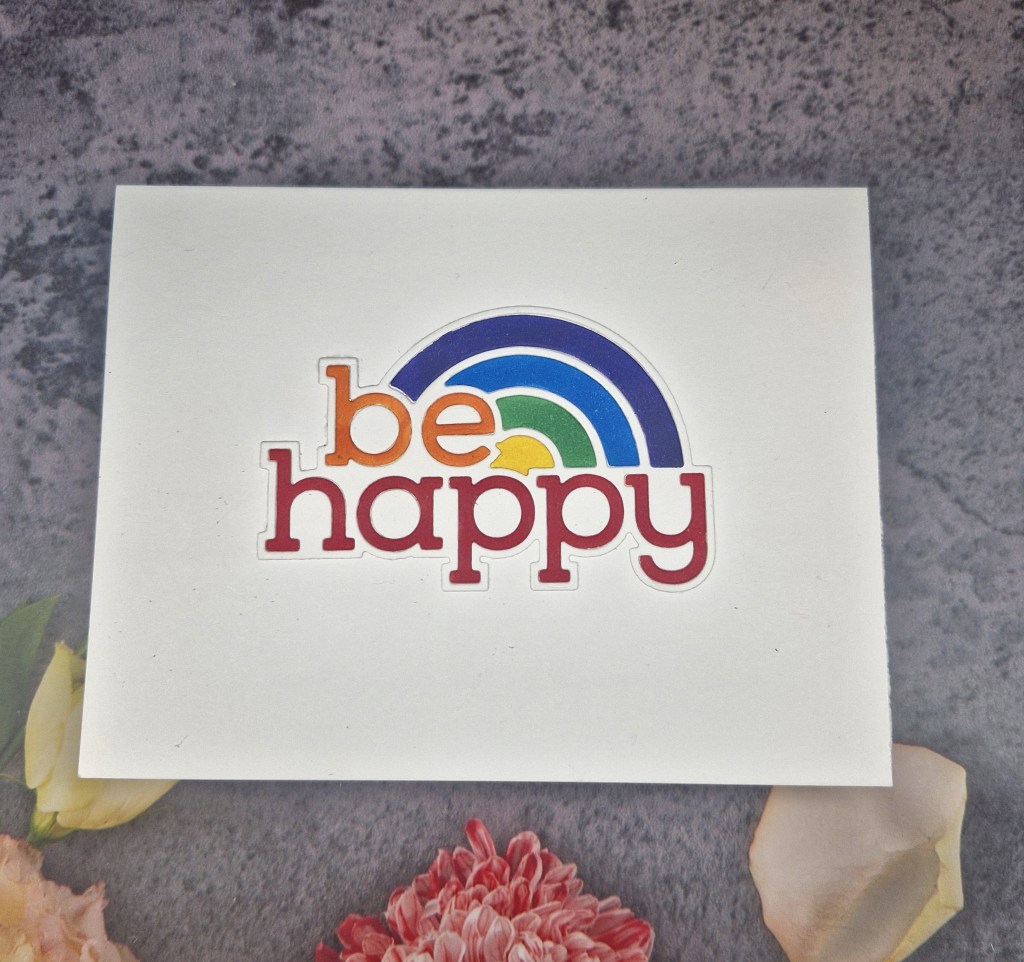
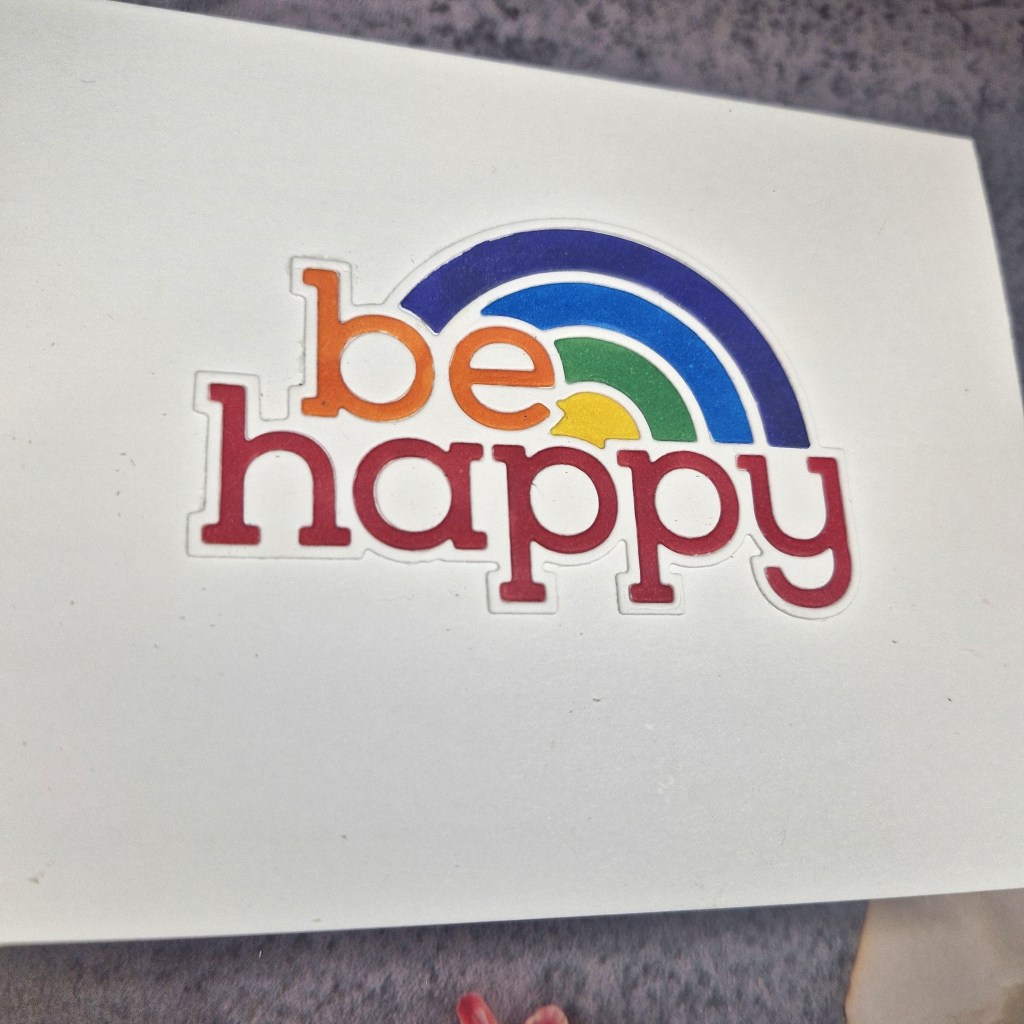
Hello again. I have been exploring my CAS style with this card – something I really struggle with.
I was inspired by the current challenge at CAS on Friday – produce a CAS card with the theme of rainbow.
I searched through the Color My Life app, and found this die set received as a Concord & 9th cabin gift for one of their summer camps a few years ago.
The card base is Neenah 110lbs – I finally managed to get a restock here in the UK so I ordered plenty.
I die cut the elements out of 80lbs Neenah, and attached the outline of the image direct to the card base.
The other elements I coloured with Copics to create the rainbow colours, insetting them.
That’s it – no gems, no embossing folder background, just a colourful CAS card. It always amazes me though, how CAS can take longer to plan out than my general style of cards – there really is nowhere to hide with CAS is there?
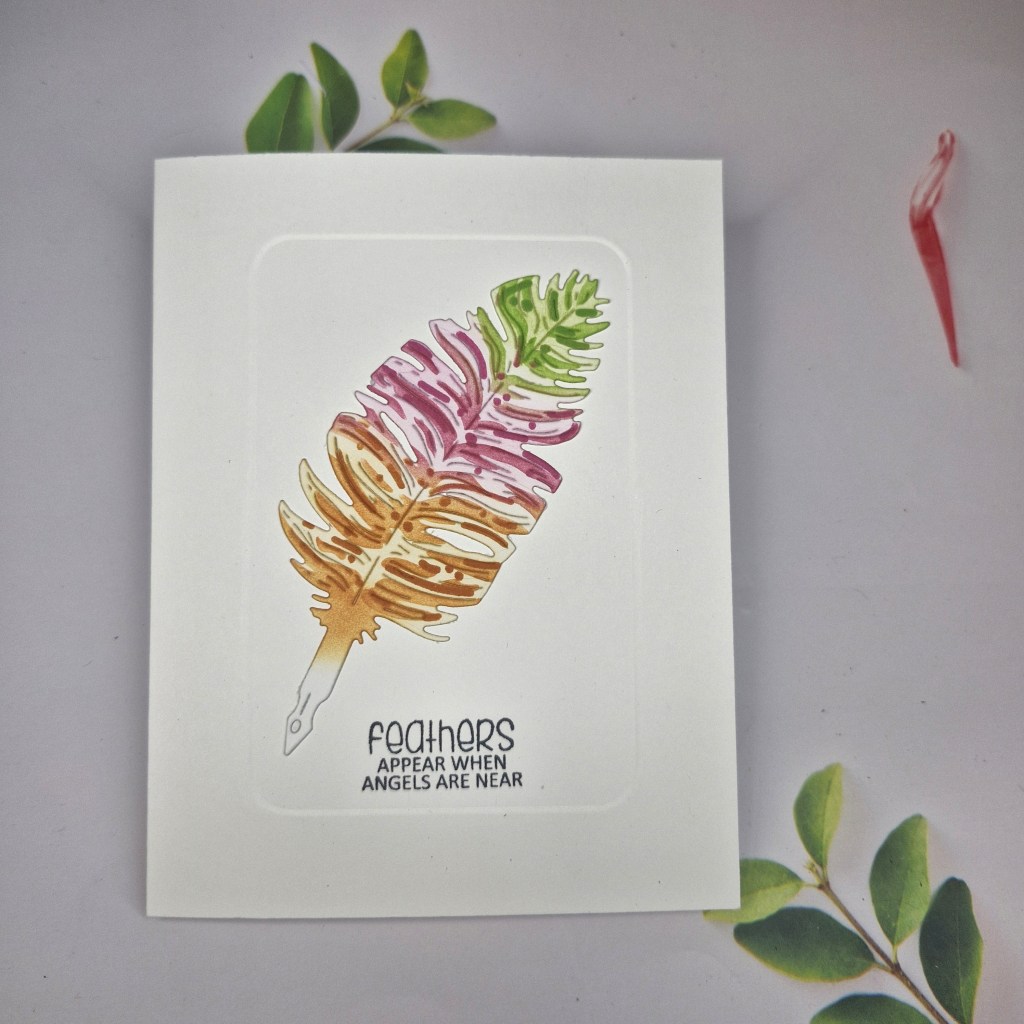
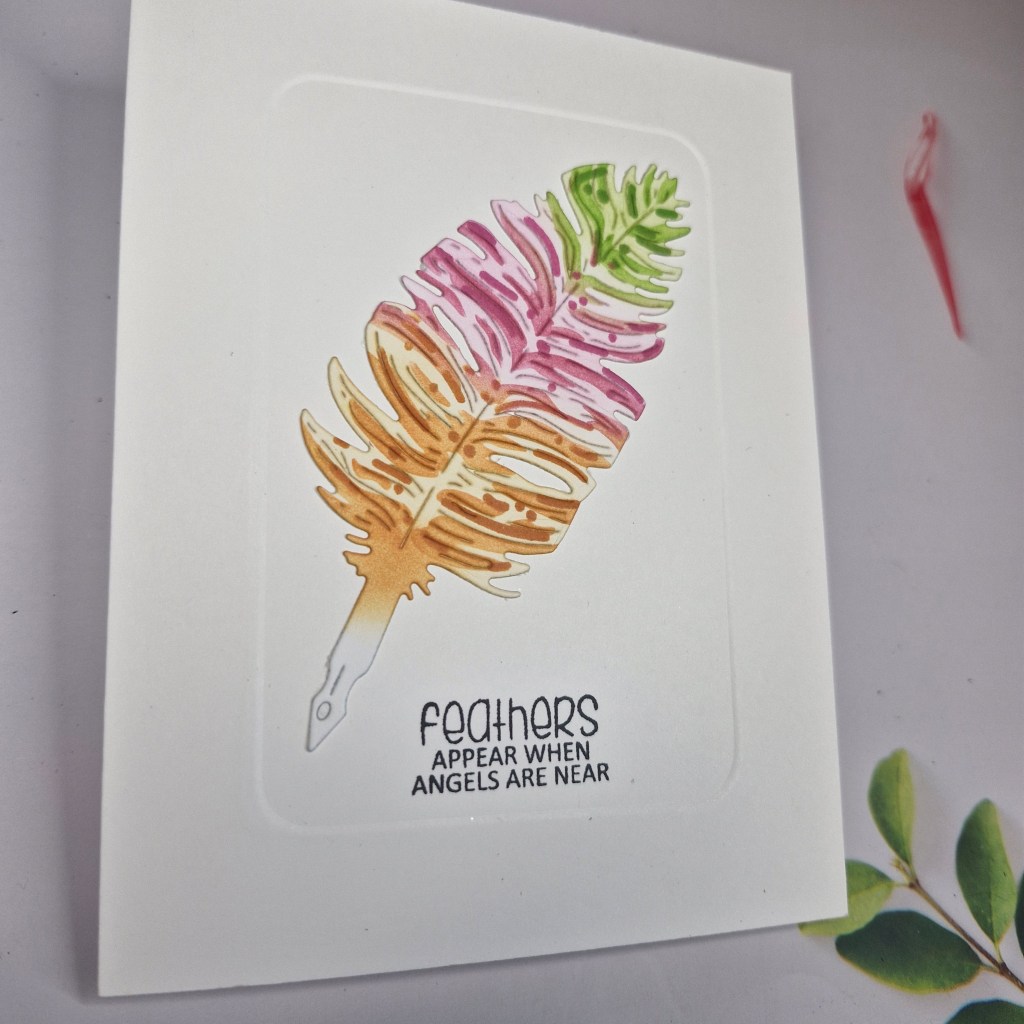
After my die cutting saga yesterday, I decided to try my hand at a more CAS card today:
You know that CAS is not my usual style, and I actually find this style more challenging, but I was inspired by the current challenge at CAS on Friday, as their theme was ‘feathers’ and I just love this die and stencil set from Waffle Flower Crafts.
The card base is an A2 side folding – my choice is asked – and into that I embossed a rectangular frame using Clarity Crafts embedders. I really, really need to practice this technique, as I failed on the first card base – a couple of panels to use later – but I do like the effect. It adds a little something-something without adding too much detail or dimension.
I then stamped the sentiment from a Clearly Besotted stamp set directly onto the card base, at the bottom of the embedded rectangle.
The feather was die cut, placed on my grip mat, and the colours from the Color Throwdown used – lime, pink, then orange – using Pinkfresh Studio inks.
The two layers for the stencil set first does the lighter details, whilst the second layer does the darker details, and after those two were blended, I went back over very, very lightly with the same inks to make the background white on the feather less harsh.
I decided to keep the nib of the feather pen on there, but did ink down a little with the orange, then glued directly into the embedded rectangle.
So – no gems, no jewels, no 3D foam tape – my goodness – I must get back to doing that tomorrow…..!