Hello everyone. Cardz 4 Galz has started a new challenge. Dawn is hosting, and she has chosen the theme os:
Bees
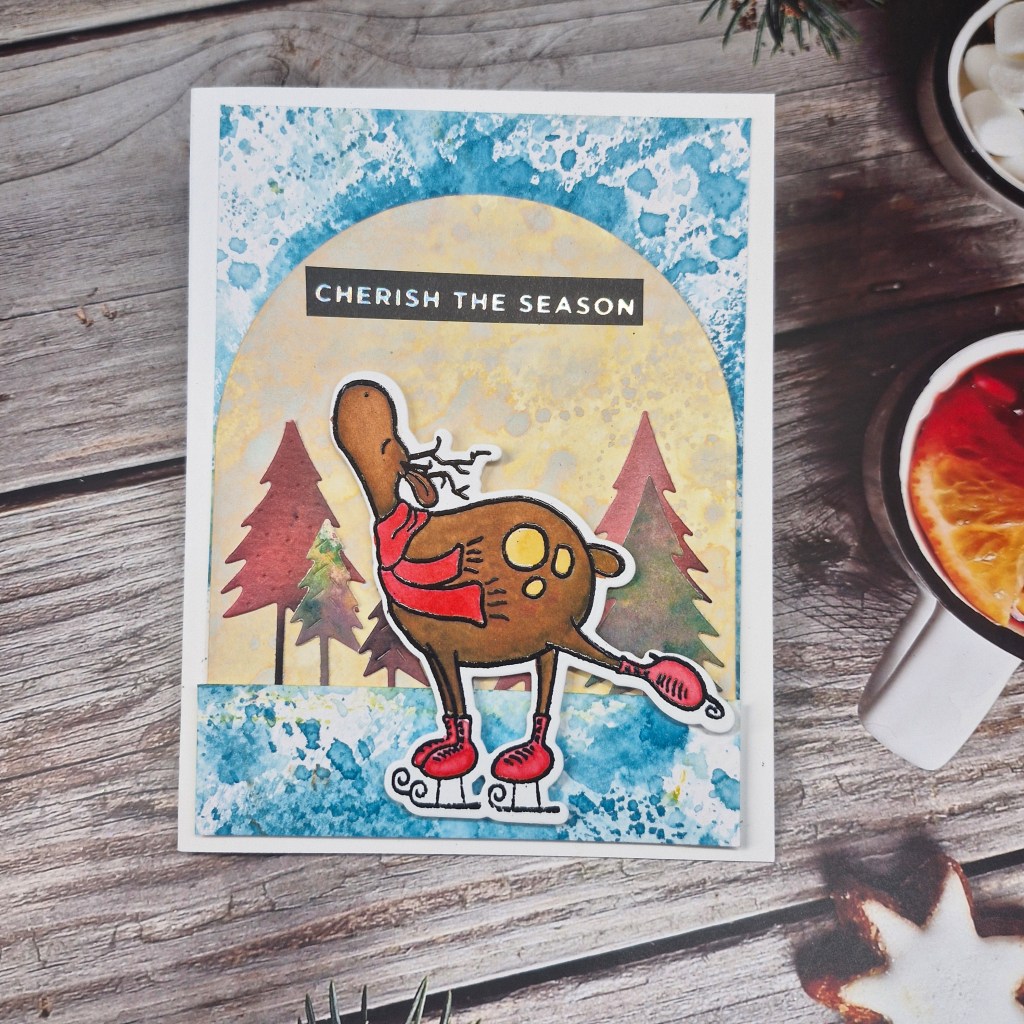
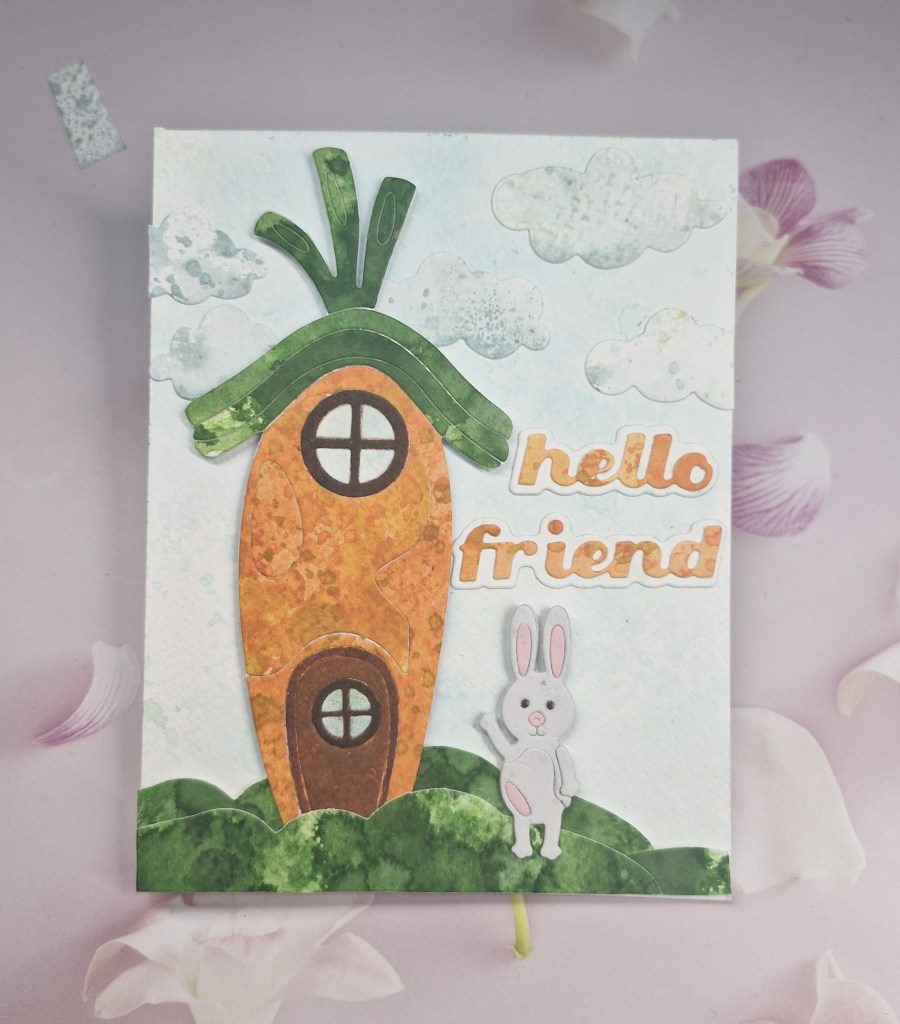
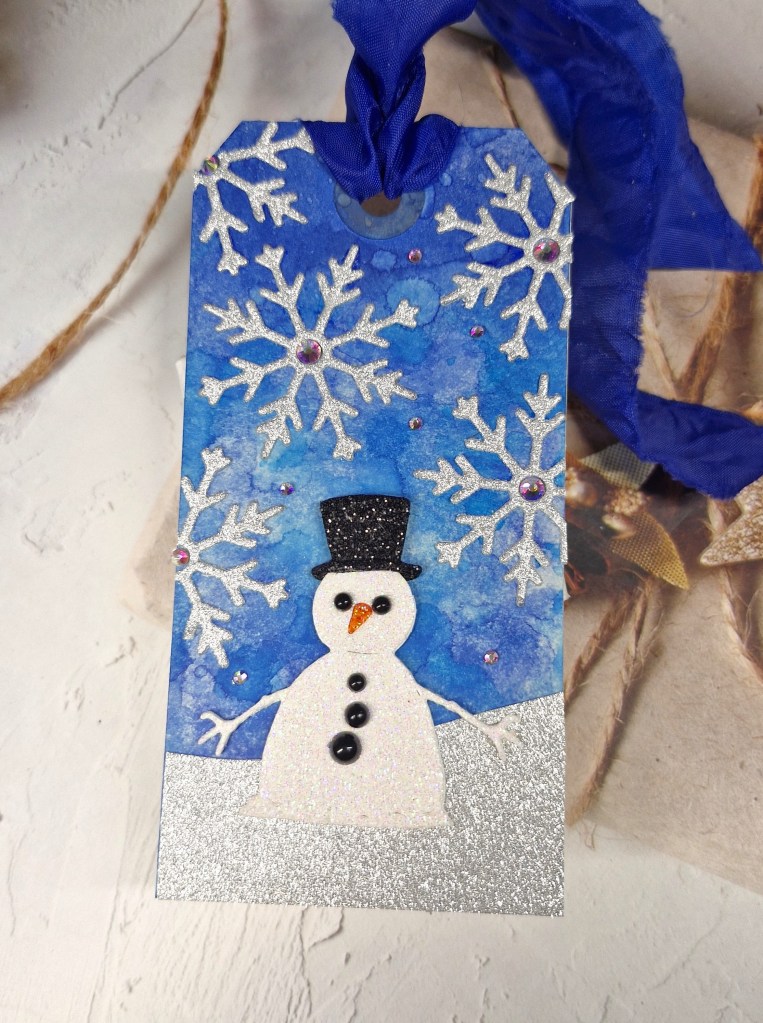
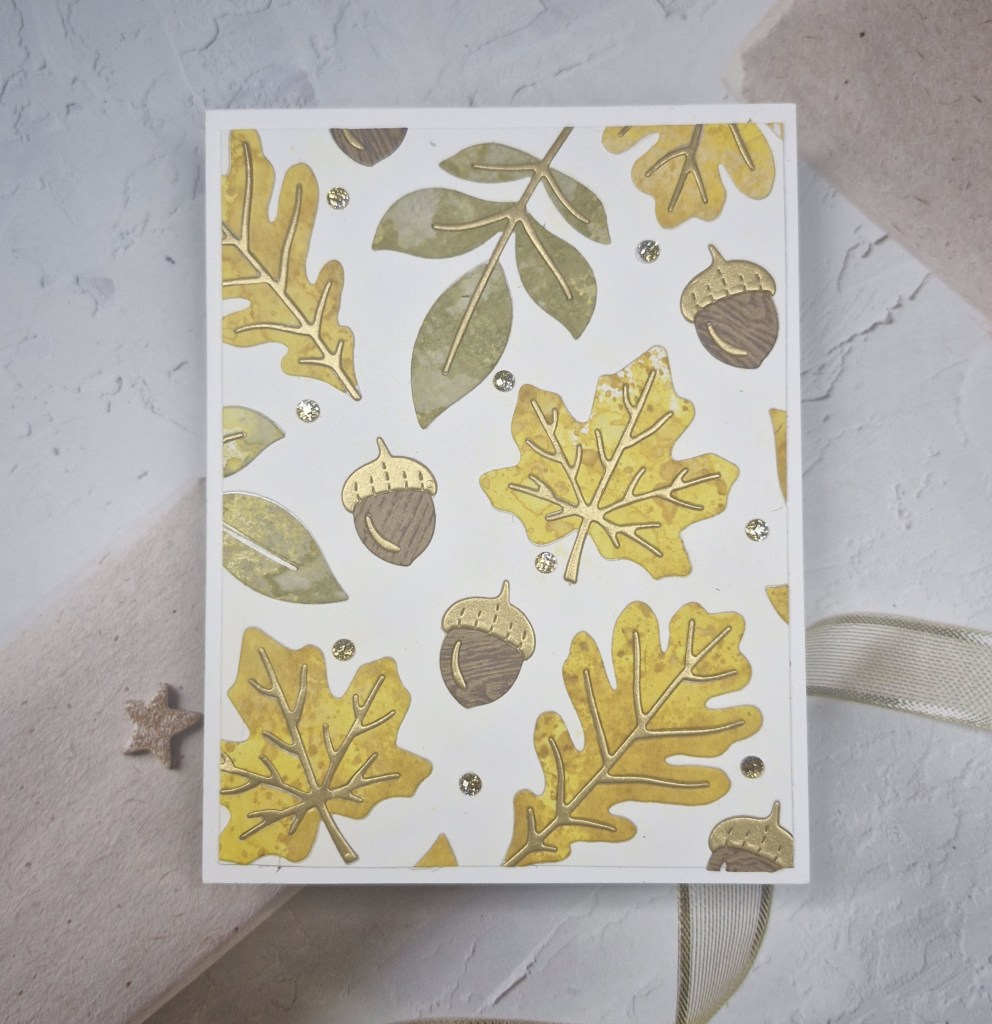
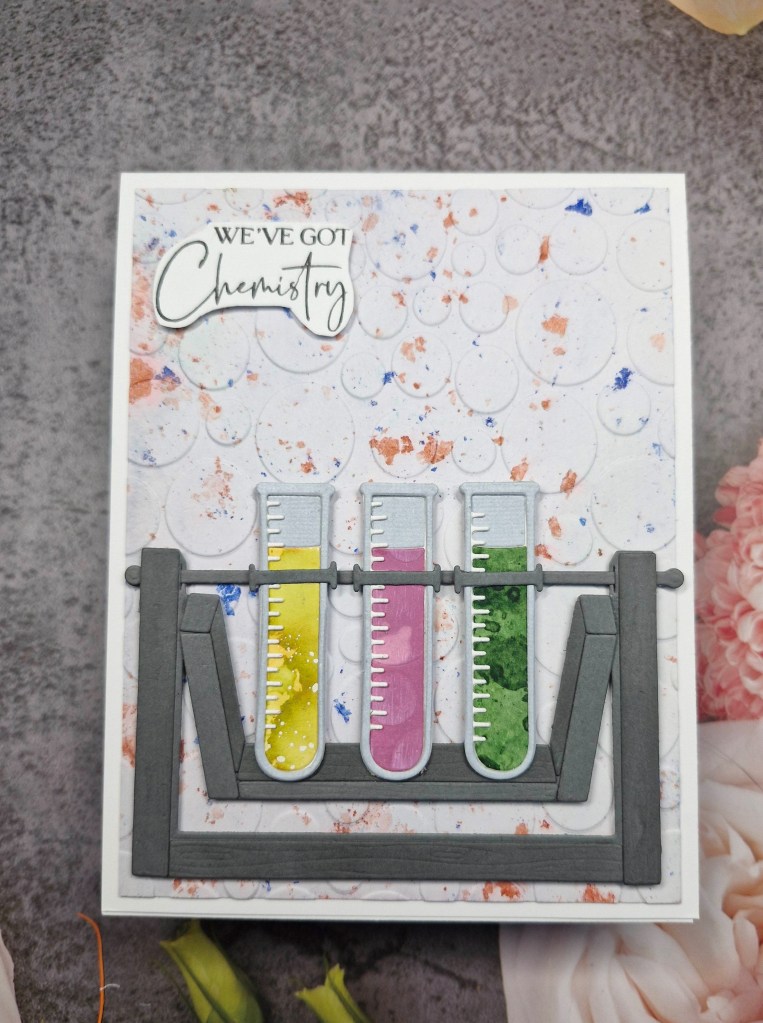
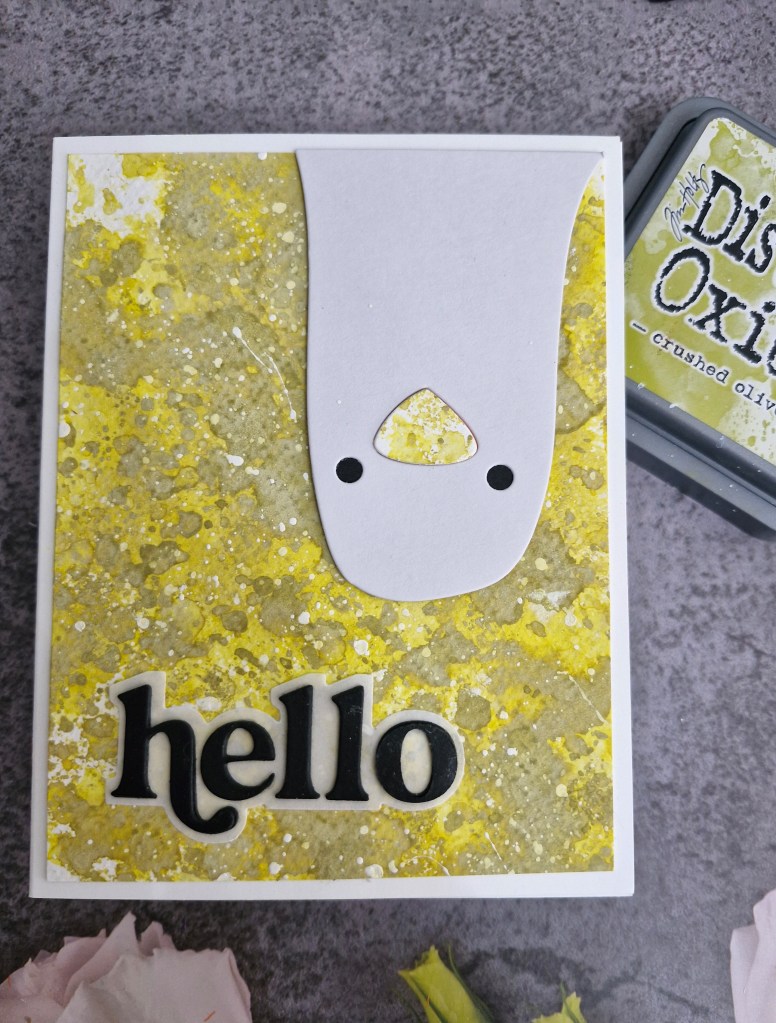
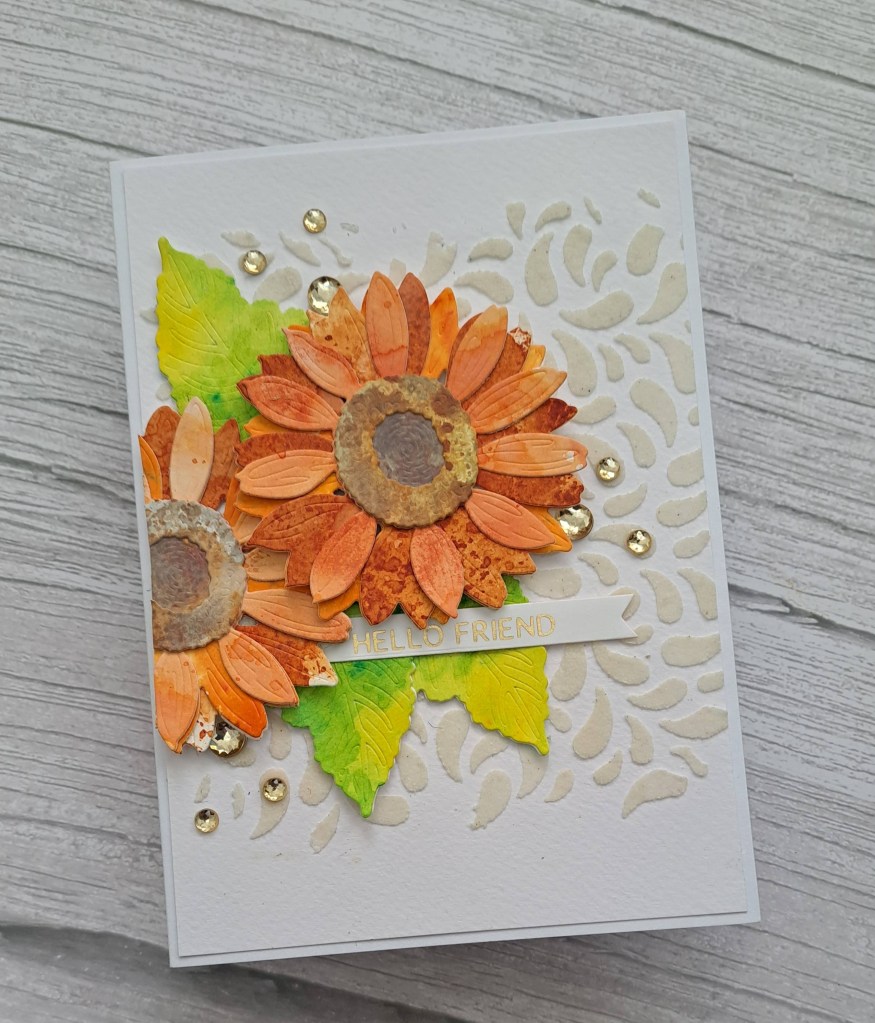
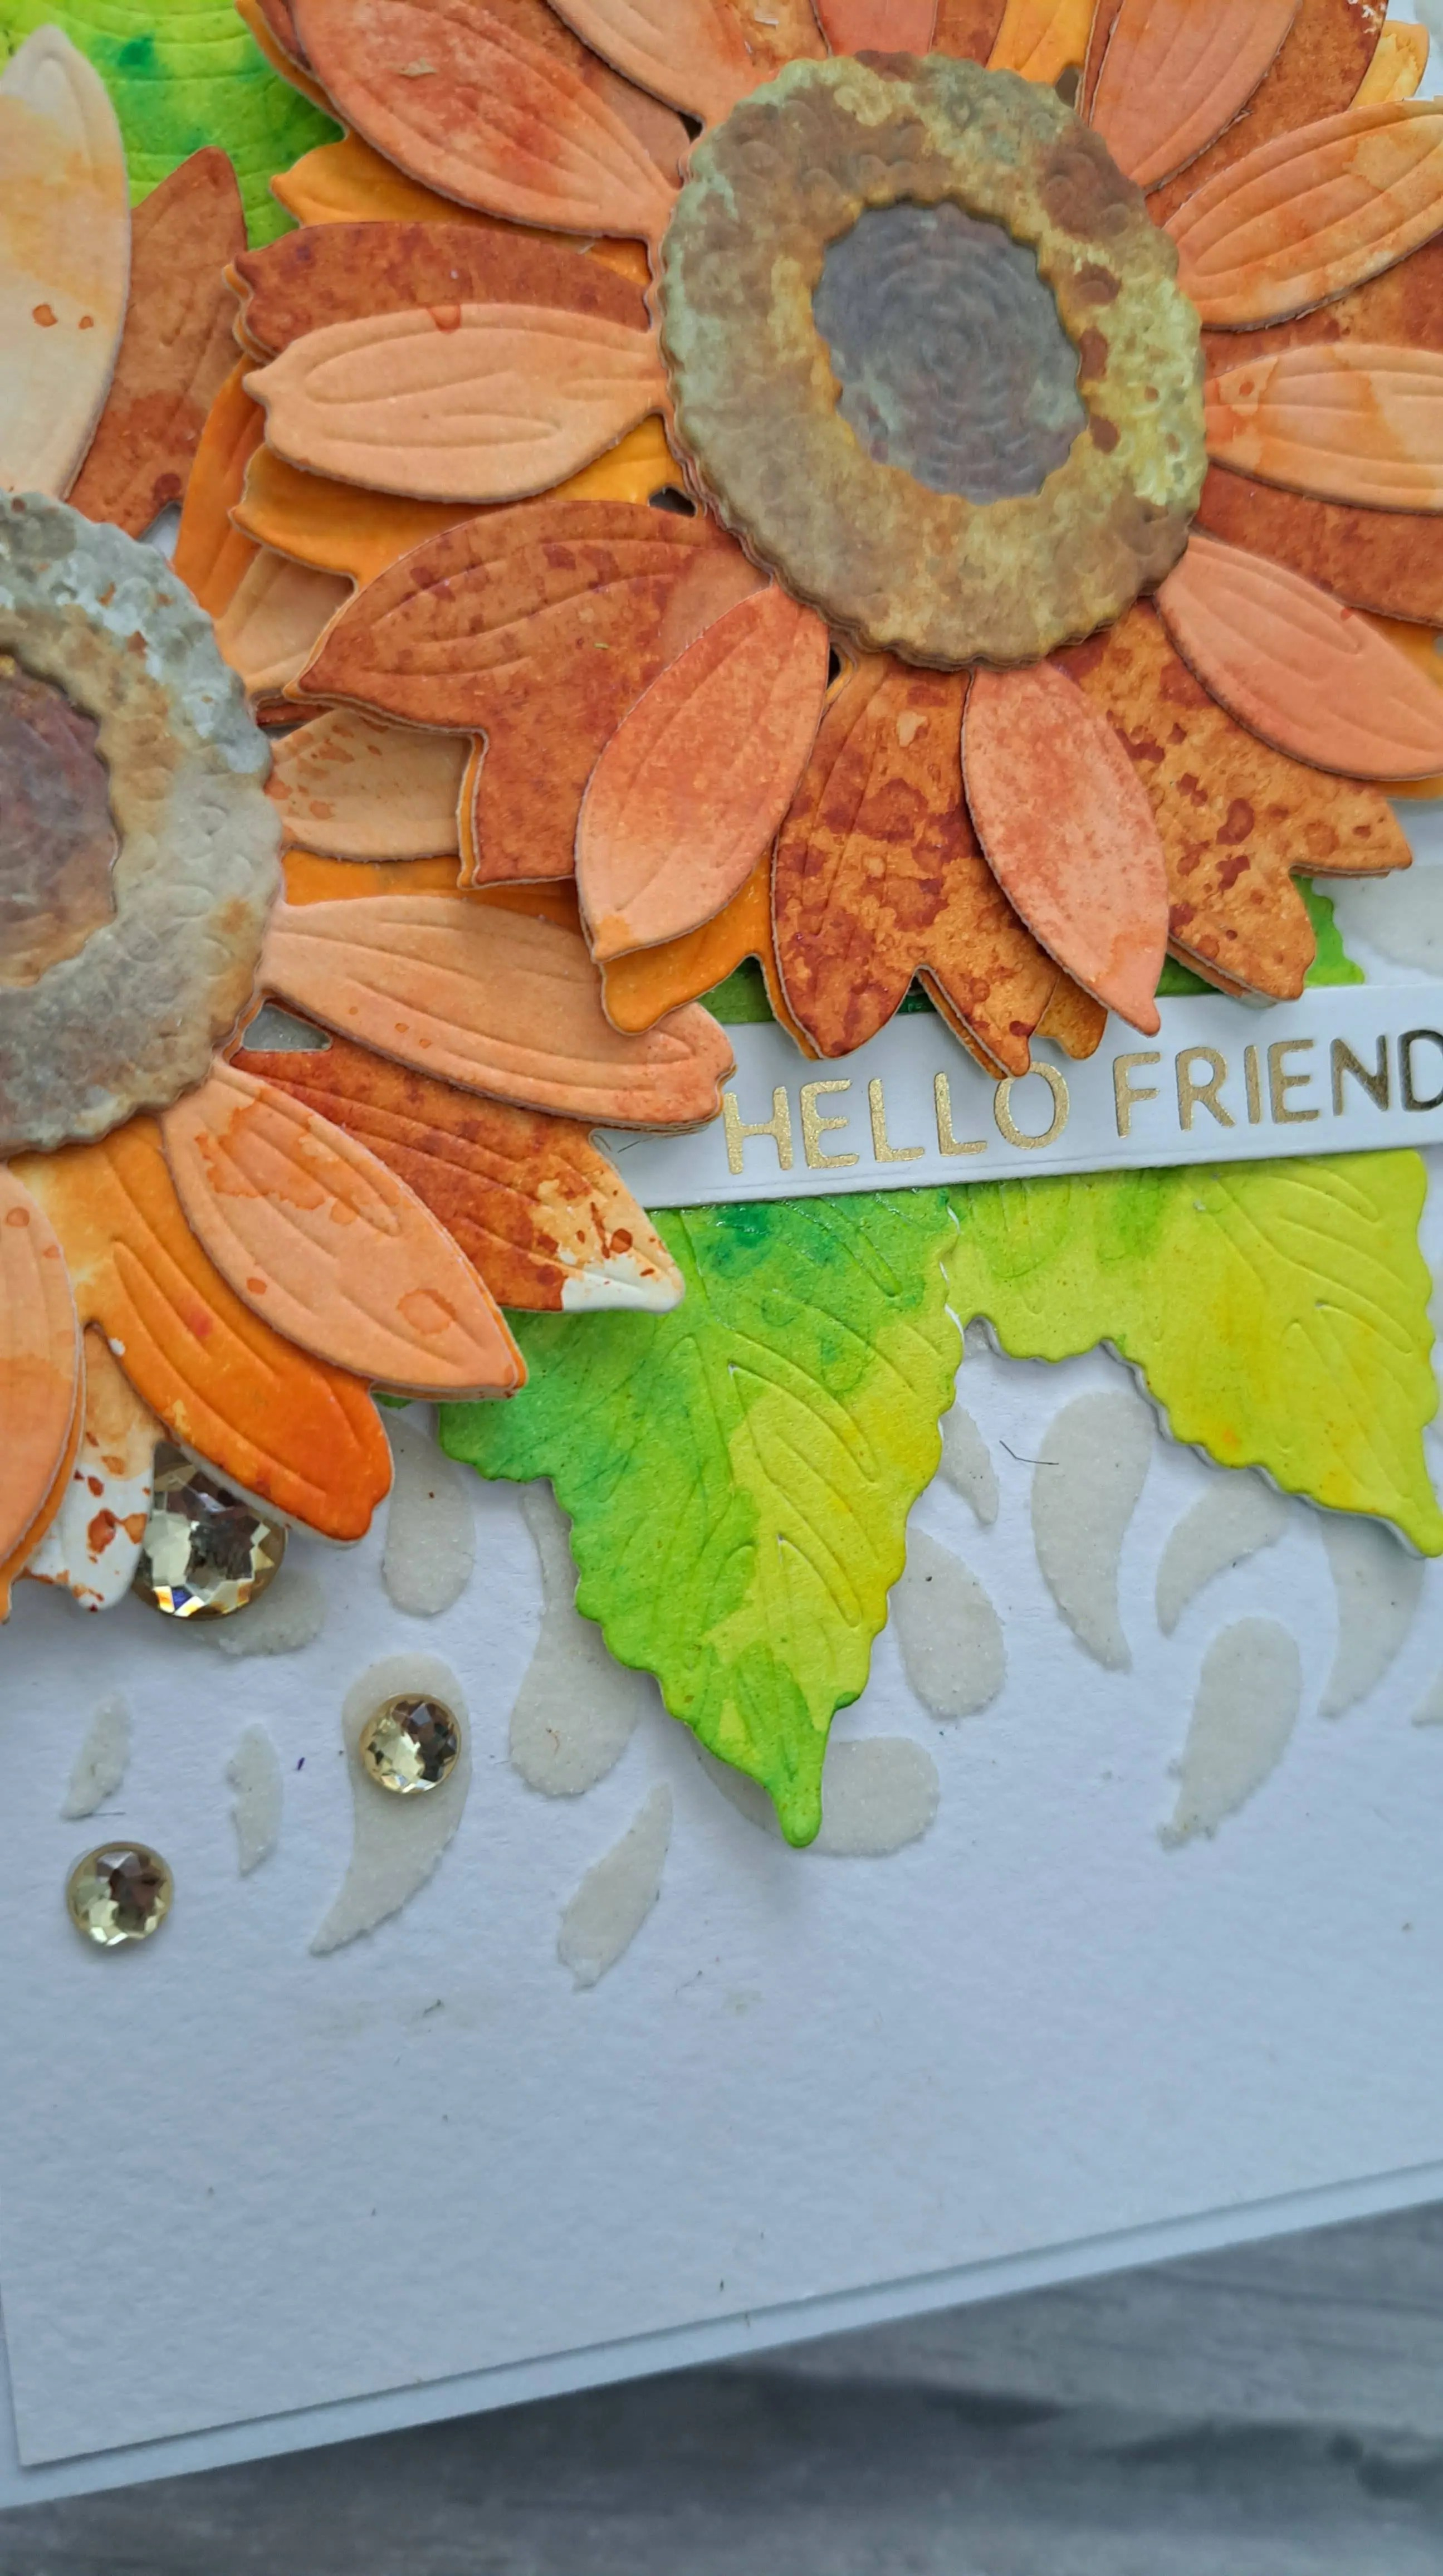
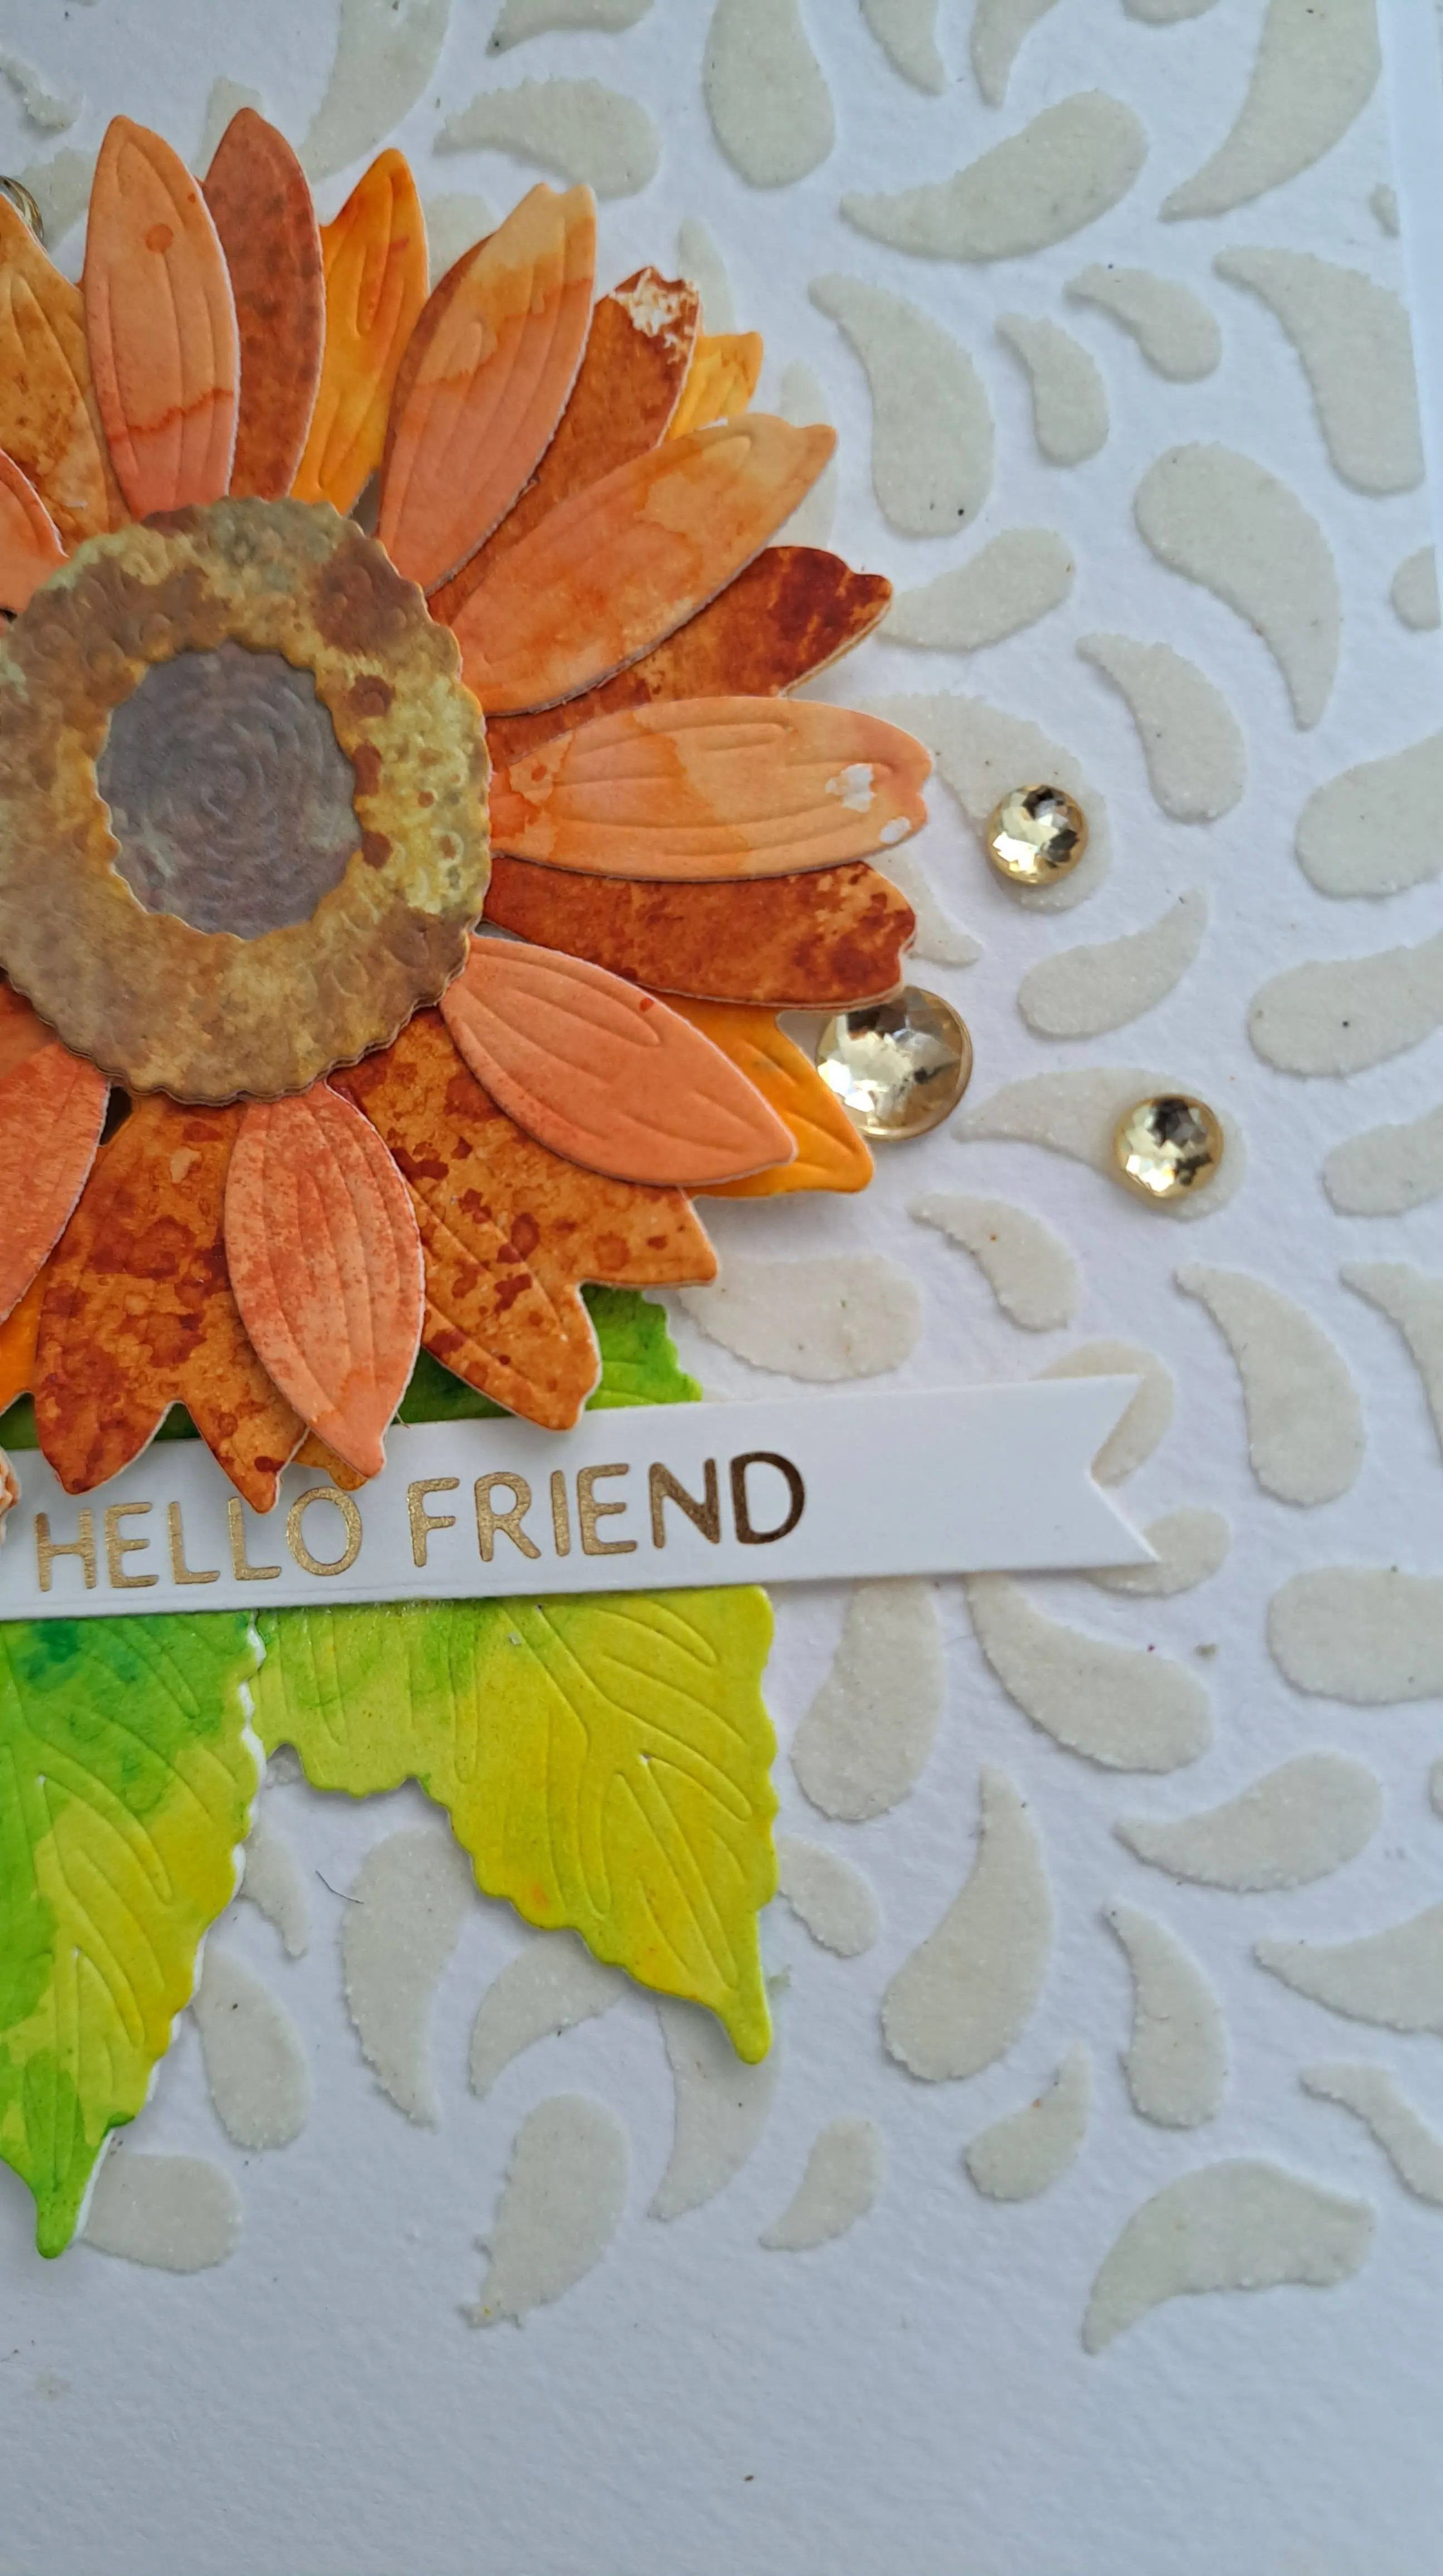
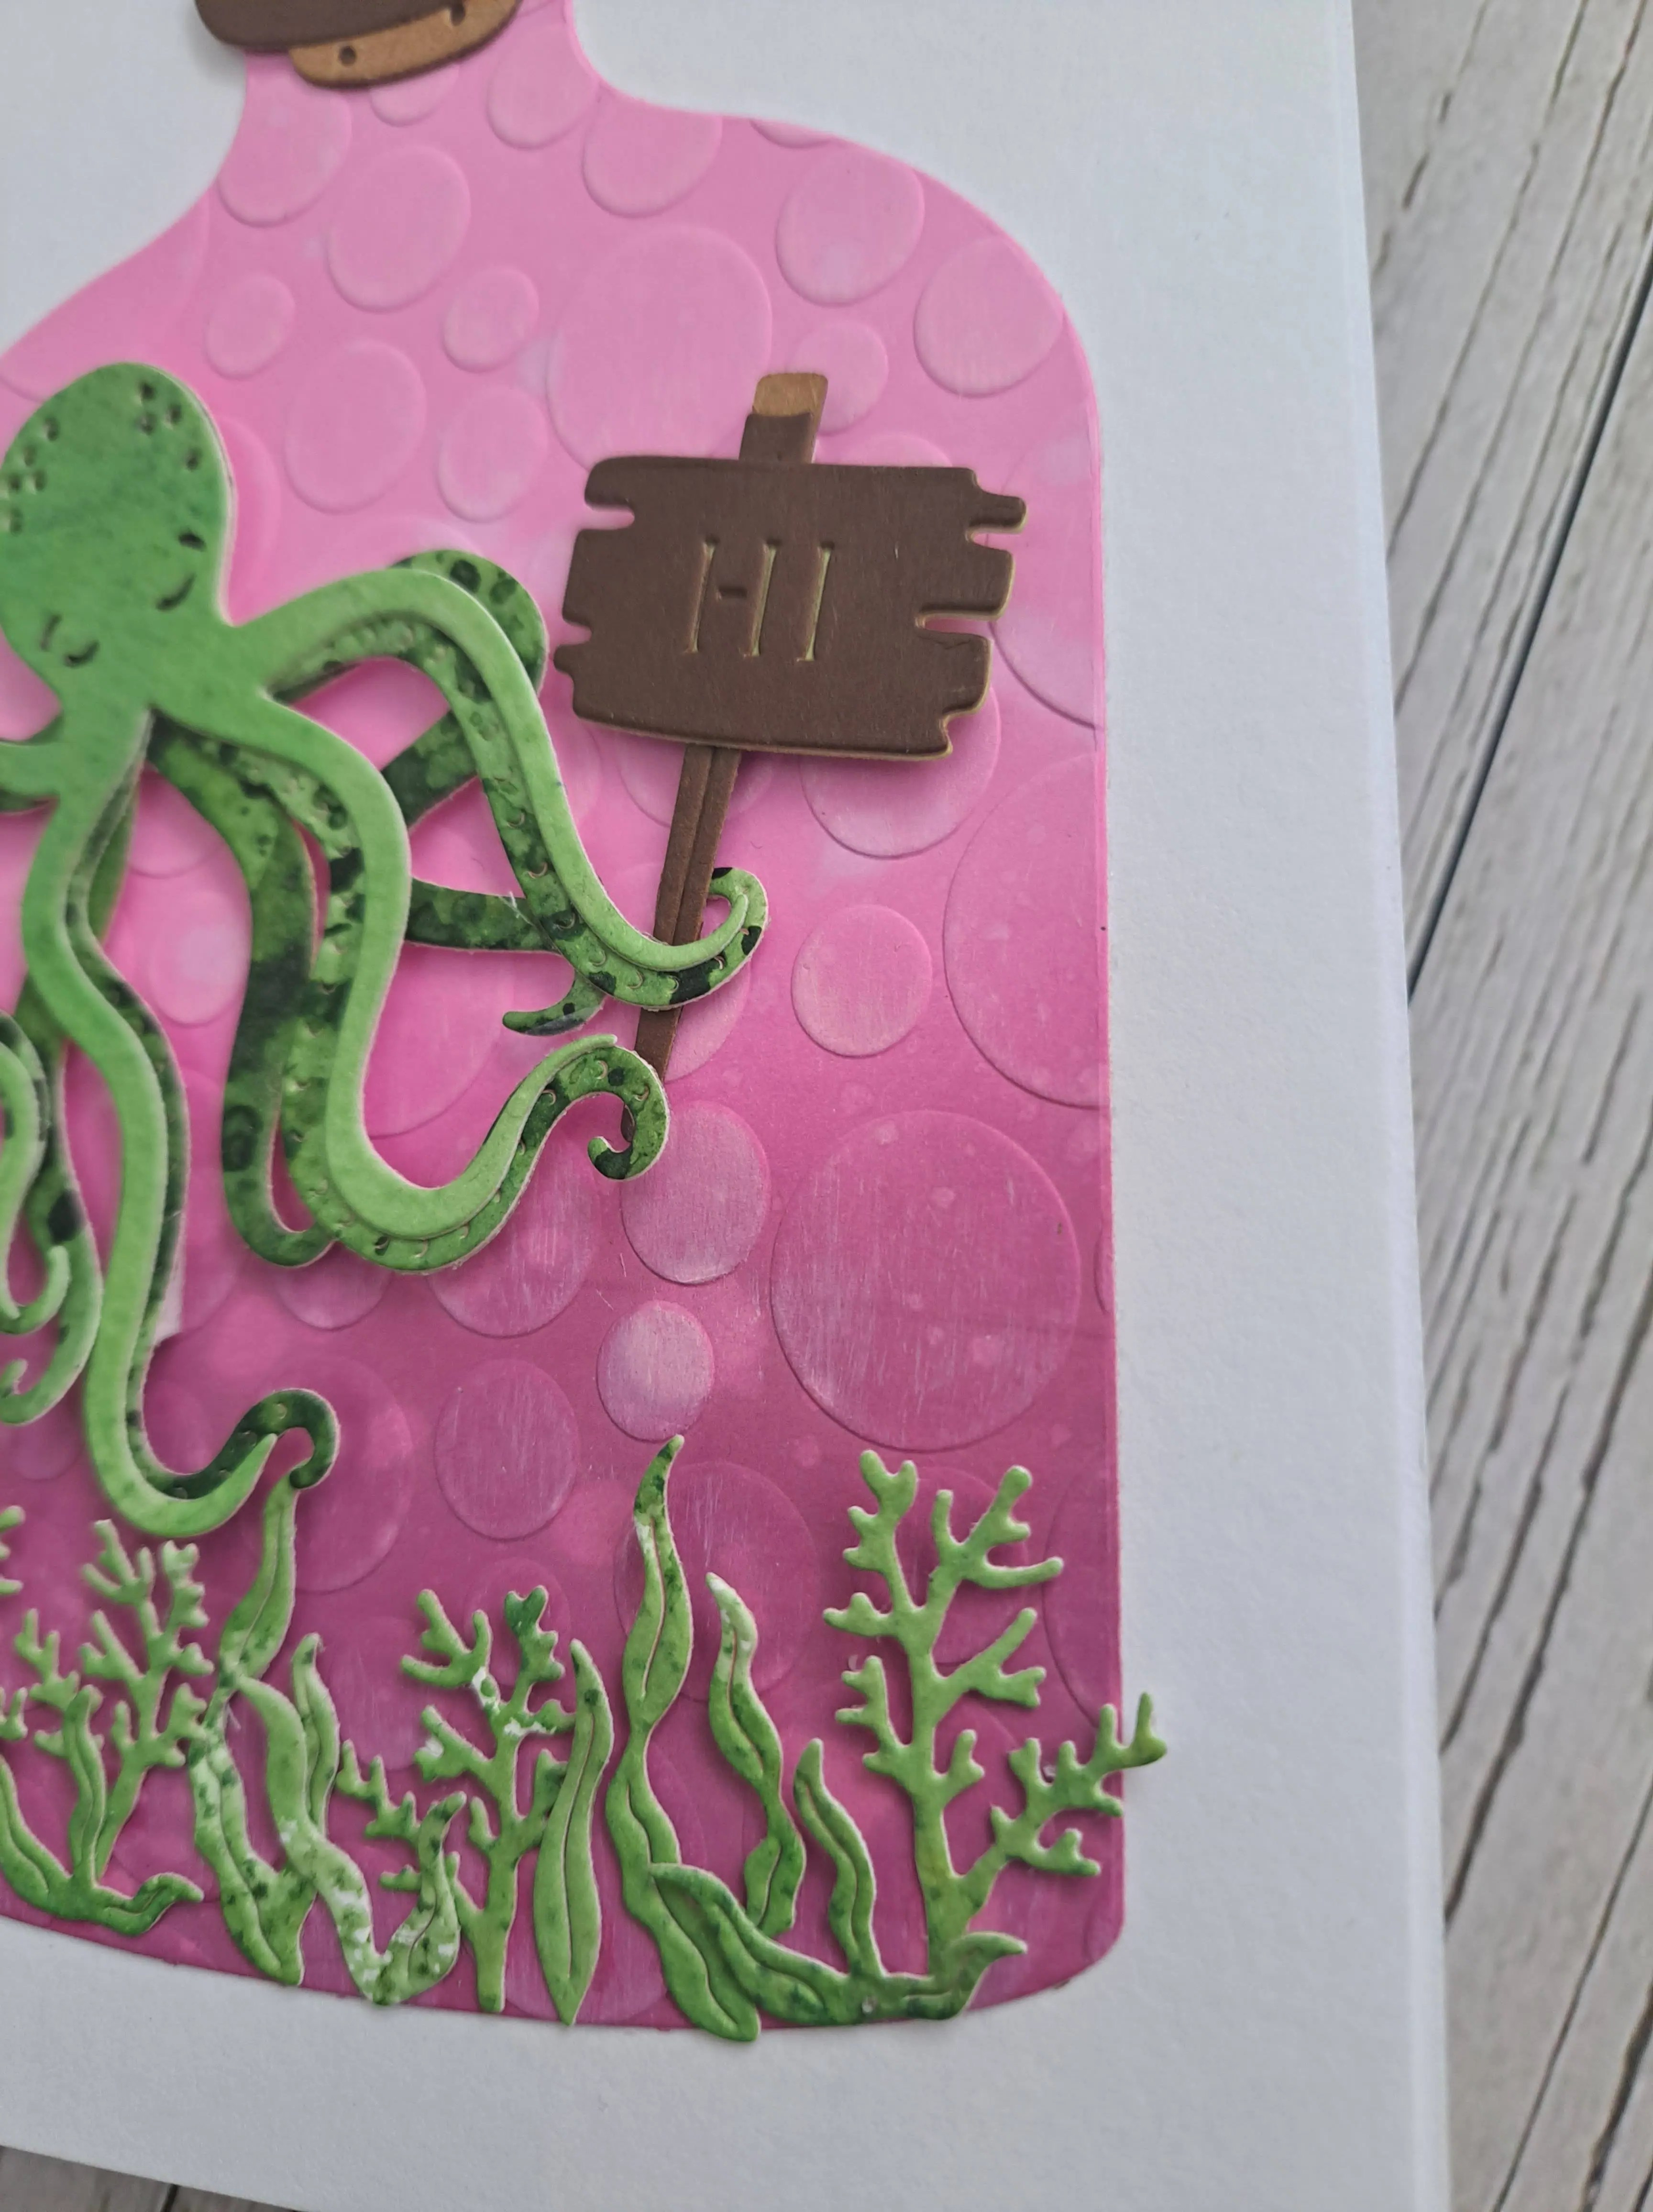
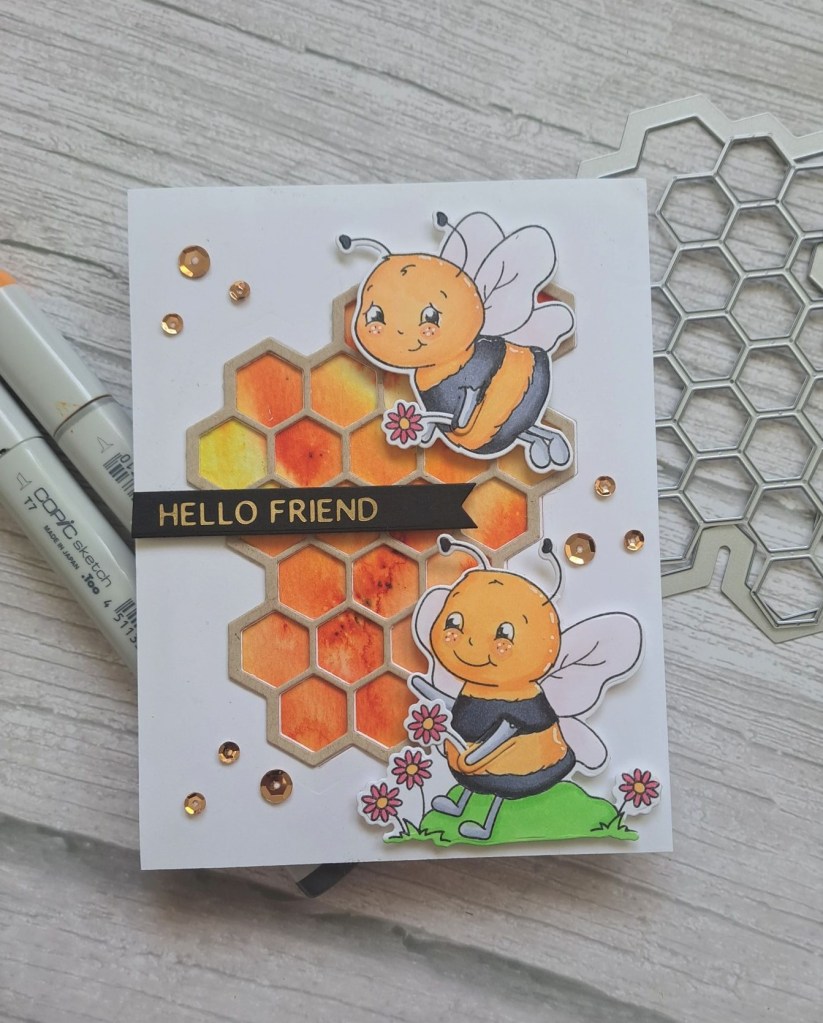
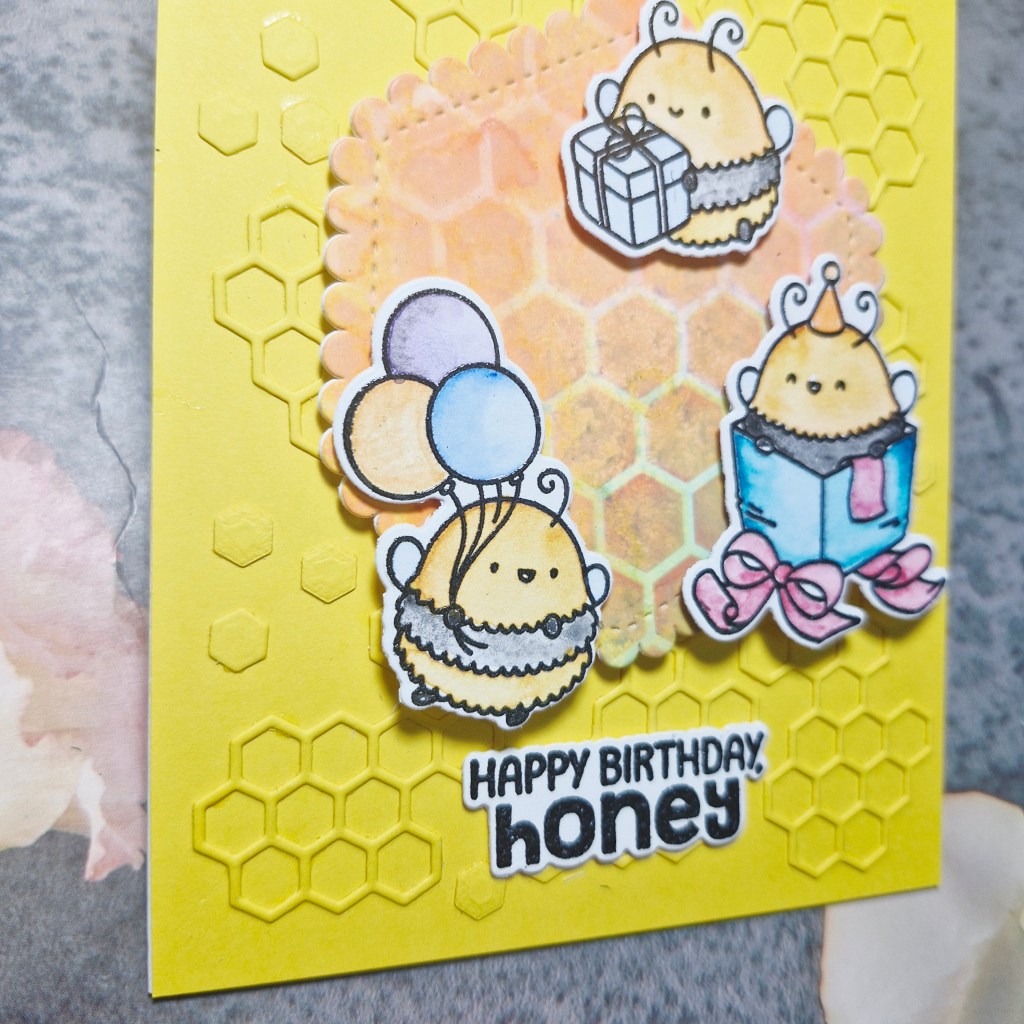
Here is my card:
I used Simon says Stamps products which were part of a previous online class from 2025.
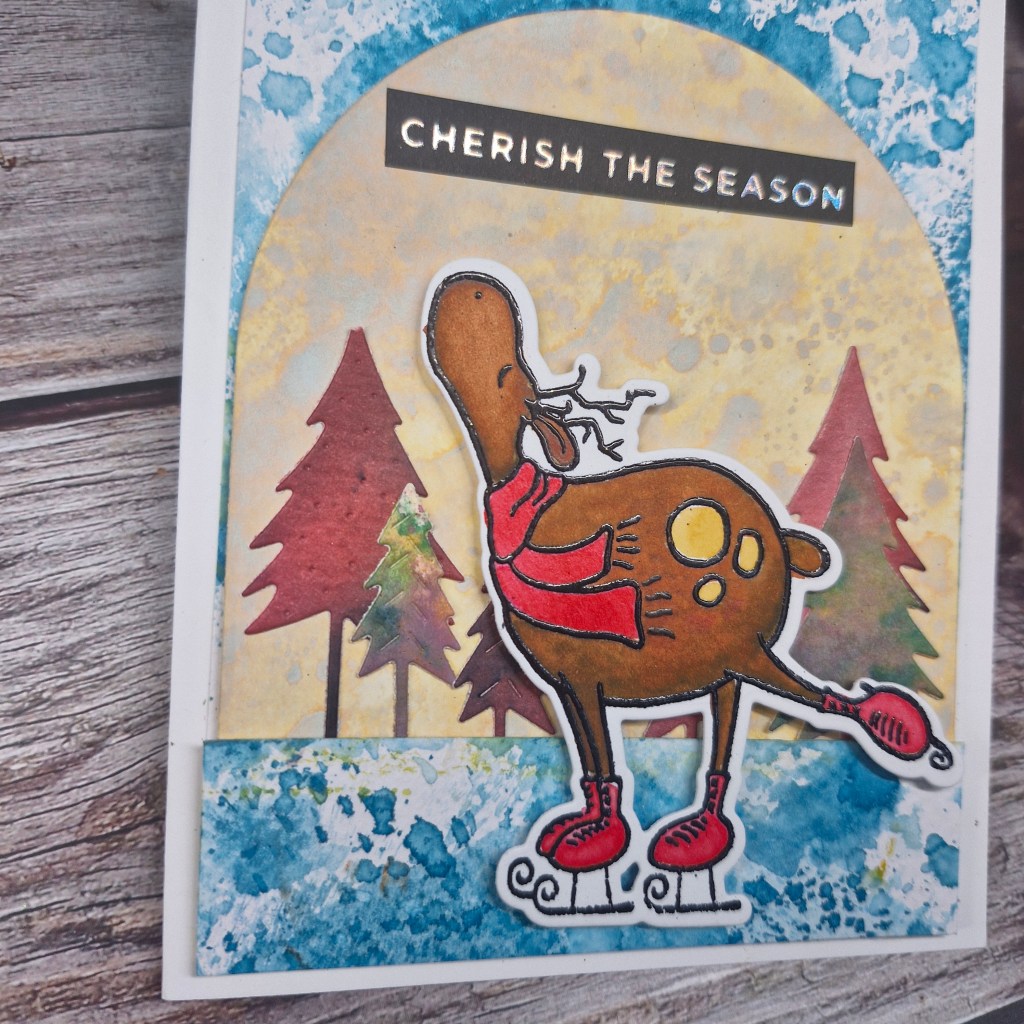
My first step was to stamp all the images in the set onto water-colour card stock in black ink, then add clear embossing powder. I then water-coloured all the images with my Zigs. When they were dry, I used the matching dies to cut them out.
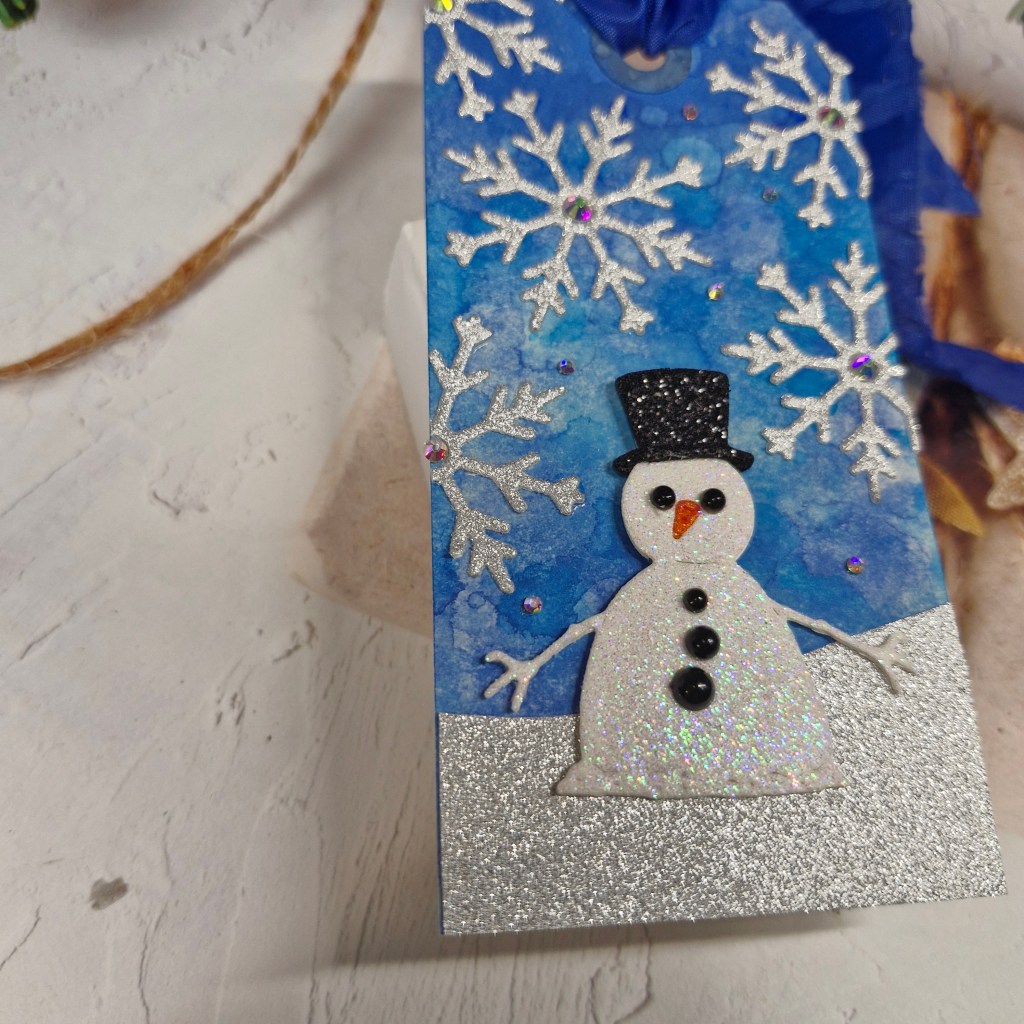
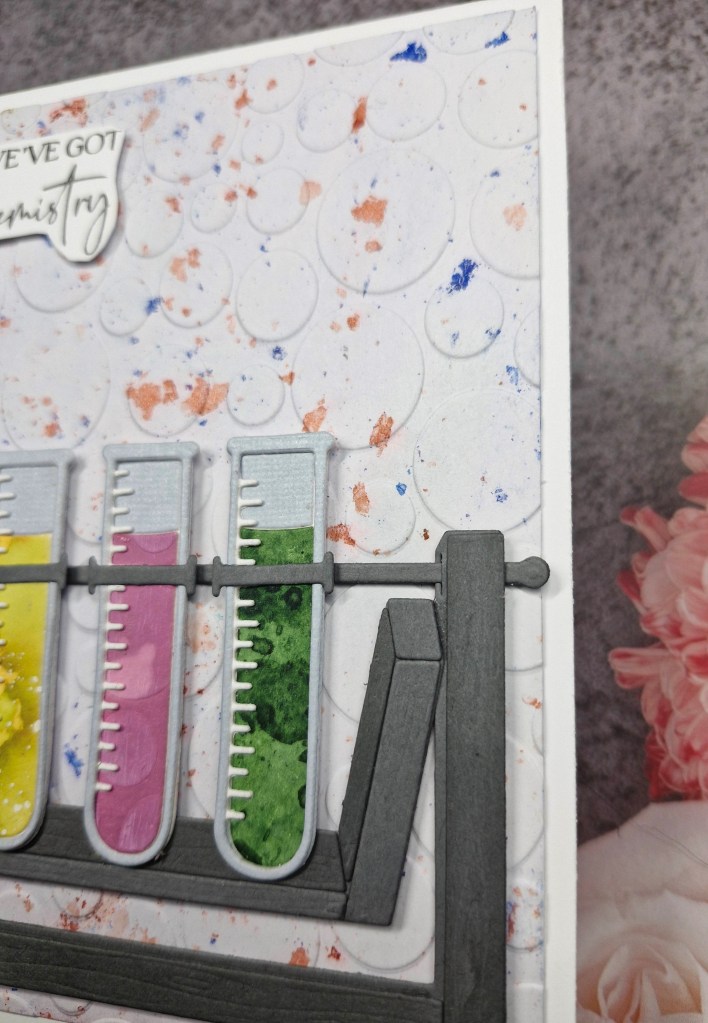
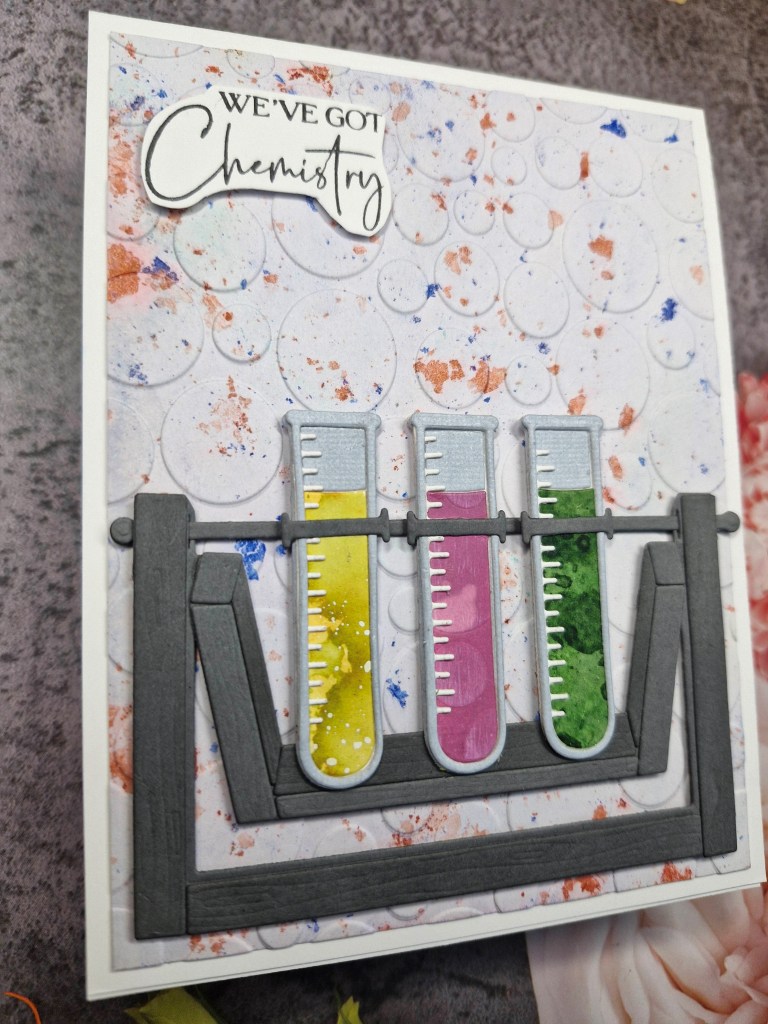
The background panel is plain yellow card stock, but onto that I added pieces of the honey comb – die cut from a Simon Says Stamp die set called ‘Honeycomb Tag‘ and snipped in places, arranged haphazardly, for added interest, also adding some of the ‘fall out’ pieces. I do like to add die cuts onto the background instead of embossing sometimes for a different and quirky look.
The central hexagon is from this die set too, and die cut from a previously created ink smooshing panel, onto which I then added extra detail by stenciling through a honeycomb patterned stencil – also from Simon Says Stamp.
I hope you can come and join us with your creations following our theme. xx
I shall be entering the following challenges:
Aud Sentiments – watercolour and/or Spring and a sentiment – water colour chosen
Lil Patch of Crafty Friends – anything goes
Allsorts – anything but square