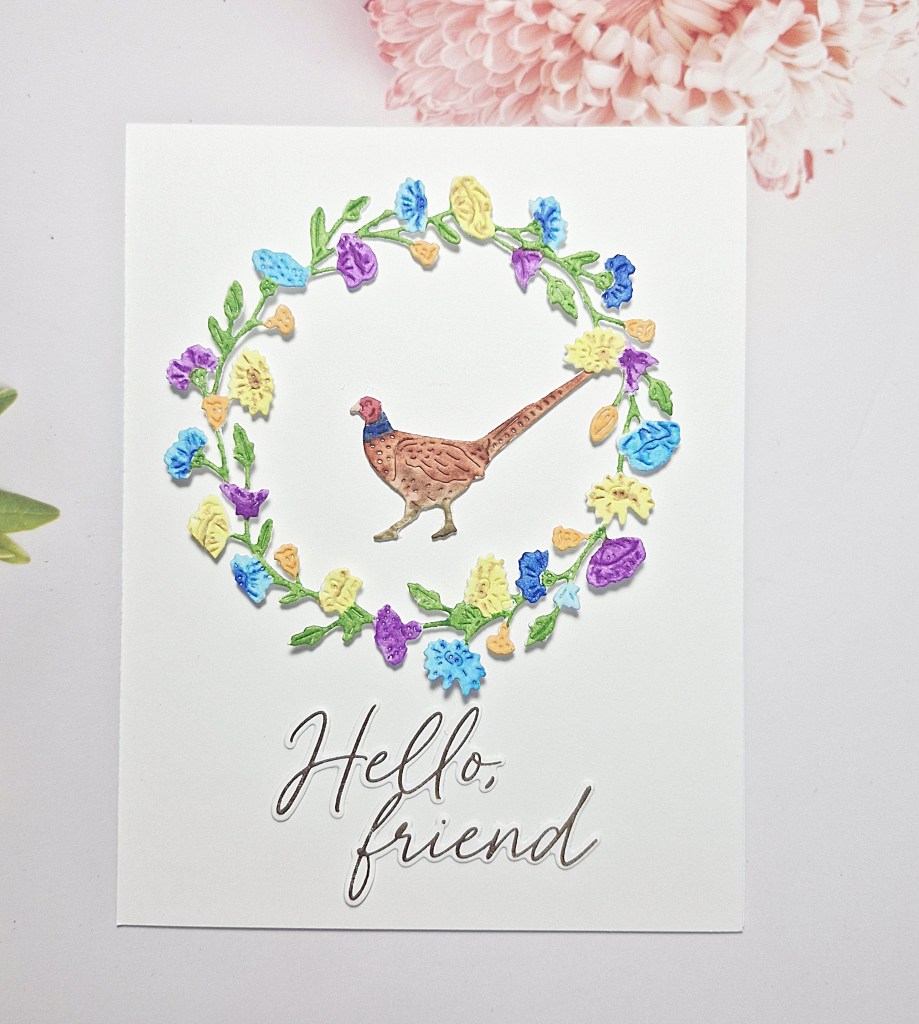
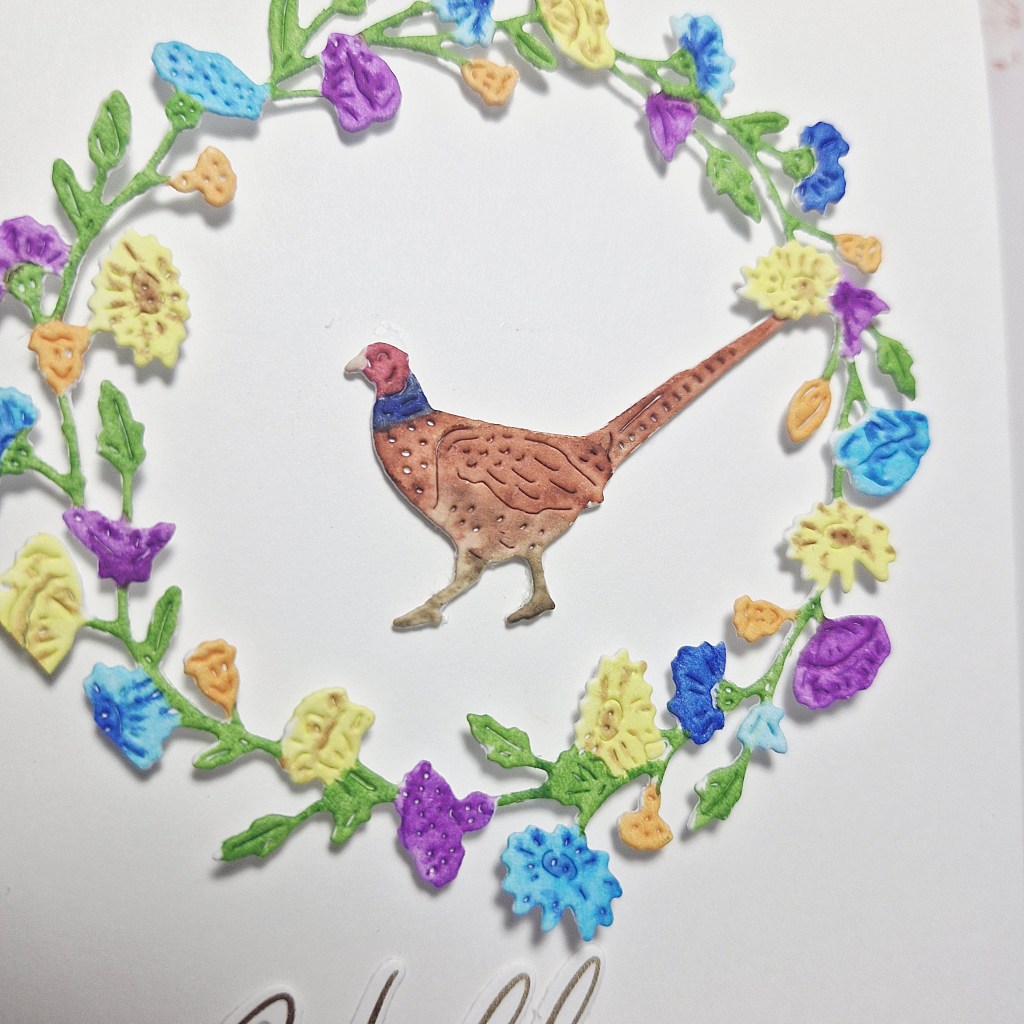
Hi there. I have been playing with a couple more of my new Gummiapan dies to create this card:
I first die cut the Gummiapan Midsummer Wreath and the Pheasant die in Tim Holtz water-colour card, leaving the die cuts in place in the larger piece of card as it makes the colouring easier on smaller fiddly die cuts, then used my Zigs to colour them in. I like to use Zigs on die cuts like this as they have a very fine tip to be able to restrict where the colours go.
I set these aside to dry, then hunted for a sentiment, and used this from Pinkfresh Studio, previously foiled.
Onto a 110lbs Neenah white card base, I glued down the sentiment, then attached the wreath with little pieces of 3D foam behind some of the larger flowers and leaves, then die cut the pheasant couple more times, stacked him together, then glued him down.
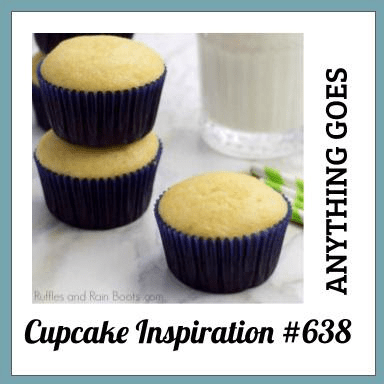
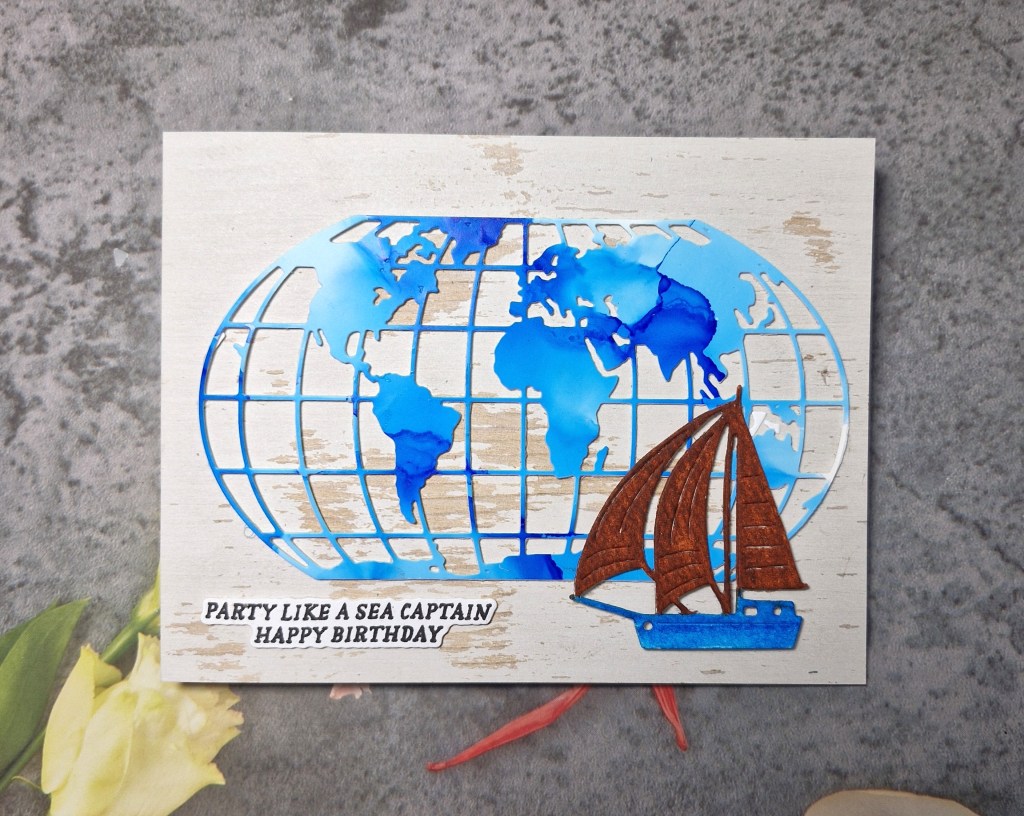
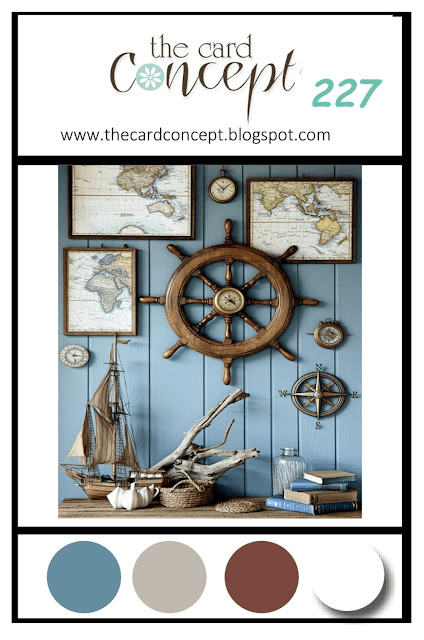
Hello. This card was inspired by the current challenge at The Card Concept:
Here is the challenge inspiration picture:
The nautical theme and the ship caught my eye, as well as the maps on the wall behind.
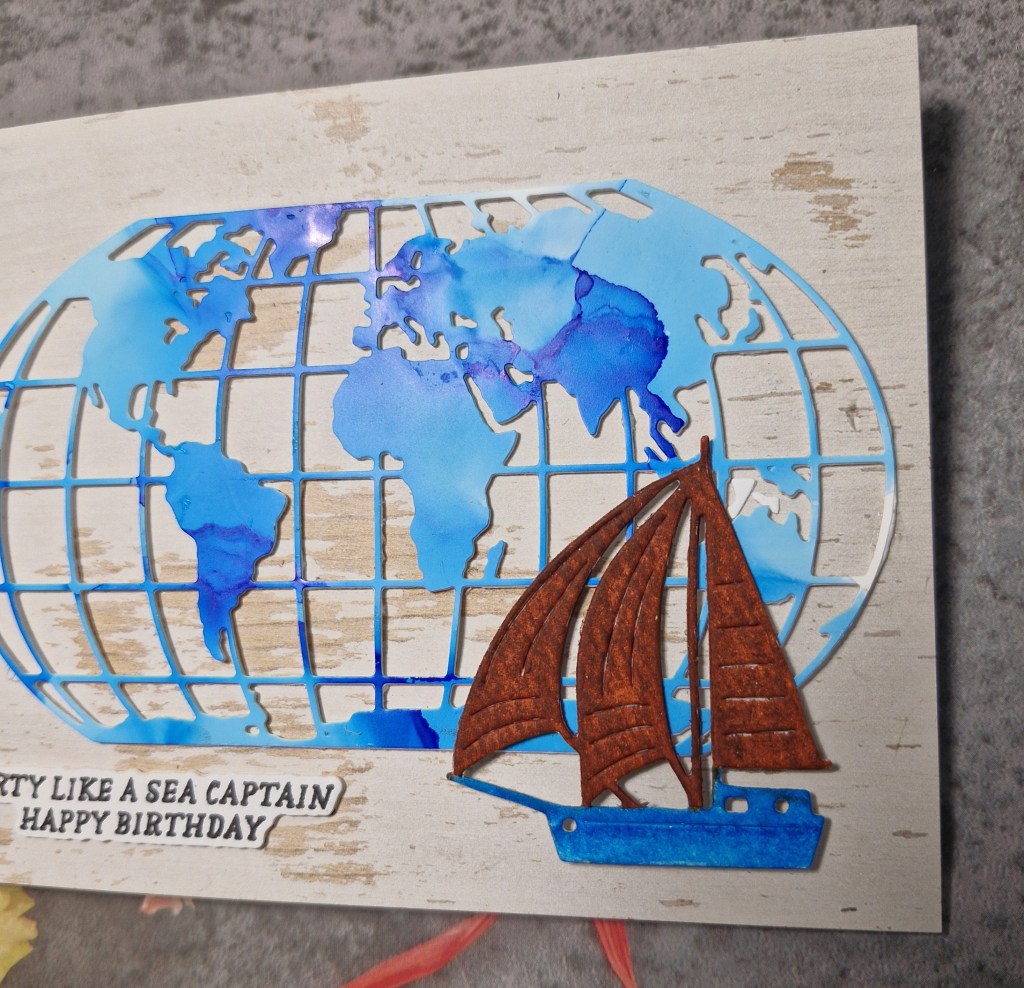
I searched through my CML app for ‘map’, and this die from Tim Holtz/Sizzix called ‘Destination’ popped up, so I die cut with a previously created alcohol ink and Yupo paper background panel. I had a couple of blue panels – some lighter, some darker, but I loved the vivid blue of this panel.
Once die cut, I layered it a couple of times with white card, as the Yupo paper itself is quite thin and flimsy.
I searched again in the CML app for ‘boat’ and one of the items which came up was this die from Gummiapan, which I die cut it several times out of Distress water-colour card stock. I snipped the sails off, and coloured them with Zigs, adding on top of the base die cut, choosing a colour which would stand out from the blue map die cut, then coloured with boat hull with another Zig marker in a similar blue to the map.
I found this sentiment from Spellbinders, stamped then die cut.
For the distressed wooden background panel, I used a Stampin’ Up piece of patterned paper, cut to the size of the A2 card base, then added all the elements on top.
As mentioned, I shall be entering the challenge at The Card Concept.
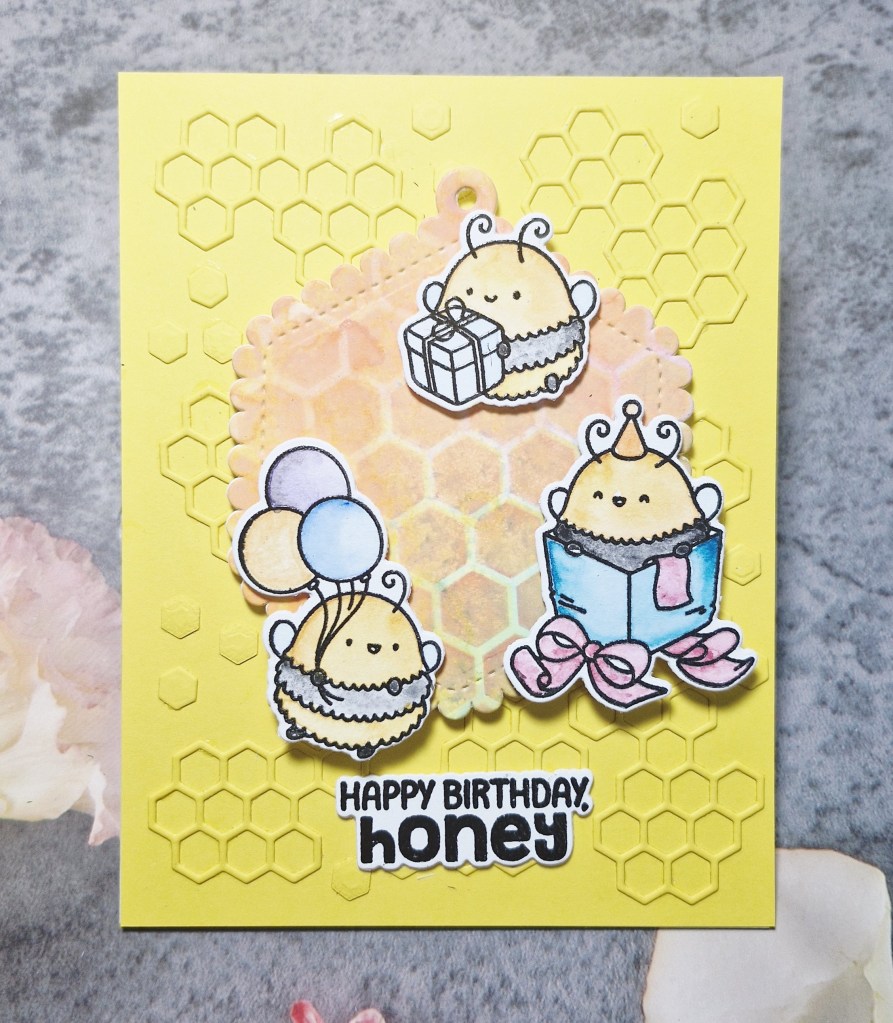
Hello everyone. Cardz 4 Galz has started a new challenge. Dawn is hosting, and she has chosen the theme os:
Bees
Here is my card:
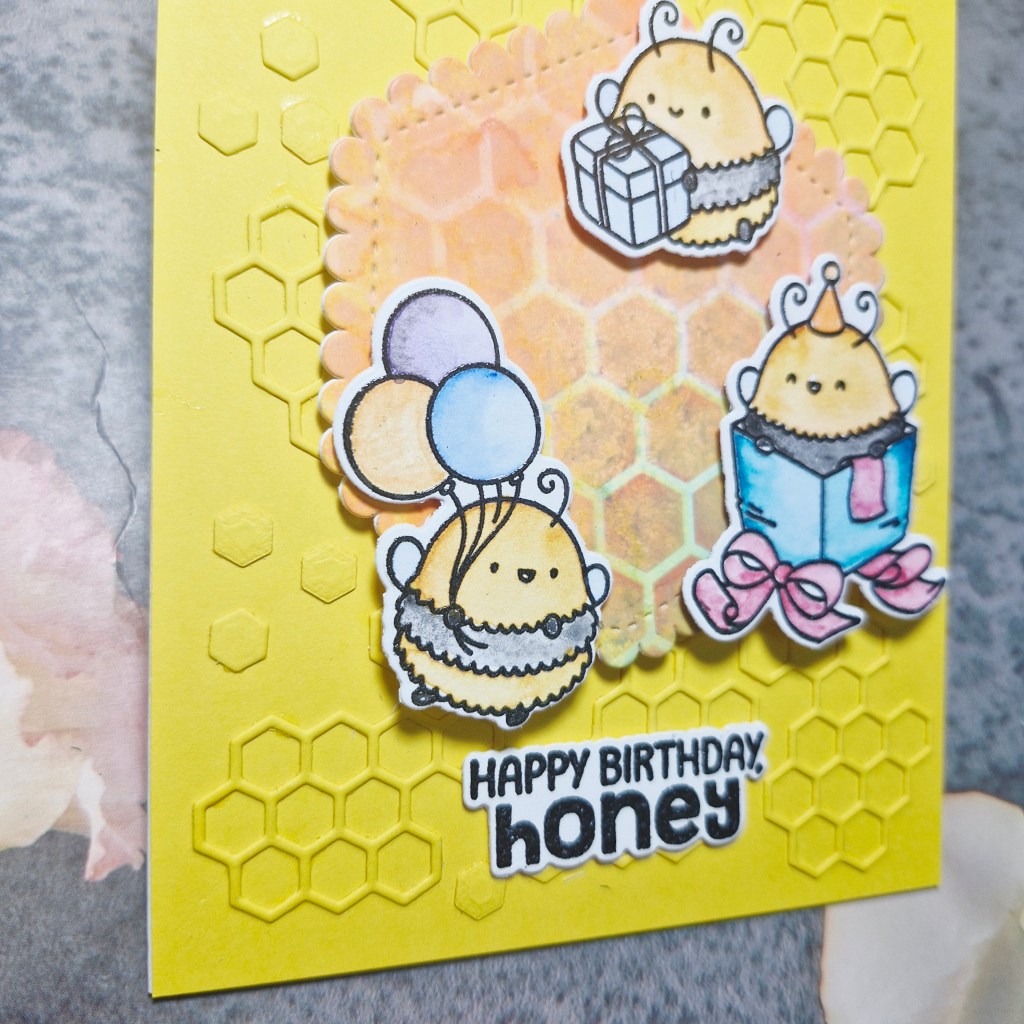
I used Simon says Stamps products which were part of a previous online class from 2025.
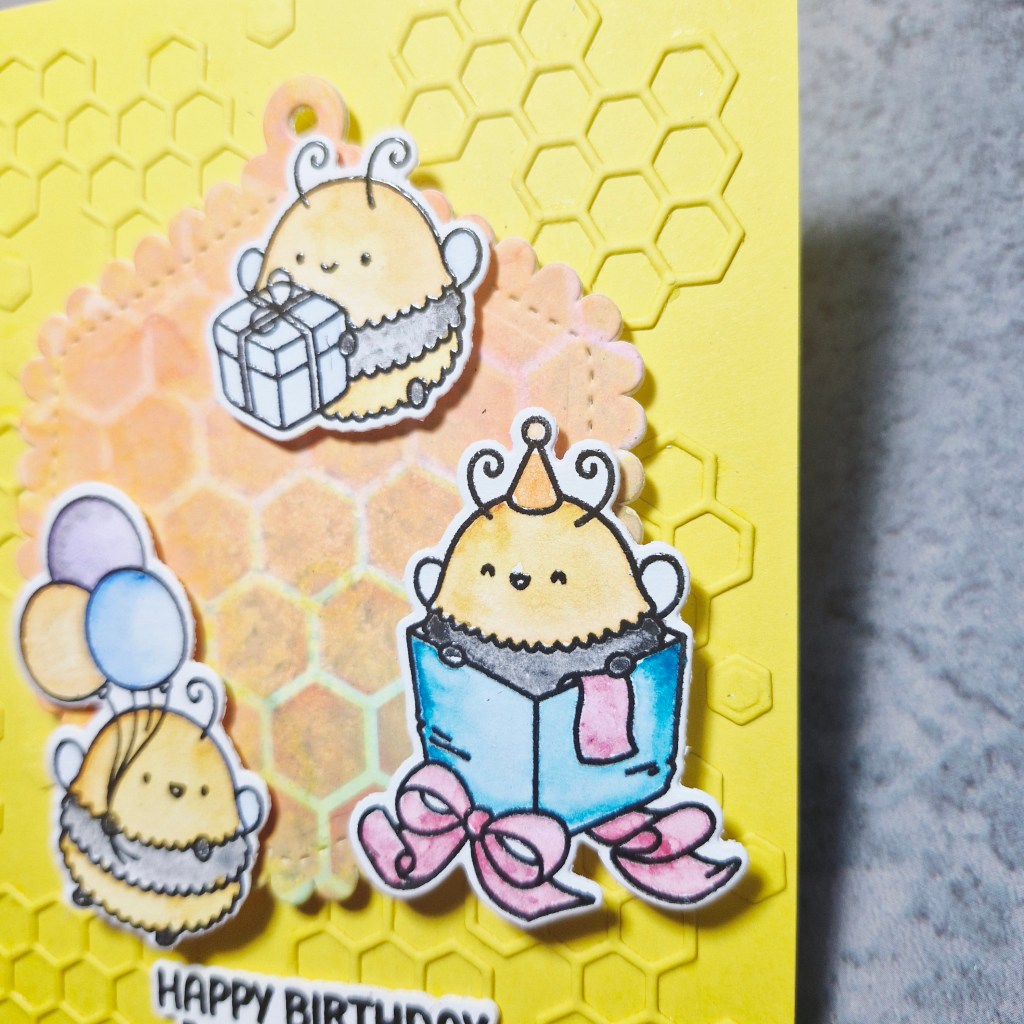
My first step was to stamp all the images in the set onto water-colour card stock in black ink, then add clear embossing powder. I then water-coloured all the images with my Zigs. When they were dry, I used the matching dies to cut them out.
The background panel is plain yellow card stock, but onto that I added pieces of the honey comb – die cut from a Simon Says Stamp die set called ‘Honeycomb Tag‘ and snipped in places, arranged haphazardly, for added interest, also adding some of the ‘fall out’ pieces. I do like to add die cuts onto the background instead of embossing sometimes for a different and quirky look.
The central hexagon is from this die set too, and die cut from a previously created ink smooshing panel, onto which I then added extra detail by stenciling through a honeycomb patterned stencil – also from Simon Says Stamp.
I hope you can come and join us with your creations following our theme. xx
I shall be entering the following challenges:
Aud Sentiments – watercolour and/or Spring and a sentiment – water colour chosen
Hello everyone. I am back from my short jaunt to Tenerife for some sun and quality time with hubby. The weather here in the UK is gorgeous and yet here I am posting a Christmas card for the new challenge at The Holly & Ivy Christmas Challenge.
I certainly had some messy fun creating this card.
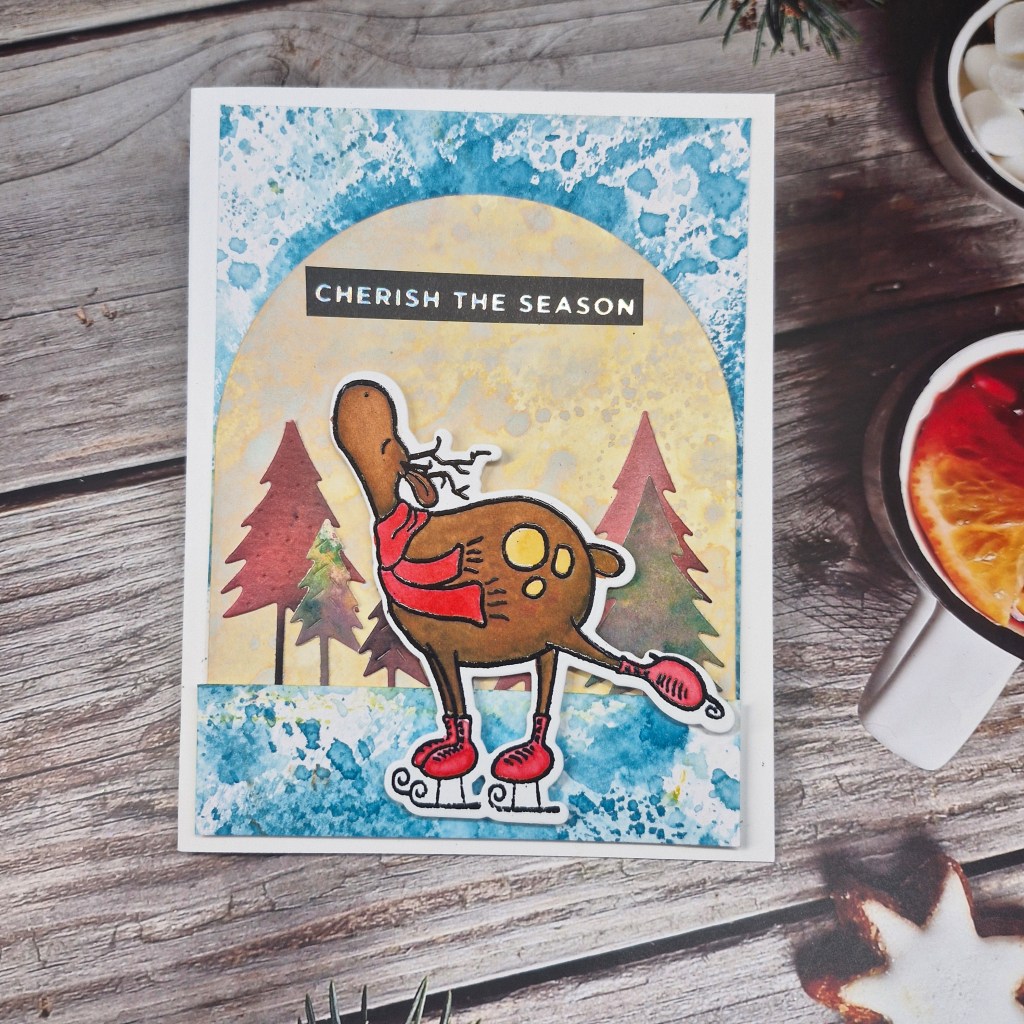
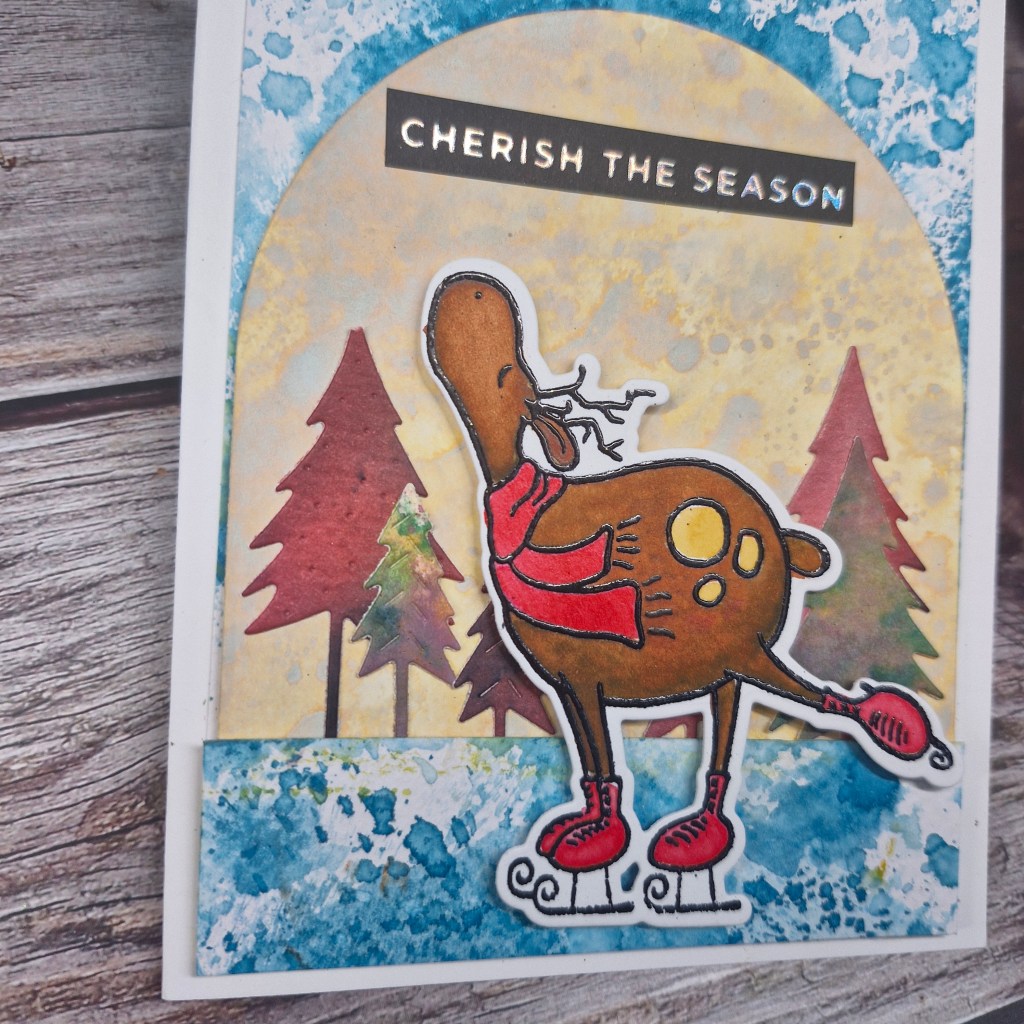
The cute ice skating deer is from Gummiapan, stamped and black heat embossed, then water-coloured, and die cut with the matching die.
The background blue panel was created by ink smooshing Distress Inks, and cut slightly smaller than an A2 card base, then adhered with glue, saving a border to place at the feet of the deer to represent some ice….
The background to the scene was also ink smooshing, but with Distress Oxides this time round, die cut with an arch die, and adhered to the blue panel.
I added the blue ‘ice’ strip at the bottom, then used Gummiapan tree dies and die cut from other previously created ink smooshing panels, slotting them into the background.
The deer was added, then the foiled sentiment.
I hope you can come and join us with your Christmas creations – the theme is always ‘anything goes Christmas’ xx
Hello. ABC Christmas Challenge has reached the letters ‘W’ and ‘X’. We want to see your Christmas creations with the following themes:
W is for Water colouring, X is for Xylophone
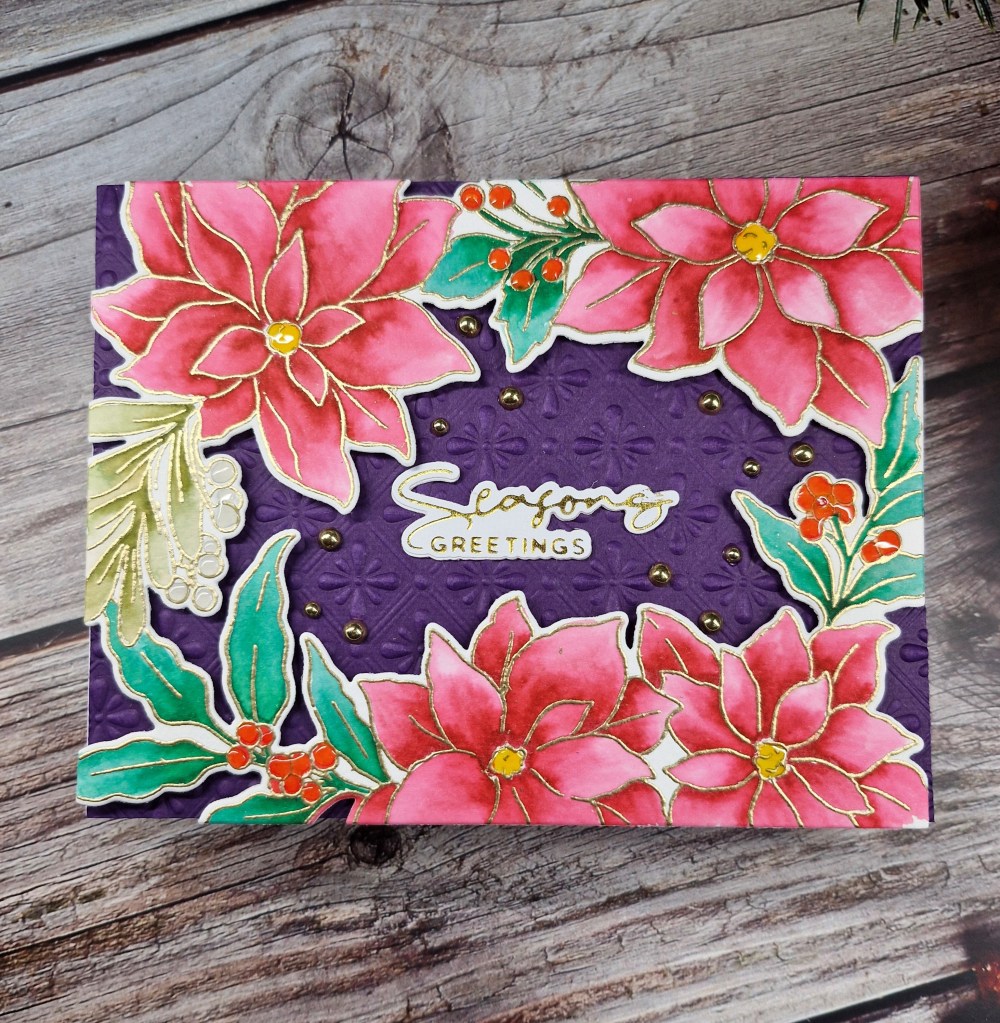
Here is my card for the water colouring theme:
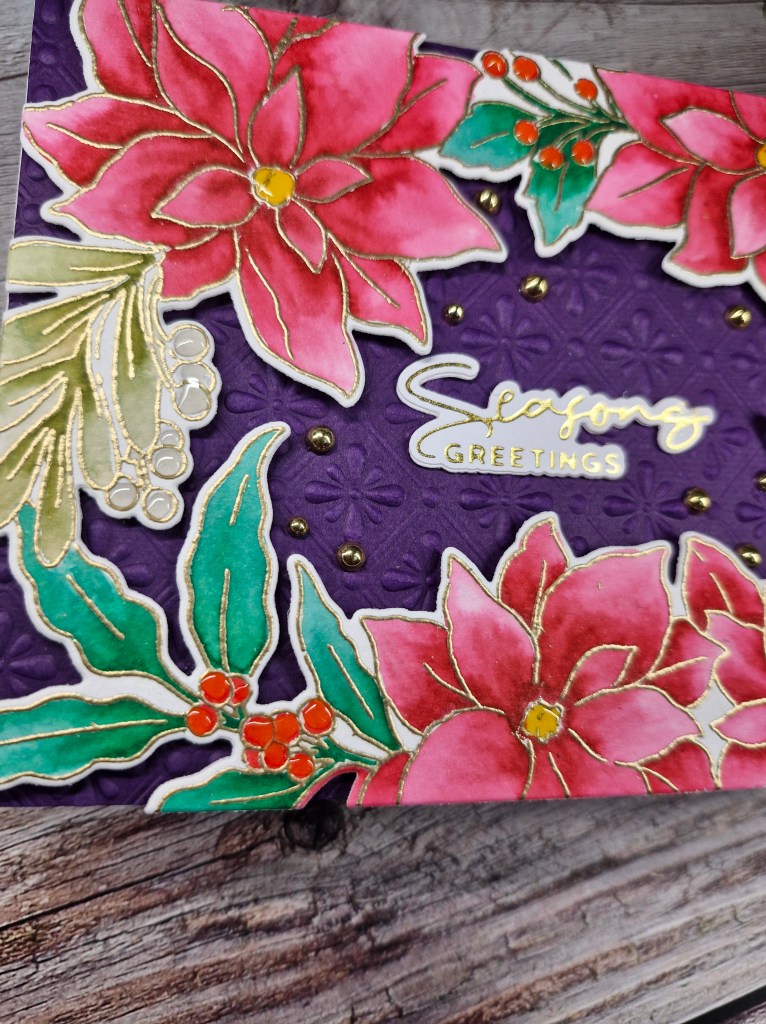
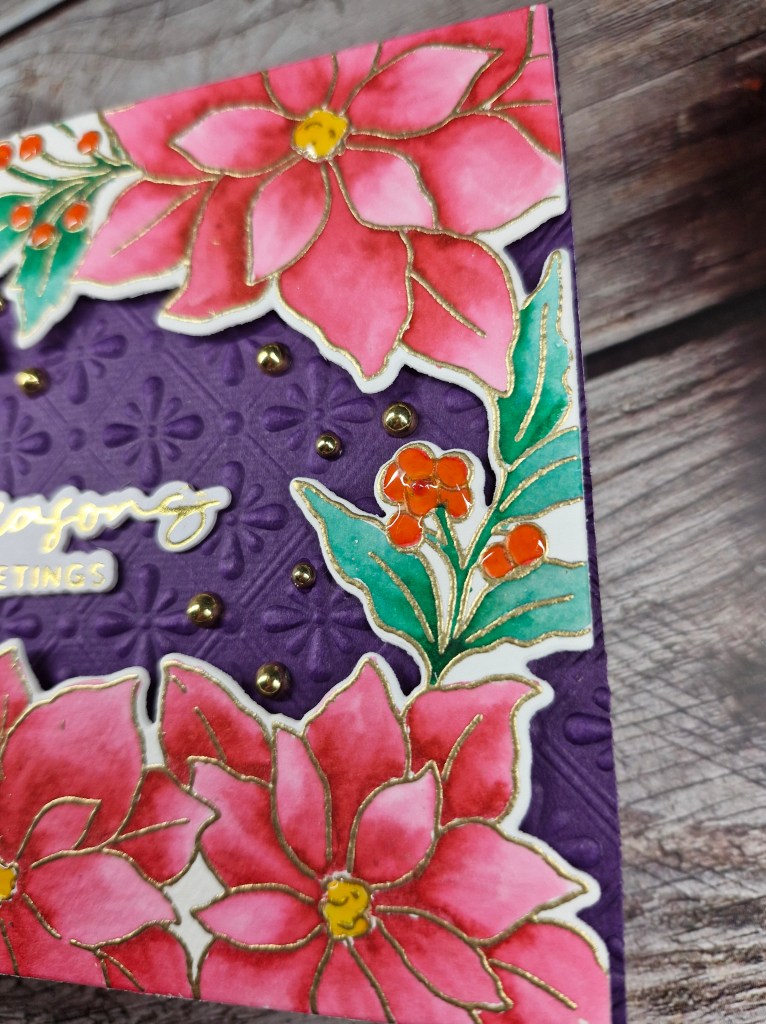
The poinsettia image is from Pinkfresh Studio – the Poinsettia Frame collection – and I chose to heat emboss the image. There are matching items for this set – a hot foil plate, a stencil set for colouring, as well as the matching die.
Once the image was gold heat embossed, I broke out my Zig markers and water coloured them. I don’t do much water colouring, I don’t actually enjoy the process, but I actually have fun with this image and the Zigs – I forget how they are really good to colour with.
Once the image was coloured, I let it dry, then used the matching die to cut out the frame.
I chose a deep purple card panel, and dry embossed with a Spellbinders embossing folder, then placed the frame on that with 3D foam.
The foiled sentiment was added to the centre, and then I played with glossy accents – using that on each berry, and the centre of the flowers.
I thought the centre needed more, so I also added some Pinkfresh Studio gold gems.
I hope you can come and join us with your Christmas creations following one or both of our themes. xx
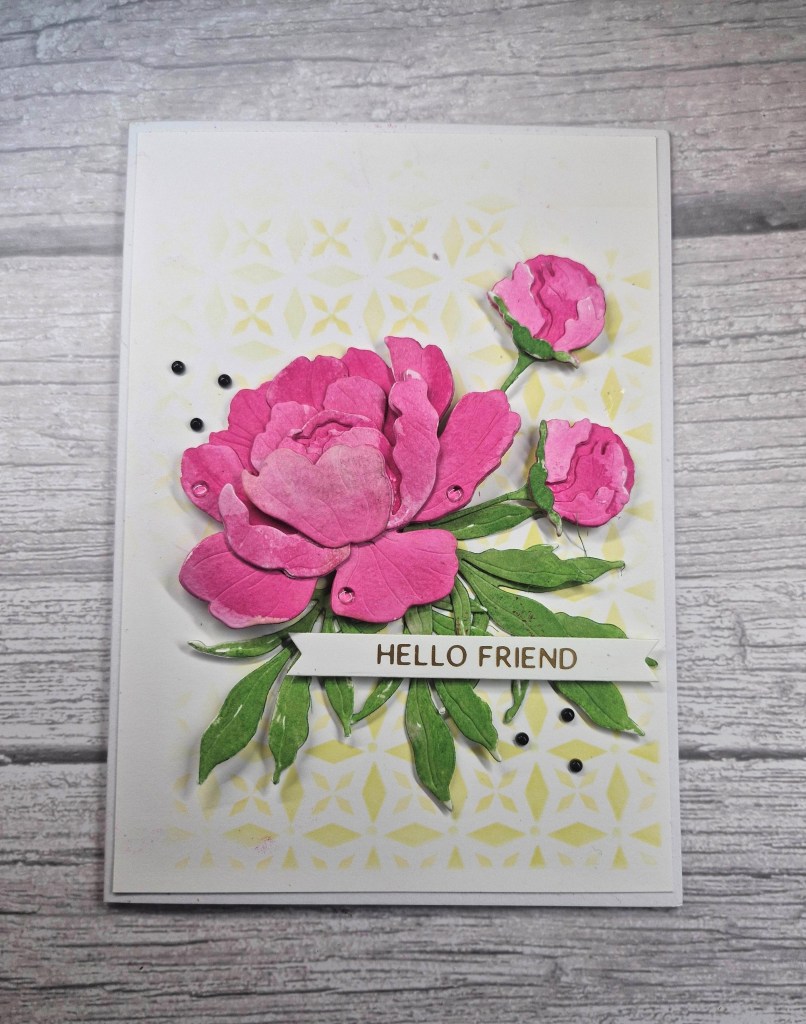
Hello again. A little messy play to create this card:
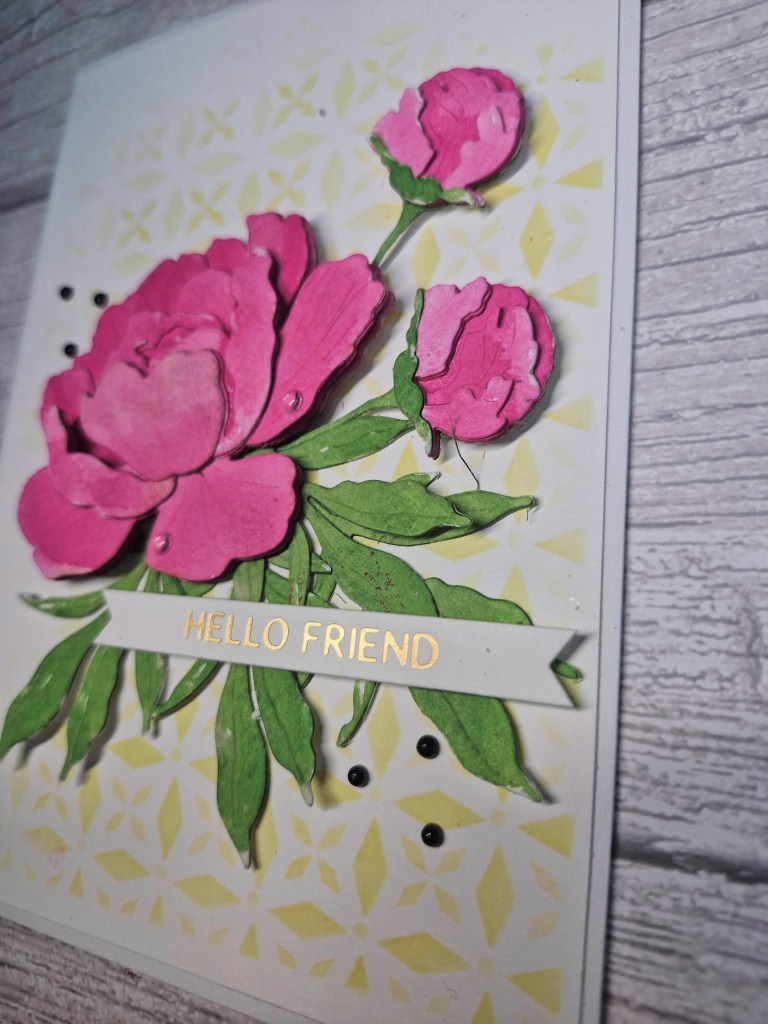
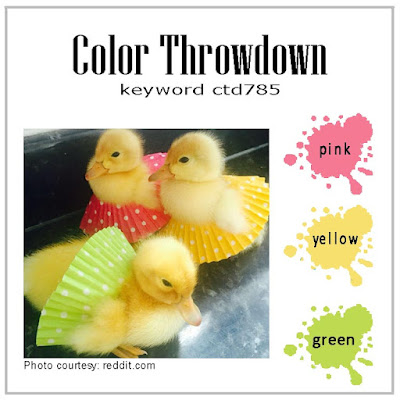
The peony was created using the ‘Lovely Layers: Peony‘ from Honey Bee Stamps, and the colour scheme from the current Color Throwdown challenge.
My first job was to die cut each of the layers for the flower, buds, and leaves from water colour card stock. I used Crafters Companion water-colour card, not one I would normally for water-colouring, but for this flower I was going with messy and imperfect.
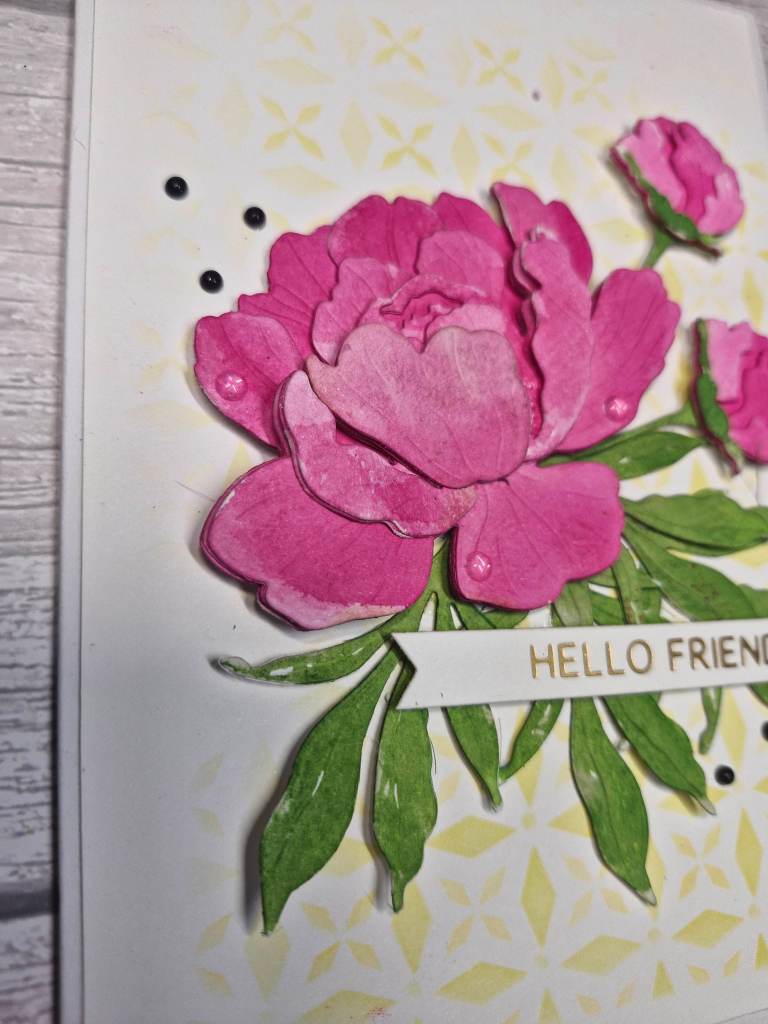
I used Picked Raspberry Distress Ink, smooshed onto my glass mat, spritz of water, then just dolloped and swiped it onto the die cuts. I tried to keep the lower die cuts darker, and added a little more colour into the back areas I knew were going to come through and be seen.
I did the same with the leaves, a couple of shades of green – only because my first green wasn’t dark enough for me so I went darker – and even messier. I didn’t get full coverage, but that is what I was aiming for – just a dollop and a swipe of colour.
Whilst the die cuts were drying, I used a large panel of white card stock – this card is 5 x 7 inches – and used a Hero Arts layering stencil and some yellow Distress Ink to create the subtle background. I used all three layers, but the same colour.
I wasn’t concerned about getting full coverage with the stencil either – some areas softer than others, and an uneven edge.
Once that stenciled panel was adhered to the card base, I glued all the floral and bud layers – rolling the edges of the leaves round a pen to create more dimension in the leaves – and played around with the layout until I was satisfied.
The sentiment was added – a hot foiled strip – and I added some black enamel dots instead of splatters – and some clear dots onto some of the petals of the peony.
Every now and again I get into a messy playing mood, and just create backgrounds, use paste, and generally get my hands inky. That way I have panels I can use in the future, especially when I want to die cut for backgrounds, or die cut elements to add to a card.
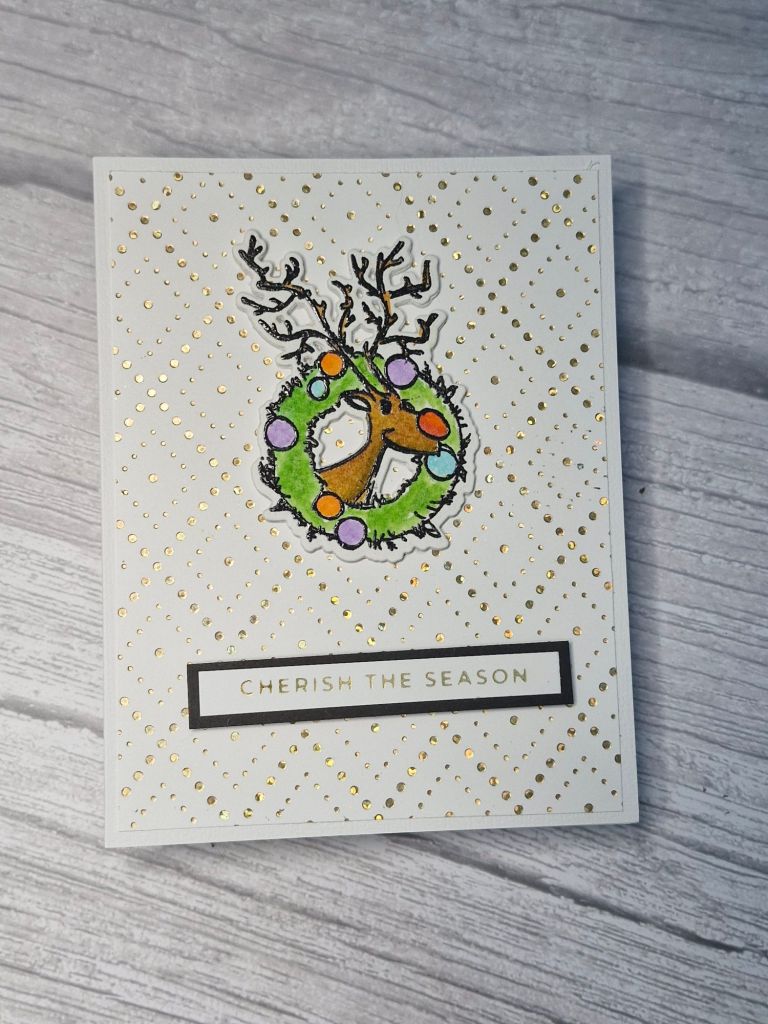
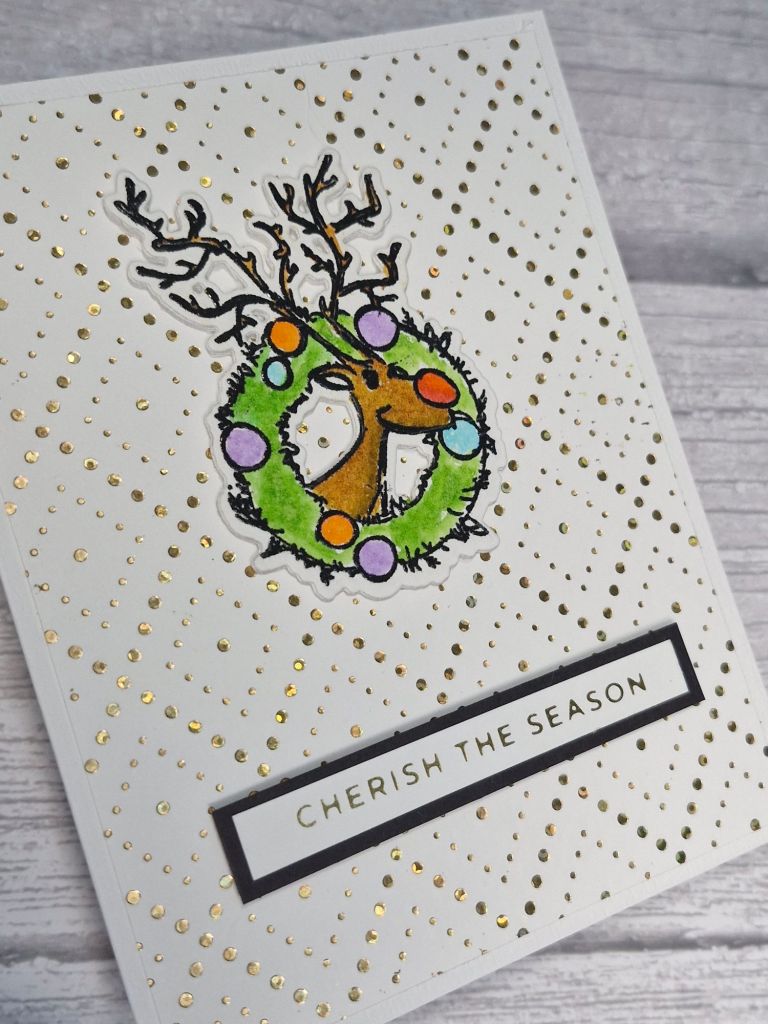
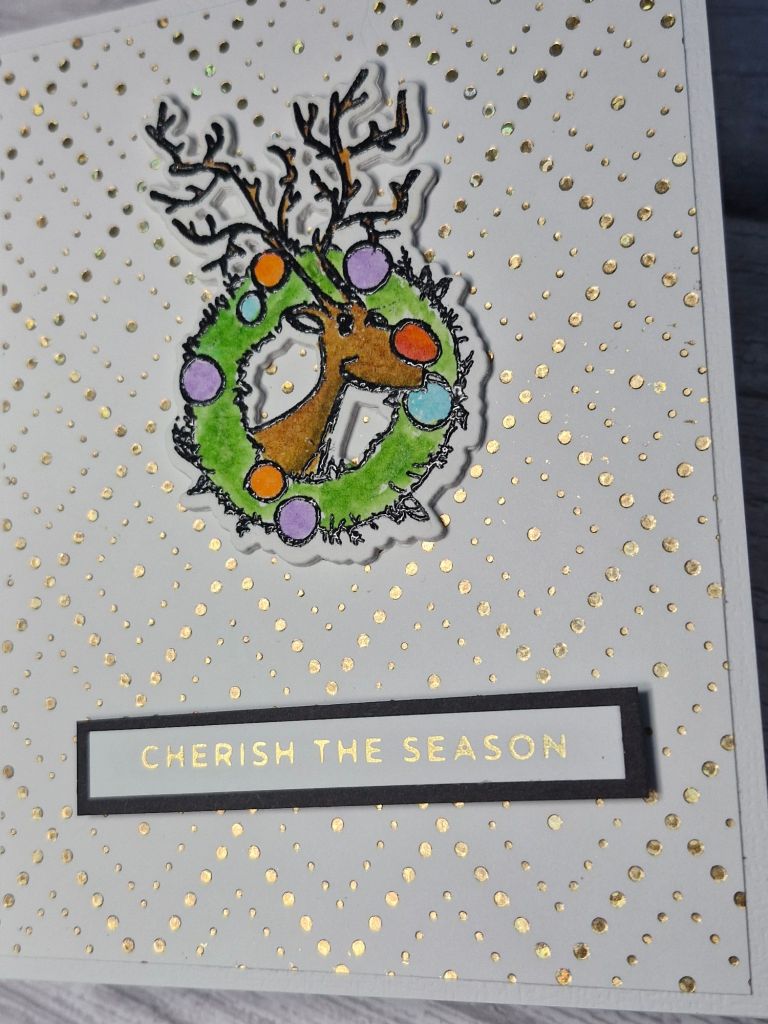
Hello everyone. The Holly and Ivy Christmas Challenge has started a new challenge – the theme is anything goes Christmas. Here is my card:
I used a stamp set from Tim Holtz and picked this cute little reindeer and wreath. The image was stamped in black onto water colour card stock, then heat embossed in clear.
I then took out my Zig markers for a change and coloured the image, then used the matching die set to cut him out.
I decided to take this card a little more simply, but just adding a hot foiled panel behind him, and then a hot foiled sentiment. He certainly needs to take centre stage.
I hope you can come and join us, and I look forward to seeing you in our gallery. xx