Hello once again, It is time for the new challenge at The Alphabet Challenge. Having reached the letter ‘G’, Pamela has chosen the theme of:
Games
Here is my card:
I’ve been wanting to play with this collection of dies from Spellbinders/Jaycee Gaspar, and just haven’t got around to it. Here was my opportunity.
I die cut all the pieced for this Queen, then followed his YouTube video on how to piece everything together. There are quite a few pieces for this picture, and of course using the two Queen images doubled the work – but it was all worth it to me. I really enjoyed the process.
To let the Queen stand proud, I used the letter press plate for the background and a light grey ink, rounded the corners just like a real playing card, then glued to a card base.
The Queen was added, using glue and very, very small pieces of 3D foam tape where needed, as well as the red Q and heart.
I hope you can join us, following our theme, and I look forward to seeing you in our gallery. xx
Hello again. I have scheduled this post to start with the new challenge at Cardz 4 Galz. I’m currently away visiting my sister in Quebec, so unsure how much access I will have to comment and respond – she will try and keep me busy helping her and her hubby settle into their new house……
The new challenge has the theme chosen by Pamela, a word inspiration:
Rainbow
Here is my card:
For this card I chose to use a rainbow floral washi from Pinkfresh Studio – Vines & Roses. I started by laying the washi down onto white card, then used the matching die to cut the images out.
The background panel was created using a Sizzix embossing folder, then gloued down to the card base.
The oval was die cut from a Pinkfresh Studio nesting oval die set, and then the floral images arranged around this oval, attached with glue and 3D foam as needed.
The centre panel was also created using a Pinkfresh Studio die set (Double Stitched Fancy Frames), and the sentiment gold heat embossed, die cut, adhered to the little panel, then attached to the centre of the card.
Some ombre gems also added for more interets and a little sparkle.
I hope you can come and join us with your creations inspired by our theme of ‘rainbow’. xx
Hello everyone. I am delighted to share with you today that I am joining the design team at Ally’s Angels. The challenge is a monthly ‘anything goes’ theme, and can be anything – cards, journals, planners – but be sure to check the rules tab.
Here is my card:
I thought a ‘thank you’ card was suitable for being accepted into their Design Team, and used the Spellbinders die to create the flowers. I did have to watch a couple of YouTube videos, but they came together quite quickly once I got my head around them – so many layers.
As you can see, I used a combination of different teal tones, adding gold for the stamen.
The back panel was created using an embossing folder, the oval was die cut from a Pinkfresh Studio nesting ovals set, then the florals attached with 3D foam.
The sentiment was gold heat embossed, die cut, then added as you see.
I hope you can come and join us with your creations – I’m looking forward to seeing them in our gallery. xx
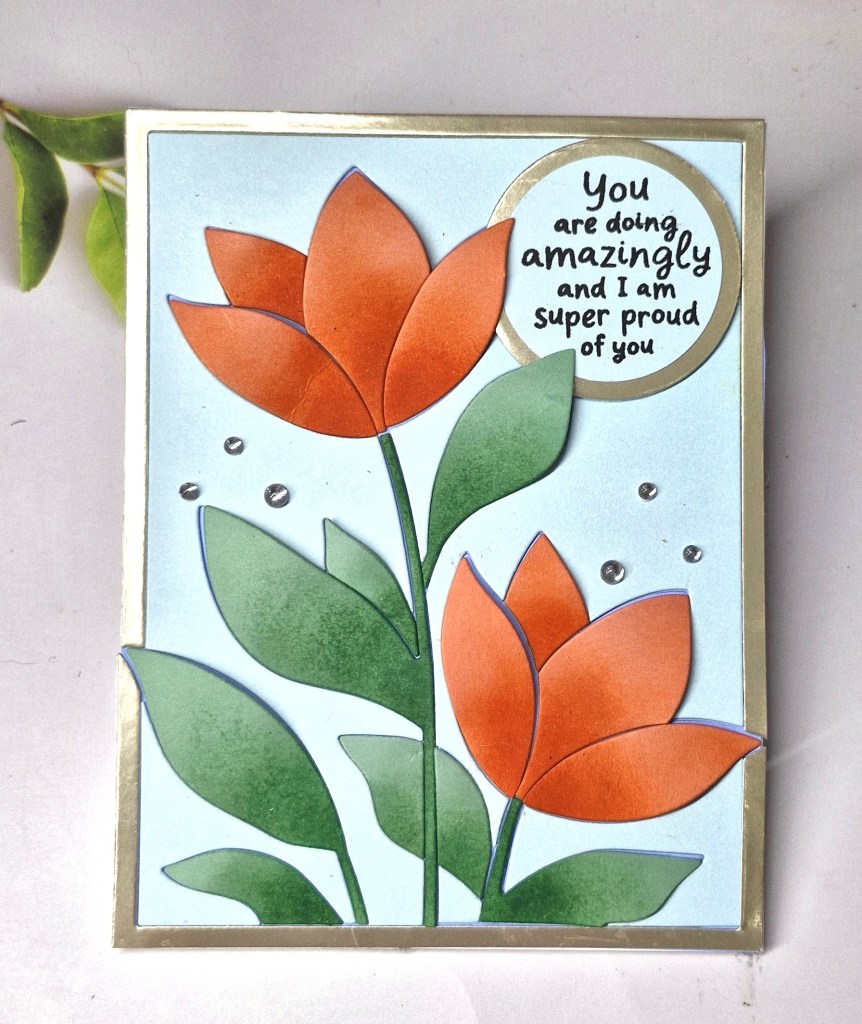
Hello everyone. There will be two posts from me today, and this is the first. The new challenge at Cardz 4 Galz has started, Debbie is the host, and she has chosen the theme of:
For a Friend/Friendship
Here is my card:
I first used the Hero Arts die set ‘Lotus Flower’ and die cut all the layers out of light blue and teal card stock, then layering together as per their instructions. It took a little planning, but once I had got my head around one flower, it was easier on the second. I also die cut the leaves and foliage on shades of green, unsure of how many I would need, so I cut plenty.
I took a white panel and die cut the largest hexagon from the Pinkfresh Studio ‘Nested hexagons‘ from the centre of it, the ran that through with a Spellbinders embossing folder.
The hexagon which came out of the centre I didn’t emboss.
I attached the embossed panel to a card base using 3D foam strips, then inserted the black white hexagon back into place, but gluing flat.
The sentiment is from Gina K Designs and was from a 2023 Let’s Stamp Together – stamped then die cut.
I placed the sentiment on the background then played with the florals and foliage until I was happy, adding with 3D foam and glue where appropriate.
As the sentiment was stamped in black, I added some black gems.
I hope you can come and join us with your creations following our theme. xx
Hello again. It is my turn to host the new challenge at ABC Christmas, and we have reached the letters ‘N’ & ‘O’. We do have themes for the letters which are:
N is for No Stamping
O is for Once in Royal David’s City ( buildings)
Here is my card which covers the two themes:
I felt it was about time I used this die set from The Greetery. I was desperate to get my hands on them, and they have been sitting there for a couple of months.
I set-to die cutting – you know I love my die cutting – and picked traditional colours for all of the elements. I may have to explore other colours and choices in the future, but for this I went traditional.
All the elements I was going to use were die cut, mainly out of scraps, and assembles as I went along.
I then decided to use a 5×7 inch card base, added a gold layer, then a white layer, which I had run through with a Spellbinders embossing folder/
The house was then attached in all it’s glory.
I hope you can come and join us with your Christmas creations following one or both or our themes – and there is a prize for a randomly drawn winner….
Hello there. After a little break from crafting – my mojo seems to have run away – I have a card to share for the new challenge at The Alphabet Challenge. Helen is hosting and has chosen the theme of:
E is for Embossing – wet or dry
Here is my card:
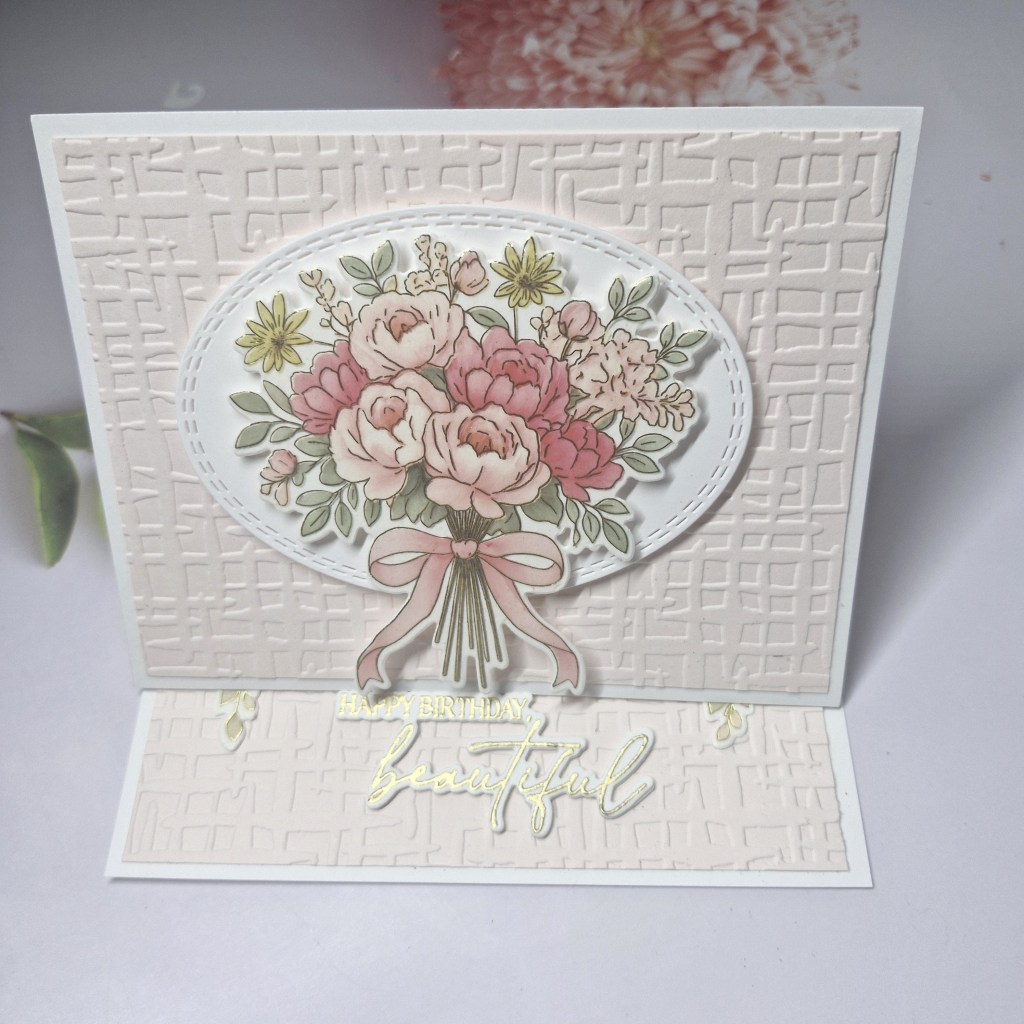
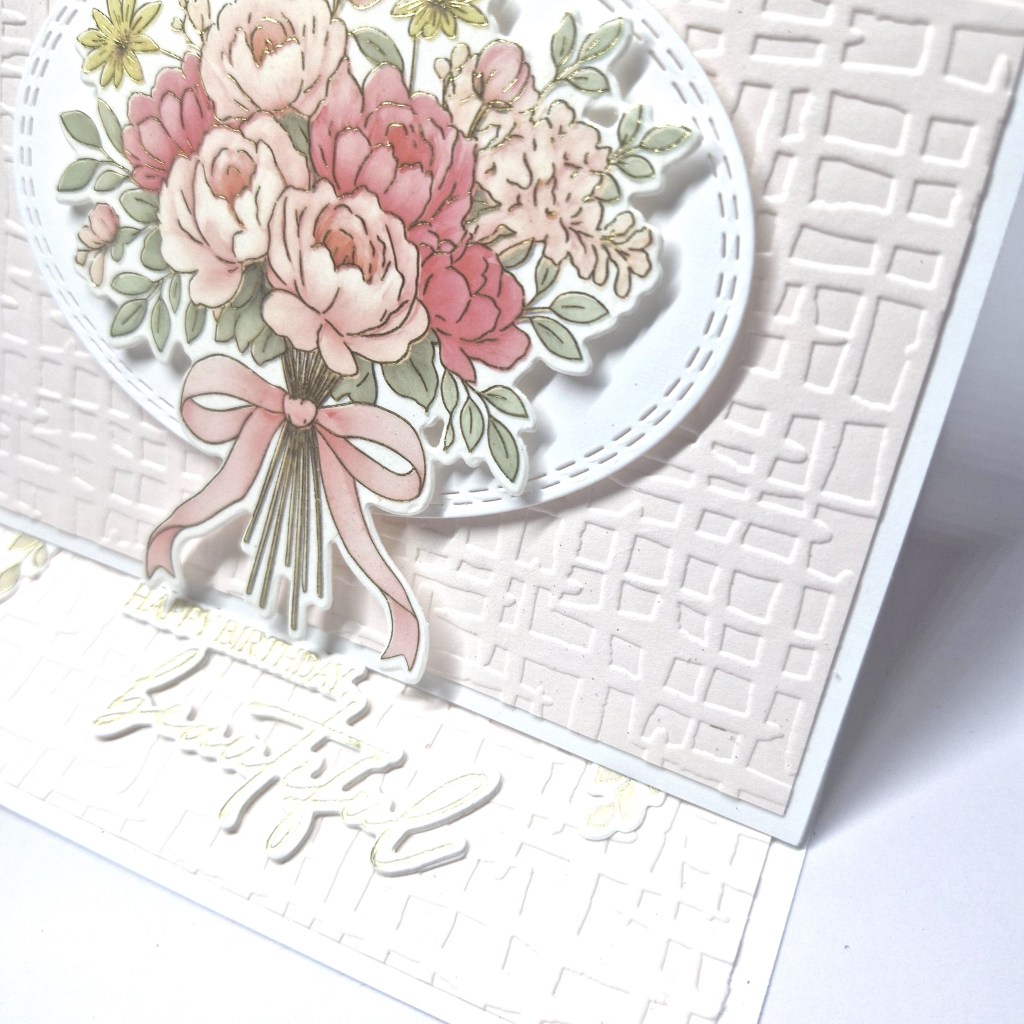
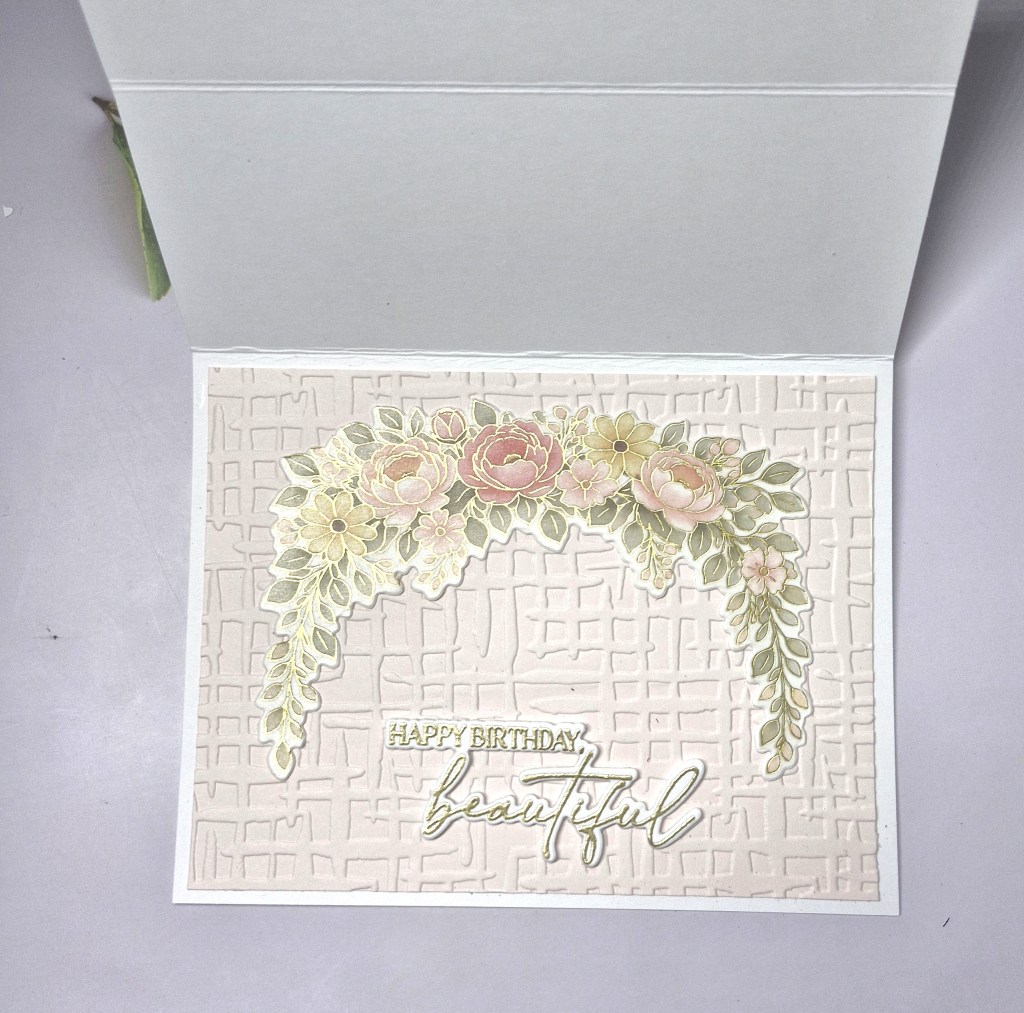
I chose to go with the option of dry embossing, and used a Spellbinders embossing folder for the background panel.
The florals are from Elle’s Studio, a stamp and die set from a a 2022 virtual event.
The florals were stamped with Pinkfresh Studio inks, then die cut, as was the sentiment.
The oval was die cut, I think it is a Pinkfresh Studio nesting die set, then the florals arranged, the sentiment added, and a few gems for further interest – for the centre of the flowers, and some smaller ones around the sentiment.
I hope you can come and join us with your creations using dry or heat embossing. xx
Hello there. The Alphabet Challenge has reached the letter ‘D’, and Melanie has chosen the theme of:
D is for Double – include 2 of the same thing
Here is my card, which has two flowers on it:
These flowers are from an Altenew die set called ‘Butterfly Ranunculus‘. I used a blue card stock to cut the petals, and added some darker blue ink blending to the middle of each layer. These were easy to put together due to the #keyhole system’ which Altenew uses. The stems were die cut, and placed to one side whilst I decided what I wanted to put on the background to show case these gorgeous flowers.
I decided to go with a cream textured card stock, placing one layer as the back panel on a card base, then die cut the stitched oval in the same card stock.
The oval was glued to the back panel, and the flowers arranged to my liking, added with 3D foam.
The silver foiled sentiment added, then some small black gems for added interest, and to bring in the black of the sentiment strip.
I hope you can come and join us with your creations following our theme. xx
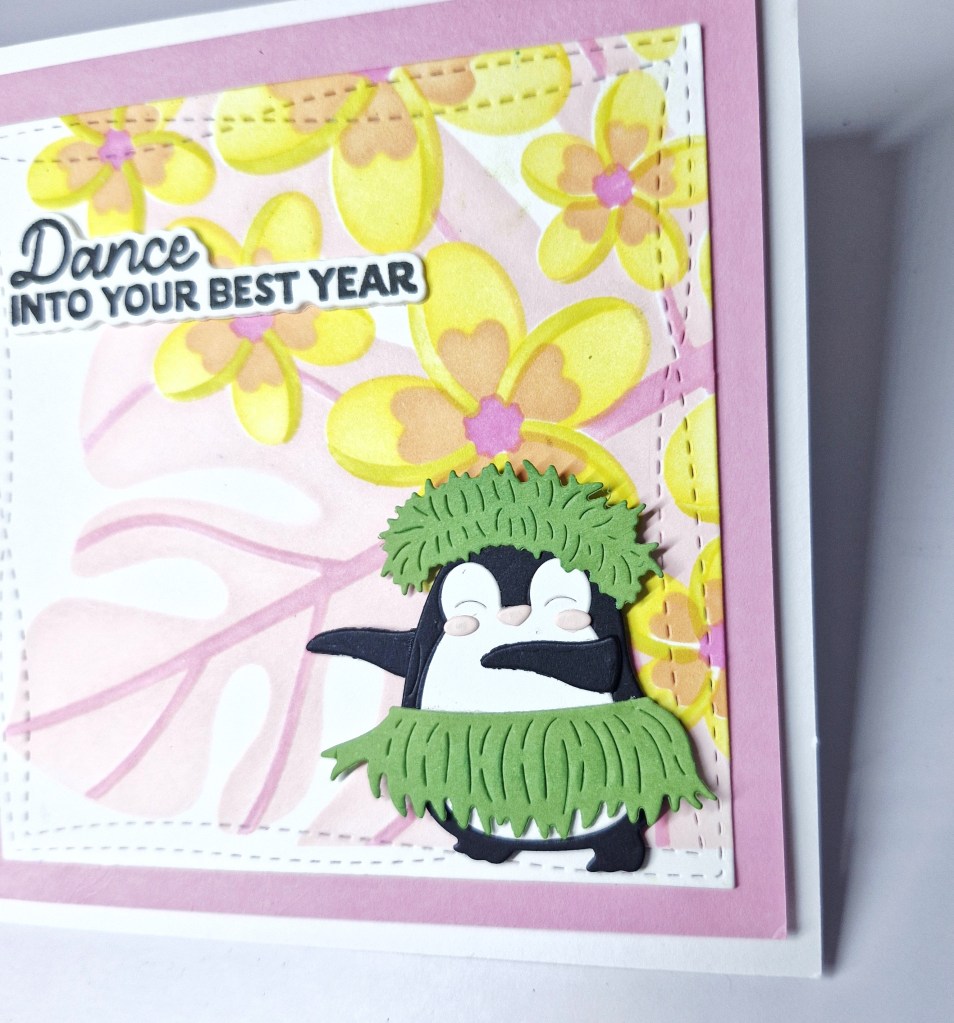
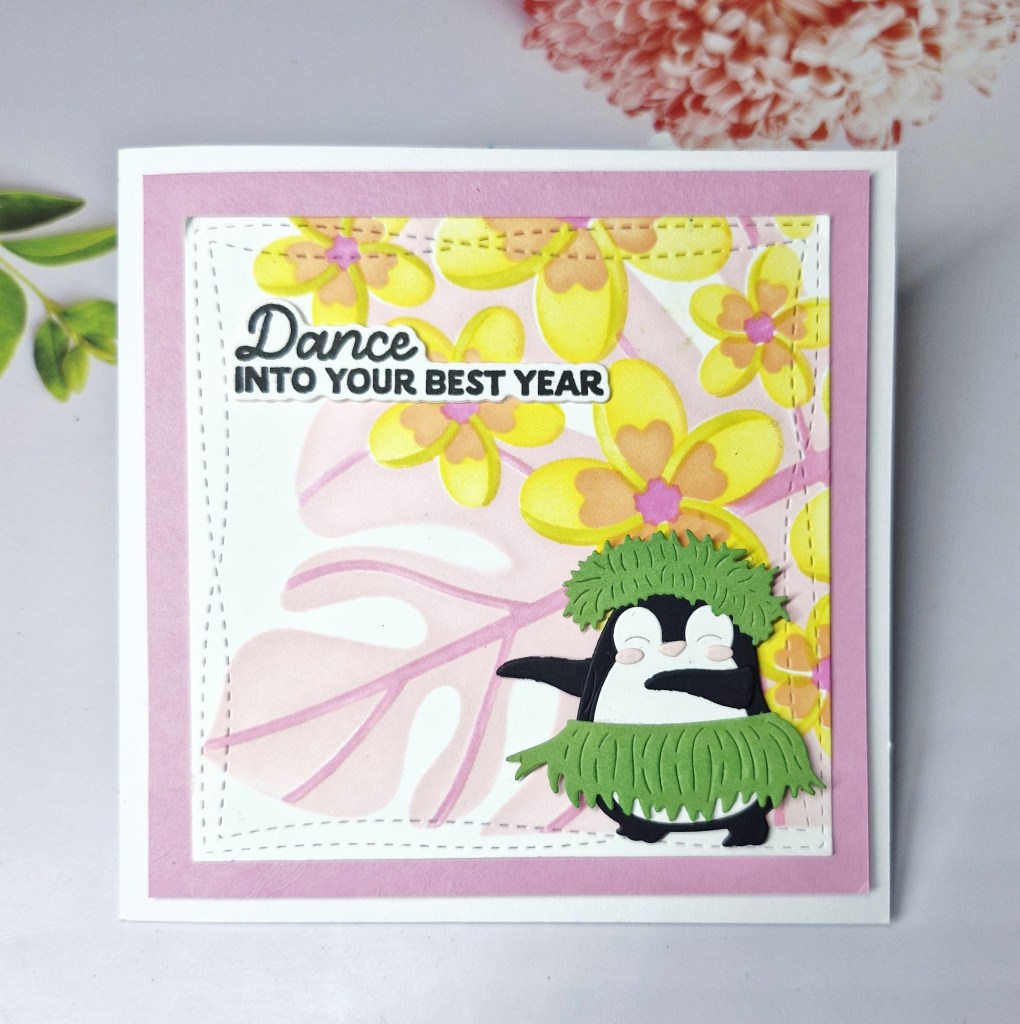
Hello. I am hosting the new challenge at Cardz 4 Galz, and have chosen the theme of:
Seaside/Coast
Here is my card:
I started with background, and used a Honey Bee Stamps die & stencil set called ‘Beach Break’. I did have to go to the web site to figure out how things went together, but it was quite fun creating.
The beach was created using Kraft card and the die – which gives a lot of the details, then the stencils were used and a darker brown ink to make those details a little more prominent.
The blue of the waves/sea was die cut in a light blue card, I went in with the stencil and embossing ink, then heat embossed with white to create to foamy water.
Then to choose a critter – and this little guy is from a die set from Spellbinders a couple of years ago, die cut and assembled as required.
He was added to the background with 3D foam.
The sentiment is also from that release, stamped in blue and clear heat embossed, then die cut.
I hope you can come and join us this time round with your projects following our theme. xx
Hello everyone. We are starting a new challenge at ABC Christmas Challenge. Our challenge is all about Christmas, and getting your stash ready for the end of the year, and we always have themes to follow for each of the letters. This time, our themes for the two letters are:
L is for Let It Snow
&
M is for Mice
Here are my cards:
L is for Let It Snow
M is for Mice
For my first card, I used a Spellbinders hot foil plate and gold foil onto a dark blue panel. I also went around the edges of the panel after foiling with a lightly darker blue to create a halo effect.
The snowman is from a Simon Hurley/Spellbinders die set, and Concord & 9th card stock. The sentiment is also from the same die set, and backed with a piece of gold. Little black gems were added for the buttons on the snowman.
For my second card, I absolutely had to go with some Lawn Fawn mice and the stamp, die and layering colouring stencils called ‘Mice On Ice‘.
The images were stamped, then the stencils used to ink blend their colouring, then the matching dies to cut them out.
I also used one of their ‘Stitched Den‘ dies to create the opening in the white panel to represent iced lake, and backed that with a piece of light blue card stock which I ink blended slightly with a light blue ink.
The blue panel was adhered to the card base, the white layer added on top, then I played around with the placement of the mice until I was happy, adding them with 3D foam.
The sentiment was stamped and die cut then added as you see.
I hope you can come and join us with your Christmas creations following one of both of our themes. xx