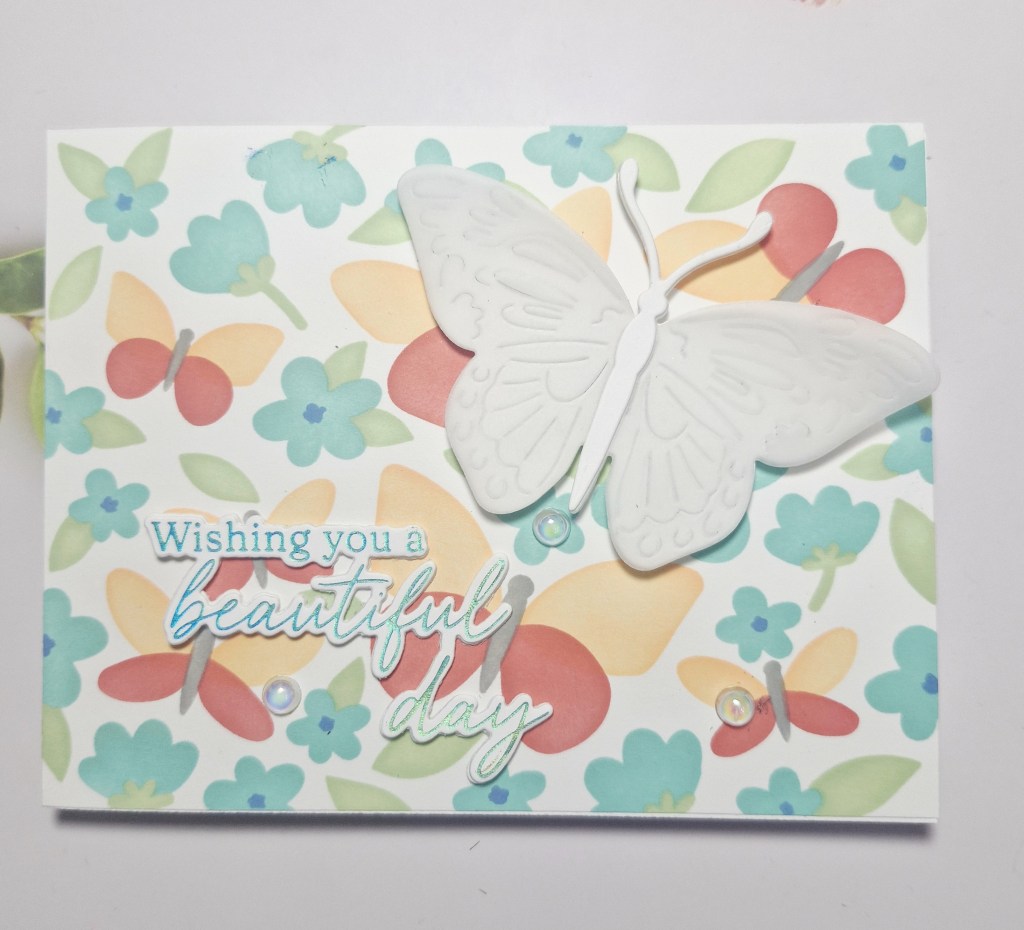
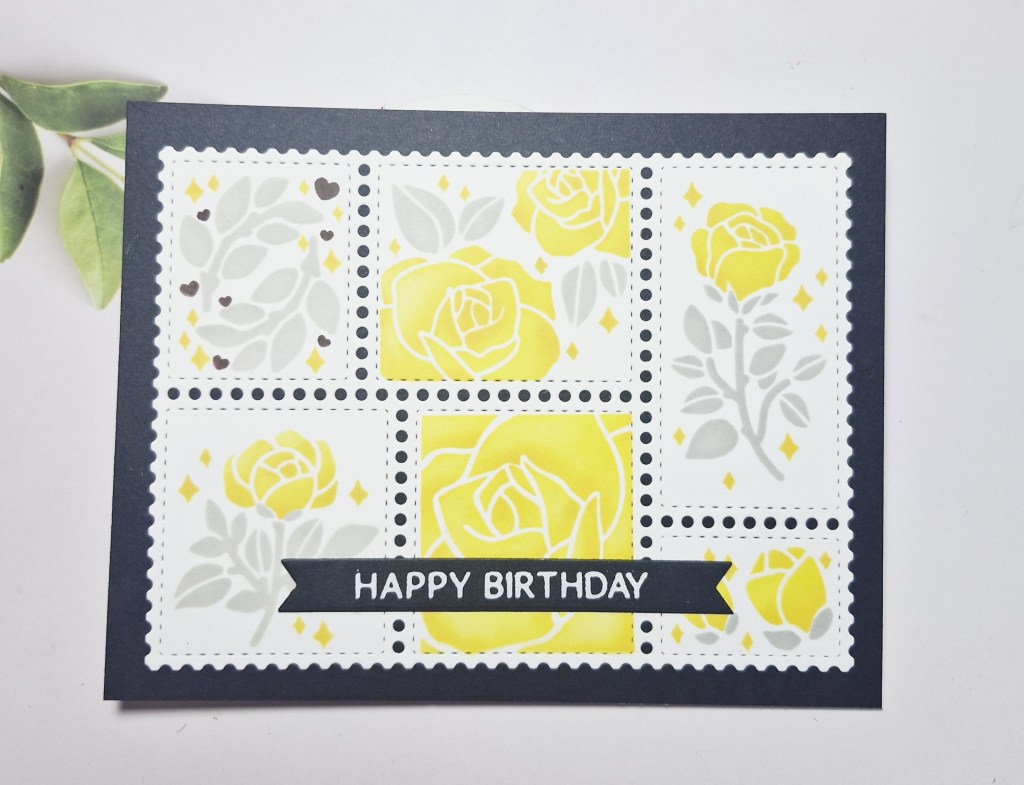
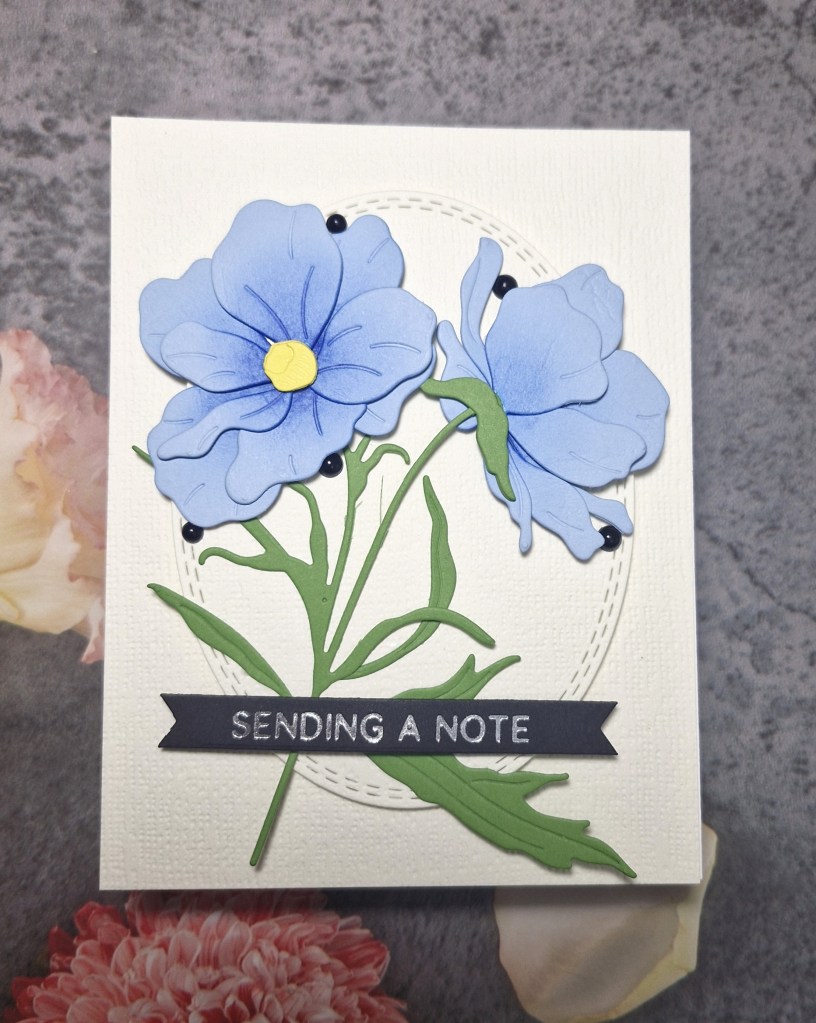
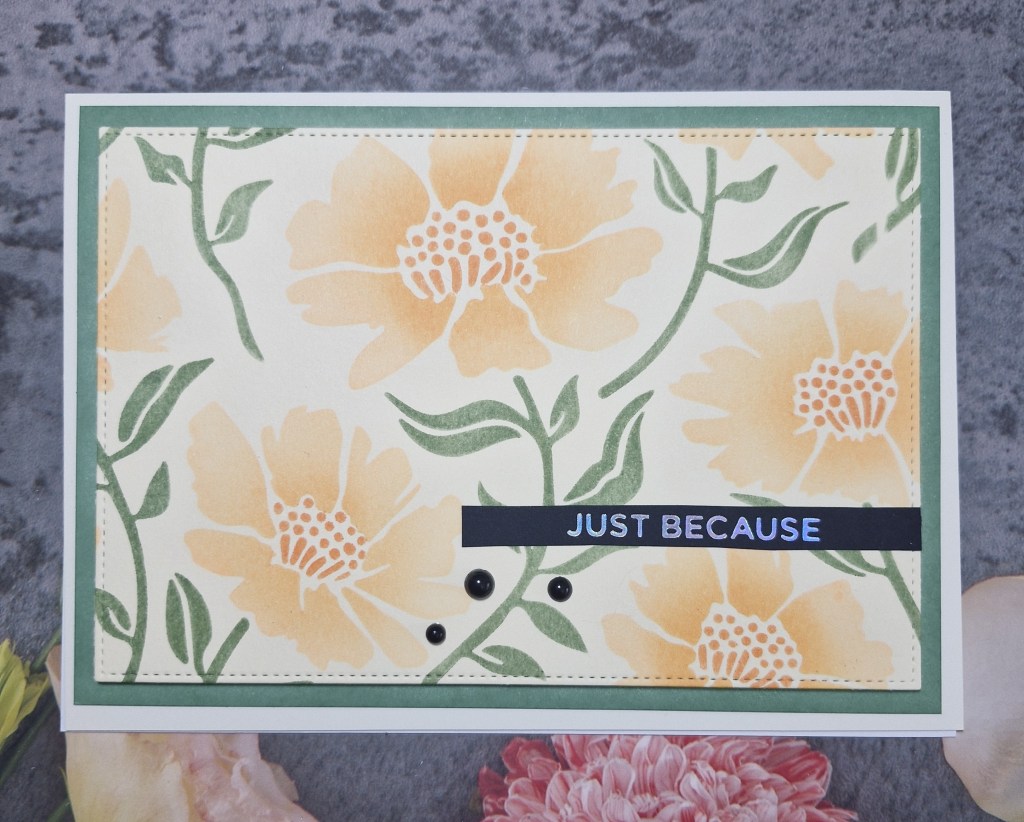
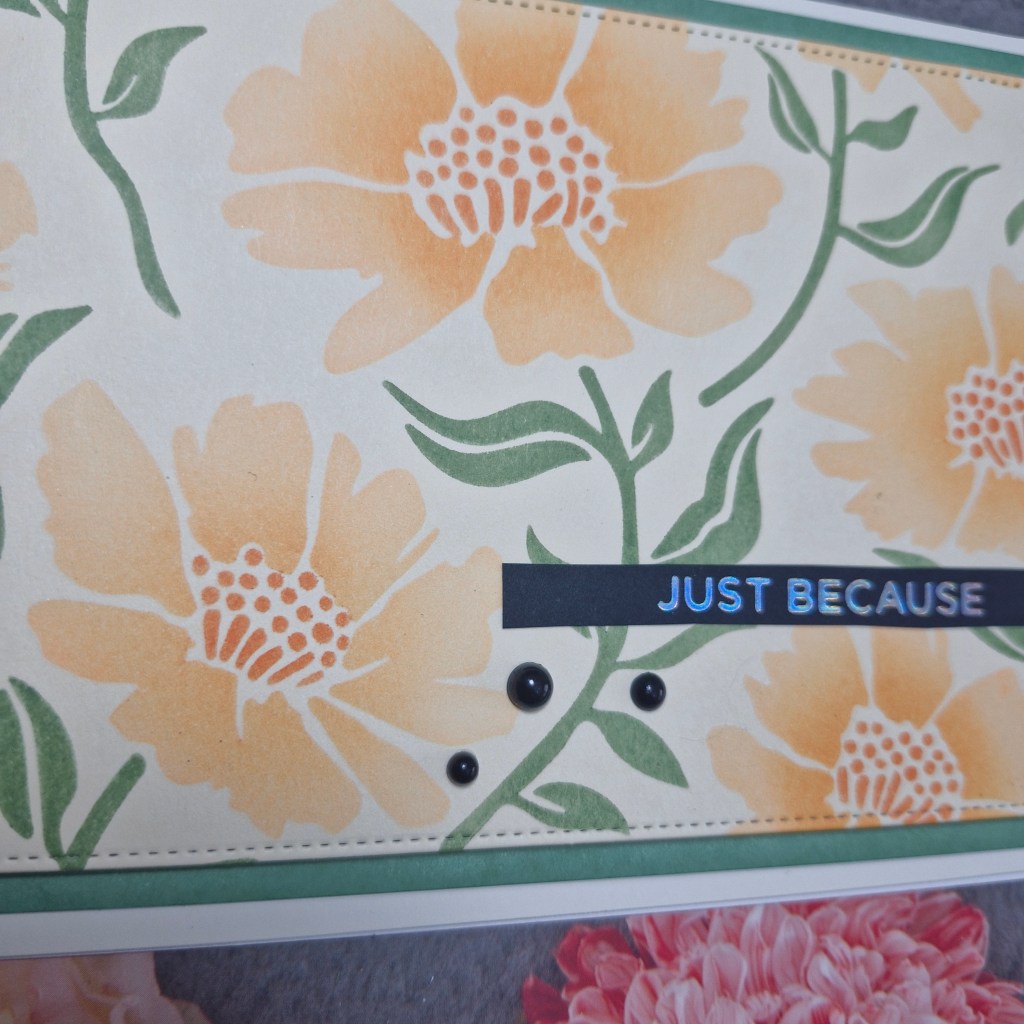
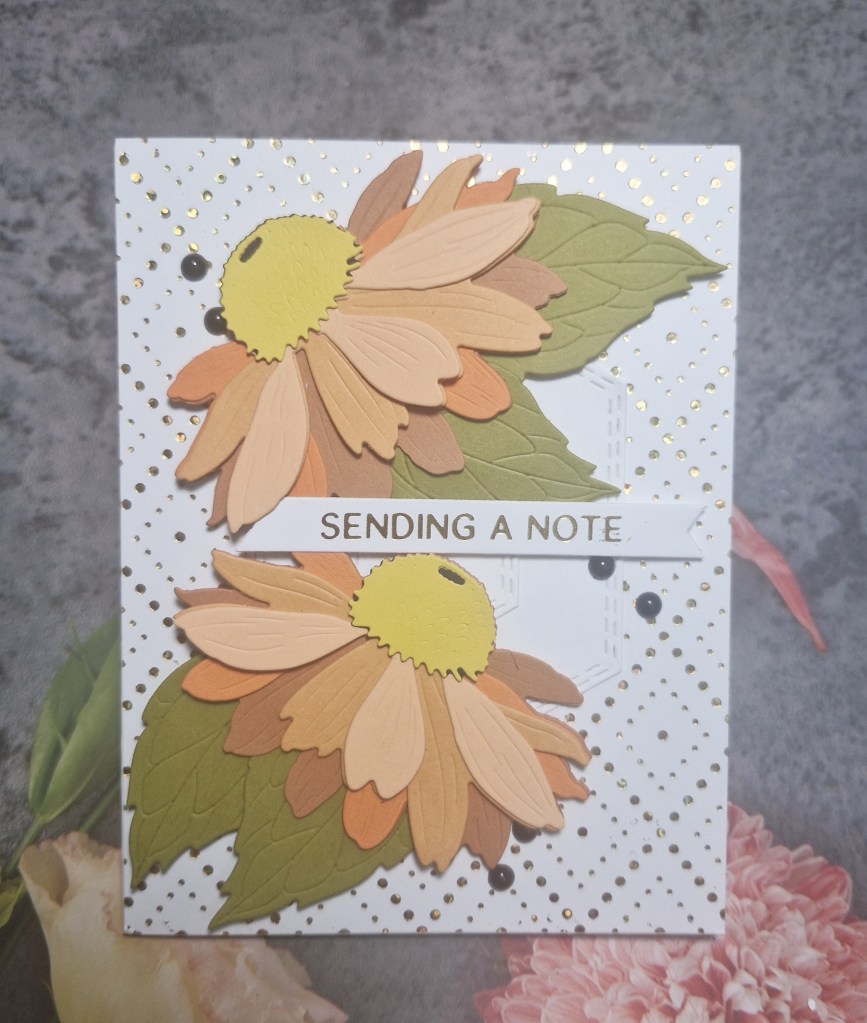
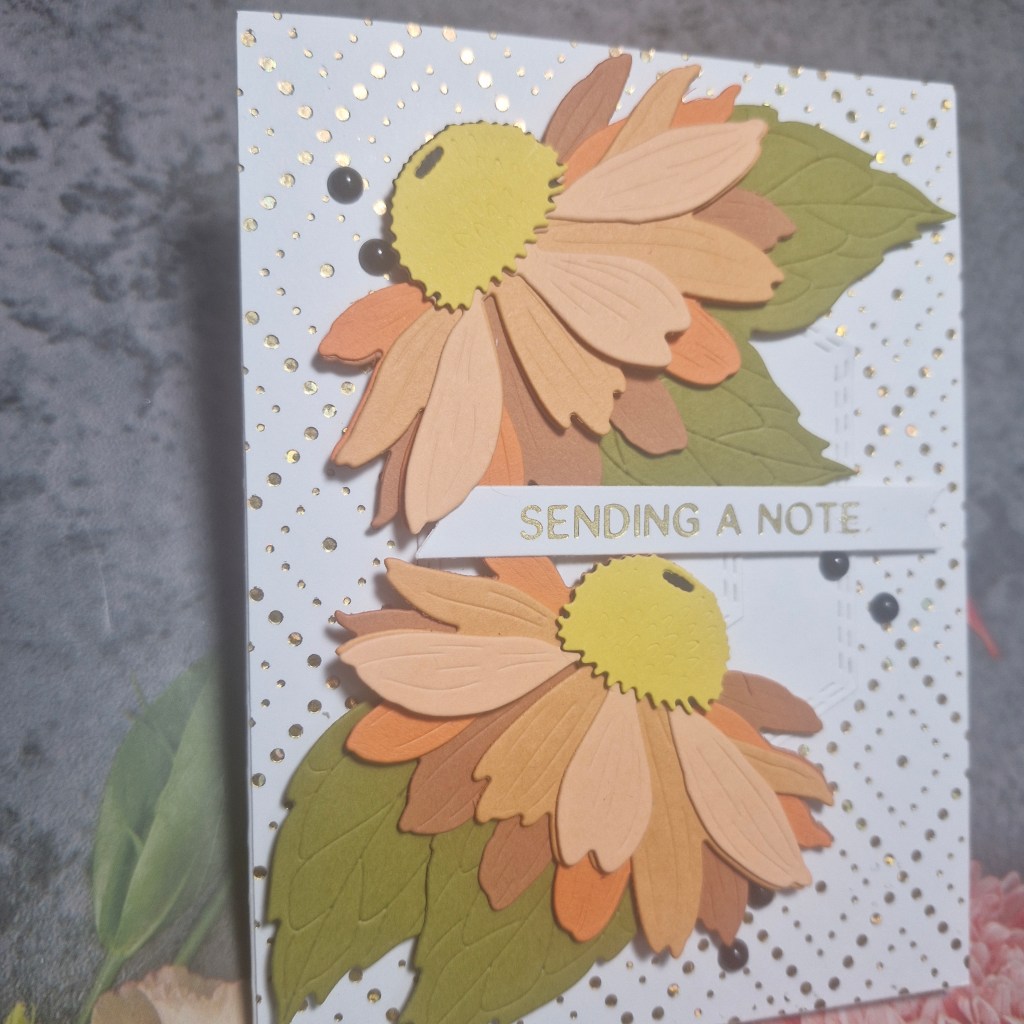
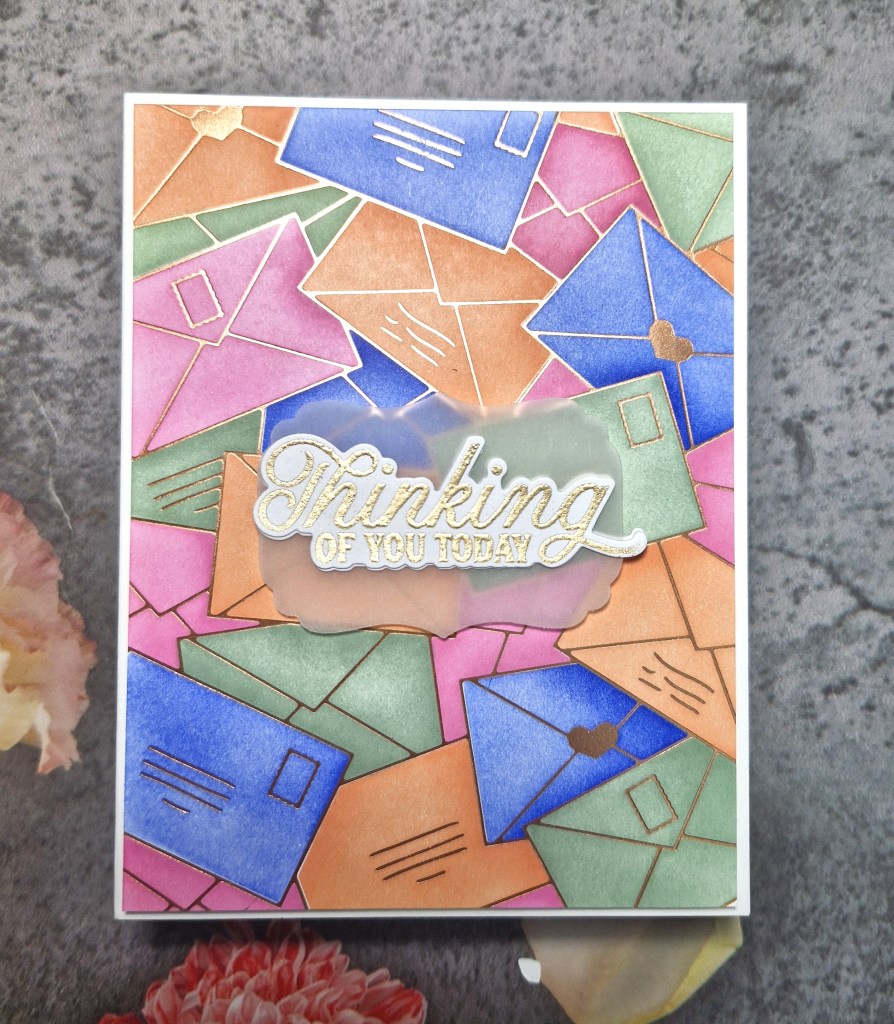
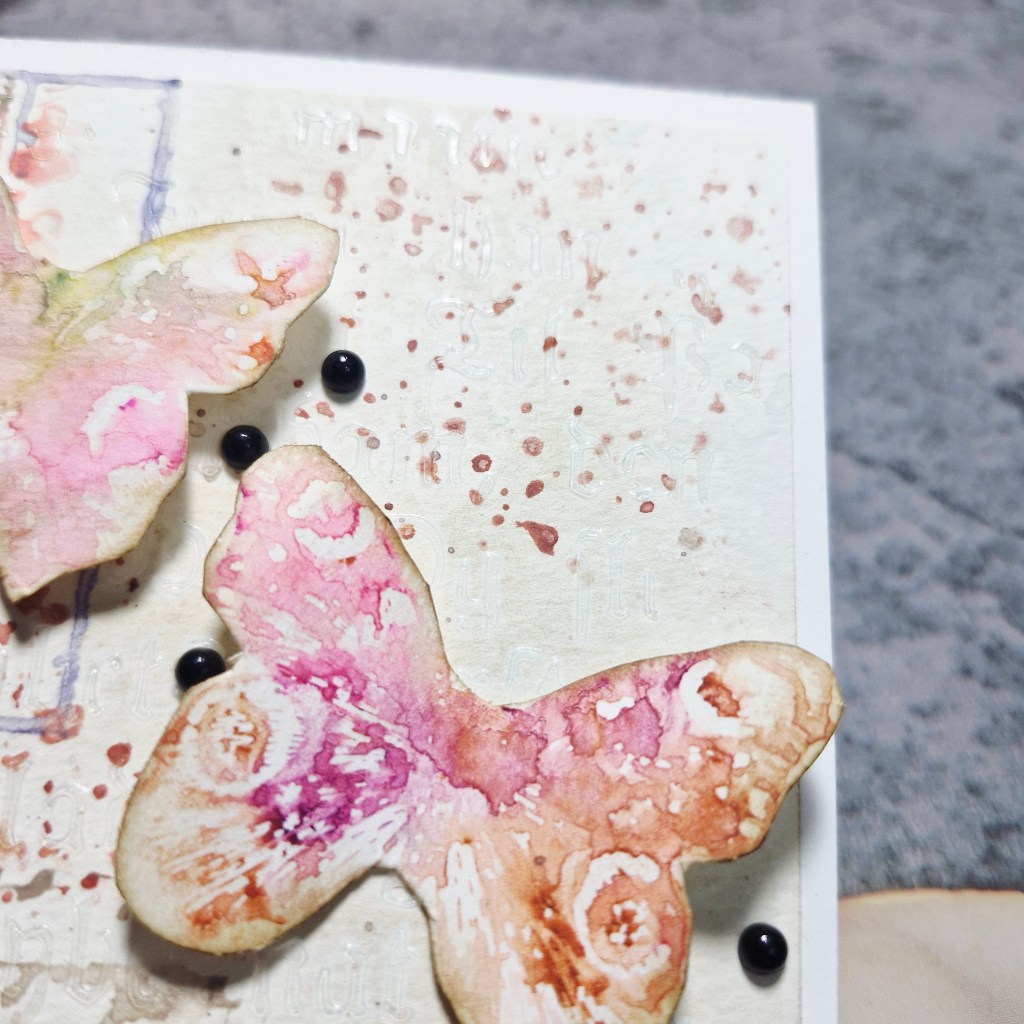
Hi there. I have been playing with a couple more of my new Gummiapan dies to create this card:
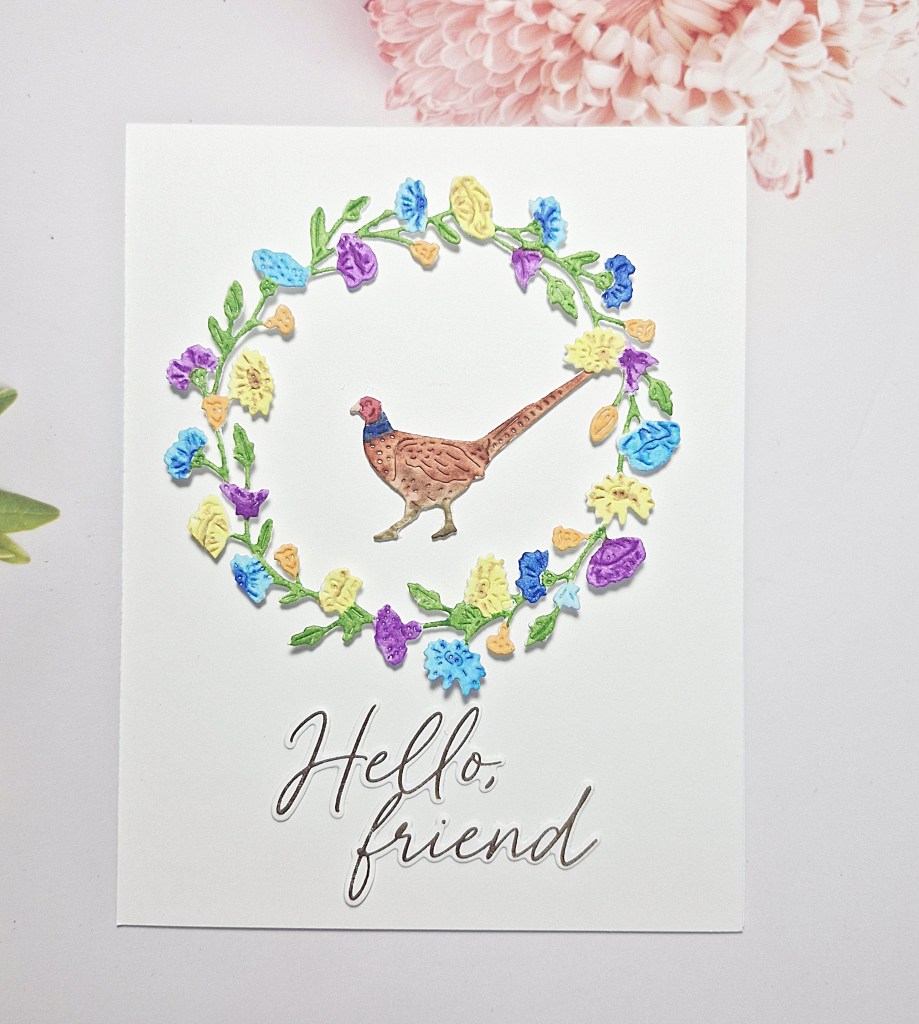
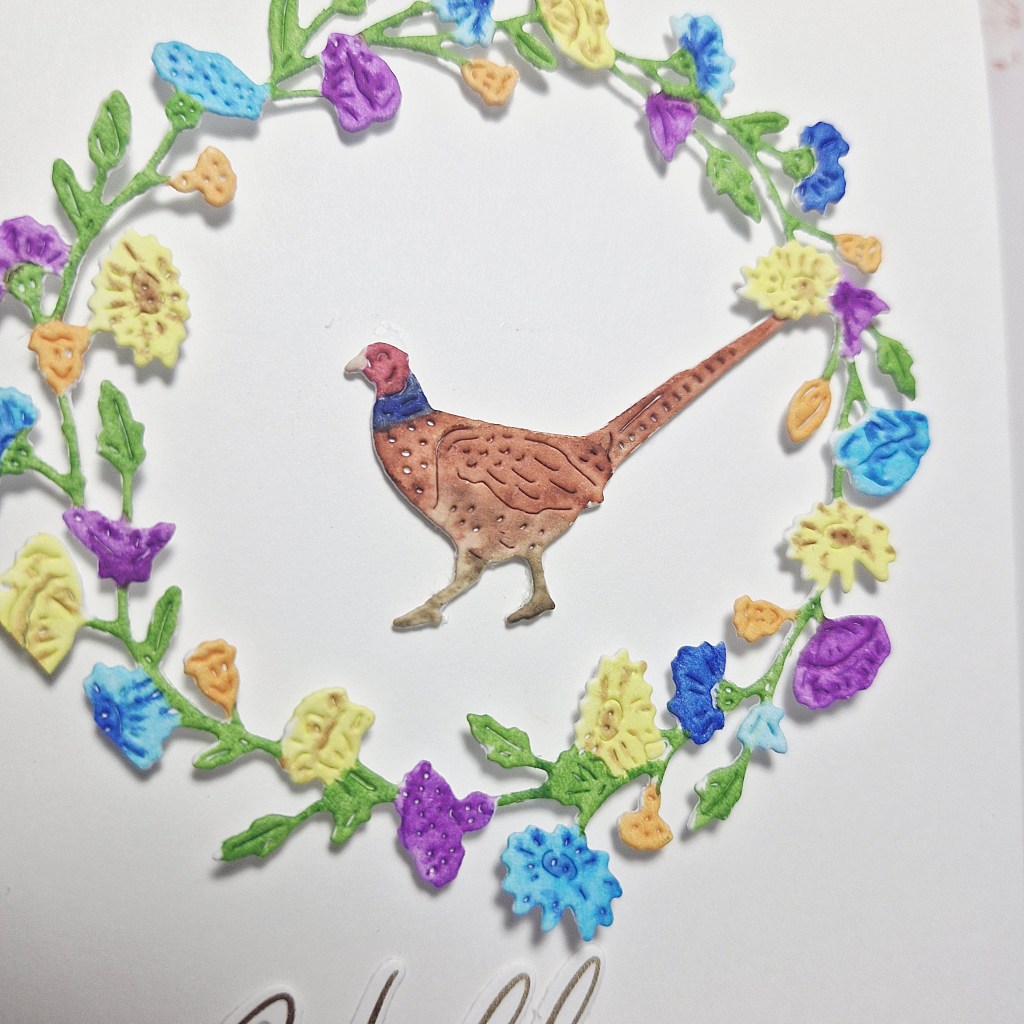
I first die cut the Gummiapan Midsummer Wreath and the Pheasant die in Tim Holtz water-colour card, leaving the die cuts in place in the larger piece of card as it makes the colouring easier on smaller fiddly die cuts, then used my Zigs to colour them in. I like to use Zigs on die cuts like this as they have a very fine tip to be able to restrict where the colours go.
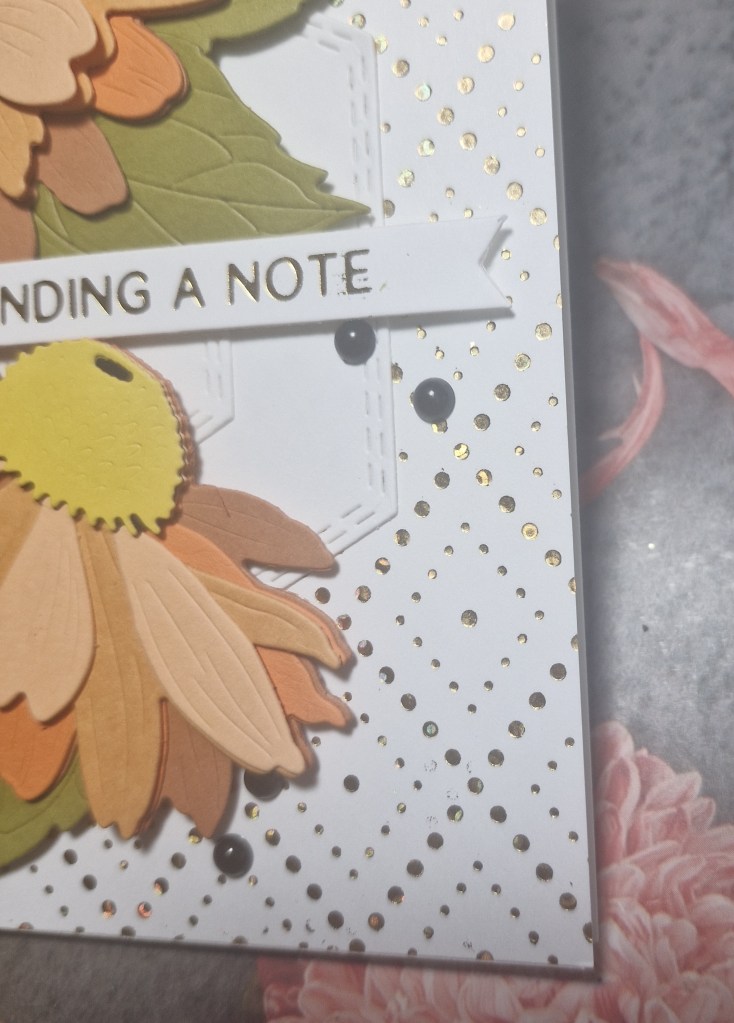
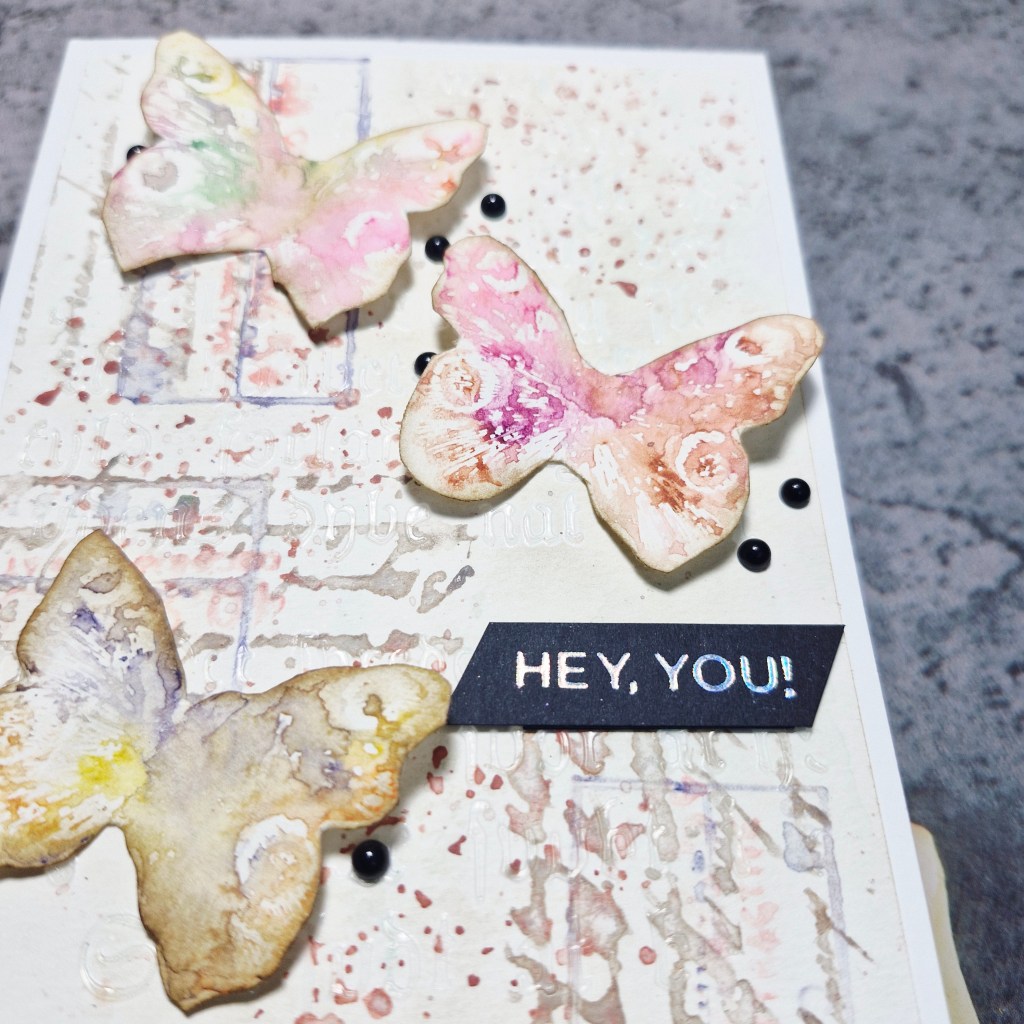
I set these aside to dry, then hunted for a sentiment, and used this from Pinkfresh Studio, previously foiled.
Onto a 110lbs Neenah white card base, I glued down the sentiment, then attached the wreath with little pieces of 3D foam behind some of the larger flowers and leaves, then die cut the pheasant couple more times, stacked him together, then glued him down.
I shall be entering the following challenges:
Cut It Up – die cuts & critters
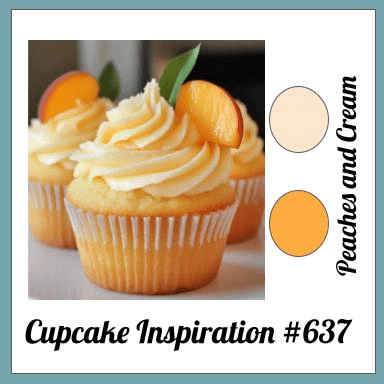
Cupcake Inspirations – anything goes
Beautiful Blossoms – anything goes with florals/flowers
Critter Crazy – anything goes with a critter
Simply Clean & Simple – CAS – option of birthday not taken