Hello again. I have a card created to share with you:
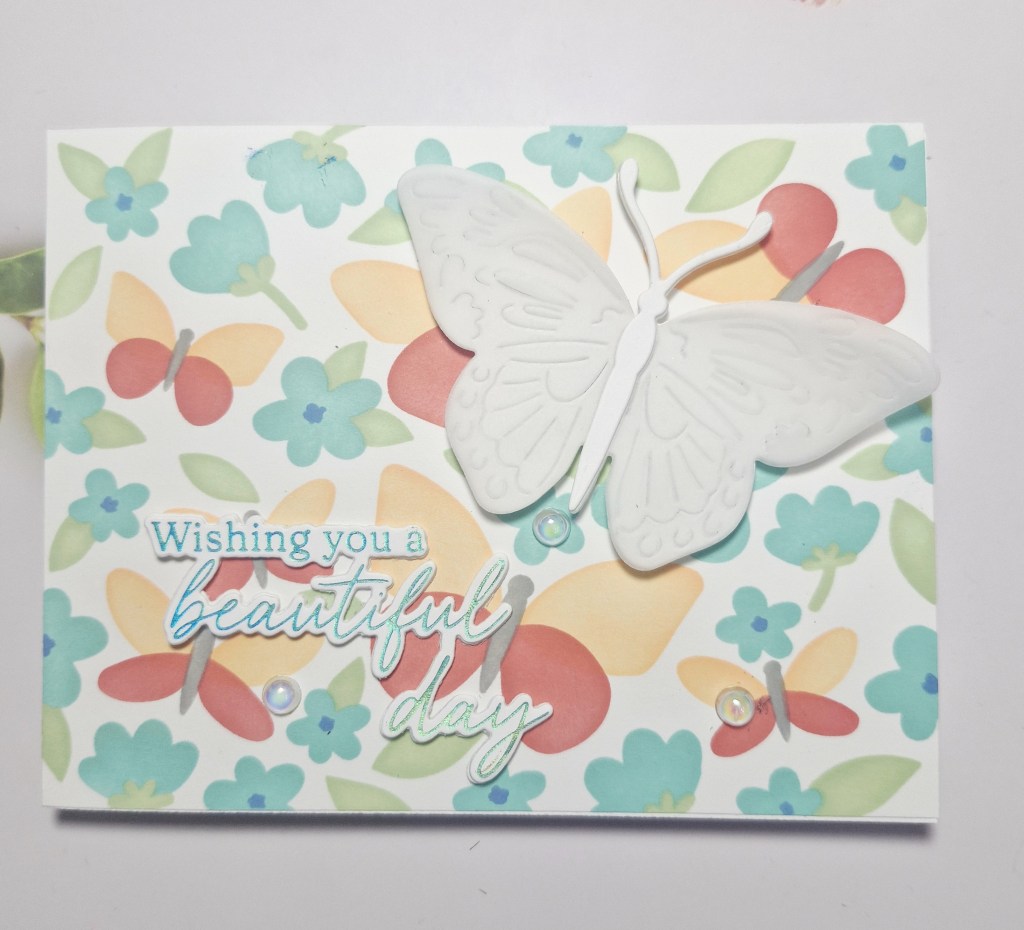
I wanted to use a layering stencil set from Waffle Flower. This background is the ‘Postage Collage Spring Breeze’ and has five layers to it. I chose the colours from Pinkfresh Studio inks and set to it.
Once the background was finished, I added it direct to a card base.
I then used the ‘Butterfly Focal’ die and cut it in white, then cut it in vellum, layering the two together, adding an extra body to the top so I was able to secure the vellum easily.
The sentiment is in blue foil, and from a Pinkfresh Studio product suite ‘Butterflies in a Cloche’, previously created when I had a foiling session. This was die cut with the matching dies, and a couple more layers added for stability.
I also added some irridescent gems for extra interest.
Hubby and I are out tonight with some friends to celebrate our 38th wedding anniversary – time sure does fly….
I shall be entering the following challenges:
Stencil Fun – stencils, option of butterflies taken
Hello there. It’s been a busy few days but I am here with two cards for the new challenge at ABC Christmas. I am hosting for this month, and as we are using the letters ‘C’ and ‘D’, the Christmas themes are:
C is for Crimson & D is for Ding-Dong(bells)
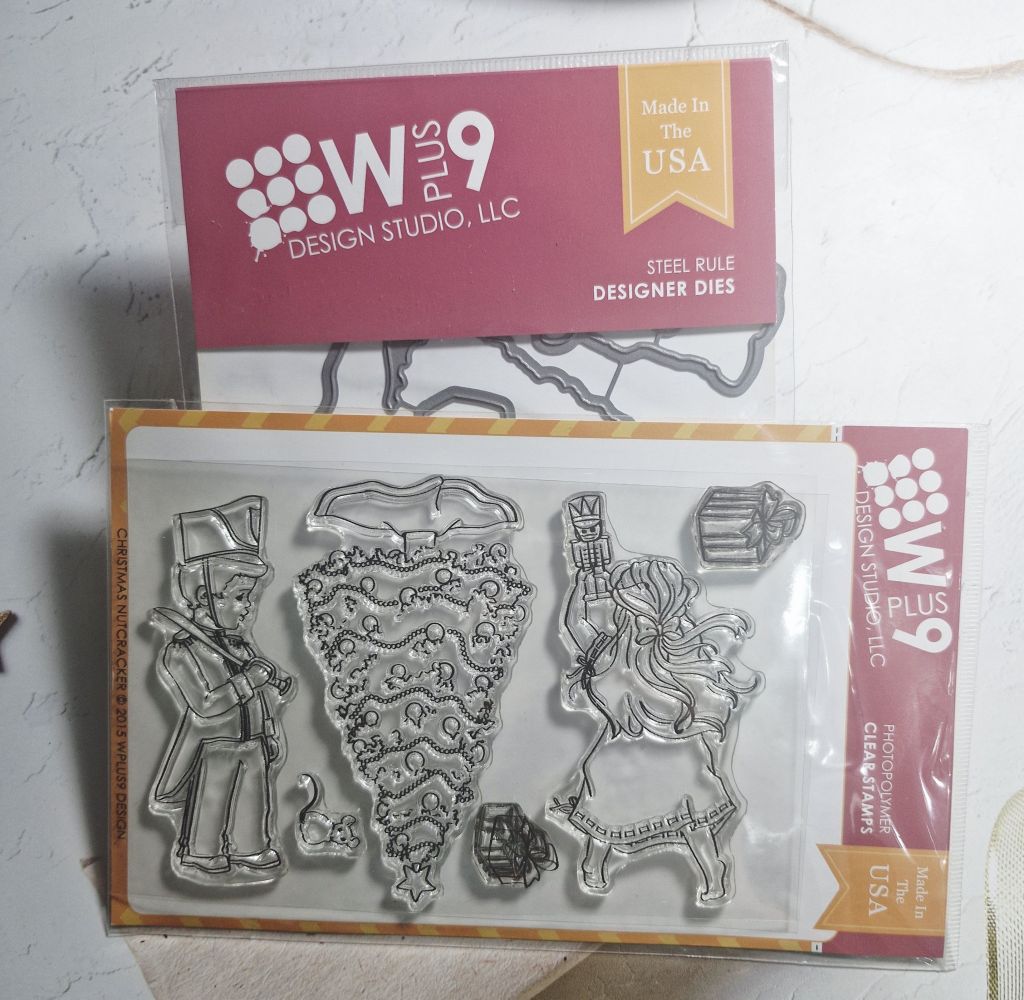
I have provided a prize for the randomly drawn winner of the challenge, open worldwide, a stamp and matching die set from WPlus9:
Here are my cards:
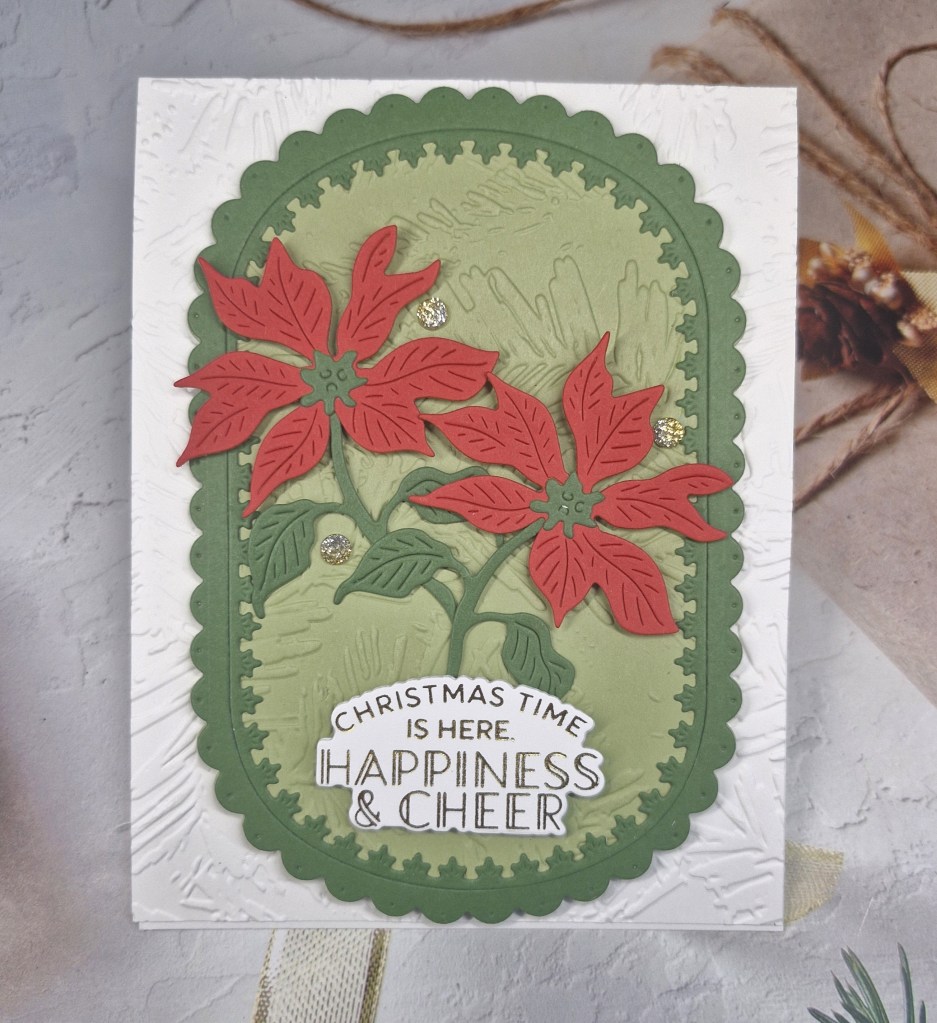
C is for Crimson
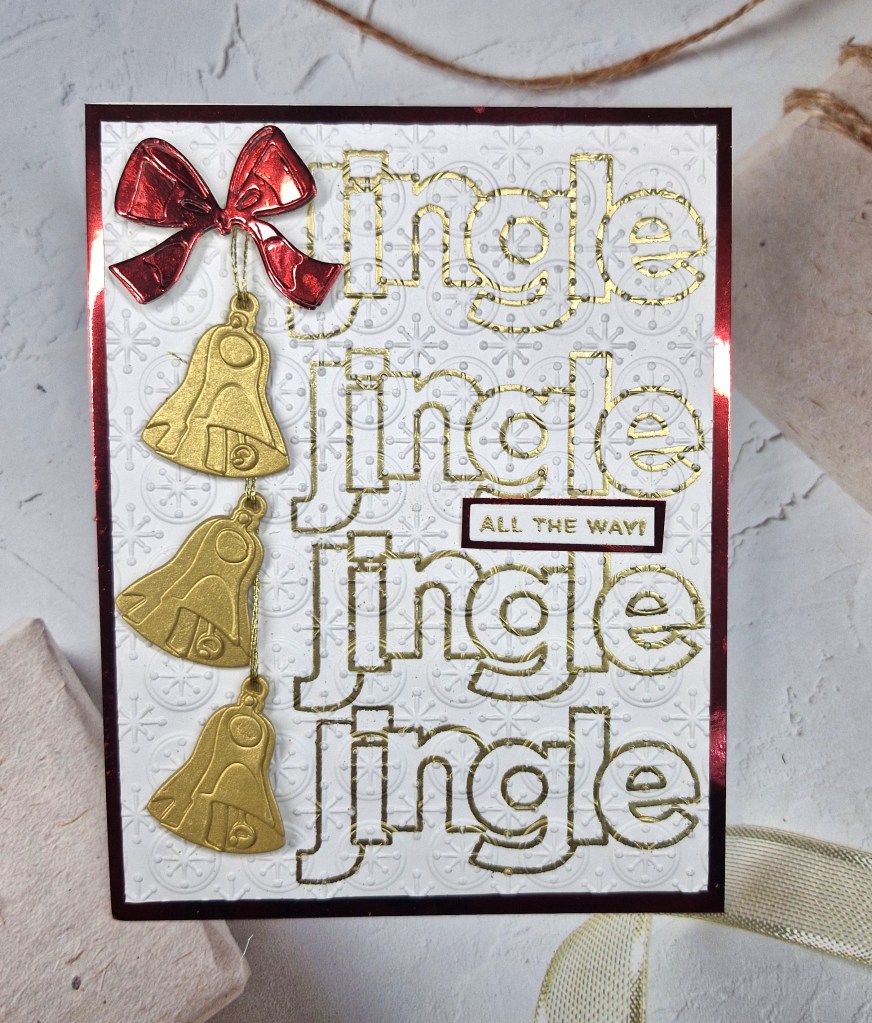
D is for Ding-Dong
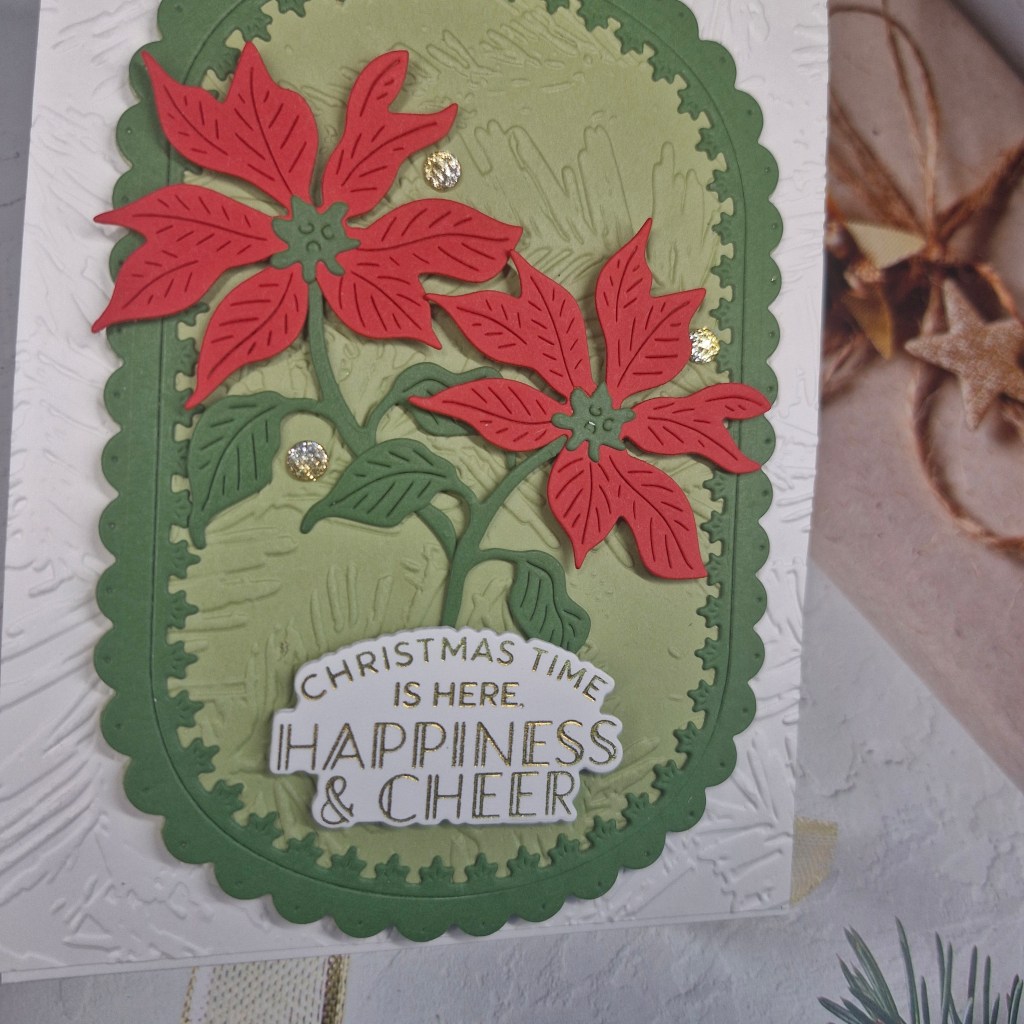
For the poinsettia card, I created the poinsettia using a die set from The Greetery, then used there capsule basics die set to create the fancy oval. I die cut an inner oval piece with another lighter green card, then used an embossing folder to add detail to that, as well as the same embossing folder on a white panel.
This white panel was adhered to a card base, the oval layers stuck together and attached using thin 3D foam, the poinsettia added with more foam pieces, and the foiled sentiment from Pinkfresh Studio added.
The final touch was to add some Pinkfresh Studio ombre glitter gems.
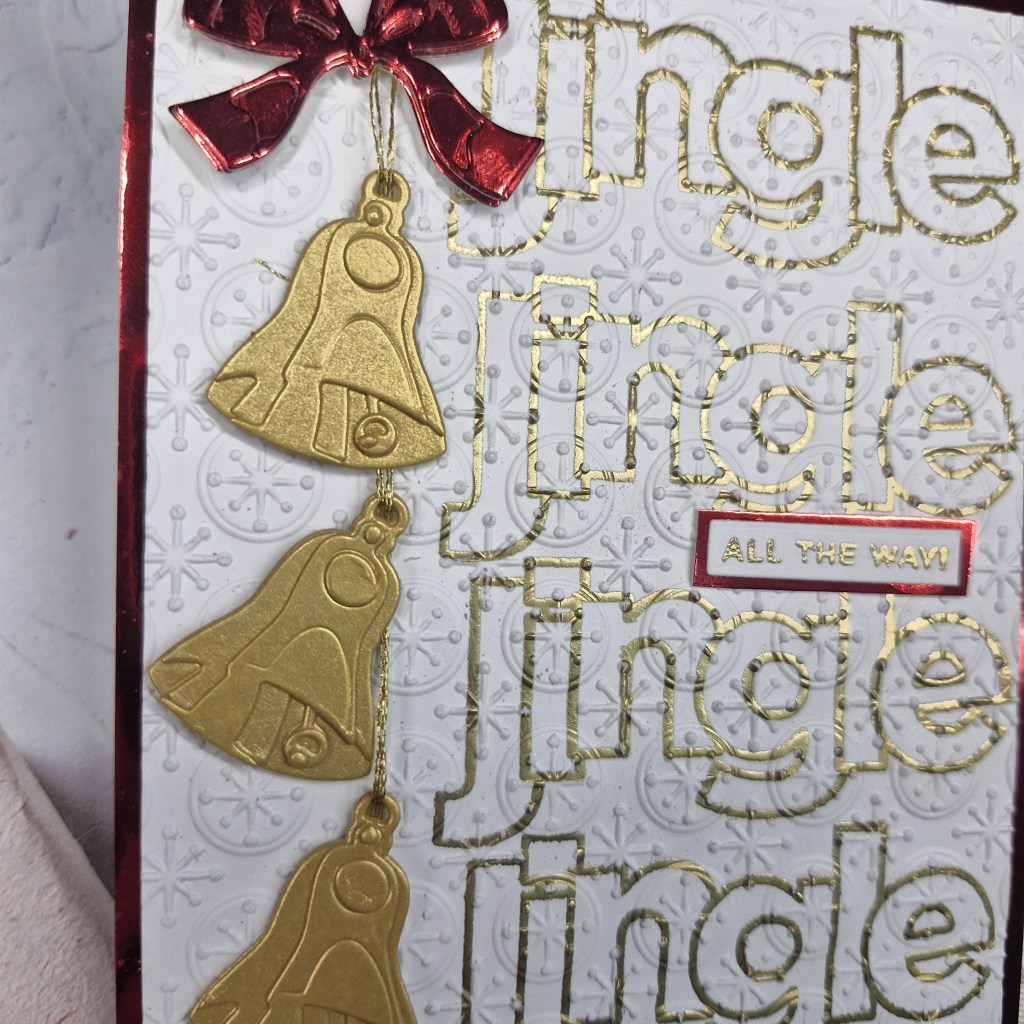
My second card was started by creating the bells. These are from Tim Holtz, and simply die cut with the same brushed gold card stock from Spellbinders – no different coloured layers – and glued together. I created 5 of these bells as I didn’t know where I was going other than to use these bells….
Finally deciding on where I wanted to go with this, I then took a white panel and stamped the word ‘jingle’ down the side using a Simon Says Stamp set and embossing ink. (Thank goodness for the Misti – it certainly made the lining up of these four words easier) These words were then heat embossed using gold embossing powder.
I thought the background was a little plain when I laid everything out, so I then ran this white panel with the words heat embossed through my machine with a Spellbinders embossing folder.
This white panel was layered with a shiny red card stock piece, the same card as I die cut the bow from, the bows added down the side with some gold DMC thread and the bow attached to the top.
The small sub-sentiment was also heat embossed and a red shiny mat added so it stood out more.
I hope you are able to join us with your creations following one of both of our themes. xx
I have another card to share after being in my craft room for a few hours yesterday – can you tell hubby has been away for a few days? Lots of crafty play time…..
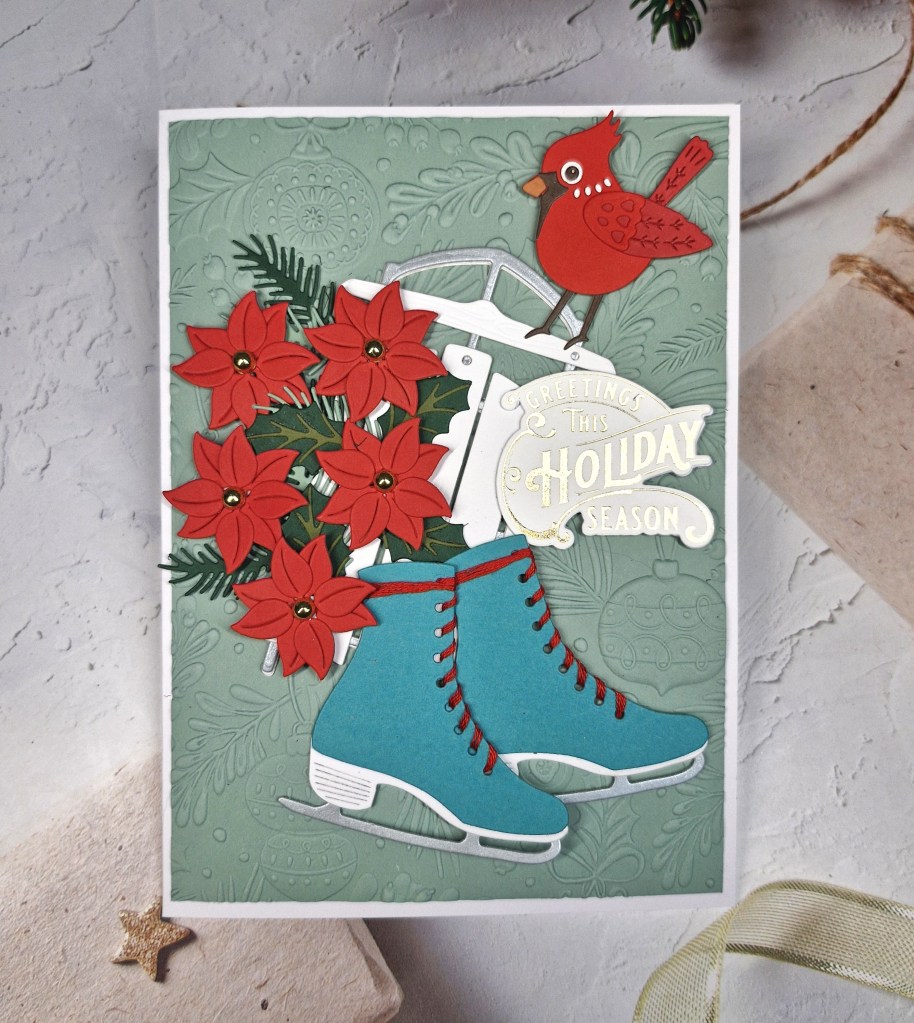
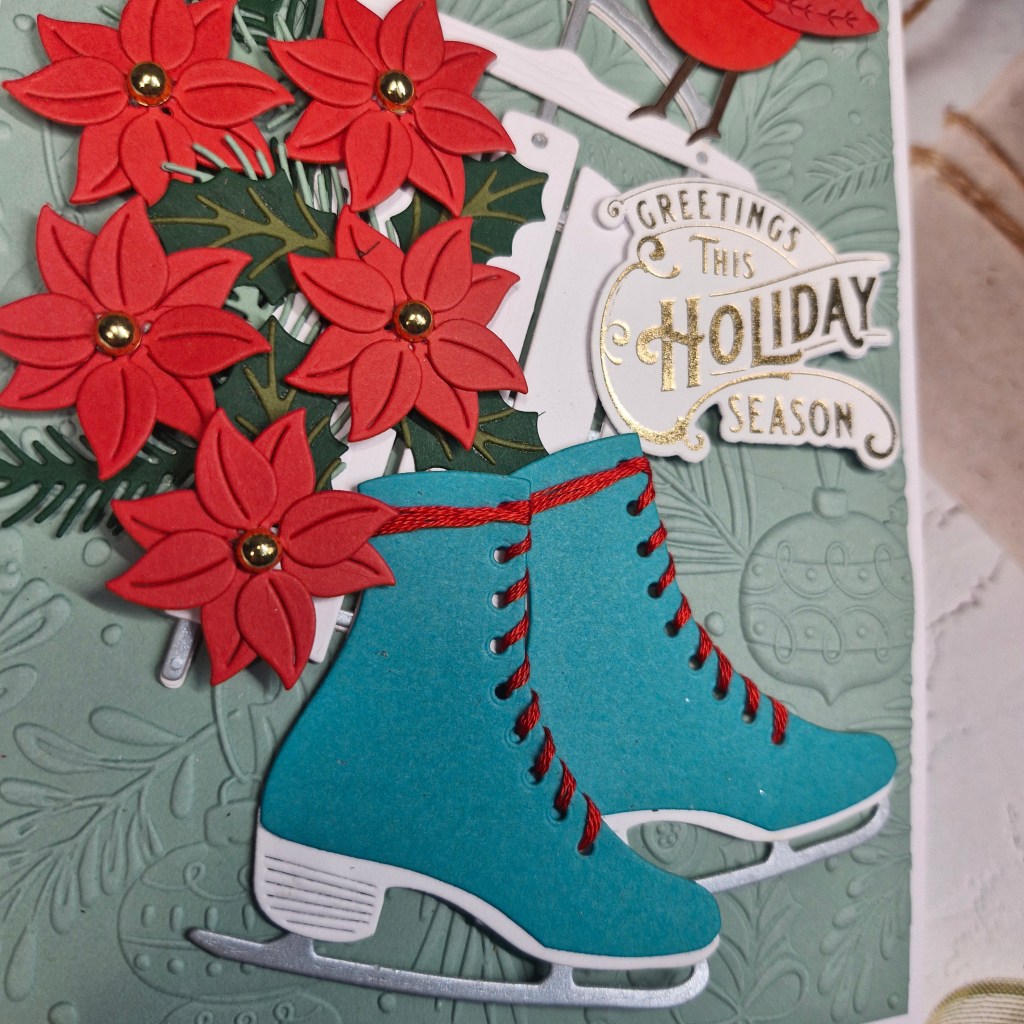
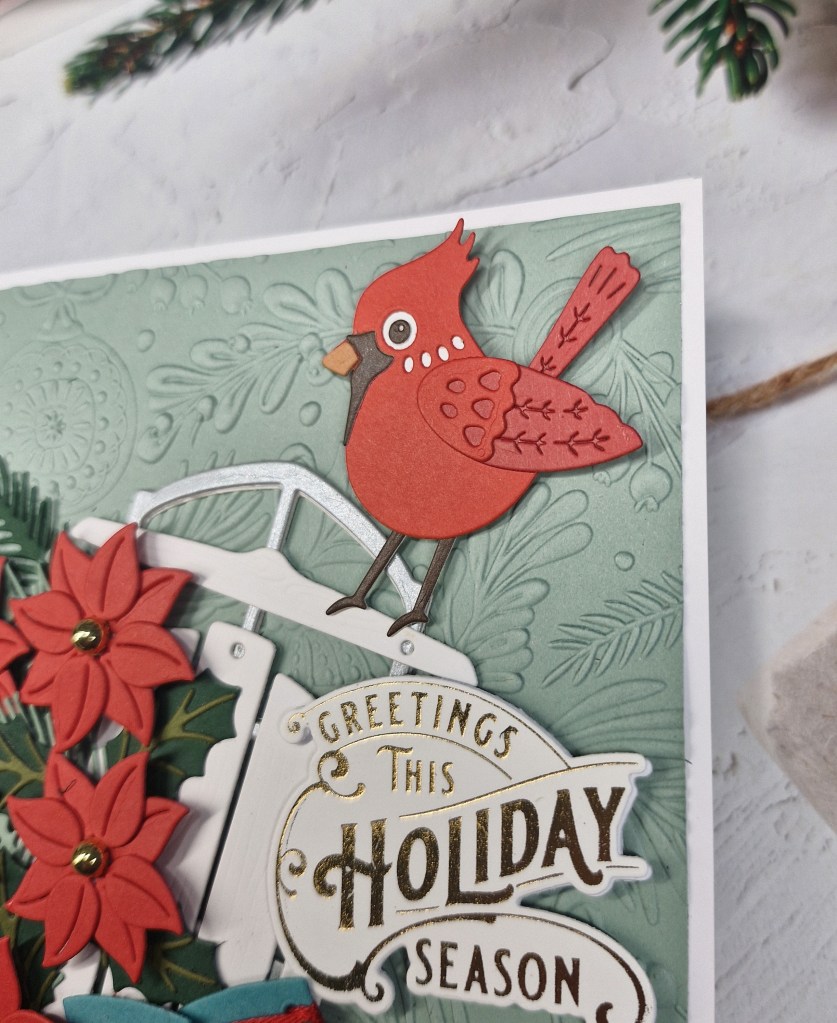
I used quite a few Spellbinder products to create this card, but the skates are from Memory Box.
The card itself is a larger 5×7 inch as I knew I wanted to get more on it than usual.
For the colour scheme, I wanted a teal for the skates, and red for the cardinal and flowers, so I searched through my colour cubes to see what background colour would work with those colours. There were serval darker options, but I wanted a lighter background,
The background panel is a piece of sage card stock, cut slightly smaller that the card base to add a white border, bringing in some of the white on the other elements. This panel was then embossed using a Spellbinders embossing folder.
I then set to die cutting all the things
The memory box skates were die cut using teal, white, and silver card stock, then layered together. I stitched red twine through the holes for the laces, then set them aside.
The sled was die cut in silver and white, then glued together, before turning to the flowers, foliage and the bird.
I used a combination of glue, 3D foam, and small pieces of spare card to attach all the elements, playing with the arrangement a few times.
The final addition was the sentiment, layered a couple of times for stability, then gold gems added to the centre of the poinsettia.
A lot of die cutting, but that is actually my favourite way to create.