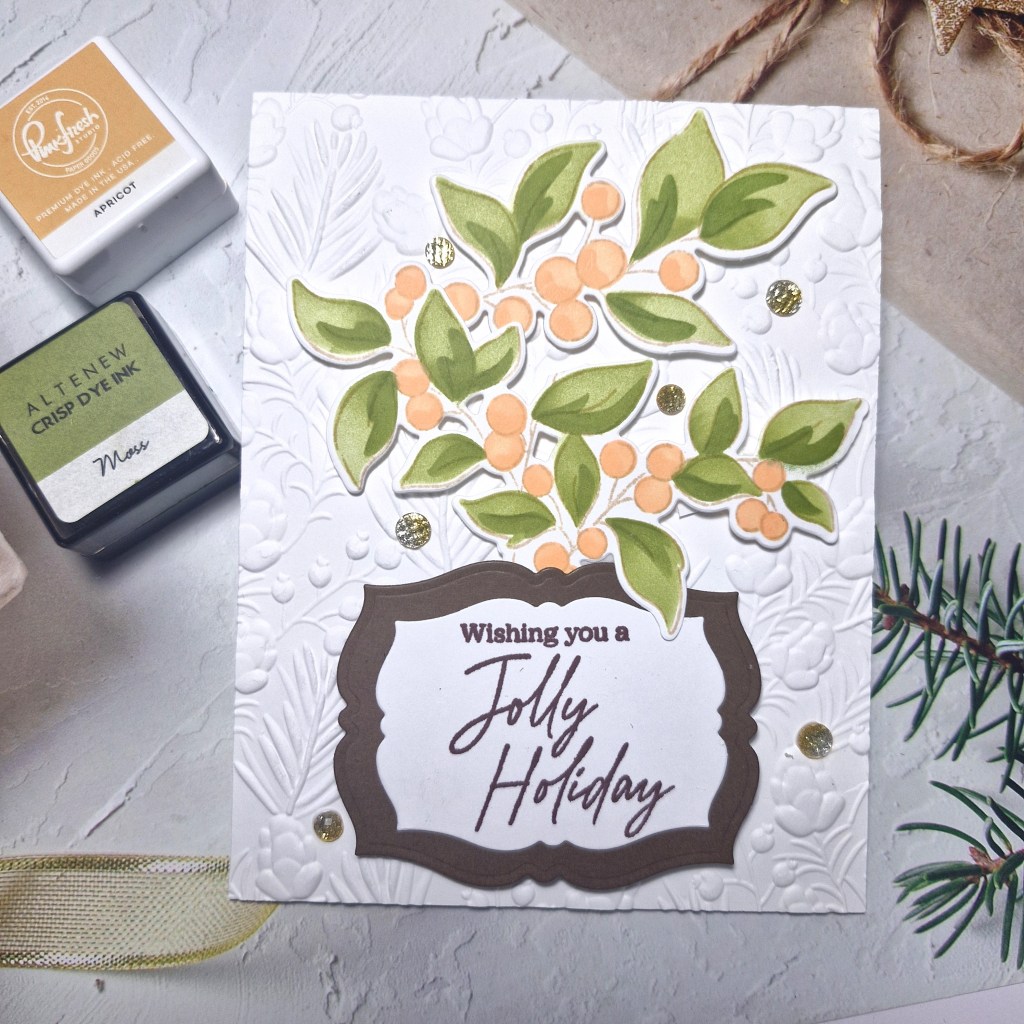
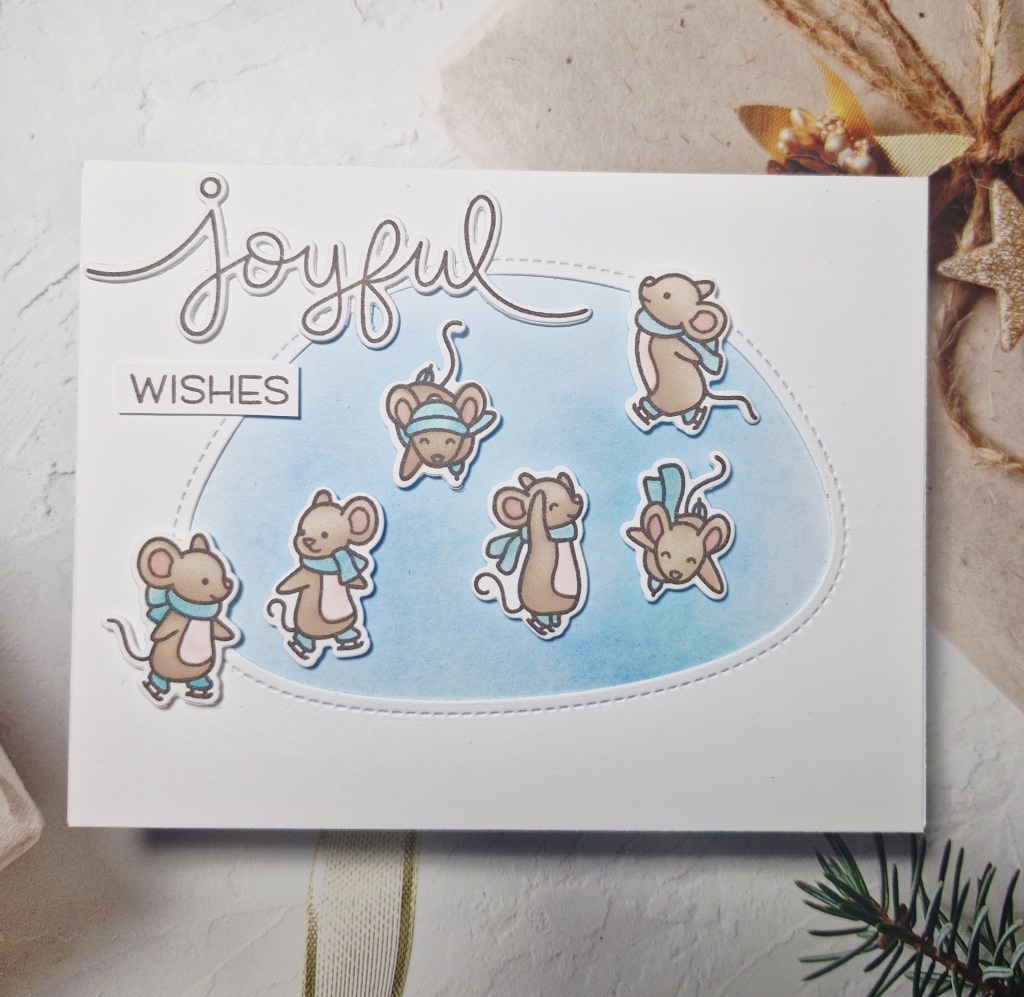
Hello again. I have a card to share created yesterday, but just didn’t have time to post it:
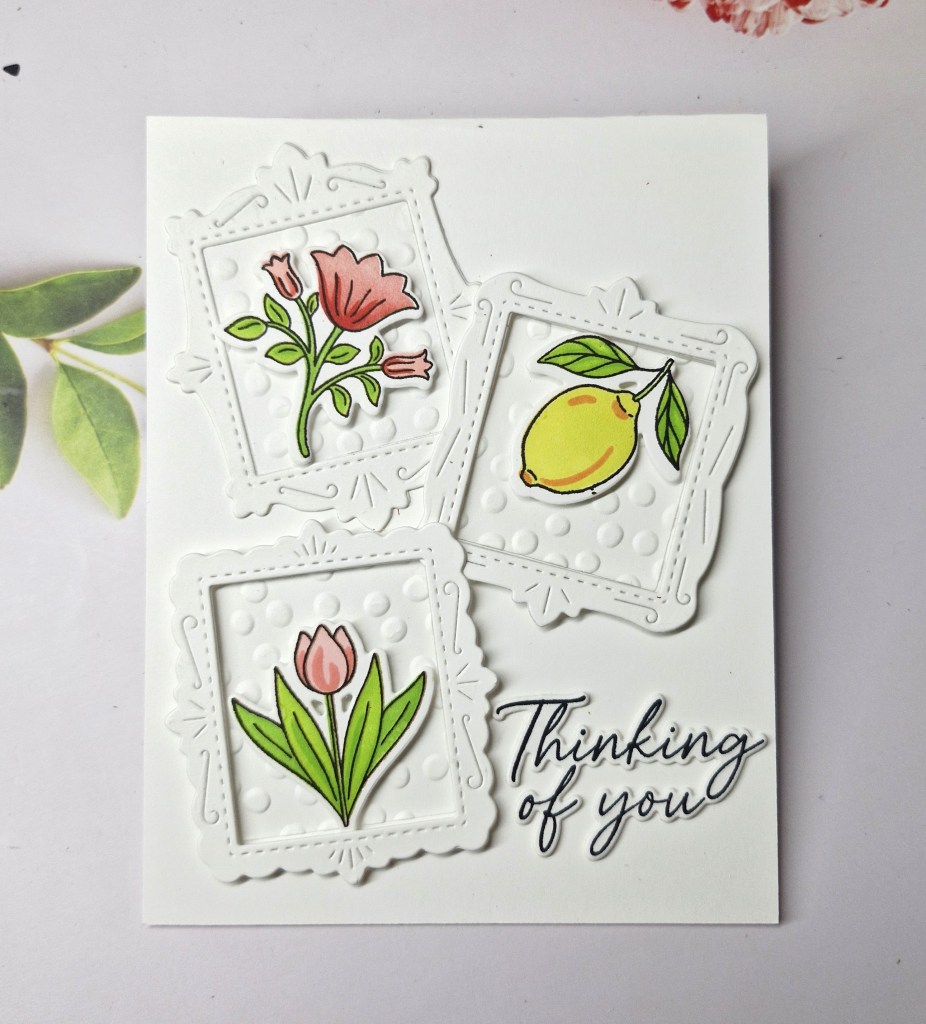
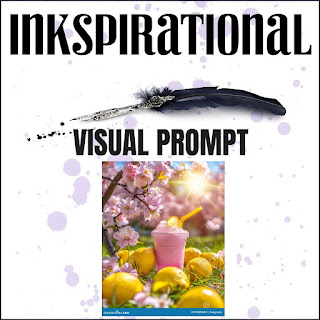
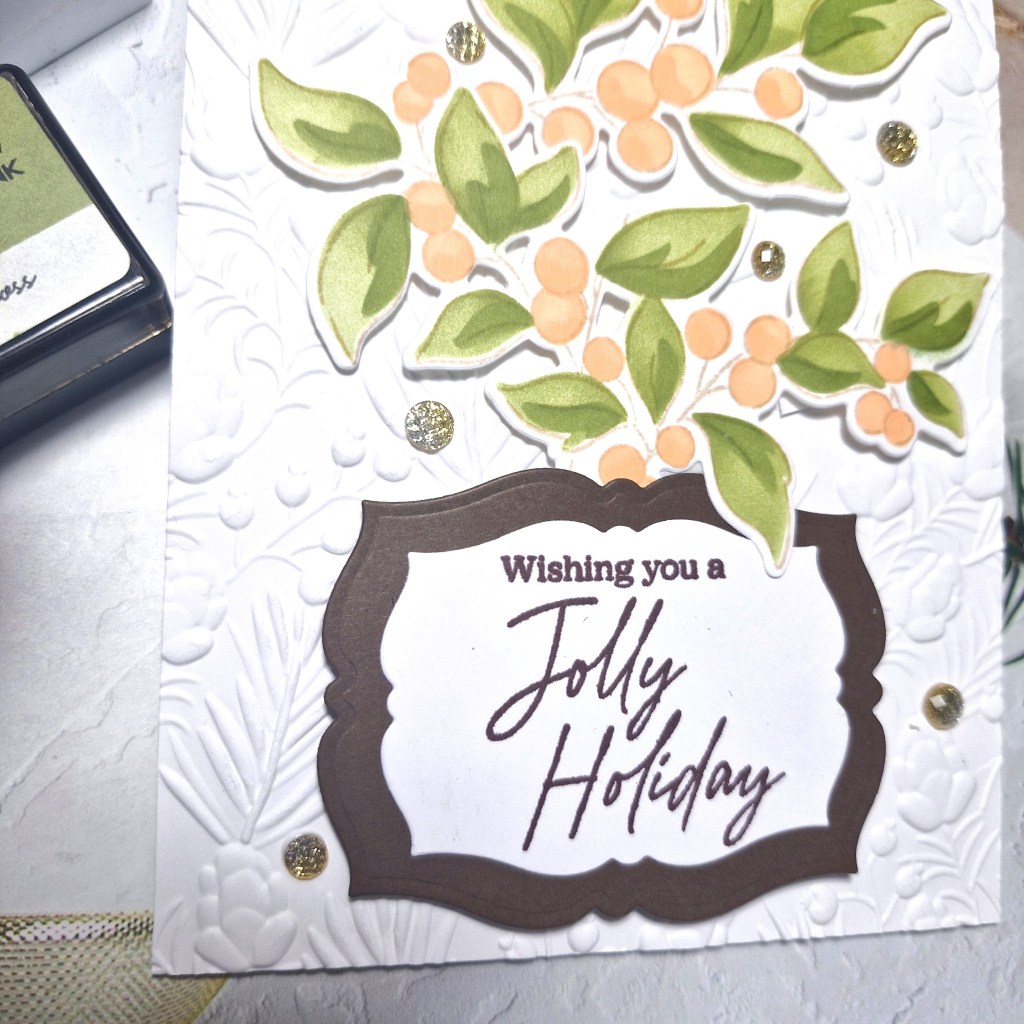
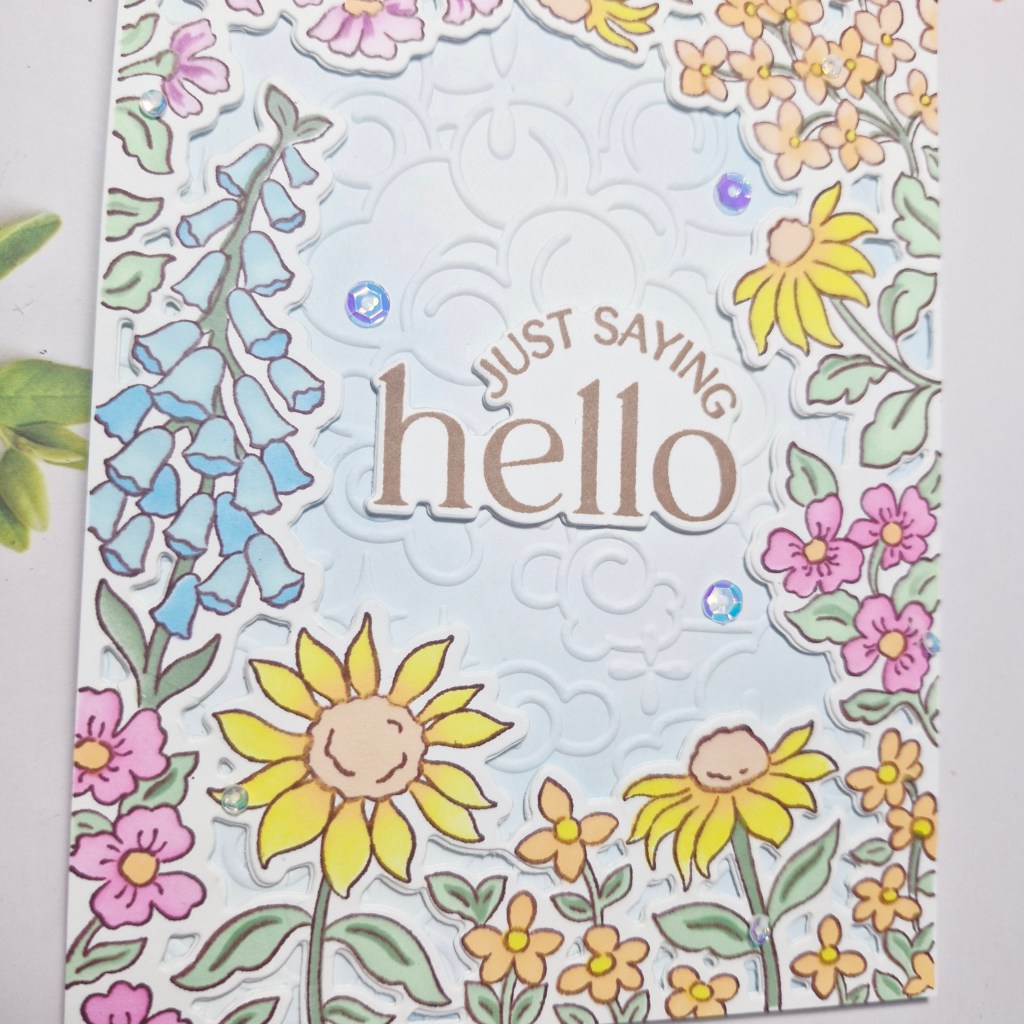
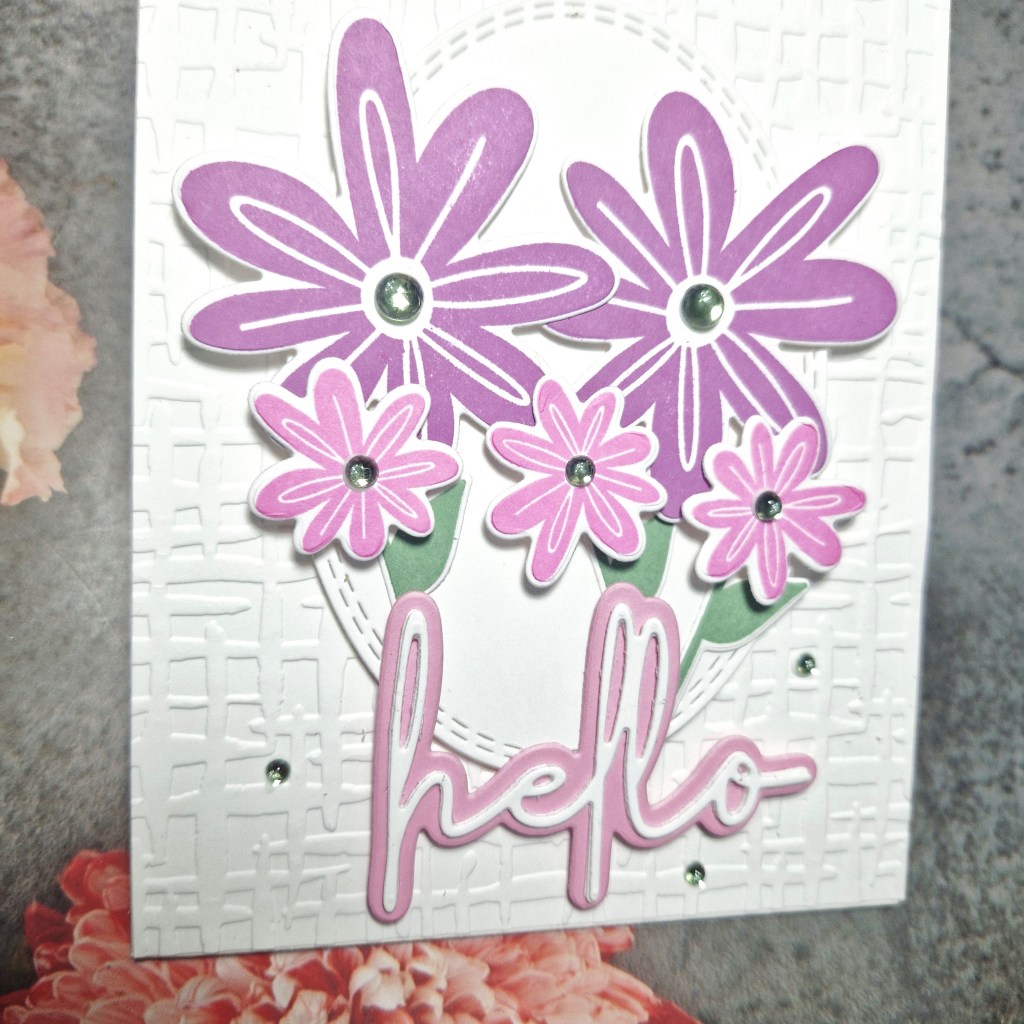
I was inspired by the inspiration photo at Inkspirational to use my new Pinkfresh Studio stamp, die & stencil set – Freshly Picked’. I took inspiration from the lemons, and the pink florals.
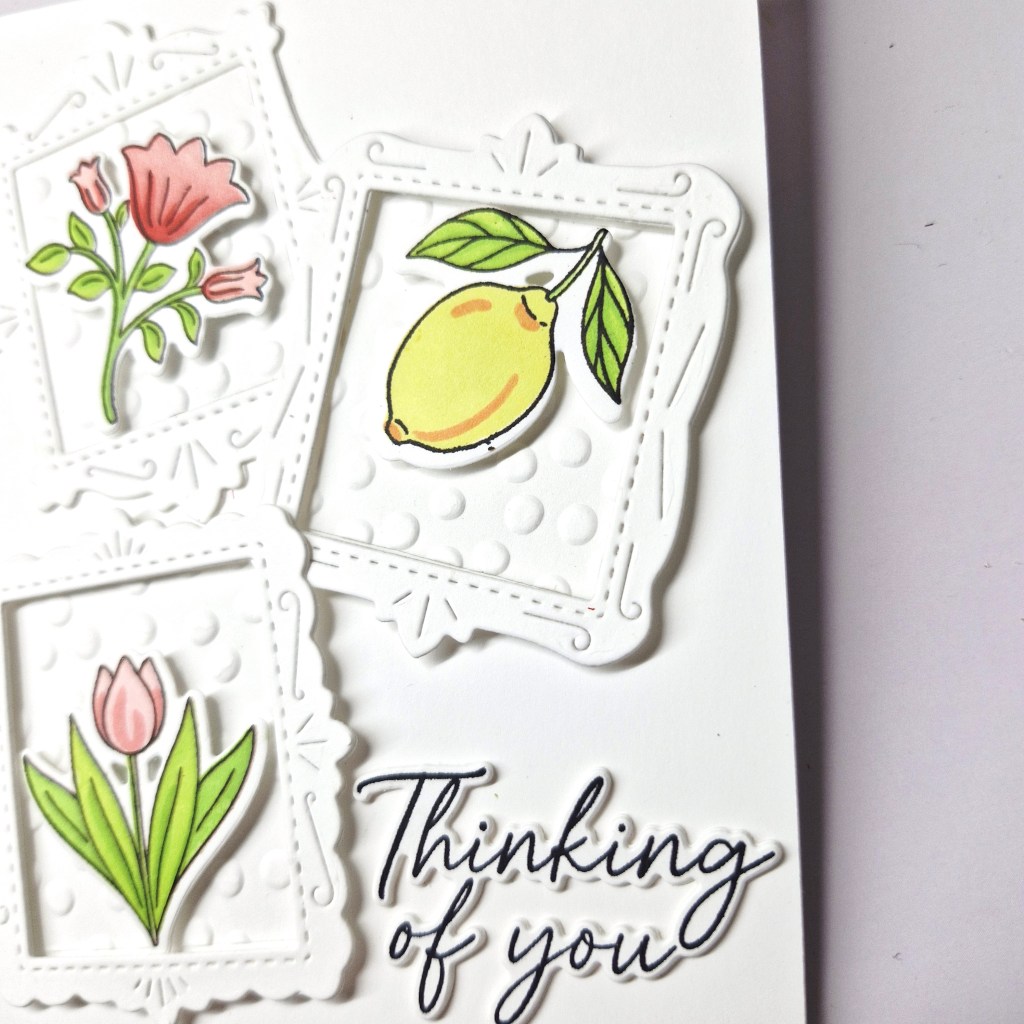
I first used the stamp and a light brown ink, then coloured using the matching layering stencils. I did use more than one colour per stencil – I like to mix it up a little – then used the die to cut them out.
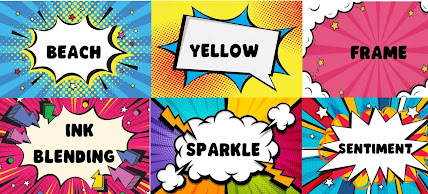
Using frame, ink blending, and sentiment from ‘Pick 3 Challenge‘, I used the Waffle Flower ‘Postage Collage Frames‘ and die cut several frame, layered twice. The inserts which came out of each die, I then used an old Sizzix embossing folder and added the embossed dots.
The frames were arranged to my liking, adding with glue and with 3D foam strips, inserting the small embossed squares back into place, then adding the lemon and florals with 3D Foam.
The sentiment was stamped and die cut, layered a couple of times, them added with glue.
I shall be entering the following challenges:
Inspirational – photo inspiration
Pick 3 Challenge – frame – ink blending – sentiment
Addicted to Stamps & More – make your mark
CYHTP – embossing folder – option of stars and/or stripes not taken
Triple B – birds and/or butterflies and/or blooms