Floral Frame Hello

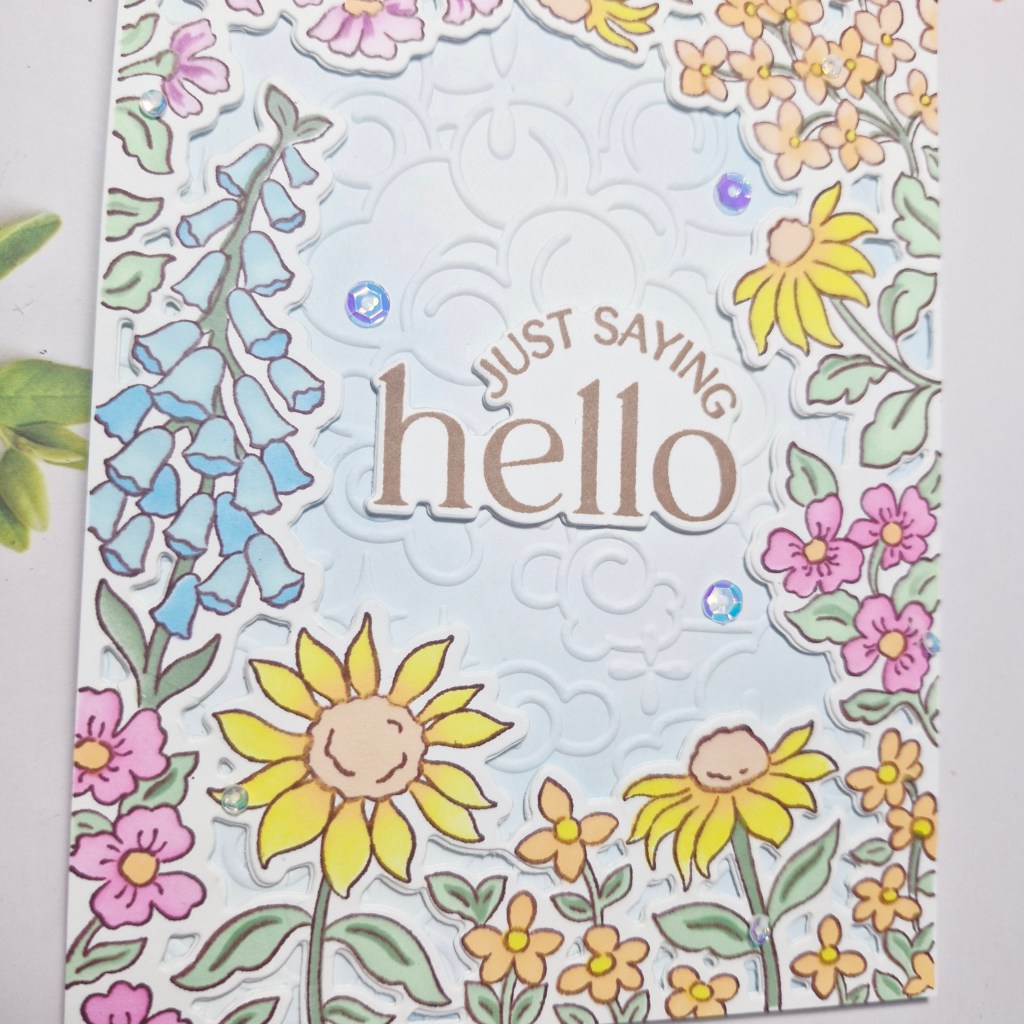
Hello again. A summery hello card to share with you today:
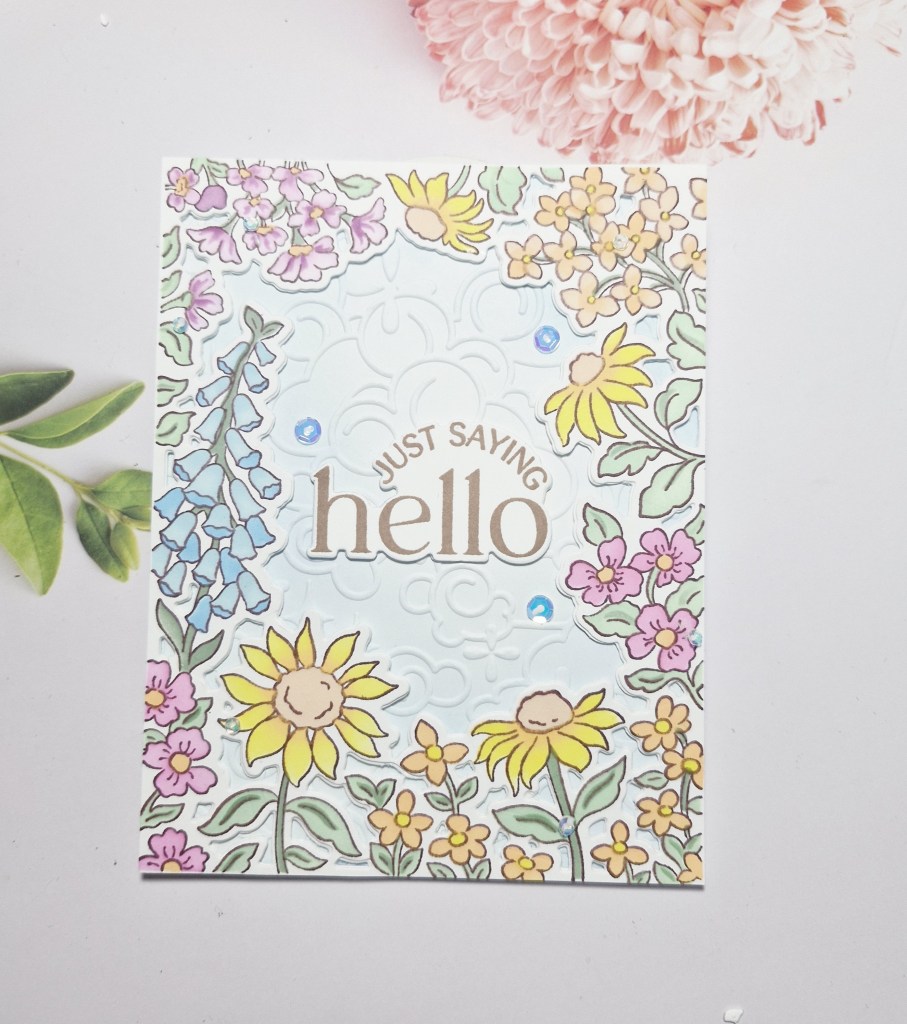
For this card I used the new Pinkfresh Studio stamp, die, and stencil set called ‘Sunlit Garden‘. I stamped the image with a brown to give a softer outline, then used all of the layering stencils to colour it in, adding some darker shading to the base of some of the flowers. This was then die cut and set aside.

For the background, I ink blended a white panel very lightly with blue, than used a Spellbinders embossing folder ‘Cloud Nine’, and attached that panel to the card base.

For the inked image, I die cut another two panels and layered together for more stability and then glued down.

The sentiment was stamped in a brown ink – another Pinkfresh Studio stamp set – die cut and layered three times, then glued into the centre of the opening.

The final touch was to add some iridescent sequins:
I shall be entering the following challenges:

CYHTPembossing folder, option of purple not taken

Crafting From The Art anything goes

Beautiful Blossomsflorals/flowers

Crafters Café – anything goes, option of blooms taken

Tic Tac Toetop right to bottom left diagonal – summer colours – die cut – layers
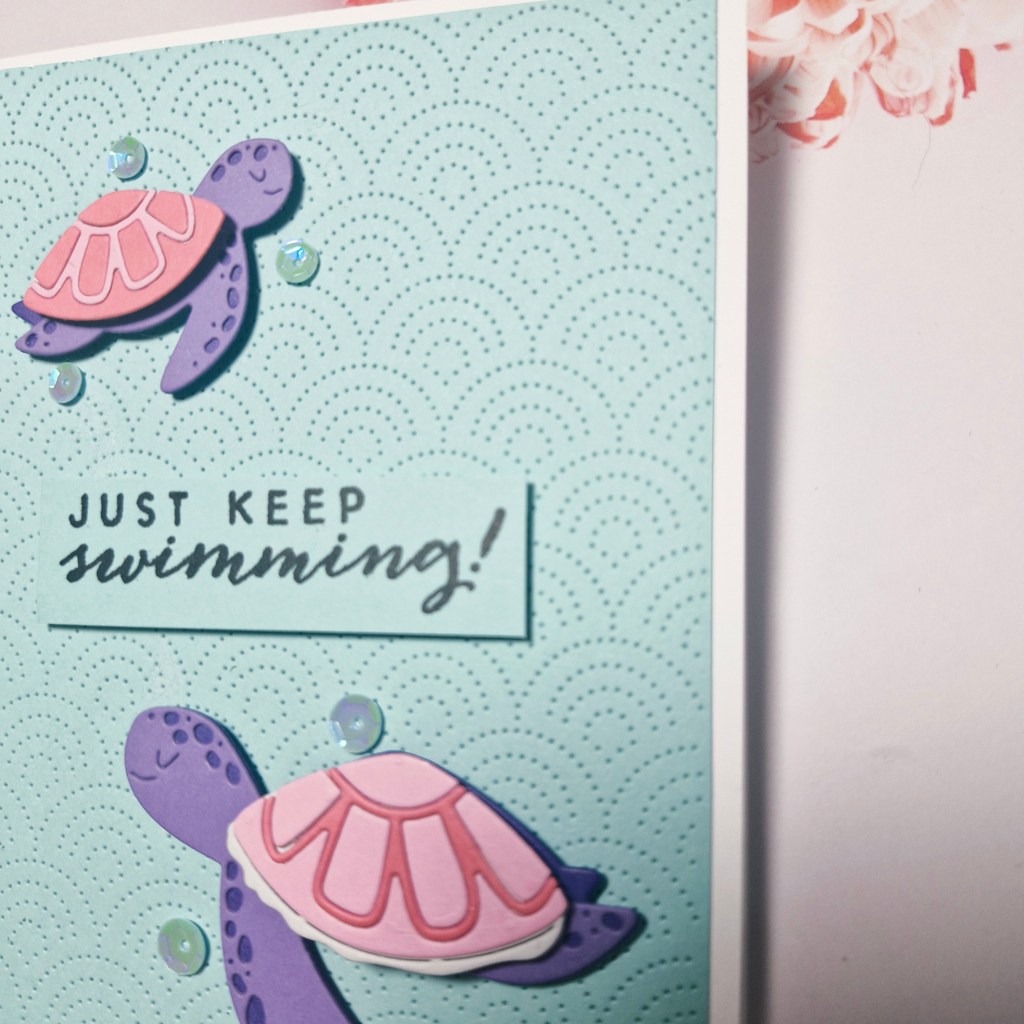
Just Keep Swimming

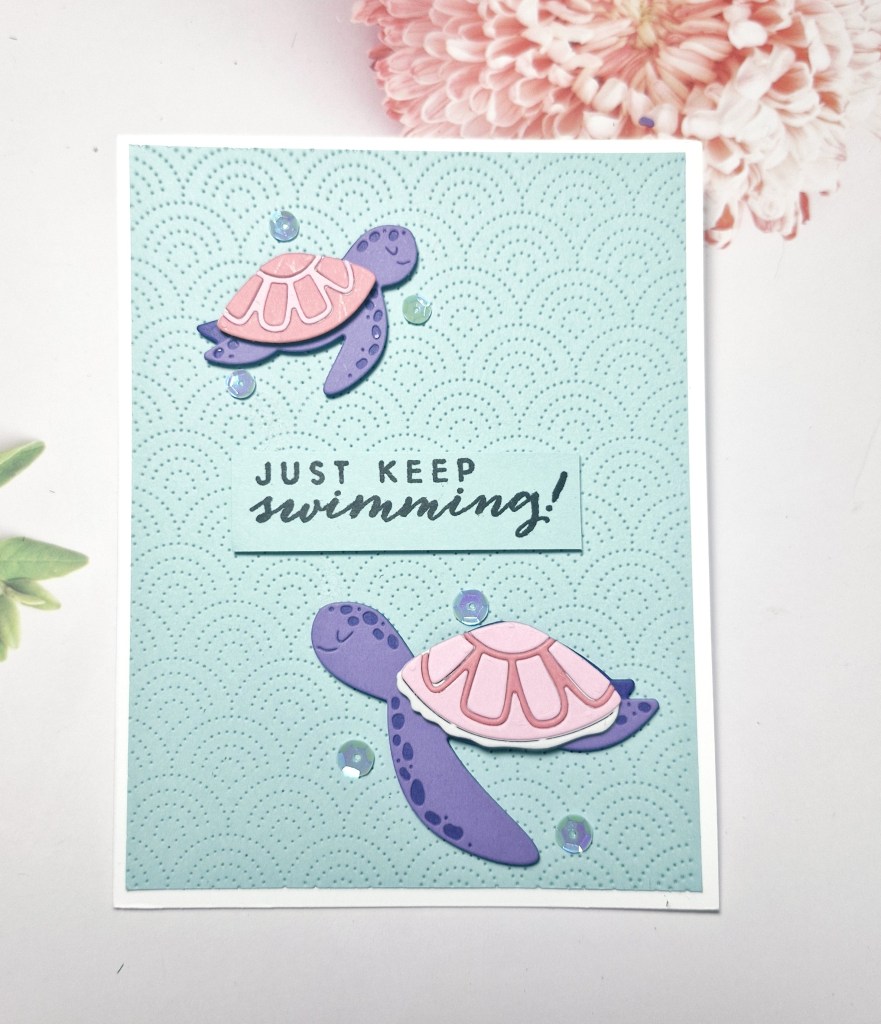
Here is an encouragement card using some newer products from Waffle Flower:

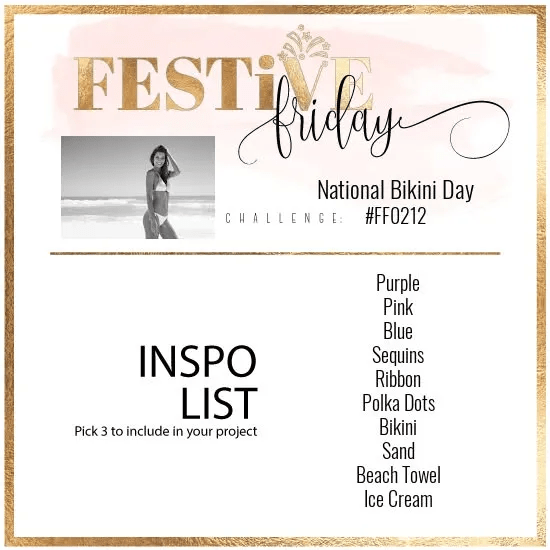
I first took inspiration from the list at Festive Friday, and for this card I used purple, pink, blue, and sequins.

The background is a light blue card panel, and dry embossed using the ‘Jolly Wave’ texture die, then cut down slightly and adhered to a card base.

The two turtles – also from Waffle Flower, were die cut and layered, adding to the background with 3D foam.

The sentiment – from a 10 years old Hero Arts stamp was used and cut using a strip die, adding with 3D foam.

The final touch was to add some blue sequins.

I shall be entering the following challenges:

Festive Fridayat least 3 items from the list – blue, pink, purple, sequins

Die Cut Divasdie cuts and/or dry embossing

Ellibelle’s Corner I Spysomething by the sea

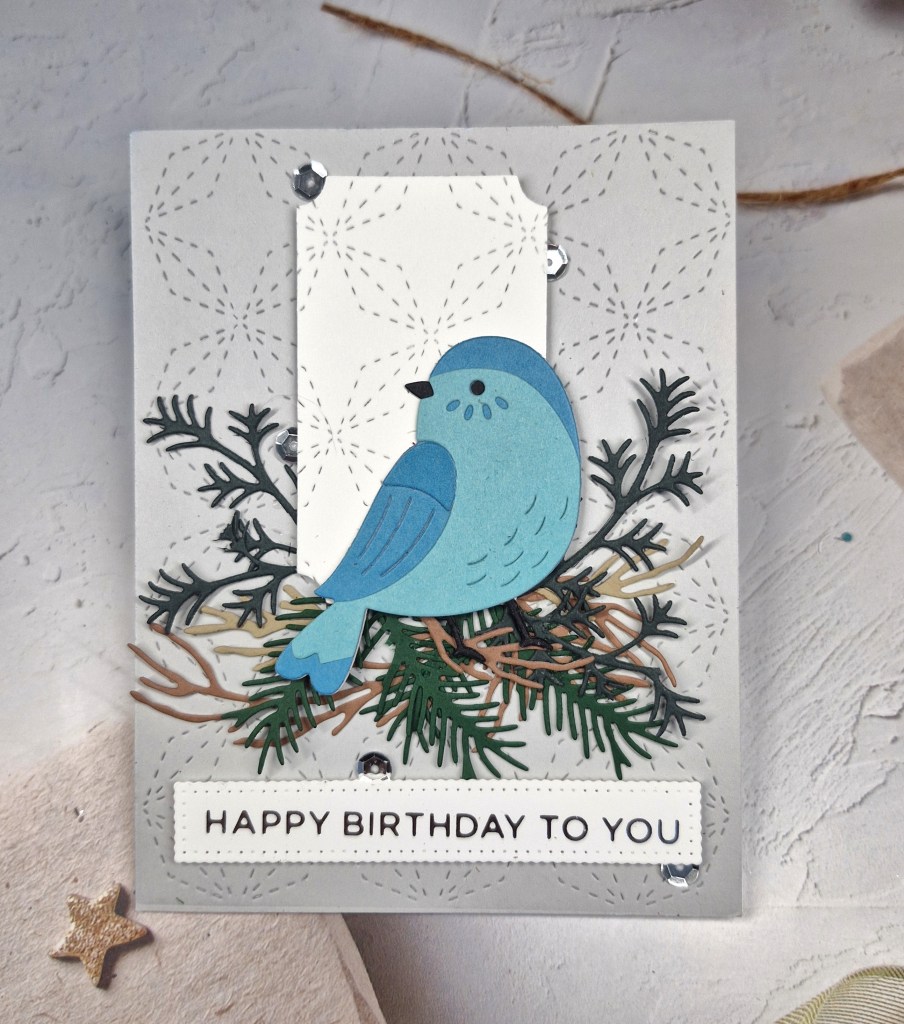
Happy Winter Birthday

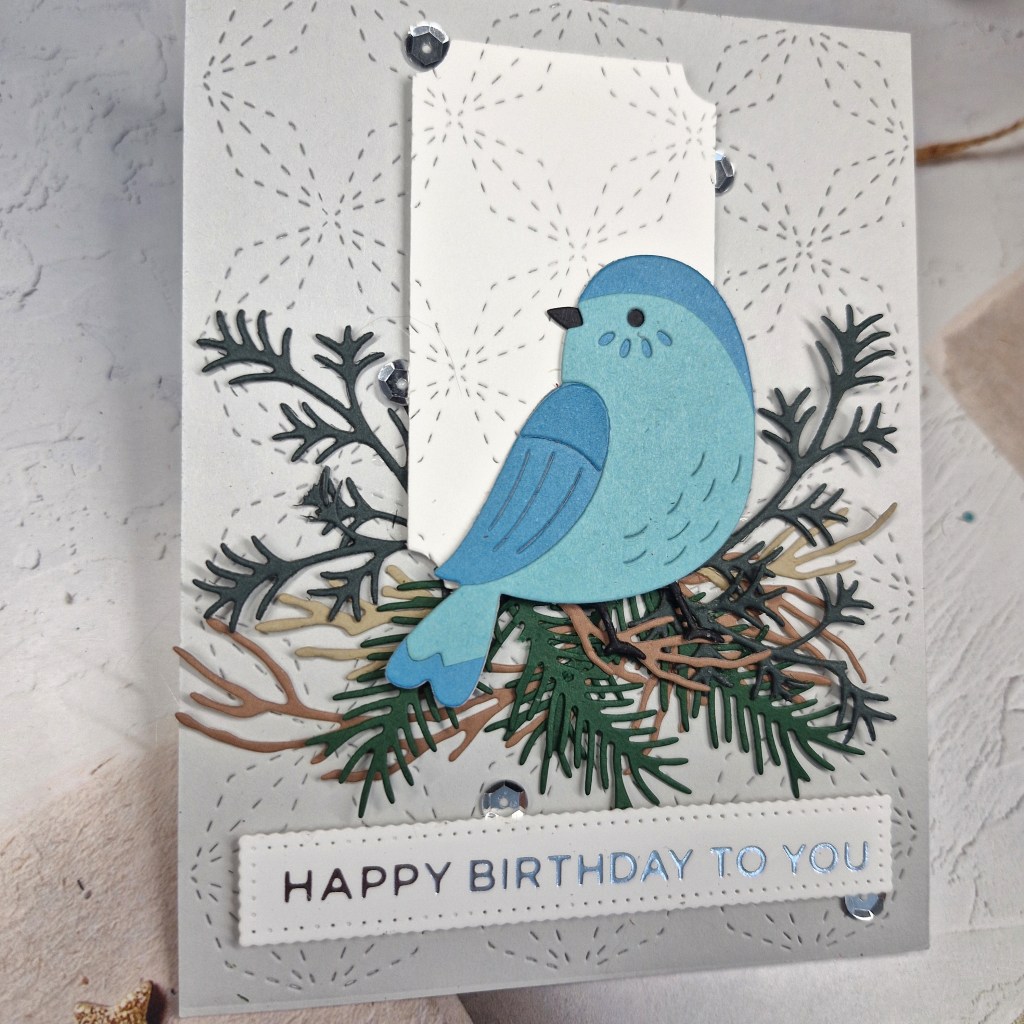
Hello again. A cold snap here in the UK means more crafty time – though I don’t really need an excuse at the moment – I seem to have recovered my mojo after my short break away in Tenerife. I wanted to create a birthday card for a change, but I still used some Christmas products:

The background panel was created using a light grey piece of card, and then using the Pinkfresh Studio cover plate ‘Stitched Pinwheels‘. I also used a Pinkfresh Studio frame die to cut the small white shape, used the Pinwheel plate again – thinking about the continuity of the pattern, and where I wanted to place it on the card front – thank goodness that worked….

I then die cut items from several Spellbinders die sets – the bird (Love Note Bird), then the branch and foliage from other die sets. I wanted the bird to stand out, so I chose bright colours for him/her, then the rest of the card elements are quite muted and neutral.

Once die cut, I attached the grey panel flat to the card base, used 3D foam to raise the white die cut, glued the bird to the white shape – though I did add a couple more die cut feet as they seems quite fragile – then attached the silver foiled sentiment with 3D foam.

I then played with the foliage, gluing them down one-by-one until I was happy with the placement and with the fullness.

As per usual, I added some extra embellishment, this time with silver sequins. I haven’t used sequins in a while, but I like how you can tuck them underneath layers so they are just peeping out.

I shall be entering the following challenges:

Seize The Birthday birthday – option to use Christmas supplies taken

2 Crafty Critter Craziesanything goes with a critter

Die Cut Divasdie cuts and critters

Crafty Animalsanything goes with an animal

T is for Texture

Hello once again. It is my turn to host at The Alphabet Challenge. As we have reached the letter ‘T’, I chose the theme of ‘Texture’. Texture can be added however you want to add it – embossing folder, paste, stencil – create texture in any way you choose.

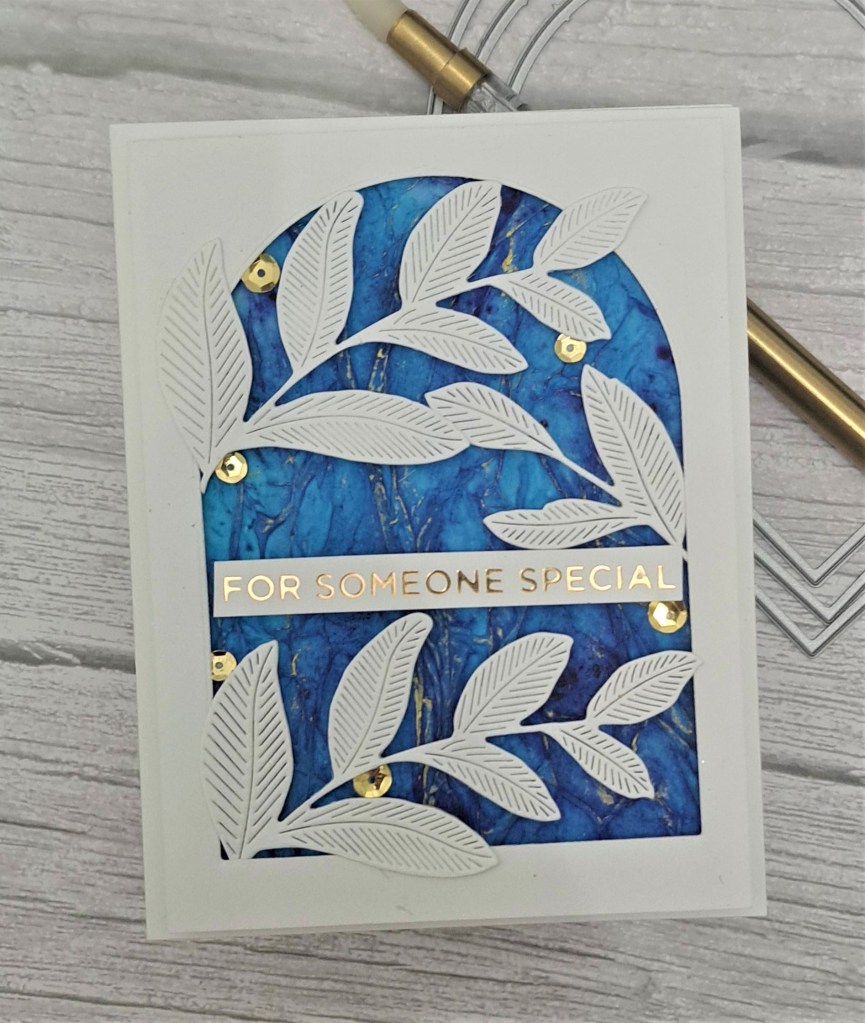
Here is my card:

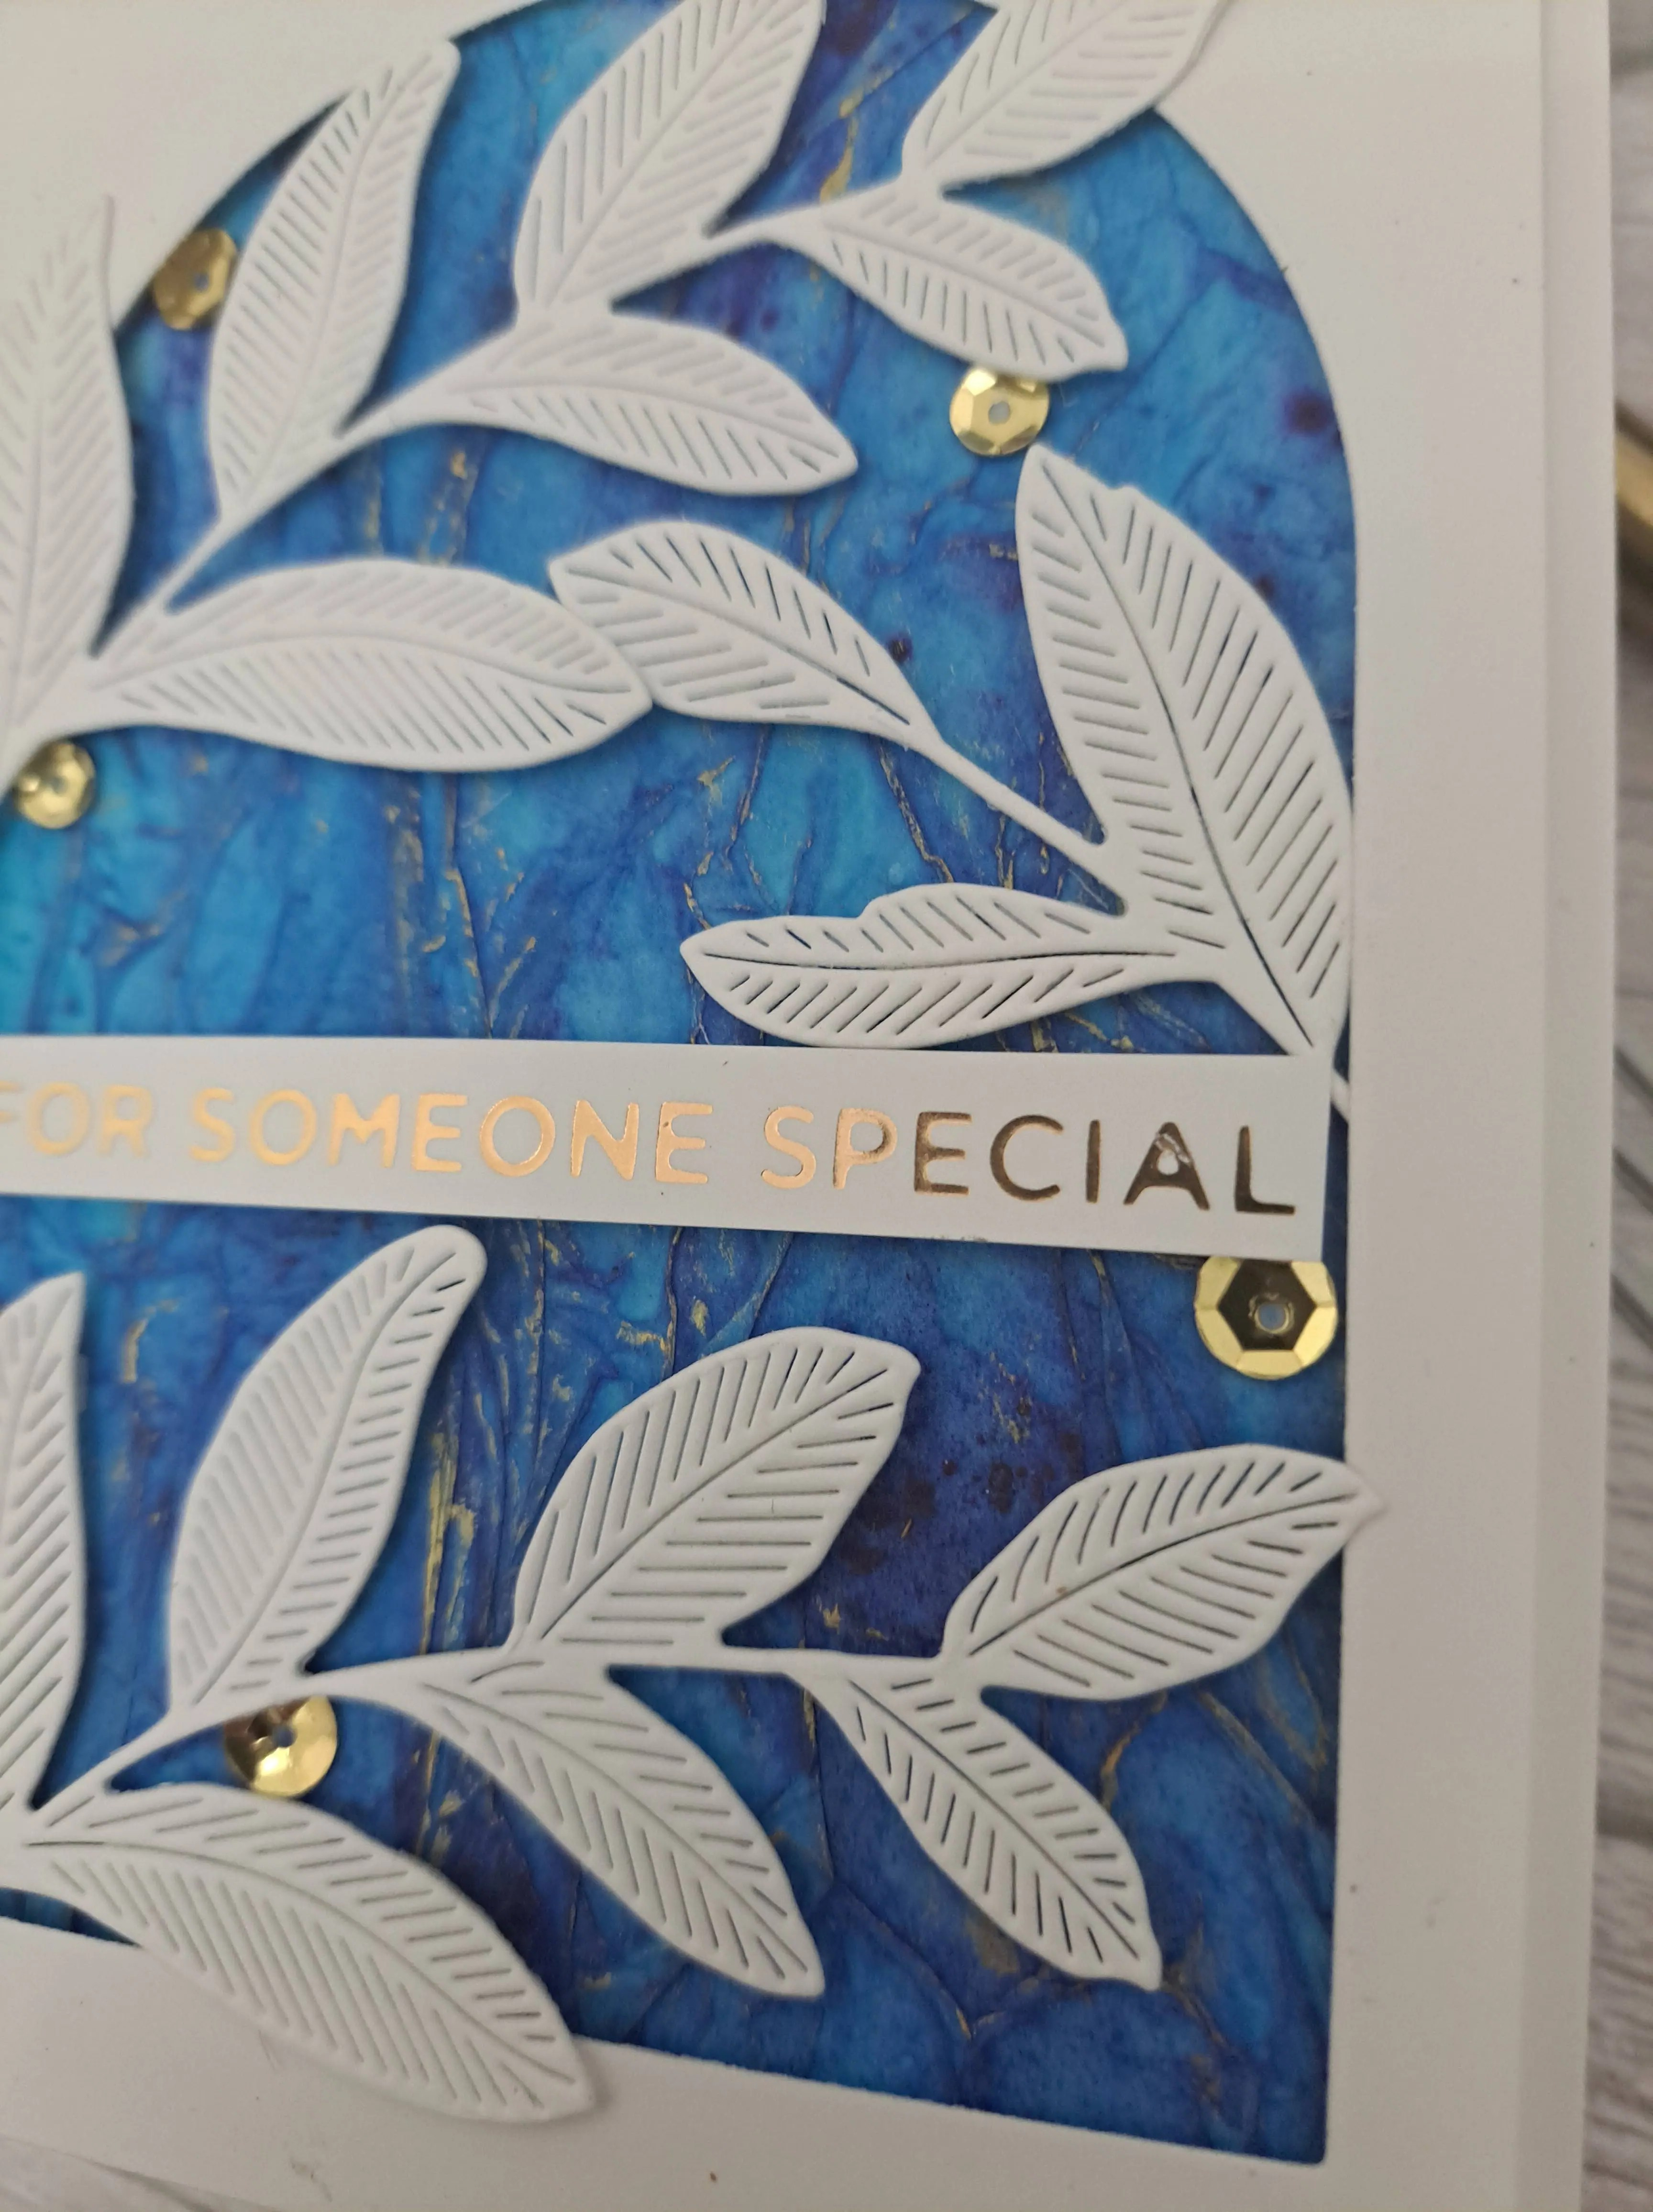
I added texture a couple of different ways here. The first was the background blue. This is a piece of acetate, tissue paper stuck down to one side of it, crinkling it as I went along. I then added water then Brushos added to create a dark and deep blue. Once the piece was dry, I went over the top of the crinkles with Hero Arts gold wax.

I then worked on the arch frame using Simon Says Stamp dies, and then stuck the frame on top of the blue crinkled tissue paper.

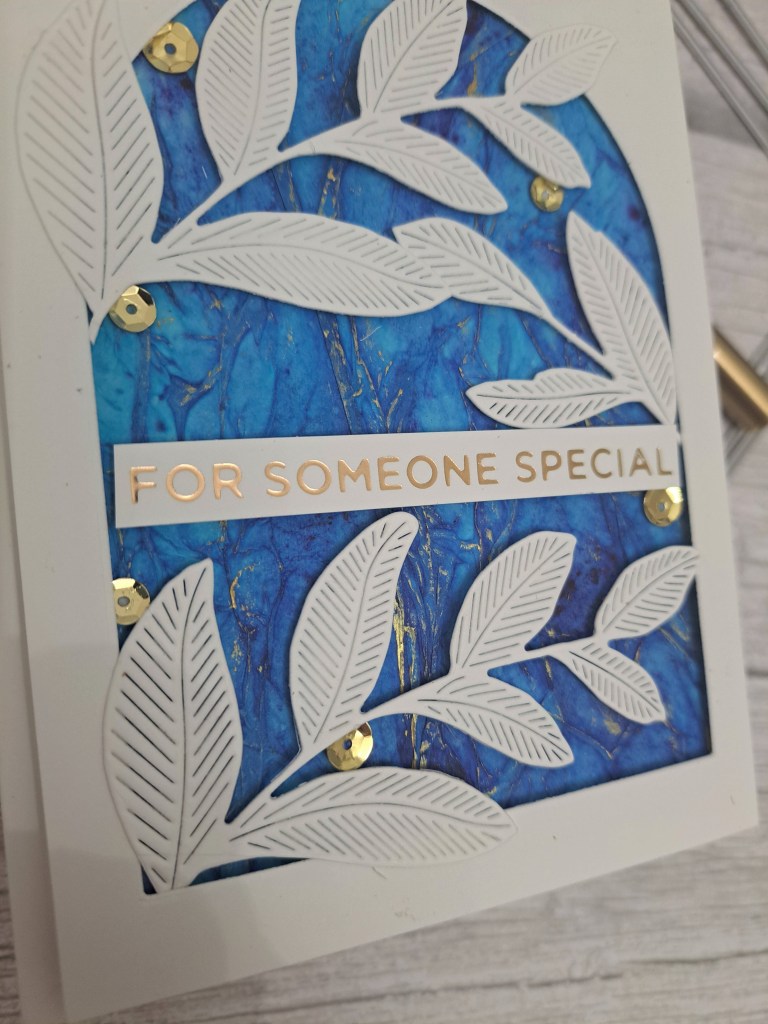
The leaf dies are also from Simon Says Stamp, and themselves have some texture to them with the detail on the leaves.

More texture added with the gold sequins, before I then adhered the gold foiled sentiment.

I hope you can come and join us and share your projects incorporating ways of adding texture. xx

I shall be entering the following challenges:

Ellibelle’s Corneranything goes

The Crafty Addicts anything goes

Creative Artiste Mixed Mediaanything goes mixed media (foil, wax, Brushos, wet glue)

Stay Crafty With a Blog Named Hero – Shiny – using at least one Hero Arts product (Hero Wax)

Lil Patch Of Crafty Friendsanything goes

Ally’s Angelsanything goes

Color Throwdown Pink, Mint, Grey

Hello there. I was lucky enough to be the winner for a recent challenge at The Color Throwdown, and as such invited to be a guest for an upcoming challenge.

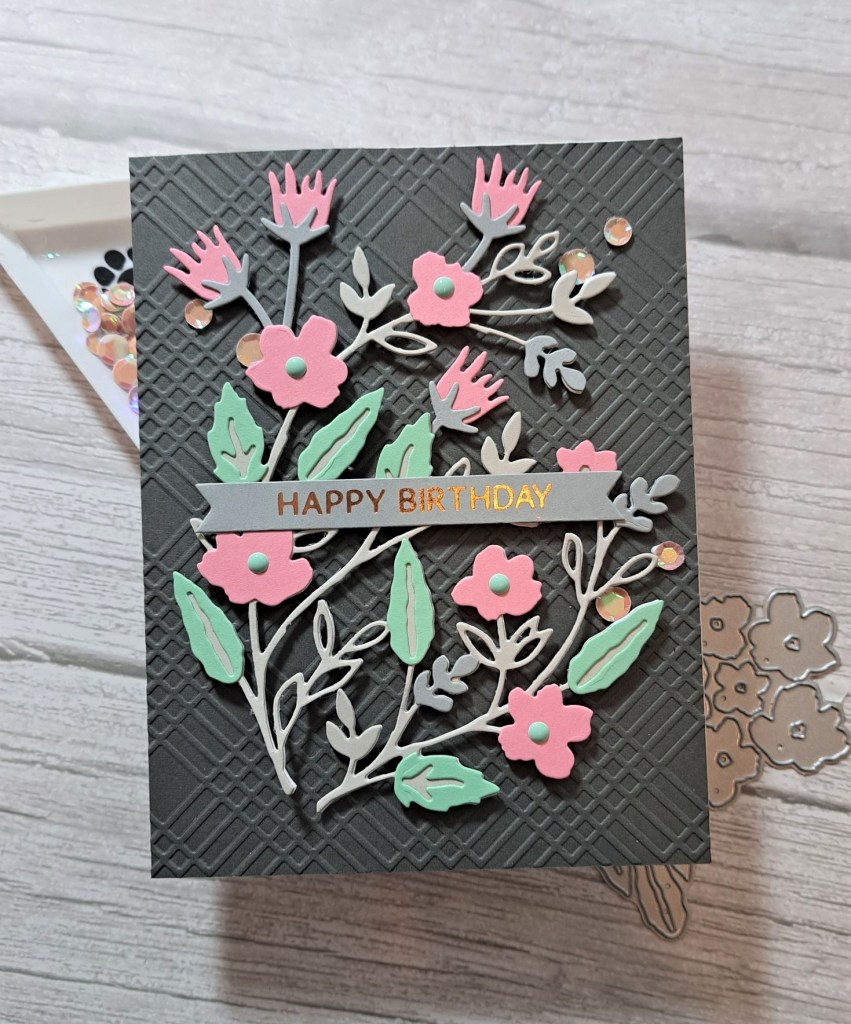
As you can see, the colours this time round are Pink, Mint, and Grey. Here is my card:

The flowers and foliage were created using a couple of die sets from Concord & 9th, along with some of their card stock, and some card stock from Heffy Doodle.

A light grey for the branched of the main spray, with a slightly darker grey for the smaller sprigs.

I stuck the layers together on the main spray, then popped in some other florals here and there.
I added some gems to the centre of the flowers.

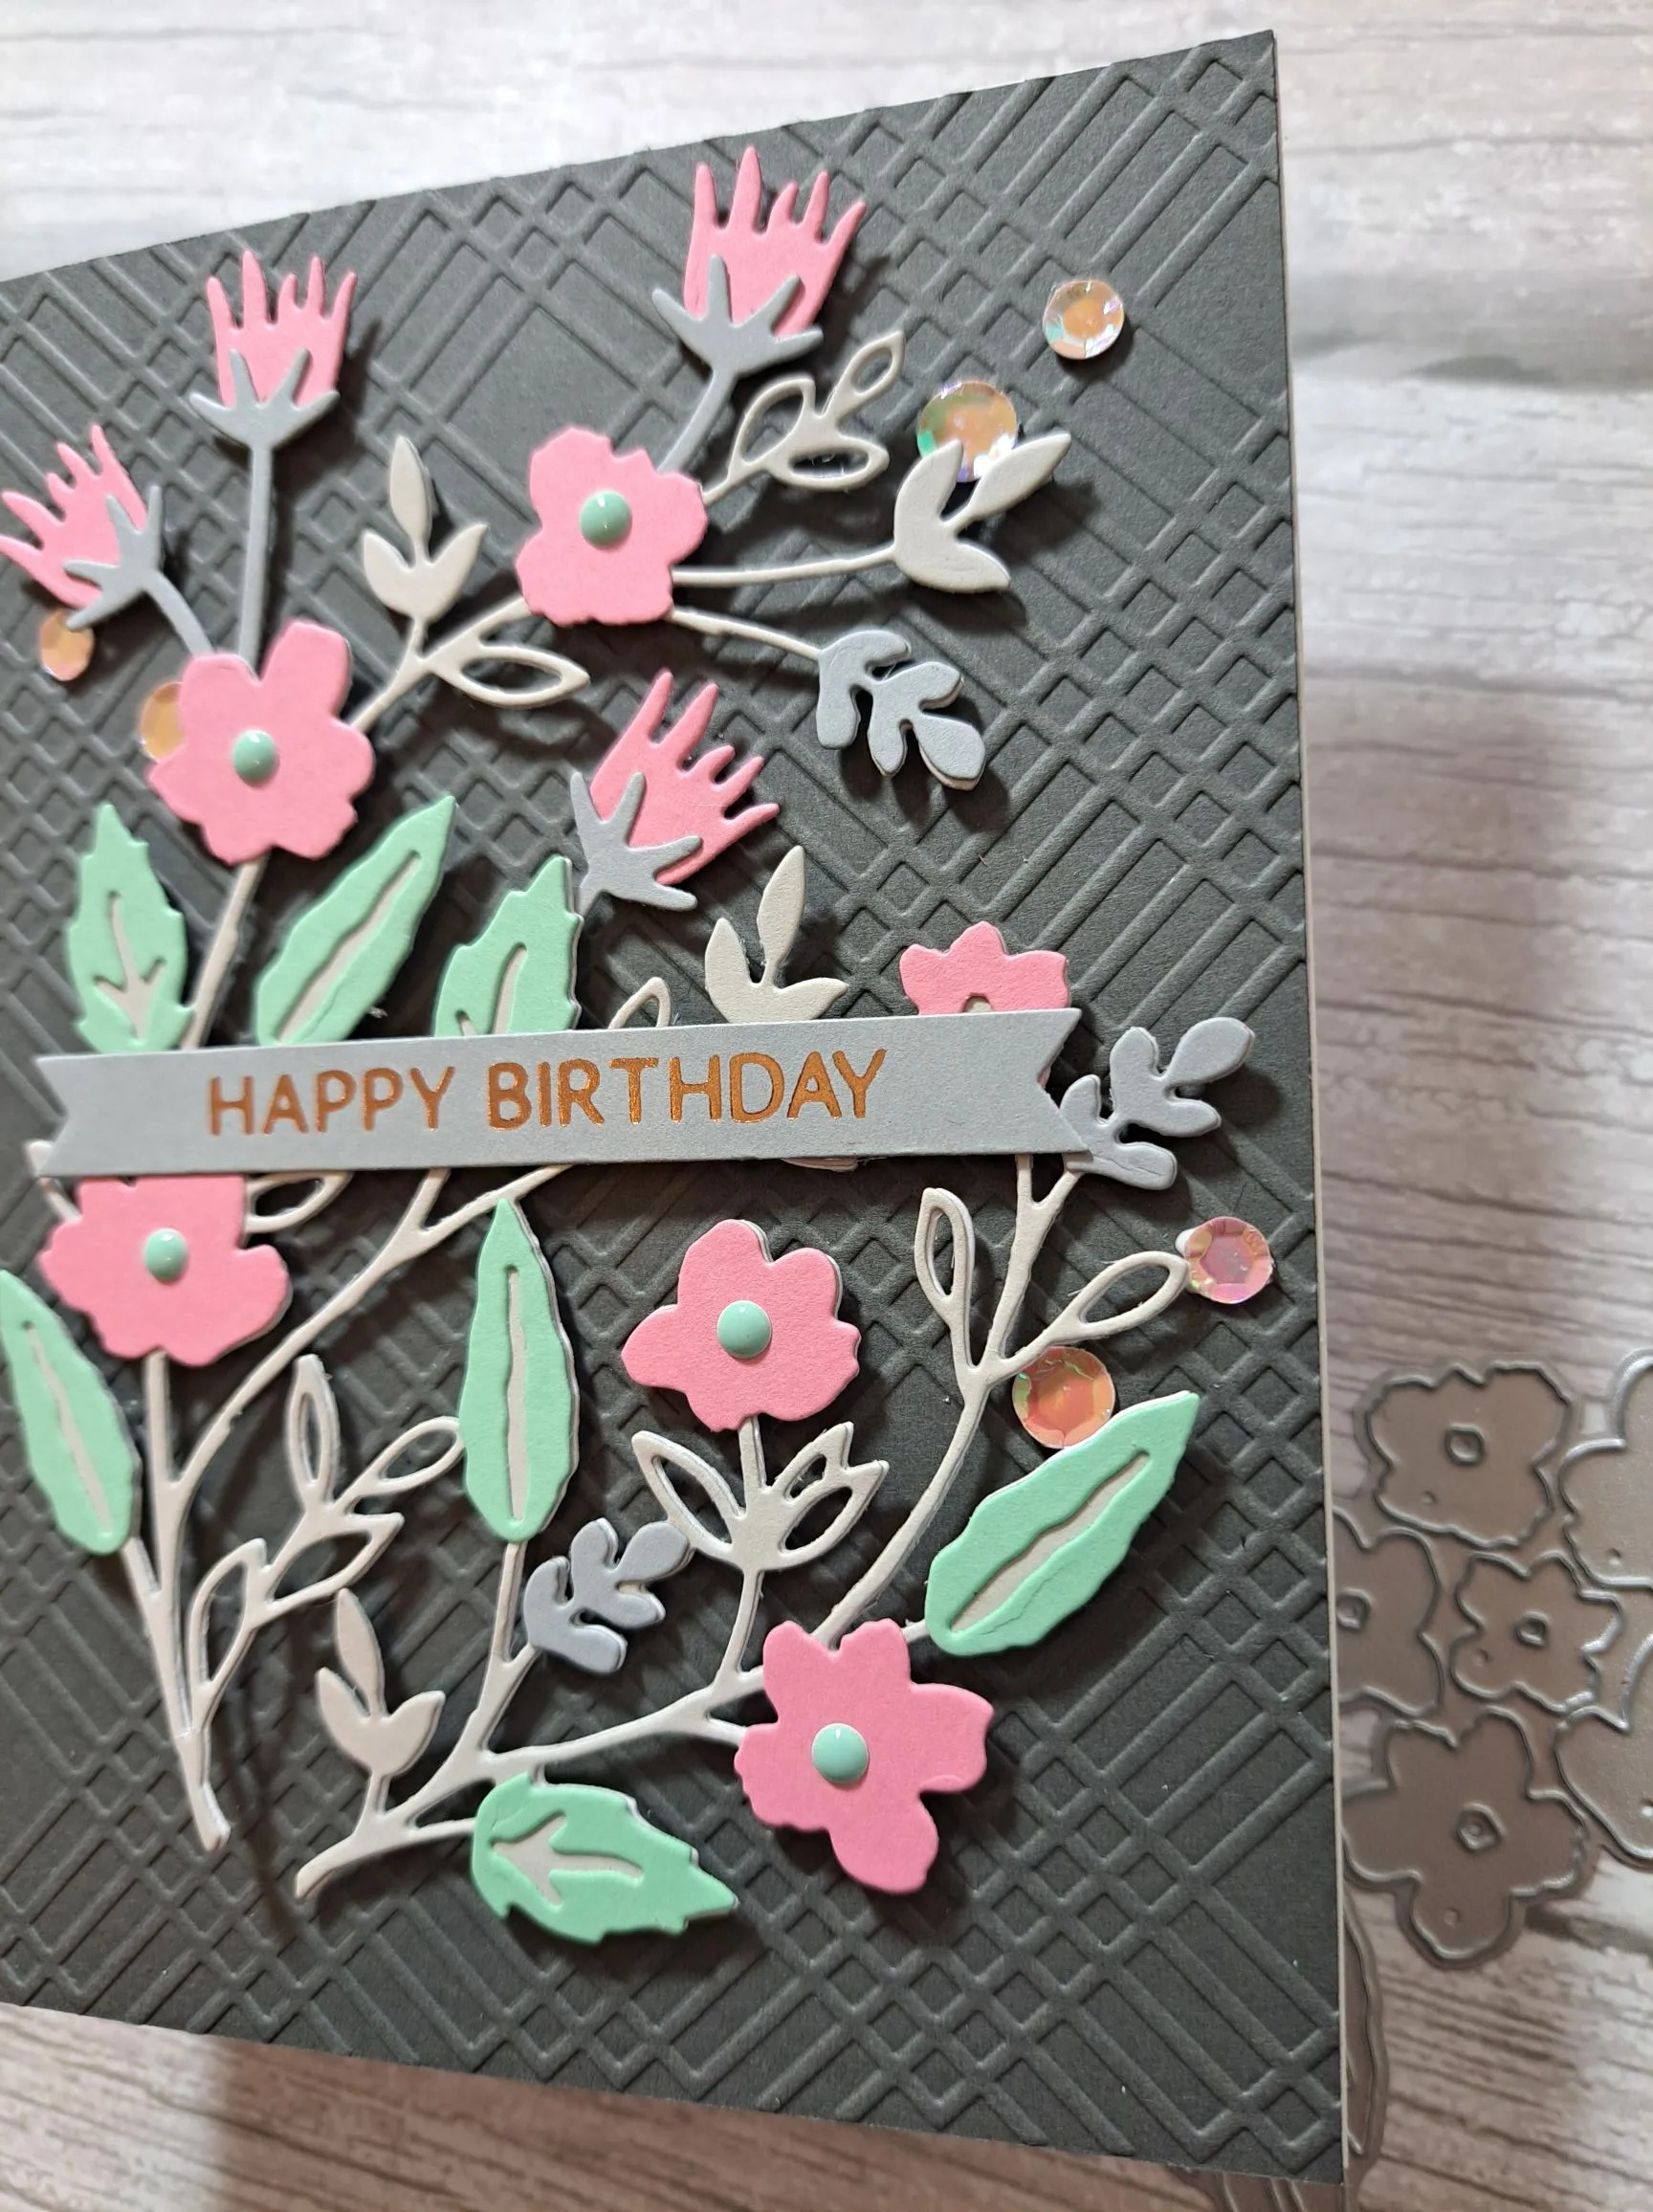
When I came to adhere to the card base – I couldn’t make it work. The arrangement seemed lost against the white, despite trying a couple of embossing folders. I was going to ink smoosh onto a background panel, but tried this dark grey card stock from Lawn Fawn – and this worked much better.

I dry embossed that dark grey panel with a Spellbinders embossing folder, adhered the floral spray with 3D foam – some very, very tiny bits in parts – and added some sequins. I’m not quite sure what colour the sequins are, but they do give off the pink and grey vibe……

As for the sentiment – it’s a recently foiled strip created when taking part in the Spellbinders Glimmer class a few weeks ago – and on grey card too…..

What a great colour combination for this week – I hope I get you see you in their gallery. xx

I shall be entering the following challenges:

Allsortsuse dies

Beautiful Blossoms flowers

Creative Fingersanything goes

Craft Rocketuse dies

Daisy Chain no designer paper

Crafting Happiness anything goes

A rose bouquet

Hi there. I hope you are all ding well this weekend. From snow-deep a week ago, to loads and loads of rain….. I can see the snow-drops and daffodils poking their heads up, and the green leaves for the blue-bells. It is a good job the British plants are hardy enough to cope with the vagaries of our weather.

I spent some time with the Altenew ‘Sweet Rose Bouquet‘ yesterday. I tried the stamp set in multiple colours, as you can see. I didn’t realise until I opened it that the flowers and leaves are all bunched together, several layers for each – (perhaps the ‘bouquet’ part of the title of the stamps should have given me a hint. :)

It actually took me quite a bit of time to sort out each of the images, and each of the layers – thank goodness for the Misti for the larger images.

I really do like this stamp set, and I can see many more bouquets being made in the future. Once you have your head around the layers and the positioning….and the Altenew ink sets take matching colours sooooo easy.

Well – unless you get then the wrong way round! I did that with the purple flowers – I stamped the darkest purple on the second layer. So I turned to my blue inks so I could out even darker layers down. So I didn’t make a mistake really – I just have purple and blue roses!

I added sequins as part of one of the challenges – a couple of them did cover some ink marks…..so handy.

I shall be entering the following challenges:
Watercooler Wednesday atg feminine

Seize The Birthday atg Birthday

CAS on Friday CAS celebration card with sequins