Pink Peony Thanks

There is a brand new challenge starting from Heart’s Quest, and to show my support for the new challenge and the Design Team, I have created a card for it. The name of the challenge is ‘Heart’s Quest Pretty In Pink’ and the theme is to use mainly pink, with an optional pink washi/decorative tape for this month.

Here is my card:
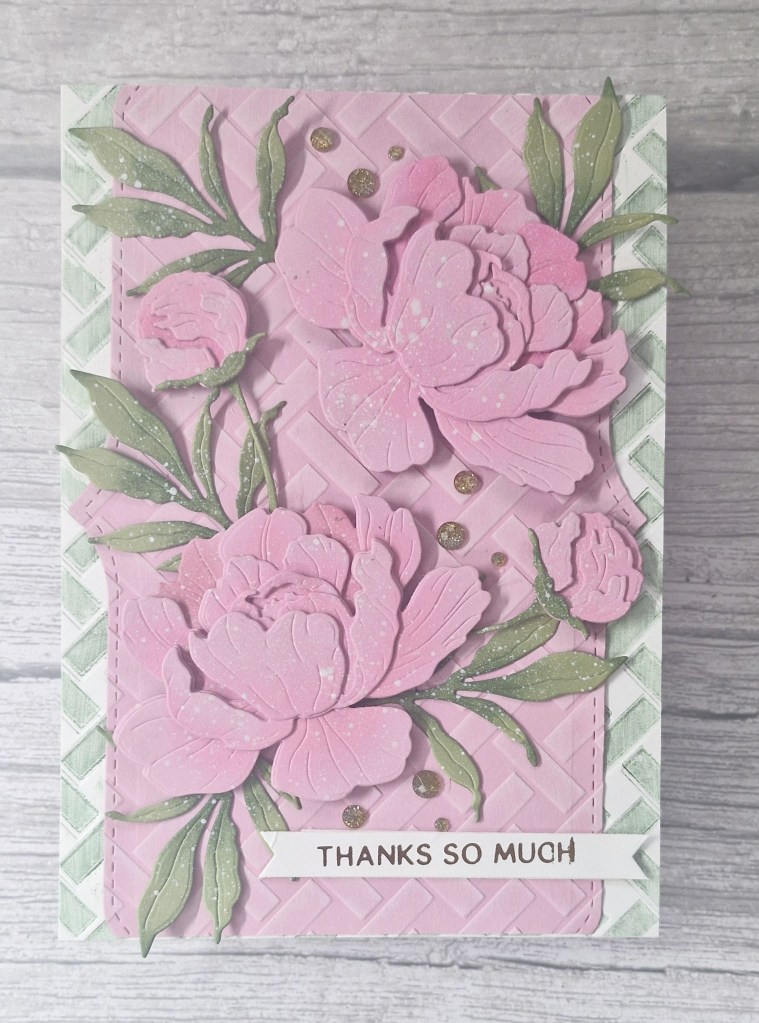
When I saw that the theme was pink – not my usual choice of the main colour – I thought of peonies. I searched through my CML app with that tag, and decided to use the Honey Bee Stamps ‘Lovely Layers: Peony‘ die set.

I started by die cutting all the floral layers in Concord & 9th card stock, then ink blending a darker pink in strategic areas. To make sure this ink blending was in the areas which would be seen, I placed the next upper layer on top, saw what would be seen, then ink blended. I did this trough all the layers.

The leaves and stems were die cut from a green card also form C9, and then ink blended also with a slightly darker green.

The layers were glued together, then I added some white acrylic splatter and set aside to dry.

I used a 5×7 inch card base – large enough to place all the elements rather than an A2 – and created the background white panel by using a Spellbinders embossing folder onto which I had pressed some green ink, creating this distressed looking basket weave pattern.

The central pink panel was cut to 5×7, but I used Pinkfresh Studio ‘Slim Edgers‘ die to create the stitch and pattern. This piece was then run through with the same Spellbinders embossing folder, and a white pigment ink pad over the top to catch the basket weave detail.
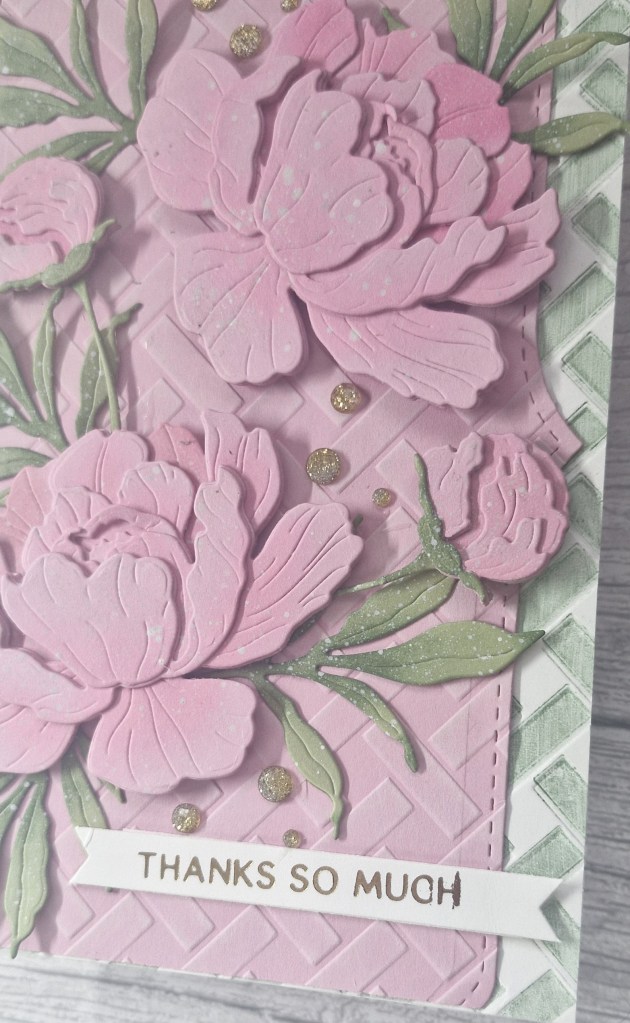
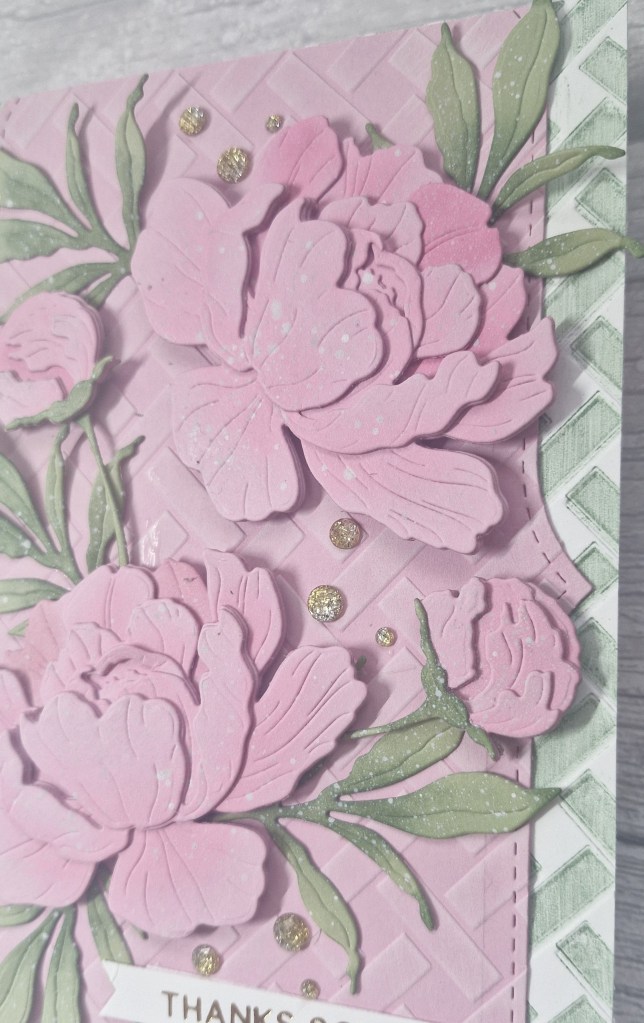
Once the inks and splatters were dry I attached each of the layers, adding the flowers with 3D foam, then gluing down and tucking in the leaves, foliage, and buds.

The final touches was a gold foiled sentiment then some Pinkfresh Studio ombre gems.
I shall be entering the following challenges:

Heart’s Quest Pretty In Pink – mainly pink

CYHTP – embossing folder – option of cloud day not taken

Craft Rocket – use dies

Triple B – Birds and/or butterflies and/or blooms

Ellibelle’s Corner Garden Party – anything in or from the garden

Beautiful Blossoms – anything goes with florals
Using Stencils

Hello again. Cardz 4 Galz has started a new challenge. I am hosting this time round, and have chosen the theme of:

Use Stencils

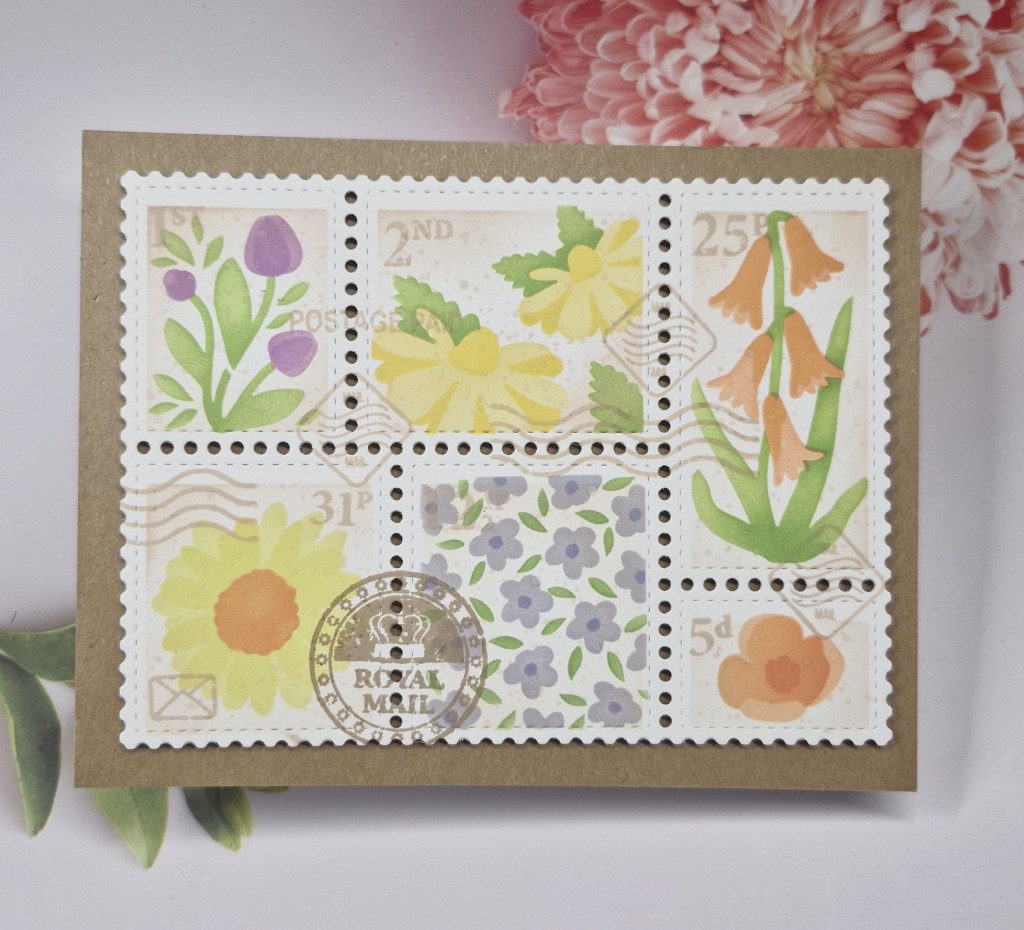
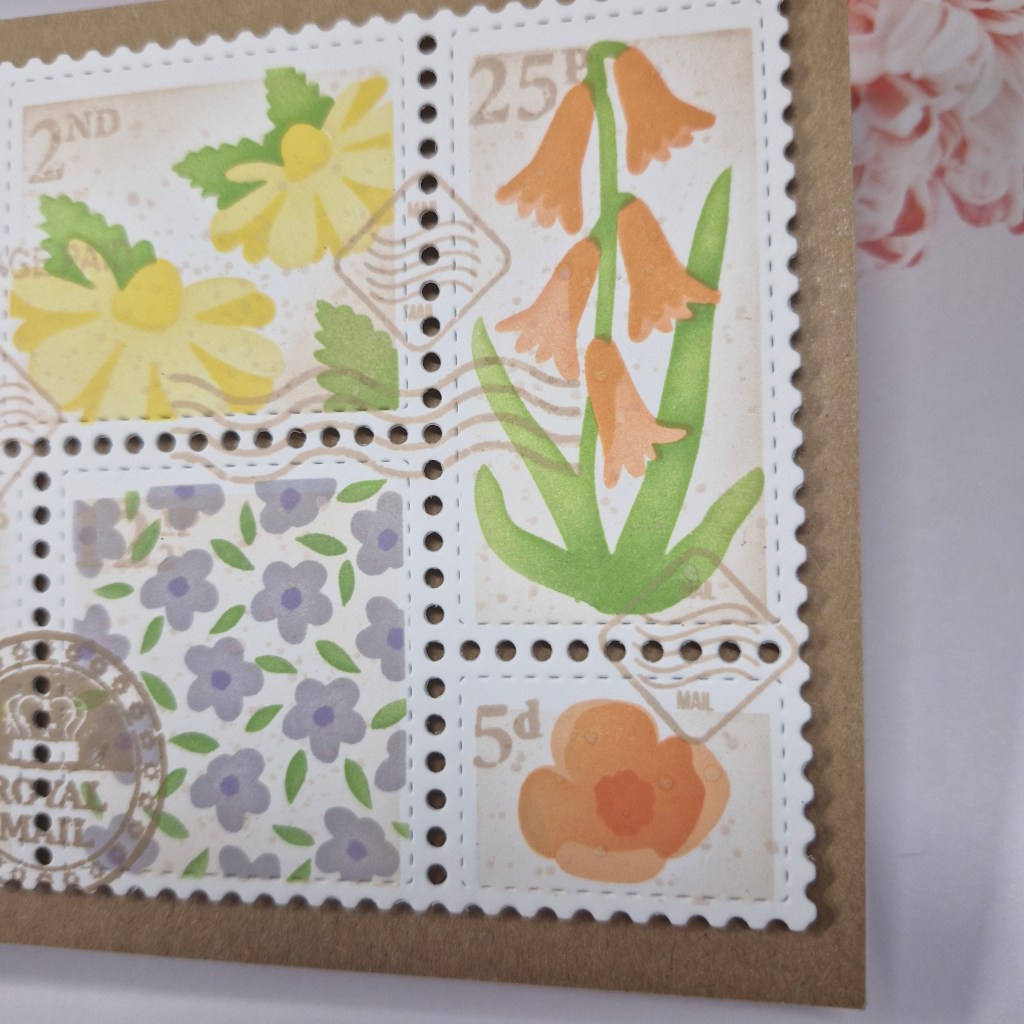
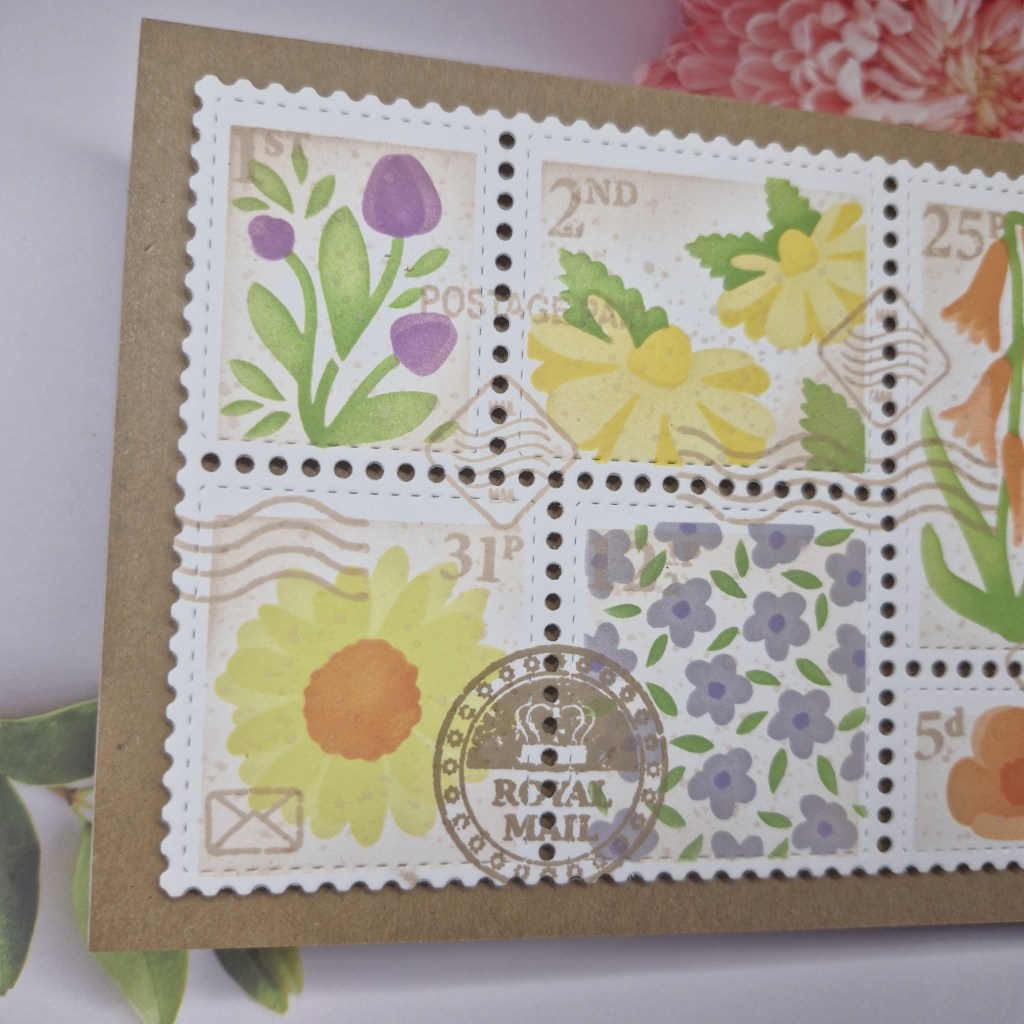
Here is my card:

I chose to keep this a fairly simple design, but I did do quite a bit of masking and changing colours on the same stencil layer.

There are three layers to this stencil set, and I wanted each of the flowers to be different colours.

Once the flowers were complete, I then used a small blending brush and some light brown ink and went round the edges of each of the compartments, hoping to create a muted and vintage look to each of the small backgrounds. I then used the same light brown ink to splatter, and also to stamp some of the Royal Mail detail. I think it is great that Waffle Flower Crafts recognises us over here – love that idea.

Once dry, this was then die cut using the postage collage die.

I hope you can come and join us with your creations using stencils. xx

I shall be entering the following challenges:

Ally’s Angels – anything goes

Beautiful Blossoms – flowers/florals

A Perfect Time To Craft – anything goes

Ellibelle’s Corner – anything goes

Stencil Fun – use stencils – option of hello/winter not taken

A rose bouquet

Hi there. I hope you are all ding well this weekend. From snow-deep a week ago, to loads and loads of rain….. I can see the snow-drops and daffodils poking their heads up, and the green leaves for the blue-bells. It is a good job the British plants are hardy enough to cope with the vagaries of our weather.

I spent some time with the Altenew ‘Sweet Rose Bouquet‘ yesterday. I tried the stamp set in multiple colours, as you can see. I didn’t realise until I opened it that the flowers and leaves are all bunched together, several layers for each – (perhaps the ‘bouquet’ part of the title of the stamps should have given me a hint. :)

It actually took me quite a bit of time to sort out each of the images, and each of the layers – thank goodness for the Misti for the larger images.

I really do like this stamp set, and I can see many more bouquets being made in the future. Once you have your head around the layers and the positioning….and the Altenew ink sets take matching colours sooooo easy.

Well – unless you get then the wrong way round! I did that with the purple flowers – I stamped the darkest purple on the second layer. So I turned to my blue inks so I could out even darker layers down. So I didn’t make a mistake really – I just have purple and blue roses!

I added sequins as part of one of the challenges – a couple of them did cover some ink marks…..so handy.

I shall be entering the following challenges:
Watercooler Wednesday – atg feminine

Seize The Birthday – atg Birthday

CAS on Friday – CAS celebration card with sequins


Butterflies

20180207_110000

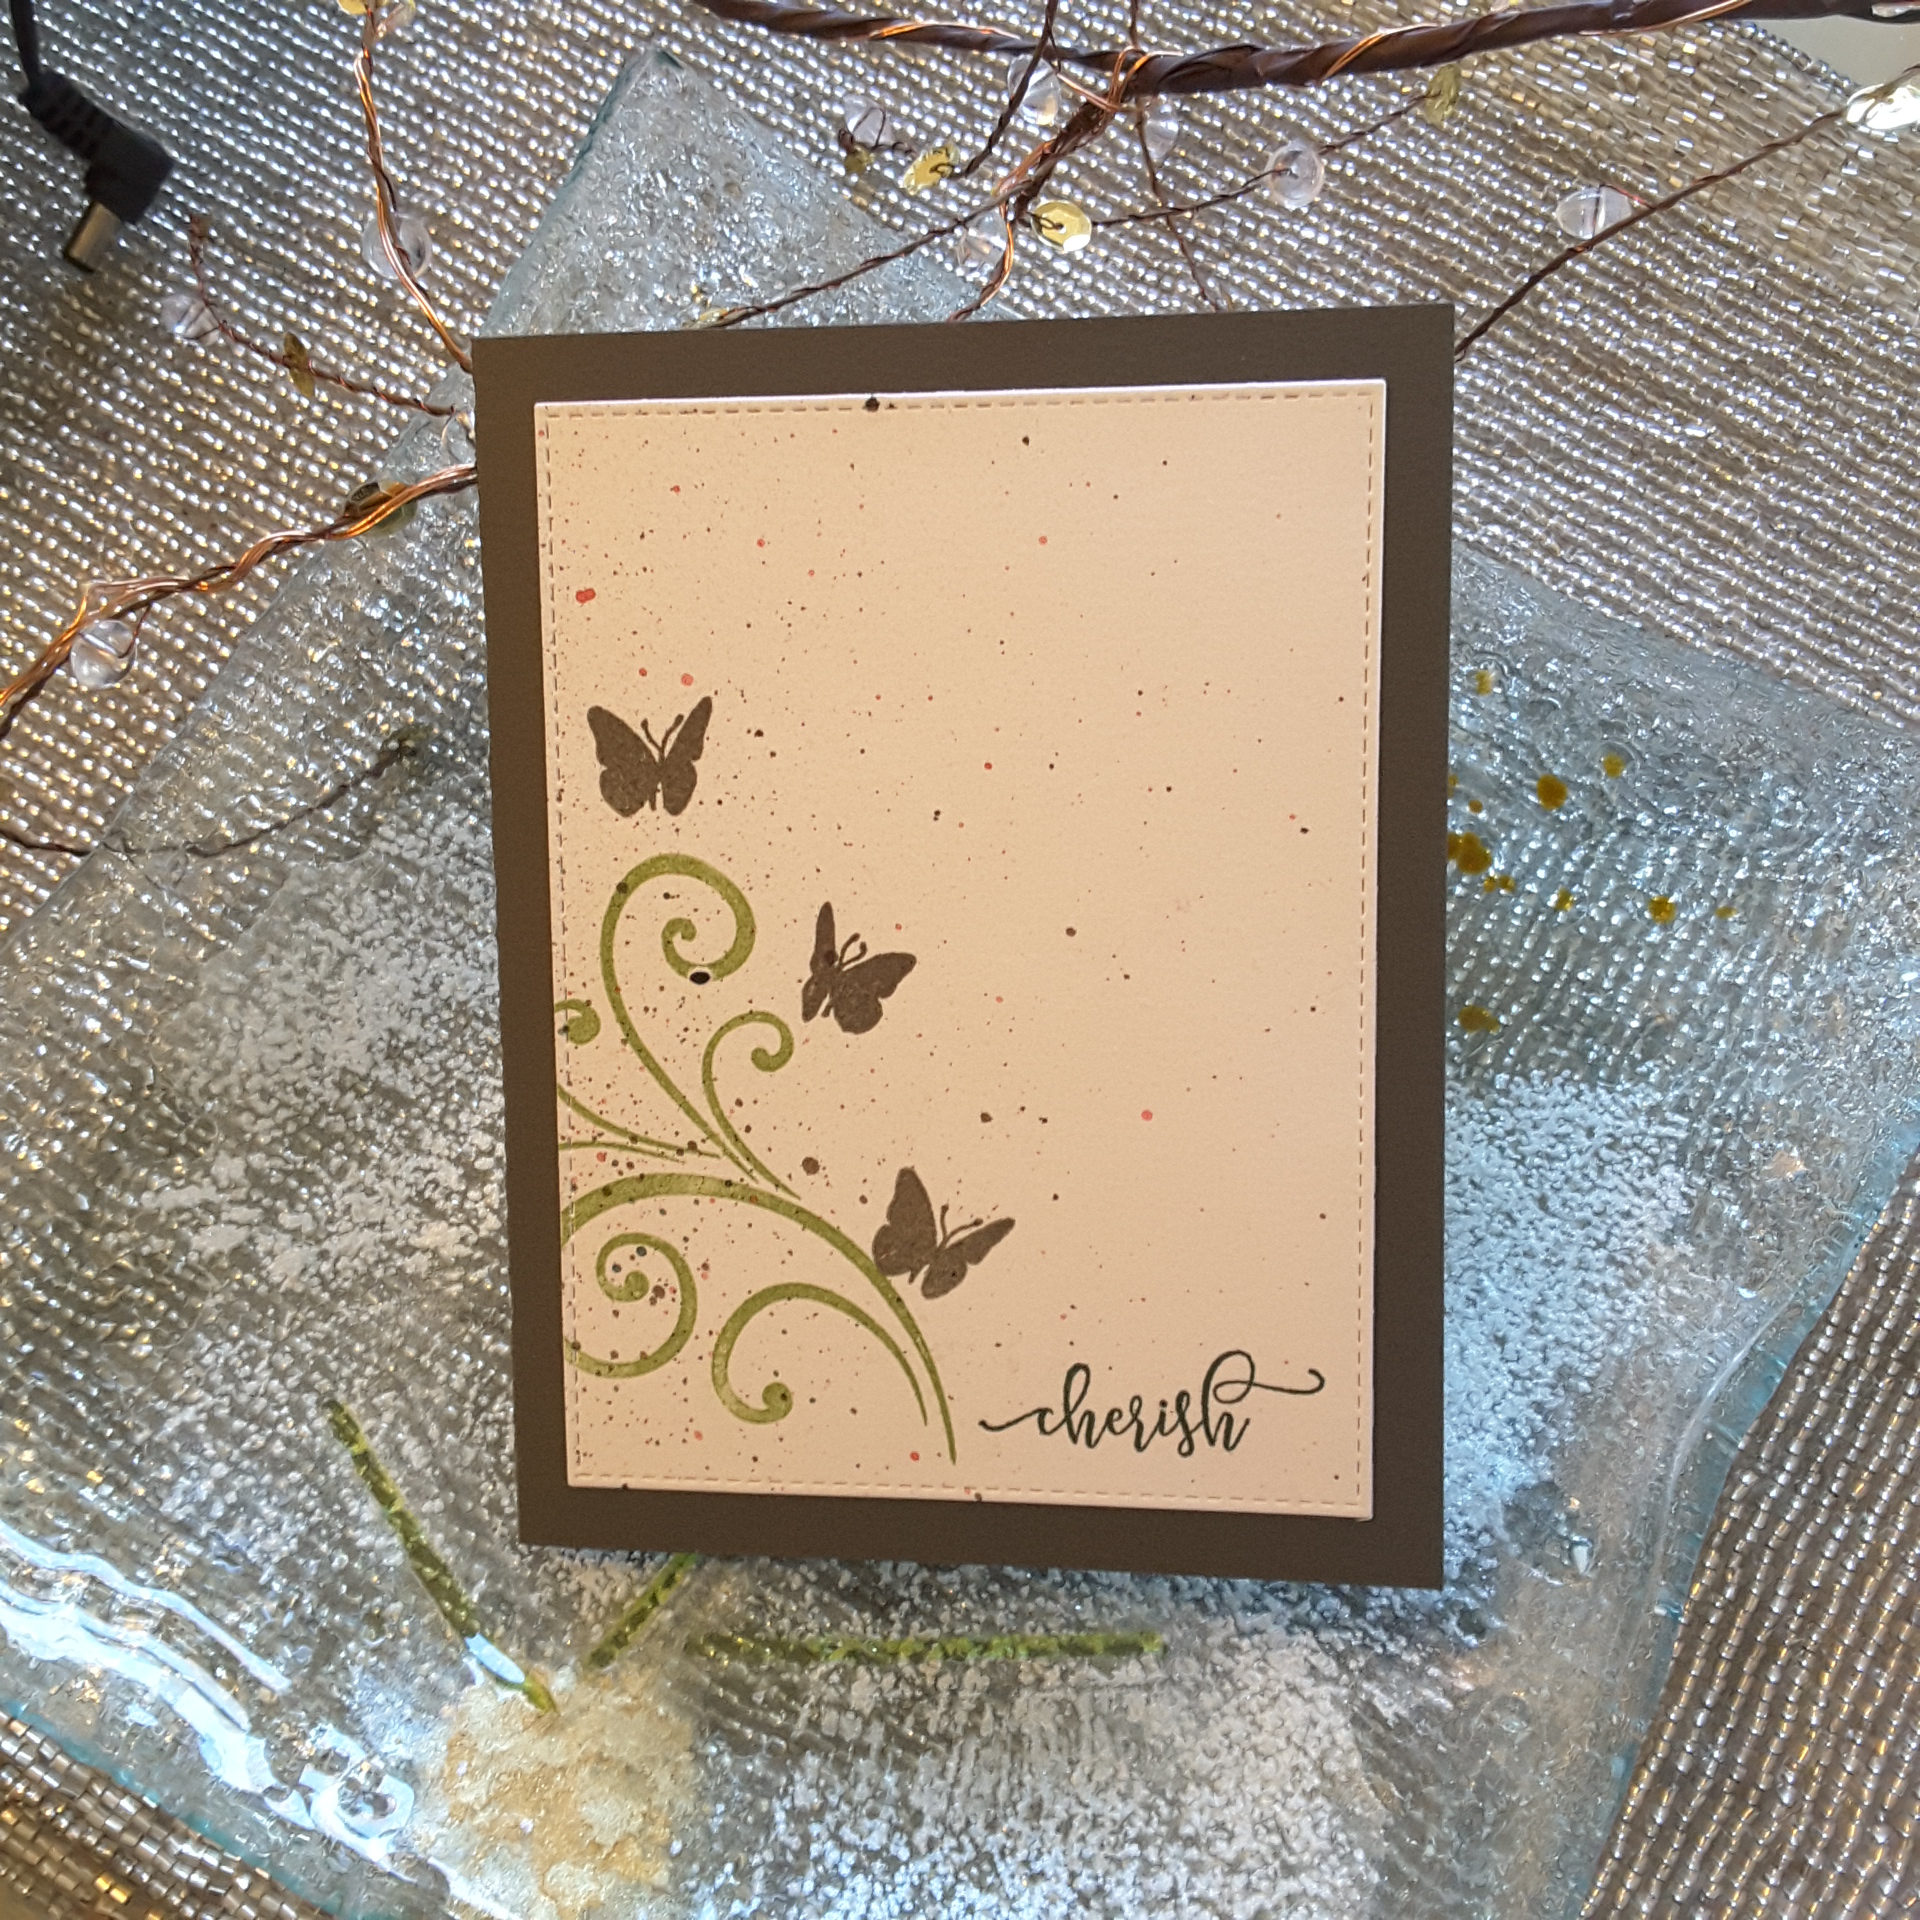
I apologise now – I’ve been using a splattered piece of card again. This is the off-cut from a piece of water-colour card I used yesterday with the splattering. I saw this off-cut, which is quite a decent size, and decided to make a card for the current CASology challenge – Butterfly.

I had a hunt through my stash, and went for these two butterfly stamps from Catherine Pooler, along with a swirl which is also from Catherine Pooler.

I used my Misti to position the swirl, and stamped it a couple of times with a green Altenew ink, then stamped the butterflies with Altenew grey ink. The sentiment is from Catherine Pooler again, stamped using darker green Altenew ink.

The water-colour card is die cut using Lawn Fawn stitched rectangles, and the base card is Narwhal from Lawn Fawn – just to tie-in the colour of the butterflies.

I’ll try to steer away from splattering for a couple of days – but I can’t promise! :)

Hearty Love

Hi everyone. I’ve been splattering…..and have had to restrain myself from going too far. I made several cards this evening, a variety on a theme, and just couldn’t resist using a new splattering tool from Stamps By Me.

20180206_212626


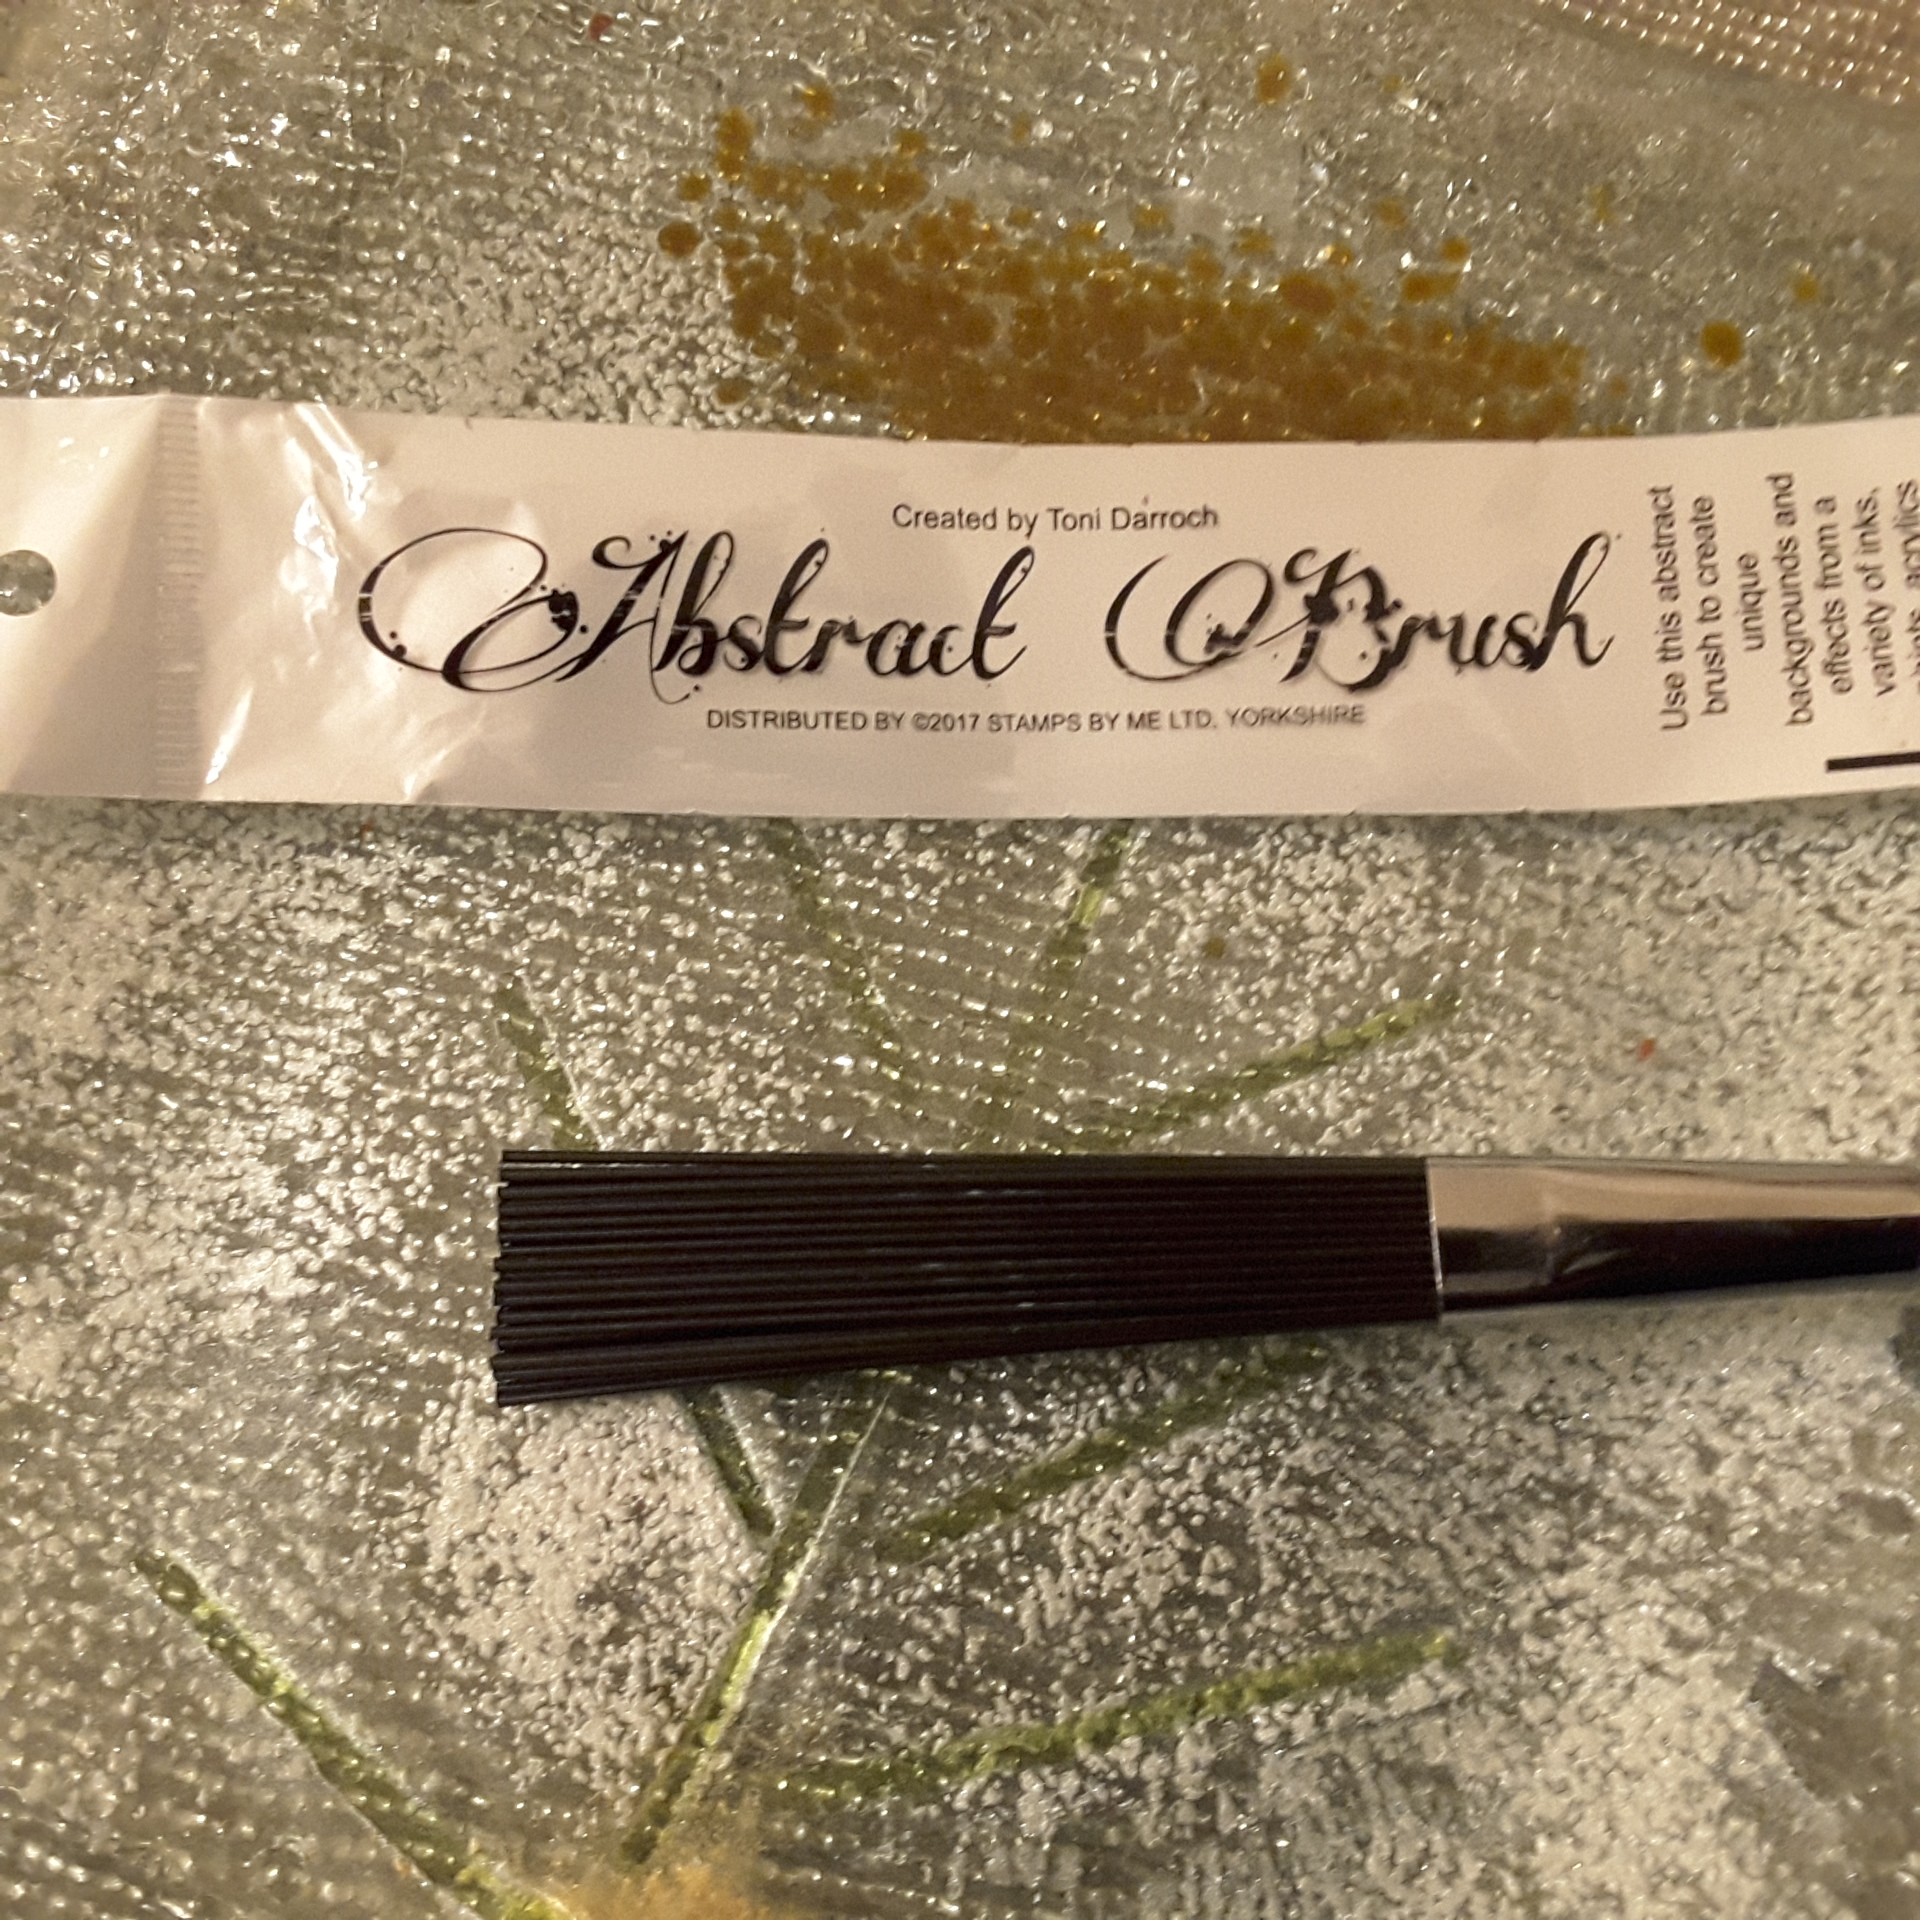
I’ve had this little thing for a little while now, and it’s only when I was making this card that I remembered it. It makes it so easy to splatter colours – as you can see.


I used water-colour card and stamped the Stamps By Me heart in Versafine black onyx, then heat embossed with clear. I took my Spectrum Noir markers – not used them for absolutely ages – and coloured using just the one red colour. I then took some colours of inks, put them on an acrylic block, sprayed with water, grabbed by splatter tool thingy – and off I went!

I really like the look of this, and I even think it remains quite clean and simple – probably, anyway!

Then I turned to a Stamps By Me die for the sentiment, cut it out four times using black card, stacked them up, and added to the card. Here comes the boo boo! I then die cut the square…..yep….you guessed it! The layers of die cut sentiment spread out, came away from each other and made a right old mess!

Can you imagine? What a silly billy! But – I managed to remove all of the layers of the sentiment except one, so I then die cut them all again – another four times – and layered them on top of each other……gosh. I think I managed to save the day. My advice? Do NOT die cut anything once you have added stacked layers!!!!

I shall be entering the following challenges:

CAS on Sunday – CAS markers or pens

Just Add Ink – Romance

Just Us Girls – Love

Simon Says Stamp Monday challenge – Love is in the air

Aud Sentiments Challenge – valentine or love sentiment