Framed Florals

Hello again. I have a card to share created yesterday, but just didn’t have time to post it:

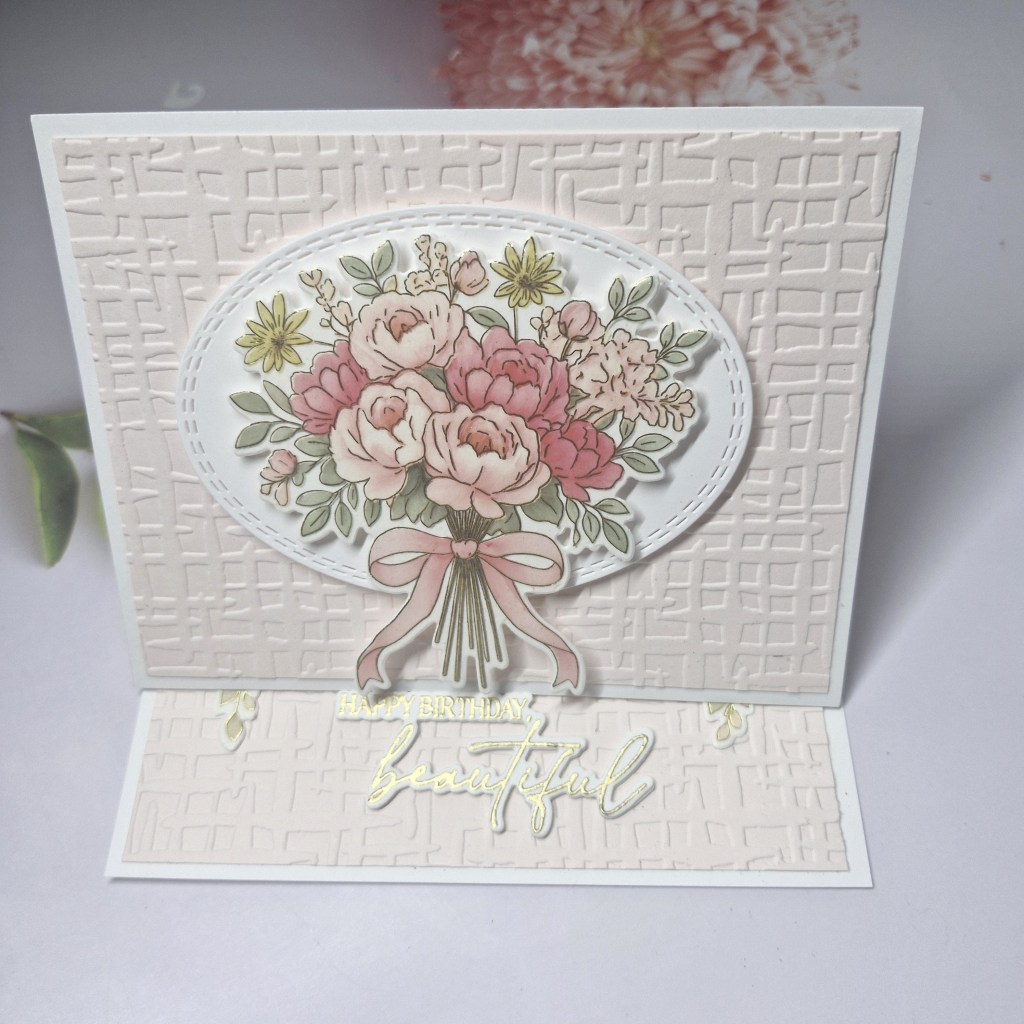
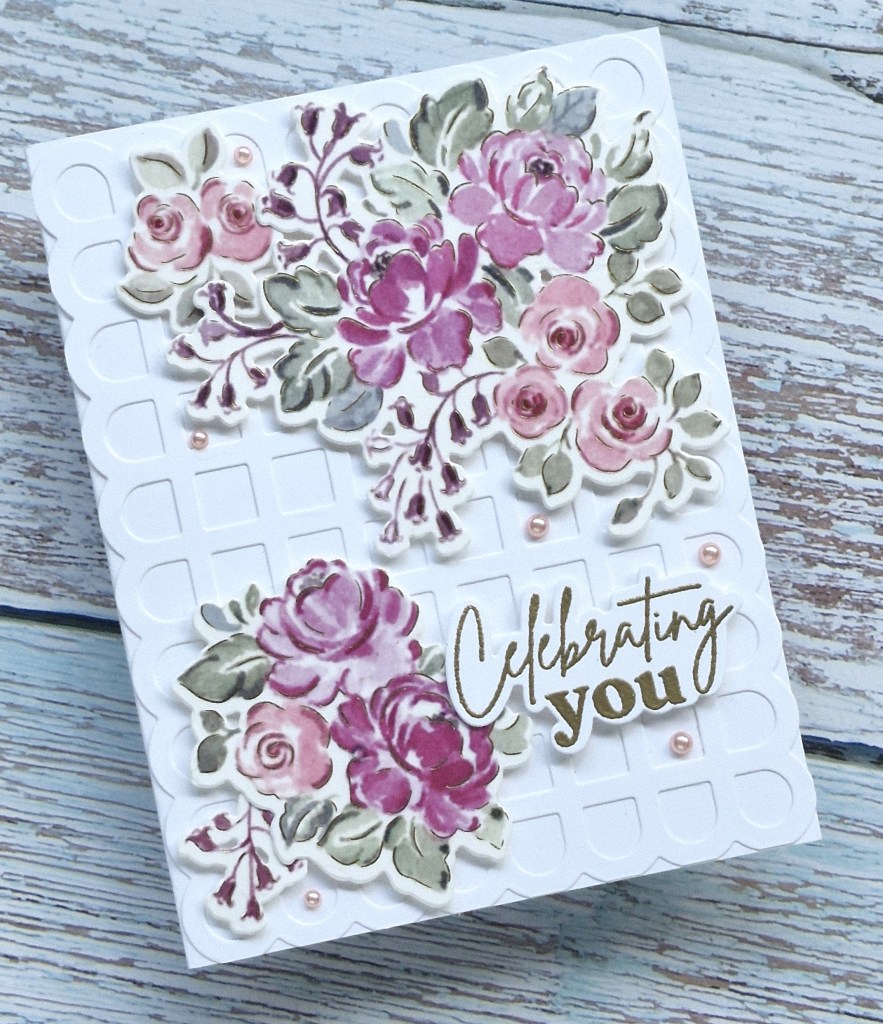
I was inspired by the inspiration photo at Inkspirational to use my new Pinkfresh Studio stamp, die & stencil set – Freshly Picked’. I took inspiration from the lemons, and the pink florals.

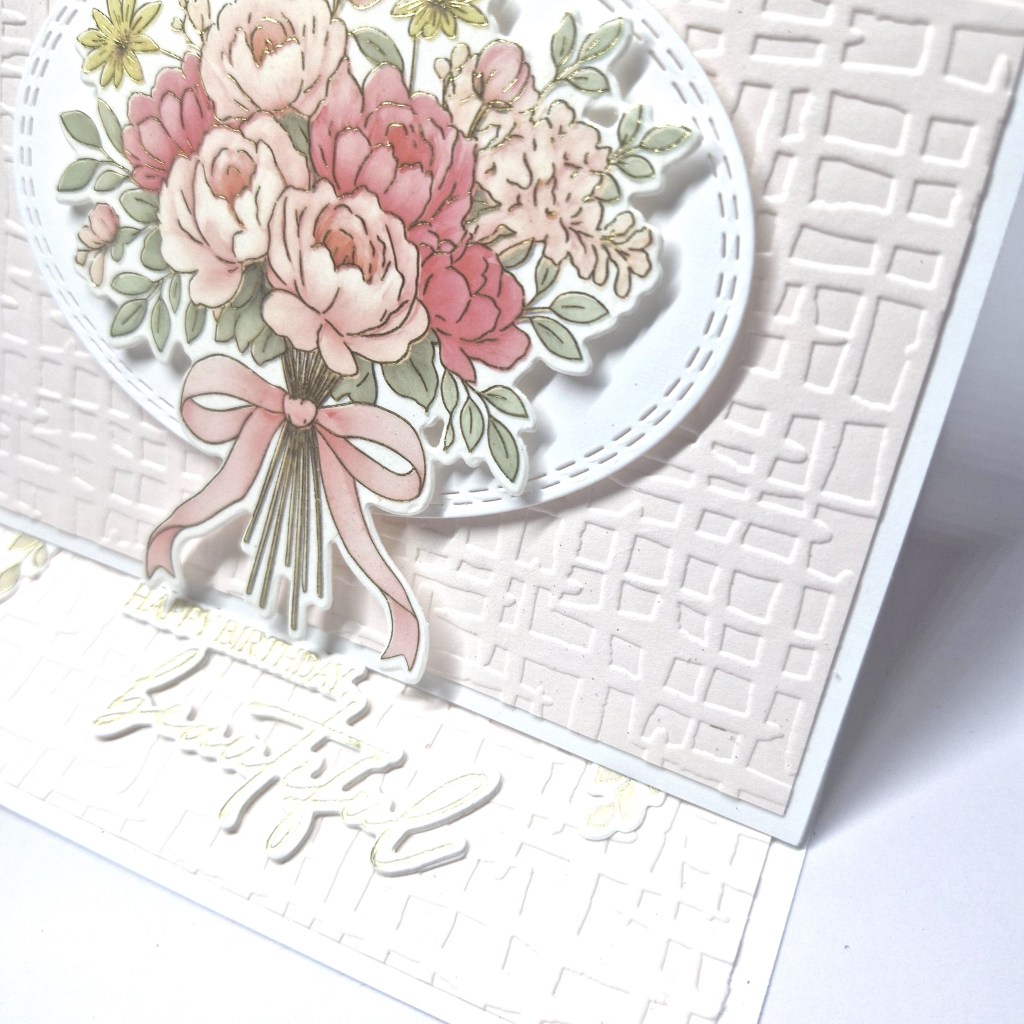
I first used the stamp and a light brown ink, then coloured using the matching layering stencils. I did use more than one colour per stencil – I like to mix it up a little – then used the die to cut them out.

Using frame, ink blending, and sentiment from ‘Pick 3 Challenge‘, I used the Waffle Flower ‘Postage Collage Frames‘ and die cut several frame, layered twice. The inserts which came out of each die, I then used an old Sizzix embossing folder and added the embossed dots.

The frames were arranged to my liking, adding with glue and with 3D foam strips, inserting the small embossed squares back into place, then adding the lemon and florals with 3D Foam.

The sentiment was stamped and die cut, layered a couple of times, them added with glue.

I shall be entering the following challenges:

Inspirational photo inspiration

Pick 3 Challenge frame – ink blending – sentiment

Addicted to Stamps & More make your mark

CYHTP embossing folder – option of stars and/or stripes not taken

Triple Bbirds and/or butterflies and/or blooms

Strawberry Hello

Hi there. It’s been a busy weekend, as I’ve been out to a classical Ibiza night at Chatsworth House – a fabulous night in an amazing setting, and then today I went out to a crafting event in Doncaster. I did find time to put together this card using products from Spellbinders:

I began by creating the background, which is a set of layering stencils, using Pinkfresh Studio inks, then cut that down slightly and adhered to a card base.

The strawberries were die cut and assembled, and the centre sentiment banner also die cut – with the fall-out letters of the word inlaid back into place.

A little bit of die cutting, but most of the time was spent doing the ink blending on the background.

I shall be entering the following challenges:

Tic Tac Toetop left to bottom right diagonal – fruit/vegetable + die cut + stencil

Allsortsuse stencils

Cut It Updie cuts and create your own background

Stencil Funuse stencils – option of patterns not taken

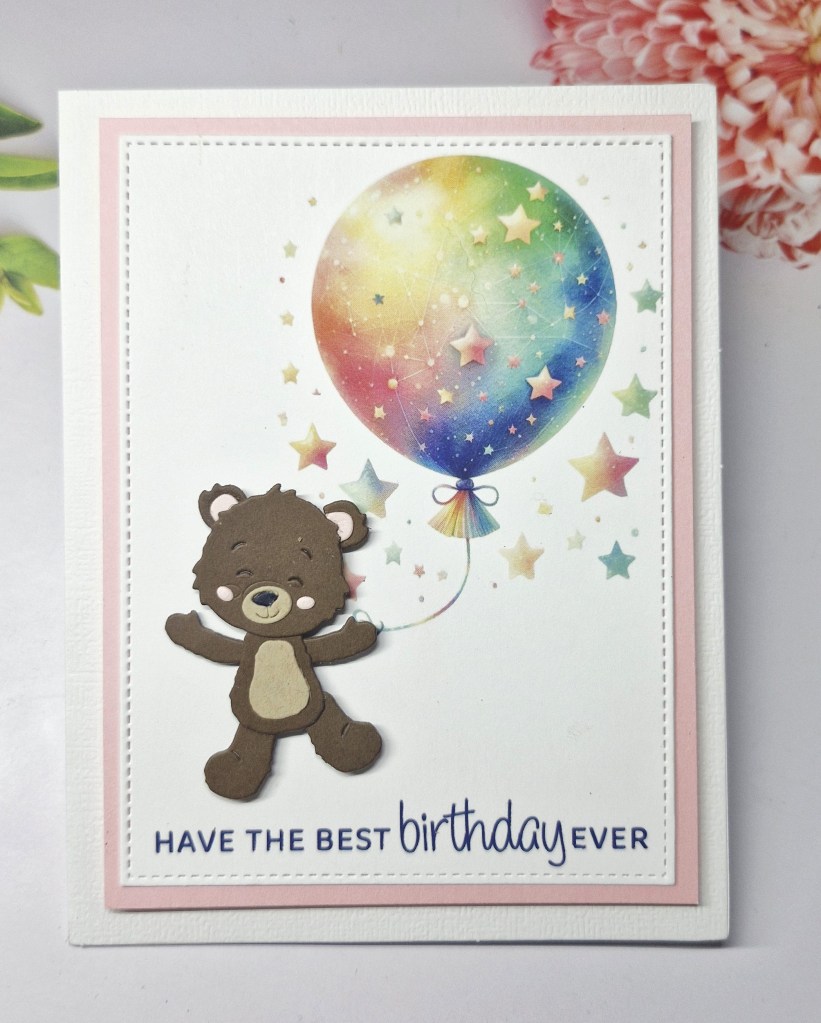
Happy Birthday Cat

Hello everyone, I am so excited that I am going to be the Surprise Party Guest at Seize The Birthday for the next couple of months.

The first challenge theme is:

Birthday and one or more numbers

Here is my card:

I was a little stumped at first, but then I remembered I had an older embossing folder from Spellbinders an ‘M-bossibility’ folder with letters on one side, and numbers on the other. This is at least 14 years old, but isn’t it surprising how you remember things?

I took a dark blue piece of card and ran it through my machine, then swiped some white pigment ink over the top to make the numbers stand out a little more.

The cat die and sentiment is from Simon Hurley/Spellbinders, all die cut and asembled as required.

For the sentiment, instead of popping out the letters, I left them in the banner, and used some double sided tape on the back to make sure they wouldn’t come out.

I hope you can come and join us with your birthday creations following our theme, but you can always have anything goes birthday instead.

I shall be entering the following challenges:

Ally’s Angelsanything goes

Critter Crazyanything goes with a critter

Crafty Animalsanything goes with an animal

Daisy Chain Challenge birthday

Friends Like You Are A Treasure

Hello everyone. There will be two posts from me today, and this is the first. The new challenge at Cardz 4 Galz has started, Debbie is the host, and she has chosen the theme of:

For a Friend/Friendship

Here is my card:

I first used the Hero Arts die set ‘Lotus Flower’ and die cut all the layers out of light blue and teal card stock, then layering together as per their instructions. It took a little planning, but once I had got my head around one flower, it was easier on the second. I also die cut the leaves and foliage on shades of green, unsure of how many I would need, so I cut plenty.

I took a white panel and die cut the largest hexagon from the Pinkfresh Studio ‘Nested hexagons‘ from the centre of it, the ran that through with a Spellbinders embossing folder.

The hexagon which came out of the centre I didn’t emboss.

I attached the embossed panel to a card base using 3D foam strips, then inserted the black white hexagon back into place, but gluing flat.

The sentiment is from Gina K Designs and was from a 2023 Let’s Stamp Together – stamped then die cut.

I placed the sentiment on the background then played with the florals and foliage until I was happy, adding with 3D foam and glue where appropriate.

As the sentiment was stamped in black, I added some black gems.

I hope you can come and join us with your creations following our theme. xx
I shall be entering the following challenges:

Beautiful Blossoms anything goes with florals

Crafters Caféanything goes with option of blooms taken

Triple B birds and/or butterflies and/or blooms

ABC Christmas Challenge – N & O

Hello again. It is my turn to host the new challenge at ABC Christmas, and we have reached the letters ‘N’ & ‘O’. We do have themes for the letters which are:

N is for No Stamping

O is for Once in Royal David’s City ( buildings)

Here is my card which covers the two themes:

I felt it was about time I used this die set from The Greetery. I was desperate to get my hands on them, and they have been sitting there for a couple of months.

I set-to die cutting – you know I love my die cutting – and picked traditional colours for all of the elements. I may have to explore other colours and choices in the future, but for this I went traditional.

All the elements I was going to use were die cut, mainly out of scraps, and assembles as I went along.

I then decided to use a 5×7 inch card base, added a gold layer, then a white layer, which I had run through with a Spellbinders embossing folder/

The house was then attached in all it’s glory.

I hope you can come and join us with your Christmas creations following one or both or our themes – and there is a prize for a randomly drawn winner….

I shall be entering the folliwing challenges:

Girlz Creative Christmasanything goes Christmas

Peace On Earthanything goes Christmas

Die Cut Divas die cuts and Christmas in July

Merry Little Christmas Challengeanything goes Christmas

Ciao

A colourful card created using some of the items in the list at Festive Friday:

The die and embossing folder used to create this card are from the Spellbinders Weekender 2025.

I first die cut the face and lips, using blush for the skin tone, and red for the lips, adhering the layers together.

The background was created using Tuscan and Poppy card stock from Spellbinders, cutting the Tuscan panel down slightly, and adding the red piece, and running both together through the Spellbinders embossing folder, to ensure the pattern was matching on both layers.

I then attached the face with 3D foam.

The sentiment was die cut out of yellow, layered three times and then glued down.

I added some yellow glossy embellishment hearts which I found in my stash – ;likely from another virtual event sometime.

This die set also comes with a string of spaghettis which can run from the mouth and makes it look like the word ‘Ciao’ is from Spaghetti – but I left that part off.

As mentioned, I will be joining Festive Friday for their current challenge, using yellow, red, glossy embellishments, face,

Cream & Gold Congrats

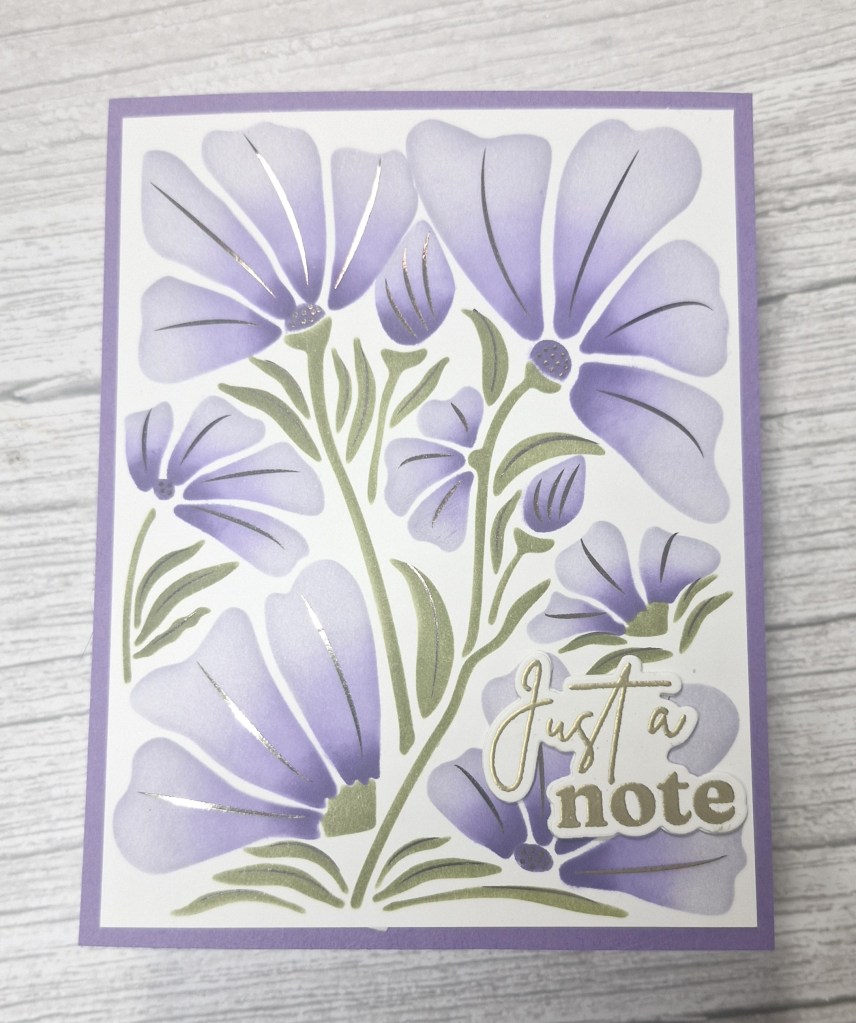
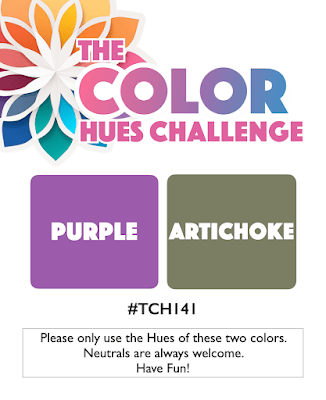
A little time in my craft room to create this card for the current challenge at Color Hues:

For these two colours, I was thinking celebratory and thought this Concord & 9th die set ‘Gilded Glass Inlay’ would work.

It actually came to be quite a simple creation for me, one layer of textured cream card stock, then the inlay die ran through my machine with matt gold card stock from Spellbinders, and just using the frame. This was glued directly down onto the cream base.

I was thinking of in-laying some of the ‘drop-outs’ but really like how this is when none are added. I did save them though and they will probably be used on a future project.

I wanted a simple sentiment across the centre, and found this one when searching through my CML app, which came from a virtual event ran by Scrapbook & Cards Today in 2024.

This word does come with a shadow die, but I chose to just use the word itself – no shadow – and glued that directly as you see.

The most time consuming part of this card was adding tiny dots of glue to the back of the matt gold card stock – each line – to make sure it stuck down firmly.

I shall be entering the following challenges:

Color HuesCream & Gold

Crafts Galore anything goes

Floral Frame Hello

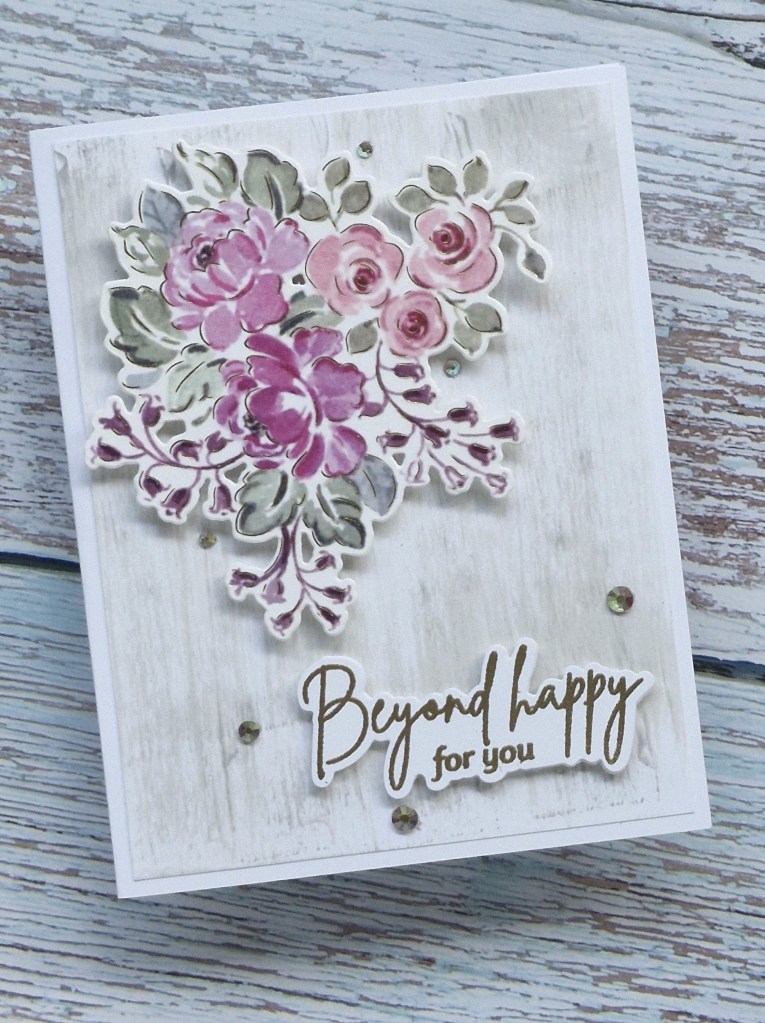
Hello again. A summery hello card to share with you today:

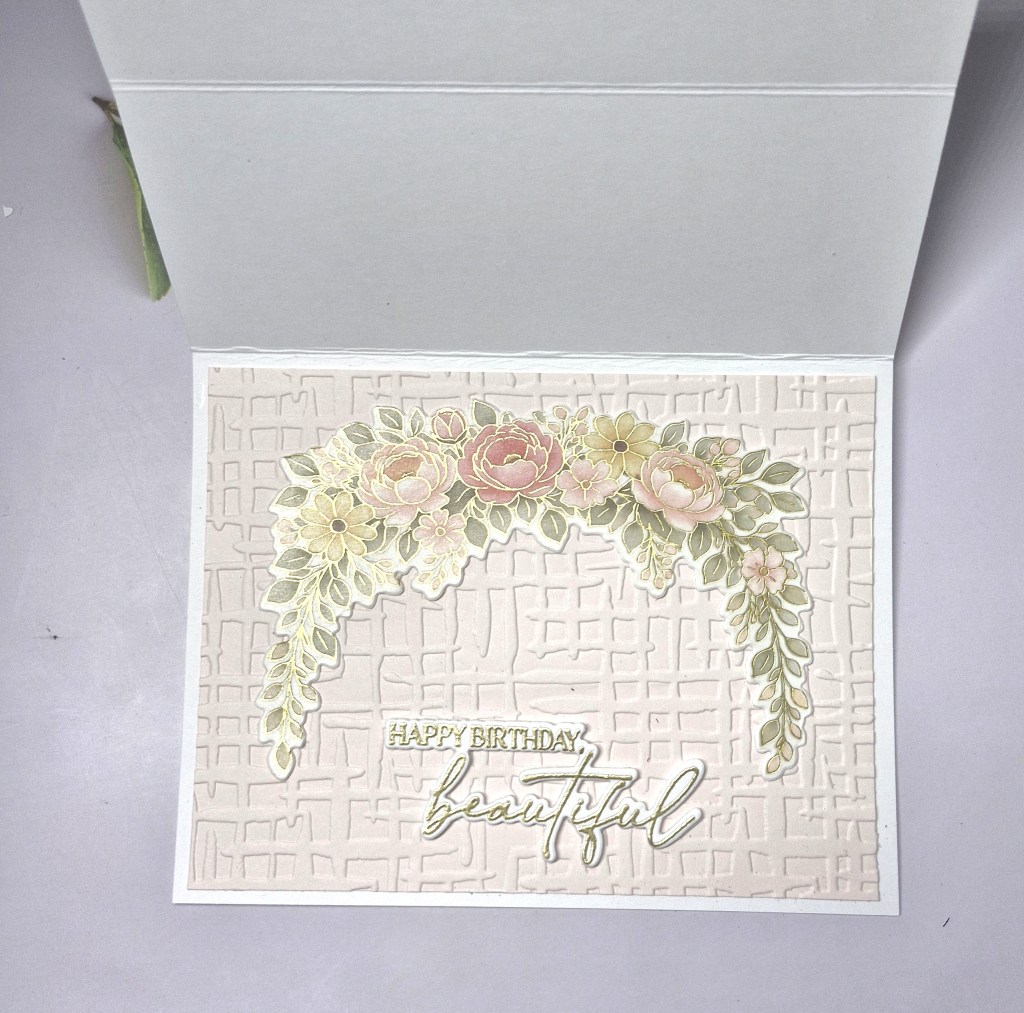
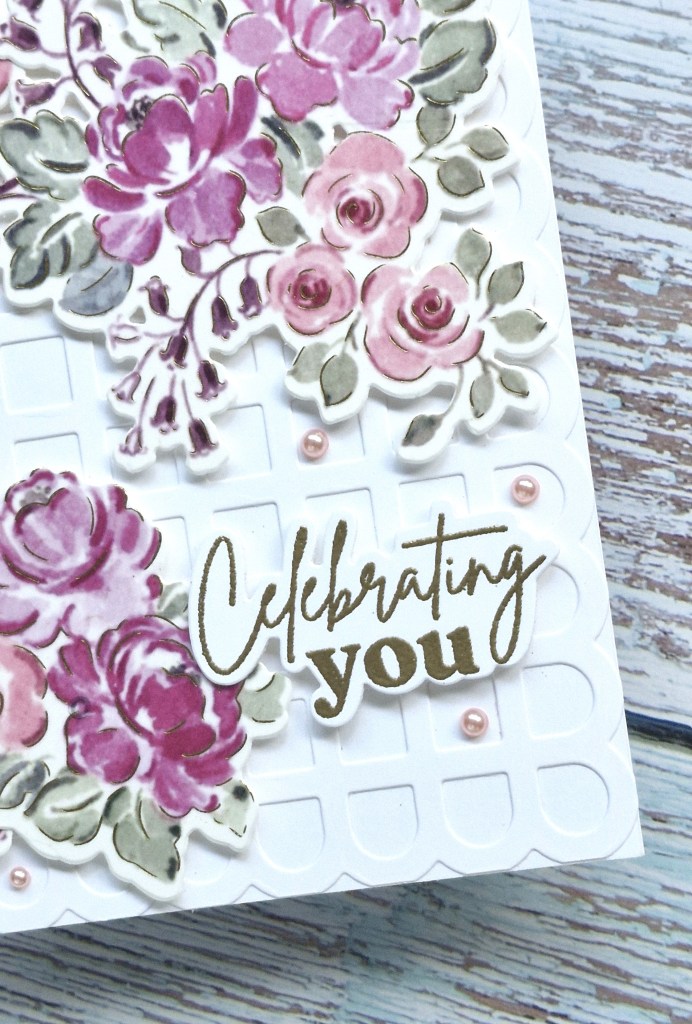
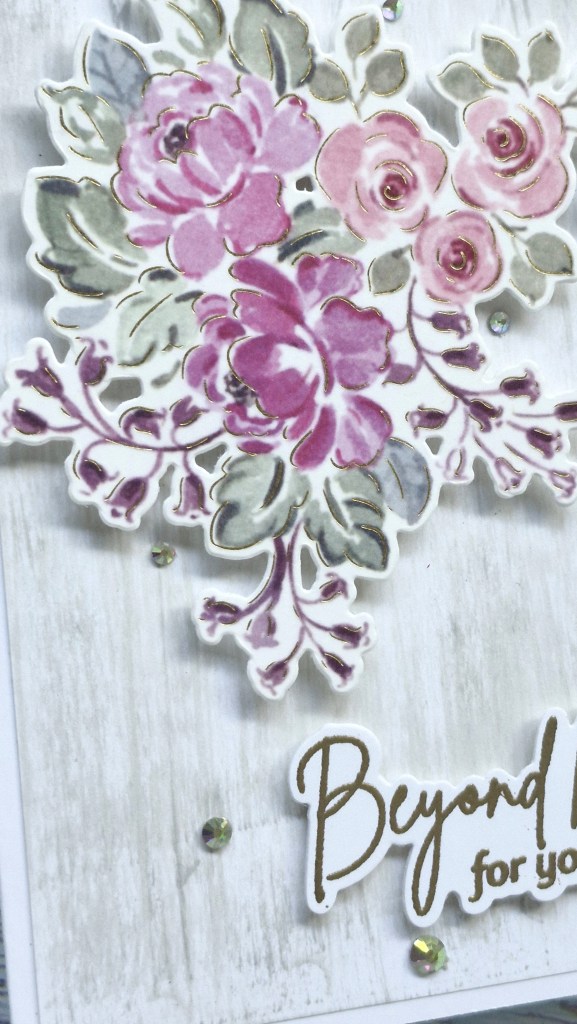
For this card I used the new Pinkfresh Studio stamp, die, and stencil set called ‘Sunlit Garden‘. I stamped the image with a brown to give a softer outline, then used all of the layering stencils to colour it in, adding some darker shading to the base of some of the flowers. This was then die cut and set aside.

For the background, I ink blended a white panel very lightly with blue, than used a Spellbinders embossing folder ‘Cloud Nine’, and attached that panel to the card base.

For the inked image, I die cut another two panels and layered together for more stability and then glued down.

The sentiment was stamped in a brown ink – another Pinkfresh Studio stamp set – die cut and layered three times, then glued into the centre of the opening.

The final touch was to add some iridescent sequins:

I shall be entering the following challenges:

CYHTPembossing folder, option of purple not taken

Crafting From The Art anything goes

Beautiful Blossomsflorals/flowers

Crafters Café – anything goes, option of blooms taken

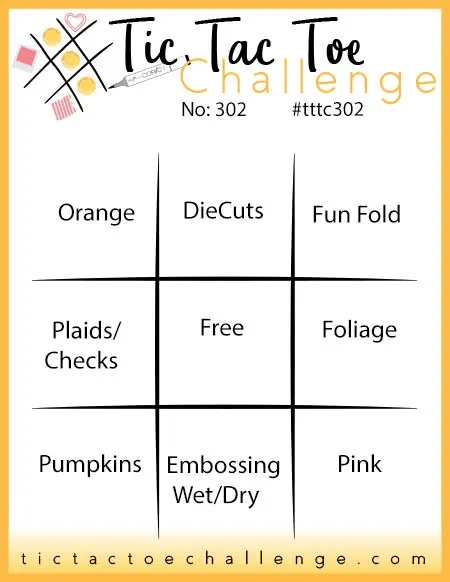
Tic Tac Toetop right to bottom left diagonal – summer colours – die cut – layers

A Pheasant Hello

Hi there. I have been playing with a couple more of my new Gummiapan dies to create this card:

I first die cut the Gummiapan Midsummer Wreath and the Pheasant die in Tim Holtz water-colour card, leaving the die cuts in place in the larger piece of card as it makes the colouring easier on smaller fiddly die cuts, then used my Zigs to colour them in. I like to use Zigs on die cuts like this as they have a very fine tip to be able to restrict where the colours go.

I set these aside to dry, then hunted for a sentiment, and used this from Pinkfresh Studio, previously foiled.

Onto a 110lbs Neenah white card base, I glued down the sentiment, then attached the wreath with little pieces of 3D foam behind some of the larger flowers and leaves, then die cut the pheasant couple more times, stacked him together, then glued him down.

I shall be entering the following challenges:

Cut It Updie cuts & critters

Cupcake Inspirations anything goes

Beautiful Blossomsanything goes with florals/flowers

Critter Crazyanything goes with a critter

Simply Clean & SimpleCAS – option of birthday not taken

Santa & Yoga

Hello. I’m trying my hand at another CAS card, and thought this Santa doing a yoga pose would be perfect for the central image.

One of our UK stores has started to stock Gummiapan dies, and this set – there are 3 Santa’s in 3 different poses – just seemed so whimsical and fun, I purchased them.

The first step was to die cut the three Santa’s with water-colour card stock, then colour them all using my Zigs. I used a couple of different red tones, brown, and light grey as well as a peach colour for the skin.

I coloured all three, but liked this one the best.

Now for the sentiment, and I chose this from Pinkfresh Studio, as it included the word ‘peace’, and also had a border at the top for the Santa to balance upon.

The sentiment was stamped directly onto a white card base, then the die cut Santa added with glue.

I shall be entering the following challenges:

CAS on FridayCAS Christmas in July

Ally’s Angelsanything goes

Die Cut Divasdie cuts & Christmas in July

Merry Little Christmas Challengeanything goes Christmas