I have created a Christmas card inspired by the non-traditional colours for the current challenge at 52 CCT:
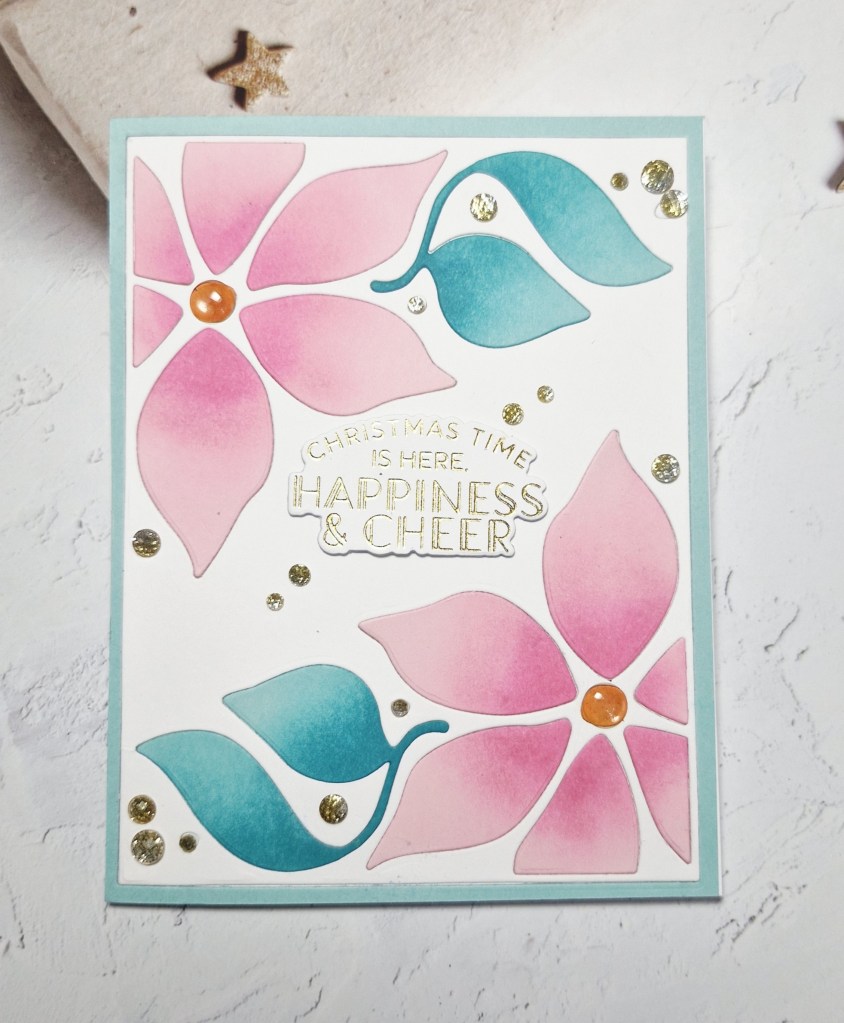
For some reason, when I saw the colours required – orange, pink, turquoise – I immediately thought of a poinsettia. I’ve no idea why, but I went with it.
I searched the CML app for the key word ‘poinsettia’, and this inlay die from Simon Says Stamp jumped out at me. It is called ‘Poinsettia Cover‘ and I have had it for quite a while, maybe played with it once before.
This time, I die cut the whole plate in white, light pink, and turquoise.
I used ‘Press’n’seal’ to take each colour out of the die, which left all the pieces in place. so I could pick and choose which I wanted to take off and ink blend.
I stated with the leaves of the poinsettia, placing them onto a grip mat, and ink blending Pinkfresh Studio light pink, then a slightly darker pink onto each petal.
I then took the leaf elements and ink blended a turquoise, and put them aside to dry.
Taking a white card base, I added the turquoise frame first, then the white background panel from the white die cut, and then inlaid each of the floral ink blended elements.
I also placed back into position the small white dots, but covered each of those with ombre gems from Pinkfresh Studio.
The centre of the flowers was ink blended in orange, and placed back into position, then a clear enamel dot – from Altenew – added on top for a little more shine. This also allowed the orange to show through.

The gold foiled sentiment was added – from a previous crafty foiling session, and some more of the ombre gems.
I shall be entering the following challenges:
52 CCT – orange, pink, turquoise
Peace On Earth – anything goes Christmas