Hello again. Another pre-scheduled post due to me travelling, and this time it is for the second card of my Surprise Party Guest at Seize The Birthday.
The chosen theme this time round is:
Birthday – square card – non-white base
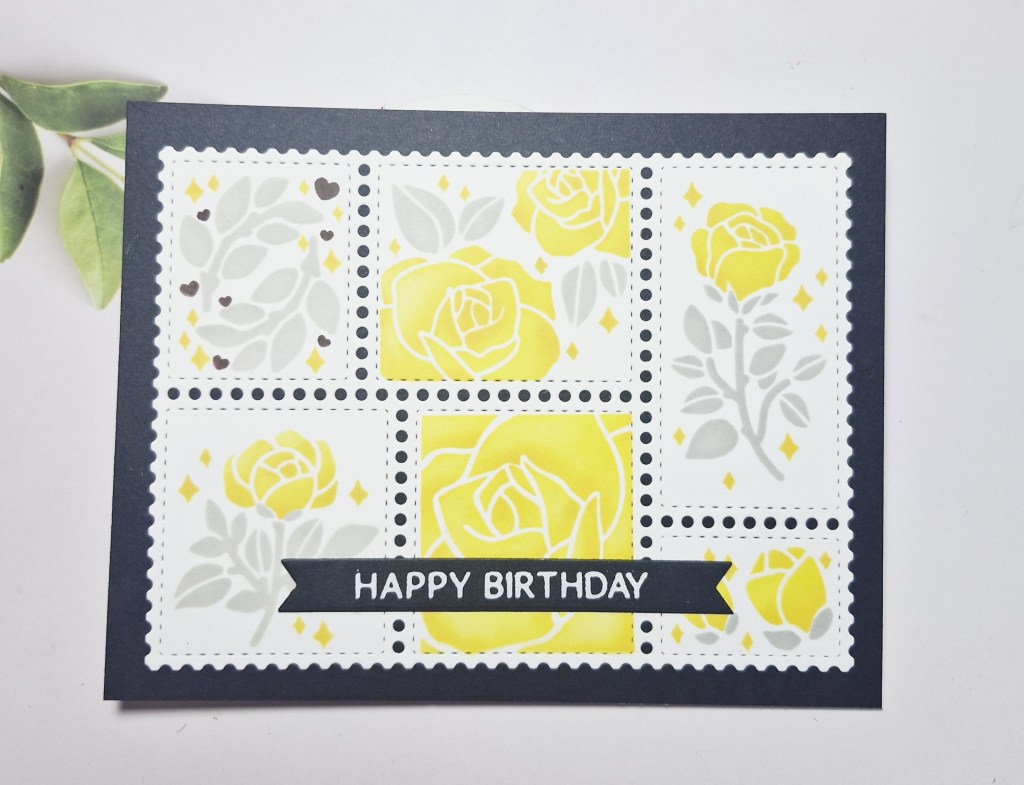
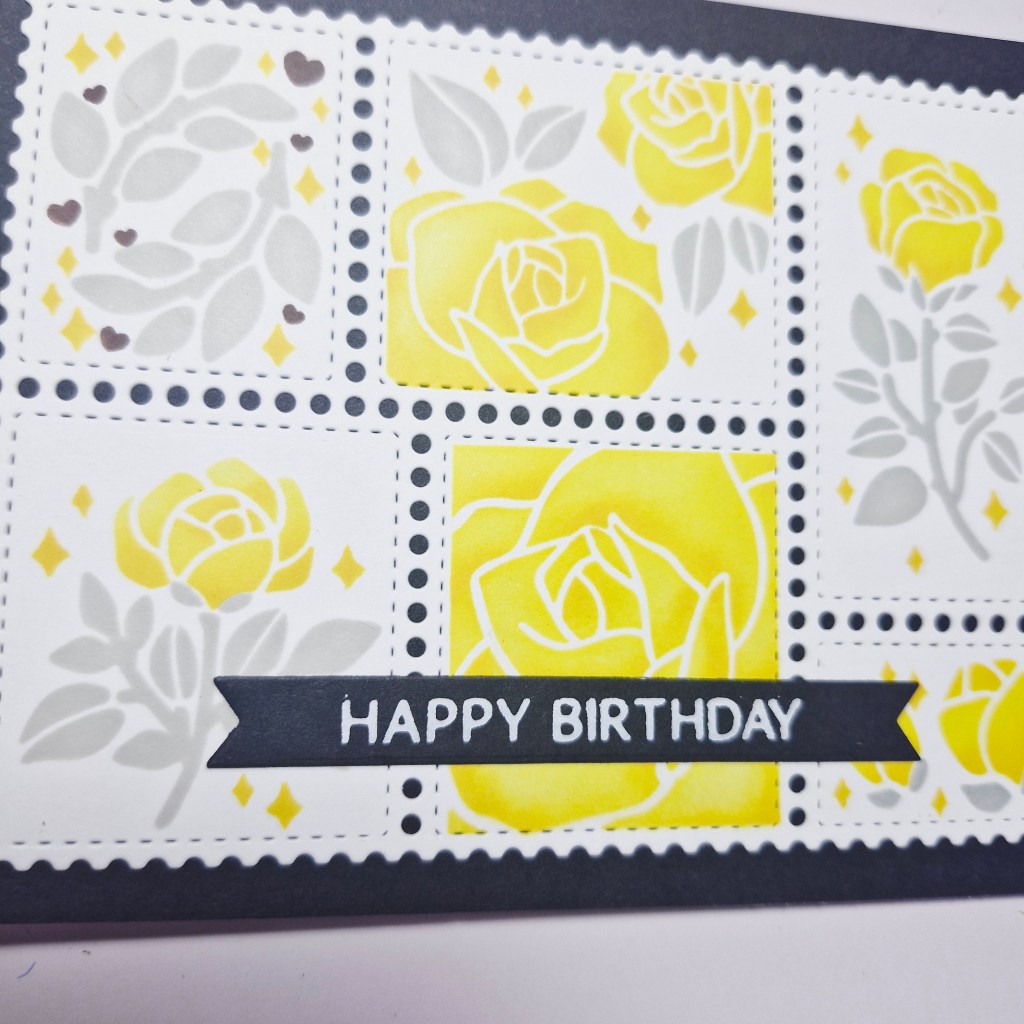
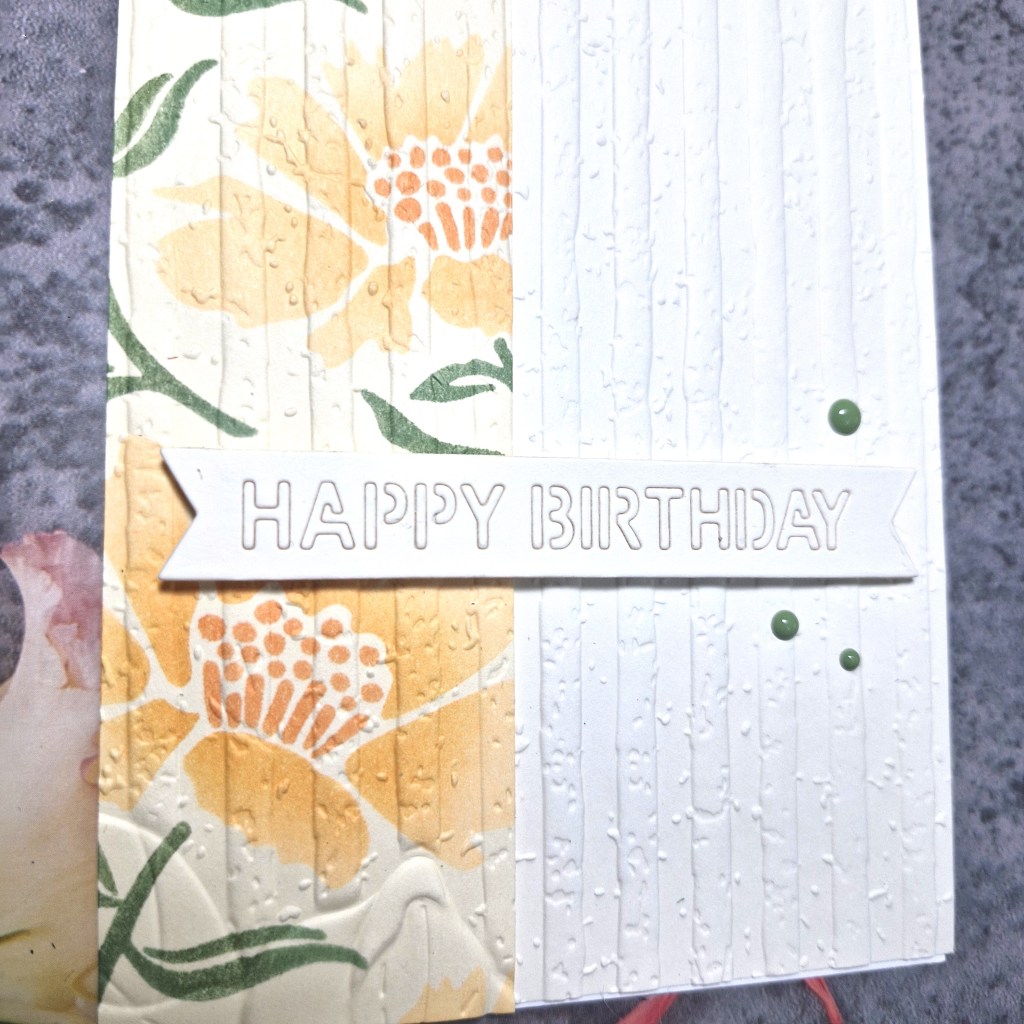
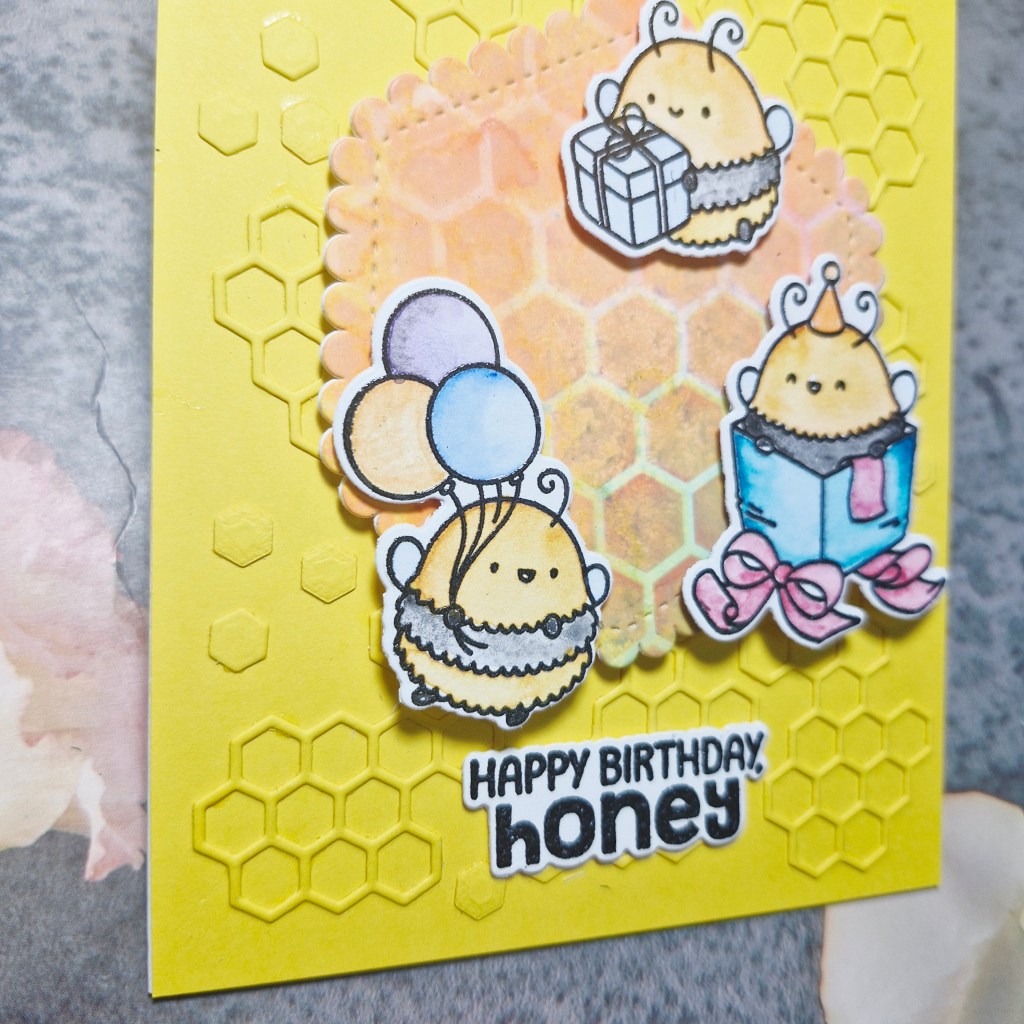
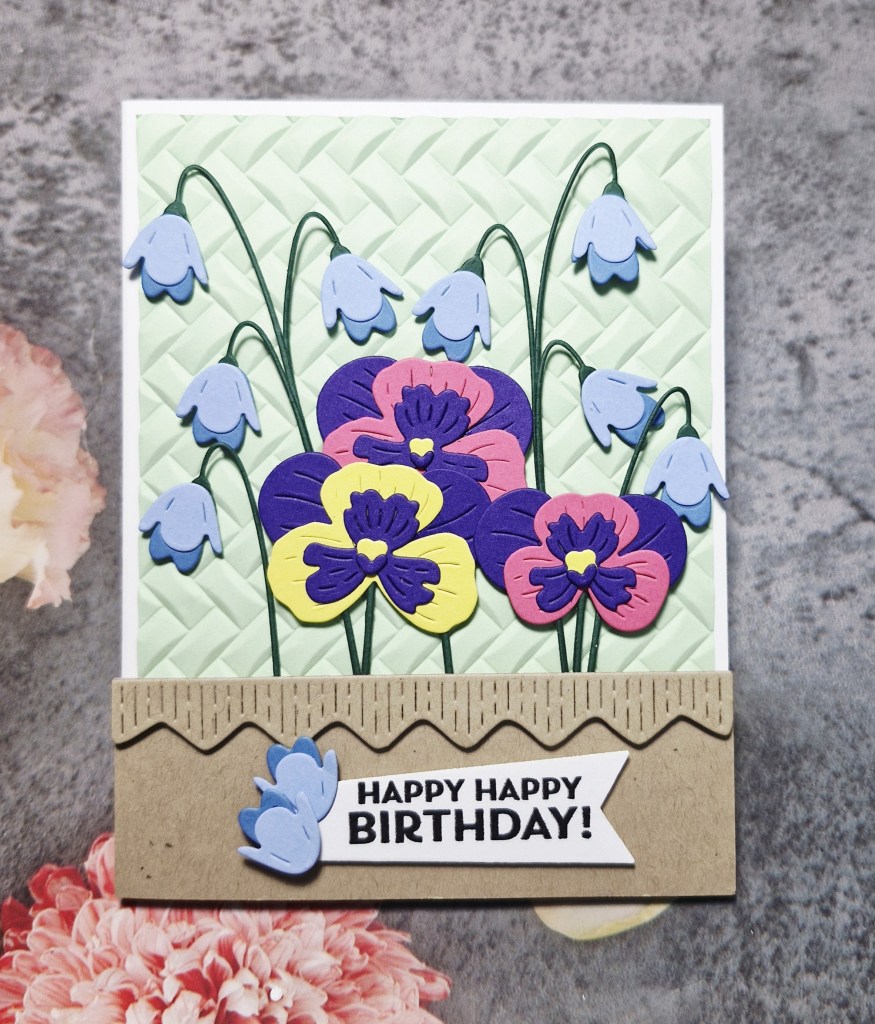
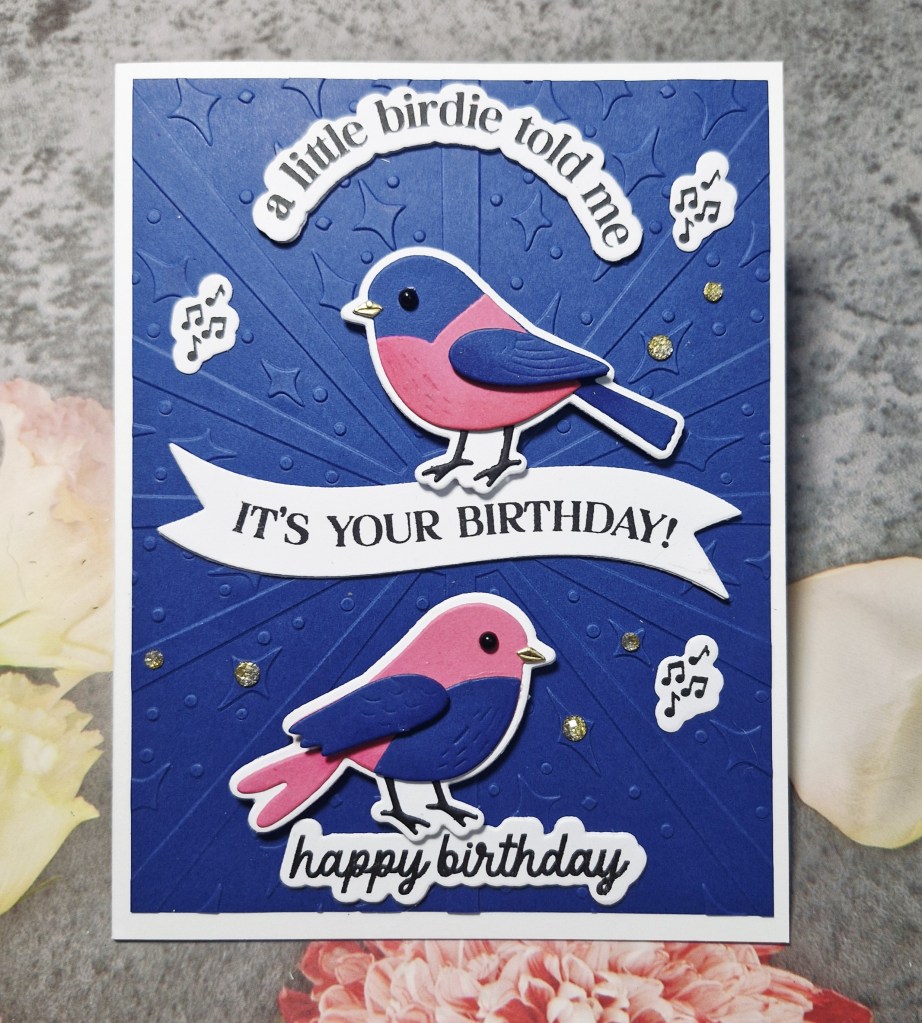
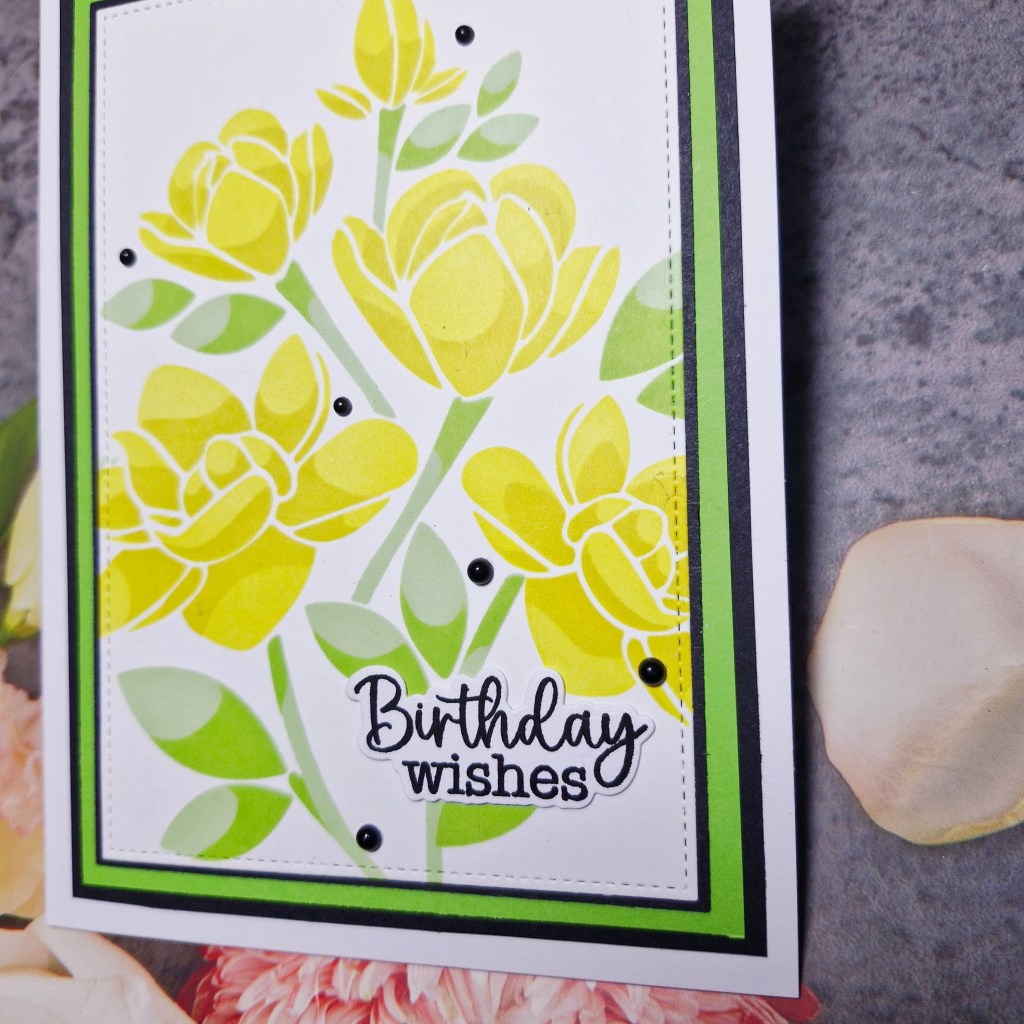
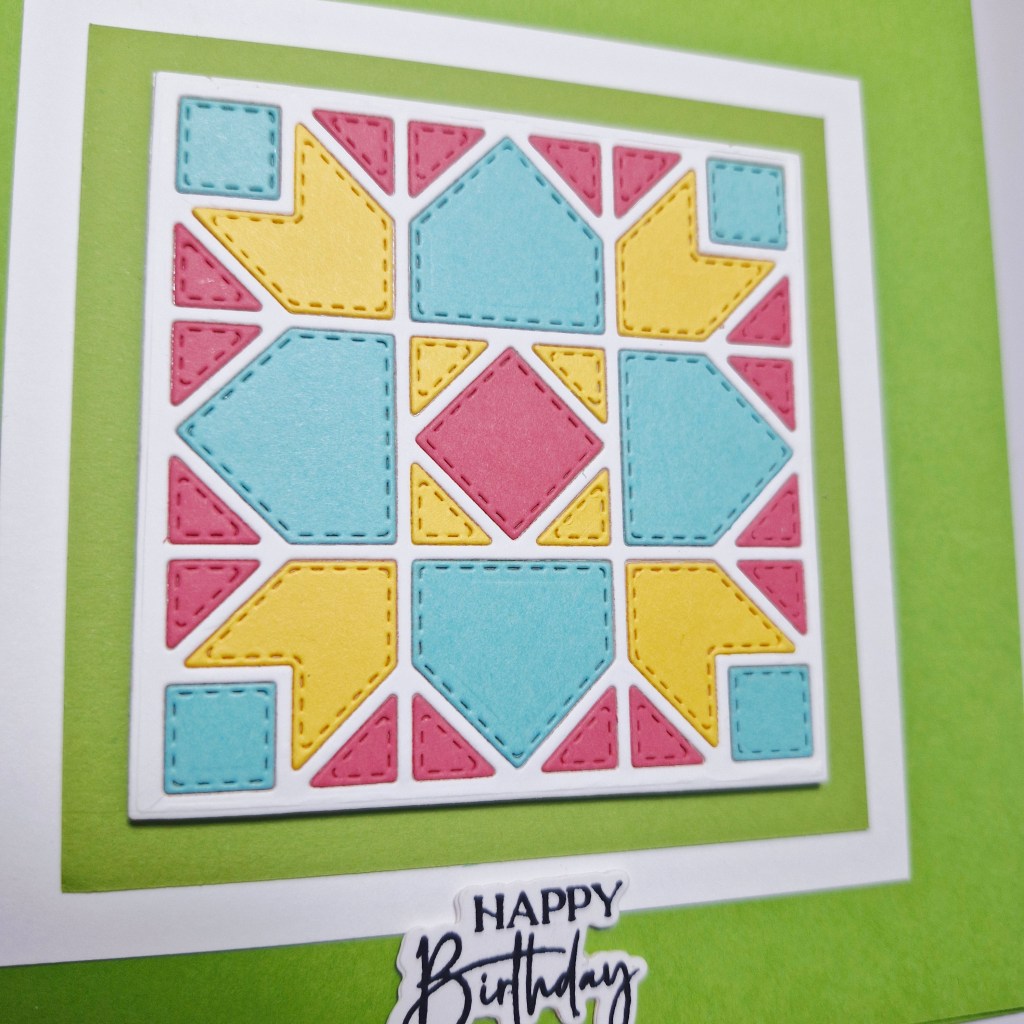
Here is my card:
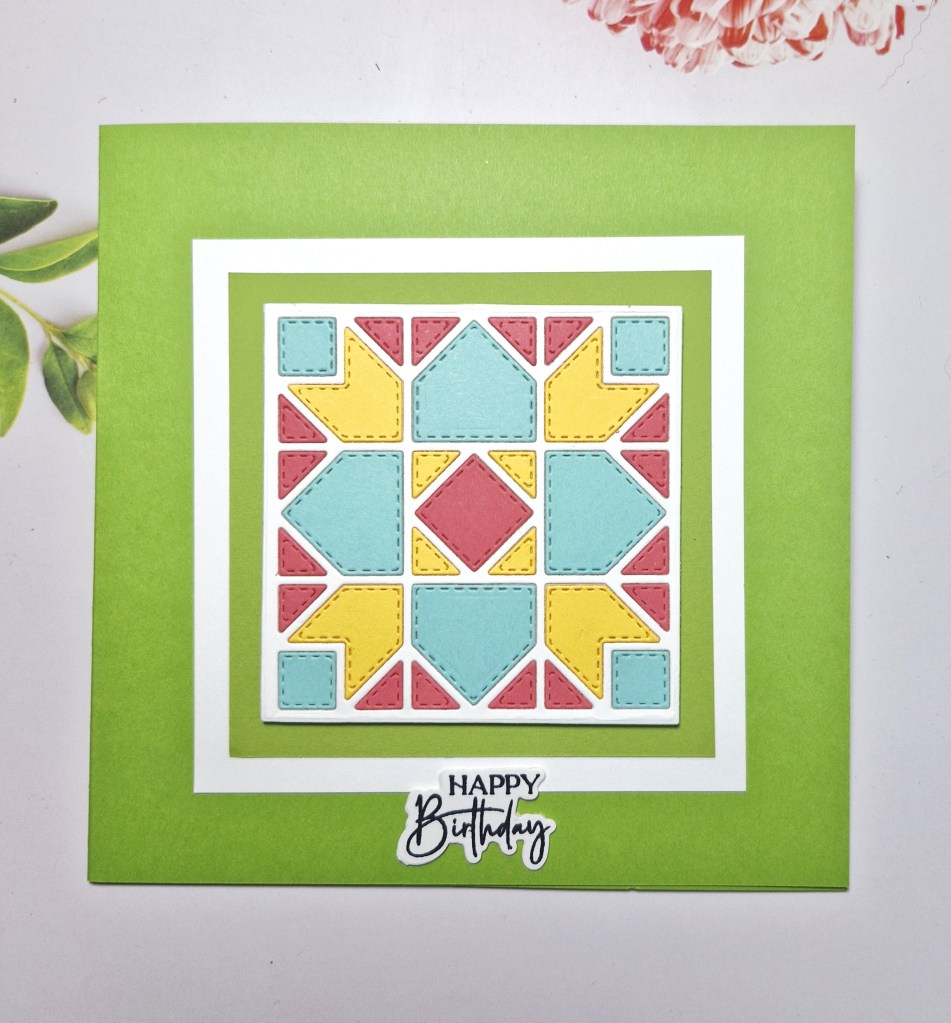
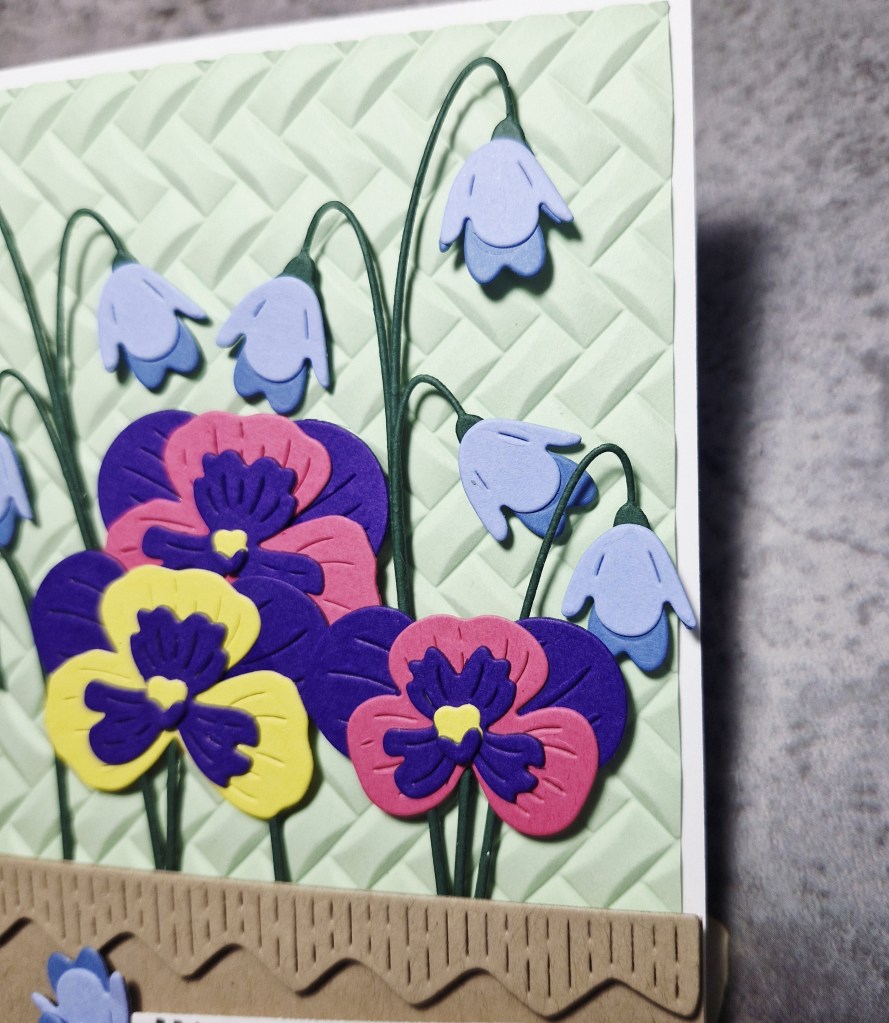
For this card, I created the centre first, by using a Spellbinders die set ‘Log Cabin & Flower Mini Quilts’, die cutting in several bright and cheery colours, as well as one in white.
I used the white as the frame, attached it to some other card and double sided sticky sheet, then inserted the coloured pieces back into their respective slots. I seem to be having fun with in-lay techniques at the moment….
The sentiment was stamped and die cut, then I created the card base, white panel, and a smaller square of green. trying to keep everything bright and cheerful.
I hope you can come and join the team with your birthday creations following the theme, though there is always the ‘anything goes birthday option’ too. xx