Hello again. I have scheduled this post to start with the new challenge at Cardz 4 Galz. I’m currently away visiting my sister in Quebec, so unsure how much access I will have to comment and respond – she will try and keep me busy helping her and her hubby settle into their new house……
The new challenge has the theme chosen by Pamela, a word inspiration:
Rainbow
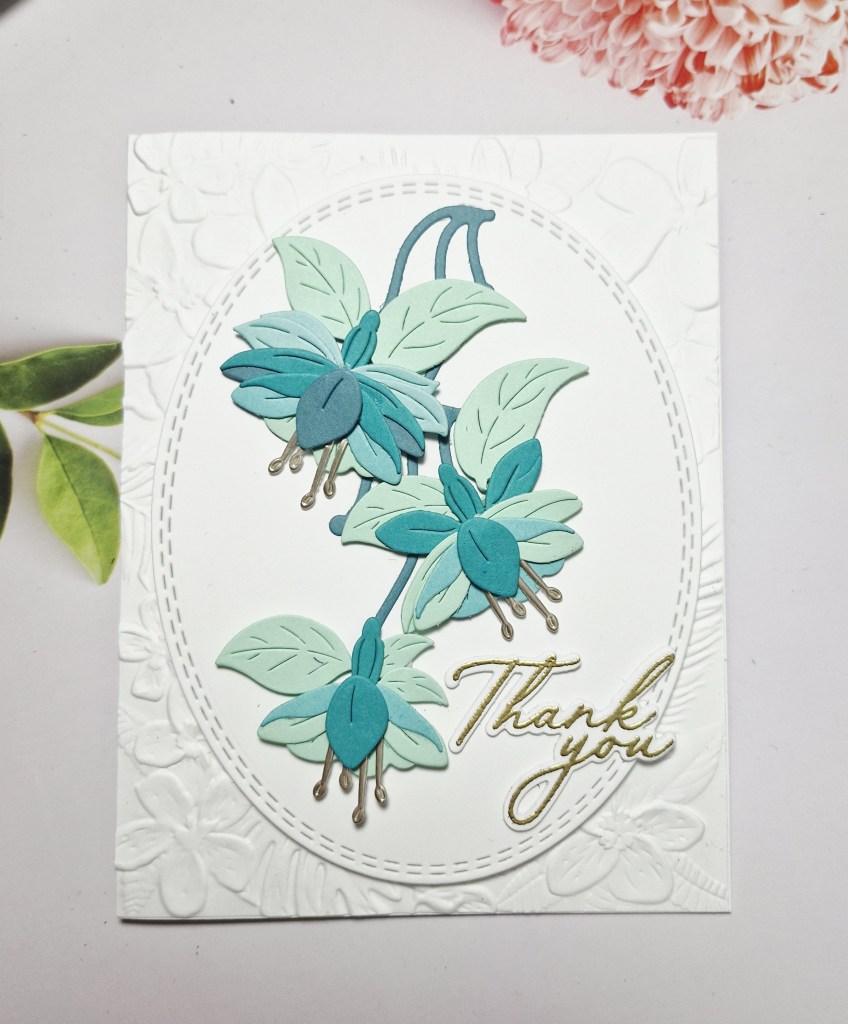
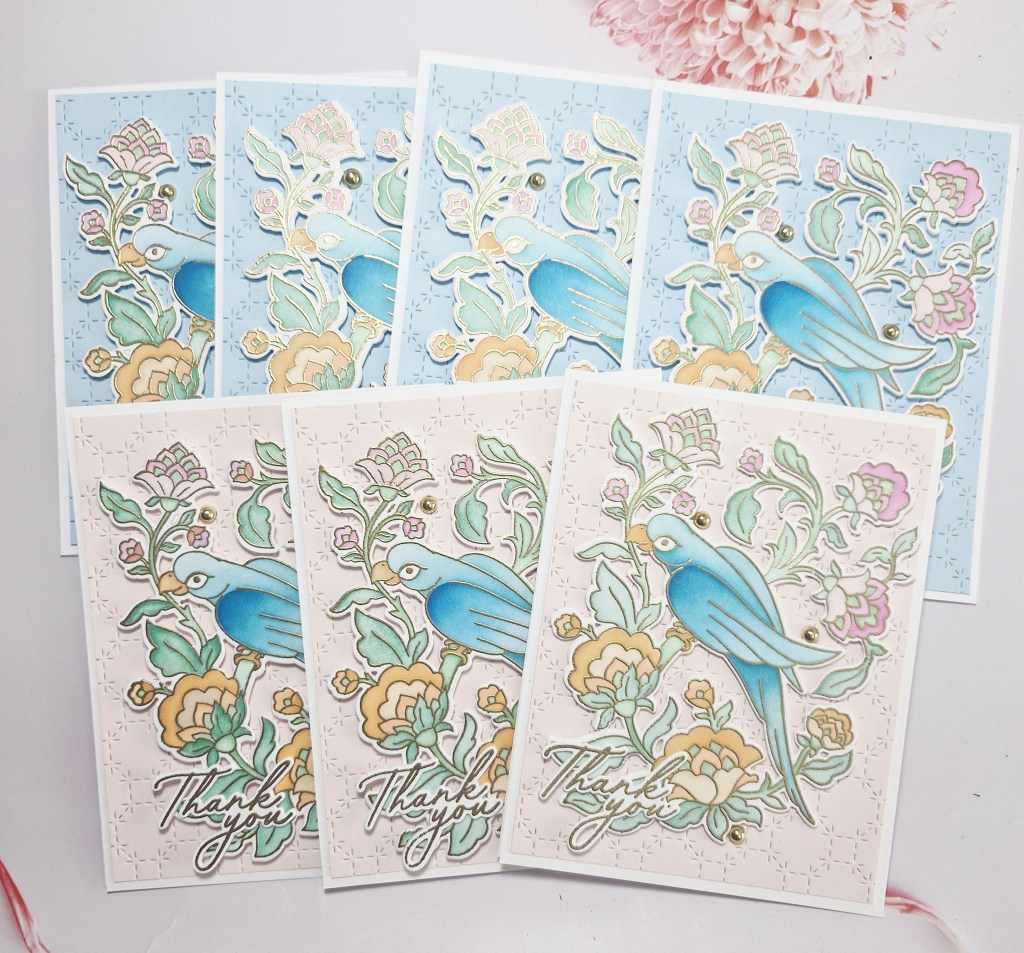
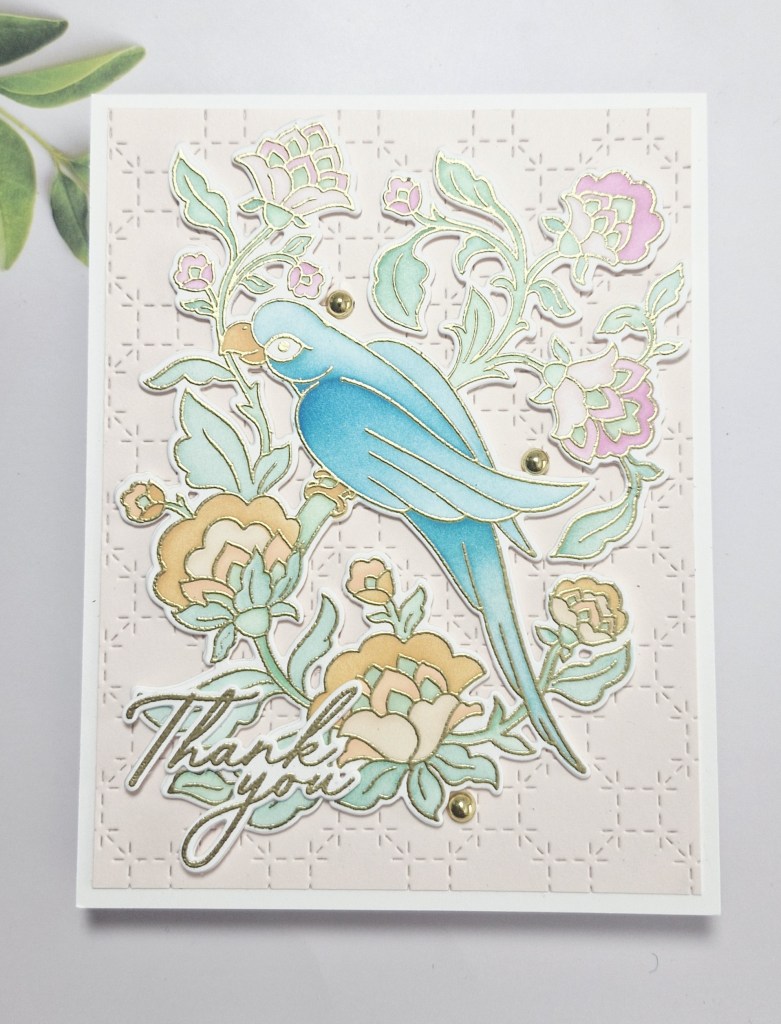
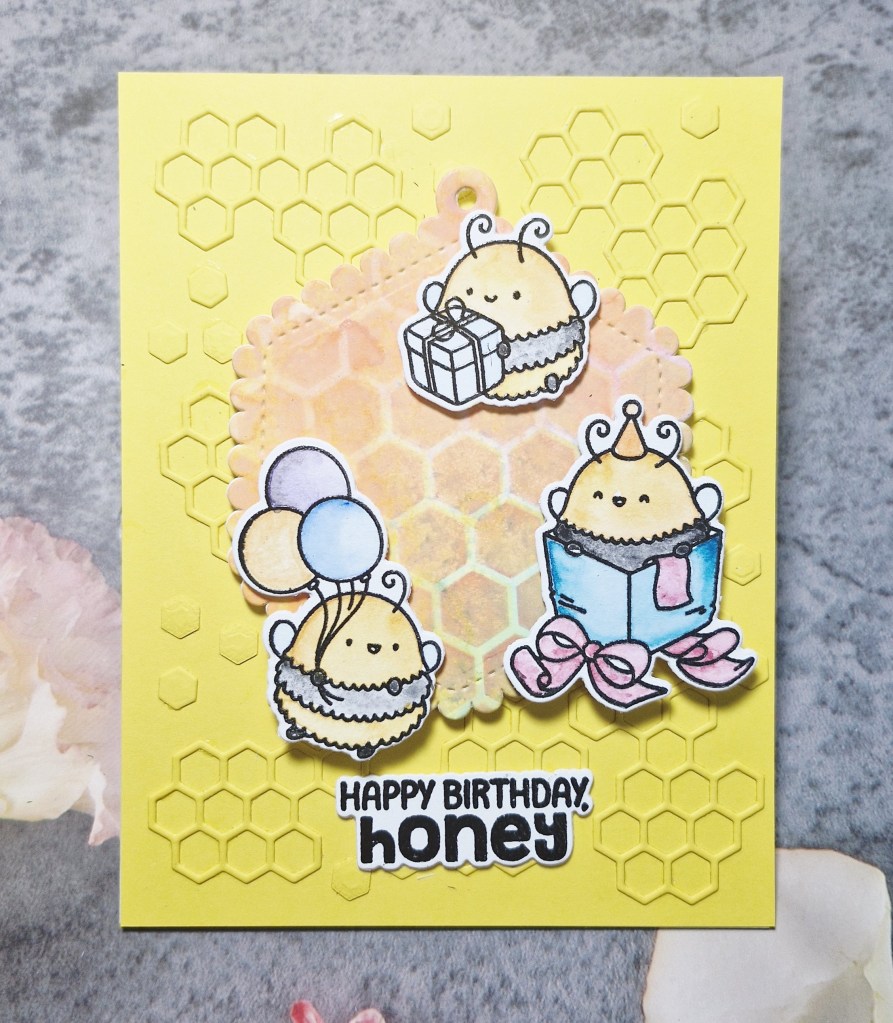
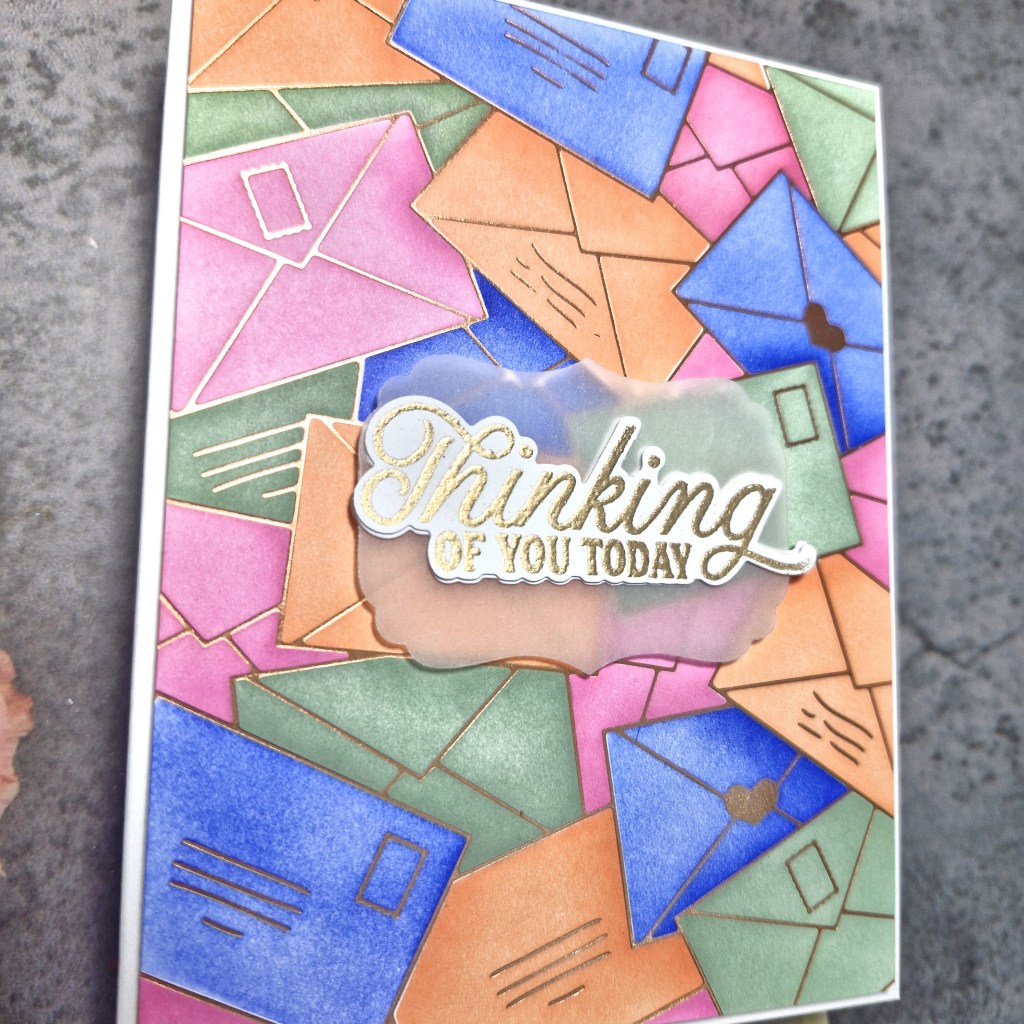
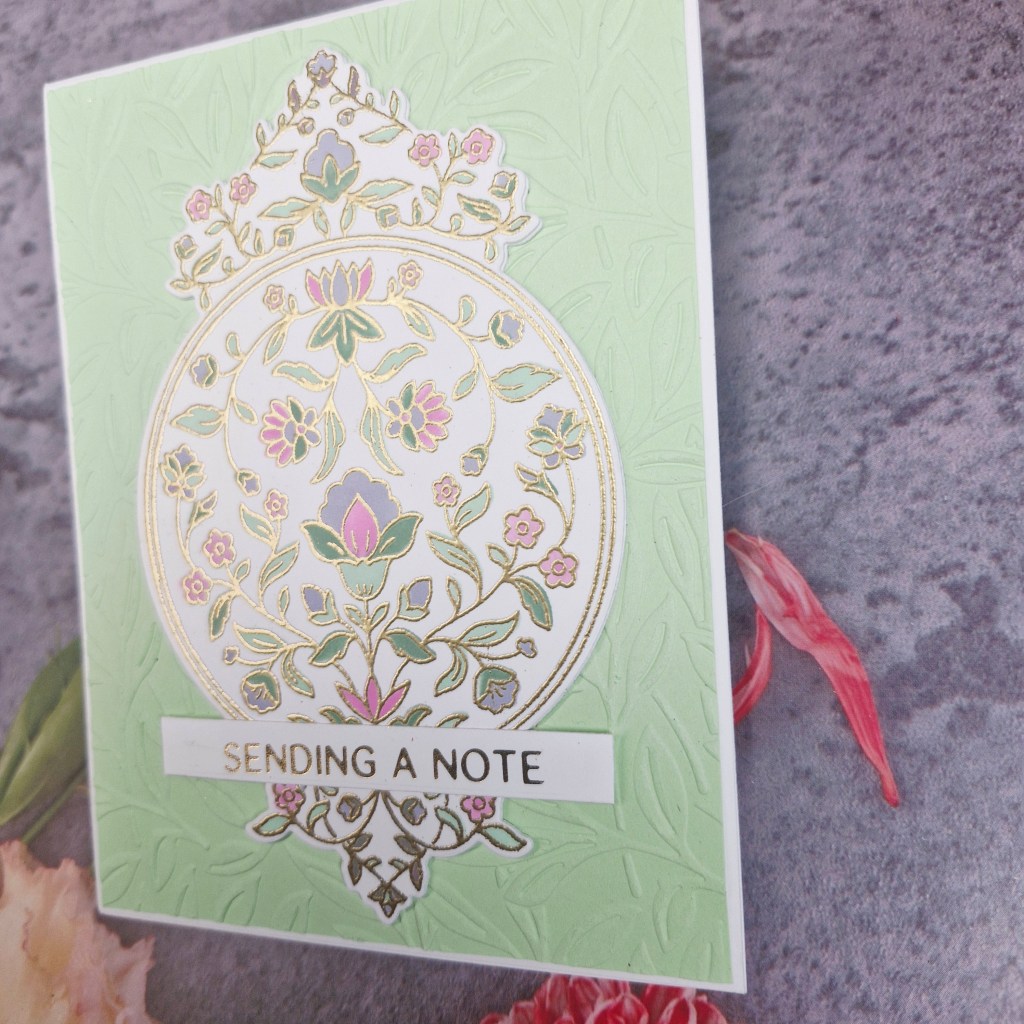
Here is my card:
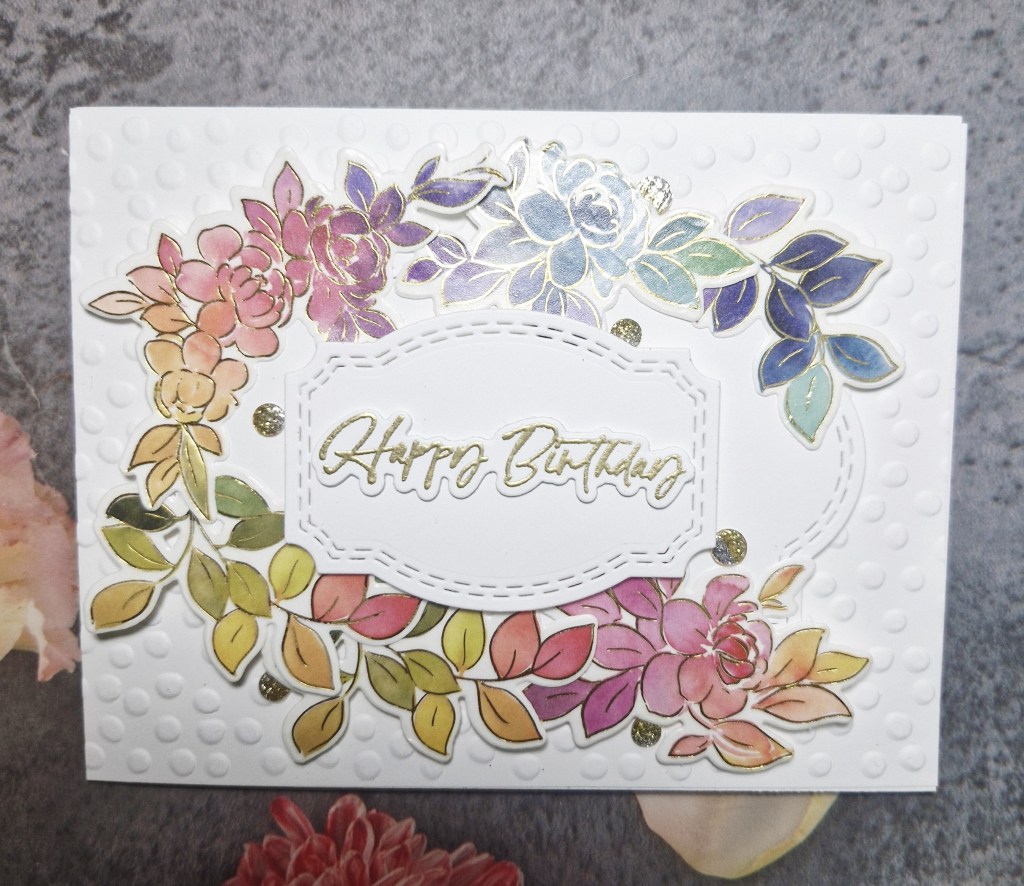
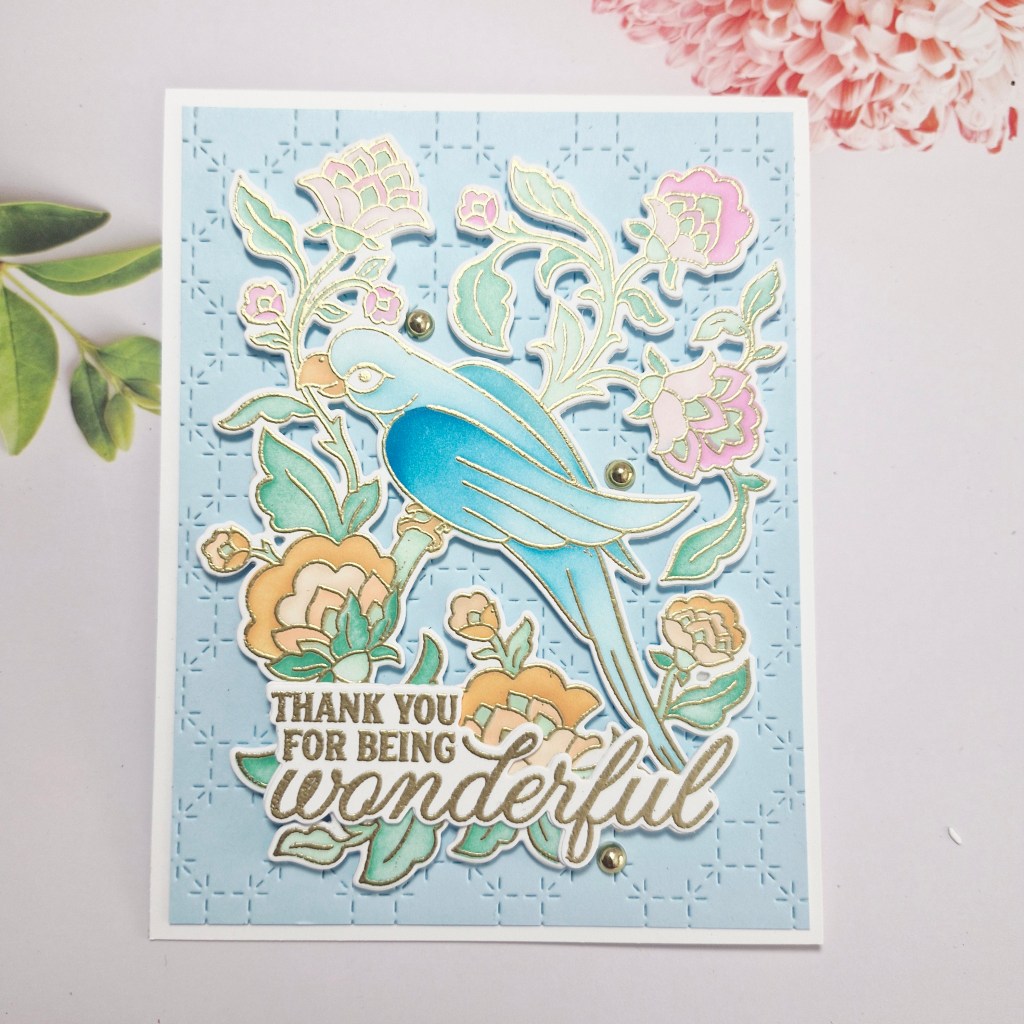
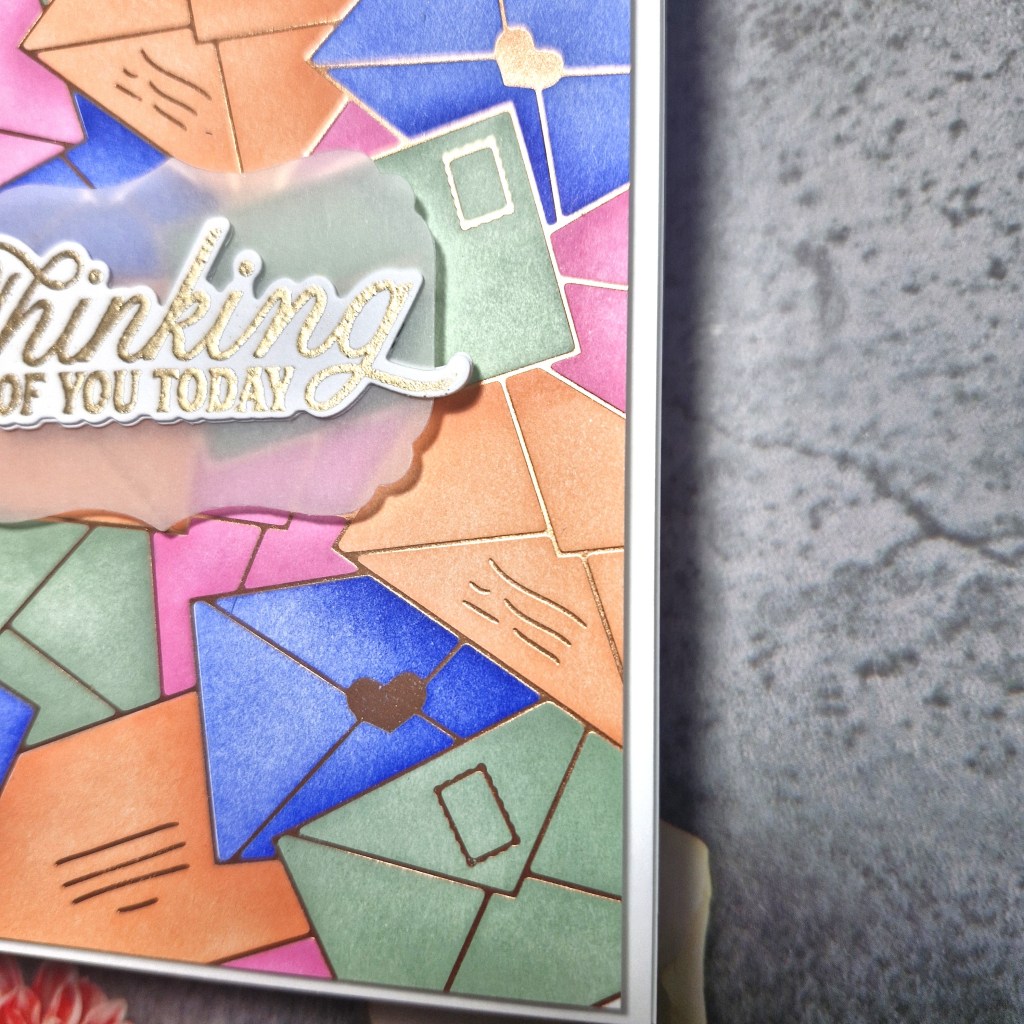
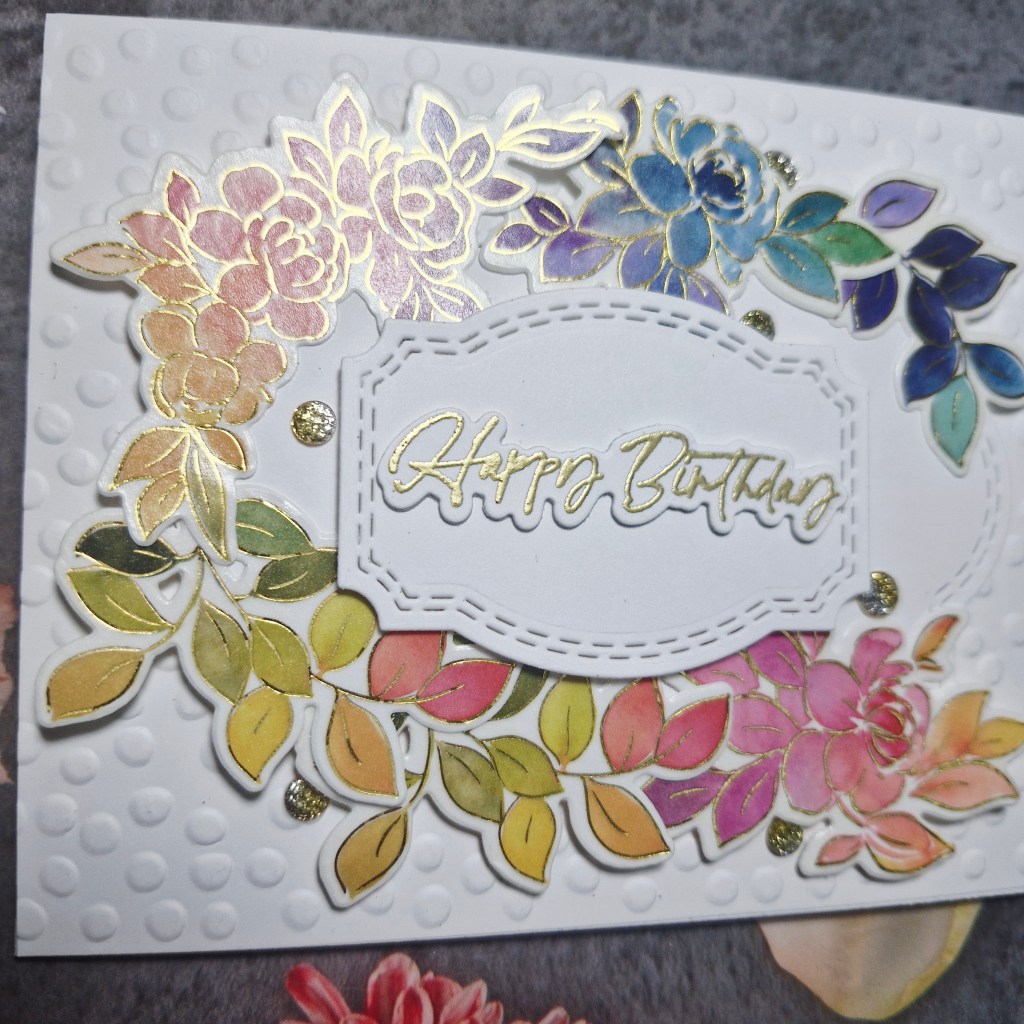
For this card I chose to use a rainbow floral washi from Pinkfresh Studio – Vines & Roses. I started by laying the washi down onto white card, then used the matching die to cut the images out.
The background panel was created using a Sizzix embossing folder, then gloued down to the card base.
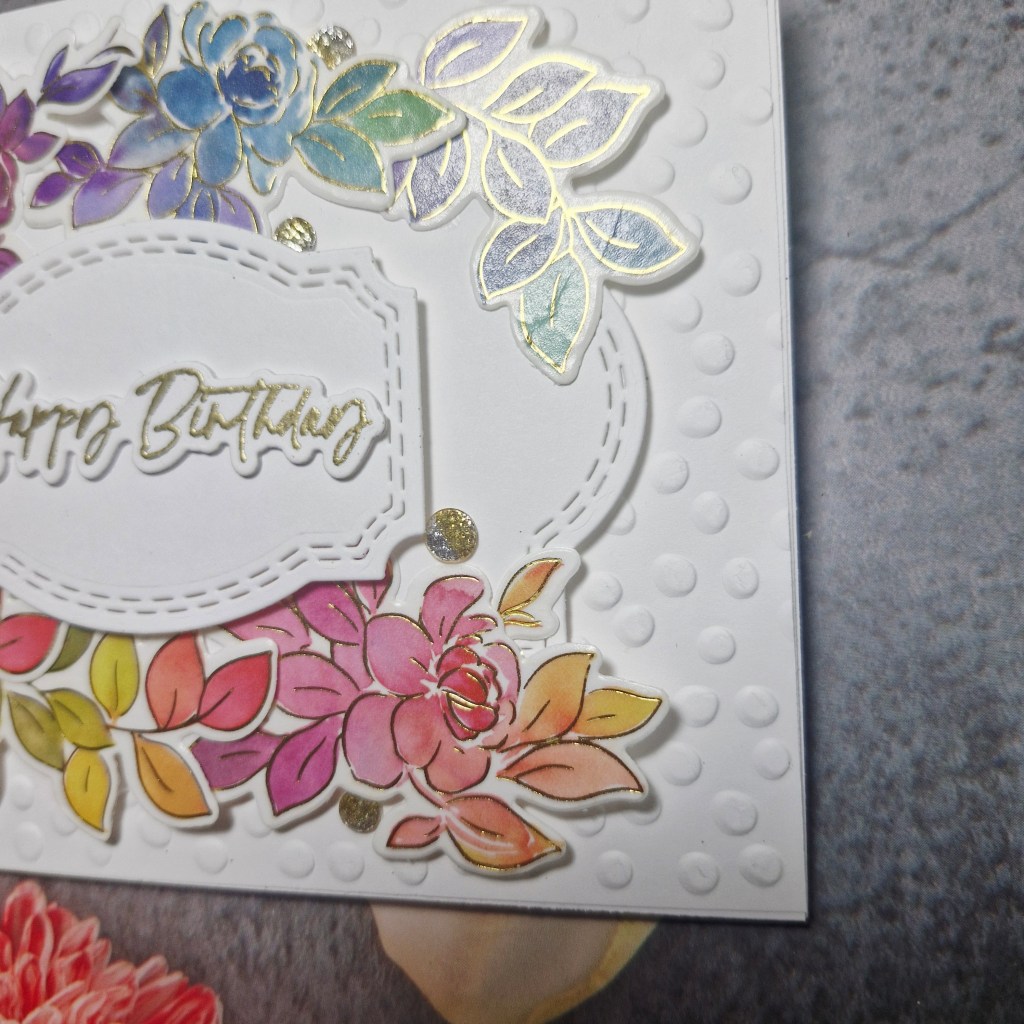
The oval was die cut from a Pinkfresh Studio nesting oval die set, and then the floral images arranged around this oval, attached with glue and 3D foam as needed.
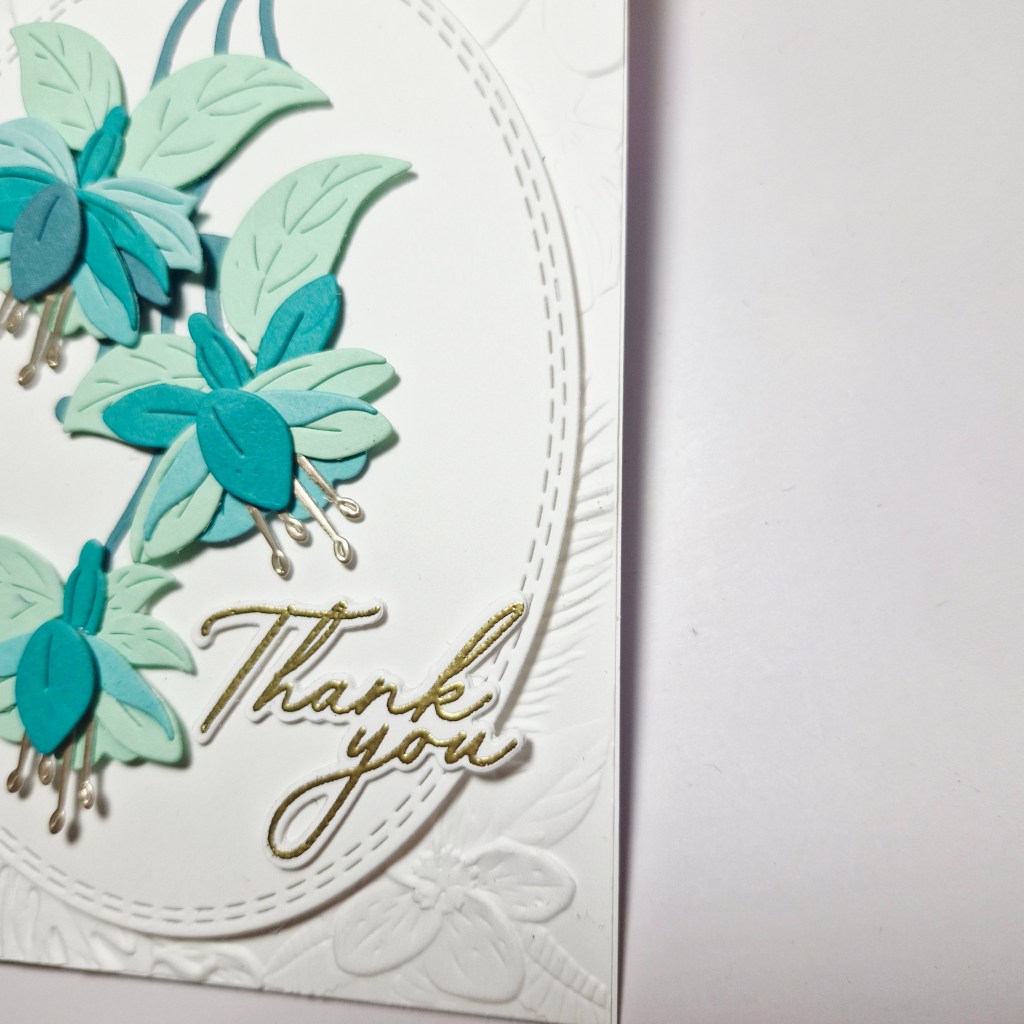
The centre panel was also created using a Pinkfresh Studio die set (Double Stitched Fancy Frames), and the sentiment gold heat embossed, die cut, adhered to the little panel, then attached to the centre of the card.
Some ombre gems also added for more interets and a little sparkle.
I hope you can come and join us with your creations inspired by our theme of ‘rainbow’. xx