A Deer Christmas

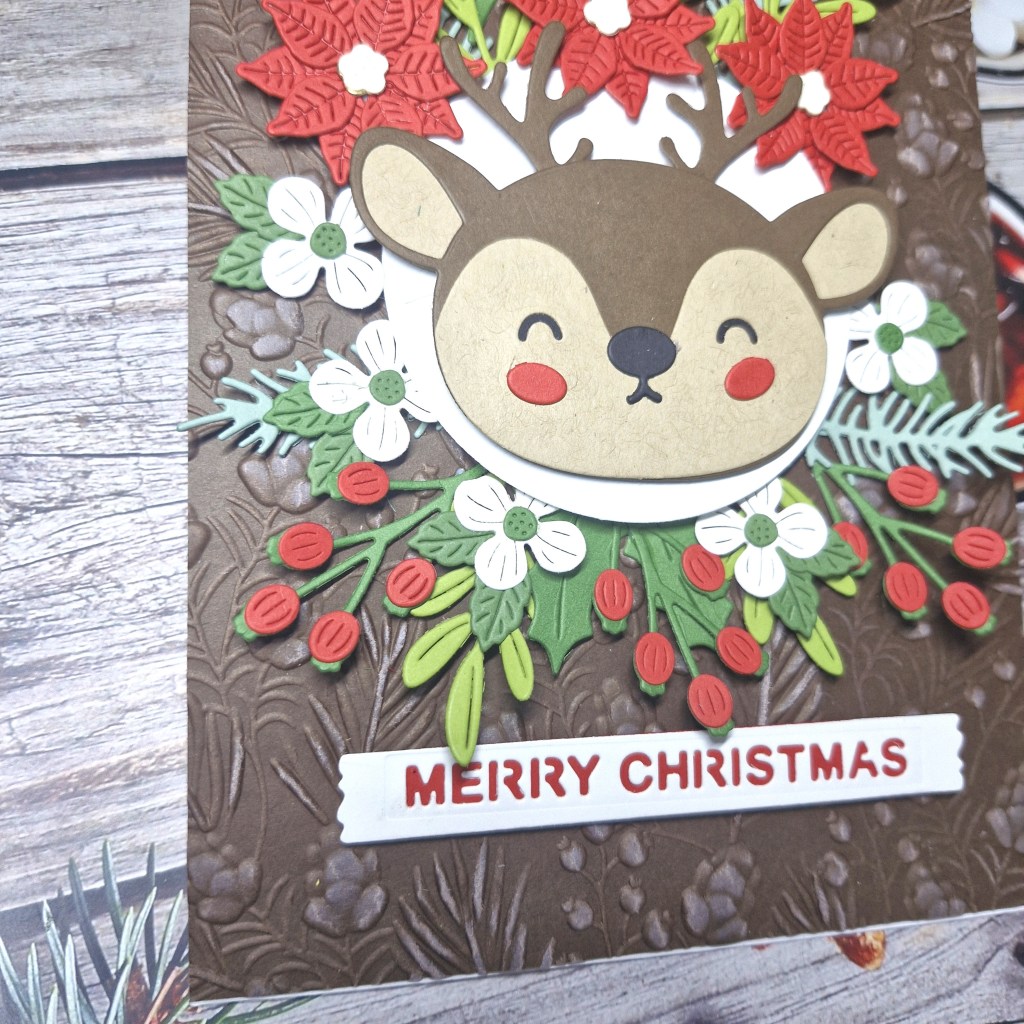
Hello once again. I was intrigued by the current colour inspiration for a Christmas card at 52 CCT to use brown, red, and green, and came up with this card:
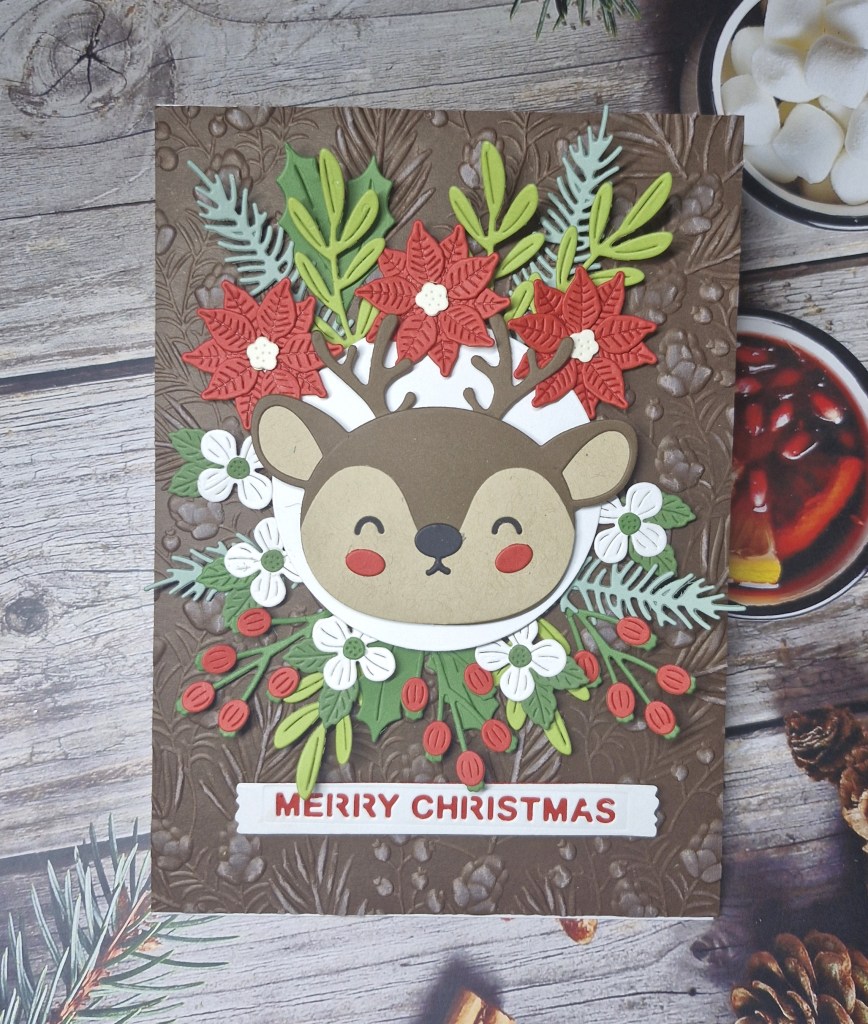
I wanted to use this new deer die set from Spellbinders, which I thought would cover the brown part of the colours, and as you can see – I fully embraced the brown…..

I started by die cutting and assembling the deer, and then used several tones of green and a red to cut the foliage and flowers from another Spellbinders die set, as well as red for the buds. I also die cut some white flowers. I did die cut quite a few of all the elements, as I didn’t know how many I was going to use on the project.

I used a 5×7 inch card base and added a piece of brown card stock which had been run through with a Spellbinders embossing folder – I also swiped some white pigment ink over the top to catch the raised areas – almost like adding a touch of frost.
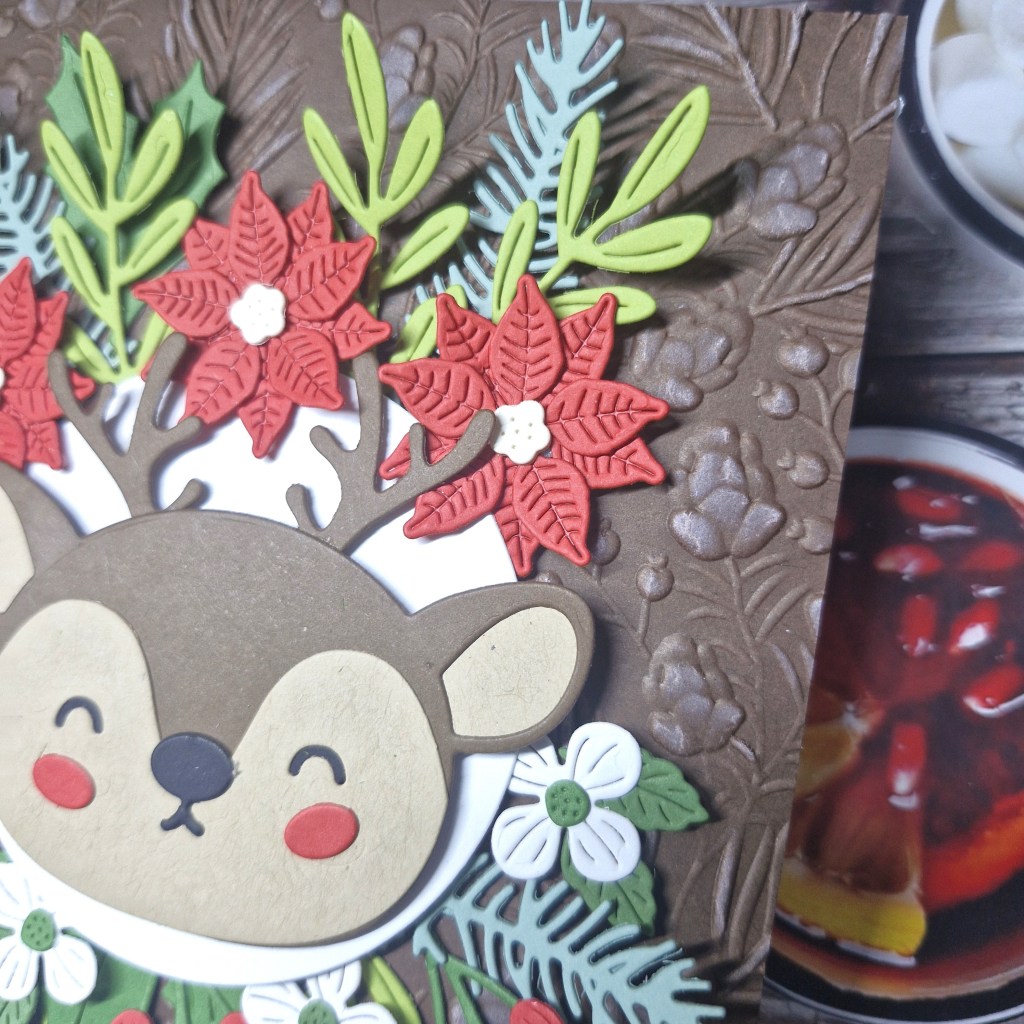
To further enable the deer to stand out a little more, I added a white circle behind him, and then arranged all the foliage and flowers around the edge of that. I just kept adding to create fullness, and am quite pleased with the outcome.

I did want to add some gold, but that isn’t included in the neutrals you can use, so I stayed with the three colours and white.

The sentiment is from a Spellbinders/Simon Hurley die set.
I shall be entering the following challenges:

52CCTChristmas with red, brown, green

Merry Little Christmas Challengeanything goes Christmas

Christmas Bingocolumn B – free/Christmas/red

CYHTP embossing folder, option of ‘tie it up’ not taken

Critter Crazyanything goes with a critter
You Are Plane Awesome

Hello once again. The Alphabet Challenge has started another round of the Alphabet. Billie A has chosen the theme:

A is for in the Air

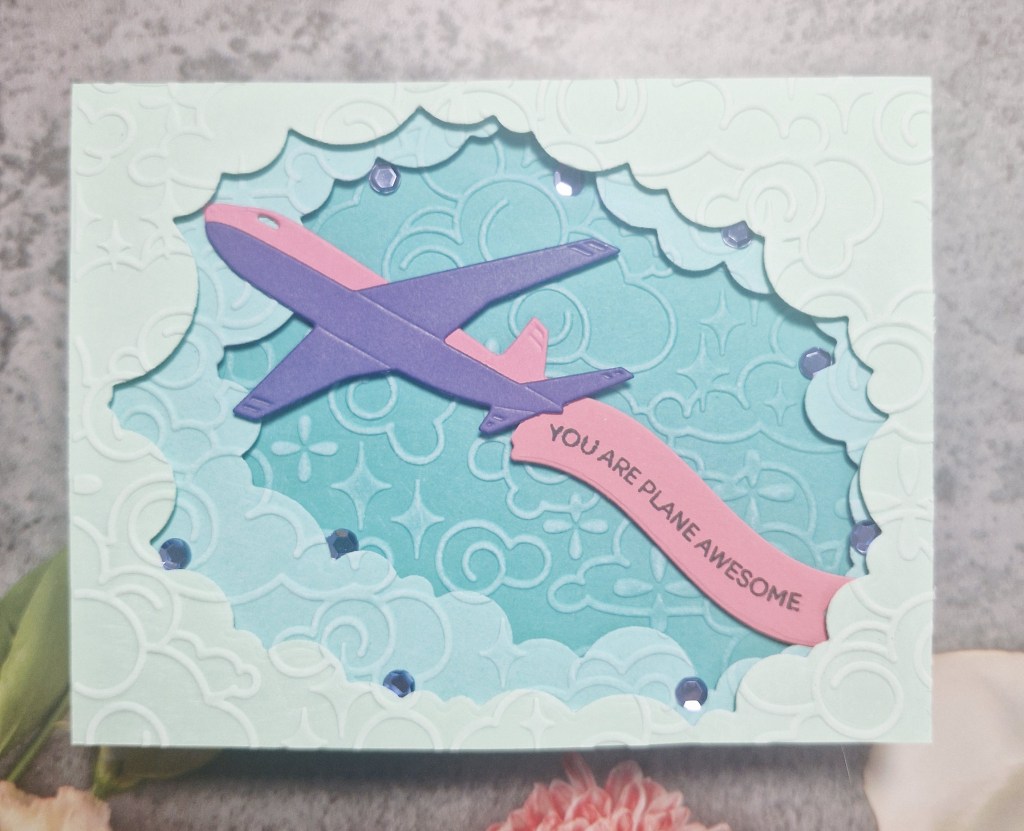
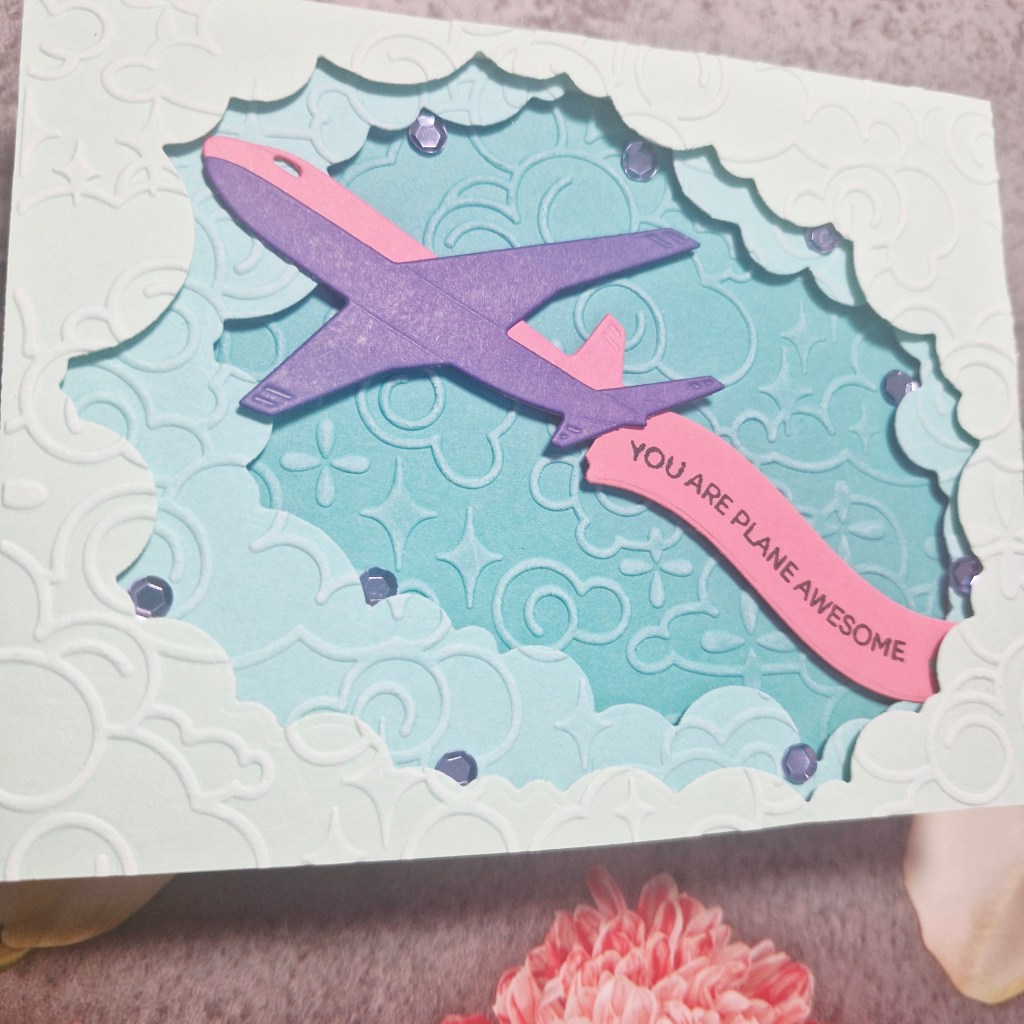
Here is my card:

I made this card as our God Son has been accepted into the WWE world in the USA, and is going to their training camp in Florida. What an achievement for him. We wish him all the best in the world.

I started by creating the plane from a Spellbinders die set – Fly Away – then hunted for a flowing banner, which I found in a Heffy Doodle set ‘Flying High‘. The sentiment was stamped then die cut with the banner die.

I wanted lots of details and some dimension for the scene, so I also used the Spellbinders die set called ‘Tunnel Clouds‘, and three different shades of blue card stock, playing with the placement and ararngement a little to create a large enough area for the plane and banner to sit in.

When I first put the layers together, they looked a little ‘plane’ (forgive my pun……) so I then a Spellbinders embossing folder on all three layers called ‘Cloud Nine‘, lining up each of the three layers so the pattern ran across seamlessly, then took my white pigment ink pad and gently ran it across the top to highlight the raised areas.

The final step was to add some sequins, because I saw no reason not to really…….added bling for an up-and-coming international wrestler……!

I hope you can come and join us with your creations following our theme. There are lots of options to be able to create, as you can see from the DT inspiration. xx

I shall be entering the following challenges:

Tic Tac Toemiddle column – die cuts/emboss/layers

Cut It Up die cuts and something with wings

When it rains – look for rainbows

Hello there. Cardz 4 Galz has started a new challenge. Sue J is hosting, and she has chosen the theme of:

April Showers

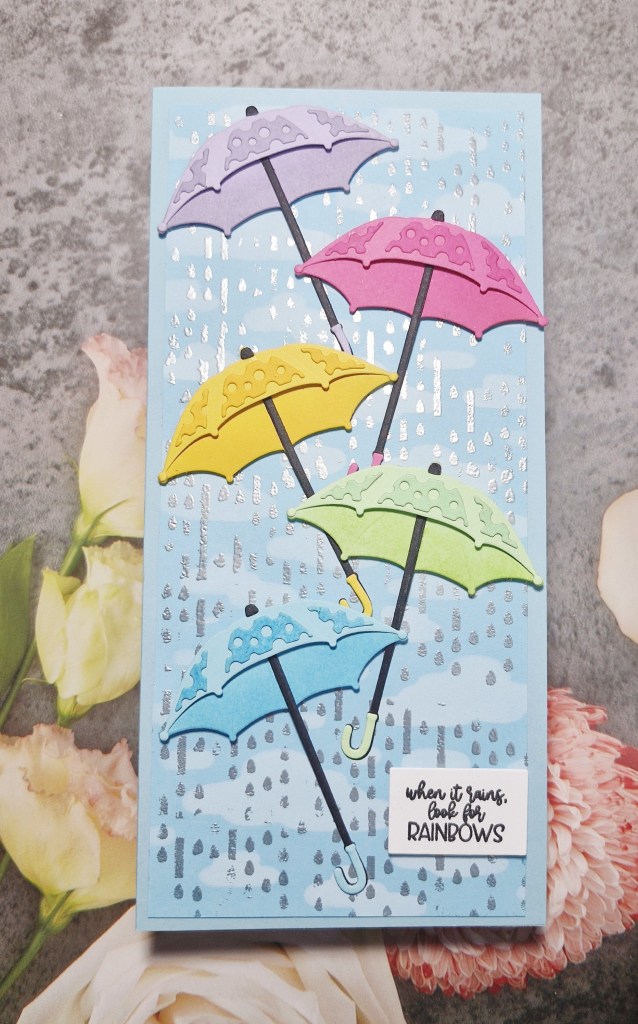
Here is my card:

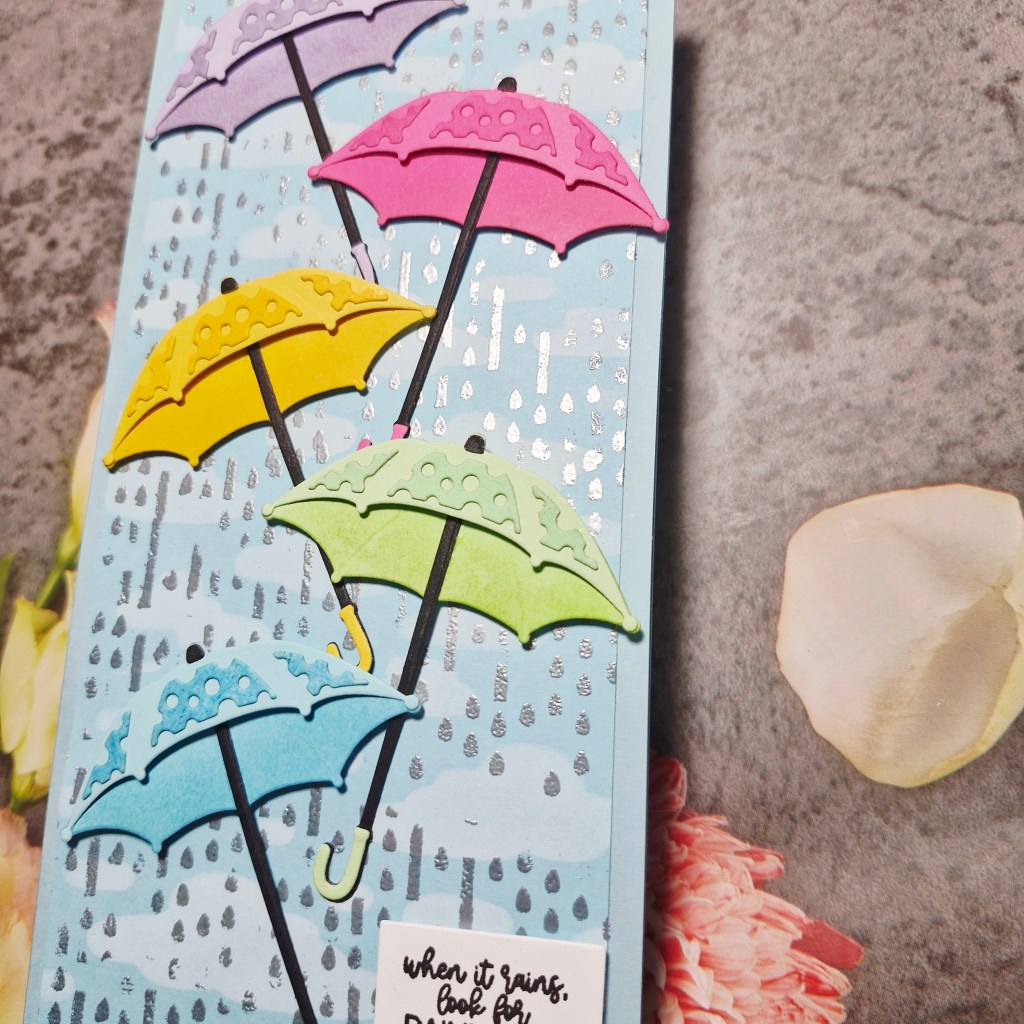
I decided to go slimline with this card to get more umbrellas on there, so I created the background panel using a Clearly Besotted stencil, Versamark ink, and silver embossing powder. I had to move the 6 x 6 inch stencil to cover all the background panel – but it worked out well.

The rainbow umbrellas were created using a Spellbinders die set, ink blending a slightly darker colour for the under-side of each umbrella, and adding the lacy layer – ink blended to be slightly darker – for a little more interest and dimension.

The sentiment is from an older Avery Elle stamp set – stamped then cut into a rectangle.

I hope you can come and join us with your creations following our theme. xx

I shall be entering the following challenges:

Lil Patch of Crafty Friendsanything goes

Addicted to Stamps & Moredie cuts and/or stencils (both used)

Ellibelle’s Corner I SpySpring flowers or Spring showers

Cupcake Birthday

Hello everyone. I’m a little late posting this card, as I had to wait for some of the items to dry. I was inspired by the current challenge at Time Out – the theme is ‘Sweet Treats‘. Here is my card:

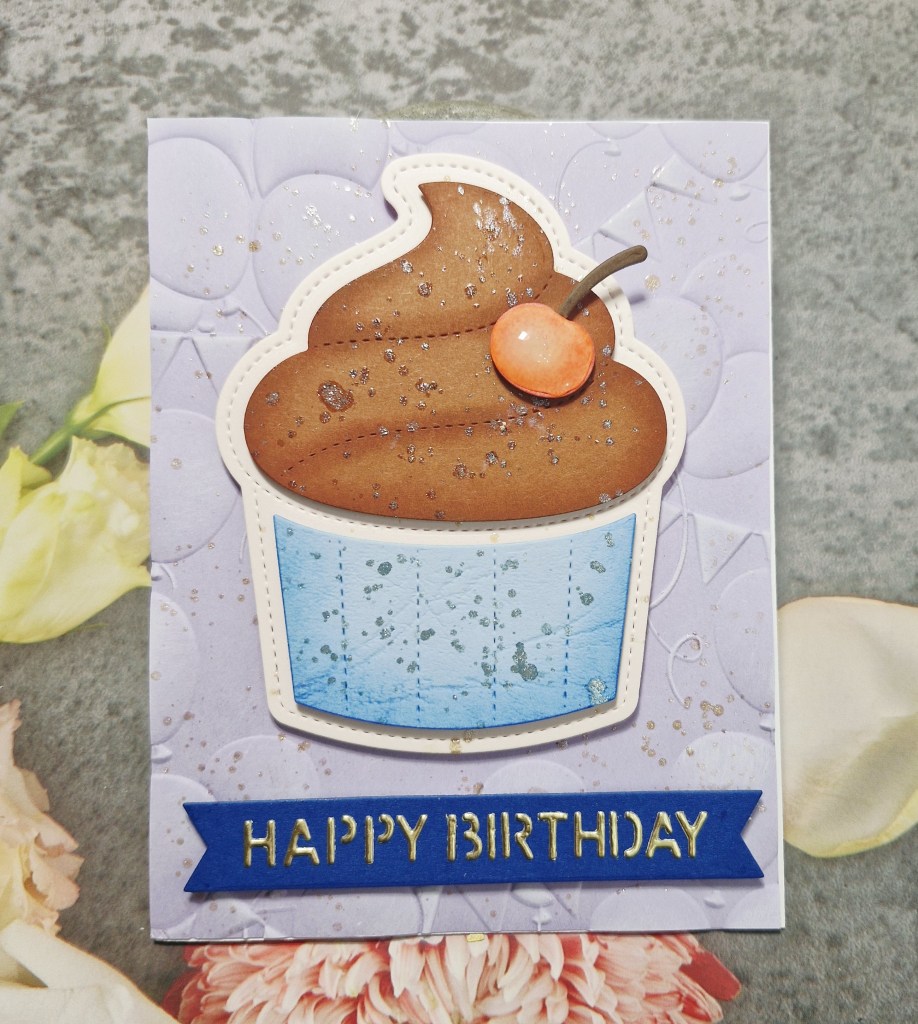
I started by creating the cupcake, and using products – again – from the recent SCT event. This cupcake die is from Pretty Pink Posh. I die cut the base of the cupcake in a light pink, the blue layer from a textured blue card stock, and the topping from brown – chocolate must have been on my mind…

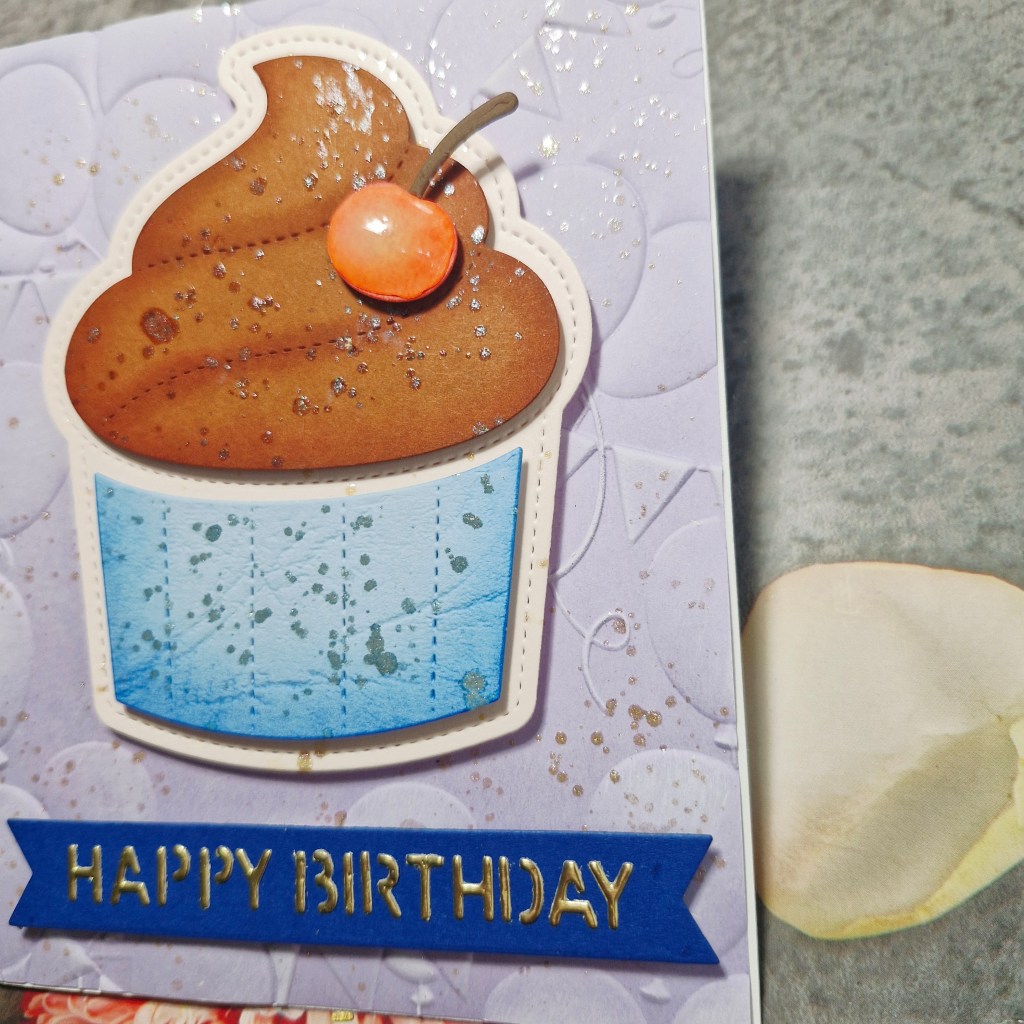
I used a little ink blending around the edges of each die cut, and even across the middle of the topping layers to create some dimension. These two layers were applied to the cupcake base with 3D foam. The cherry is also from the same die set, die cut from light pink, ink blended around the edges, assembled, then glossy accents applied for a little shine.

Whilst drying, I die cut the sentiment – from a Simon Hurley/Spellbinders die set – the banner out of dark blue, the letters from the sentiment were attached – each individual piece of each letter – using the other piece as a template to get the spacing right.

The background is a lilac piece of card stock, and run through with a Spellbinders embossing folder, and white pigment ink gently swiped across the top to try and pick up some details. You can see that more on the banner sections of the background.

Another addition was to splatter some Lawn Fawn ‘Liquid Stardust’ across the background panel, and across the cupcake.

The background panel was adhered with glue, the cupcake and sentiment were adhered with 3D foam.

I shall be entering the following challenges:

Time Out – Sweet Treats

Lil Patch Of Crafty Friendsanything goes

Craft Rocketlayer it up

Washi Christmas Wreath

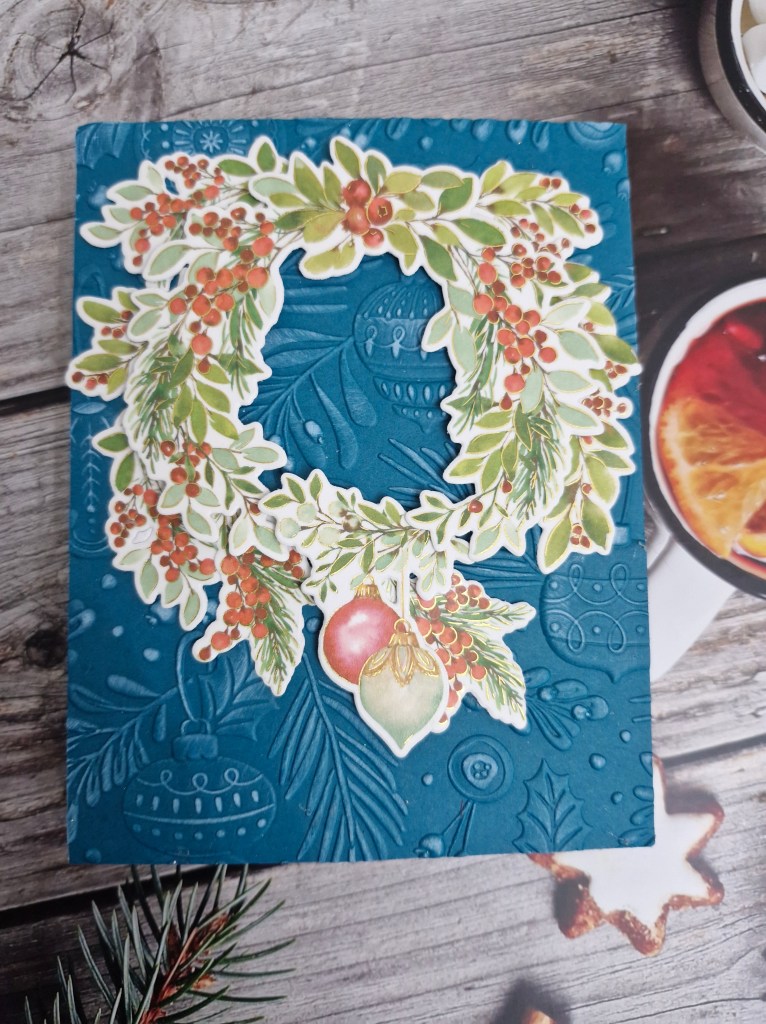
Hello. I have been busy crafting and have made a Christmas card using some Pinkfresh Studio washi tape:

The first thing I did was to place the wide washi onto a piece of card, and use the matching dies to cut out the images.

I created the background using a Spellbinders embossing folder, then wiping over some white pigment ink to bring out the details more.

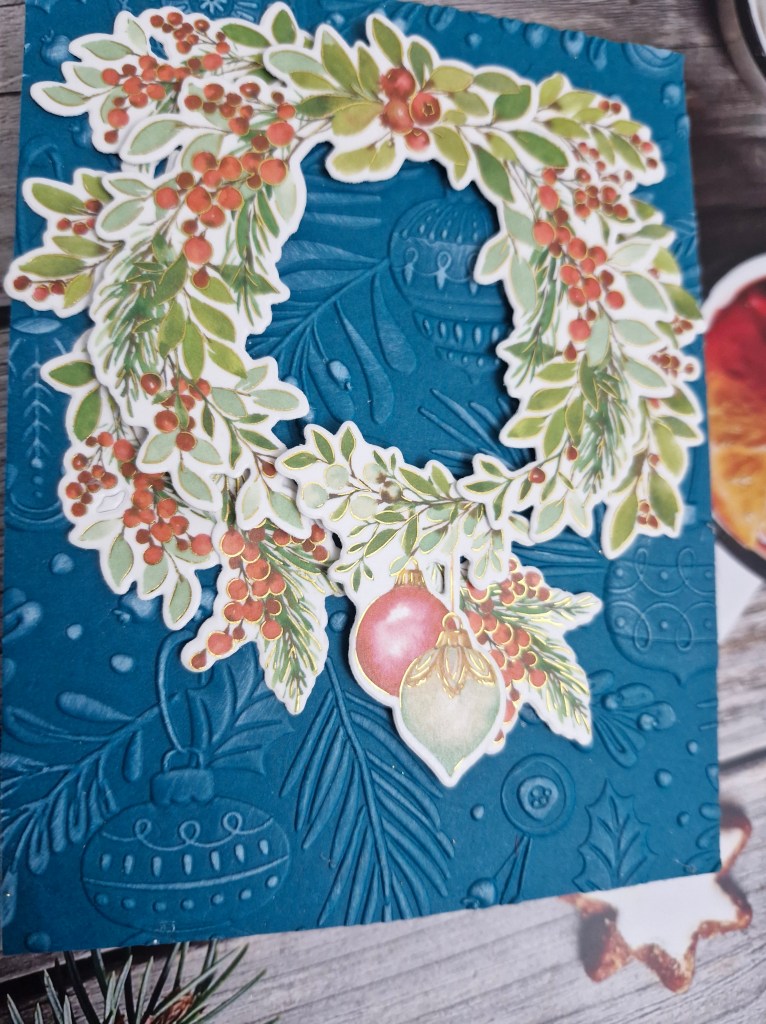
I then arranged the images in a wreath format, adding the dangly baubles at the bottom. Before using a combination of glue and 3D foam.

I have a selection of this washi tape from Pinkfresh Studio – the trickiest part is not applying it to the card before die cutting – it’s making sure the die is very well stuck down to the card piece surrounding the washi – low tack tape doesn’t stick to washi and the die can move – a lot! Ask me how I know…….

I shall be entering the following challenges:

Simon Says Stamp Wednesday Challengeanything goes

Crafty Catz – anything goes – option to use dies/punches taken

CYHTP embossing folder – option to use pumpkins not take

Krafty Chicksanything goes

Allsortsmagic of the season

Ally’s Angels anything goes

Merry Little Christmas Challengeanything goes Christmas