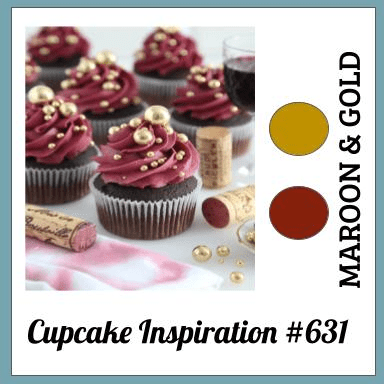
This colour scheme was inspired by the current challenge at Cupcake Inspirations – to use maroon and gold.
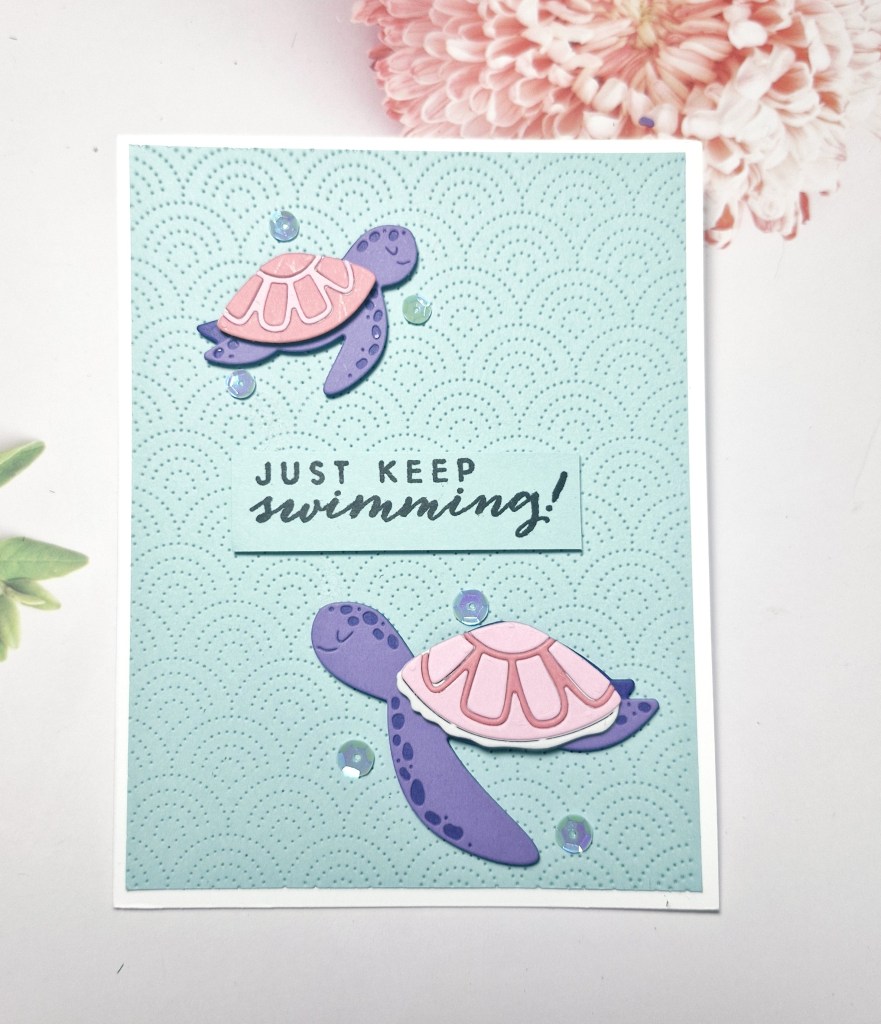
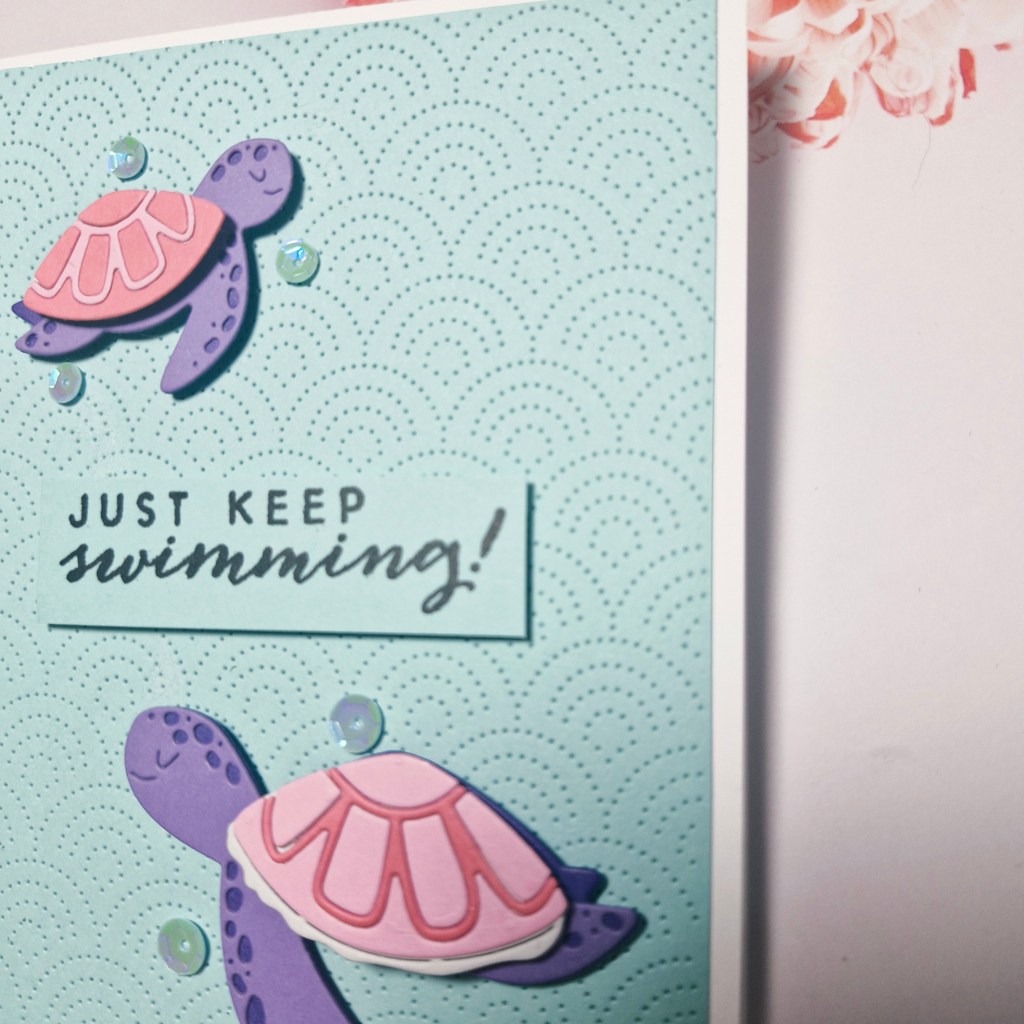
This is another die set from Concord & 9th, another cabin gift set from one of their summer camps.
I first started by using a Neenah 110lb card base, and onto the front of that card base I dry embossed a rectangle stitched die – this creates detail without adding dimension – I think so, anyway….. :)
The die was cut twice to obtain the dark red and the gold, and the two hearts – from the same die set.
The red outline of the letters was glued directly to the card base, the gold letters inserted – and yes – I did lose the two itty bitty pieces from the inner of the letter ‘o’ in you – so I grabbed a little scrap and die cut just that part again to obtain them.
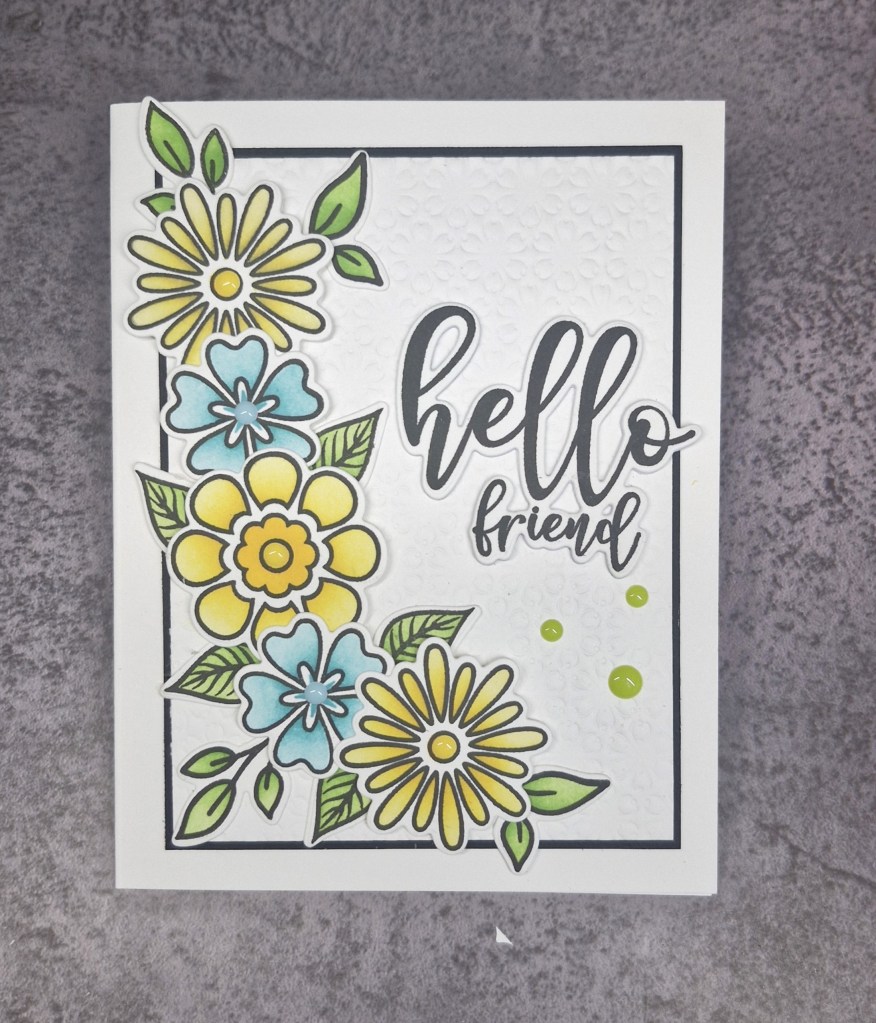
Hello everyone. I have been a little remiss in posting, but I have been creating behind the scenes. I have been enjoying playing with products from some virtual events this past few months, and I have a card to share using products from the recent Simon Says Stamp and Gina K designs collaboration:
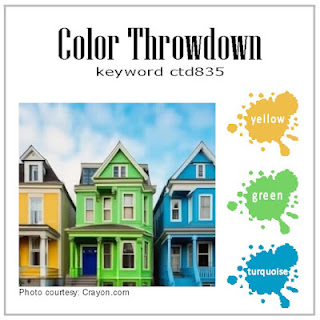
I used the colours from the current Color Throwdown challenge to create this card.
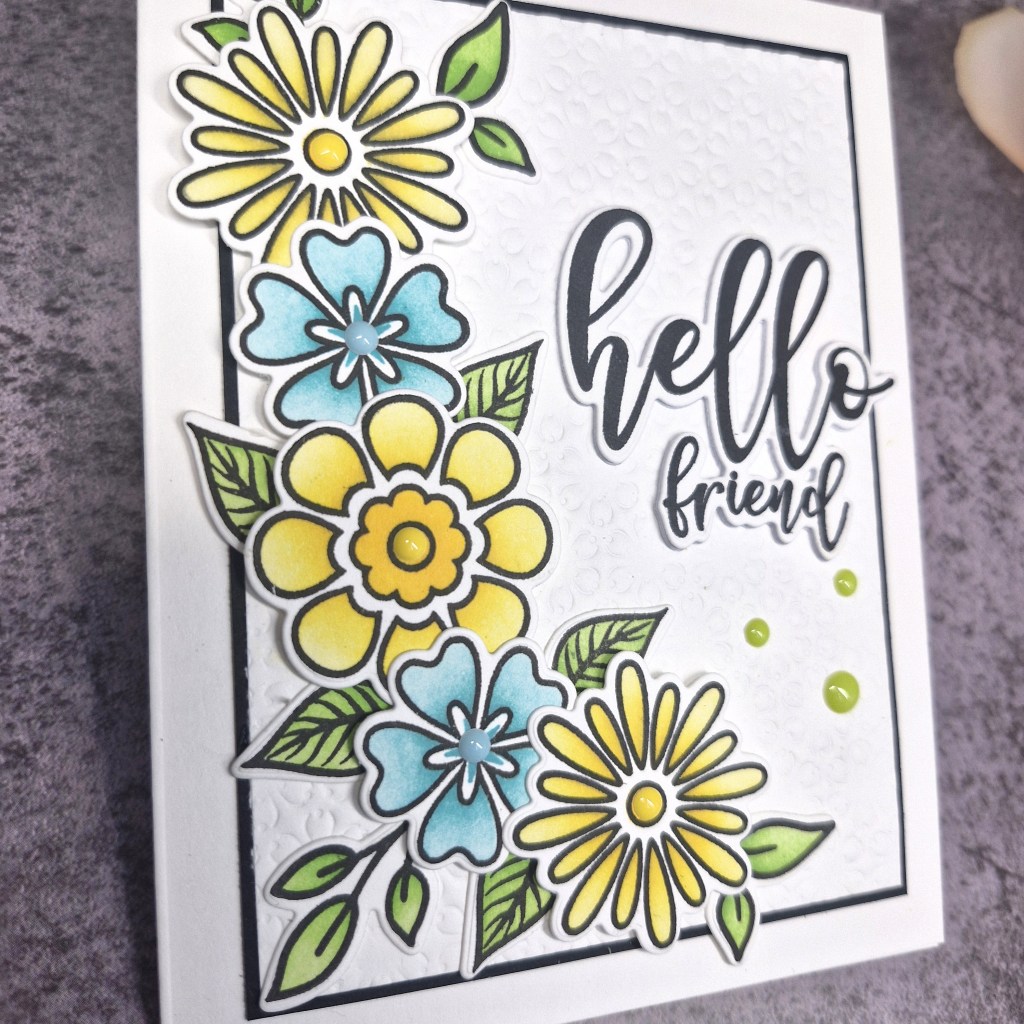
The images of the flowers and leaves were stamped, then coloured those using Pinkfresh Studio inks and the matching stencils. I used a heavier hand towards the centre of the flowers and the bottom of the leaves for a little more interest.
The sentiment was stamped in black, then all the images and the sentiment were die cut with the matching dies. The sentiment I layered three times for more dimension.
I took a smaller white panel and used a Pinkfresh Studio Letterpress plate to create the subtle detail in that small white panel, layered that with a black panel, then adhered to the card base.
I then arranged the flowers and leaves, attached the flowers with 3D foam, and the leaves with glue, before adding some enamel dots. The turquoise and yellow dots attached the the centre of the flowers were from Time 4 Tea Designs, and the three small green dots are from Concord & 9th.
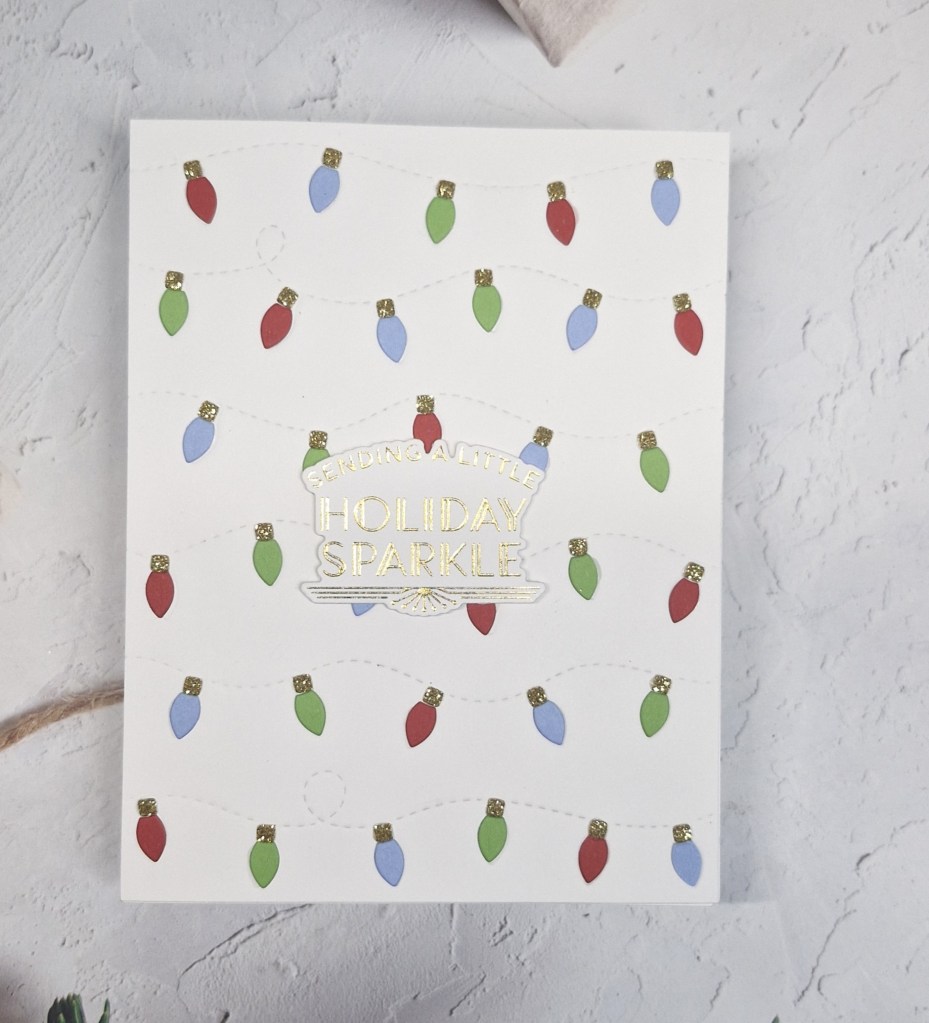
Hello everyone. It’s time for the next challenge at ABC Christmas Challenge. We have reached the letters ‘L’ and ‘M’. Our Christmas themes this month for those letters are:
‘L’ is for Lights, ‘M’ is for Music
Here is my card:
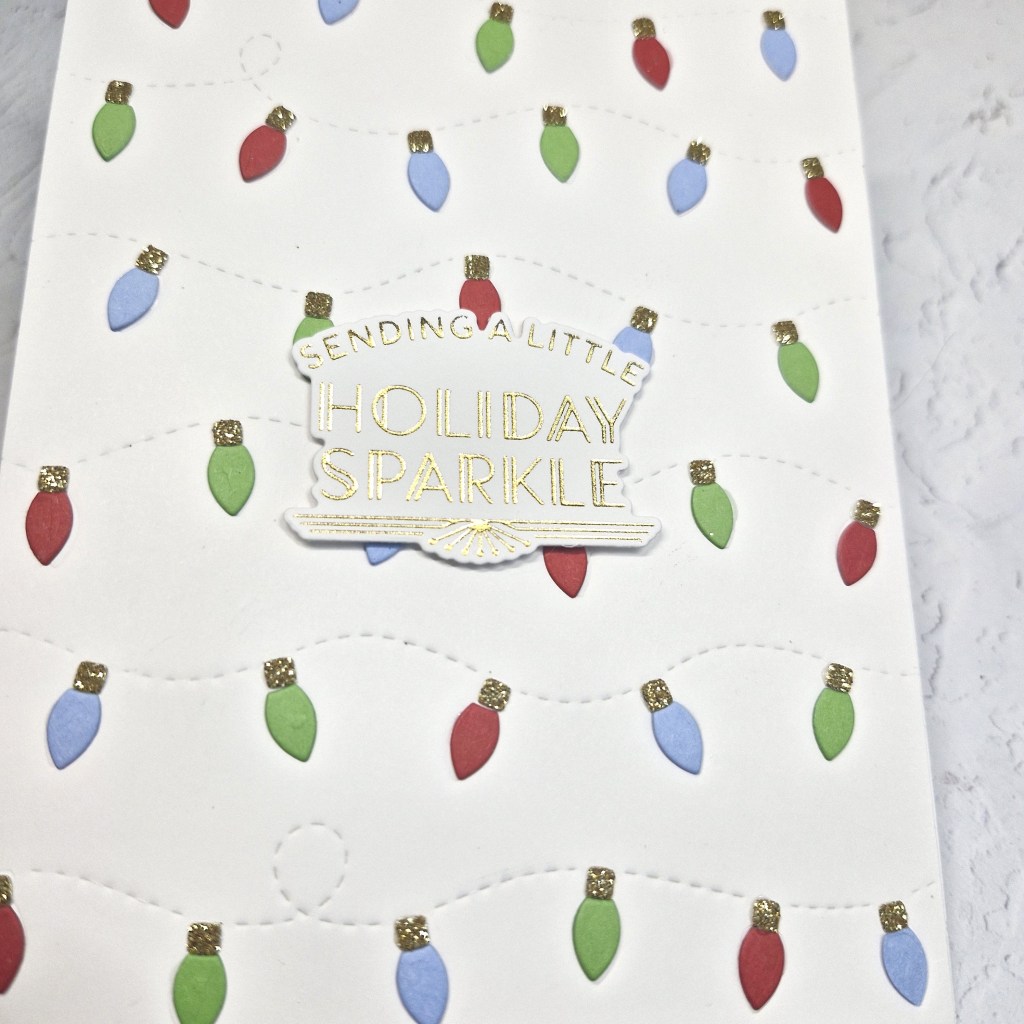
This background chock full of lights is using a die from Concord & 9th, but instead of die cutting the background panel and inlaying all those lights, I decided to dry emboss the panel to create the impressions for the lights and the strings.
The lights were then die cut from colours of card stock, then placed on the impressions. The base of the lights was die cut from gold glitter card and then also glued into place.
The gold foiled sentiment was added with some 3D foam.
I hope you can come and join us with your Christmas creations following one or both of our themes. xx
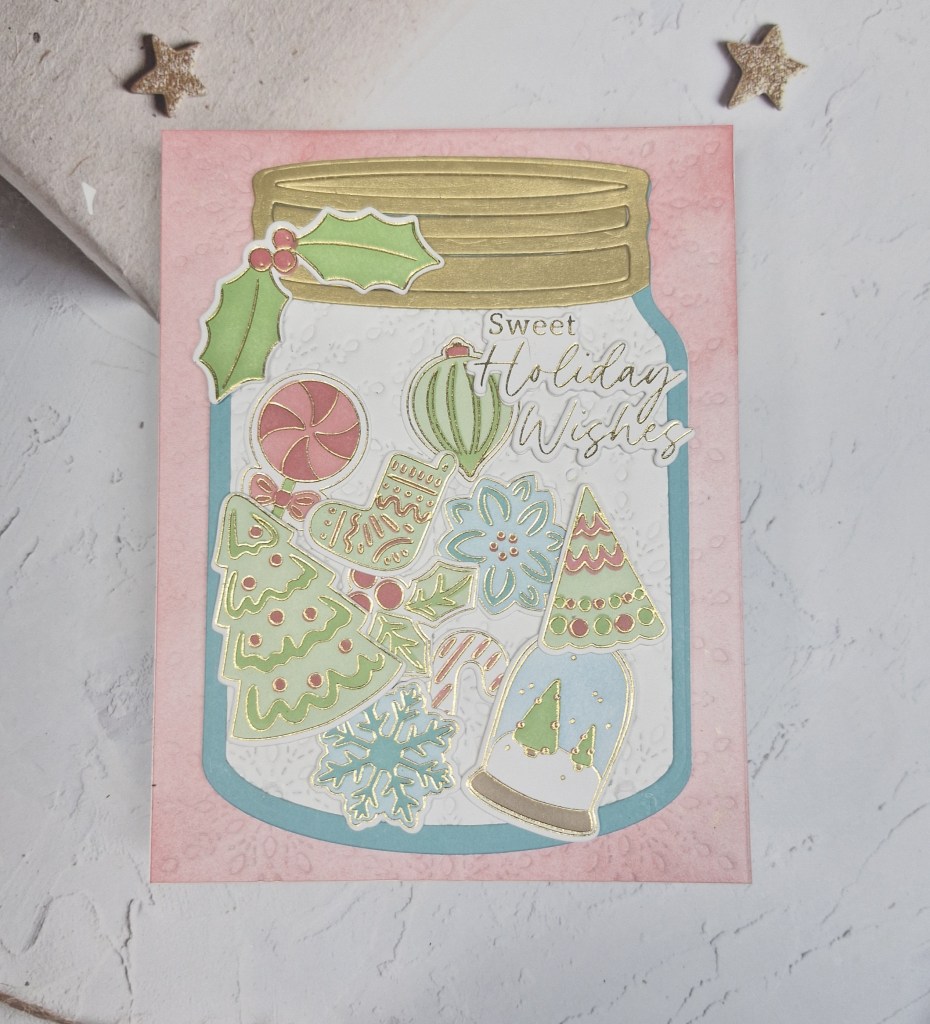
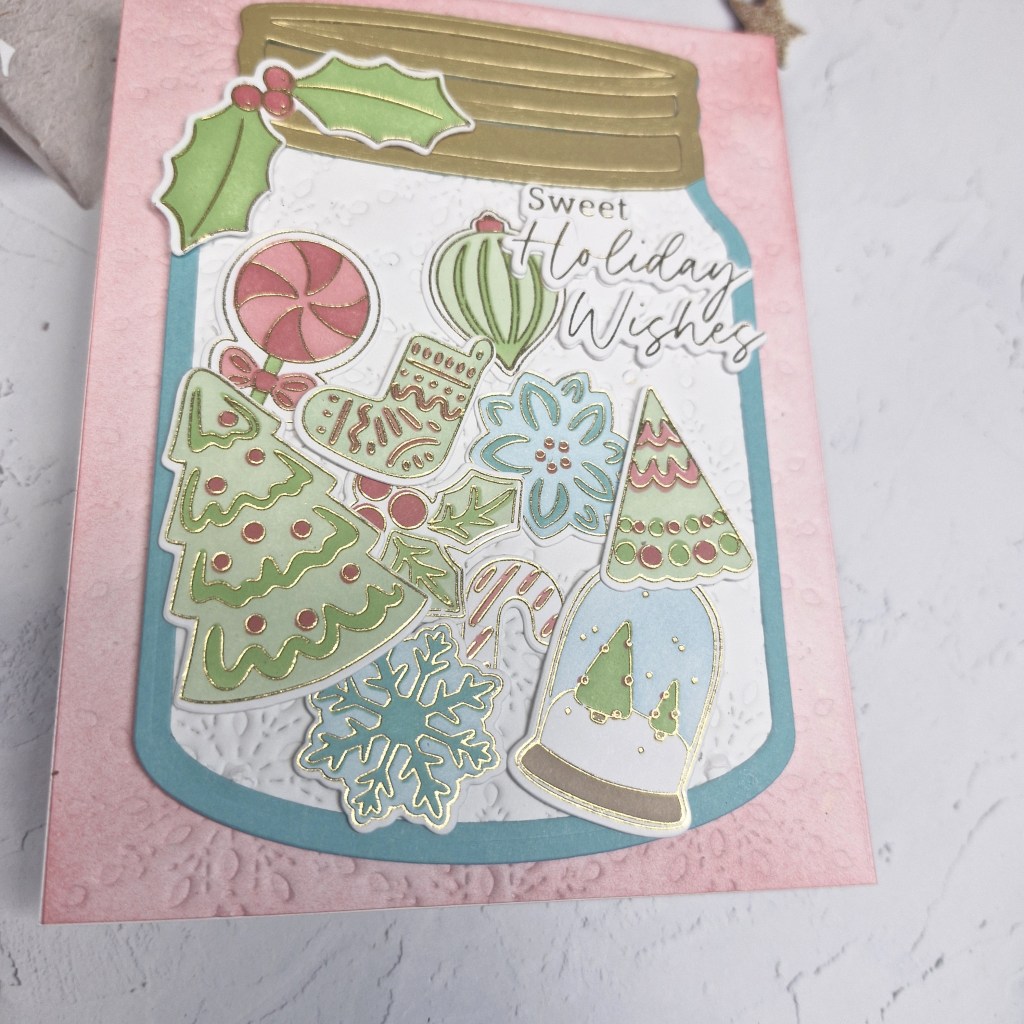
Hello there. The Holly & Ivy Christmas Challenge has started the new challenge. The theme is always ‘anything goes Christmas‘. Here is my card:
This card was created using products from a Pinkfresh Studio virtual event which occurred in October 2024, for which I also added the press plate add-on bundle.
The jar was created first by die cutting the back of the jar in a light teal card stock, then die cutting the inner white piece. This piece was dry embossed using a snowflake cover panel for added interest, glued to the base, then the lid was die cut from brushed gold card stock from Spellbinders.
All of the images were hot foiled in gold, then coloured using the matching layering stencils, die cut with the matching die, then arranged onto/into the jar.
I decided to create a coloured background panel by ink blending the panel in one of the colours used on the smaller images, and this too was dry embossed using the snowflake cover plate.
The final addition was the foiled sentiment.
I hope you can come and join us with your Christmas creations. xx
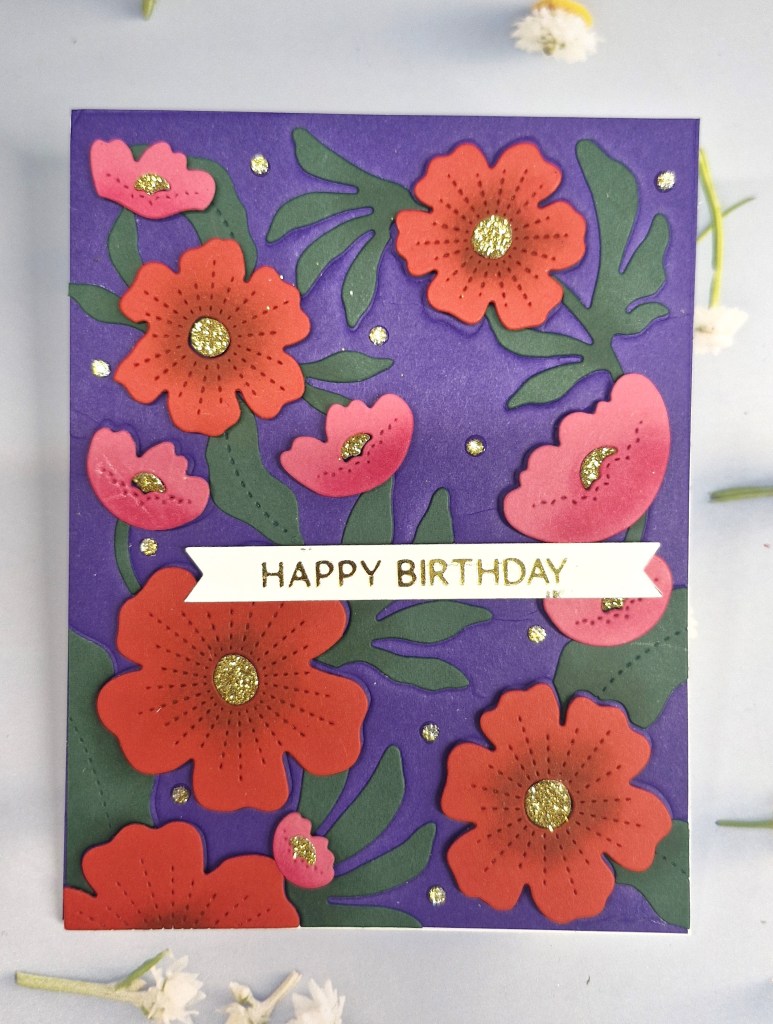
Hello everyone. It is time for the new challenge at Cardz 4 Galz. Helen is hosting, and has chosen the theme of:
‘Floral Frenzy’
Here is my card:
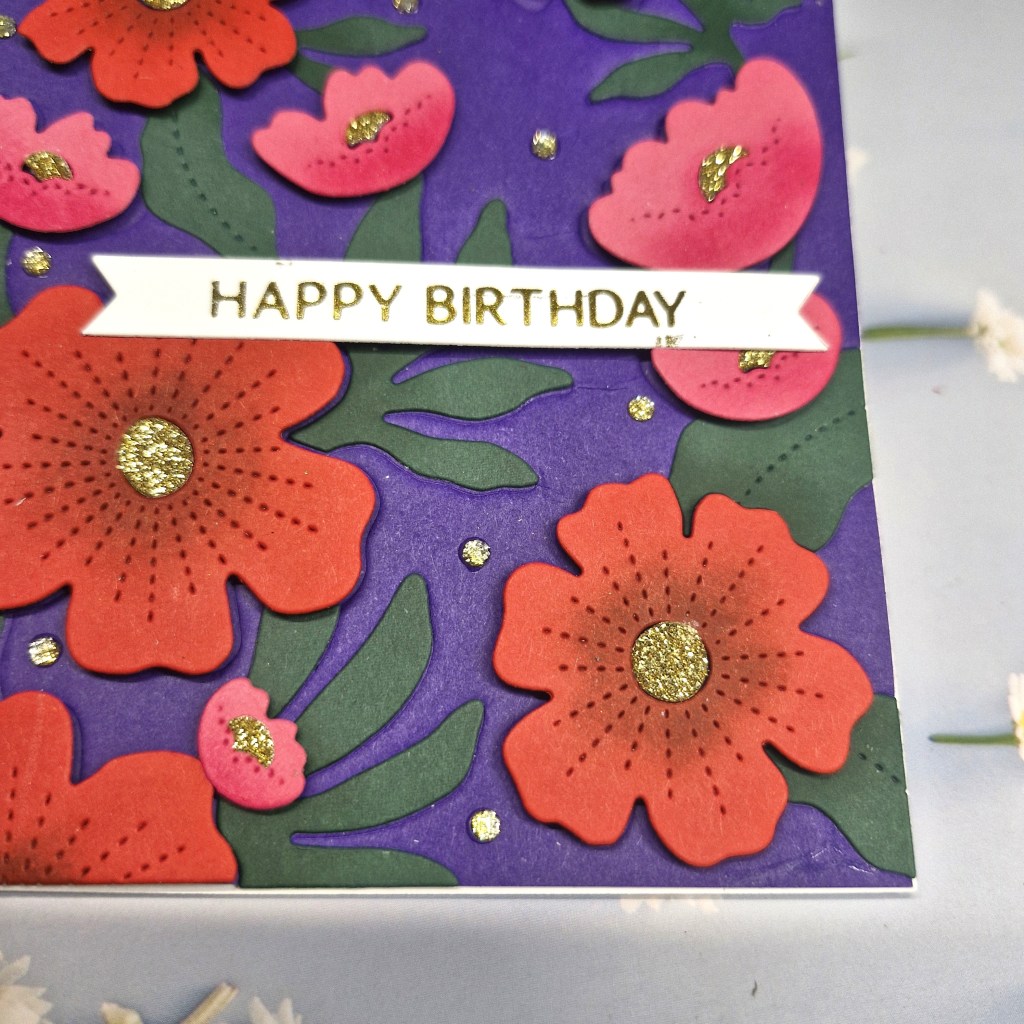
For this card I used a Concord & 9th ‘Bright Blossoms’ die set. Inside of using the background die to create stitching on the background for the placement of the florals, I dry embossed the pattern. This caused the floral placement areas to be indented, giving an almost cushioned look.
I then die cut the floral images in a variety of cardstock colours, adding some ink blending towards the centre of the flowers, and some ink blending onto areas of the dark green leaves – though this is less noticeable.
The leaves were glued directly into the indented places, and the flowers were added with 3D foam for further dimension.
The centre of the flowers were die cut from gold glitter card stock, and as I had raised the flowers with 3D foam, I had to get a little creative adding those centres – some teeny tiny itty bitty pieces of 2D foam to make them the same height. Somewhat of a challenge – but fun none-the-less.
I die cut some extra little gold glitter dots so I could add them around the background.
The foiled sentiment was added for the final touch.
I hope you can come and join us with your projects celebrating florals, creating a floral frenzy in our gallery. xx
Hello once again everyone. The Alphabet Challenge has started a new challenge. Billie A is hosting, and she has chosen the theme of:
T is for Thank You
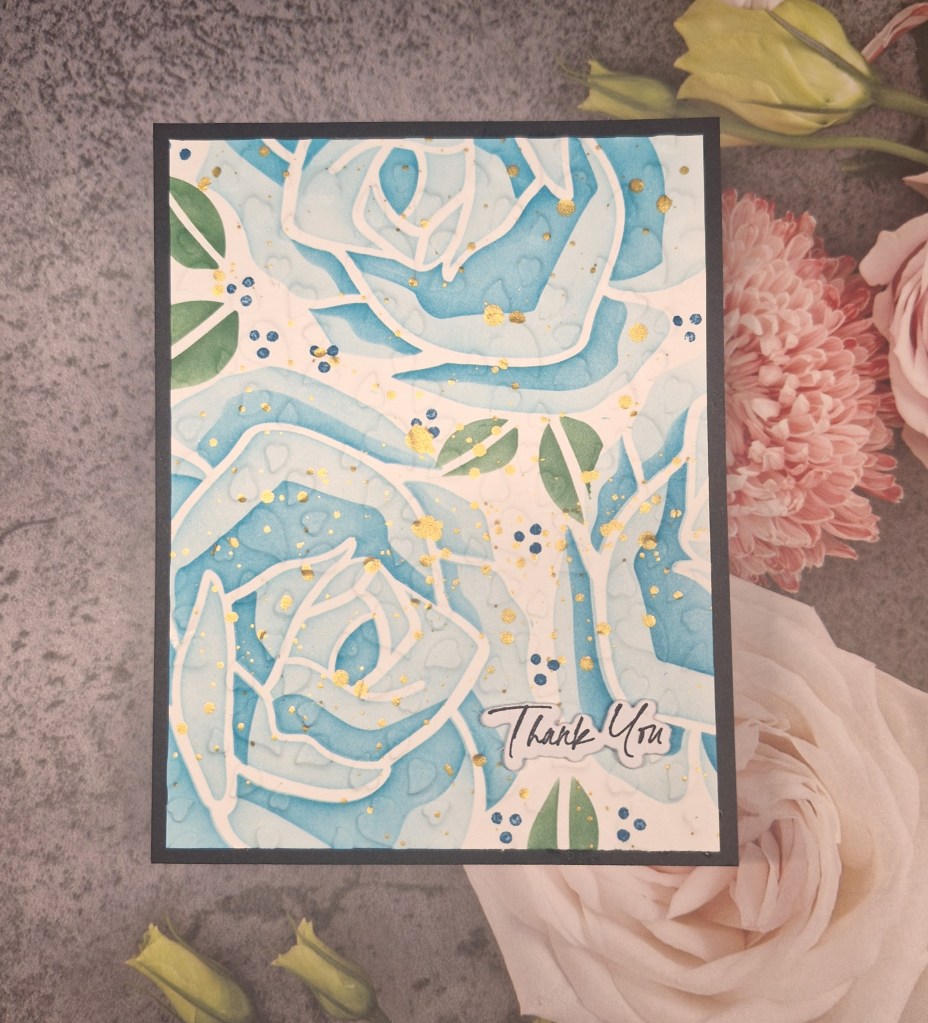
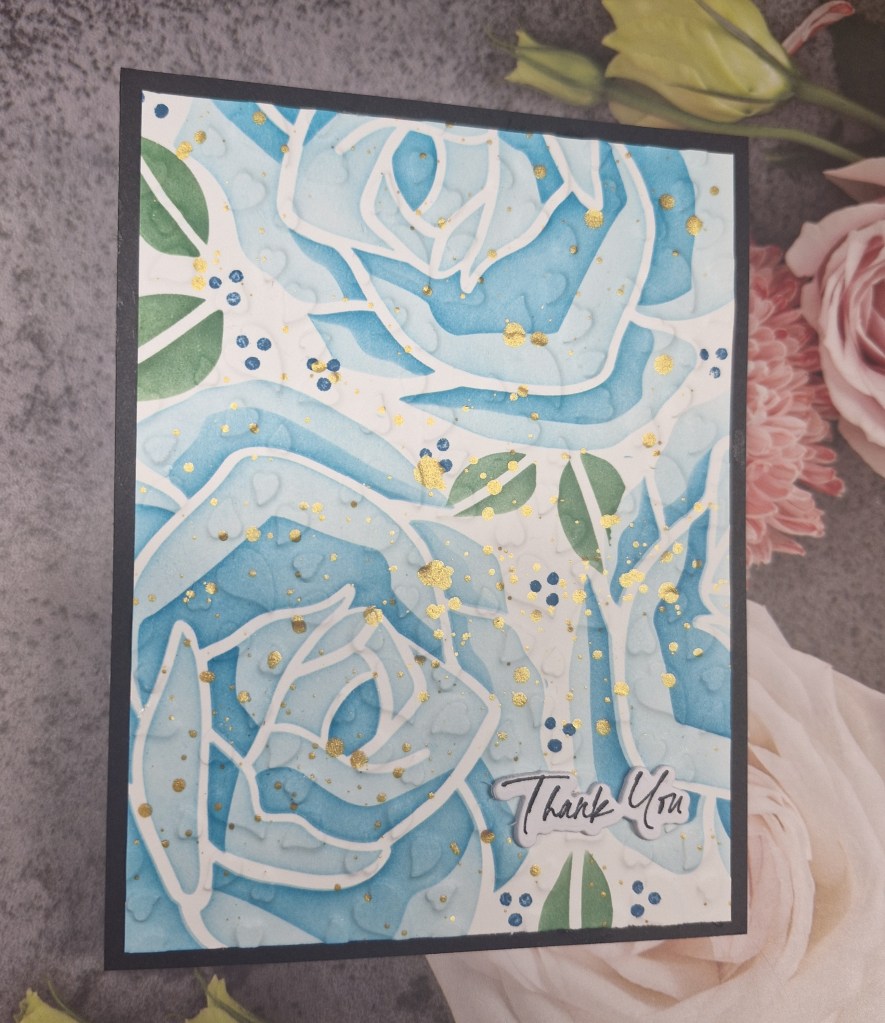
Here is my card:
The background roses are from a Waffle Flower Crafts stencil. A layering stencil. I used the stencil three times on an A2 card panel to create the three roses, just by rotating the stencil each time, and masking off the leaves where necessary.
I then used the stencil to add a few leaves, and found a little stamp with dots on to add more details in the open spaces.
I used my gold shimmery acrylic paint to add splatters. Once dry, I used a foil plate from Crafty Meraki which had a lot of hearts, and dry embossed using the silicone mat and my die cutting machine. You can see the subtle background hearts:
This panel was cut down and added to a dark green A2 panel leaving a small border around the edge, then the stamped and die cut sentiment was added.
I may have to use these background foil plates more often for an embossed look – if I can remember what sandwiches to use each time…
I hope you can come and join us for this challenge. I look forward to seeing you in our gallery. xx
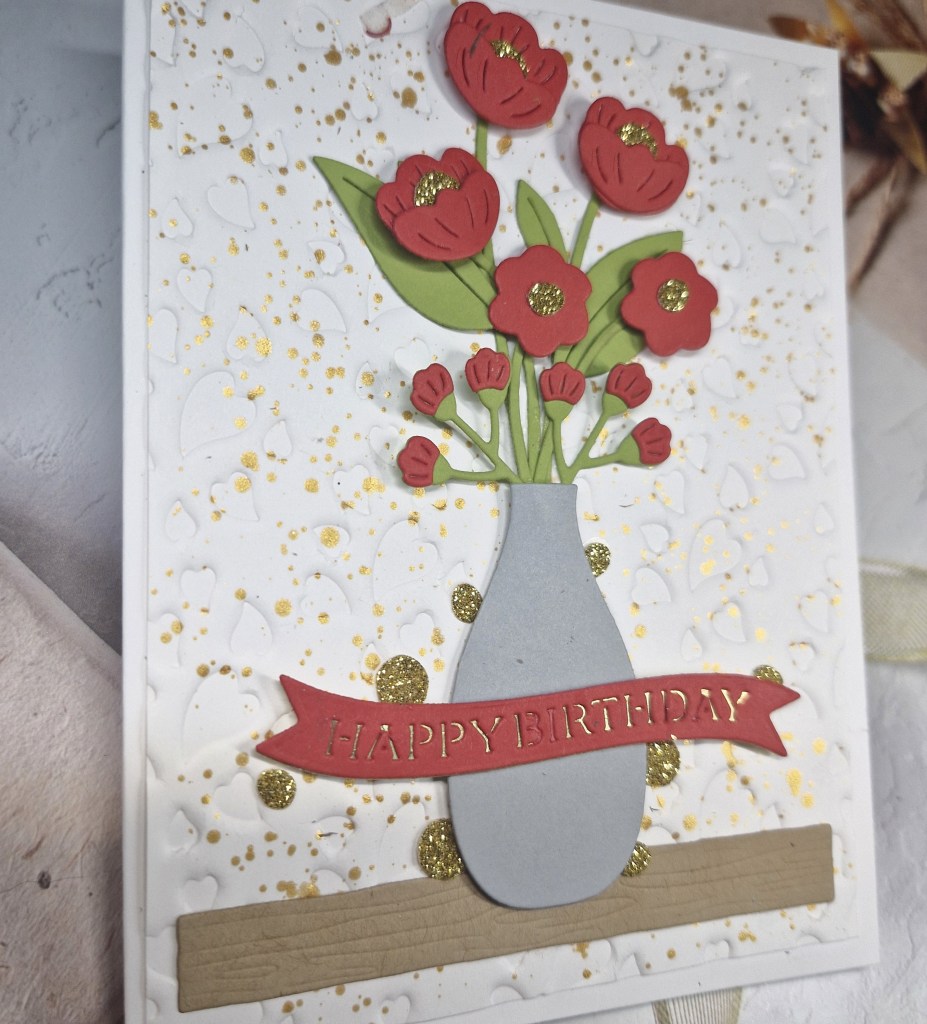
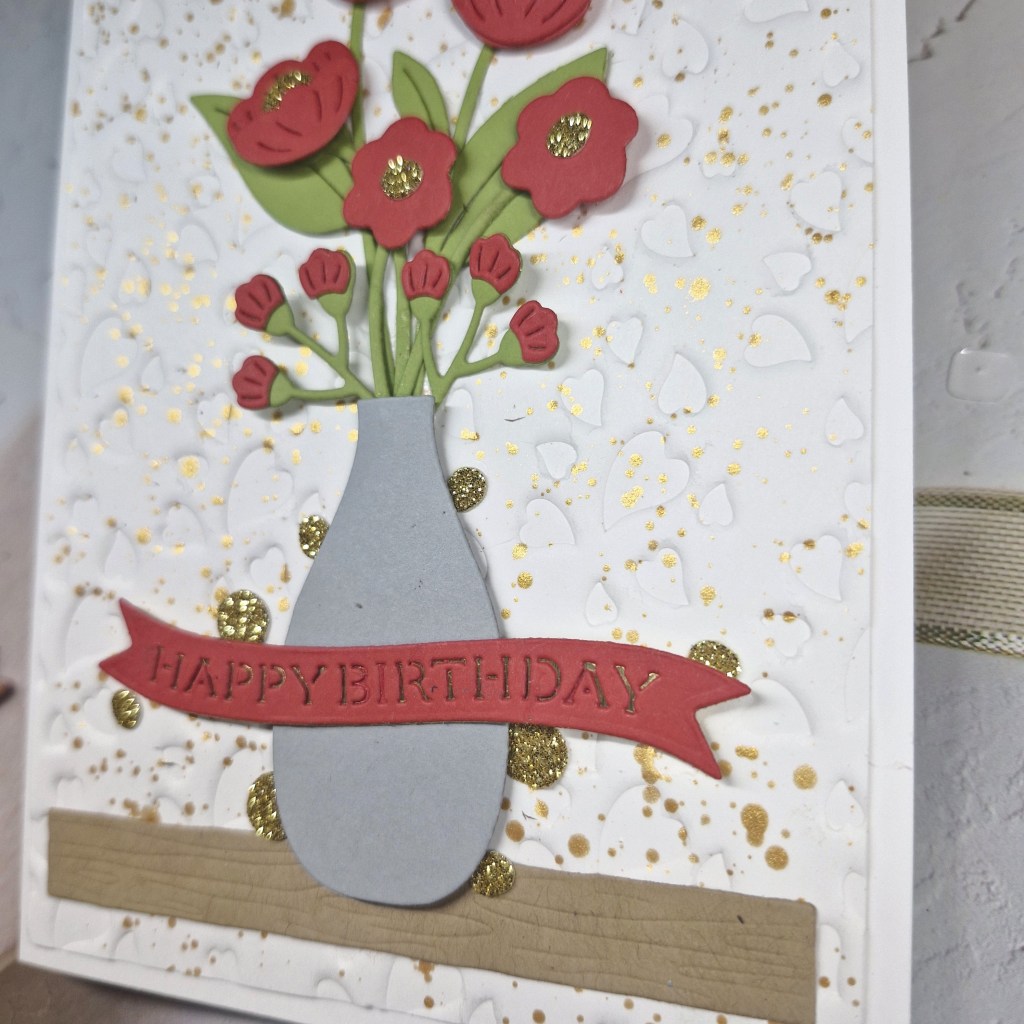
Hello again. More creating in my craft room and this time I created this card:
I was inspired by the mood board at Just Add Ink and the vase of red flowers that was in their picture. Funnily enough, one of the die sets from the Spellbinders Advent Calendar was this vase with some flowers, so I used that die set, and some of the flowers from another day in the Advent Calendar – as well as the sentiment banner.
I first created the background by dry embossing a hot foil plate from Crafty Meraki ‘Loopy Hearts’. I like how the hearts are there in the background – I used the debossed side – and give a subtle texture. Onto that panel I splattered some gold acrylic paint to bring in some of the gold from the mood board.
The wooden shelf piece is a die which embosses wood grain into the die cut, and I used a light brown card stock.
The vase was die cut from grey – I was tempted to add texture of a pattern but I went without – let the flowers and the background take centre stage.
I then used Spellbinders green card stock, and some red card stock from Heffy Doodle for the leaves, stems, and the flowers. These were layered as needed, and the centre of the flowers were die cut with Pinkfresh Studio gold glitter card stock.
I always die cut more than I think I need so I can play around with the design.
The wood grain strip was adhered with glue, then the vase adhered with 3D foam pieces at the edges and the flower placement began. Glue was added to the bottom of the stems, but I added small pieces of 3D foam to the flower heads themselves.
I had extra gold glitter circles from die cutting the flowers centres, so I used them as glittery accents instead of gems of sequins – waste not, want not…..
The sentiment and banner are also from the Advent Calendar, die cut in the same red card stock with a gold layer behind to shine through the letters.
I don’t really like to use glitter itself, but I am a great fan of glittery card stock, preferably gold – and this glittery card stock from Pinkfresh Studio is one of the most sparkly – and doesn’t shed…..such a bonus!
I shall be entering the following challenges:
As You Like It – gold, silver or glitter and why – nope, no glitter, not for me – too messy
Hello once again. I have had some time to create today:
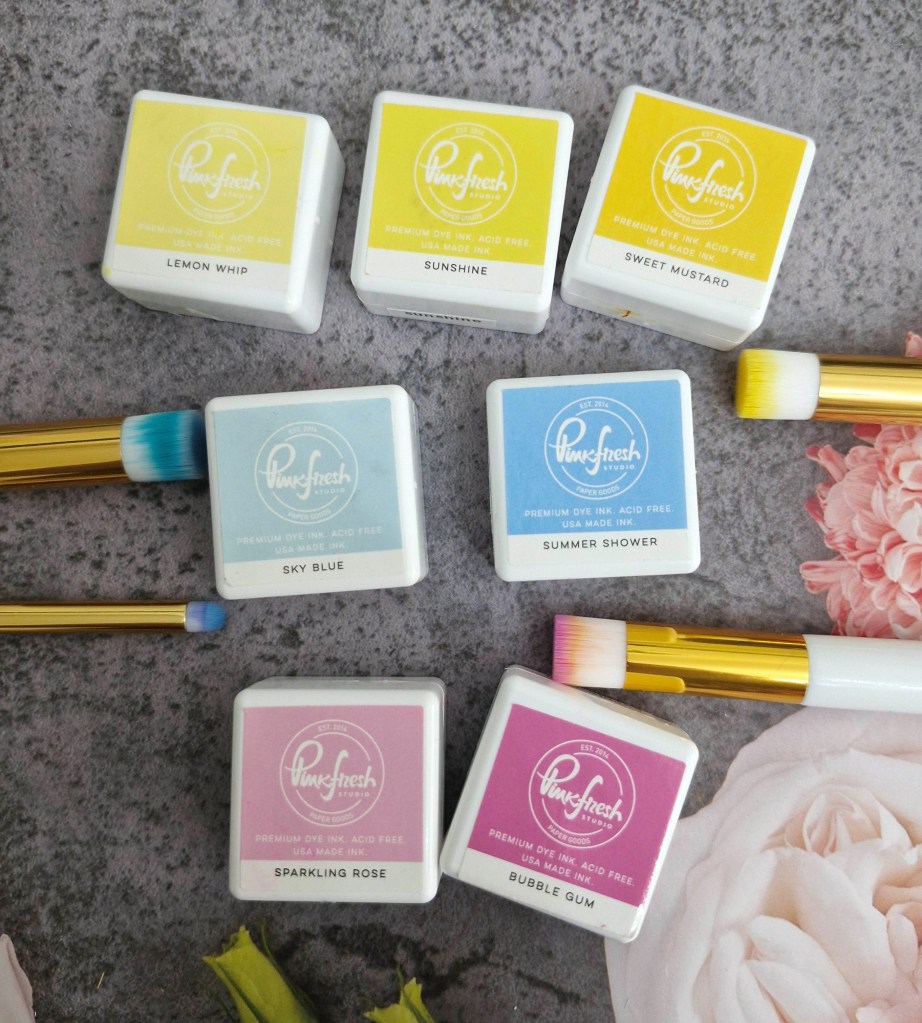
This product quite is from Pinkfresh Studio, and includes the press plate, stamp, stencils, and a die. As I finally gave in last week to buying the Spellbinders Letterpress machine, I thought I would give it a whirl…
The press plate was inked with black ink, ad instead of using the Spellbinders card stock, I used Hammermill, and it worked perfectly fine for me.
I used the press plate twice, then took the layering stencils and coloured them with the colours from the current Color Throwdown Challenge – yellow, blue, and pink.
I used the very small blue blending brush to colour the branches darker, and also the base of all the leaves.
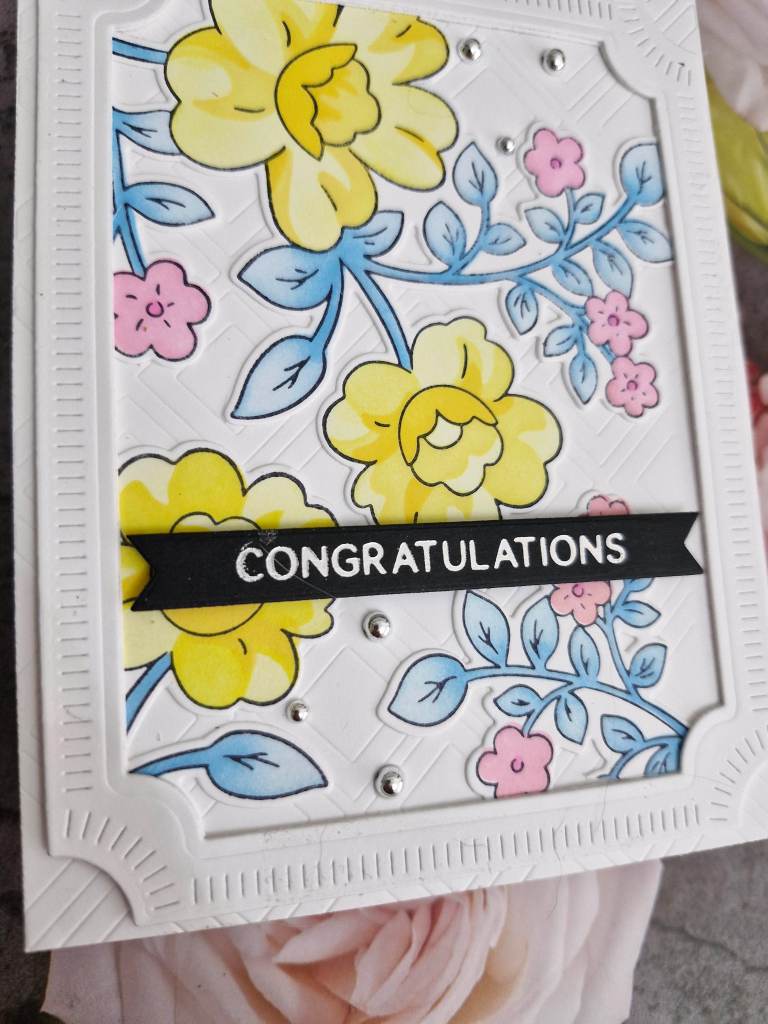
Once die cut, I played around with the arrangement, decided it needed a frame, so I used a Pinkfresh to create the frame, die cutting three times for dimension, and added the inner detail to the top frame.
Once placed on the card base, I then decided to use another cover plate to create some detail on the back. This plate is part of the Pinkfresh Studio virtual event happening at the moment, and I think I may well be using it more in the future – some subtle detail, but it is there nonetheless:
I snipped parts of the coloured floral image to place them inside the frame, attaching them to the back of the frame, then adding to the embossed panel and card base.
The sentiment is a previously foiled strip, and I chose black as the outline of the floral images is in black, then added some silver gems.
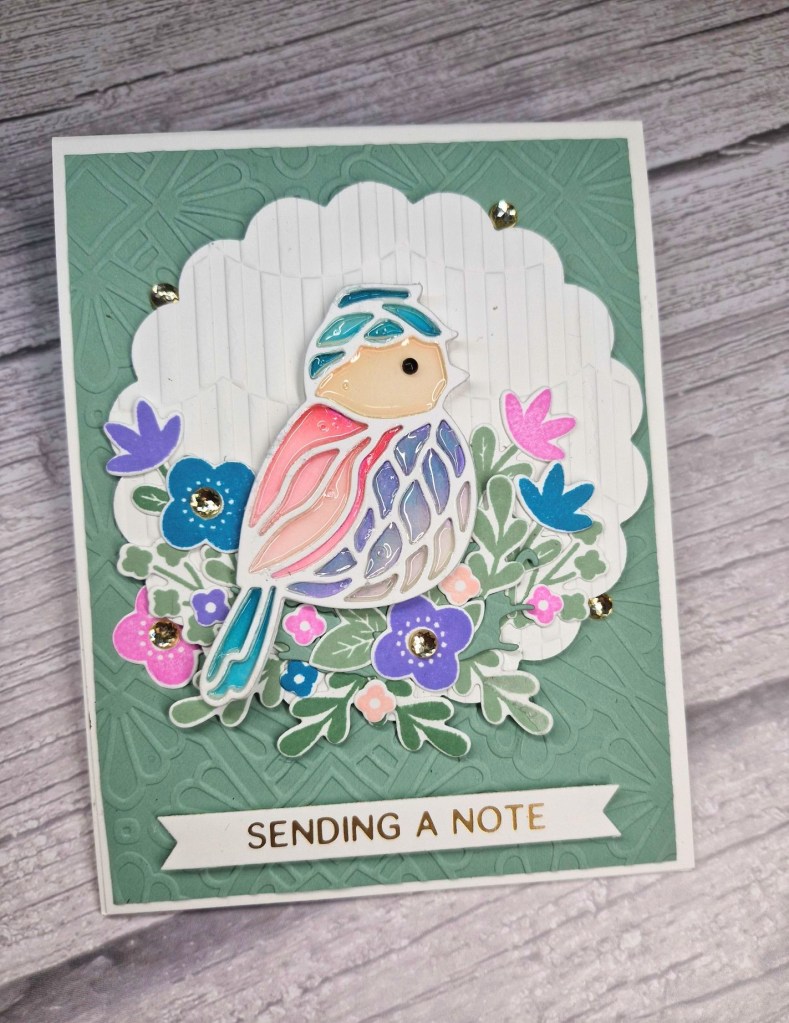
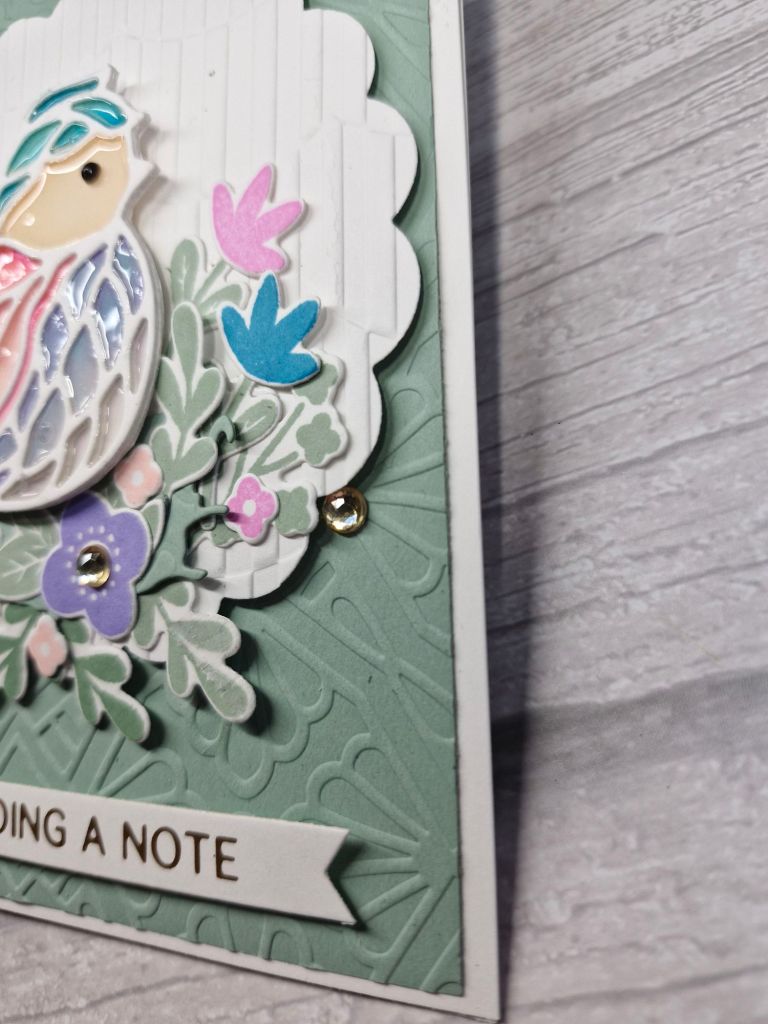
Hello again. The Alphabet Challenge has reached the letter ‘B’, and Debbie has chosen the theme of ‘Birds’. Here is my card:
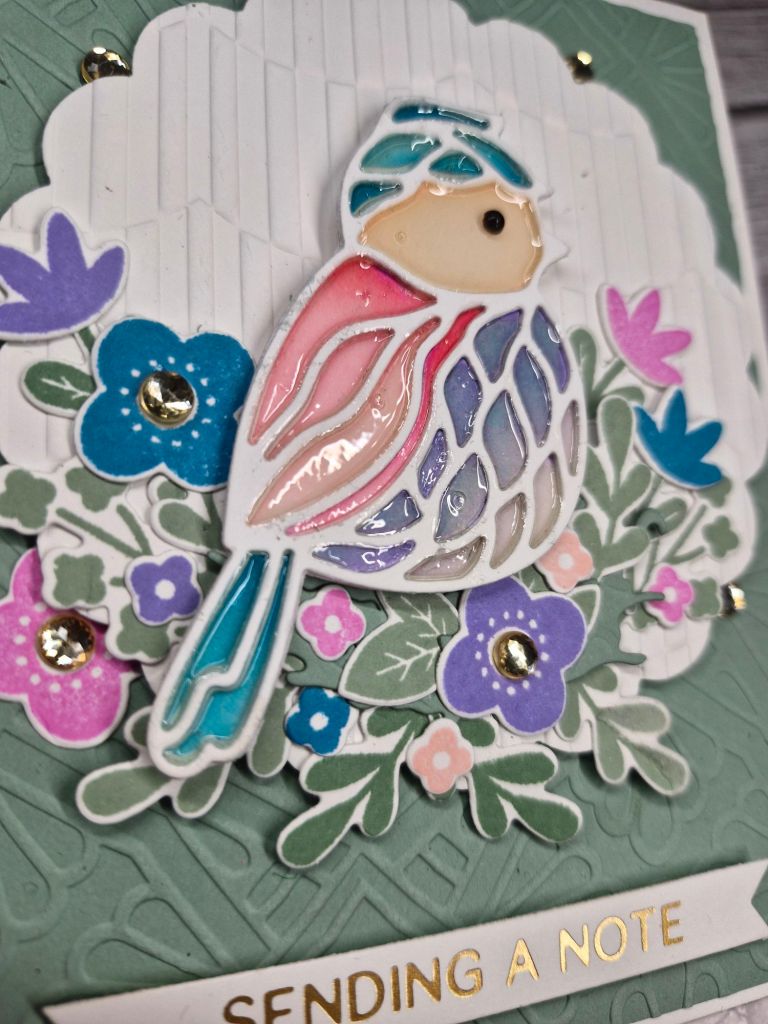
This cute little bird is a die and stencil set from Simon Says Stamp. I ink blended the bird areas, masking off some parts so there was no contamination between the areas, adding some darker shading to some of the areas. I then die cut the white stained glass portion several times, adhering all but one of them to the ink blended image.
I then went in with some glossy accents, let that dry, then added the final white layer. I then added a black gem for the eye.
The background panel was created using an embossing folder from Spellbinders, using their sage green card stock and cut down slightly so there would be a white border on the card base.
The scalloped circle was cut, and dry embossed with another embossing folder.
The floral images are from Concord & 9th, stamped then die cut, and I made sure I made a lot of them in similar colours to the bird, so I could put as many down as I wanted.
I then added the bird, and slotted the floral images all over the bottom of the circle, adding some gold gems in the centre of the flowers and some around the edge of the circle.
A foiled sentiment to complete the card.
I hope you can come and join us with your projects incorporating a bird/birds. xx