Hello. Another card I was able to put together over the past few days, even though it did take me quite a while, with a few techniques involved.
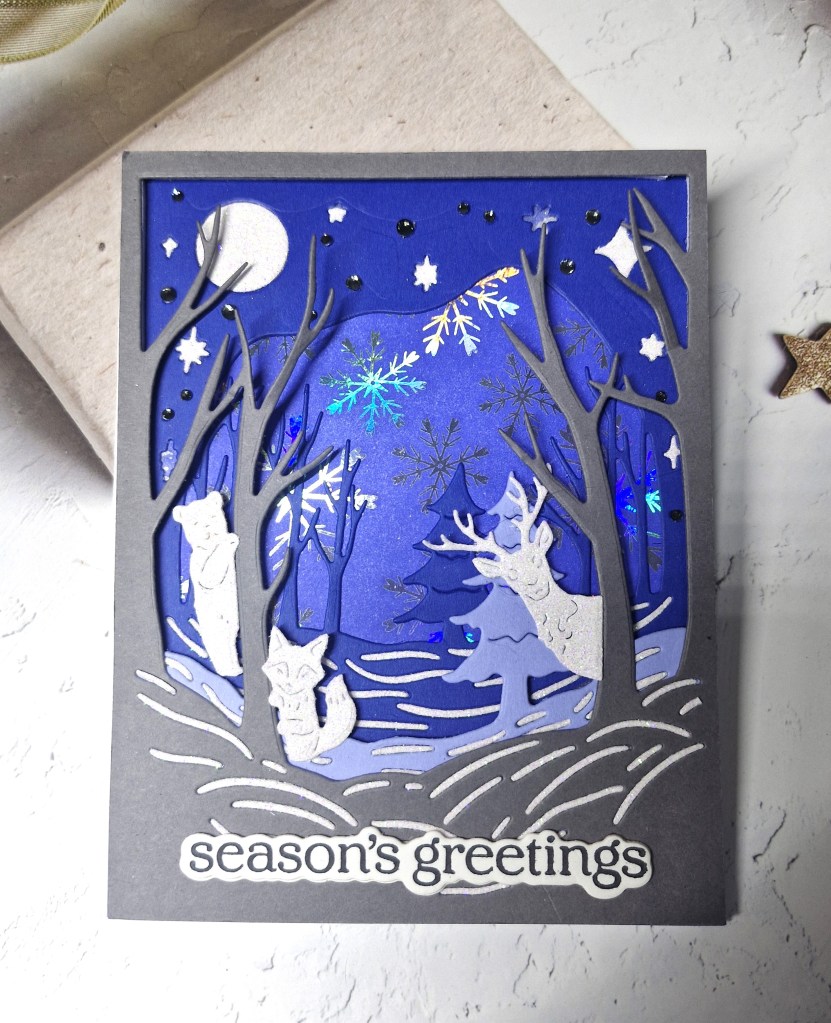
For this scene, I used a Hero Arts kit which has been sitting in my drawer for ages. The kit came with the dies for the scene, three layers to create the scene, as well as the three peeking animals you can see. I couldn’t decide which animal to use – so I used all three.
To being with, I created the background panel. This was a toner sheet, onto which I used an iridescent foil, and then ink blended a dark blue over the foiling.
Whilst this was drying, I die cut the layers for the scene out of dark blue, lighter blue, and a grey.
I die cut the layers again using a white glitter card, and inlaid all those itty bitty lines. I do like to make things difficult – I could have just backed each panel with the white glitter, but no – I went the hard way. Actually, this was quite therapeutic once I figured out how to do it…….behind each panel, I attached double sided sticky tape, then just placed all those lines. I even added some of the stars into the dark blue background layer….
The layers were glued together, and then the peeking animals were die cut from the same white glitter card, and attached as you see.
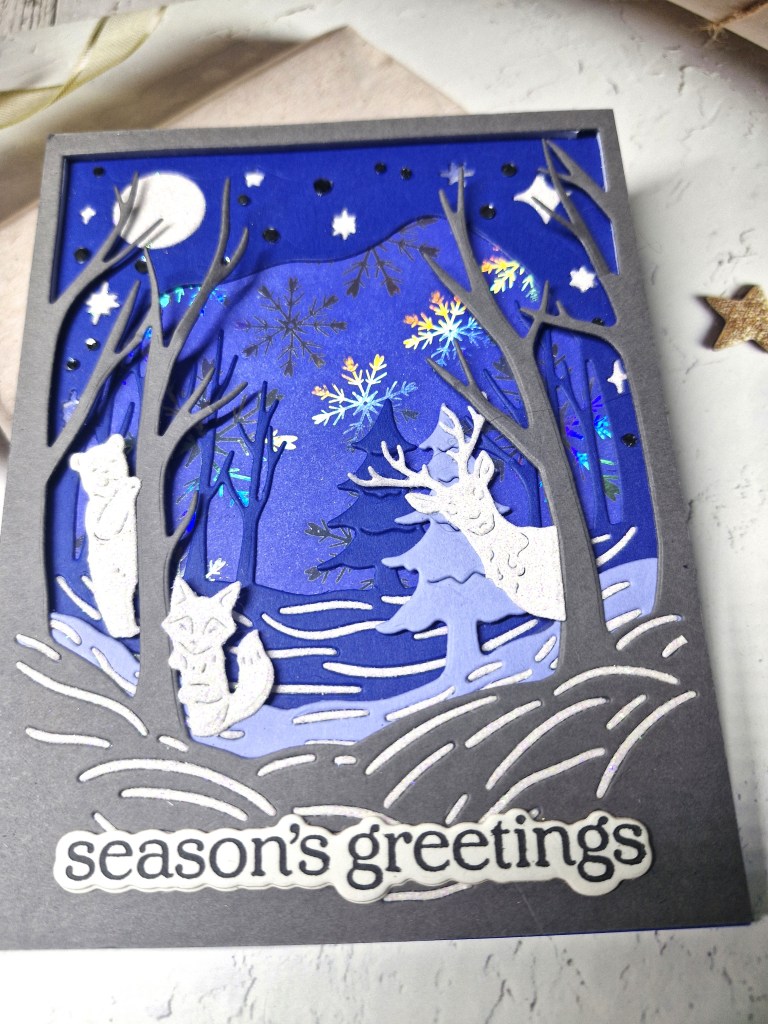
The sentiment is black foil, and then die cut and layered twice more, before adding.
I then added some black gems over the smaller gaps in the background which were too small for me to inlay.
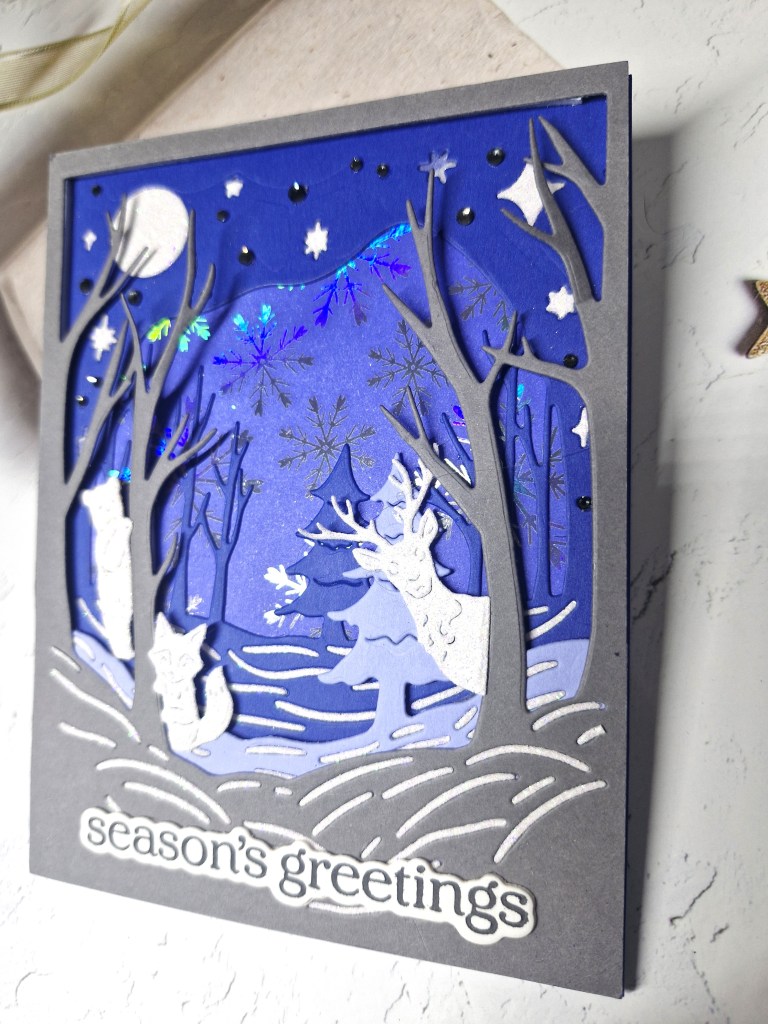
I do like how this turned out, even though it was fiddly – my fault – and those peeking animals are just so cute.
I shall be entering the following challenges:
Make My Monday – winter animals
Aud Sentiments – Stencils and/or Christmas and a sentiment (Christmas and a sentiment)
Crafty Animals – anything goes with an animal
A Cut Above – anything goes with die cuts
Unicorn Challenge – Christmas and/or Winter