Hello everyone. The Alphabet Challenge has reached the letter ‘Q‘ and the theme this time round is:
‘Quick and Easy’
Here is my card:
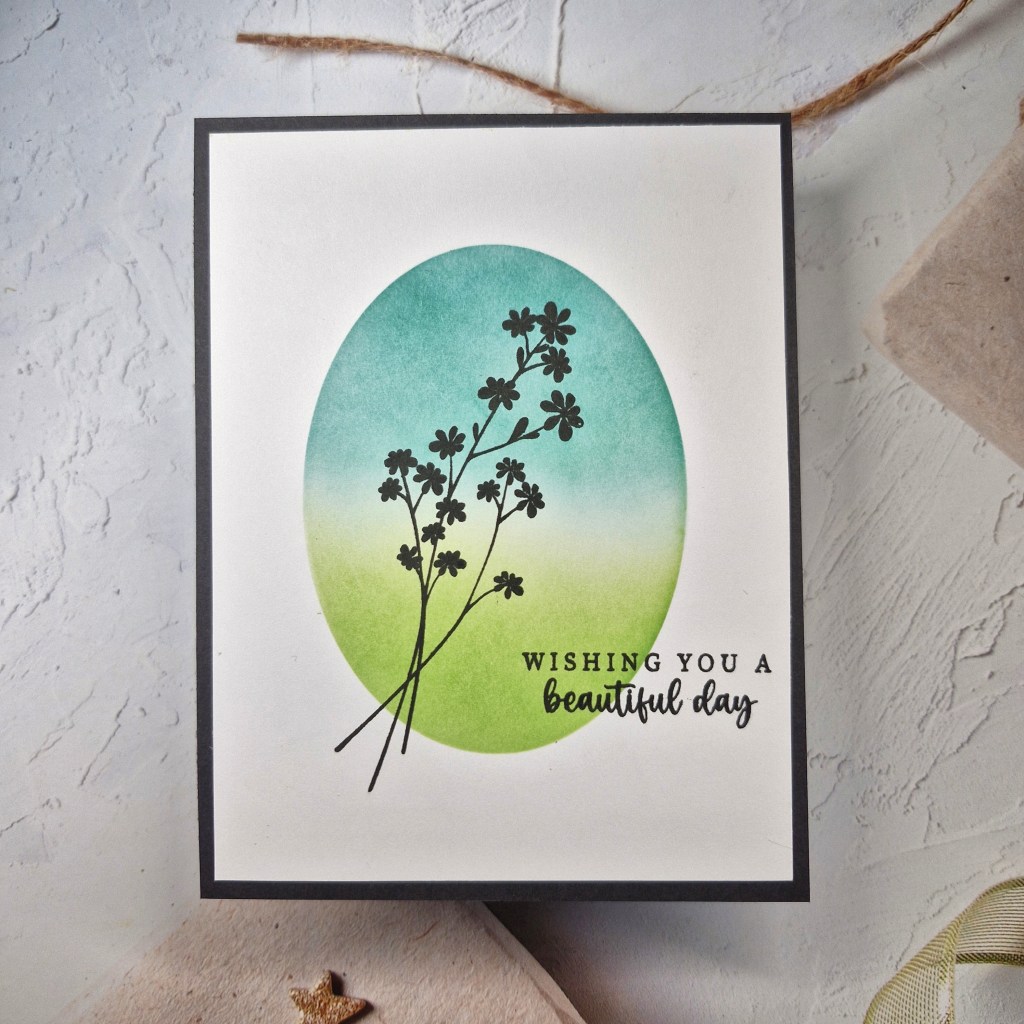
I rarely do what I consider this to be – a Clean and Simple card. I tend to always like layers and dimension, but I do think this is enough. It doesn’t need anything more.
I glued a black A2 sized panel onto a card base. then cut a slightly smaller piece of white card.
Onto this I placed the Gina K Designs ‘Masked Oval Stencil‘ – the outer part, leaving the oval free. I then ink blended a green and a blue – Pinkfresh Studio inks – nice and gently, and softly (I am a heavy handed blender!), and not quite getting them to meet in the middle – or very little meeting anyway.
Once that was dry, I stamped the Gina K designs image, and then the sentiment.
This was then glued down onto the black panel.
I hope you can come and join us with you ‘quick and easy’ makes. xx
What a week my friends, what a week. My main desktop computer stopped connecting to the Wifi, so we took it for a diagnosis, and the outcome was to buy a new desktop computer. Sounds simple, doesn’t it?
Well – then the new desktop wouldn’t connect to the internet, and all of my files weren’t downloaded – they forgot about my log-in and just did hubby’s……..!
It’s taken several days, but we – I mean hubby – seems to have fixed the problem. Now to get all of my files from the 15 years old previous computer – who knew we kept so much stuff….? That is a work in progress – but at least I have a desktop computer now, connected to the internet, and I can start to use it.
I have created this card for the current challenge at CAS on Sunday and the current challenge at AAA Cards:
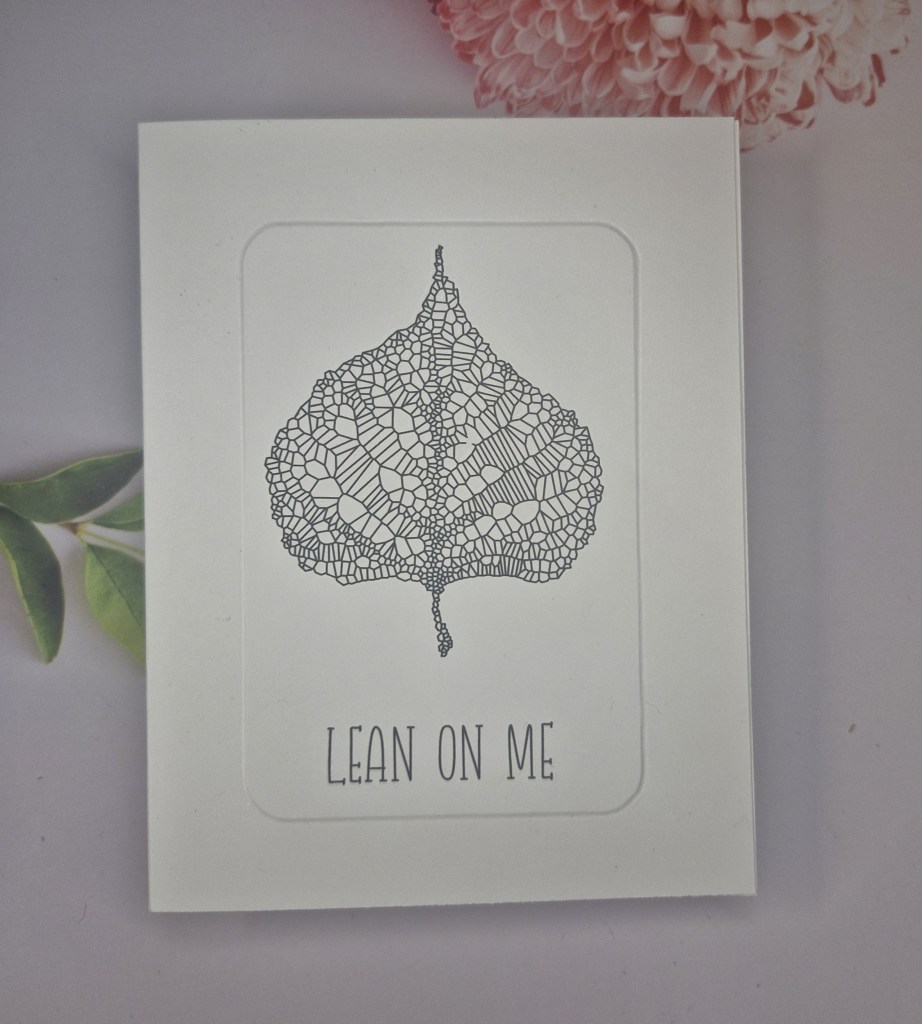
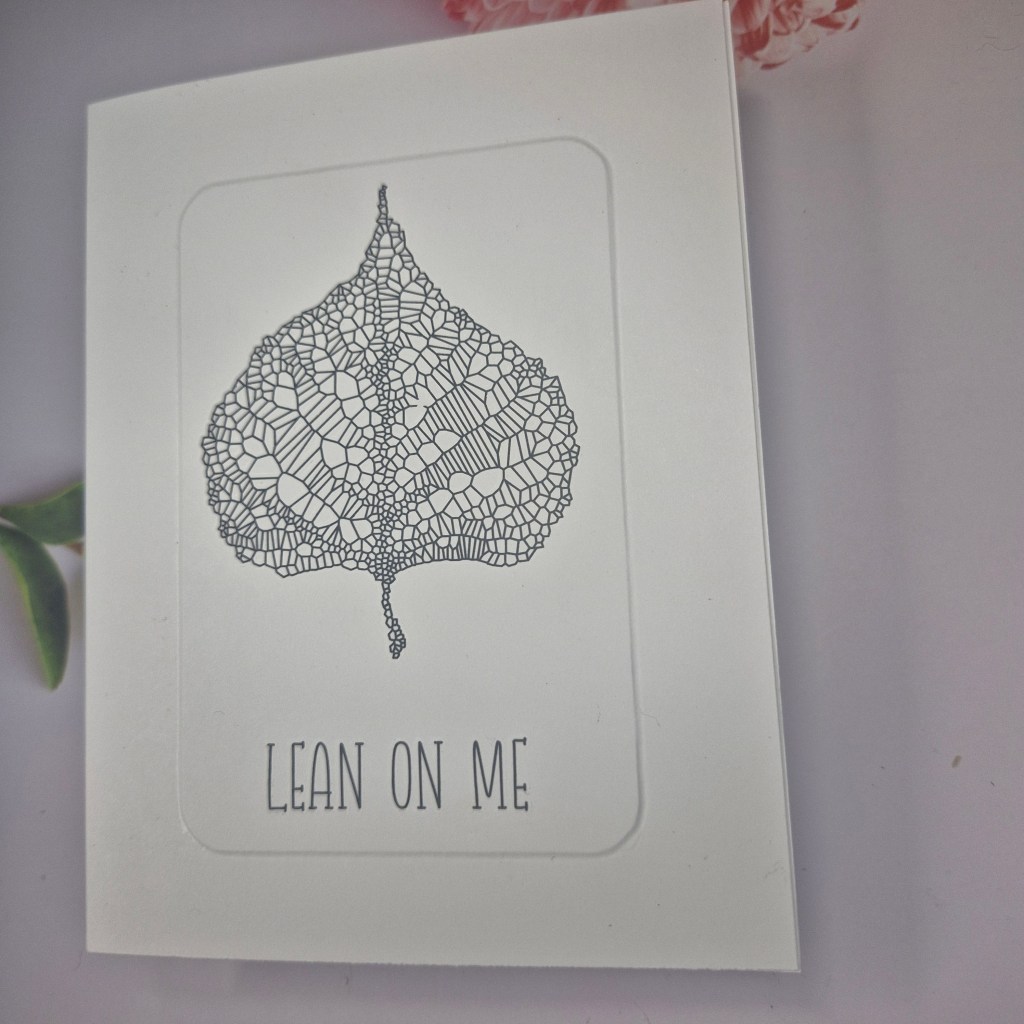
This is a one layer card – the card base only. I have just attended the Crop and Create weekend virtual event – watching rather than crafting – and this was created using products from Brutus Monroe.
The first thing I did was to use an embedder from Clarity Crafts. I have had them for a while, but couldn’t seem to figure out how to use them without creating a bit of a mess. I then watched one of my DT buddies (Deborah Wheeler) show how to use them on a recent crafty hour on Create and Craft TV – and decided to have another go. I am pleased how this turned out.
The rounded rectangle frame was stuck to the rear of the front of the card base, then a bone folder used to ‘find’ the edge of the embedder on the front, then a small ball tool to further crisp the edges.
I then used the leaf rub-on and the sentiment received as part of the virtual event.
Hopefully our internet and computer stay stable and working. xx
Hello. This time I created a CAS card for several challenges using a left-over piece of the Pinkfresh Studio Washi tape from a couple of days ago when I entered the speed card challenge.
I ink blended some blue in the bottom left corner – only what was left on my blue blending brush, then adhered the bouquet with glue.
The foiled sentiment was added to overlap the bottom of the bouquet.
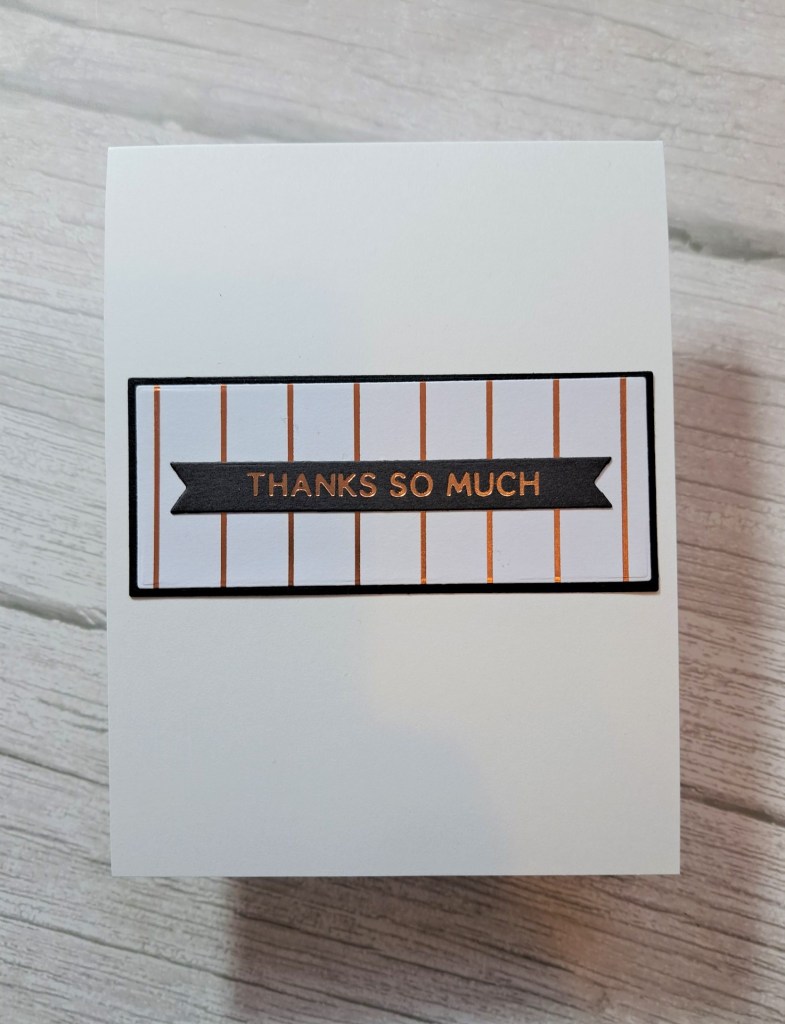
Hello. I have a change in pace for the card today – completely different to the card posted yesterday:
During the Spellbinders Glimmer class last weekend, I foiled a card panel with these vertical gold stripes.
I die cut the panel to create this broad strip using Gina K Designs Master Layouts, and added the black layer behind.
The sentiment is also from that glimmering session, as part of that class included the new release and these sentiment strips. Foil 9 sentiments in one go, and then the die cuts them out in one go – with the fish-tail ends too……
The hardest decision about this card was where to place the panel – near the top, near the bottom…..I went with central – and had to restrain myself from adding more embellishments and an embossed back panel.
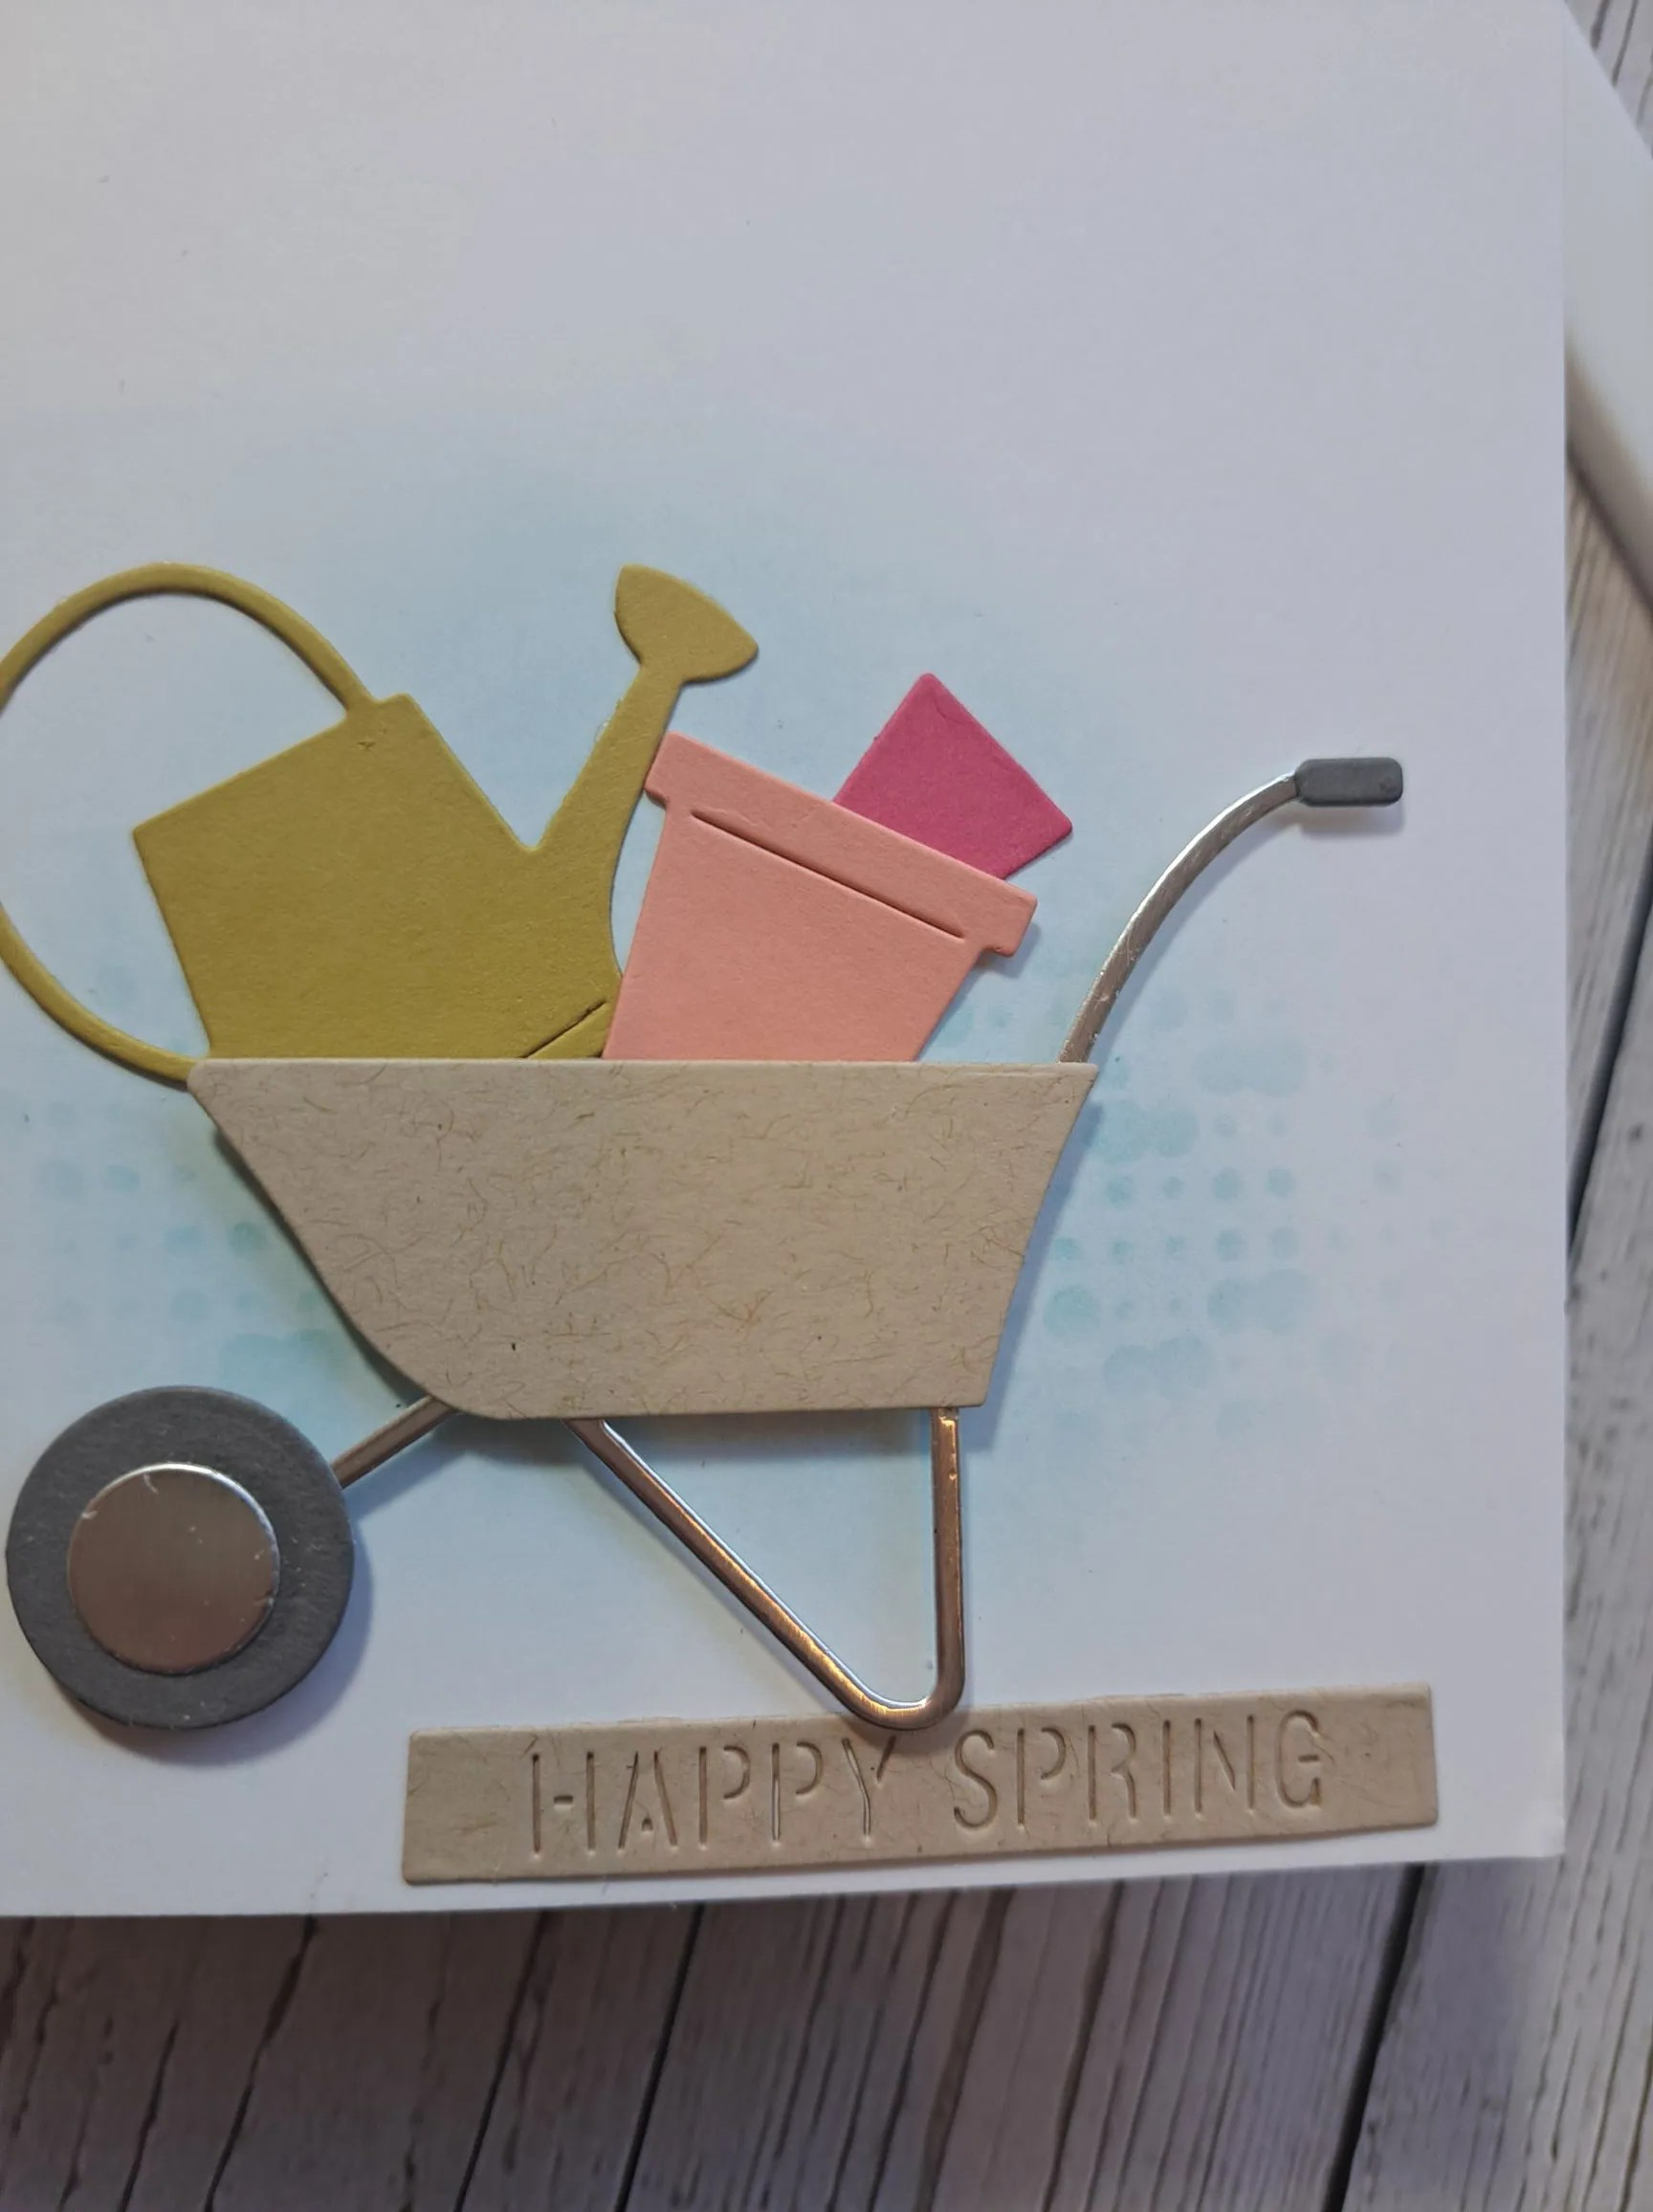
Hello. I have a CAS card to share today, using an older Sizzix die set:
I searched the tags in the ‘Color My Life’ app for any of my products with ‘garden’. Quite a few came up – I use tags a lot – and this older Sizzix die set came up. I am sure many of us are preparing and planning our gardens at this time of year – what to plant and where – and as I was searching for our wheelbarrow a few days ago, this die set seemed to speak to me.
I used a selection of different coloured card stock for the pots and watering can, with a silver framed wheelbarrow. The sentiment if from Spellbinders.
I was going to attach the die cuts to the base card, but I felt it needed a little something behind it, so I ink blended some blue that was left on my blending brush, then ink blended again using a stencil for some darker areas.
Although there are layers to this card, I feel they are clean layers, and therefore give an overall clean effect.
Hello there. I was lucky enough to be chosen as the winner for AAA Cards Challenge in January 2023 with this card here – and so was invited to be Guest Designer for an upcoming challenge. I accepted of course……
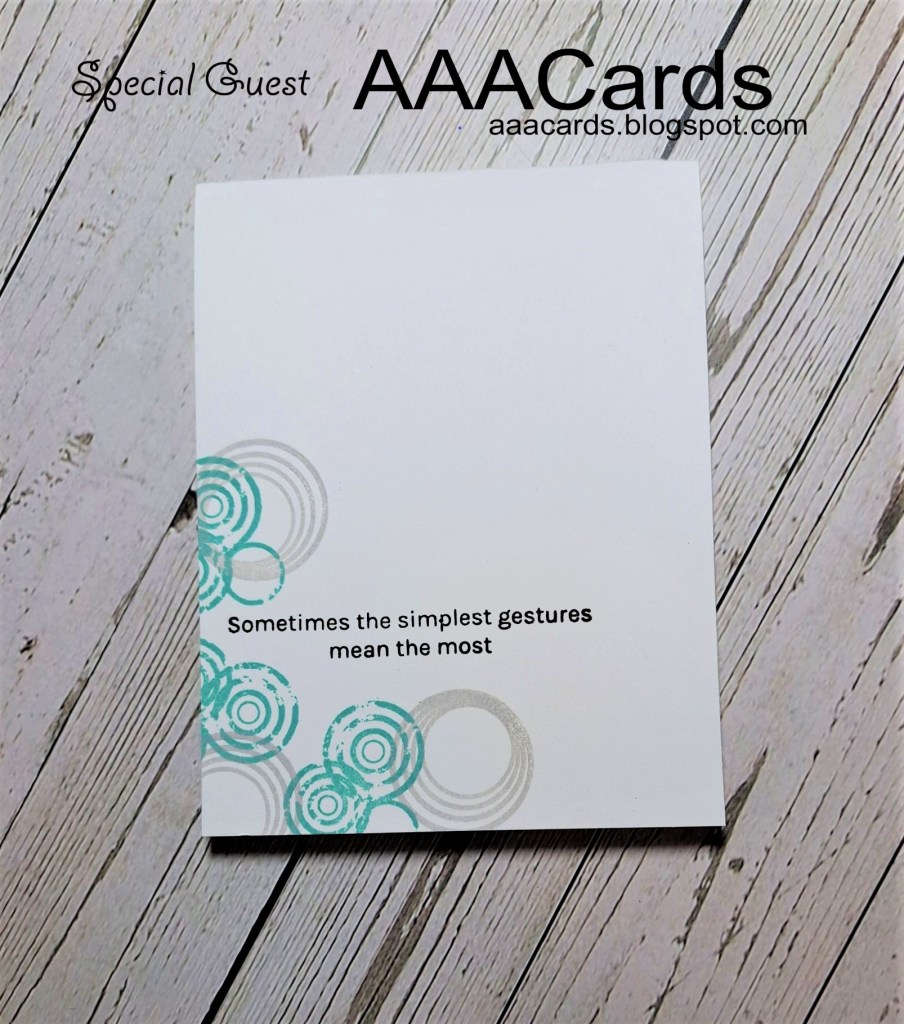
The theme is ‘Circles’, and it must be CAS. Here is my card:
This is the third card I made – the theme was a real struggle for me. I went through the CML app and searched ‘circle’, looked through what came up, and came across this stamp set from Uniko which I haven’t used in absolutely ages…..
Onto a white card base, I first stamped the sentiment – a CAS sentiment – then took my newly delivered ‘Lost Shadow’ Distress Oxide ink, and my ‘Salvaged Patina’ Distress Oxide ink, and stamped what you see here. I used two of the smaller stamps in the Uniko set, and I did use my Misti when stamping.
Even though Distress Oxides stamp better than the inks – I still feel a second or even a third stamping gets a better impression.
I am loving the ‘distressed’ look of the stamps, and when I first stamped them I thought they were faulty – but no – just the way they are.
The teal and grey are also a good match for each other.
I hope you can come and join in the AAA card challenge with ‘CAS and Circles’ as the theme – I hope to see you in the gallery over there. xx
The Alphabet Challenge has started a new challenge. We have reached the letter ‘V’, and Debbie has chosen the theme of ‘Vellum’. Here is my card:
I first took some vellum and applied alcohol inks, I think two or three shades of green, moved it around – generally played really – and set that aside to dry. Once dry, I die cut the leaves – snipping one and adding to the larger image – and adhered with wet glue.
The card base is created with some linen textured card, and an arch die cut added.
I added the foiled sentiment strip, and I felt the card was done. No embellishments – just a very CAS card.
I hope you can come and join us with your ‘vellum’; creations. xx
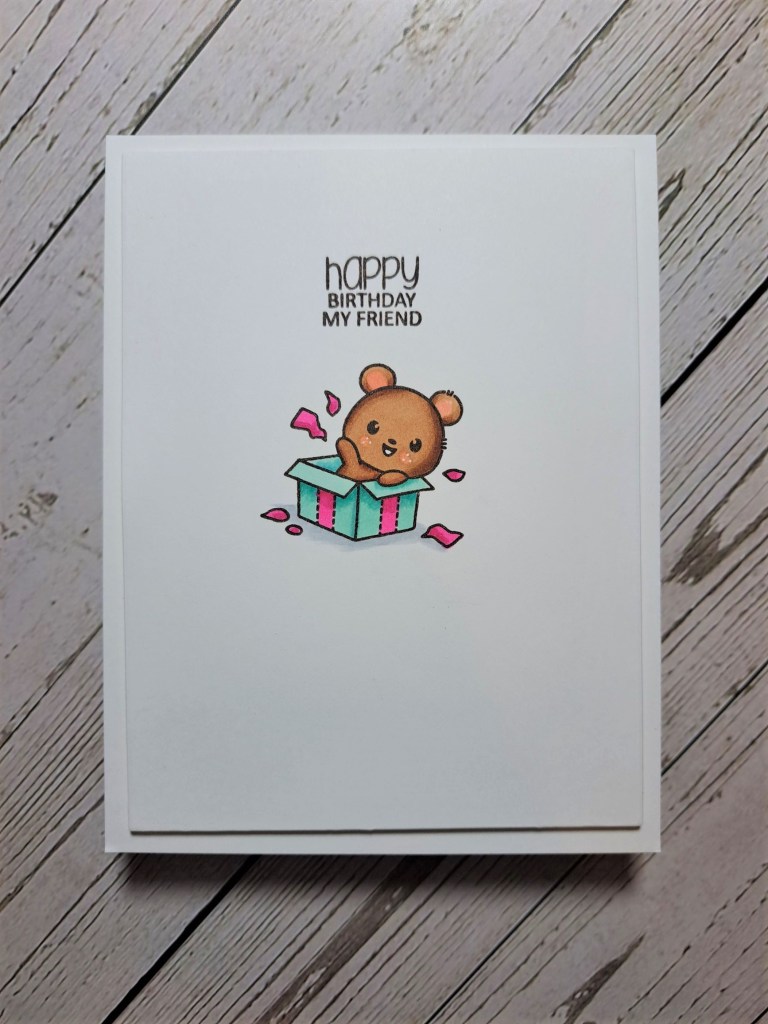
Hello. I have a CAS card to share using a Clearly Besotted stamp:
I stamped the image onto panel and coloured with Copics. I then stamped the sentiment in the same brown Gina K amalgam ink, cut the panel down to be slightly smaller than the card base, and adhered with 3D foam.
I decided the bear needed some grounding, so I added a little cool grey Copic shadowing.
Hello there. Cardz 4 Galz has started a new challenge. Caz has chosen the theme of ‘Clean and Simple’. Here is my card:
I chose a Heffy Doodle image, stamped then coloured with Copics, and die cut with the matching die set.
I then die cut a circle into white panel, added a piece of previously created ink smooshed card behind the aperture, and then added the image so he was poking his head out of it.
The sentiment was stamped and cut into a strip, adding as you see.
I hope you can come and join us with your CAS creations. xx
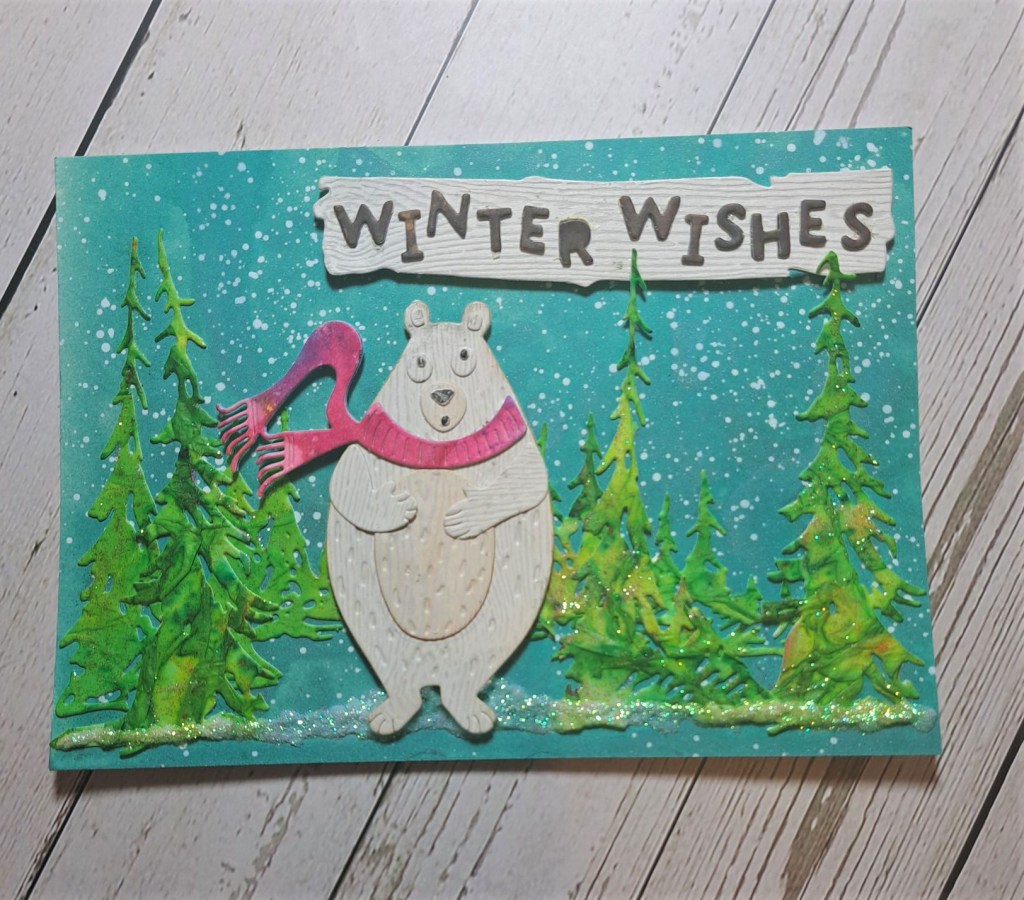
Hello once again. The ABC Christmas Challenge is at the beginning of the alphabet again. Helen is hosting this time round, and we want to see your ‘A for Anything goes’ and ‘B for Bears’ Christmas creations. Here are my cards:
A is for Anything Goes
B is for Bear
As you can see – two very different styles of cards.
The first CAS card is using s Clearly Besotted image, stamping, colouring with Copics, then using an oval to die cut, layering that white oval with black, then adding a foiled sentiment.
The second definitely not CAS card took a little more preparation.
I sprayed some Tim Holtz mica spray onto some Distress Heavystock card, splattered with white acrylic paint and set aside to dry.
I then totally channeled Tim Holtz from one of his YouTube videos, and die cut the bear from white and grey wood grain card stock, layered together, then added a pink scarf using a previously created ink smooshed panel.
The trees were die cut from a panel of card onto which I had glued some tissue paper, added water, added Brushos, then when dry added some gold wax. The die cutting of the trees flattened the ridges on the trees – but if you add the wax prior to die cutting then the detail is still there.
I snipped and placed the trees, added the bear, added some white glitter drops for the snow on the ground, then added the sentiment – die cutting the ‘board’ from the same white and grey card stock, and adding the letters in a haphazard fashion – I struggle with straight when I do a sentiment like this, so I went overboard with the higgledy-piggledy.