Be a Unicorn

Hello there. I have a cute card to share today using a new die from Waffle Flower:

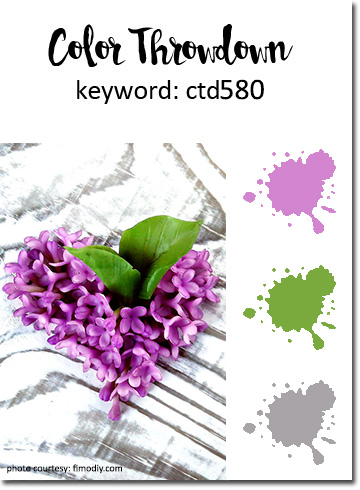
I knew I wanted to play with this die as soon as it arrived, and took the opportunity to use the current colours at Color Throwdown.

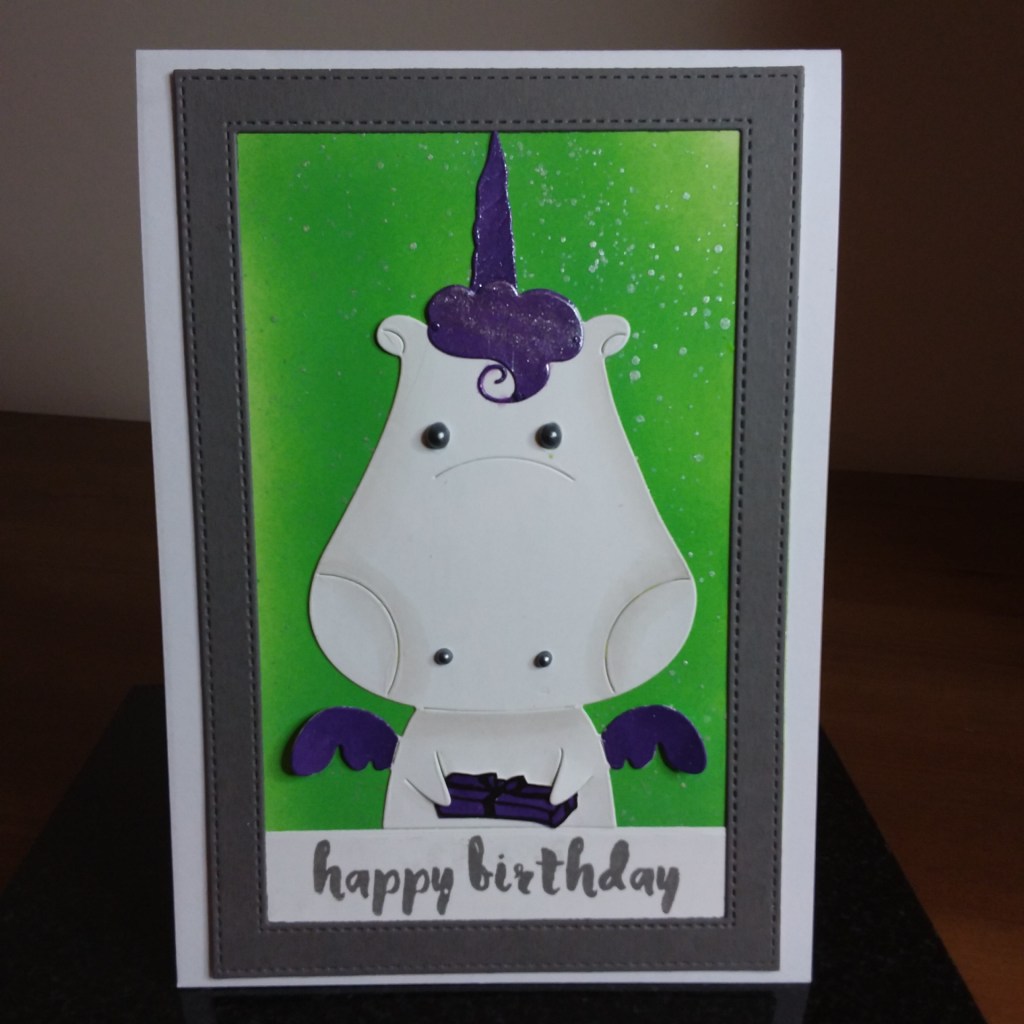
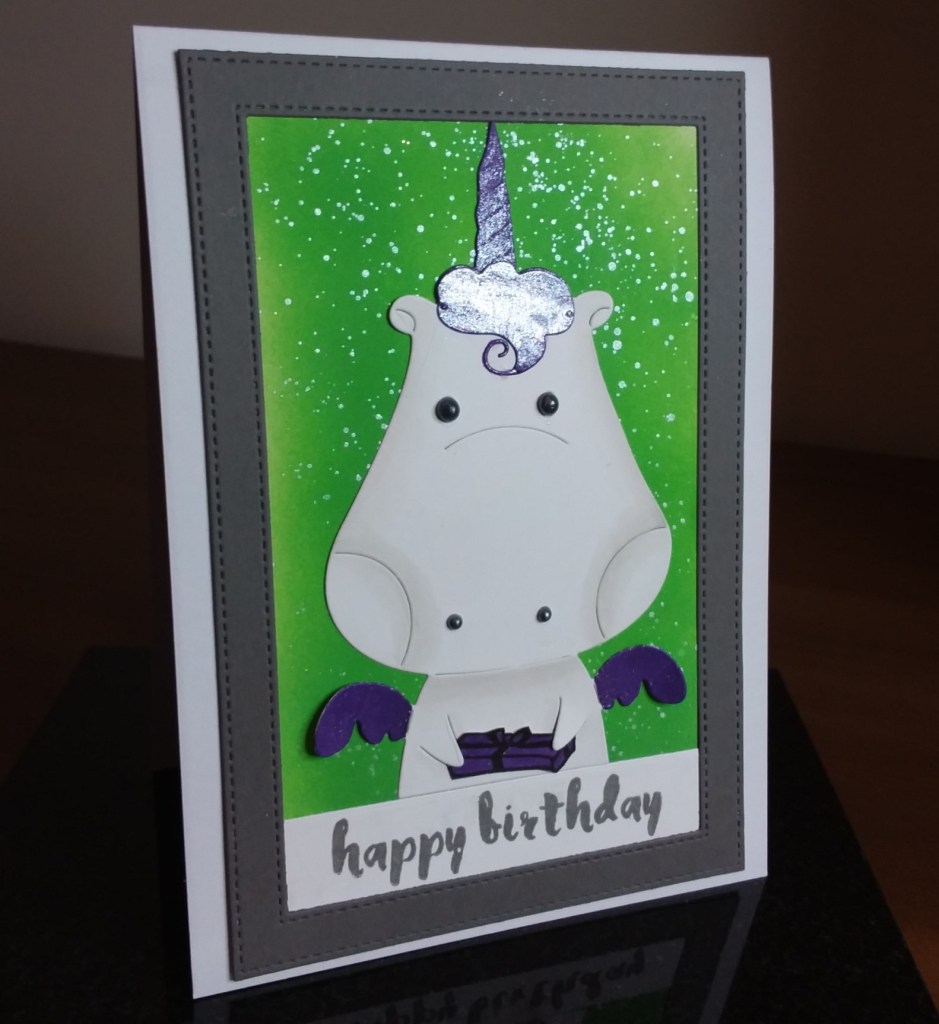
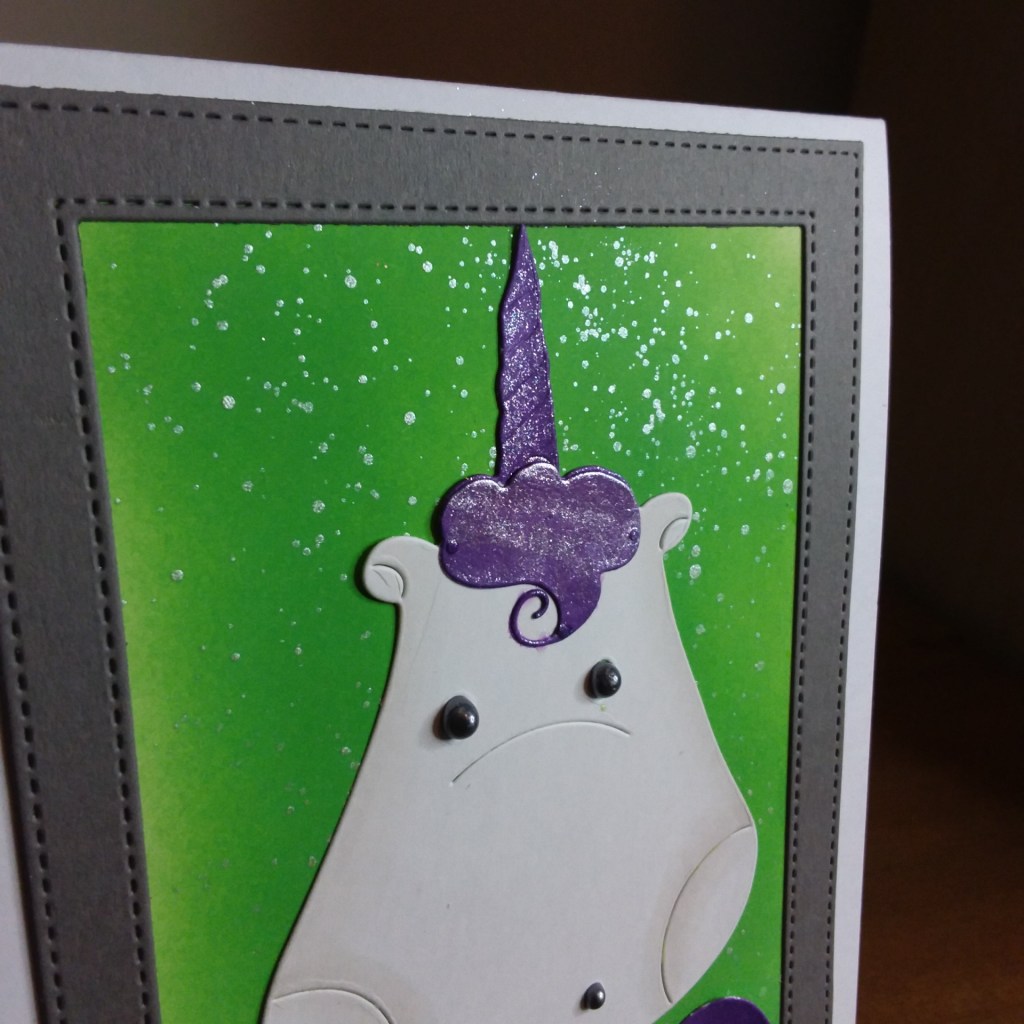
I die cut the unicorn, then added some Spectrum Noir purple sparkle as you see. Whilst that purple was drying, I turned to the background.

I used Distress Oxide ‘Mowed Lawn‘ and blended using my blending brushes, adding some Gansai Tambi green sparkle splatters – it’s all about the sparkle on this card.

I created a frame in grey card stock by using some rectangle dies and adhered this to the green layer. The sentiment is stamped using grey ink, placed as you see, and the unicorn sat on top of the sentiment strip.

I did take some warm grey Copics and tried to add some shading to the edge of the unicorn – not sure I like it, might have been better left alone – but there we are.

I glued the unicorn to the green layer, making sure the arms and the wings were free, and added some Tonic Nuvo drops in ‘mercury‘ for the eyes and nostrils, slotting the purple glittery present in the hands.

I think I’ll be playing with this die some more, using perhaps rainbow colours – of course the glittery rainbow colours, and I’m sure you’ll be seeing that here.

I shall be entering the following challenges:

Color Throwdownviolet/purple, green, grey

Time Out Challenges inspired by words (Birthday and sparkle like confetti)

Crafty Calendar Challenge use die cuts/punches

AAA Birthday birthday and cute

Totally Tropical

20180614_175353

Hello everyone. I don’t think this card can in any way be called clean and simple….It combines ink blending, stamping, die-cutting, splattering – yet not embossing.

I put this together for the current challenge at Daring Cardmakers. I liked the idea to use bold and bright colours and took my Altenew ‘Totally Tropical‘ stamp and die set. I arranged all my Catherine Pooler inks at the side of me, and stamped like crazy. I then took my Distress oxides and blended like crazy, too.

For the background, I blended, then splashed with water, then splashed with the Gansai Tambi Pearl colours. Whilst that was drying, I stamped most of the flower images, playing with the combination of colours for each flower. I stamped the leaves using different green inks, and then die cut the whole bunch of them.

The sentiment is a die from the same stamp set, which I die-cut four times using black card and double-sided sticky sheets, so I could layer that up for dimension.

Now the background was dry, I played with the layout, wanting some sense and uniformity – yet not too much…..using my 3D glue – to give me movement and placement time – I then stuck them to the blended and splattered ink panel. I wanted the sentiment to be framed by the flowers, and still stand out from all the colour.

Here is a close-up of the shimmer:

thumbnail


No stamping

Hi everyone. I hope you are all well, and enjoying some crafting time. I’ve been putting together this card. It may look simple, but let me tell you it has taken me a few hours to get it right.

I am following the challenge theme for Simply Less is More – CAS no stamping, and Cards In Envy – baby blue or pretty pink. I had an idea of creating a coloured card and die cutting a flower or something from it, and even did that, but I just didn’t like how it turned out.

I then decided to use my Gansai Tambi ‘Pearl Colours’ to create a flat background, but shimmery. I covered a piece of white card with the Pearl Pink,  and let one layer dry before adding another layer. I did three layers in total as I wanted quite a solid colour. I managed to get a photo with the shimmer showing. I let this dry completely before using Lawn Fawn ‘Stitched Windy Backdrop’ for added interest to the shimmer.

I then moved onto the sentiment. This is from Neat and Tangled, called ‘Big Hugs ‘ – can’t think why!? I die cut this in black card many times – I think 6 in total, and layered them on top of each other for a slight bit of dimension.

I was going to glitter it, and decided not to as I think the bold and black letters really stand out from the pink shimmery background. I added the whole pink layer to a plain white card base.

So, even though it looks simple, it took me a while to put together – drying time, die cutting, and sticking time – but I think it’s quite effective.

I will also be entering this card into the Mix It Up challenge – anything goes, and Simon Says Stamp Wednesday challenge – anything goes.

I have some very exciting news – I have been asked to be guest designer for the month of August, weekly cards, for CAS Colours and Sketches!!!! Two colour challenges, and two sketch challenges. How about that? Sooooo excited to be doing that. The first challenge goes ‘live’ on Tuesday – I hope you can join us. 🙂