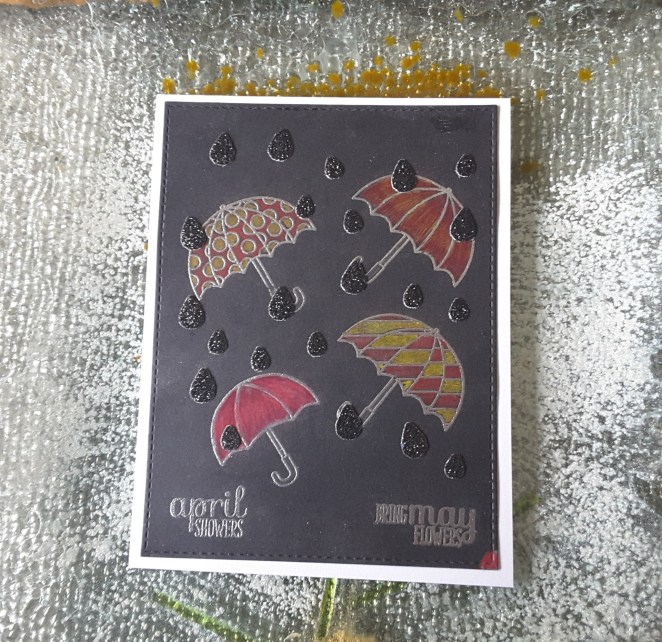
Umbrellas and rain drops


Hello again. Here is a card which appears a little darker than my usual, but it is actually quite sparkly if you turn it a little. I’ve tried to capture the effect, but it does look better in ‘real life’.
20180413_165701_00120180413_165737

I used a Clearly Besotted stamp set, and heat embossed onto black card with silver detail embossing powder. I then used my Polychromos to colour the images in, using 2-3 reds and 2-3 yellows. The black rain drops are from the matching dies for the stamp set, which are cut from Stampin Up black glimmer card, and individually stuck down.

I heat embossed the sentiments from the same stamp set, and added the whole thing to a white base card.

To try and get the glimmer from the rain drops, I had to prop the card against one of my perfume bottle – only because it had a nice image on the lid. Can you tell which perfume it is?

I shall be entering the following challenges:

4 Crafty Chicks anything goes with twist raining cats and dogs

Inkspirationalphoto inspiration

Pinspirationalanything goes


Believe CASE card

20180412_193028

20180412_193051

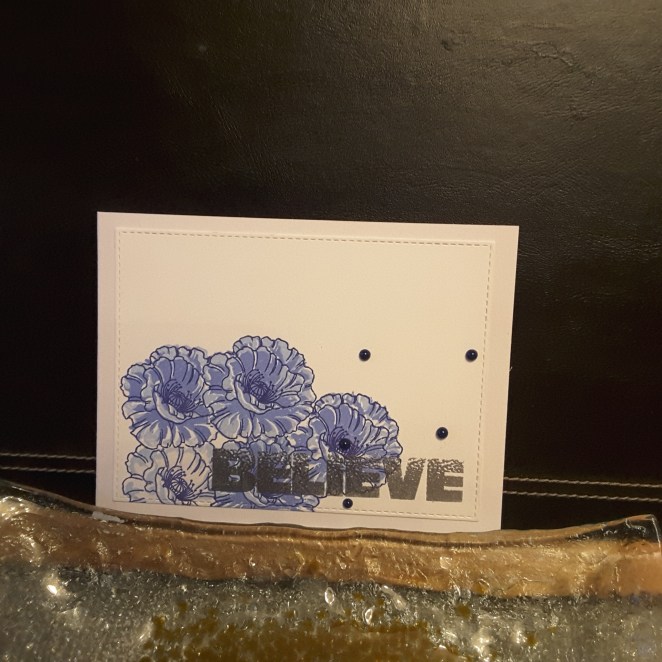
Hi everyone. I have a card – with additional variation on the theme later in the posting – for the current challenges at Simple Less Is More and CASology.

I used a layering stamp set from Just Rite for the flowers, along with a little masking, and Altenew inks. I must say that I watched a You tube video last week – can’t remember who from – and they said to let the ink dry between layers to achieve a crisper effect. I tried this – and it works! I do love when a plan comes together.

The sentiment is from Stamps By Me and heat embossed in silver detail powder. I chose this sentiment to go with the CASology challenge, but also because I like the way the word kinda fades out at the top. Even though it is bold, it also doesn’t seem to cover much of the main image.

Some Tonic Nuvo drops were added for interest, and then this piece attached to a white base card.

I have a whole stack of 300 gsm white card for base cards. I use this as it doesn’t take inks well, it doesn’t like blending inks, and it doesn’t like being coloured with anything! So, white sturdy base cards for quite a while!

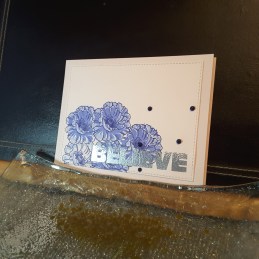
Here is a version with some Clearly Besotted stamps:

I got carried away with the blue and silver combination…..

Challenges I will be entering:

Less Is MoreCASE the card

CASology Believe


3 cards

Hello there everyone. I have had a lot of opportunity to craft in the past 24 hours, and I have three cards to share with you today. I could post some tomorrow – but I have my bestie coming round for take-away, drink, and movie – so I am sure I have made the right choice in not posting tomorrow!!

This first card is inspired by the current CASology challenge

Week 294 - Start[1]

20180408_141246
It took me a little while to think of things. I was thinking cars, jobs, baby, weddings, then I remembered the most recent Catherine Pooler Stamp of Approval, and a paper aeroplane in there……..
I took some water-colour card and used 2 colours of Distress Oxides to blend together at the bottom, using a piece of paper to maintain a fairly straight and clean edge, then spritzed with water. My idea of the water was for it to look like clouds…..
The sentiment, dots and plane are from the same collection, and stamped in Versafine black onyx.
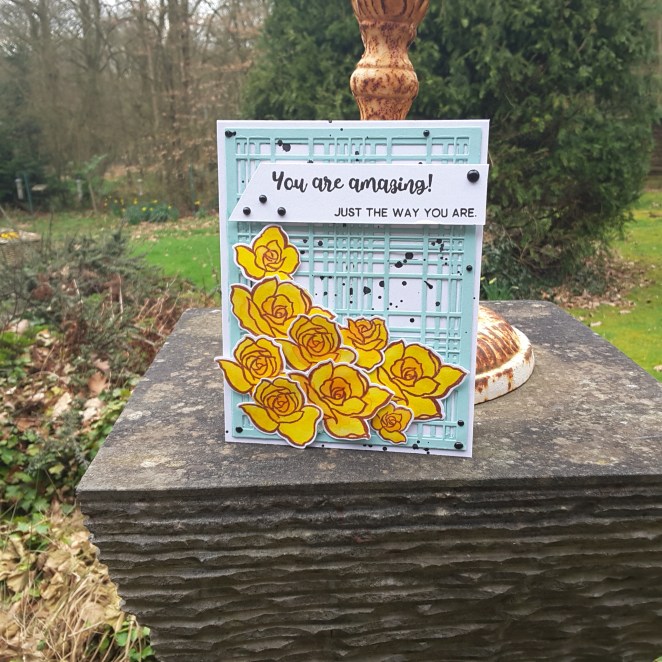
This second card was inspired by Time Out Challenges and 4 Crafty Chicks (flowers):
20180408_141152
I took the colours of the flowers and vase stand. The Altenew layered plaid cover plate A and B were cut out and stuck together, and after putting onto a base card, I used some black splatters – I felt the urge for a little mess!
The yellow flowers are from Altenew ‘Amazing You‘, and I stamped the outline in a darker yellow from one of their ink sets, embossed with clear embossing powder, then water-coloured with a Zig yellow and an orange.
After die-cutting them I arranged in a huddle, using 3D glue gel – helps me to position – and added the sentiment from the same stamp set.
I then decided to add some Tonic Nuvo black drops extra to the splatters – I thought the white background card was a little plain!
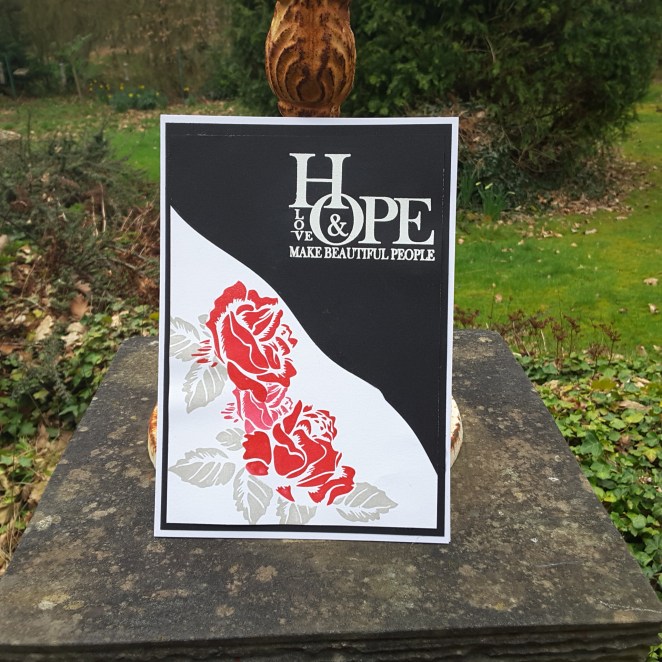
This third card is inspired by the current challenge at The Library Challenge, and Just Us Girls:
20180408_141313
I took the cover of the book and used the black, white, and red – some grey leaves for artistic license – and stamped some flowers from a Stamps By Me set I have had for a while.
I used Catherine Pooler ‘Rockin Red‘ (I must get the ink re-fill next time I order anything) and embossed with clear embossing powder. Some masking – which doesn’t scare me now, even when I don’t have the matching dies – and then thought about how to make a curvy black side.
I turned to my Avery Elle ‘Snow Caps’ dies and used one of the curves twice.
The sentiment is also from Stamps By Me, and I was looking for a bold sentiment to join the Just Us Girls challenge, and heat embossed in white – like the title of the book.
Thank you for your perseverance, and I hope to be back with you soon. :)

3 colours sketch

20180406_101117

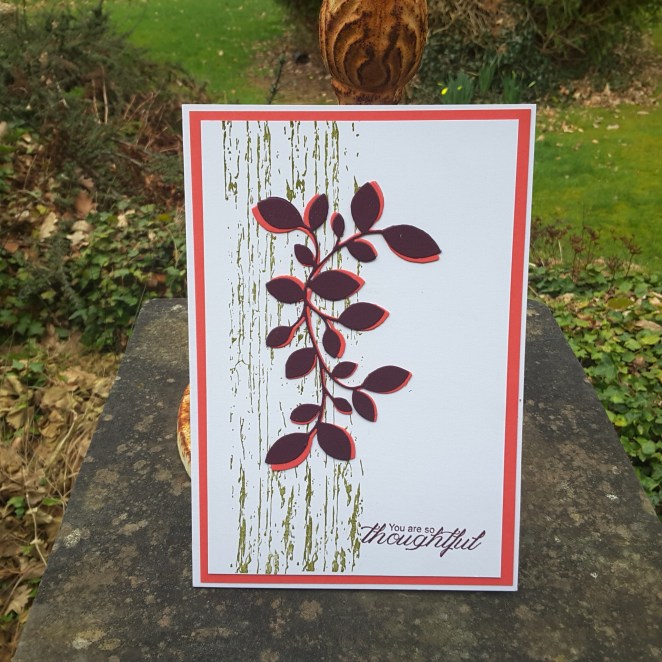
Hi everyone. I have a card inspired by a sketch challenge and a colour challenge today. I turned to my stash from Stamps By Me and then thought about the colours and layout. I knew I had some long stamps I could use, so I took the Stampin Up ‘Old Olive’ and stamped the long strip twice, even though it looks like one stamp……

I then took some card in Calypso Coral and Rich Razzleberry and used one of the Stamps By Me dies to cut this leafy image several times, with double-sided sticky sheet on the back to make it easier.

As you can see, I off-set the two die cuts as I thought one of each colour looked a little plain. I then layered it onto a base card with the Calypso Coral behind it, and took a sentiment and stamped in Rich Razzleberry.

Stamps By Me has some lovely sentiment stamps, and I have several of them. A lot of them are quite large, and would be great for the centre-point of a card – maybe I’ll turn to that next. I’ll how the mojo takes me.

Challenges I shall be entering:

CAS Colours and SketchesCalypso Coral, Rich Razzleberry, Old Olive

Freshly Made Sketchessketch


Exquisite Ocean

20180405_195618

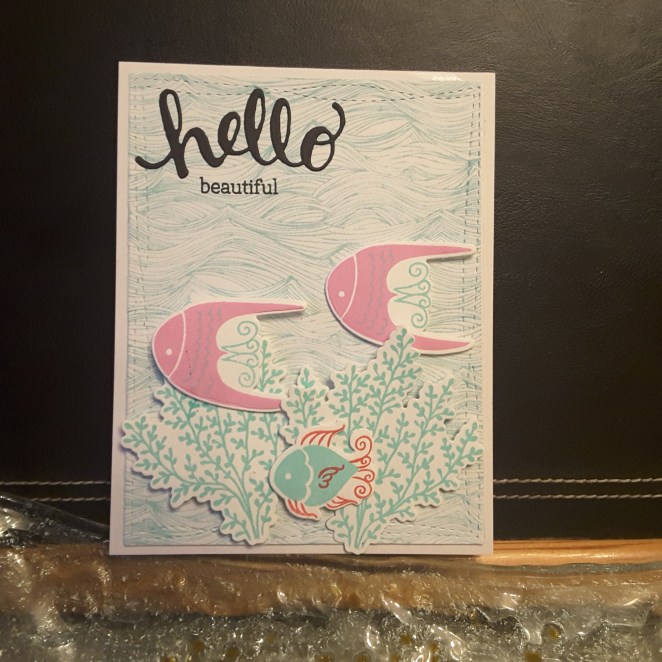
Hello again. I have a card to share with you today after having a delivery from Bumbleberry Paper craft store. It was waiting for me when I got home, so I couldn’t resist playing with it. The stamp and die set is from MFT, and called Exquisite Ocean.

I took inspiration from several challenges – the colours of pink, red, and mint from Color Throwdown, a trio of something (fishes) from the current Simon Says Stamp Monday challenge, and anything feminine from Watercooler Challenges.

The background ‘Waves’ stamp is from Hero Arts, and I used the Merman ink from Lawn Fawn. I die cut that with the wonky rectangles from MFT, as I think the wonkyness (a new word!) adds to the ocean effect.

Once I had stamped and layered the little fishes, I used the matching dies and then set to arranging them on the background. I stuck them down using 3D glue, as it gives some dimension, and also gives some wiggle time if I didn’t like how I placed them.

One thing I generally do now – I create two backgrounds. On one of them I arrange the die-cuts until I like it, then remove them one at a time, and stick them down on the second background. That way the position tends to remain the same. I have tried taking a photo for the placement, but I find this way so much easier.

These are such cute little fishies, and I stamped quite a few of them so I could make several cards, and will vary the sentiment on each of them.

The sentiment is from Hero Arts, and I die cut the ‘hello‘ from black card with a double sided sticky sheet on the back of it to make sticking it down so much easier, and then stamped the word ‘beautiful‘ directly onto the card. I know – stamped with my heart in my mouth as I did it the last of all – very brave of me! I didn’t even use my Misti as I didn’t want the fishes and weedy things to squash down!


Thanks so much

20180404_175451

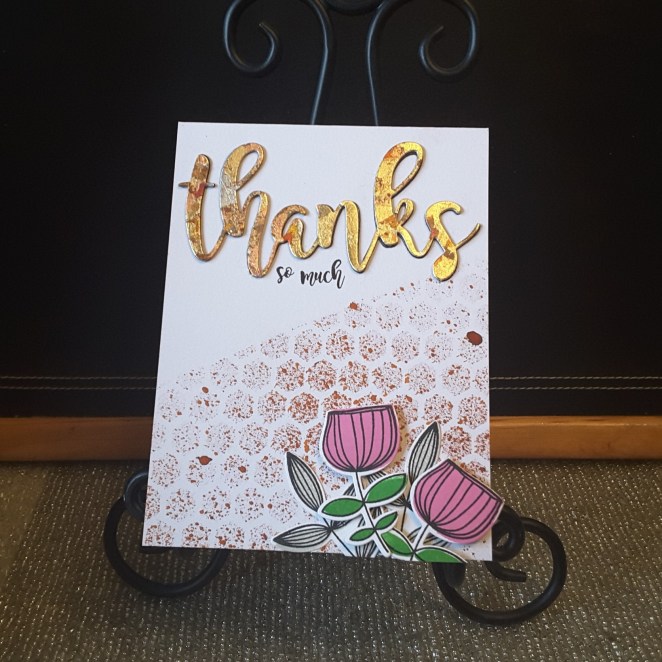
Hello there. I have a card to share with you today incorporating a technique I haven’t used for a while – gilding flakes. I wish I had remembered I had them when I was doing the other foil sentiment!

I began by using a stencil from Imagination Crafts, and spraying Cosmic Shimmer ink spray mist ‘Chic Pumpkin‘ through it. I masked the upper part of the card to follow the current MFT sketch challenge. Whilst that was drying, I covered a piece of black card with a double sided sticky sheet, and die-cut ‘thanks’ (Stamps By Me) several times. On the remainder sticky piece, I added some Indigo Blu gilding flakes ‘Autumn Blaze‘ and then die cut the word again.

After stacking them together – made so much easier with double sided sticky sheets – I looked at placement on my card. I thought just the word ‘thanks’ was too – well – aggressive, really, so I used a Uniko sentiment for the ‘so much’.

The flowers are MFT ‘Sketchy Flowers‘ stamped then die-cut and arranged as you see. I did quite a few of them, but if I added more, then it just looked over-crowded.

Once I had the idea and techniques in my head, it actually didn’t take very long to put this card together, so now I have to go and use the rest of the flower images and make some more – such a difficult chore…….!!

I shall be entering the following challenges:

MFT sketch challenge

Pinspirational challengephoto inspiration (pink flowers)

Addicted to Stamps and Moreanything goes

Blue Floral Birthday

20180403_055015

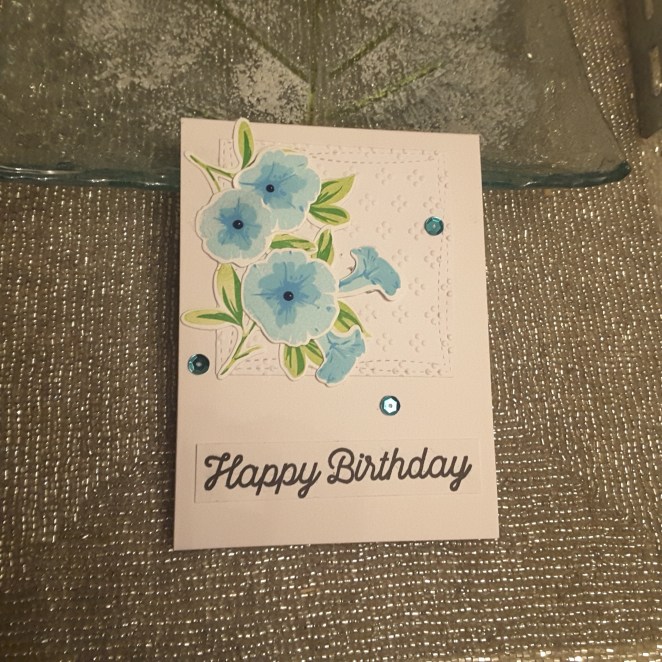
Hi everyone. I was able to craft a little more yesterday, and was inspired by several challenges.

I started by stamping all three flowers and all the leaves from W Plus 9 ‘Petunia Builder’ using Altenew inks for the flowers, and Catherine Pooler inks for the leaves. I like the way the leaves turned out – using Lime Rickey and and Grass Skirt. These two colours may well be a combination I will use in the future.

Once I had used the latching dies, I then tried to come up with a layout I liked. I play doing this for quite a while usually, but it is something I enjoy – particularly when I have stamped and cut many images.

The square I placed the flowers on is embossed with a Tattered Lace embossing folder, to add some interest to the background. I started by using 3D glue for the flowers, then inserting the leaves underneath using a wet glue.

The sentiment was stamped in Versafine black onyx and adhered flat to the card.

I shall be entering into the following challenges:

Addicted To Stamps and More photo inspiration

Always Fun ChallengesHappy Birthday

Seize the Birthday Birthday (option of birds not used)

More Monsters

20180402_083727

Hell again. I have been doing a little crafting over the weekend, but nothing too major. I may be able to craft more later today, and I am sure I will let you know what I come up with.

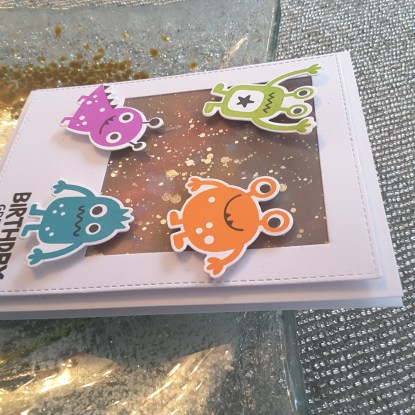
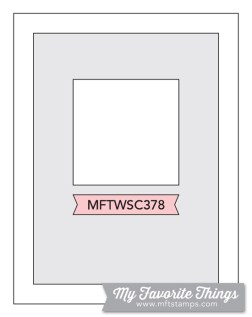
This layout of this card was inspired by the sketch challenge from MFT, but initially I didn’t really have a clue about what theme I wanted to go with. My obvious go-to would be flowers, but I had a think about it for a few days.

Whilst I was sorting my stamp sets out into make, then alphabetical (OCD much??) – and found this ‘More Monsters’ stamp and die set. I then thought about a galaxy background – which I haven’t done many of – and decided to take an hour or so out of sorting and tidying to play.

I used Distress Oxides then Gansai Tambi splatters for the background, sticking that down beneath a plain white rectangle.

There are six monsters in the set, so I took 6 Catherine Pooler inks and stamped them all out. As these monsters are solid images, I knew these inks would be more suited for coverage.

After die-cutting them, I then played with the lay-out, stamped a greeting – there are quite a few in this stamp set – and there we are.

I obviously have 6 monsters of 6 colours, so I am currently playing with putting some more cards together along the same lines, and if I complete them today, I may add them to this posting later. Here is a close-up of the shiny splatters, using gold and white:

20180402_083748

I shall be entering the following challenges:

MFT sketch challenge –

Simon Says Stamp Wednesday Challenge: anything goes

JUGS CAS challenge:

Foiled greeting

Hello everyone. This may look like a clean and simple card, but it took me absolutely ages to figure out how I was going do some foiling, and for it to look respectable. I was trying to get some inspiration for the current CASology Challenge, and after making the card yesterday, I still had the stamps and dies out and I decided to foil the ‘friend‘ sentiment.

I don’t have a foiling machine, so I hunted for my packets of foil. Then I had to decide how to do it.

The first 2 or 3 times didn’t work. I took some double sided sticky sheets, and stuck it to card, then die cut the letters. I then took the foil and lay it on top, smoothed it out, took away the foil – messy and uneven. I tried again, but it still looked messy and uneven, I couldn’t – initially – think of a way to put down even pressure to make the foil stick.

I went to get a coffee, watched a Real Housewives episode (addicted to a couple of them), and it came to me. Why not put them through my die cutting machine……so I took the sticky letters, added the foil, sandwiched them between a couple of sheets of paper, (my cutting plates are a little ‘tired‘) sent it through my machine……..and this is what I came up with.

Whilst I was faffing with the foiling, I was also thinking about layout. The current challenge from AAA Cards is to only use one third of your card. So that’s what I did!

Now – how to get the letters straight? How to spell it right? We can’t have ‘fiend’ or ‘frend’ now can we? :)

I used the card I had die-cut the letters from and just lay that over the bottom of my card, and inlaid the foiled letters – then removed the unwanted piece of card. That took some figuring out, too, let me tell you.


Concord and 9th Posie Fill-in

20180323_125316

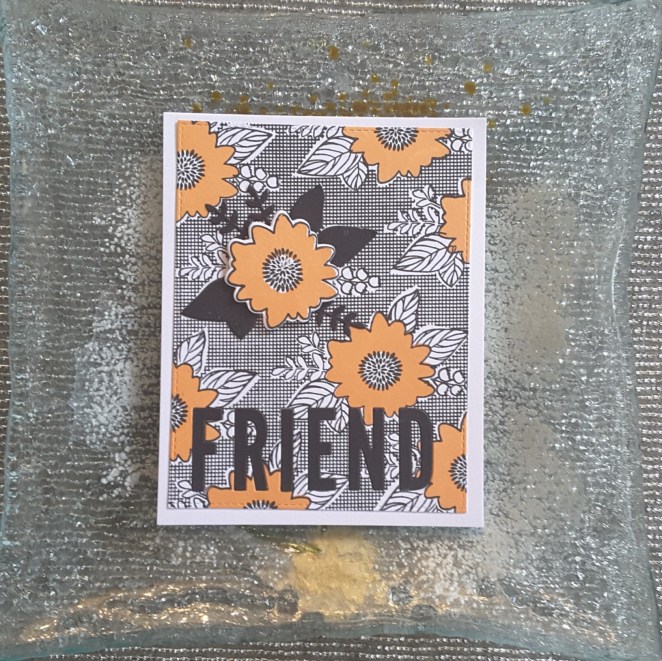
Hello. I had a delivery from Seven Hills Crafts yesterday, which included this gorgeous stamp and die set from Concord and 9th. I soon got to work deciding what to make with it, which stamps and which layers in which colours, and using which dies…..the possibilities are endless with this set, I think. I’m going to try it with different colours, but these colours are from the current challenge from Color Throwdown – peach, black, white.

I started by stamping the hatched background with Versafine black onyx, using my Misti, just in case I didn’t get a good coverage – but I only needed one stamp anyway. Then I turned to my Stampin Up ‘Peekaboo Peach’ which I hadn’t even opened yet! Nice and juicy!

I stamped the base flowers in peach, and then decided I didn’t really want any other peach on there. I stuck with the Versafine black onyx, and stamped the leaf outlines, not wanting the leaves to be solid on the background, but finding I had to mask the flowers off a little to stamp them properly. (Something I am getting better and better at, if I do say so myself). 

I used the stitched rectangles to cut the base out and then thought about the sentiment. And thought, and thought, and thought……I tried several variations but settled on this one.

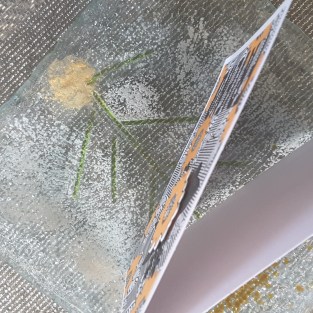
I die cut the ‘Friend’ out of the base card, removed it – saving the little bits from the ‘R‘ and the ‘D‘, then cut it out again using black card, and inlaid the black into the base. After I had put the card together, I added some dimension by stamping and die-cutting another flower, and some of the leaves – this time in black card.

20180323_125334

I am liking this stamp and die set, and may even get my other ‘Blooms fill-in’ out and play with that again.

I shall also be entering this card into the current Simon Says Stamp Wednesday ChallengeFloral Frenzy.