Hello everyone. I’m back after a few weeks sunning myself in glorious Mauritius – what a fabulous island that is. Relaxing at a great resort and from 29 degrees and day-long sunshine – to snow and minus degrees – what a shock to the system. And I didn’t mind the 16 hour flight……..
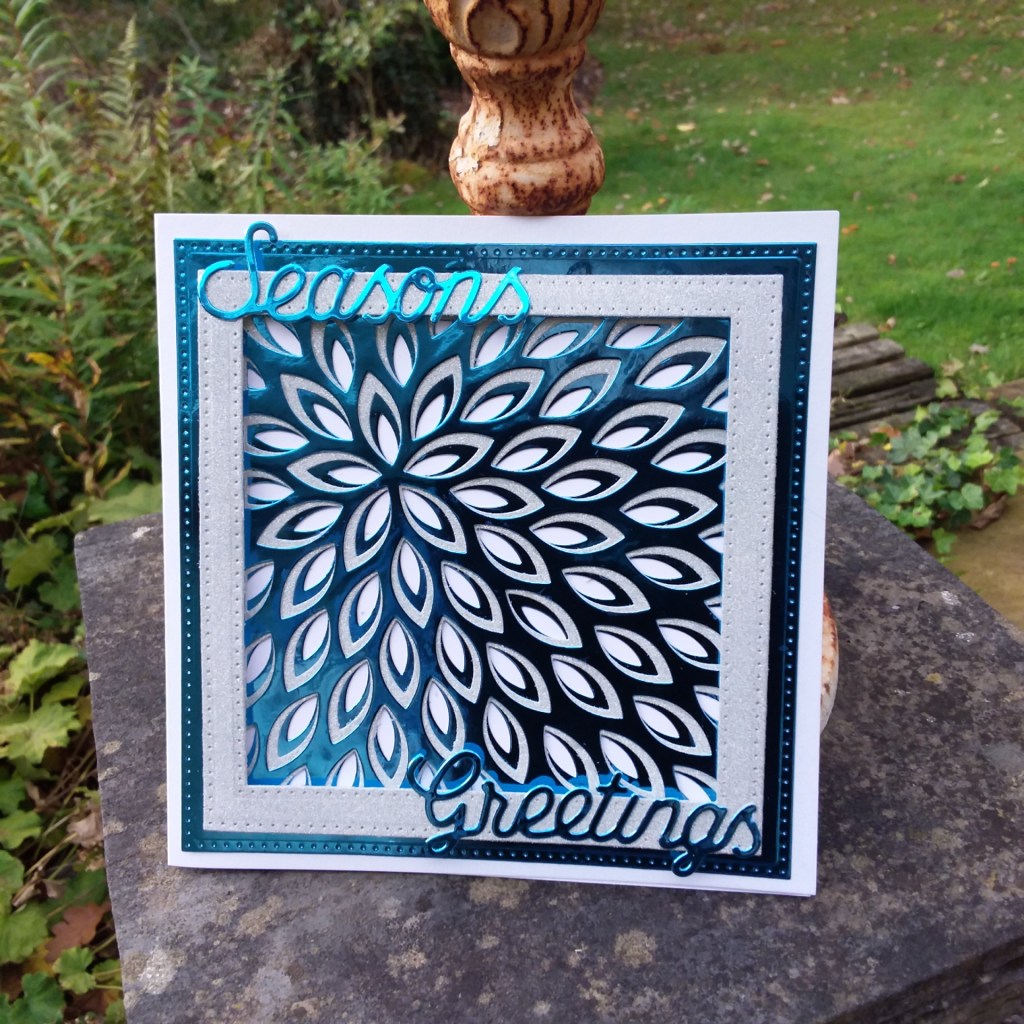
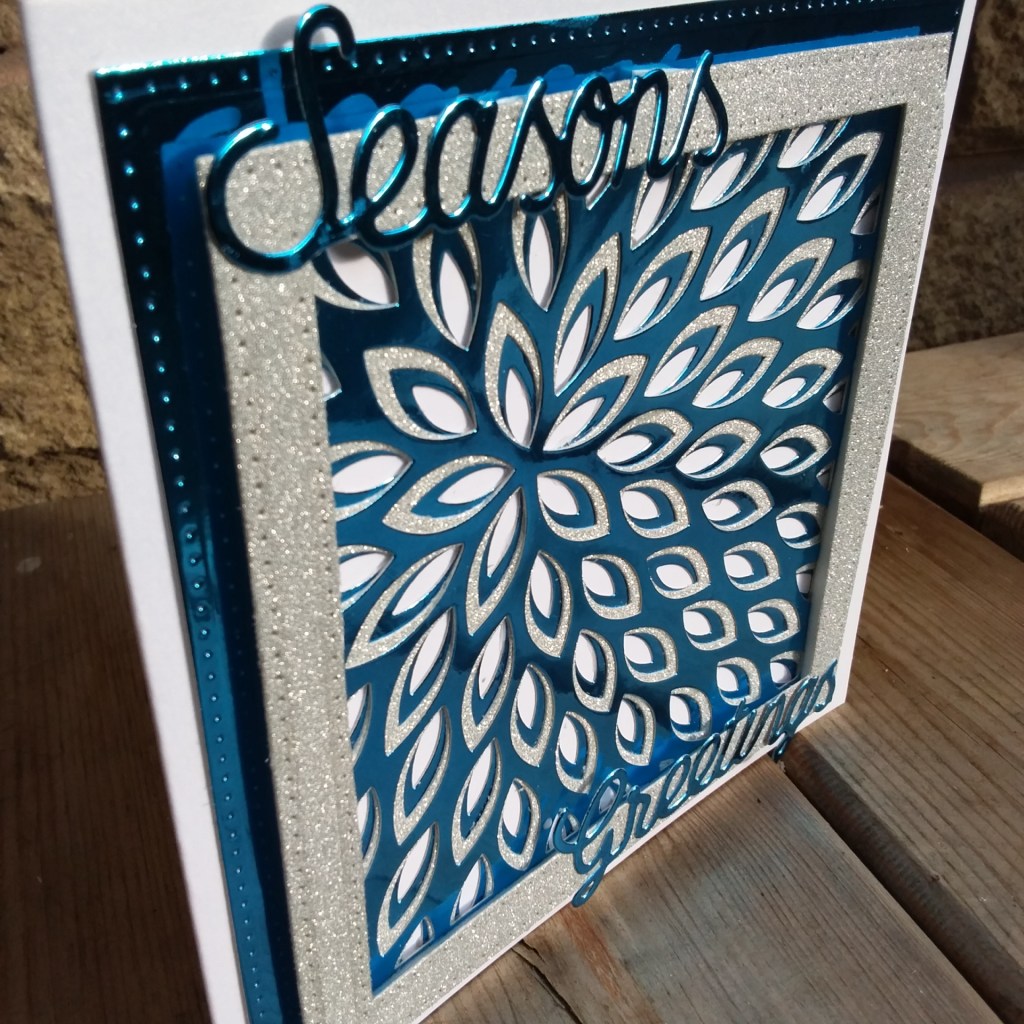
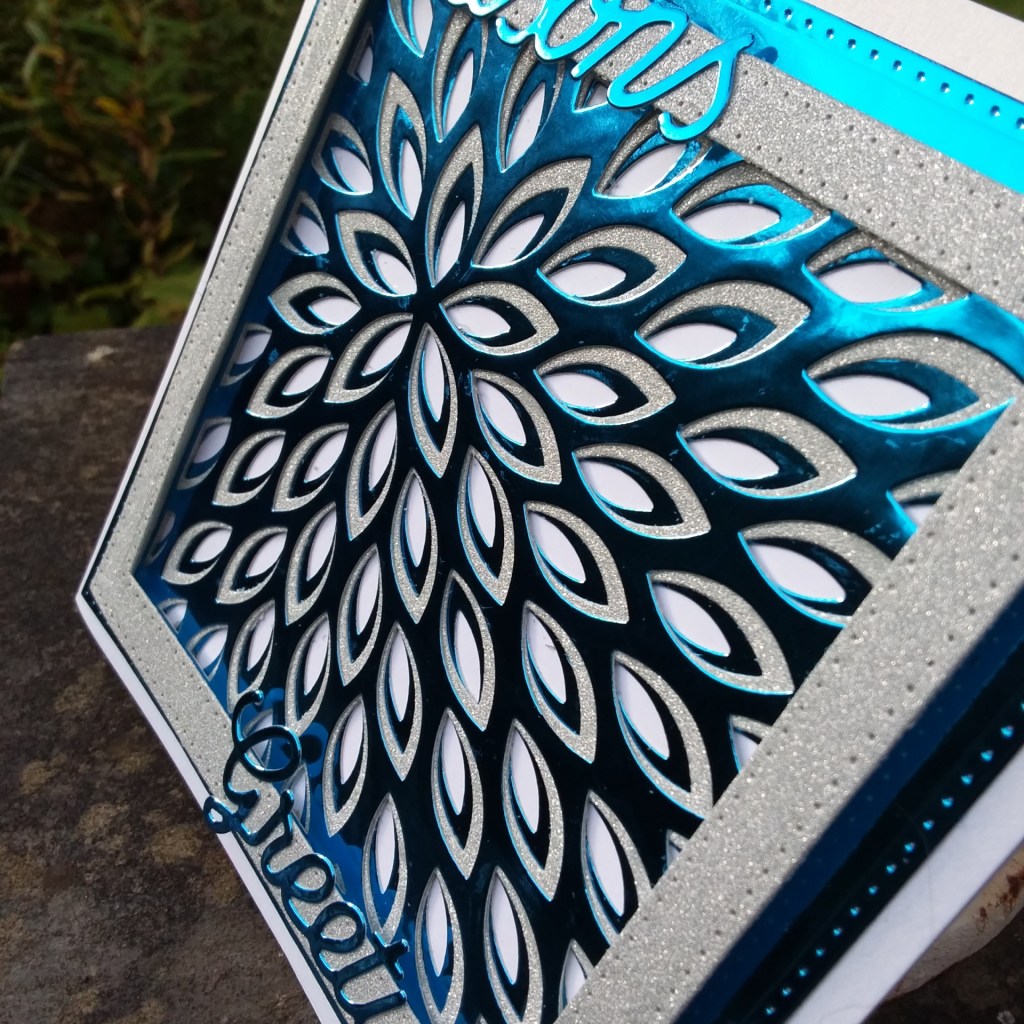
I’ve been in my craft room for a couple of days, catching up with my Design Team duties – but also managing to play to create for some current challenges. Here is my ‘play’ card:

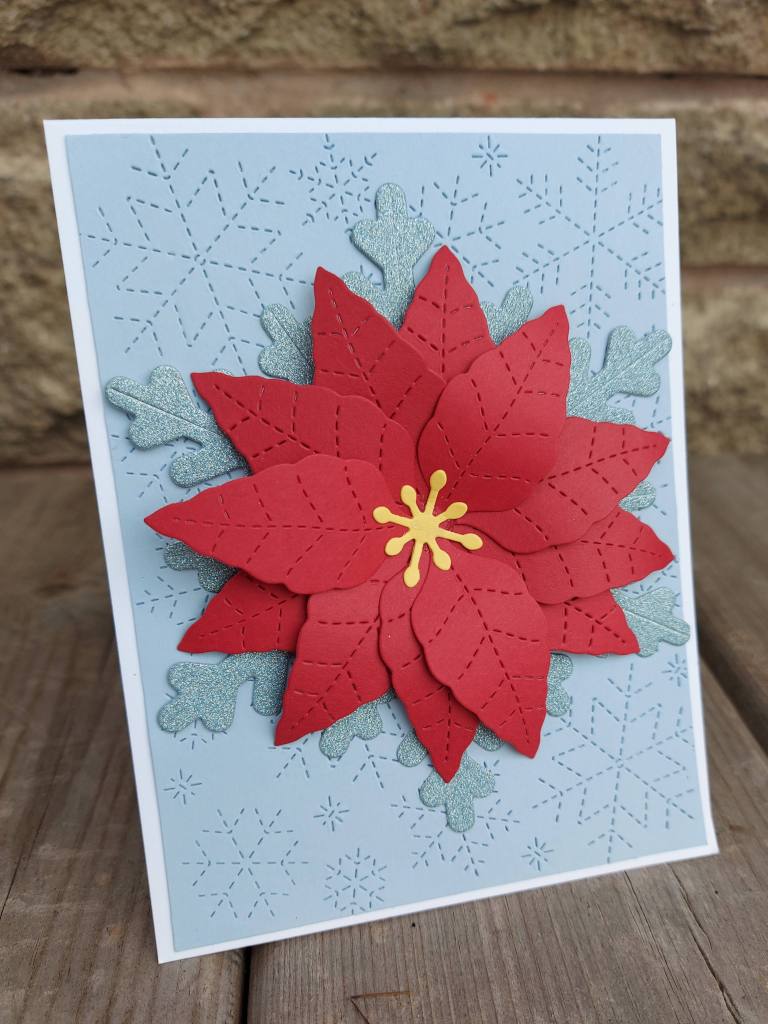
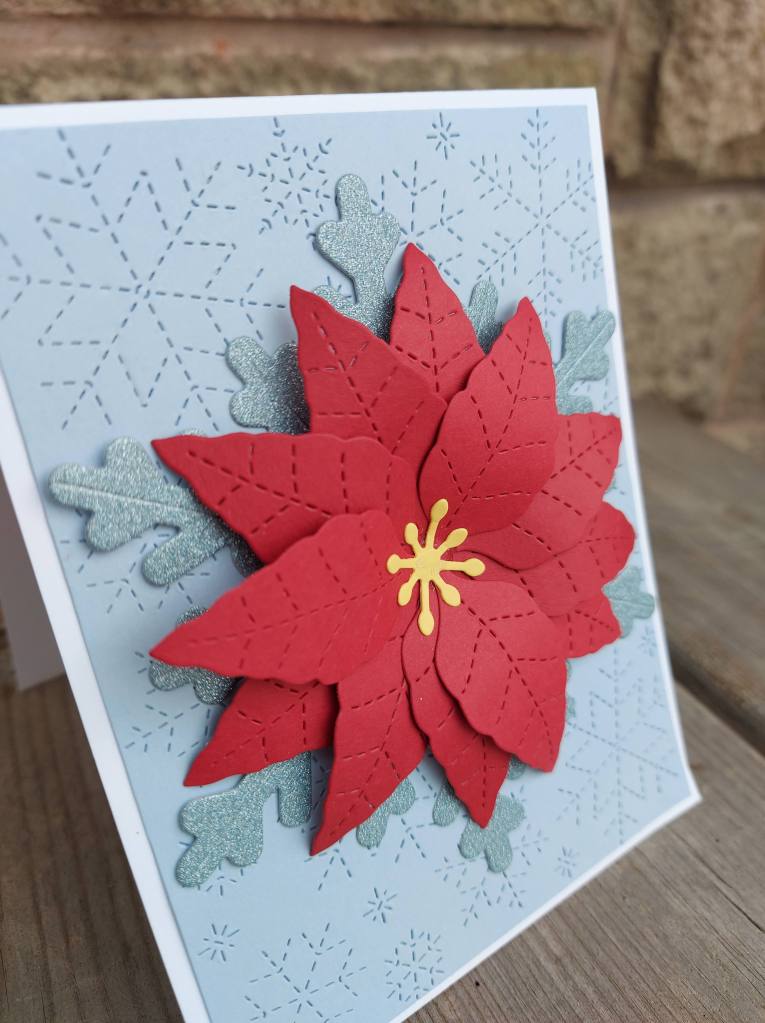
I used a Concord & 9th Poinsettia die from their recent ‘Jolly Holly‘ workshop – which I’ve yet to do – and die cut several layers for the poinsettia. The glittery snowflake – another die from the same workshop as a base for the flower – and Lawn Fawn ‘Stitched Snowflake Backdrop‘ – which I can’t seem to stop using – for the base layer.
This came together quite quickly once I had decided what to put where – which angle for the snowflake etc…..so many choices!
I shall be entering the following challenges:
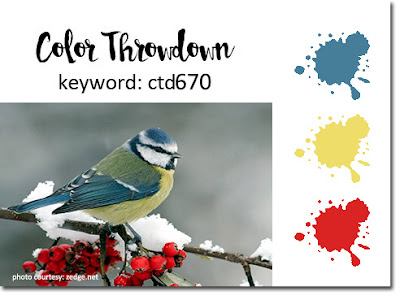
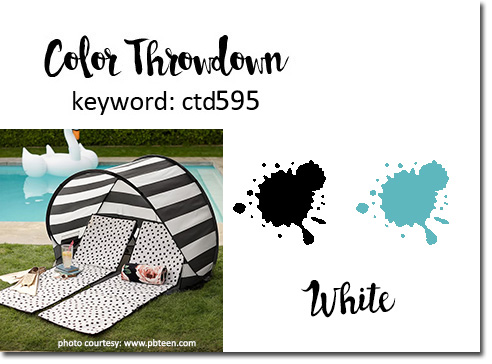
Color Throwdown – blue, yellow, red
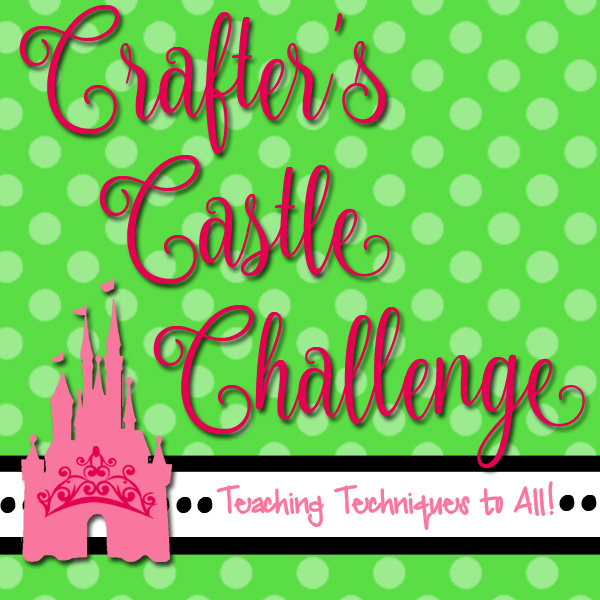
Crafters Castle – atg
Krafty Chicks – occasions
Pink Gem – atg