ABC Christmas Challenge – ‘W’ and ‘X’

Hello there. I am hosting the new challenge at ABC Christmas Challenge for the letters ‘W’ and ‘X’. The theme chosen for these letters are ‘Winter Wonderland’ and ‘Xtra Special’.

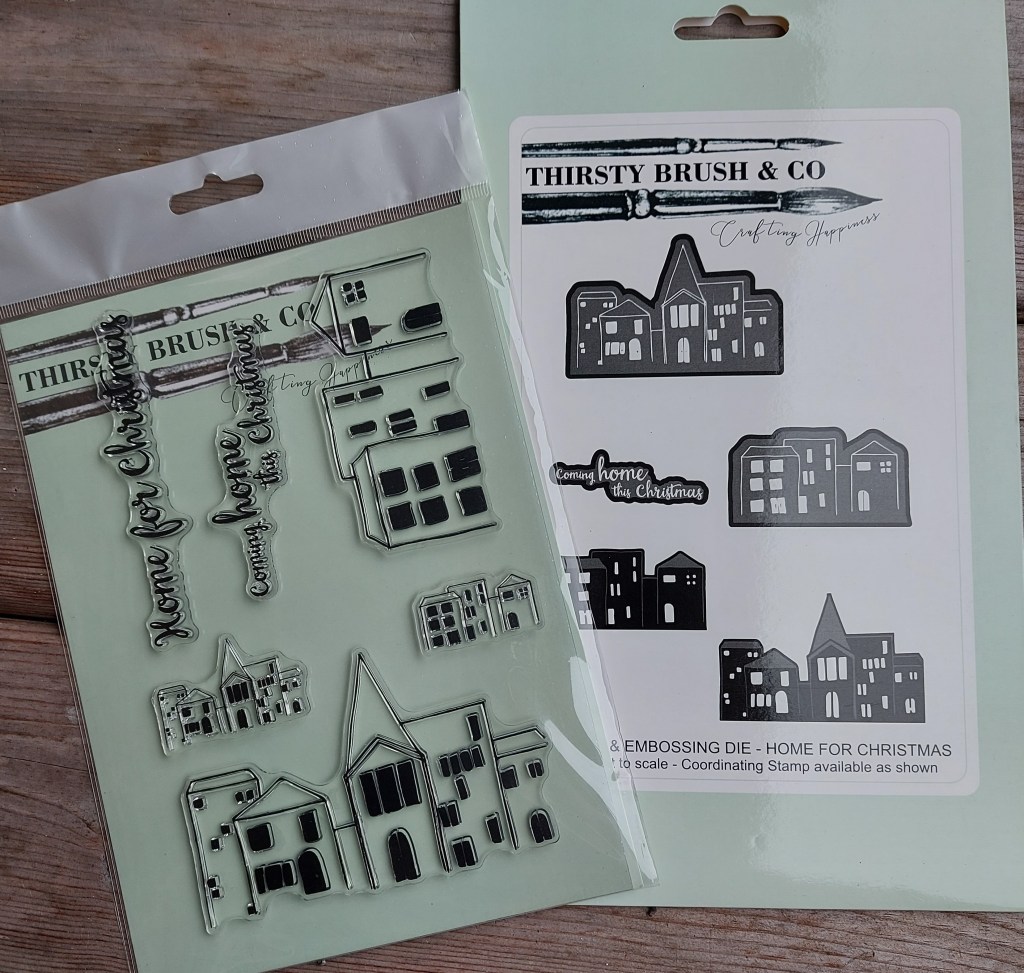
I have a prize on offer for the winner – chosen by a random generator – so every entry has a chance to win:

Thirsty Brush and Co – stamp and die set – Home For Christmas

You can enter as many times as you like – as long as you follow the winter/Christmas holidays or festivals – and you have followed the theme for the current letters.

Here are my cards:

Winter Wonderland
Xtra Special

Both of these cards are a combination of ink-blending, die-cutting and adding glittery stuff, with the second card also including some Copic colouring.

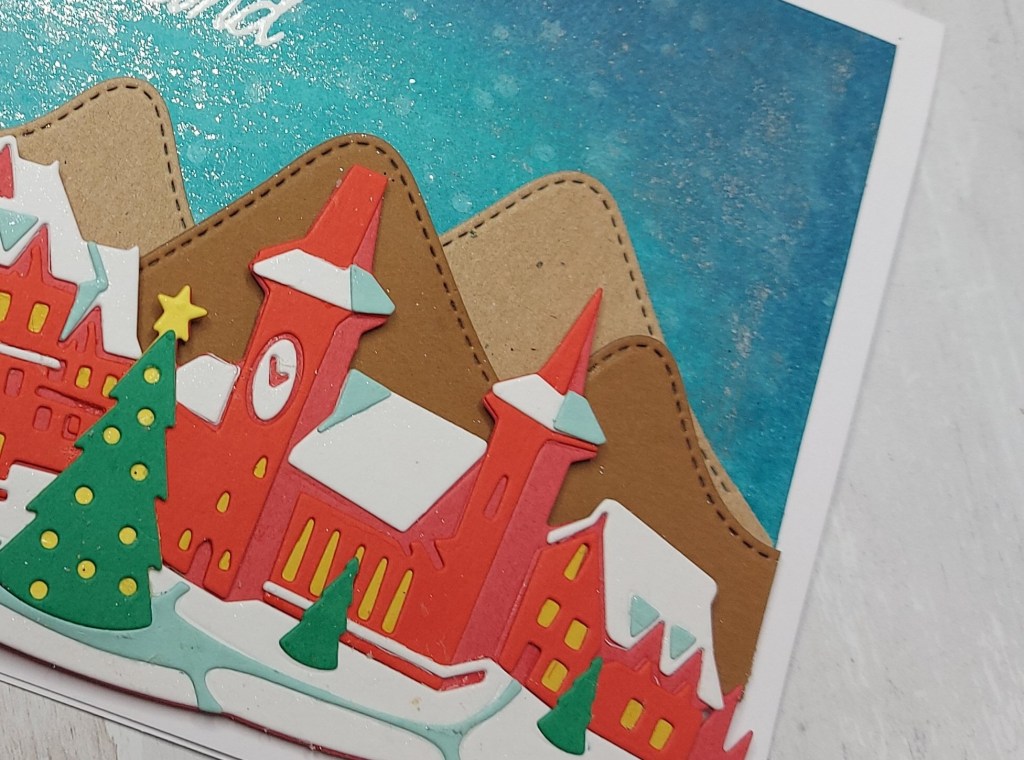
The Winter Wonderland card is utilising the new die set from Tim Holtz – Colorize Holiday Village – but changing the colour of my village to two shades of red instead of brown – I wanted a brighter look to the card. I did have to watch YouTube to figure out what to glue where – and in what order!

I added some mountains behind the village and an ink blended sky – which actually came about quite by mistake……. I did the ink blending, then used a Lawn Fawn stencil and some glitter paste to try and create some stars – but when I took the stencil up it moved and scraped along the sky. I tried to take the glitter paste up with a spatula – but it just swept the glitter across the sky………my idea of a happy accident. A very glittery sky now, with the distress inks showing some of the stars anyway. Oh yeah!

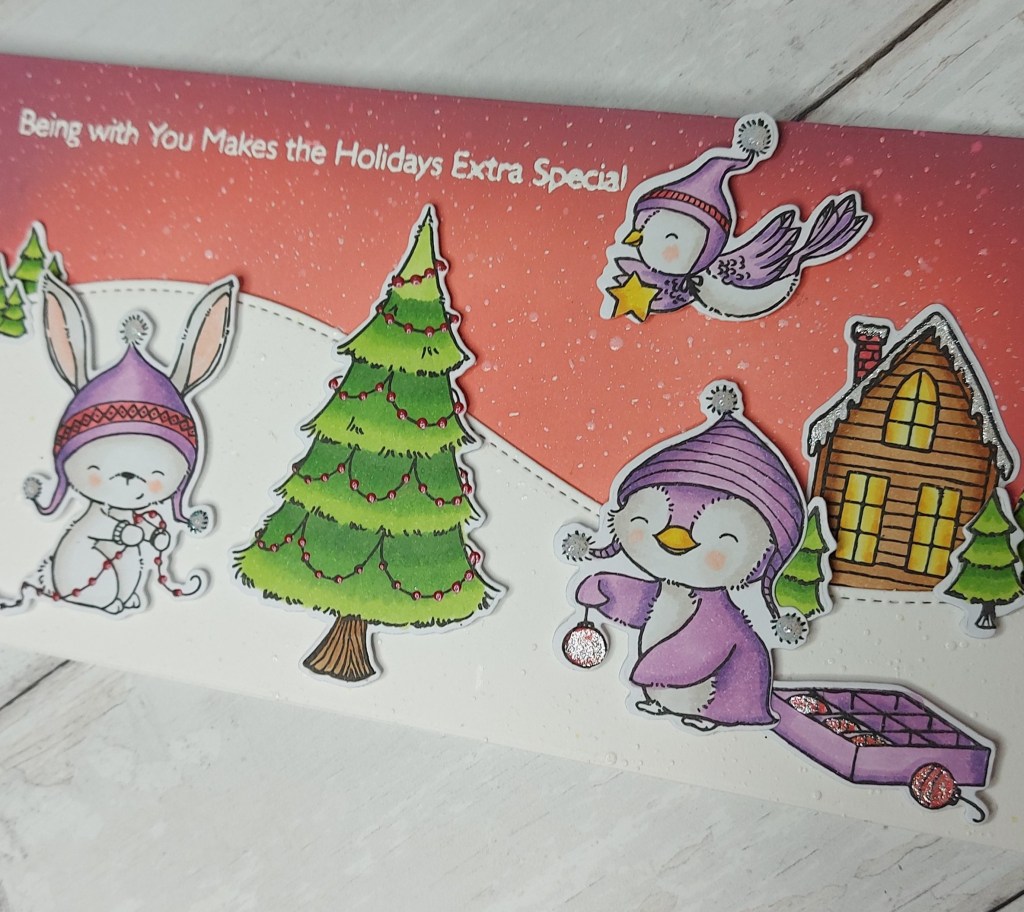
The Xtra Special card was also ink blending, but with Distress Oxides – two red colours and Wilted Violet along the edges to darken them. I liked the look of the violet so much, I used that as the main colour for my characters. Purple penguin and bird anyone!

I decided to add some white acrylic splatter to the background, and then also added some white gel pen into the areas which I thought looked a little open.

There is some glitter and sparkle on this card too – once I have the stuff out then I’m gonna use ’em! Nuvo drops on all the itsy bitsy tiny tree lights, sparkle pen on the other baubles and the snow on the lodge – oh, and the pompoms on the hats too.

I hope you can come and join us – it’s getting closer to the time when we have to think about what Christmas cards we have and also think about sending them cards out…….I look forward to seeing you in our gallery. xx
I shall be entering the following challenges:

Winter wonderland card:

Aud Sentiments – anything goes with a sentiment

Christmas 24 Challenge – Christmas Landscape
Merry Little Christmas Challenge – anything goes Christmas
Xtra Special Card:

Jingle Belles Rock – Christmas and Creatures

Color Crazy Challenge – week 43 – anything goes colouring

2 Crafty Critter Crazies – anything goes with critters

Crafty Animals Challenge – anything goes with animals

Christmas Cards All Year Round – for or with family or friends
Penguin Christmas Cheer
Hello everyone. I have a jolly and fun card to share today:

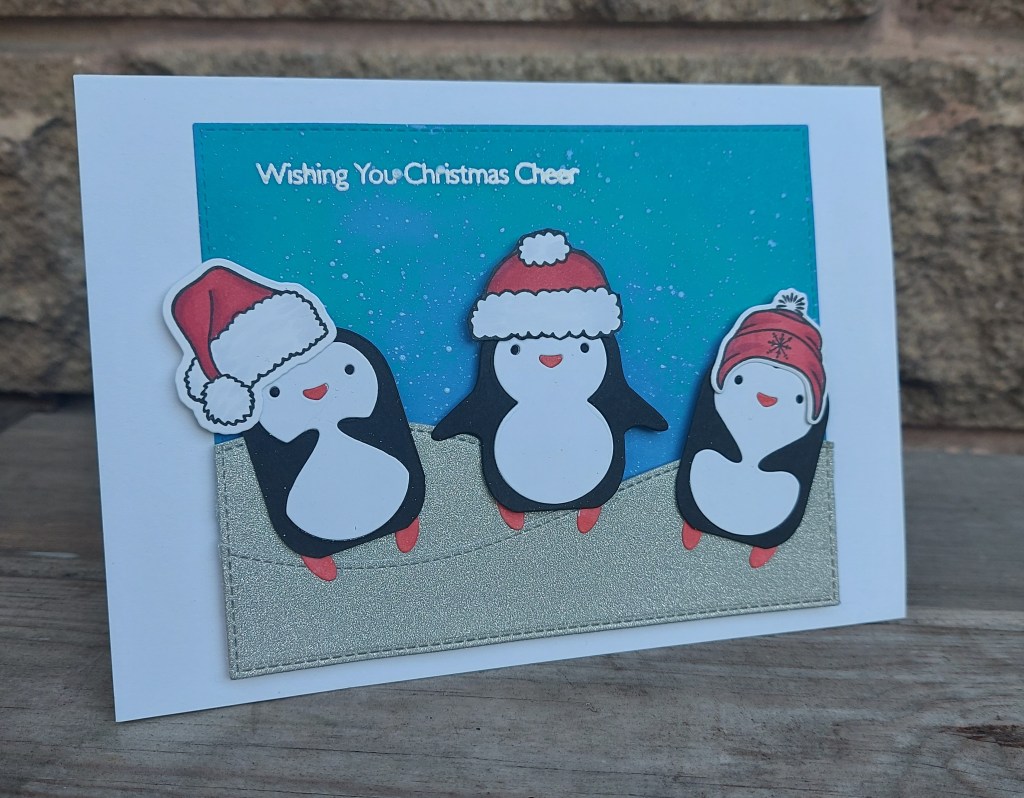
I wanted to make a card using these three penguins from Simon Says Stamp – and kinda started from there really.

Die cut and put together, I turned to making a scene for them.

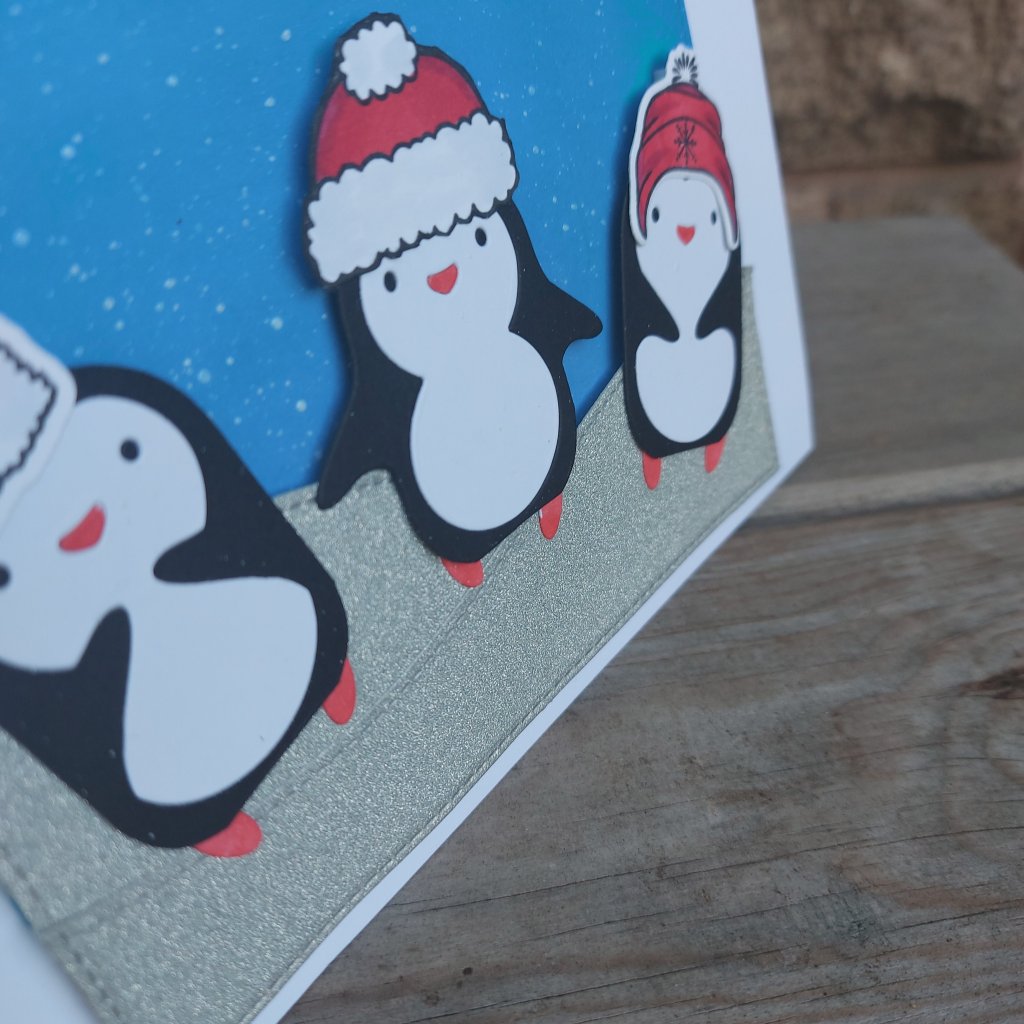
Using some Crafters Companion glitter card stock, I die cut two hills from a Lawn Fawn stitched hillside set, then took some light blue card stock and three blue Distress Oxides to create the sky. This was then splattered with some white acrylic paint.

Once the card was put together, I decided to put some winter/Christmas hats on the penguins, so I searched in Color My Life app and came up with these three hats – stamped, Copic coloured, and attached as you see.
I shall be entering the following challenges:

Christmas Blog Challenge – Christmas and Penguins
Crafty Hazelnuts Christmas Challenge – atg Christmas

Crafters Café Blog Challenge – atg

Christmas 24 Challenge – Christmas Landscape

Merry Little Christmas Challenge – atg Christmas

Please feel free to copy to your sidebar
christmasblog
The Crafter's Cafe Challenge Blog
SPREAD THE MERRY LITTLE LOVE AND GRAB A BADGE!

Alphabet Challenge – Old Folk

Hi there. A new challenge has begun at The Alphabet Challenge. We have reached the letter ‘O’ – and Dawn has chosen the theme of ‘Old Folk’.

Here is my card:

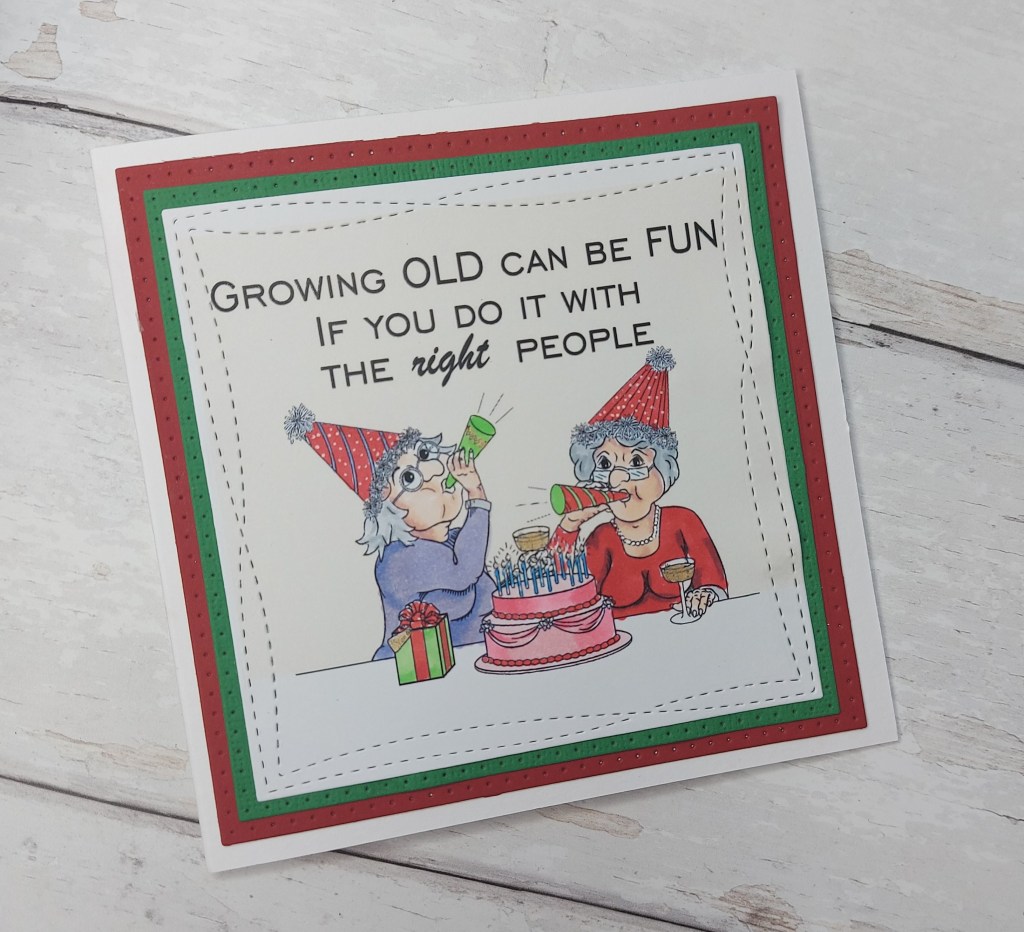
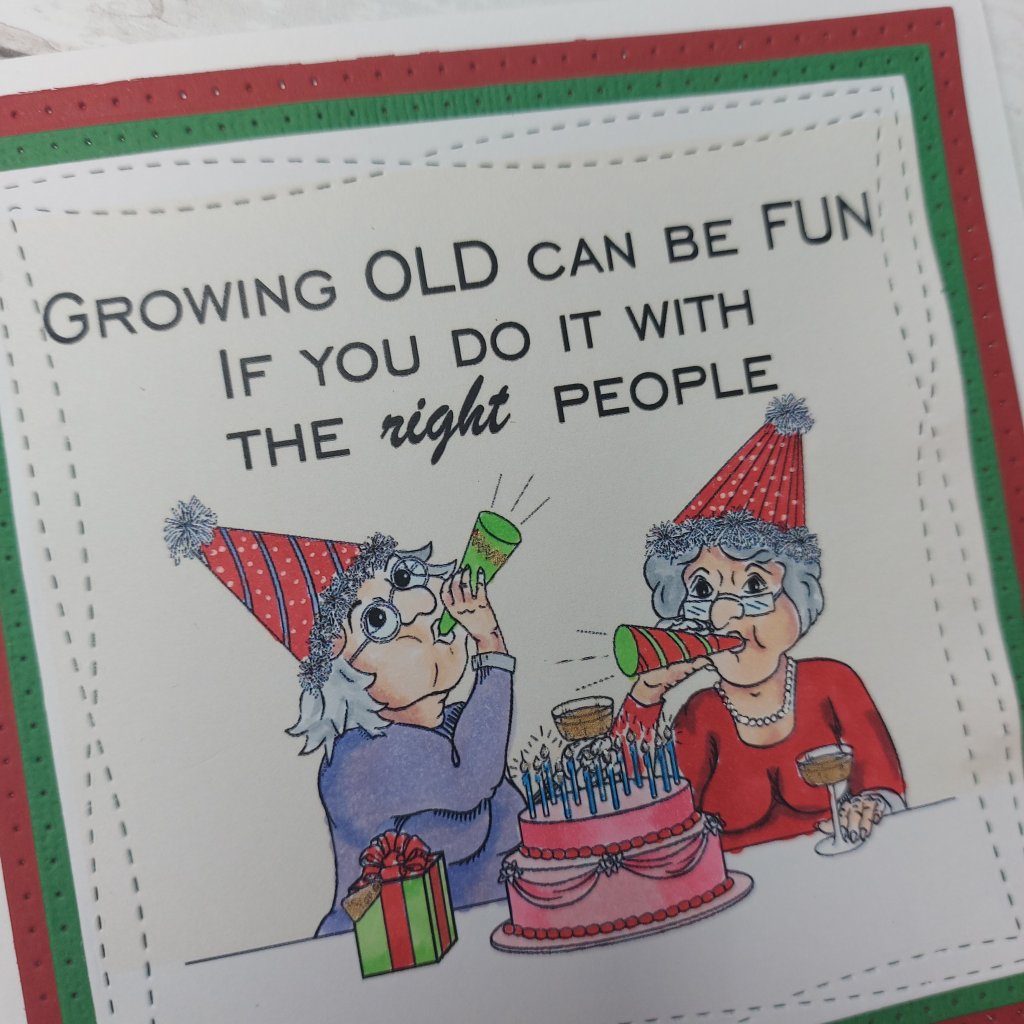
Aren’t these couple of ladies looking like they’re having fun? The image is from Jan’s Digis, manipulated a little in ‘Word’, adding the sentiment – playing with the layout and layering options – then printed, coloured with Copics, and die cut with MFT ‘Wonky Squares’ – just for a little more craziness…….

When I saw this digi stamp months ago, it reminded me of my bestie. We have always said we would be old and grey and still partying…..just like these two ladies here.

Just to say – we are already grey – though the hairdressers we have do a marvellous job :) :)……….and the ‘old’ bit? Well – it’s a frame of mind and not birth years I find….though sometimes I definitely feel older than my years.

Anyhoo – I hope you can come and join us for this challenge – I can hardly wait to see your creations using this theme – I am sure there are going to be some laughs along the way……………. xx

I shall be entering the following challenges:

Allsorts Challenge – birthday cake or cupcakes

Crafty Sentiments Designs – anything goes

Colour Crazy Challenge week 41 – anything goes colouring

Jan’s Digi Stamps Challenge – anything goes colouring

Grab our logo

A Cat and a Frog……

Hi there. A second posting today with a couple of CAS one layer cards. When I was typing the title – it seemed like it was the beginning of a joke – ‘A cat and a frog walked into a bar……….

Anyhoo, here are my CAS cards:

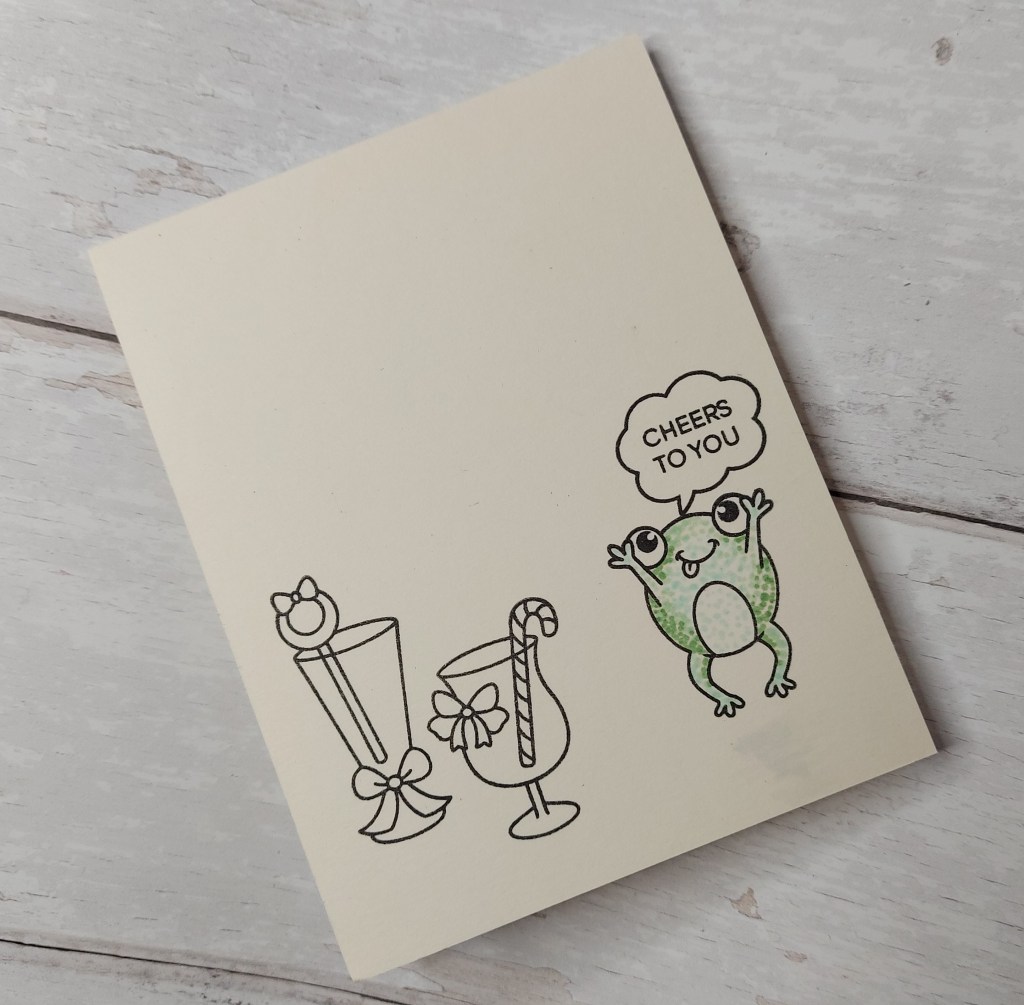
For the first card I stamped a couple of cocktail glasses onto Lawn Fawn ‘Vanilla Malt’ card stock, added the frog, speech bubble and sentiment as you see, colouring the frog in three different light green Copics – dotting instead of actual colouring, to maintain a CAS style.

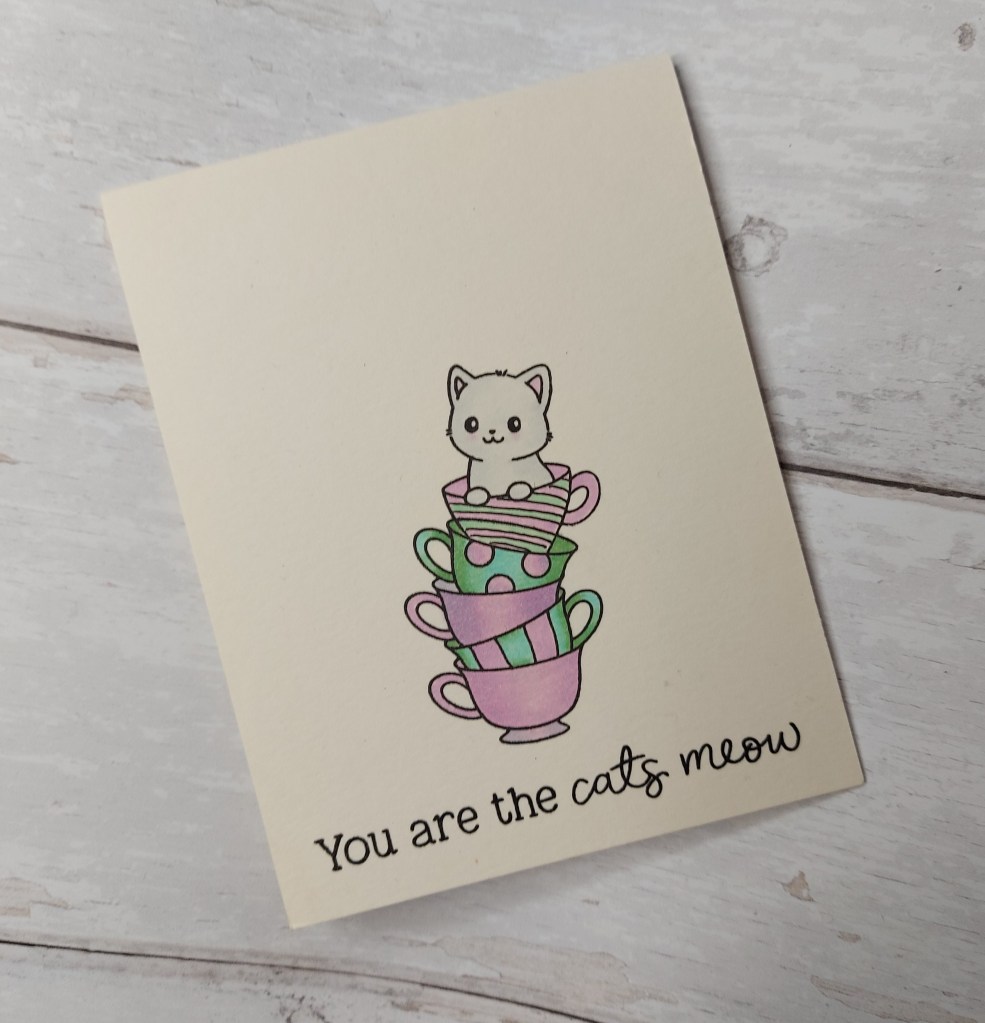
For the cat card, I stamped the stack of cups from Clearly Besotted, masked the top cup, then stamped the kitten in the cup. So – the masking of the top cup – I forgot to mask off the back of the top cup – so I created stripes on that solid cup to cover the mistake……….

Coloured with Copics, just the two colours for the mugs/sups, a couple of greys for the cat, then added the Honey Bee stamps sentiment underneath.

I shall be entering the frog card into the following challenges:

Simply Less Is More – one layer card with theme ‘cheers’

2 Crafty Critter Crazies – anything goes critters

I shall be entering the cat card into the following challenges:

Festive Friday Challenge – 3 from the inspo list (cat, pet sentiment, CAS)

Crafty Animals Challenge – anything goes with animals

Blog Badge

A B C Christmas Challenge ‘U’ and ‘V’….

Hello everyone. A new challenge has begun at ABC Christmas Challenge. Julie is the host for this month’s letters – ‘U’ for Up In The Air, and ‘V’ for Vixen. Julie has also provided a prize for the winner – so please head on over and join us.

These are my cards:

‘U’ for Up In The Air
‘V’ for Vixen – other reindeer welcome

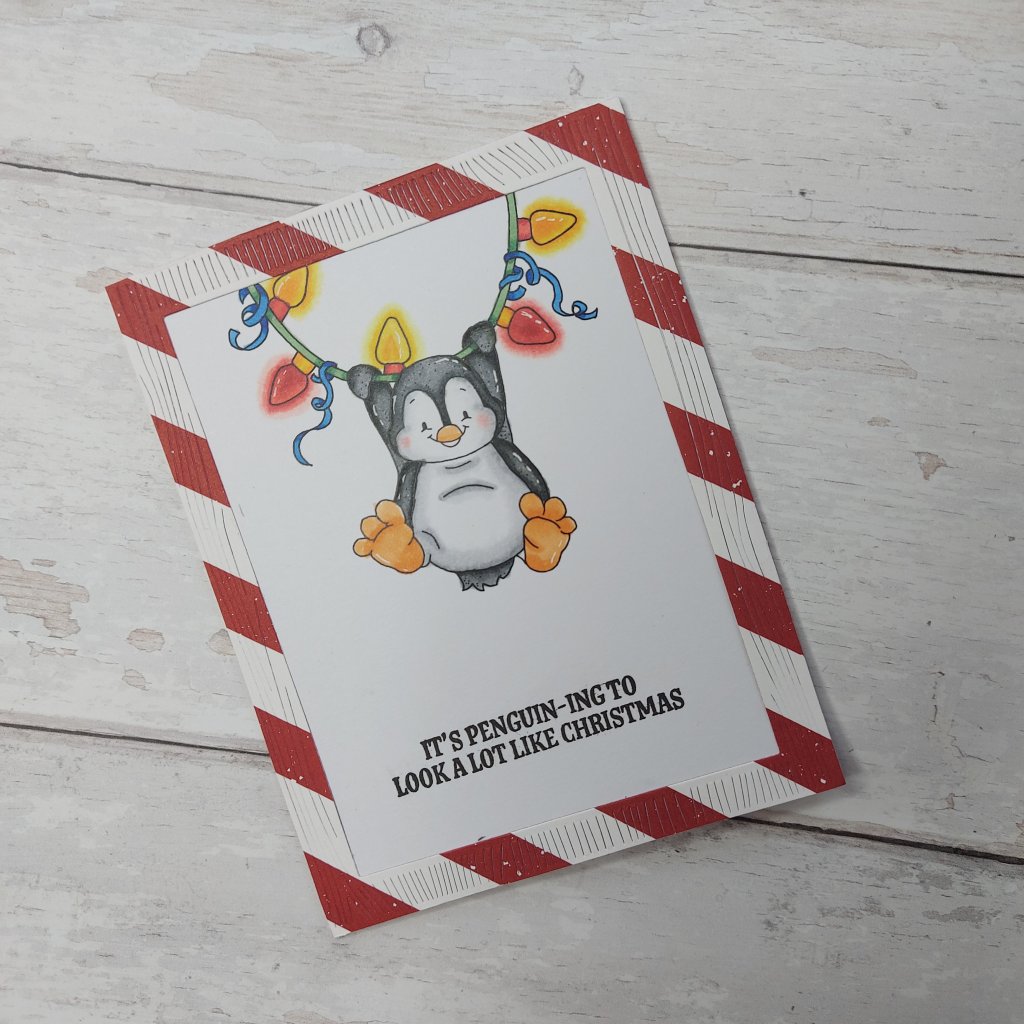
The Penguin swinging in the air on a string of lights is a digital image from Whimsy Stamps, printed, then coloured with Copics.

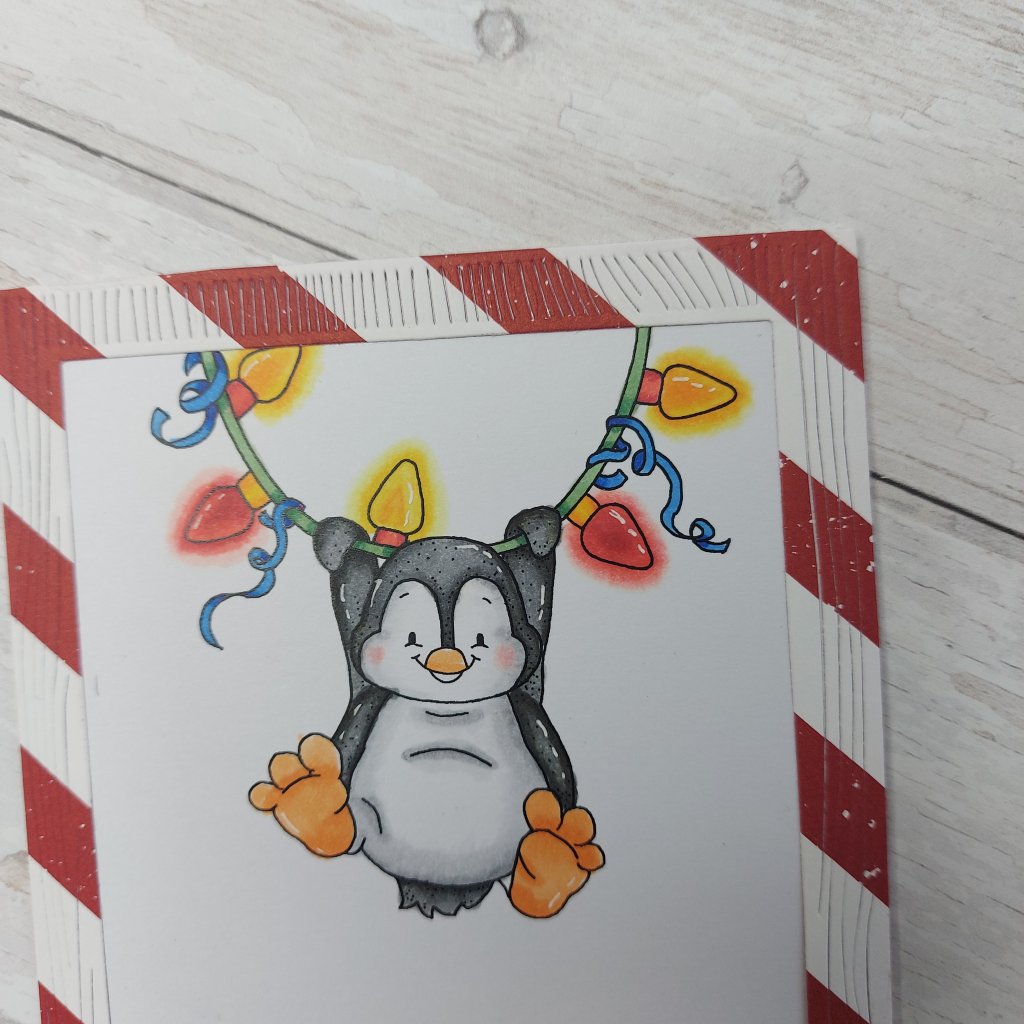
I had a play with using the ‘N’ greys in Copics, and had even more playtime with the lights. I had a go at trying to create a glow around the lights – following (kinda) instructions from a Kit and Clowder class last year.

I used three colours of red and three yellows – then went around the outside of the colours with the colour-less blender to give an impression of a glow:

The sentiment is from Avery Elle ‘Bring On The Joy’, the striped frame is using a Hero Arts die set, and I think the striped paper is from Stampin Up – though I may be wrong.

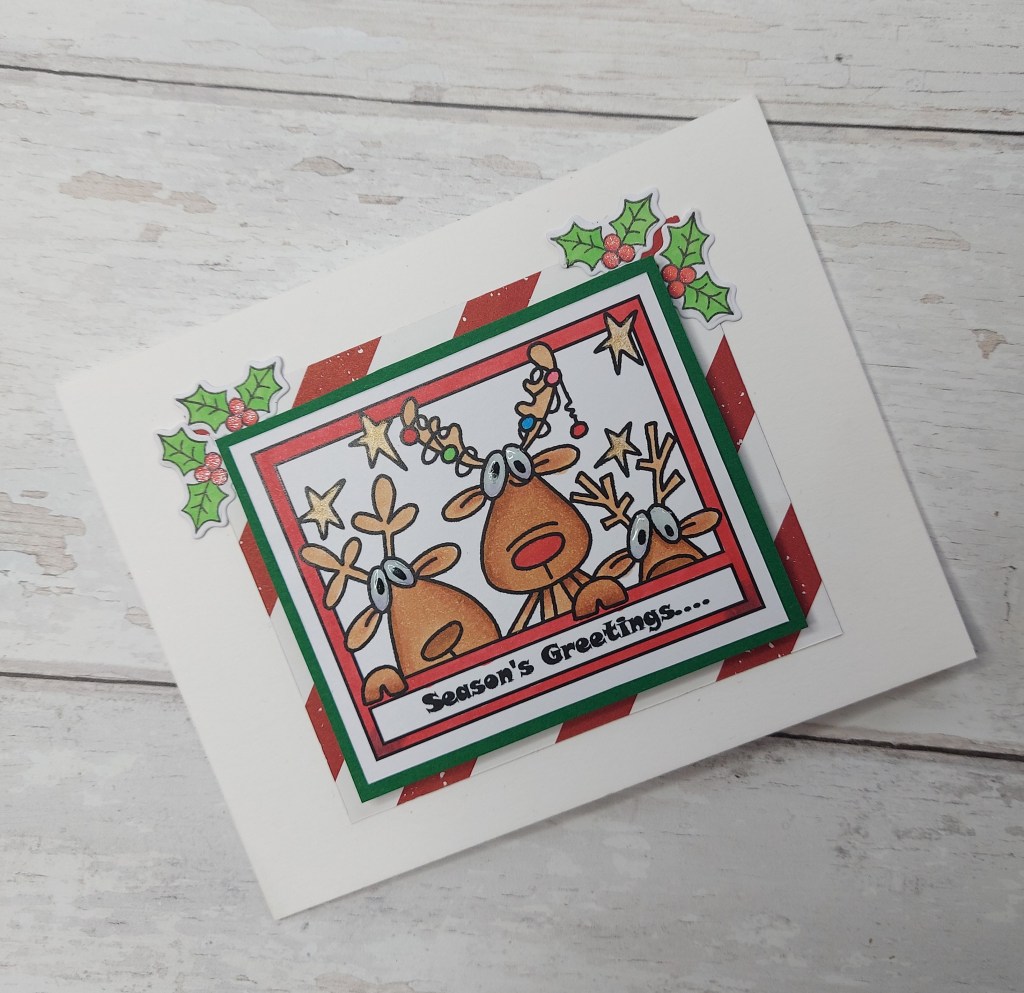
For the second card – the reindeer card – I used a digital stamp from Bugaboo, printed then coloured with Copics, adding glossy accents to the eyes.

Using the same striped paper, I also cut a green layer from Altenew gradient card-stock. I thought it looked a little plain, so I searched through the Color My Life app for ‘holly’ and came across a stamp set from Clearly Besotted which had this holly stamp and die.

I stamped four times, coloured with Copics, die-cut, then stuck down in the top corners as you see, also adding Spectrum Noir clear sparkle to the berries.

Two cards made using digital images – I am finding these quite easy to use, and at a fraction of the cost of polymer or rubber stamps – I tend to look for these now when a theme comes up for my DT cards and when I can’t find anything in my stash to match, or which inspires me.

I hope you can come and join us, getting your Christmas stash well on the way, maybe winning the prize from Julie – but I would also love to see your creations in our gallery. xx

I shall be entering the following challenges:

Reindeer card:

Colour Crazy Challenge – anything goes colouring

2 Crafty Critter Crazies – anything goes with critters

Merry Little Christmas Challenge – anything goes Christmas

Penguin card:

Creative Fingers Challenge – anything goes

Crafty Animals Challenge – anything goes with animals

Christmas Blog Challenge – Christmas and Penguins

Blog Badge
SPREAD THE MERRY LITTLE LOVE AND GRAB A BADGE!
christmasblog

Floral Circles

Hi there. I have a CAS card to share today, which actually took quite a bit of sorting out – where to place the circles, do I layer them on top of anything? How on earth do I stick down the little pieces themselves?

I came up with this:

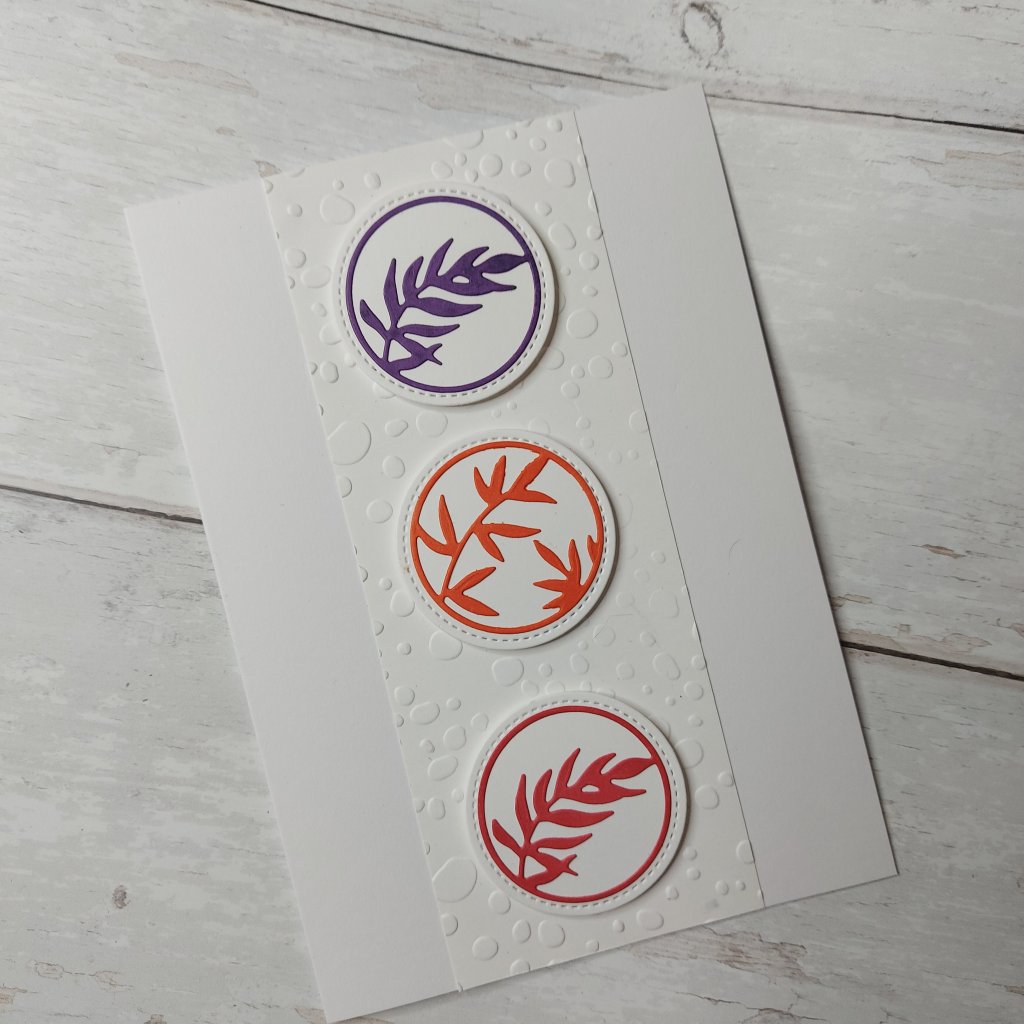
And then I came up with this with the negative pieces:

I’m not sure I like the strip of embossed card under the circles, but I had already stuck it down – which is why I went with fiddling with the negative pieces to create the second card – thank goodness I had saved them to one side and not binned them straight away!

I used a couple of images from the Pink fresh Studio die set, and cut them out after I had coloured an area for each circle with a red, orange, and purple Copic.

The first card is sticking those main die-cuts onto a circle stitched piece of card before putting together as you see. I toyed with the idea of putting the circles on the left side, then the right side, and decided the middle was the best way to show-case these die cuts.

The second card was a little more taxing……

I cut the images again out of white card, then stuck that onto the circles, then inlaid all the coloured piece from the first card.

But – can you see the little itty bitty piece on the red leaf? Well – that went walk-about. That little bitty piece flew away – goodness knows where to…. I was tempted to colour that little hole with the red marker – but I would have totally messed it up! So I left it as it was – did you notice before I told you? Hmmmm….

For a sentiment – I decided not to put one on the front of the card. I am making cards currently for ‘just because’ reasons, just to send out, for no particular occasion – just so I can write a little note to pop inside – that’s when I’m not creating cards for DT challenges anyway…..

I shall be entering the following challenges:

Color Throwdown – orange, red, purple

Cut It Up Challenge – make a card and include die cuts

Grab My Button

Let’s Hang Out…..

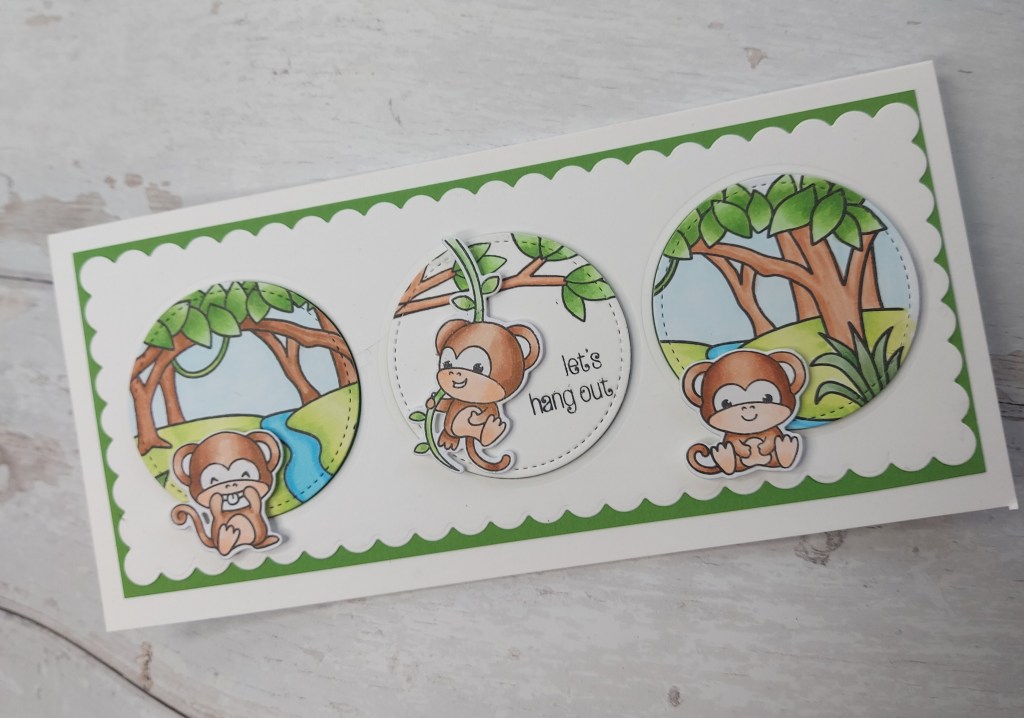
Hello there. A new challenge is beginning at The Alphabet Challenge. We have reached the letter ‘M’ and Meg has chosen the theme of anything beginning with the letter ‘M’ – here is my card:

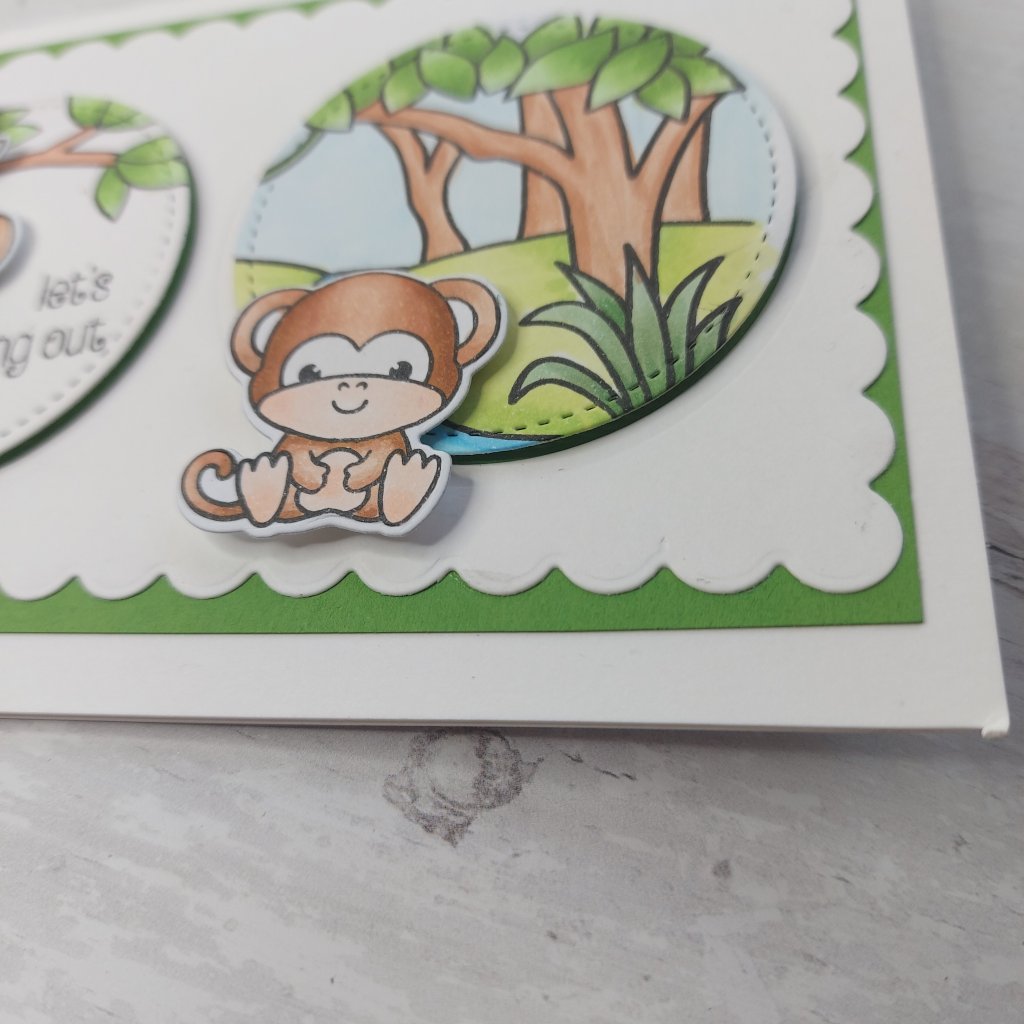
I think my ‘M’ is quite obvious – using these Clearly Besotted Monkeys on my slimline card.

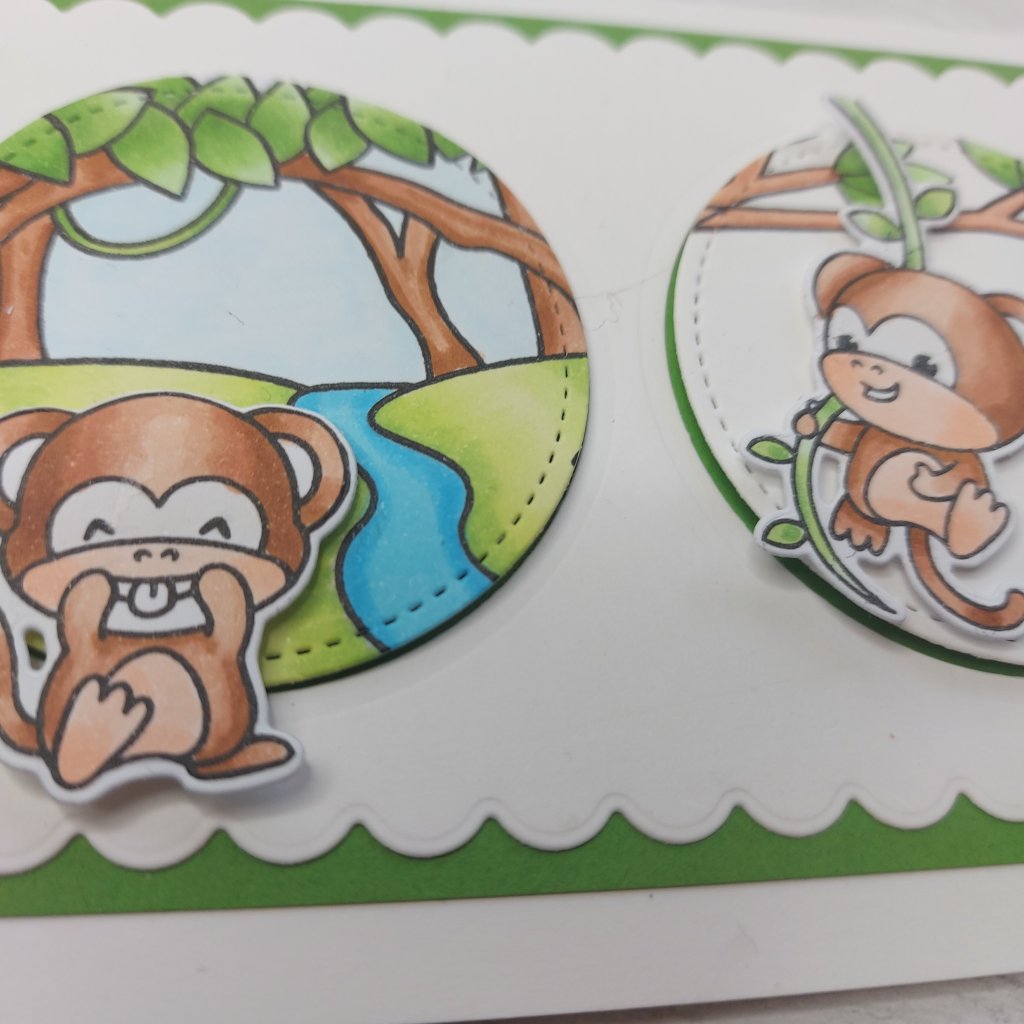
The monkeys themselves were stamped with Gina K amalgam ink, then coloured with Copics. I knew I wanted a three window slimline card – so I could get as many og these little monkeys in at once, and then turned to thinking about the background of those circles.

I thought about ink blending, then remembered this scene stamp – also from Clearly Besotted, so I stamped it twice, then coloured with Copics, then die-cutting with a stitched circle in a different area of each scene I had stamped for some variety behind each monkey.

The third circle is using a branch from the same stamp set so I could have the monkey swinging from it, again coloured with Copics.

The sentiment is from the same stamp set – using some stamp surgery to cut it apart – something I actually don’t have a problem with – though the first few times I did that I was a little nervous – not any more!

I hope you can come and join us with your ‘M’ themed creations, and I look forward to seeing you in our gallery. xx

I shall be entering the following challenges:

Crafty Calendar Challenge – anything goes

Crafters Castle Challenge – anything goes

Creative Fingers Challenge – anything goes

Colour Crazy Challenge – anything goes colouring


Cardz 4 Galz One Layer

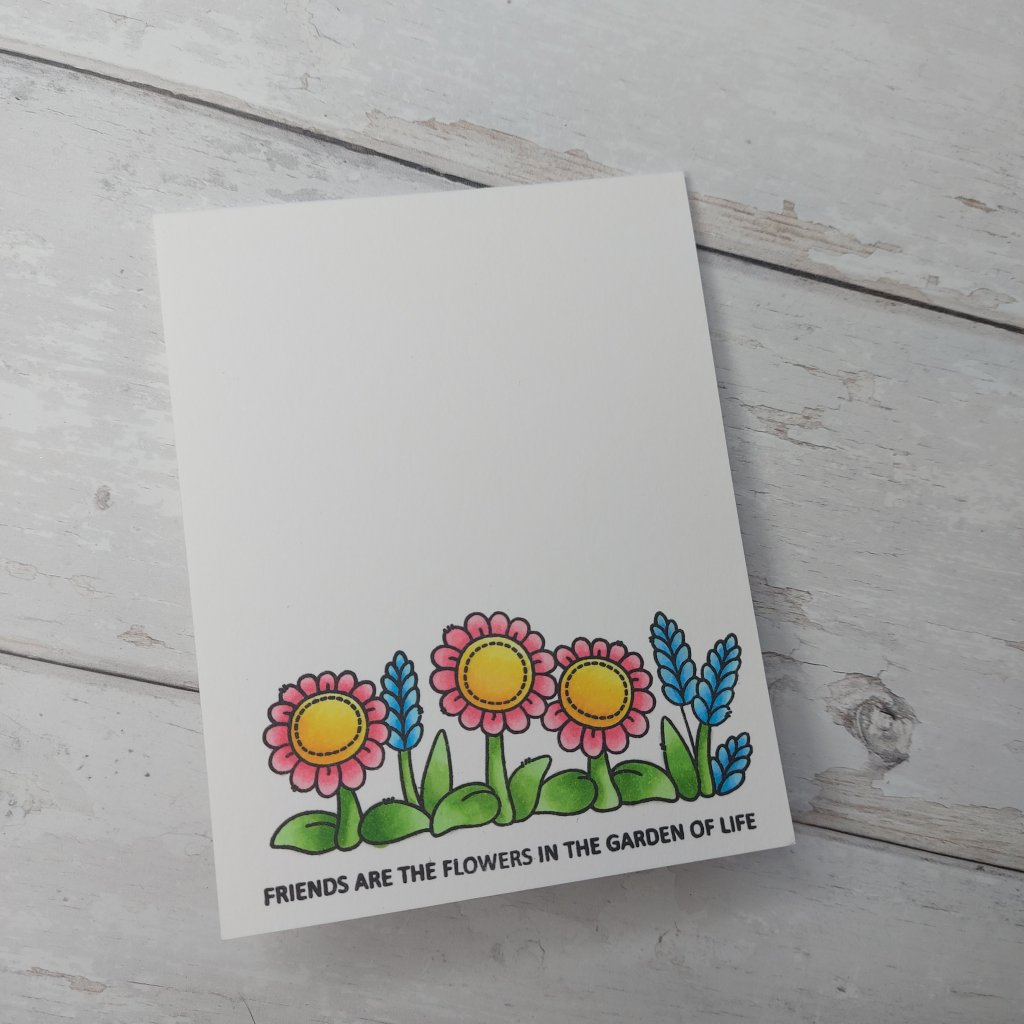
Hello there everyone. A new challenge is beginning at Cardz 4 Galz. Dawn S. has chosen the theme – One Layer Card.…… Here is my card:

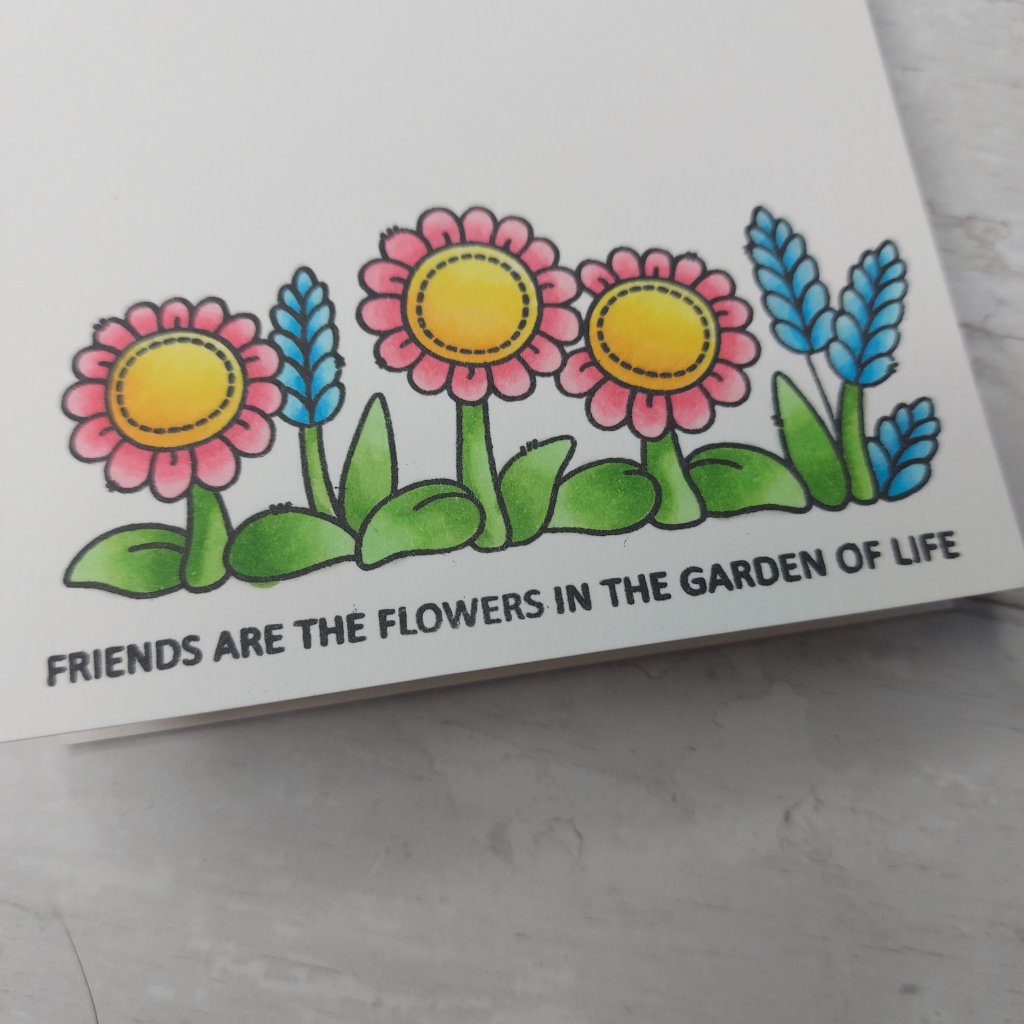
I went very CAS here only using a couple of stamps. The flower border is from Clearly Besotted, stamped using Gina K amalgam ink, then coloured with Copics. The sentiment is from the same stamp set.

As this is one layer, I used the thicker Neenah card-stock so it would stand on it’s own. I have found in the past that I don’t like using Copics on this card, but as these images were quite small, and didn’t need much blending – I am pleased with how it turned out.

I hope you can come and join us with your ‘one layer cards’ – whether you go CAS or ‘full-on’ – I hope to see you in our gallery. xx

I shall be entering the following challenges:

Daisy Chain Challenge – CAS

Aud Sentiments – anything goes with a sentiment

Colour Crazy Challenge – anything goes with colouring

AAA cards Challenge – CAS up to one third with option woodland animals

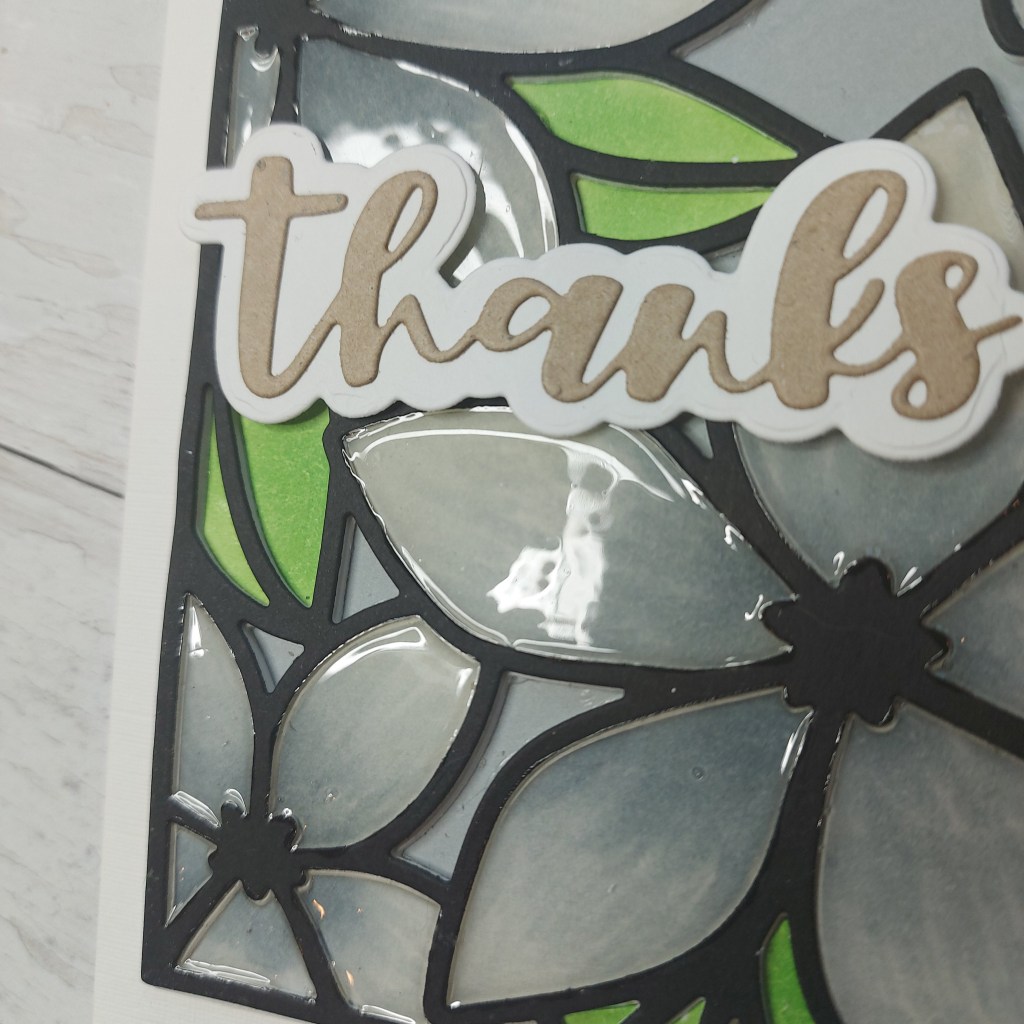
Layered Faux Stained Glass Flower

Hello there. I hope you are all well.

I have been trying out a new technique – well, I tried it once 18 months ago and liked the effect – so I thought I’d give it a go again…..forgetting how much work and waiting time has to go into this technique.

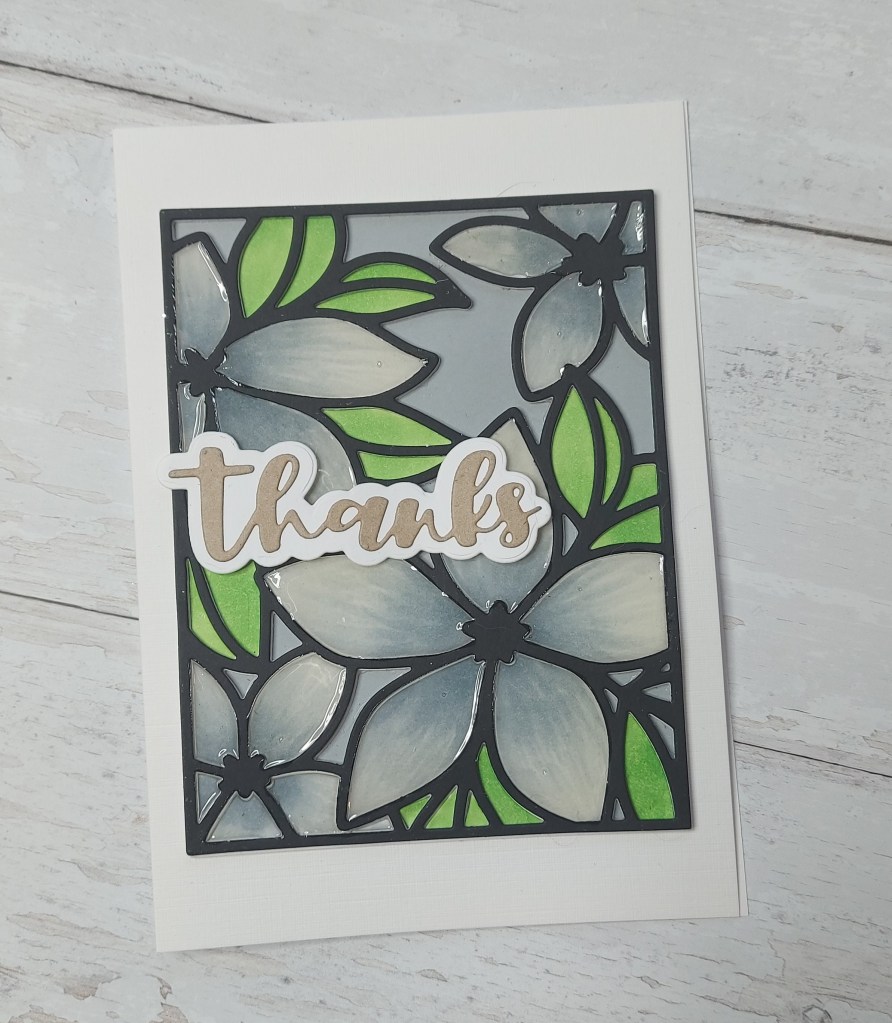
Here is my card:

This card took me a couple of days – mainly because of the waiting time, but also because I wasn’t quite sure where I was going with it…..

I knew I wanted to do the faux stained glass technique using this die from Pink Fresh Studio, but this time I cut the die out if white card stock several times, stuck two layers onto a piece of grey card, inlaid the flower and leaf cut-outs – yep – that was challenging to find the right ones for the right spaces….then coloured the petals with cool grey Copics and a couple of green Copics.

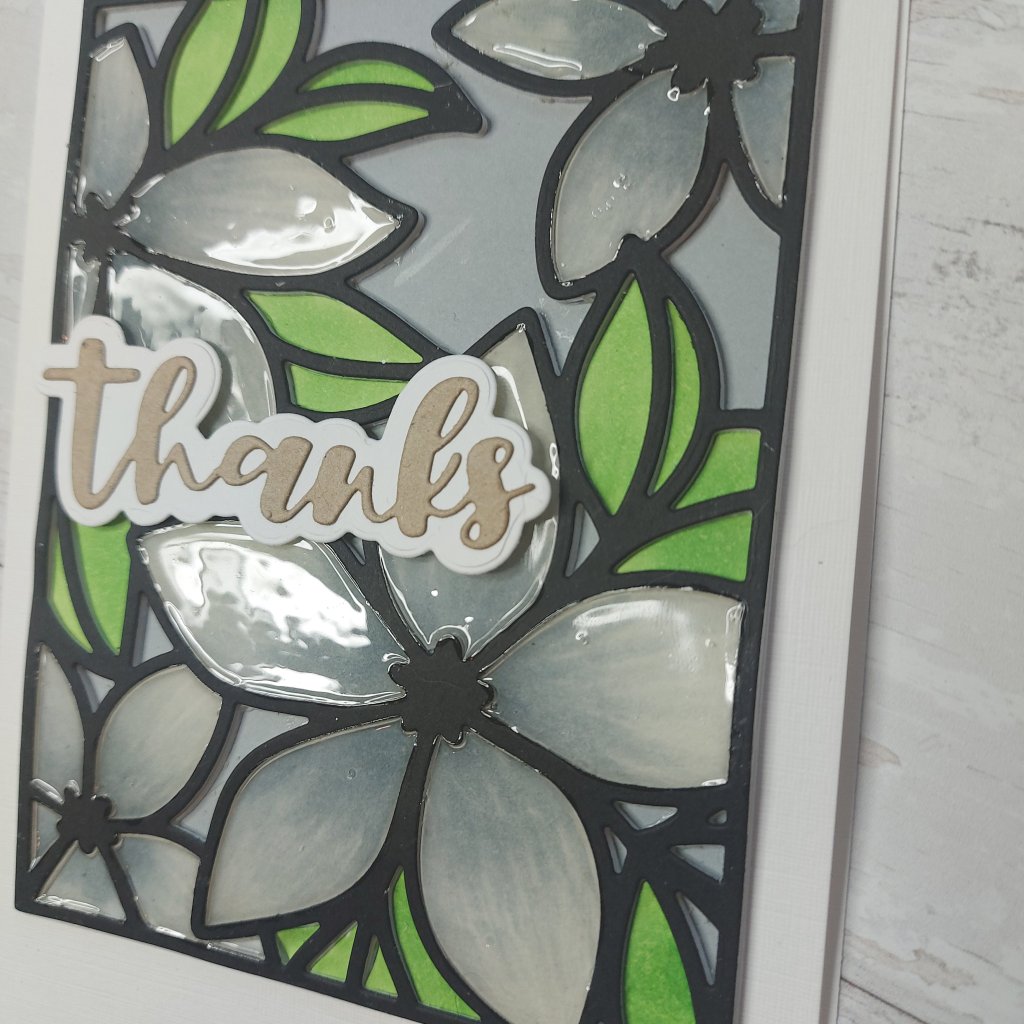
Then I added glossy accents to the flower petals only – waited until the next day for that to dry – then added a black die cut as a frame on the top.

Phew – this took a lot of fiddling, I must say……

So – the grey behind the flowers and leaves is the base layer, then a couple of frames of white, inlaid white pieces, Copic colouring, glossy accents, then a black layer……..I think you can see the different layers and the shine from the glossy accents on these last two pictures.

The sentiment was added as you see and there we have it.

I think it may well be another 18 months before I do this again……

I shall be entering the following challenges:

Color Throwdown – grey, Kraft, Green, White

Lil Red Wagon – nature – flora or fauna

Simon Says Stamp Wednesday Challenge – no stamps

Time Out Challenge – Adventurous

Alphabet Challenge ‘L’ for Ladybird

Hello there. It’s my time to host The Alphabet Challenge. We have reached the letter ‘L’ and I chose ‘Ladybird’Ladybugs‘ for the theme. Here is my card:

I may have been late to the ‘slimline’ party – but I’m certainly having a good time now I’ve arrived!

When I chose the theme for this letter, I knew I wanted to use my Stampin Up ‘Little Ladybug’ stamp and die set again, and the slimline card is the perfect way to showcase ALL the ladybugs in this set – as well as the little flowers, grass and leaves – so much space to use.

After stamping with Gina K amalgam ink, colouring with Copics, then die-cutting I turned to sorting out what shapes I would use on the slimline card. This die from Pink Fresh Studio I chose because of the scalloping around each circle – three little scenes I could create.

I used Concord & 9th card stock to die cut the flowers, leaves, stems and grass, then treated each little circle as it’s own scene – as you see here.

I also added some gems to the flowers and around the sentiment, just an excuse to add a little bling.

I hope you can come and join us in our ‘Ladybird/Ladybug’ theme. I look forward to seeing you in our gallery. xx

I shall be entering the following challenges:

Double D Challenge – lots of colour

Aud Sentiments Challenge – anything goes with a sentiment

2 Crafty Critter Crazies – anything goes with a critter

Moving Along With The Times – create a scene

Simply Ellibelle Challenge – things with wings

GRAB OUR BADGE!
Challenge Host