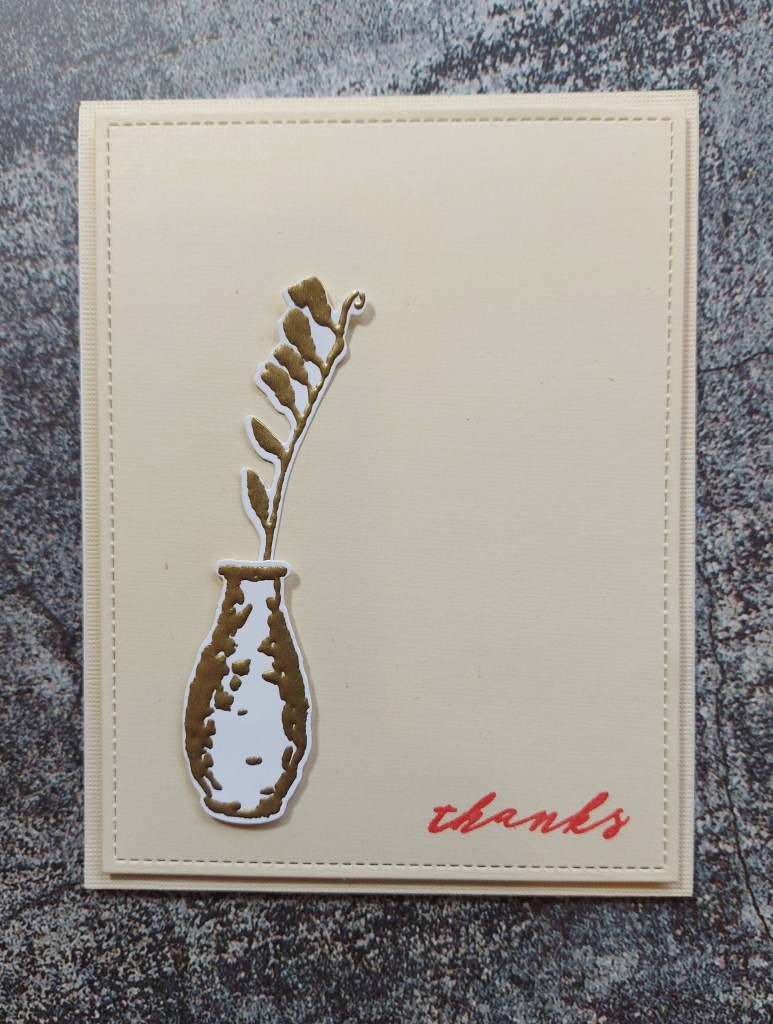
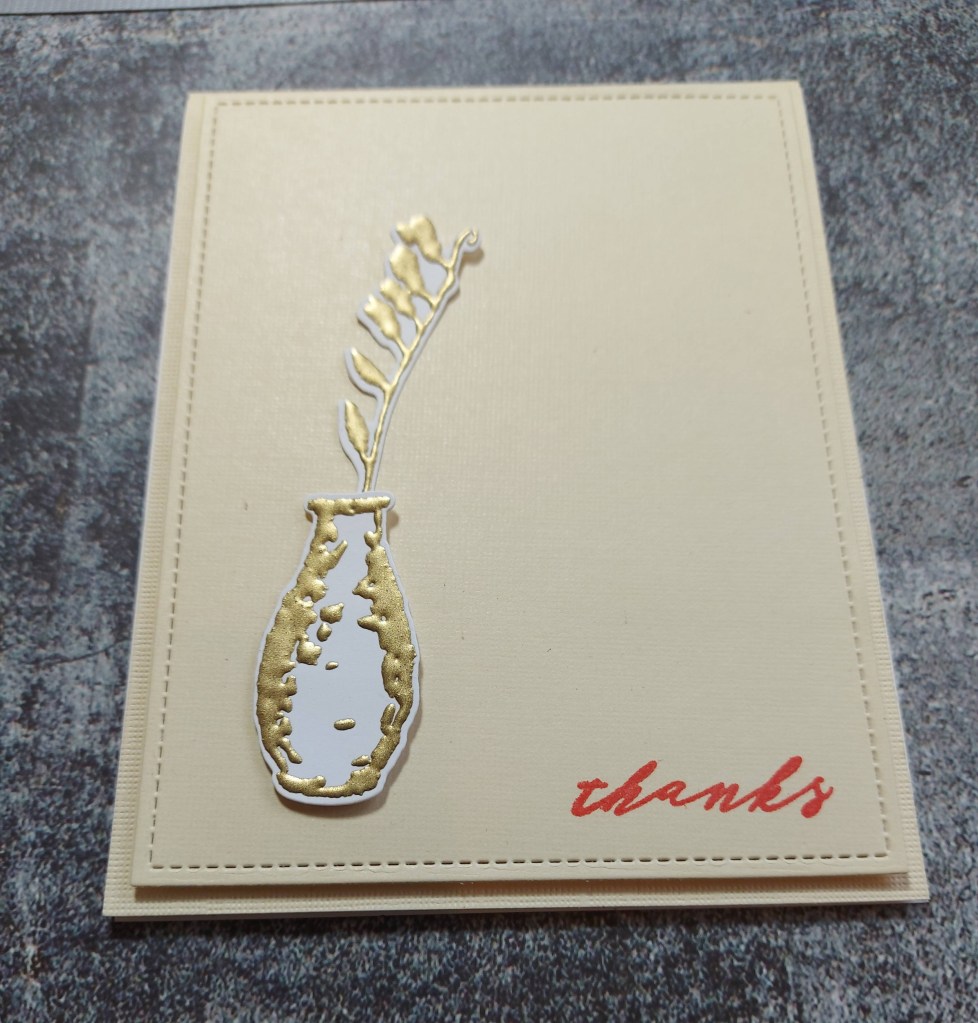
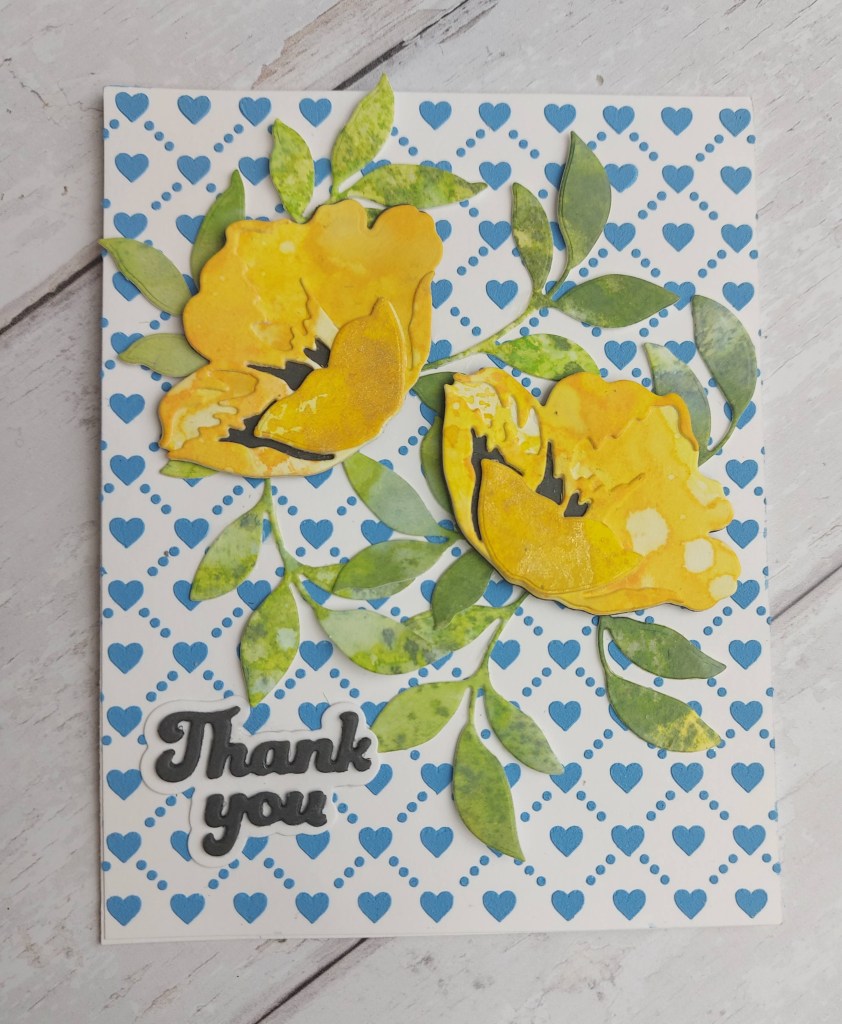
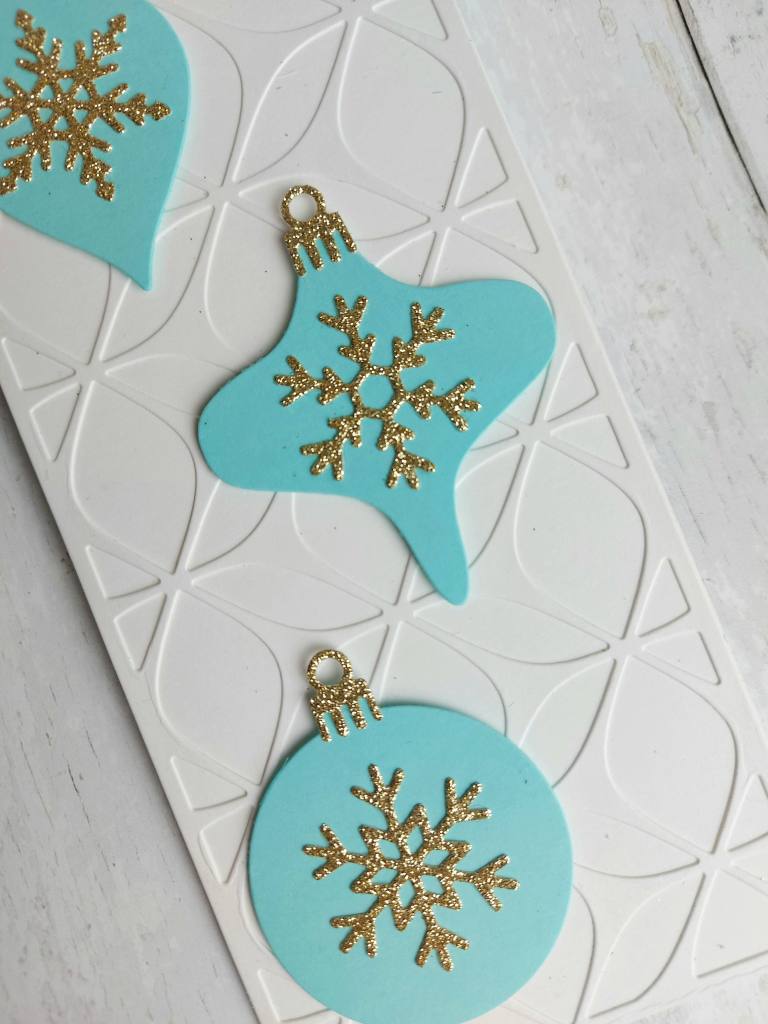
Hello once again. Cardz 4 Galz has started a new challenge, and Dawn has chosen the theme of ‘Make It Sparkle’. Here is my glittery card:
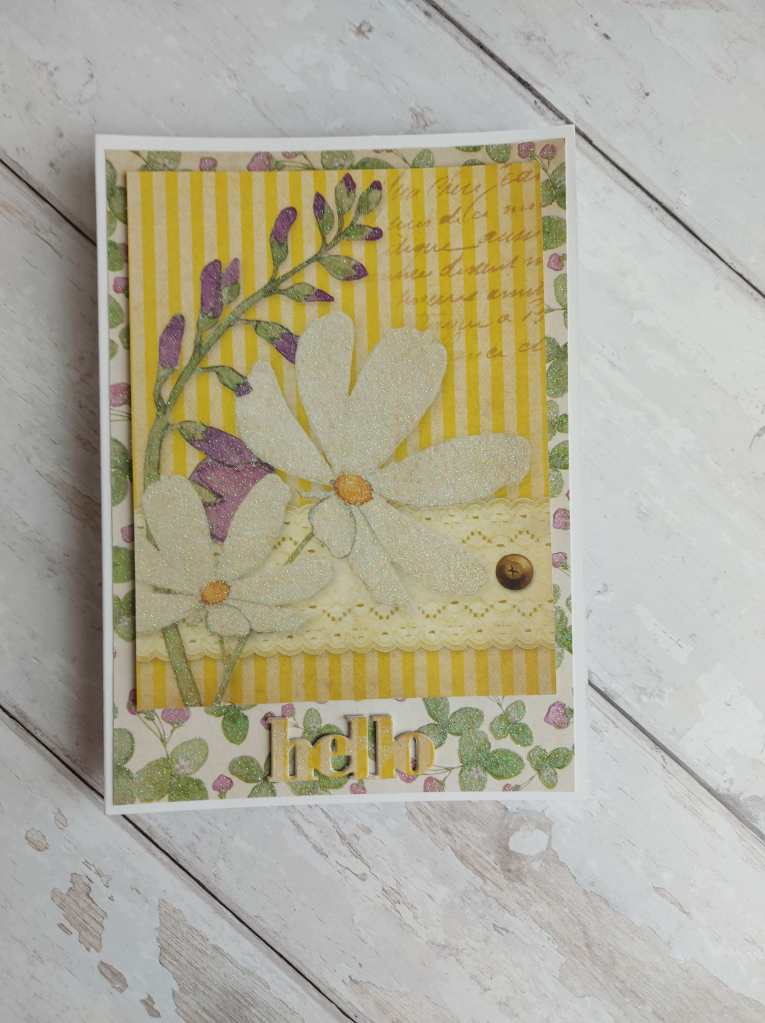
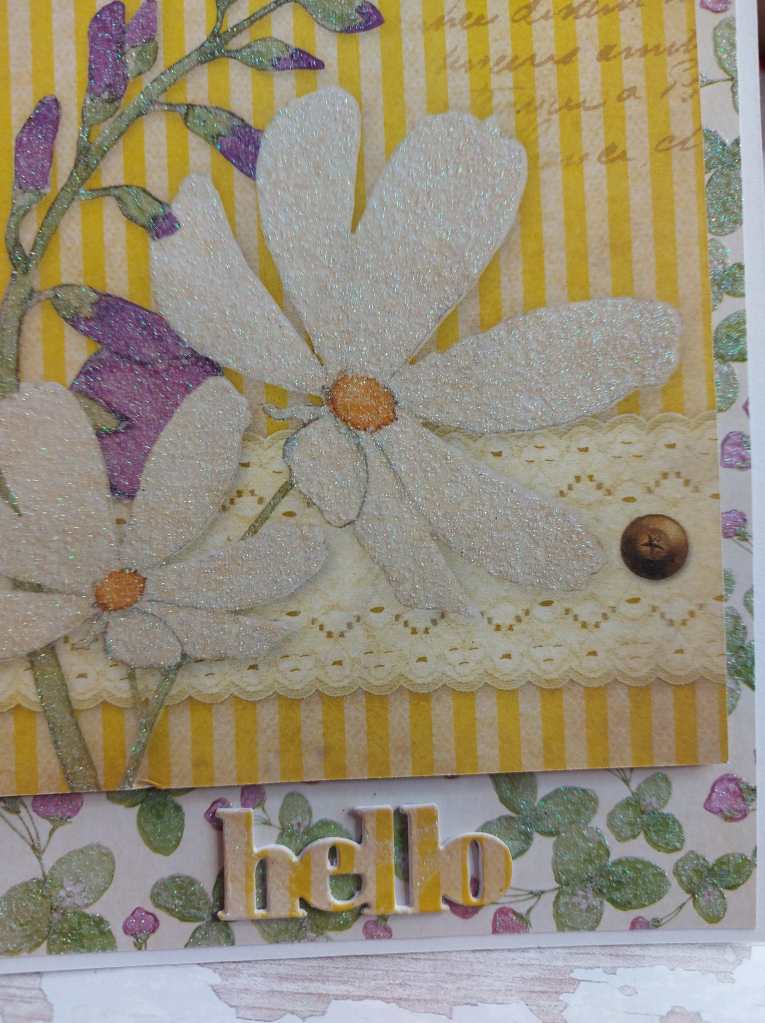
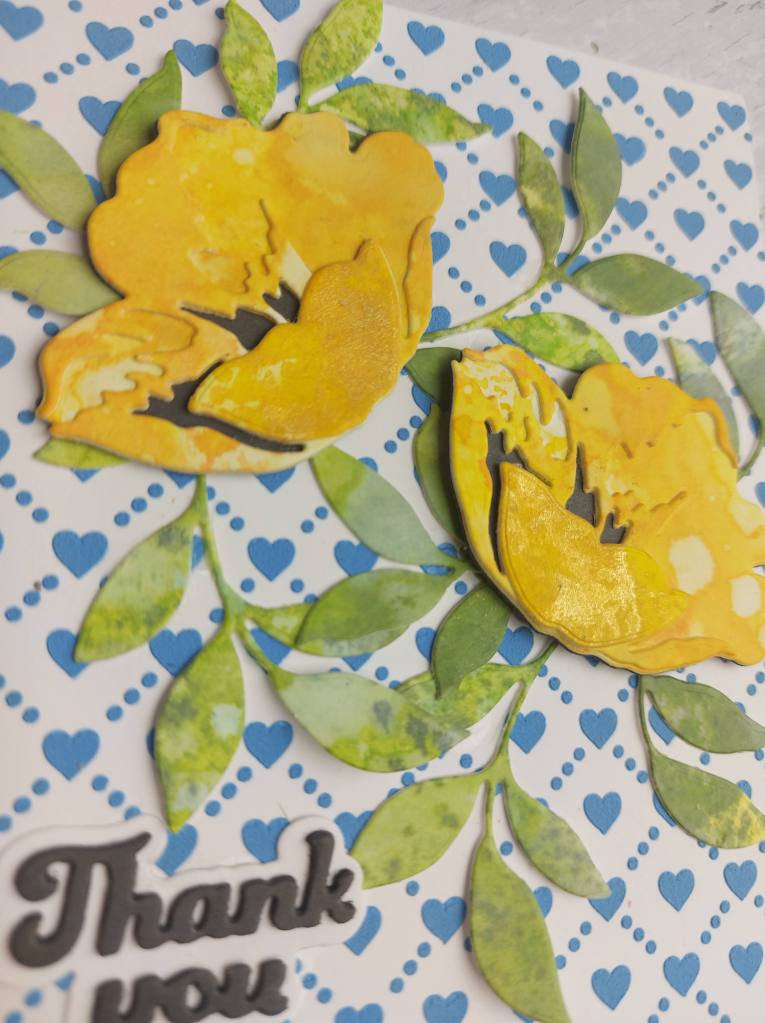
I used a few sparkly glittery papers to create this card. The background leaves has glitter on it, and so does the main flower image – probably best seen in my second photo.
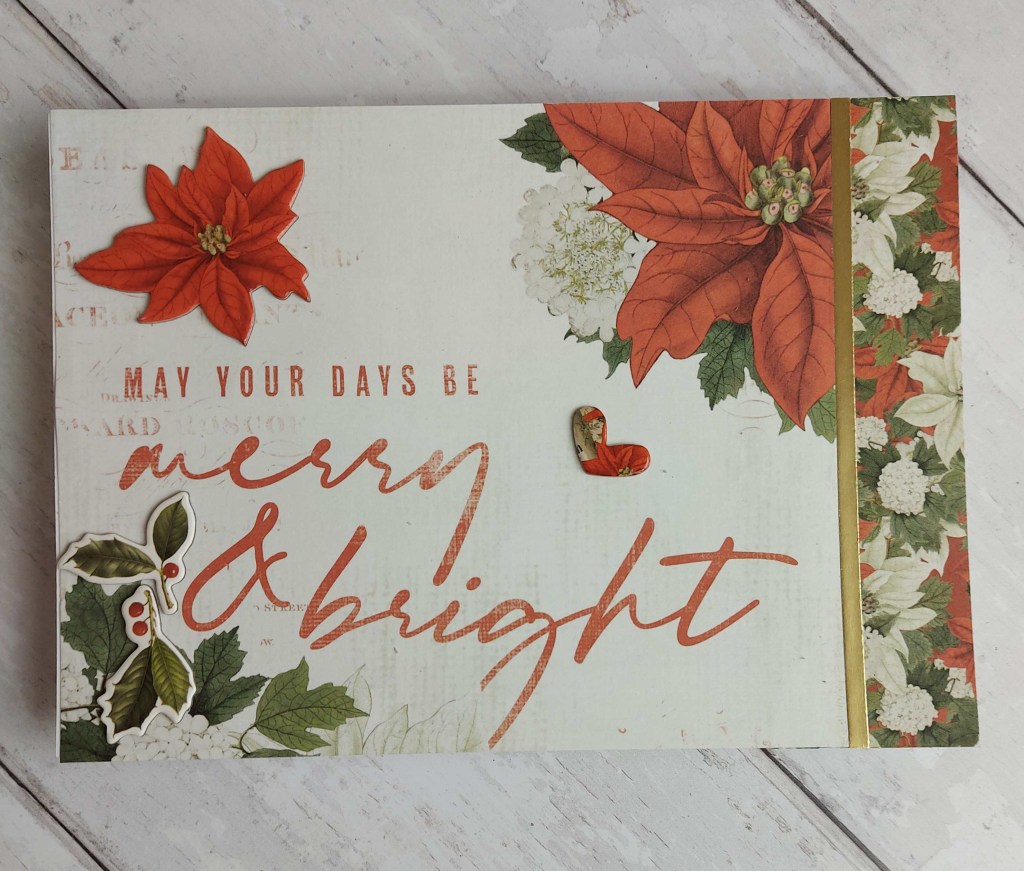
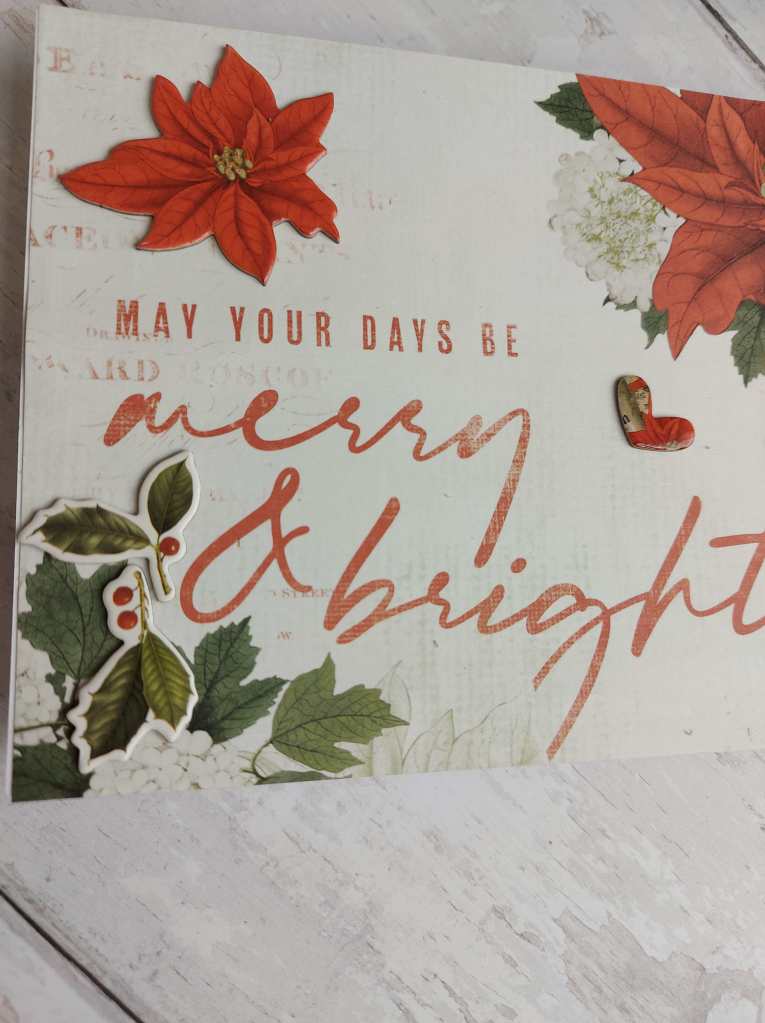
The sentiment is a die from Simon Says Stamp, and die cut several time, including the top layer out of a matching paper, and stacked and glued as you see.
The whole card has quite a lot of glitter on the images – so very sparkly.
I hope you can come and join us – I am looking forward to seeing you in our gallery. xx
I shall be entering the following challenges:
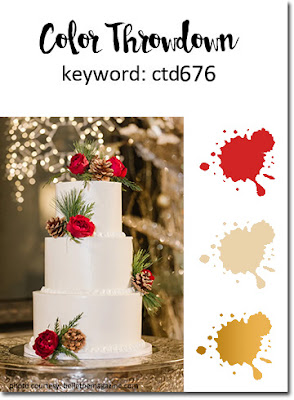
Crafty Hazelnuts Patterned Paper Challenge – anything goes with patterned paper
Creatalicious Challenge – anything goes (option winter not taken)
Aud Sentiments Challenge – anything goes with a sentiment
Creative Fingers Challenge – anything goes