Stitched Blooms

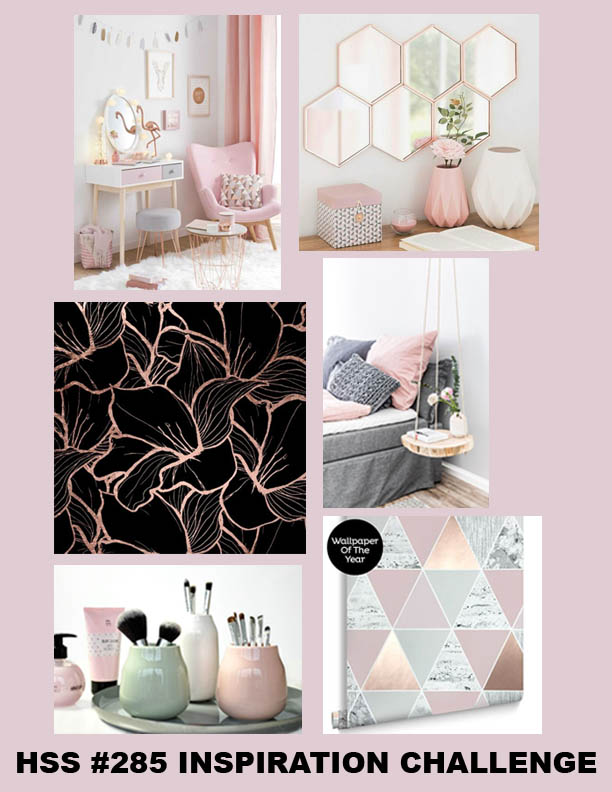
Hello once again. I have been making a card today, to enter a few challenges – I love how challenges give me inspiration, and an actual reason to make cards. I like to have a plan – either the colours, or the layout, or the theme.

Here is my card:

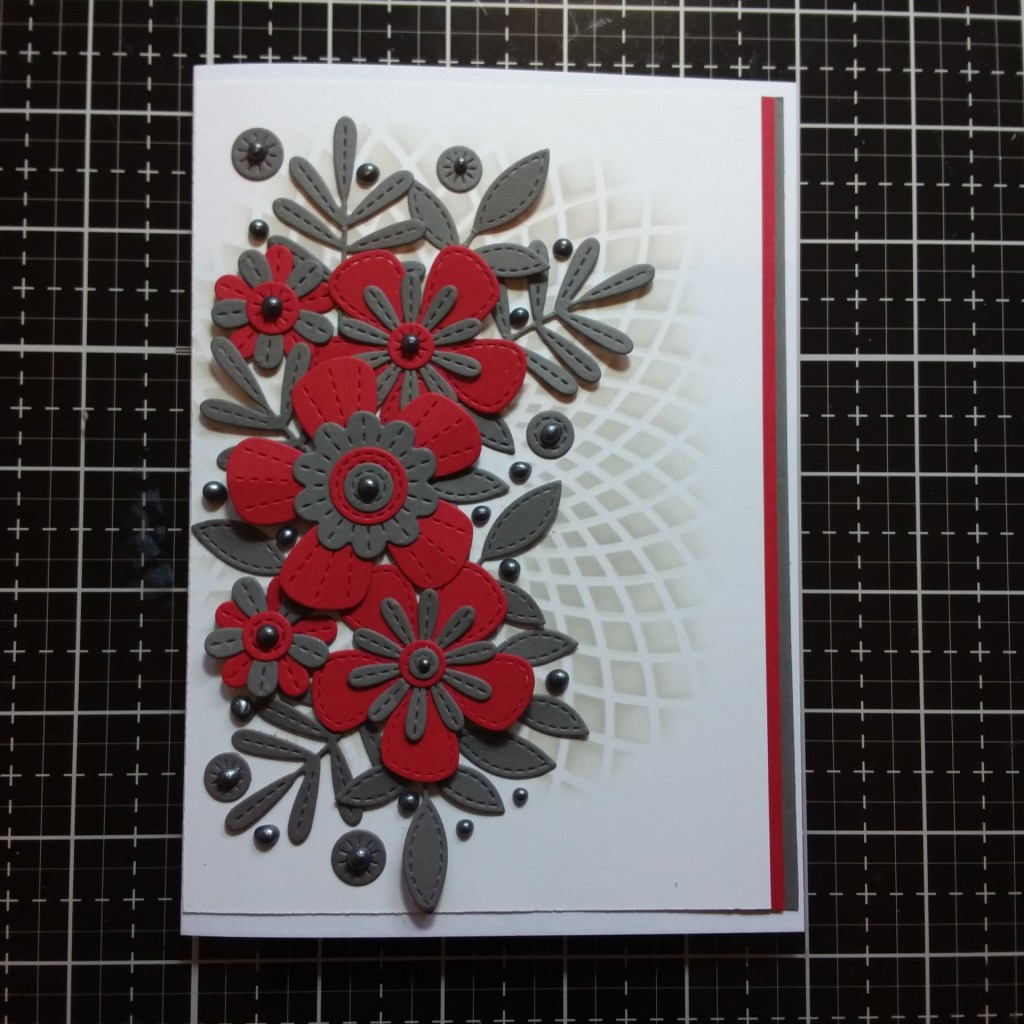
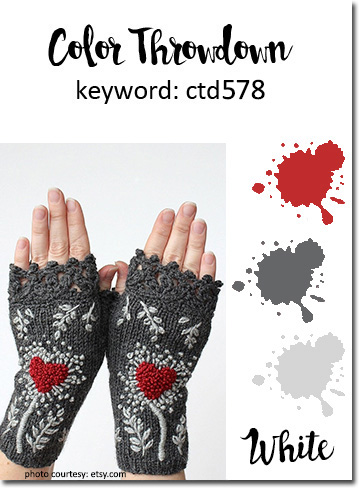
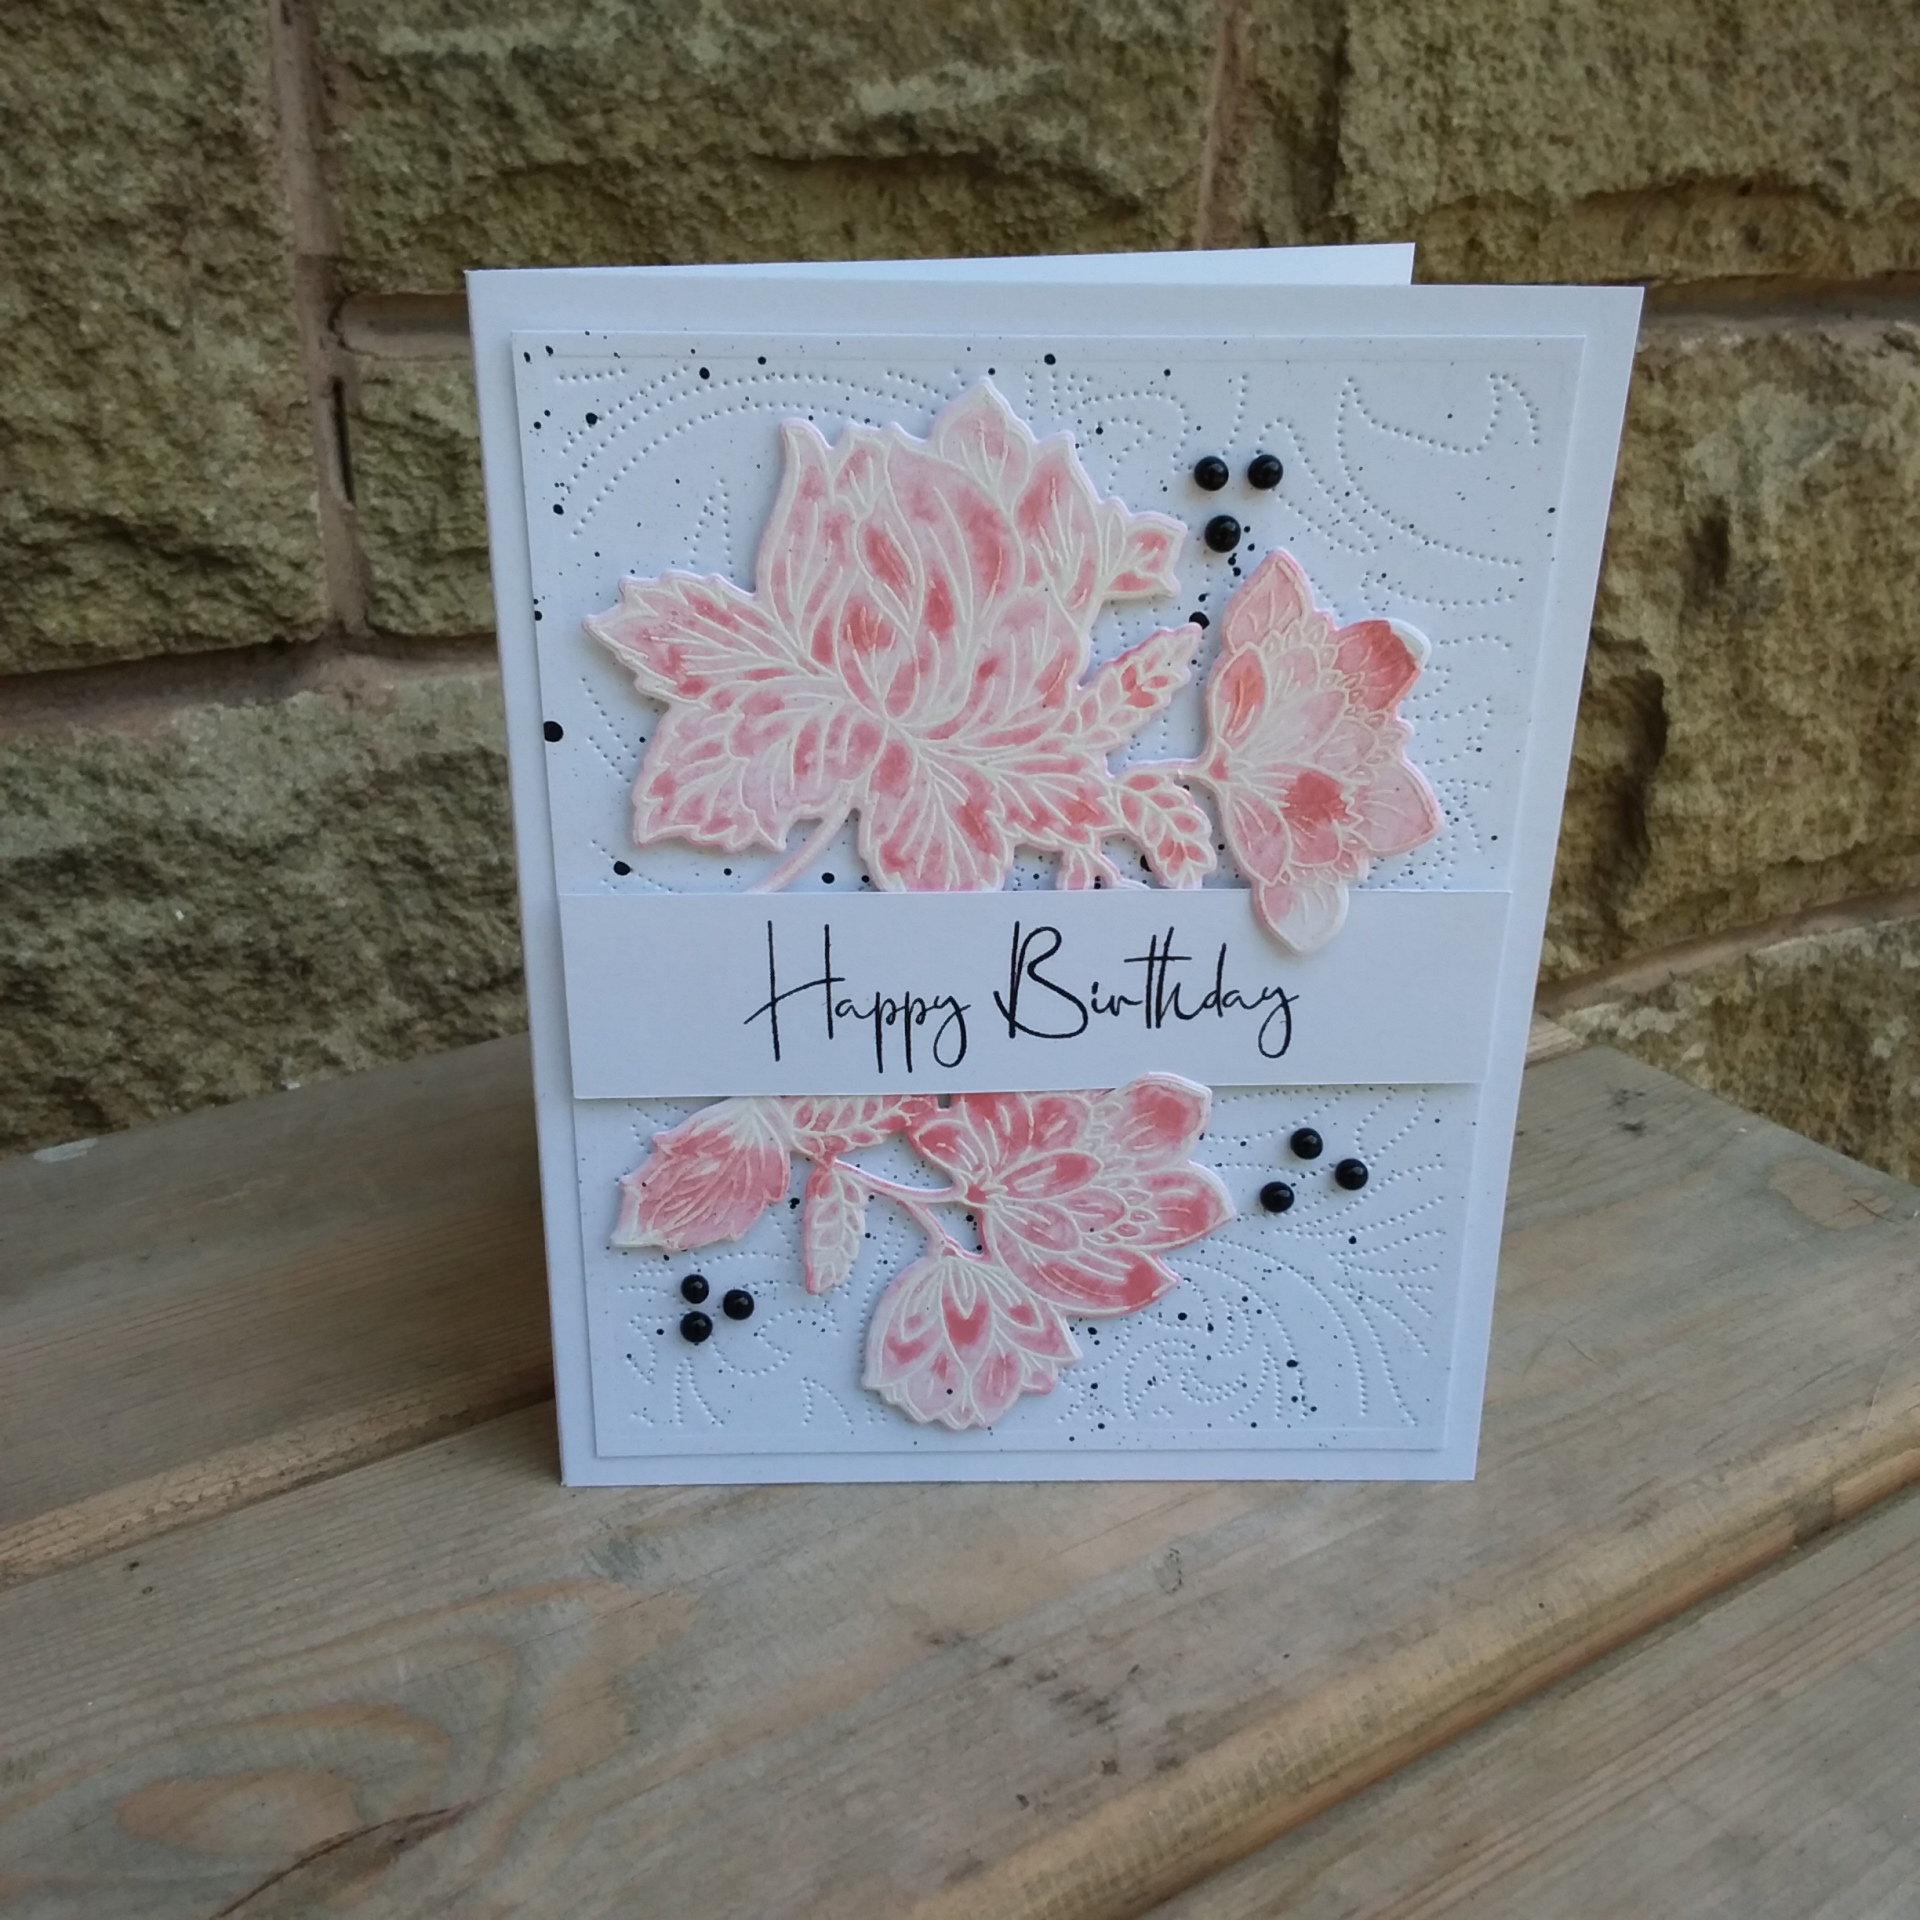
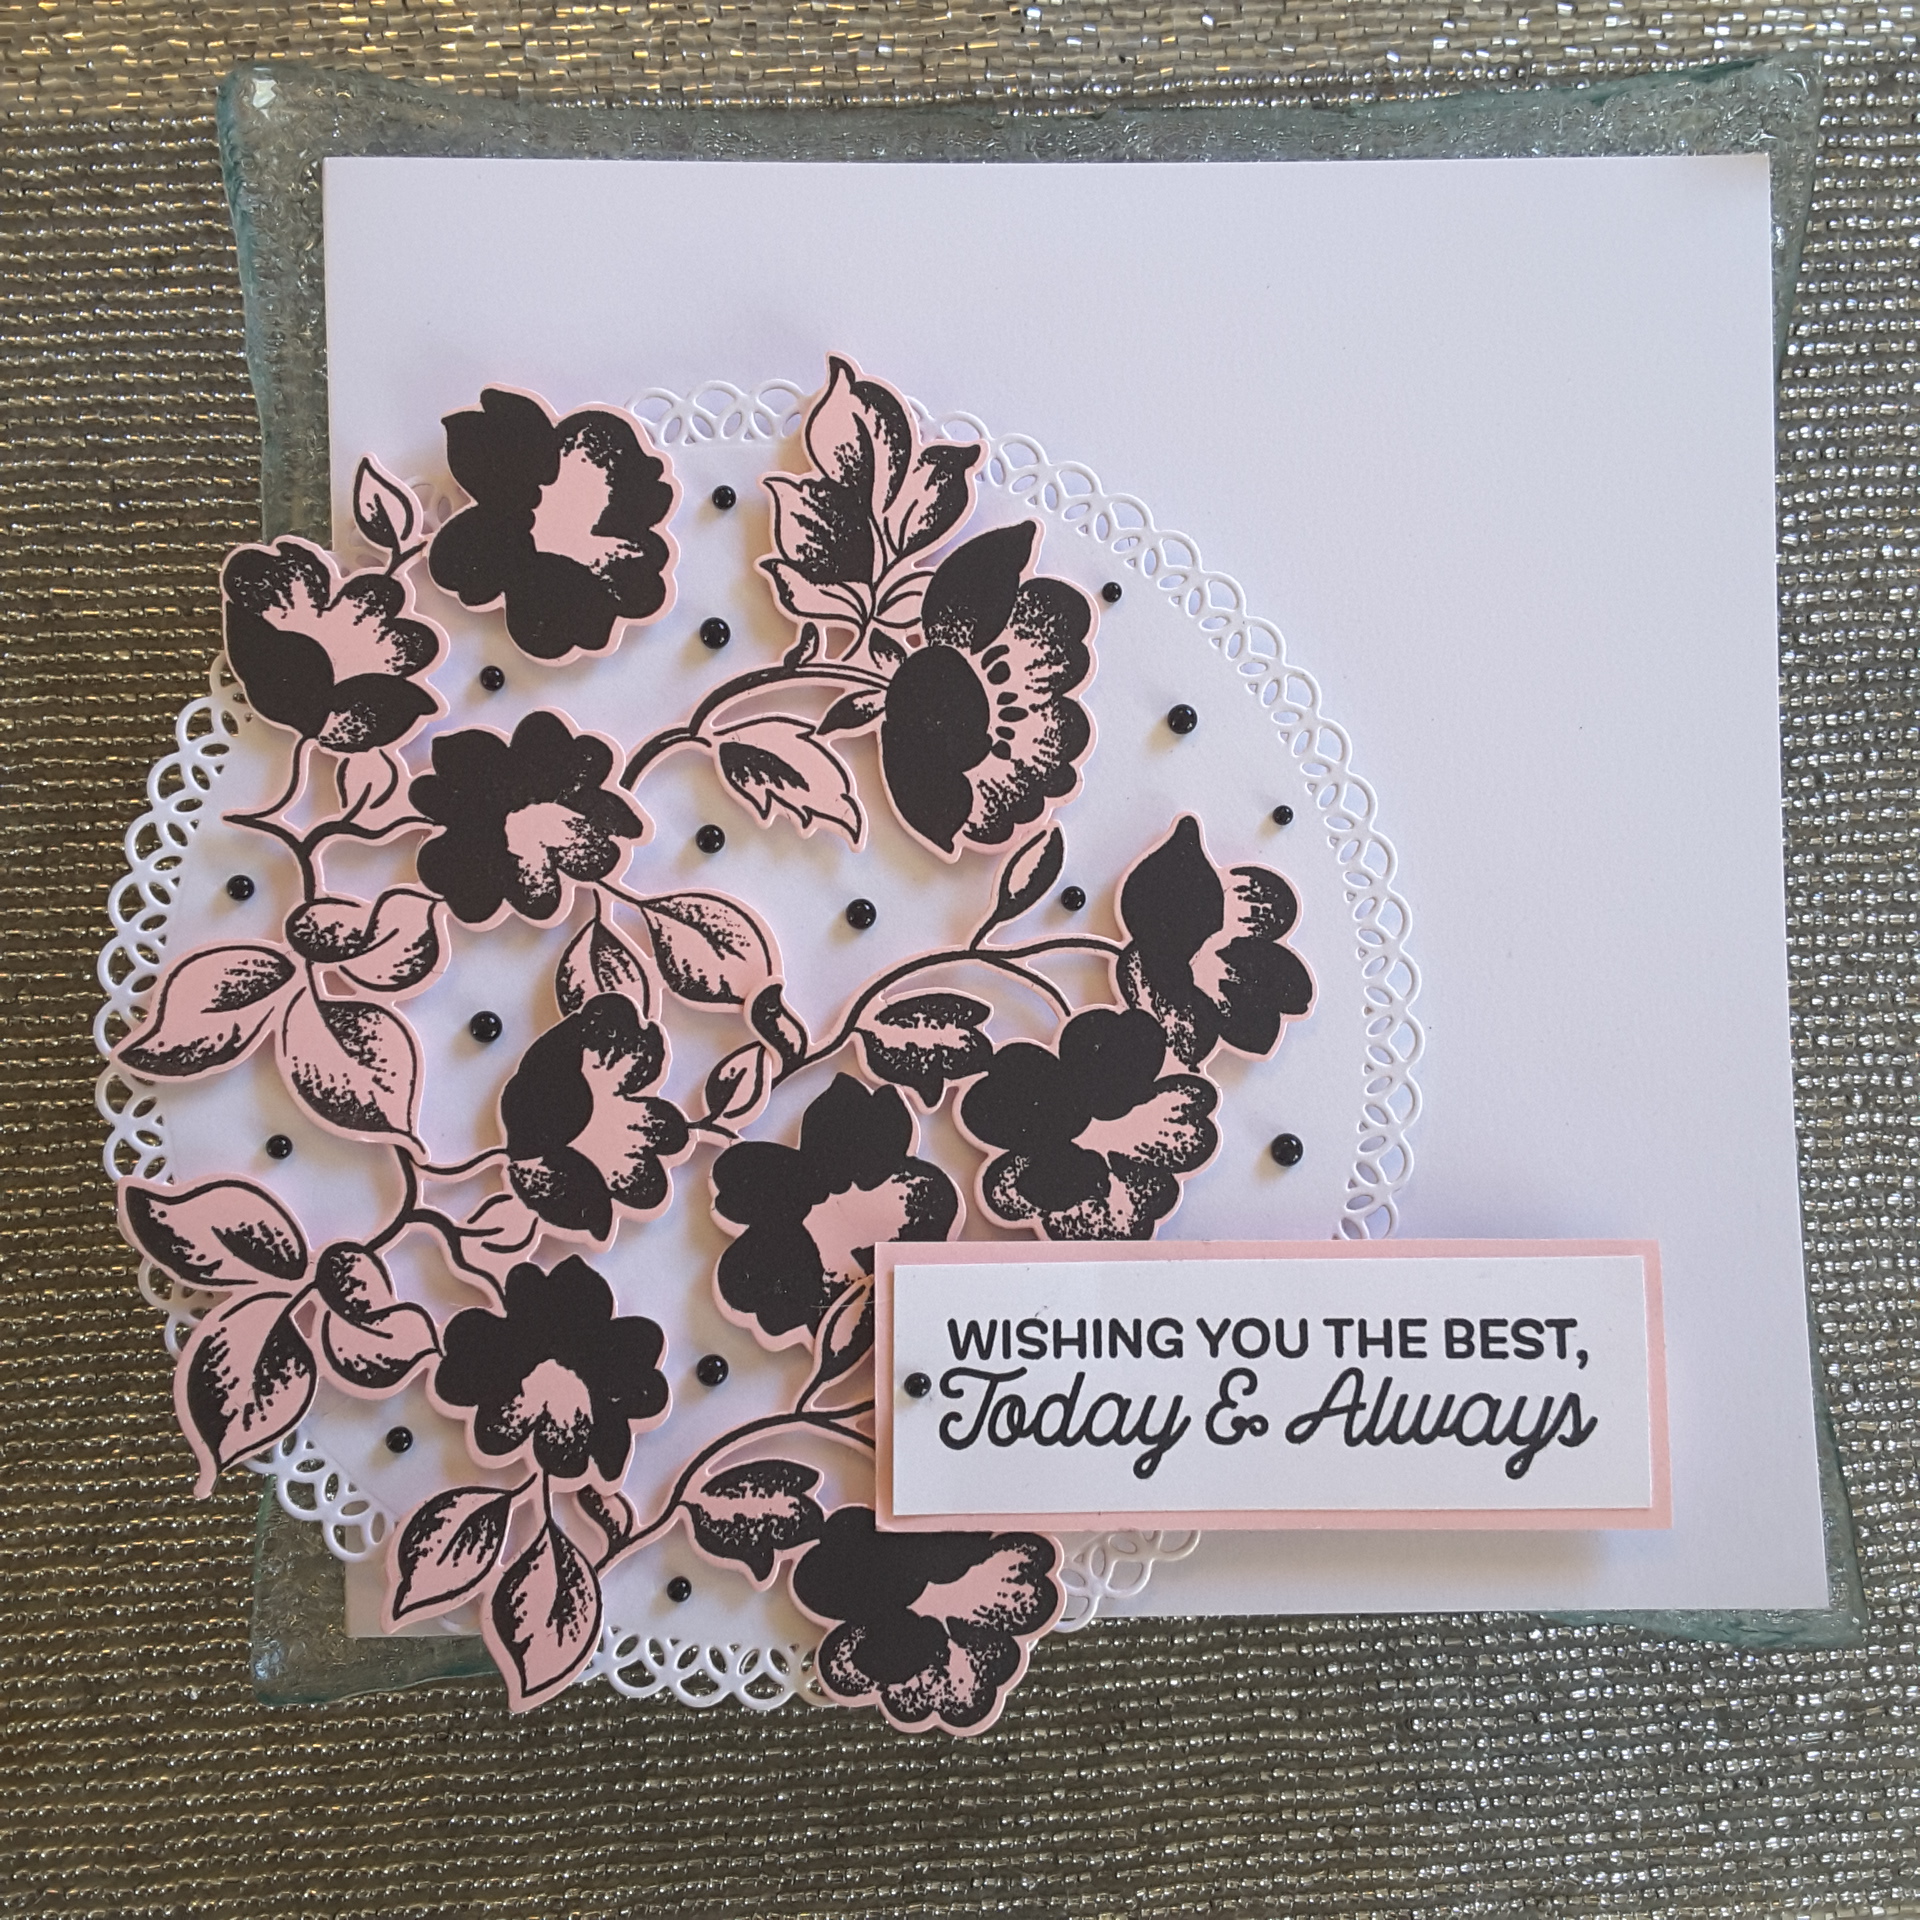
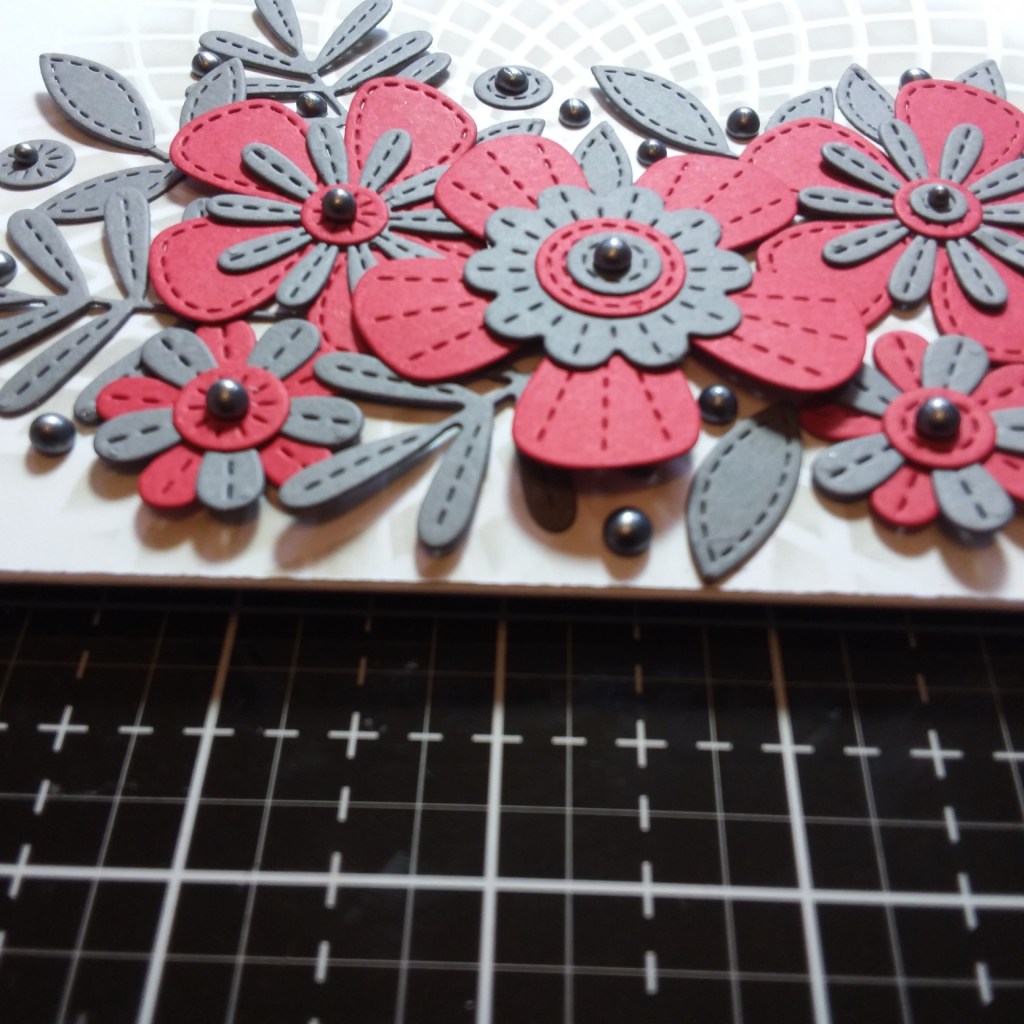
I used the colours from the current Color Throwdown Challenge and die cut several flowers, leaves, and foliage from the MFT ‘Stitched Blooms’ die set, using Simon Says Stamp card stock received in a recent kit, and layering the flowers as you see.

The background is an Altenew stencil – really trying to use stencils more – called ‘Sunburst’, and I used a light grey – Pumice Stone – Distress Oxide to blend through onto the background piece of card.

I then took the flowers and layered them onto the card, placed the leaves and foliage as you see and added a grey and red strip to the far edge of the card.

I then turned to the extra circles which had been die-cut – the little circles which are meant to be the centre of the flowers – well I just used them as accents and placed them haphazardly around the flowers.

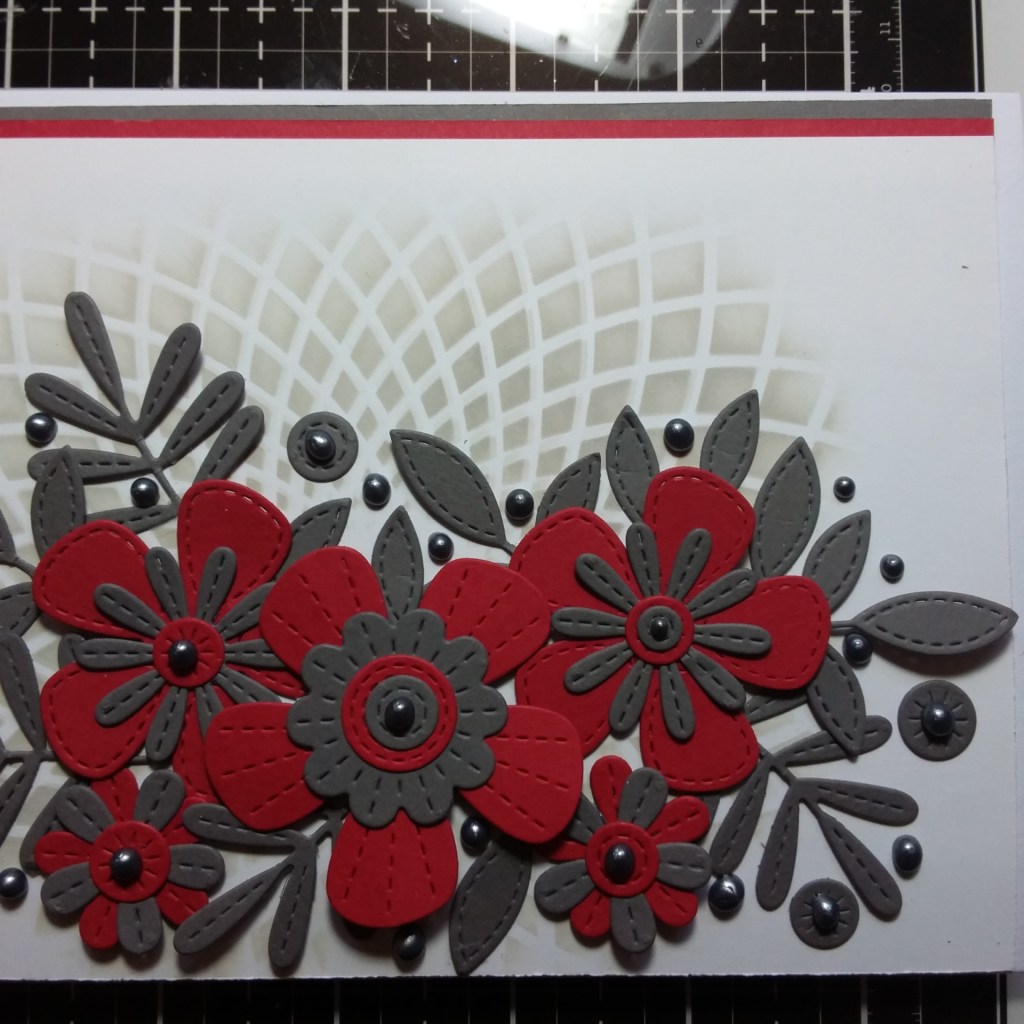
Oh – and then I took a Tonic Nuvo crystal drops in ‘Liquid Mercury‘ and added some of them too. The thing about these drops – I just can’t stop putting them on the card once I start…………!

I added them to the flower centres, to the extra circles, to the card itself. I had to restrain myself from adding even more…….

Now – I didn’t use a sentiment. Not yet anyway…. I sometimes leave cards without a sentiment, so I can add one at a later date. Occasionally I like to make cards just for the sake of it, after being inspired by challenges, and therefore I don’t always have a person or occasion in mind.

I shall be entering the following challenges:

Color Throwdownred, dark grey, light grey, white

Tuesday Throwdownlayered die cuts

Simon Says Stamp Wednesday Challenge anything goes

Daring Cardmakerslayer it up

Grab Our Button
Daring Cardmakers

Ho Ho Ho Rudolph

Hello there everyone. There is a new challenge beginning at Cardz 4 Galz, and this time the theme is – Cute Christmas. We would love to see your creations following this theme, and I see the Design Team had some fabulous inspiration.
Here is my cute Christmas card featuring the red nosed reindeer:

I bought the Simon Says Stamp November card kit of the month, and within that kit was this fabulous circle die from CZ design – I have been wanting to create something with this little charmer, and the theme for this challenge set me off to play.

I like the look of Kraft card for a clean and simple look, so used this for the deer – as you see. I then wanted a little bling – who doesn’t – so I used Pink Frog Crafts non-shed glitter card – now this card is a dream to die cut, and being non-shed – a win-win situation.

The sentiment is from Uniko, and because I heat embossed it twice, it lost a little bit of the detail in the letters, but you can certainly still see what it says – and being me it was the last thing I did on the card!

The eyes are Nuvo crystal drops, and the nose is a little red pom-pom which came with the card kit.

I hope you can come along and play with us for this challenge – I look forward to seeing what you create.

xx

I shall also be entering the following challenges:

AAA CardsCAS made in minutes

Give a Crafter a Cookie – photo inspiration (browns and Christmas)

Crafty Hazelnuts Christmas Challengeatg Christmas

Ornate Flowers

Hello everyone. It’s a gorgeous sunny day here in Derbyshire UK – a lot of sun, warm, a little breeze – lovely. I have a soft and gentle card to share today:

I began by heat embossing the flower outlines from Altenew Ornate Foliage stamp set onto water-colour card, wet the images, then sprayed Tonic Nuvo Mica Mist quite liberally onto the images, and let it do it’s thing…..with maybe a little gentle coaxing from my brush, then let it dry.

A picture of the shimmer:

The background is the Altenew Dotted Swirls Debossing Cover Die, splashed with Winsor and Newton ebony paint, then let it dry, whilst I stamped the sentiment.

I then placed all together as you see, having the images slightly overlap the sentiment strip, and even cutting into the bottom image a little to enable me to do that.

I then added some Tonic Crystal Drops in ebony in three sets of three – then let it all dry.

If you know me and my posts from before – you know I don’t like waiting for things to dry – which is why I did the flowers yesterday – but the splashes and drops are actually drying as I make this post – I’m very impatient!

I shall be entering the following challenges:

The Flower challengeflowers with embossing

Watercooler Challengeoccasions

Addicted to StampsMake your mark

Lil Red Wagonflowers

AAA Birthday Challenge anything goes as long as it’s birthday

Faux Stained Glass Flower

Hello there. I have been trying out a new technique – new to me, anyway. I decided to try the faux stained glass technique, and I thought I knew what I was doing, that it would be easy, no hassle, get it done, seen some videos months ago…….. quick……well…….erm…..not quite!

Firstly, here is the finished card:

Now a close-up:

I used the Altenew ‘Antique Engravings Cover die’, cut out several times in white card. I actually removed the outer thin frame, because when I started to stack them up together, it just kept getting in the way. I stacked at least four of them together, and then went in with Nuvo Crystal Drops in the green and pick as you see.

Sticking such a lacy die on top of another several times? Challenging. The Nuvo drops were the second challenge hurdle. Then letting it all dry – I had to wait until the next day – I’m not that good at waiting…………….but I managed.

Then realised I wanted to add Glossy Accents too…………..more waiting……….!

At this point I decided I ought to look at some videos about this technique after all……uh huh! Just at the end of my ‘playing’. That’s me all over…. 🙂

I used one of the tips from Jennifer McGuire – I had a final white outline which I embossed using Altenew Rose Gold embossing powder, stuck that down, and made the card as you see……(First time using that embossing powder – certainly won’t be the last! Lovely stuff!)

Now – in the future I can see me doing this technique again – but I will be using Copics to colour the lower level. Though, now this card is done, I really like how shiny the colours are. I must remember next time to allow a couple of days – and even to do several at a time……

I shall be entering this card into the following challenges:

CAS Mix Up ChallengeCAS faux stained glass + stamping + your choice – (stamping the sentiment, my choice of heat embossing and die cut layer)

Simon Says Stamp Monday Challengefeminine/girly

Altenew March ChallengePhoto Inspiration

Sketch and inspiration

20180326_110339

Hello everyone. I have just the one card to share today. I was inspired by the sketch from Freshly Made Sketches, and the photo inspiration from Hand Stamped Sentiments.

The inspiration photo has pink flowers stamped onto black, so I went the reverse of that. I stamped a selection of the Altenew Frosted Garden flowers onto pink card, using Versafine black onyx.

I then die cut the images and arranged them onto a circular die-cut adhering with foam pads. I added some black Tonic Nuvo Crystal Drops into some of the spaces, of varying size. Once dry, and when I had stuck that down the the card base, I stamped a sentiment from a freebie stamp set from MFT – given with an order from Seven Hills Crafts a few months ago. I have used this sentiment set several times, and like the variety of fonts and sayings it has.

I looked at the sketch again, and was considering cutting the edge off the circle, and down some of the flowers, but I left it as it was – over-hanging the card base. The sketch has still inspired me, and the inspiration photo does say ‘any shape’ – so I have left it as a circle.

I then tried to stand the card up to take my photographs……you know what happened, don’t you? Yep – it didn’t stand up because of the over-hang at the bottom! So – who ever receives the card will also receive a stand for it, too……wins both ways. It’s also a good job I can make my own envelopes…. 🙂