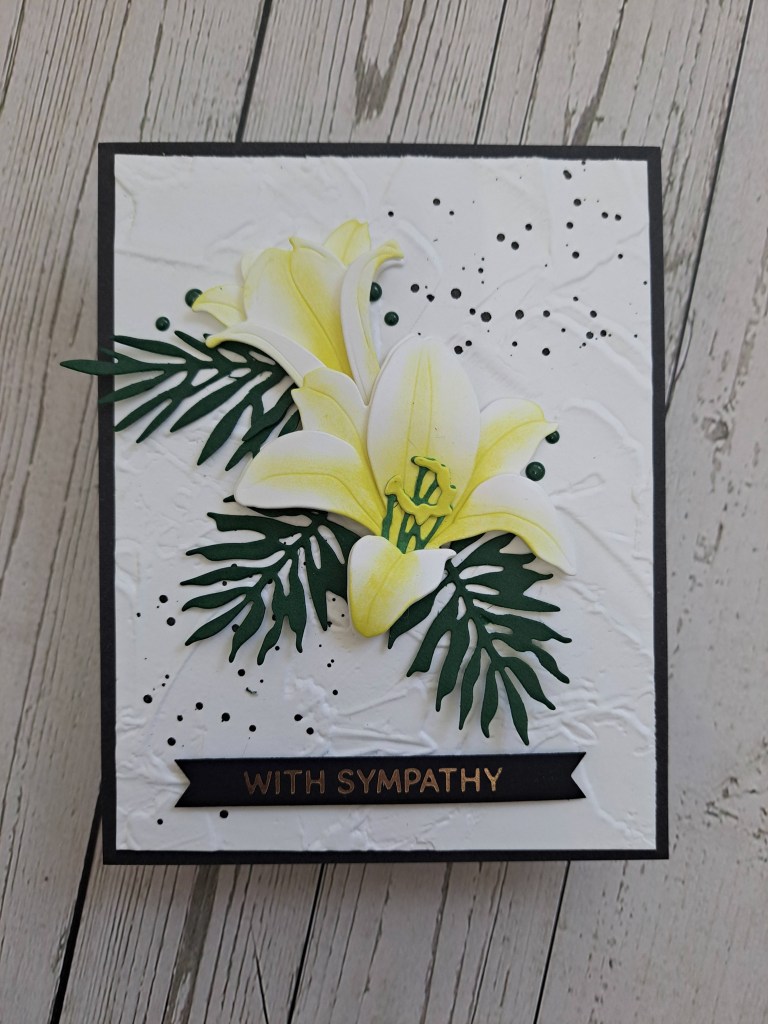
Hello everyone. I have a card to share which we don’t really want to make and send but sometimes it is just needed:
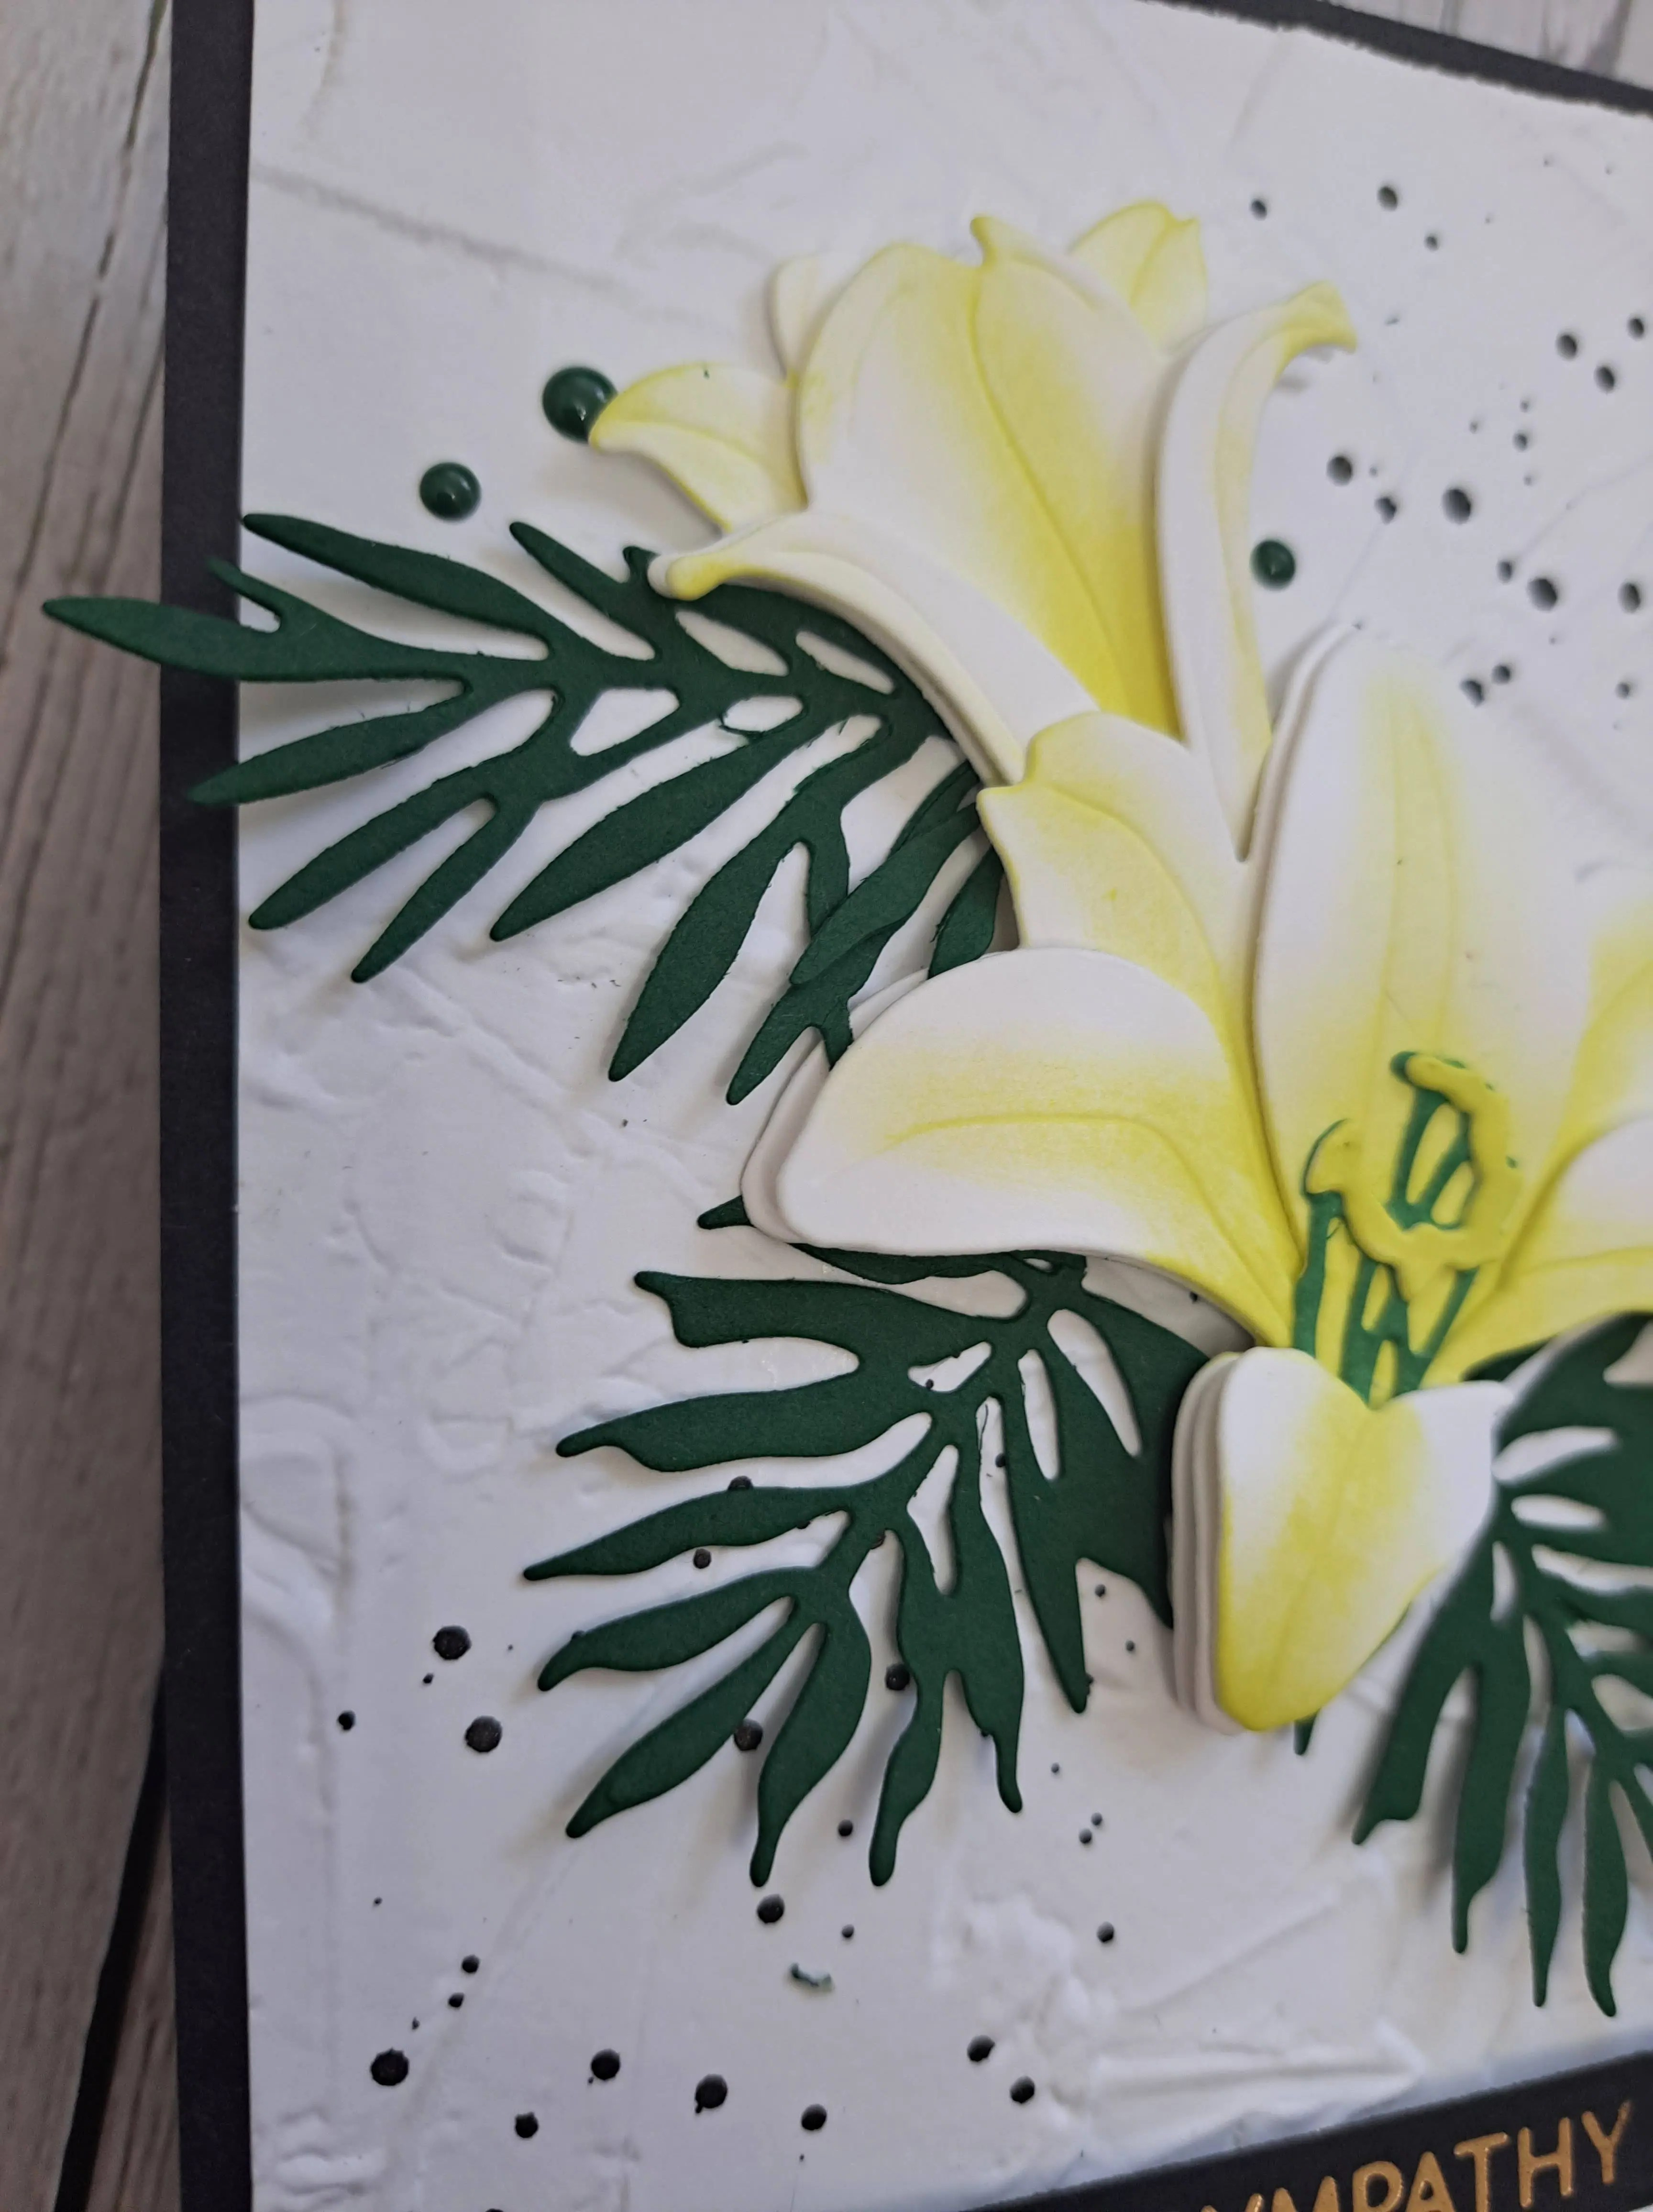
The flower is from Honey Bee Stamps, die cut out of white card stock, then a yellow-green ink blending to the centre of the leaves, layered together with a mixture of 3D foam and wet glue to add dimension.
The leaves were die cut from dark green Concord & 9th cardstock.
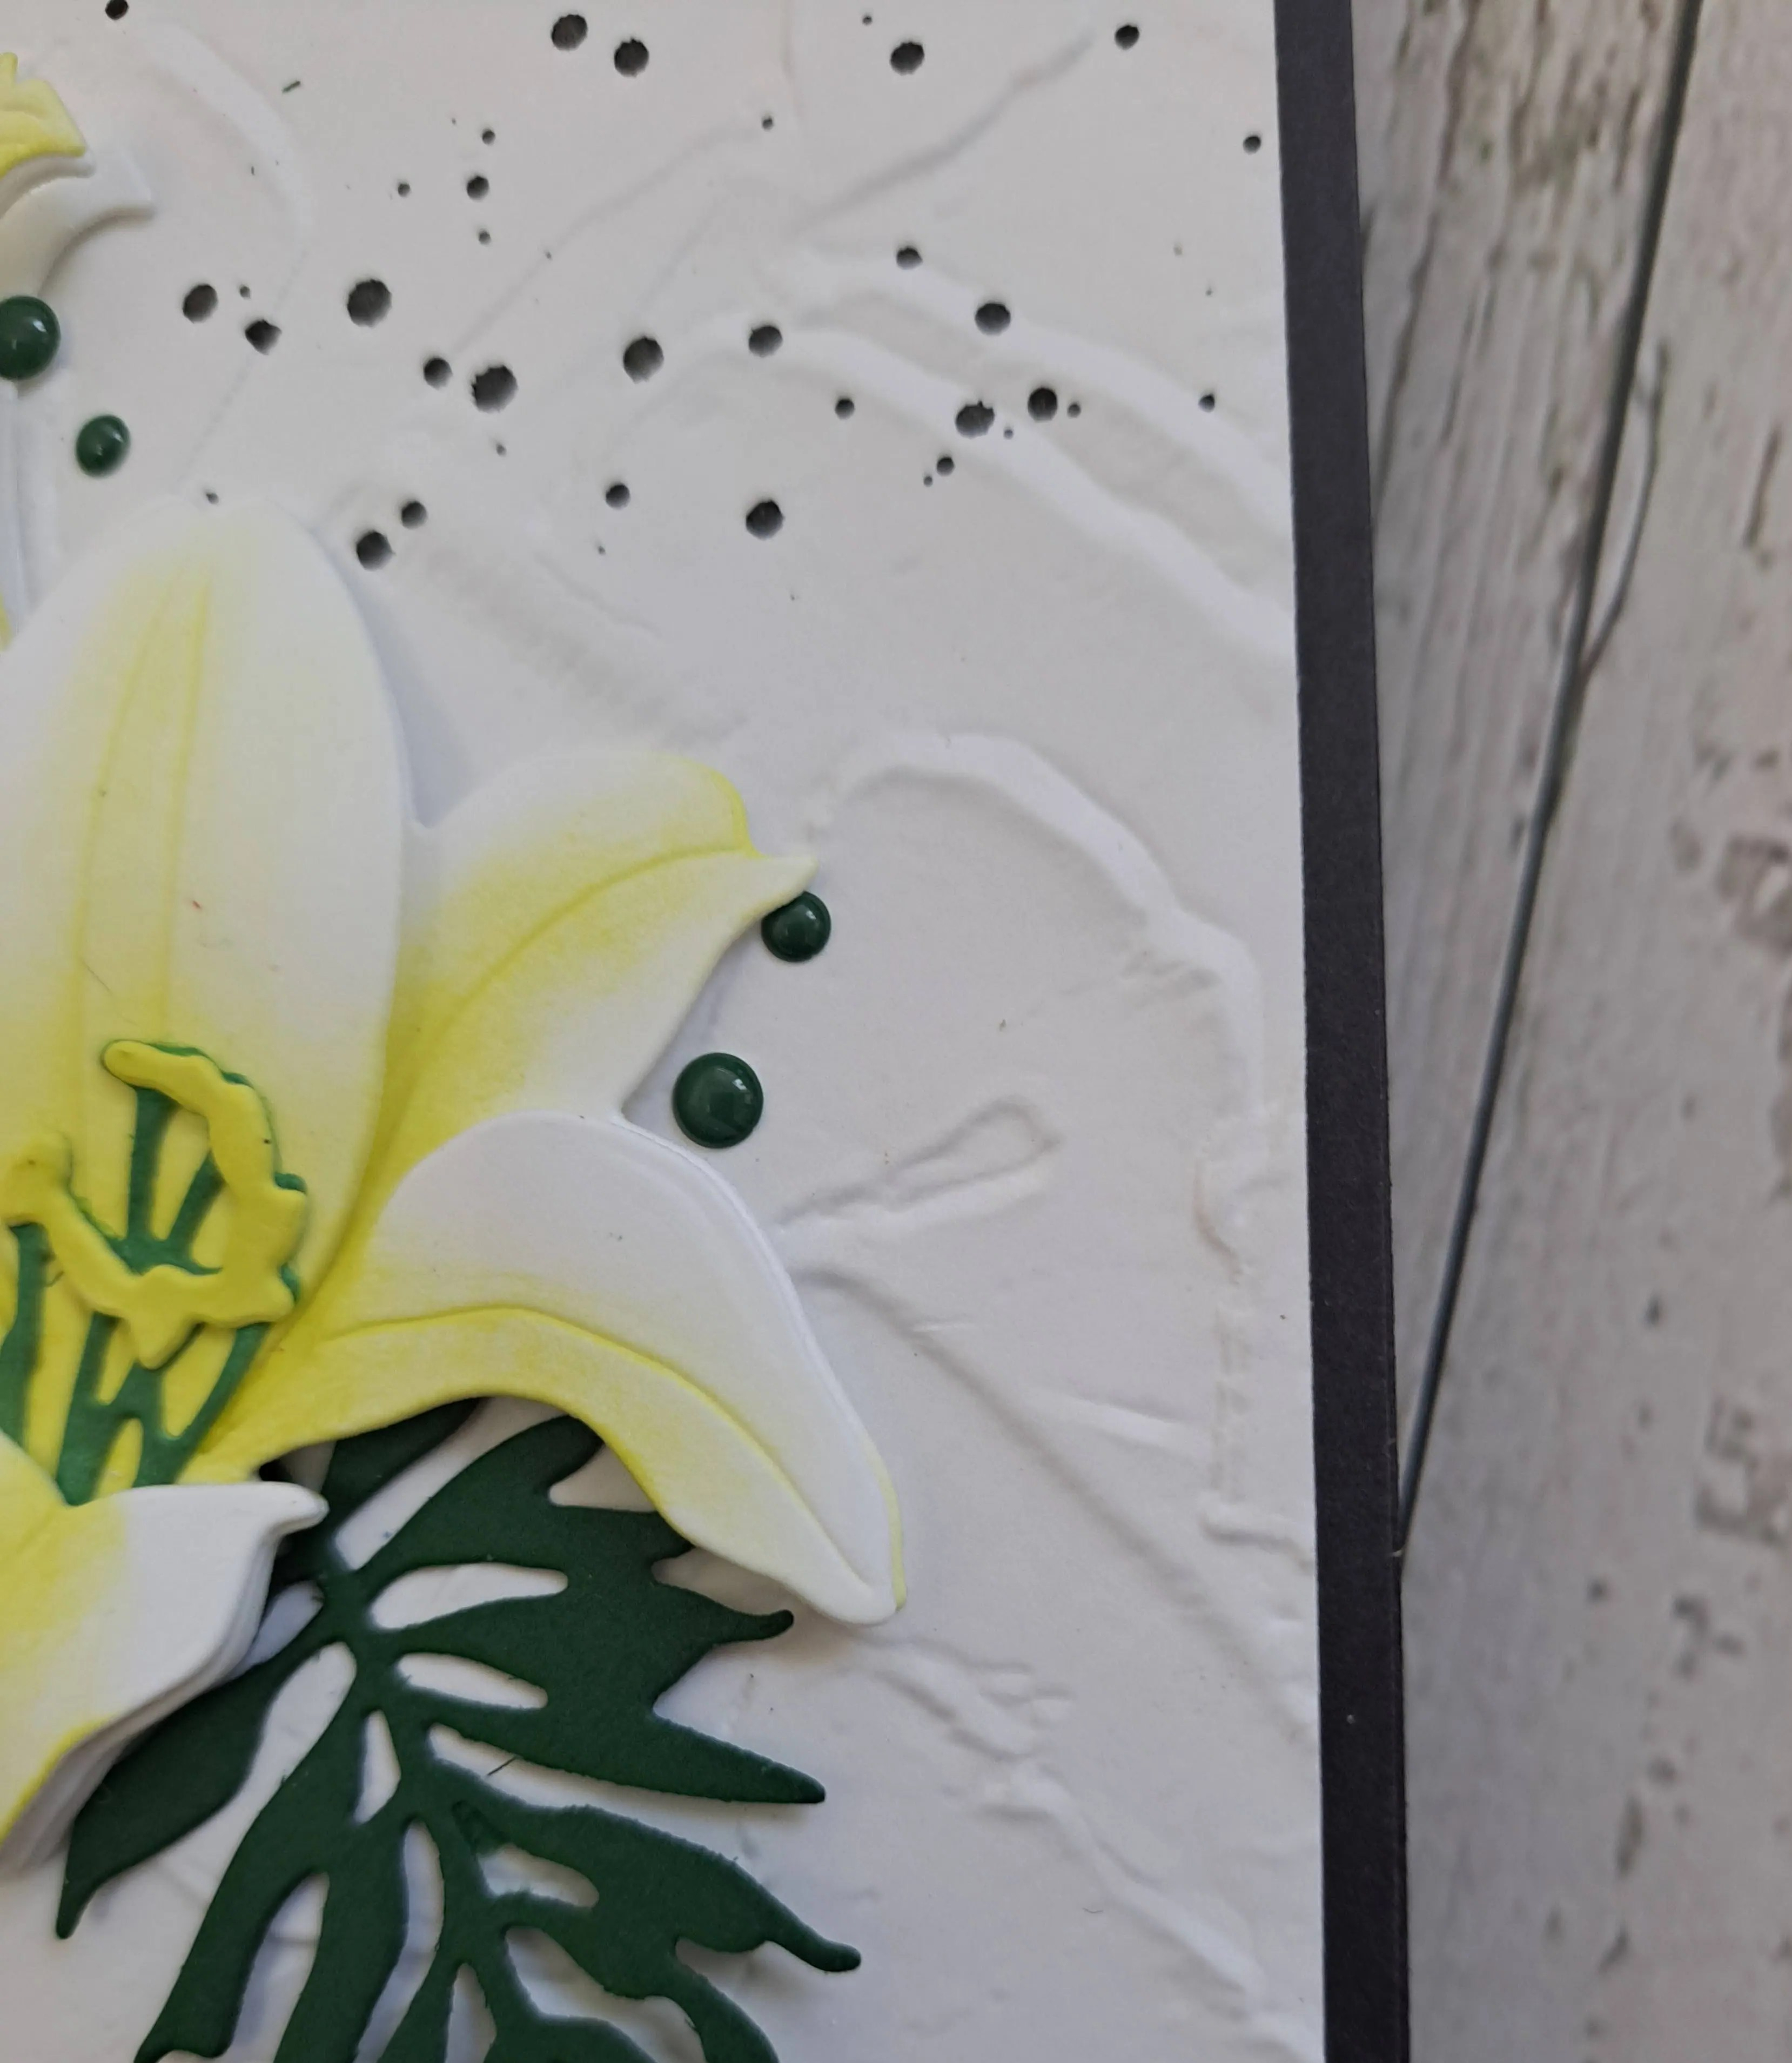
I used a favourite embossing folder from Stampin’ Up with a white card panel, then used black acrylic paint to add some black splatters. This white panel was adhered to the card base, the flowers and leaves added with wet glue, then the foiled sentiment strip added with 3D foam.
I also added some dark green enamel dots – also from Concord & 9th – around the floral arrangement.
Hello everyone. The new challenge has started at The Alphabet Challenge. We have reached the letter ‘Q’, and Debbie has chosen the theme of:
‘Q is for Quadruple – shapes or images’
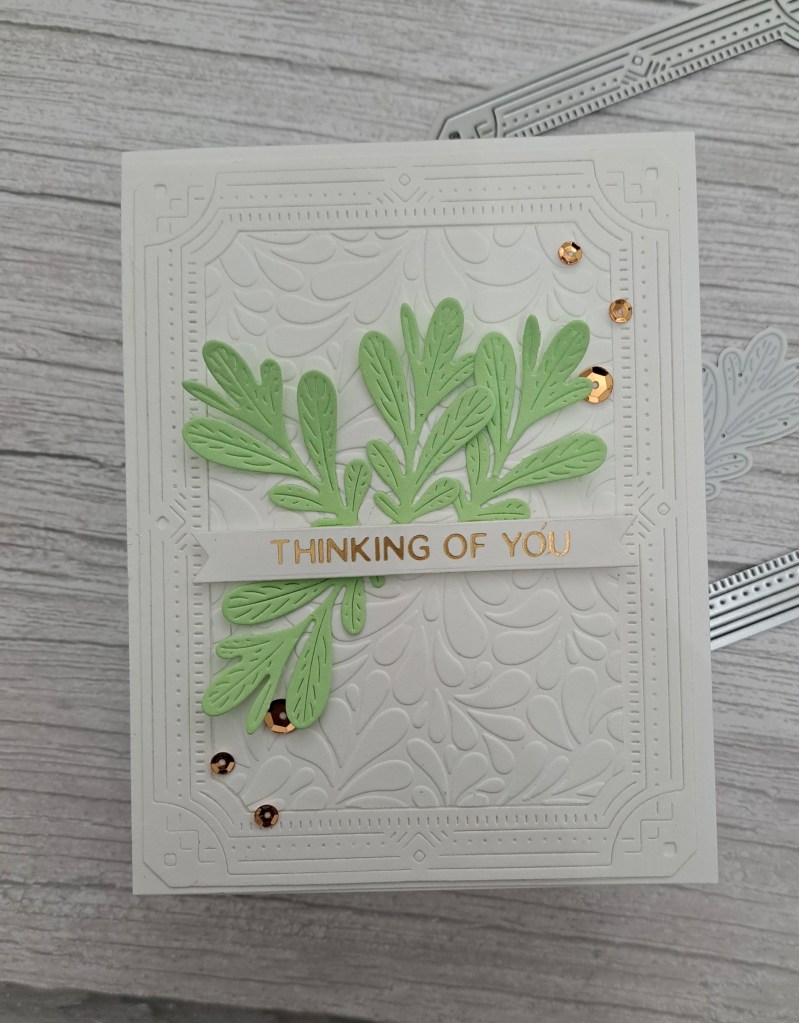
Here is my card:
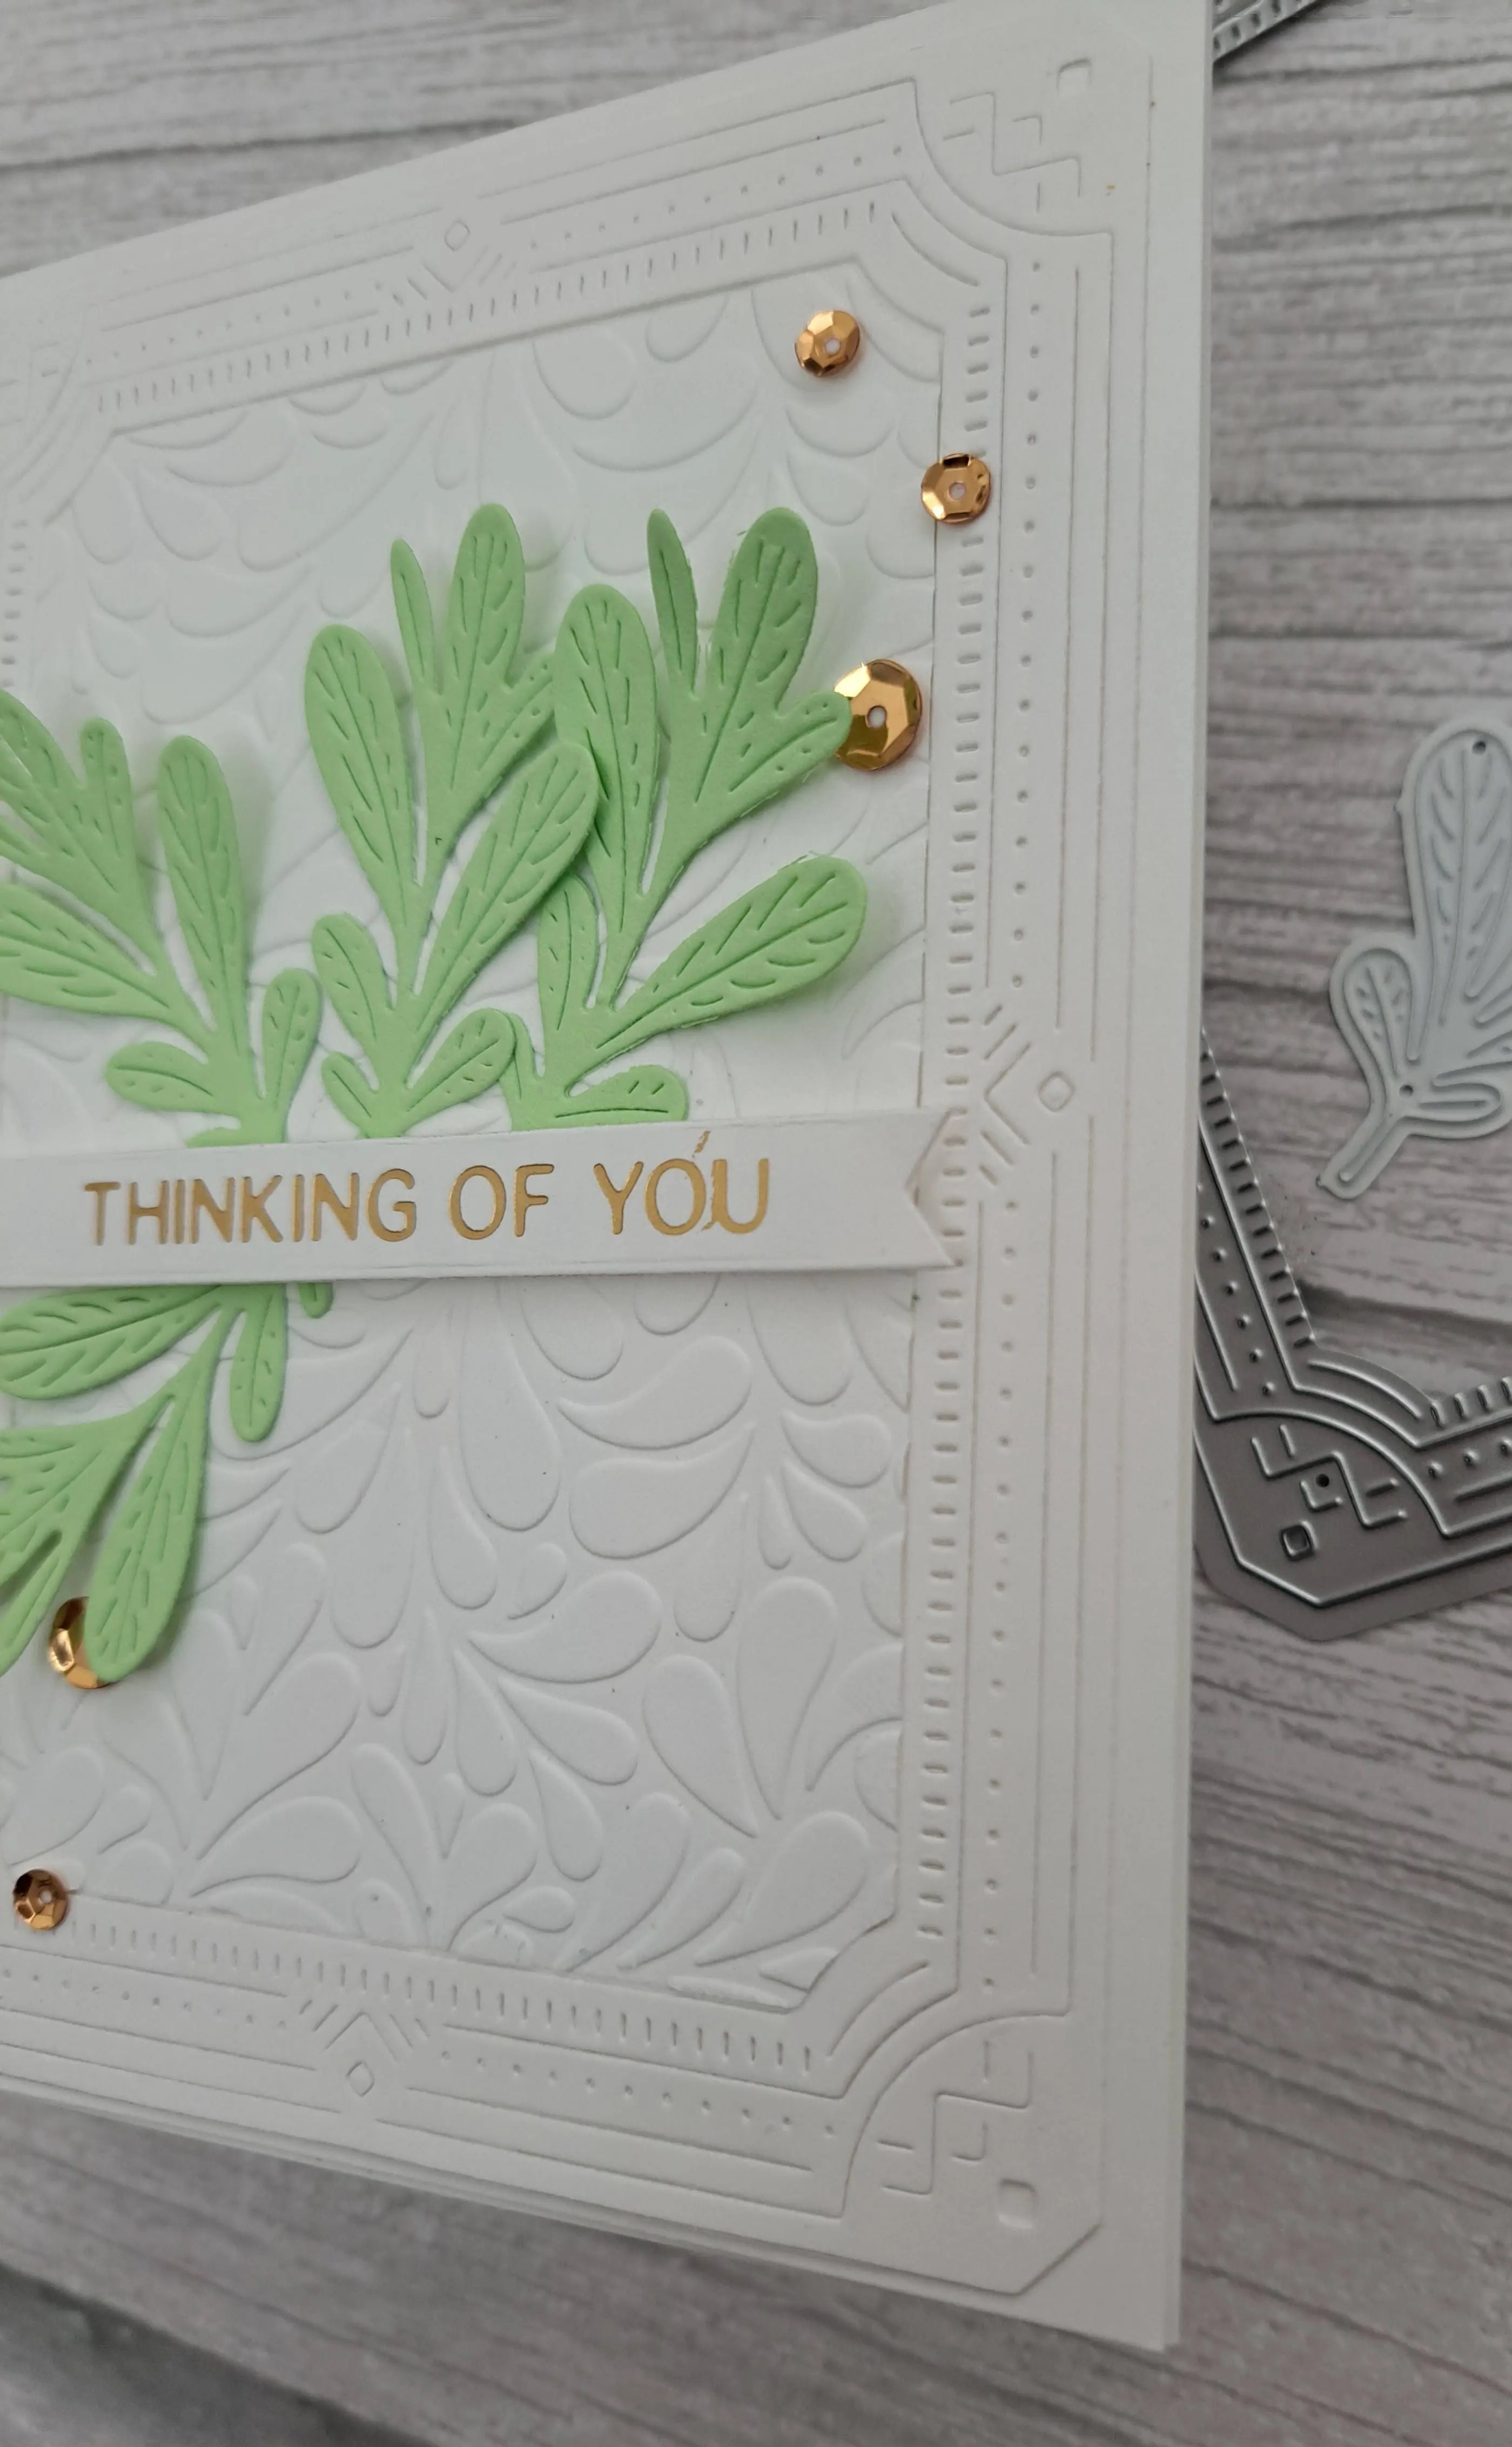
Starting with a white card base, I die cut the Pinkfresh Studio deco frame, and also die cut the centre panel out of it. The frame I adhered flat with wet glue, and the inner part I dry embossed using and embossing folder from Spellbinders. The embossing folder is called ‘Splash’ but I do also think it has the appearance of leaves……this panel was also adhered flat into the frame.
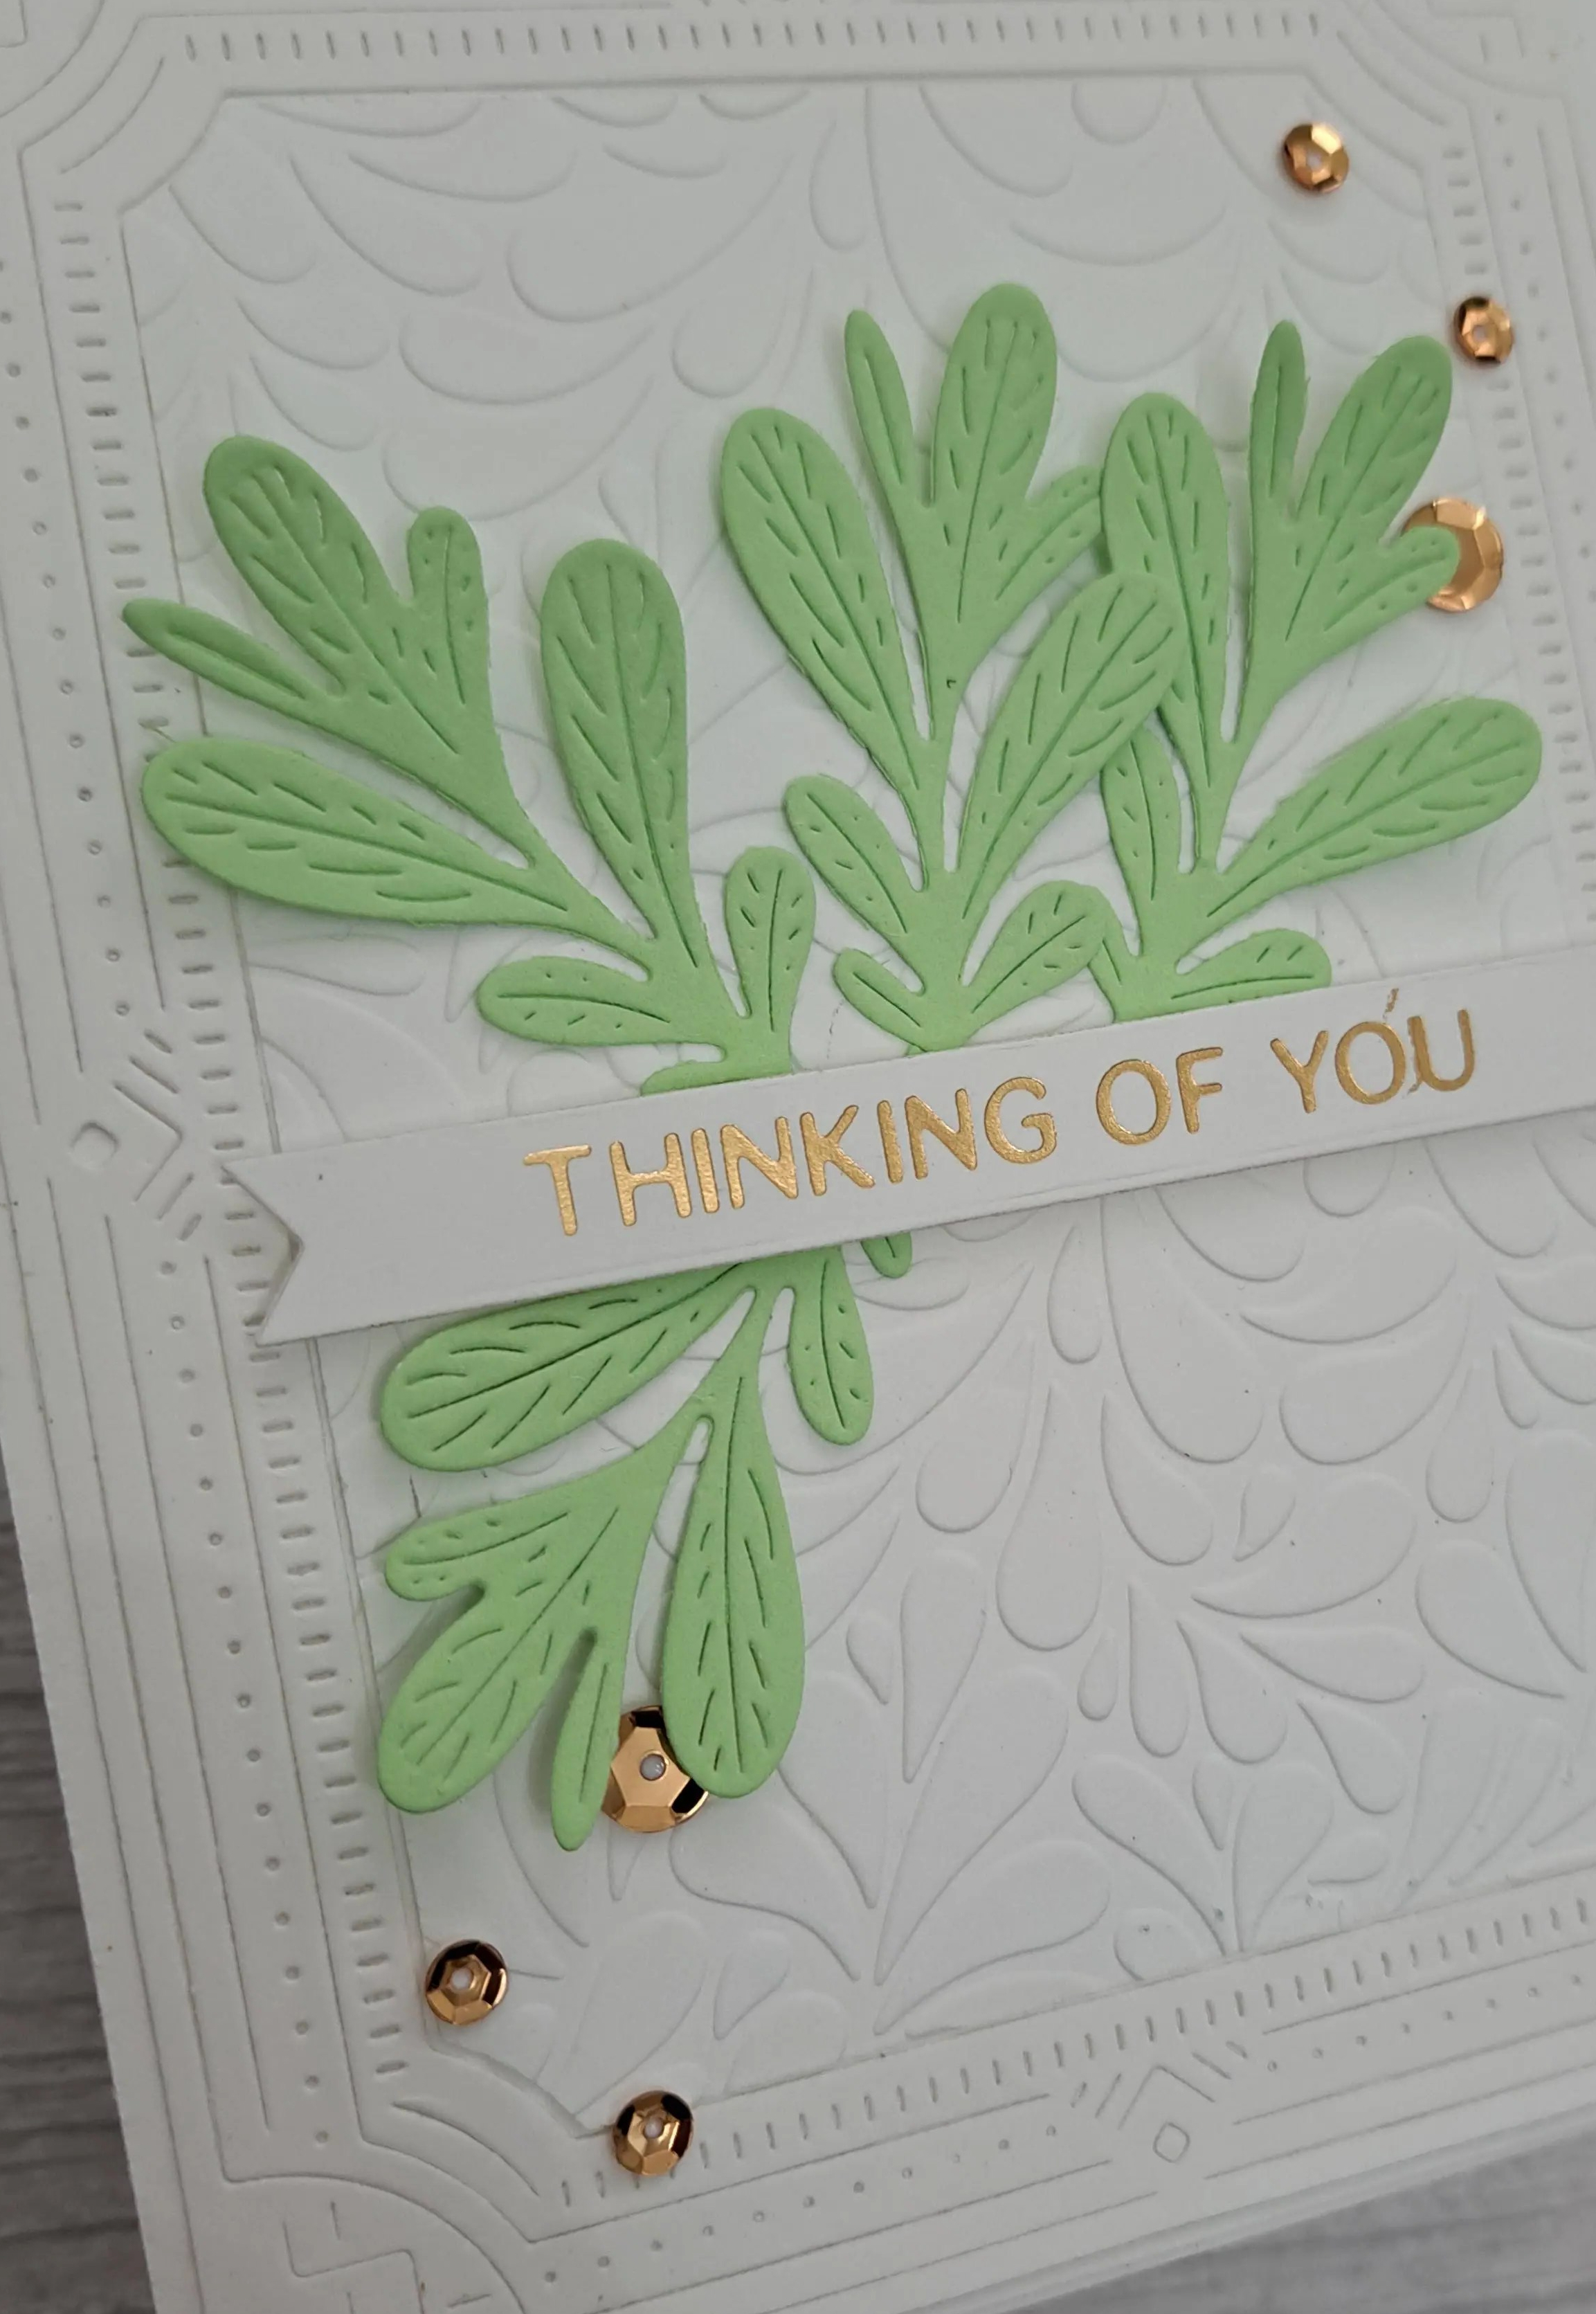
The four leaves were cut using The Stamp Market products out of Concord & 9th card stock.
I found the foiled sentiment I wanted, and used a 3D foam strip, then arranged the leaves as you see – snipping off the bottom if needed.
As the foiling was gold, I also added some gold sequins. I hope you can coma=e and join us with your projects matching our ‘Quadruple‘ theme. xx
I shall be entering the following challenges:
CYHTP – embossing folder – option of Turkey/Thanksgiving not taken
The new challenge at Cardz 4 Galz is hosted by Helen, and she has chosen the theme of :
’embossing – wet or dry’
Here is my card:
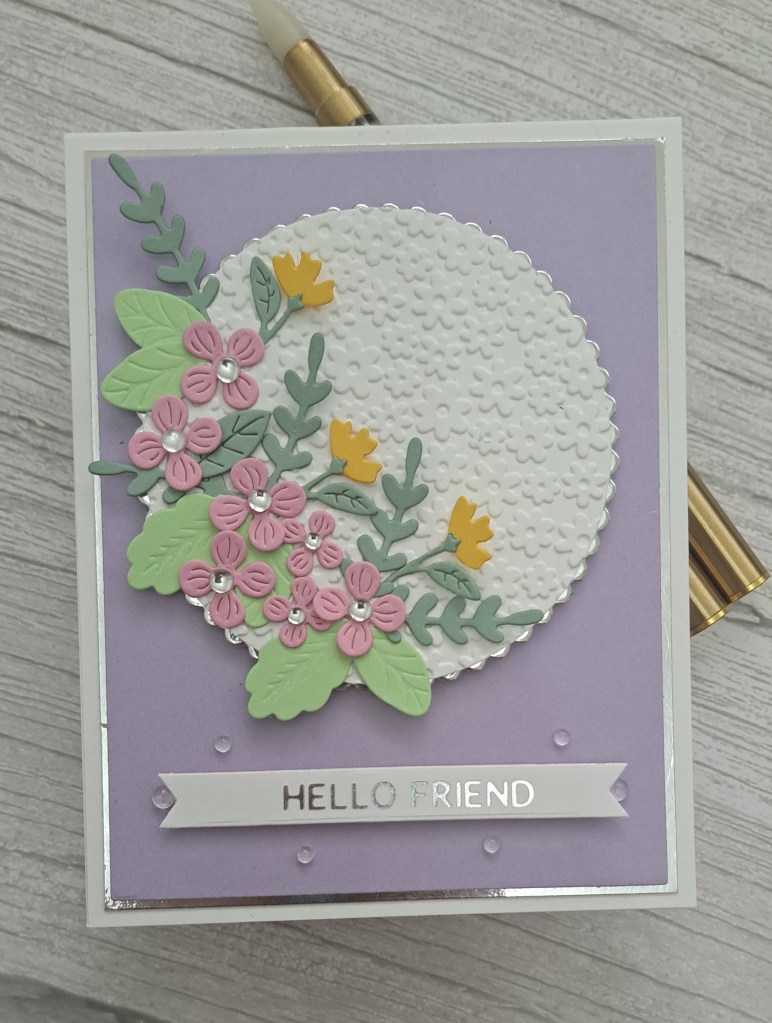
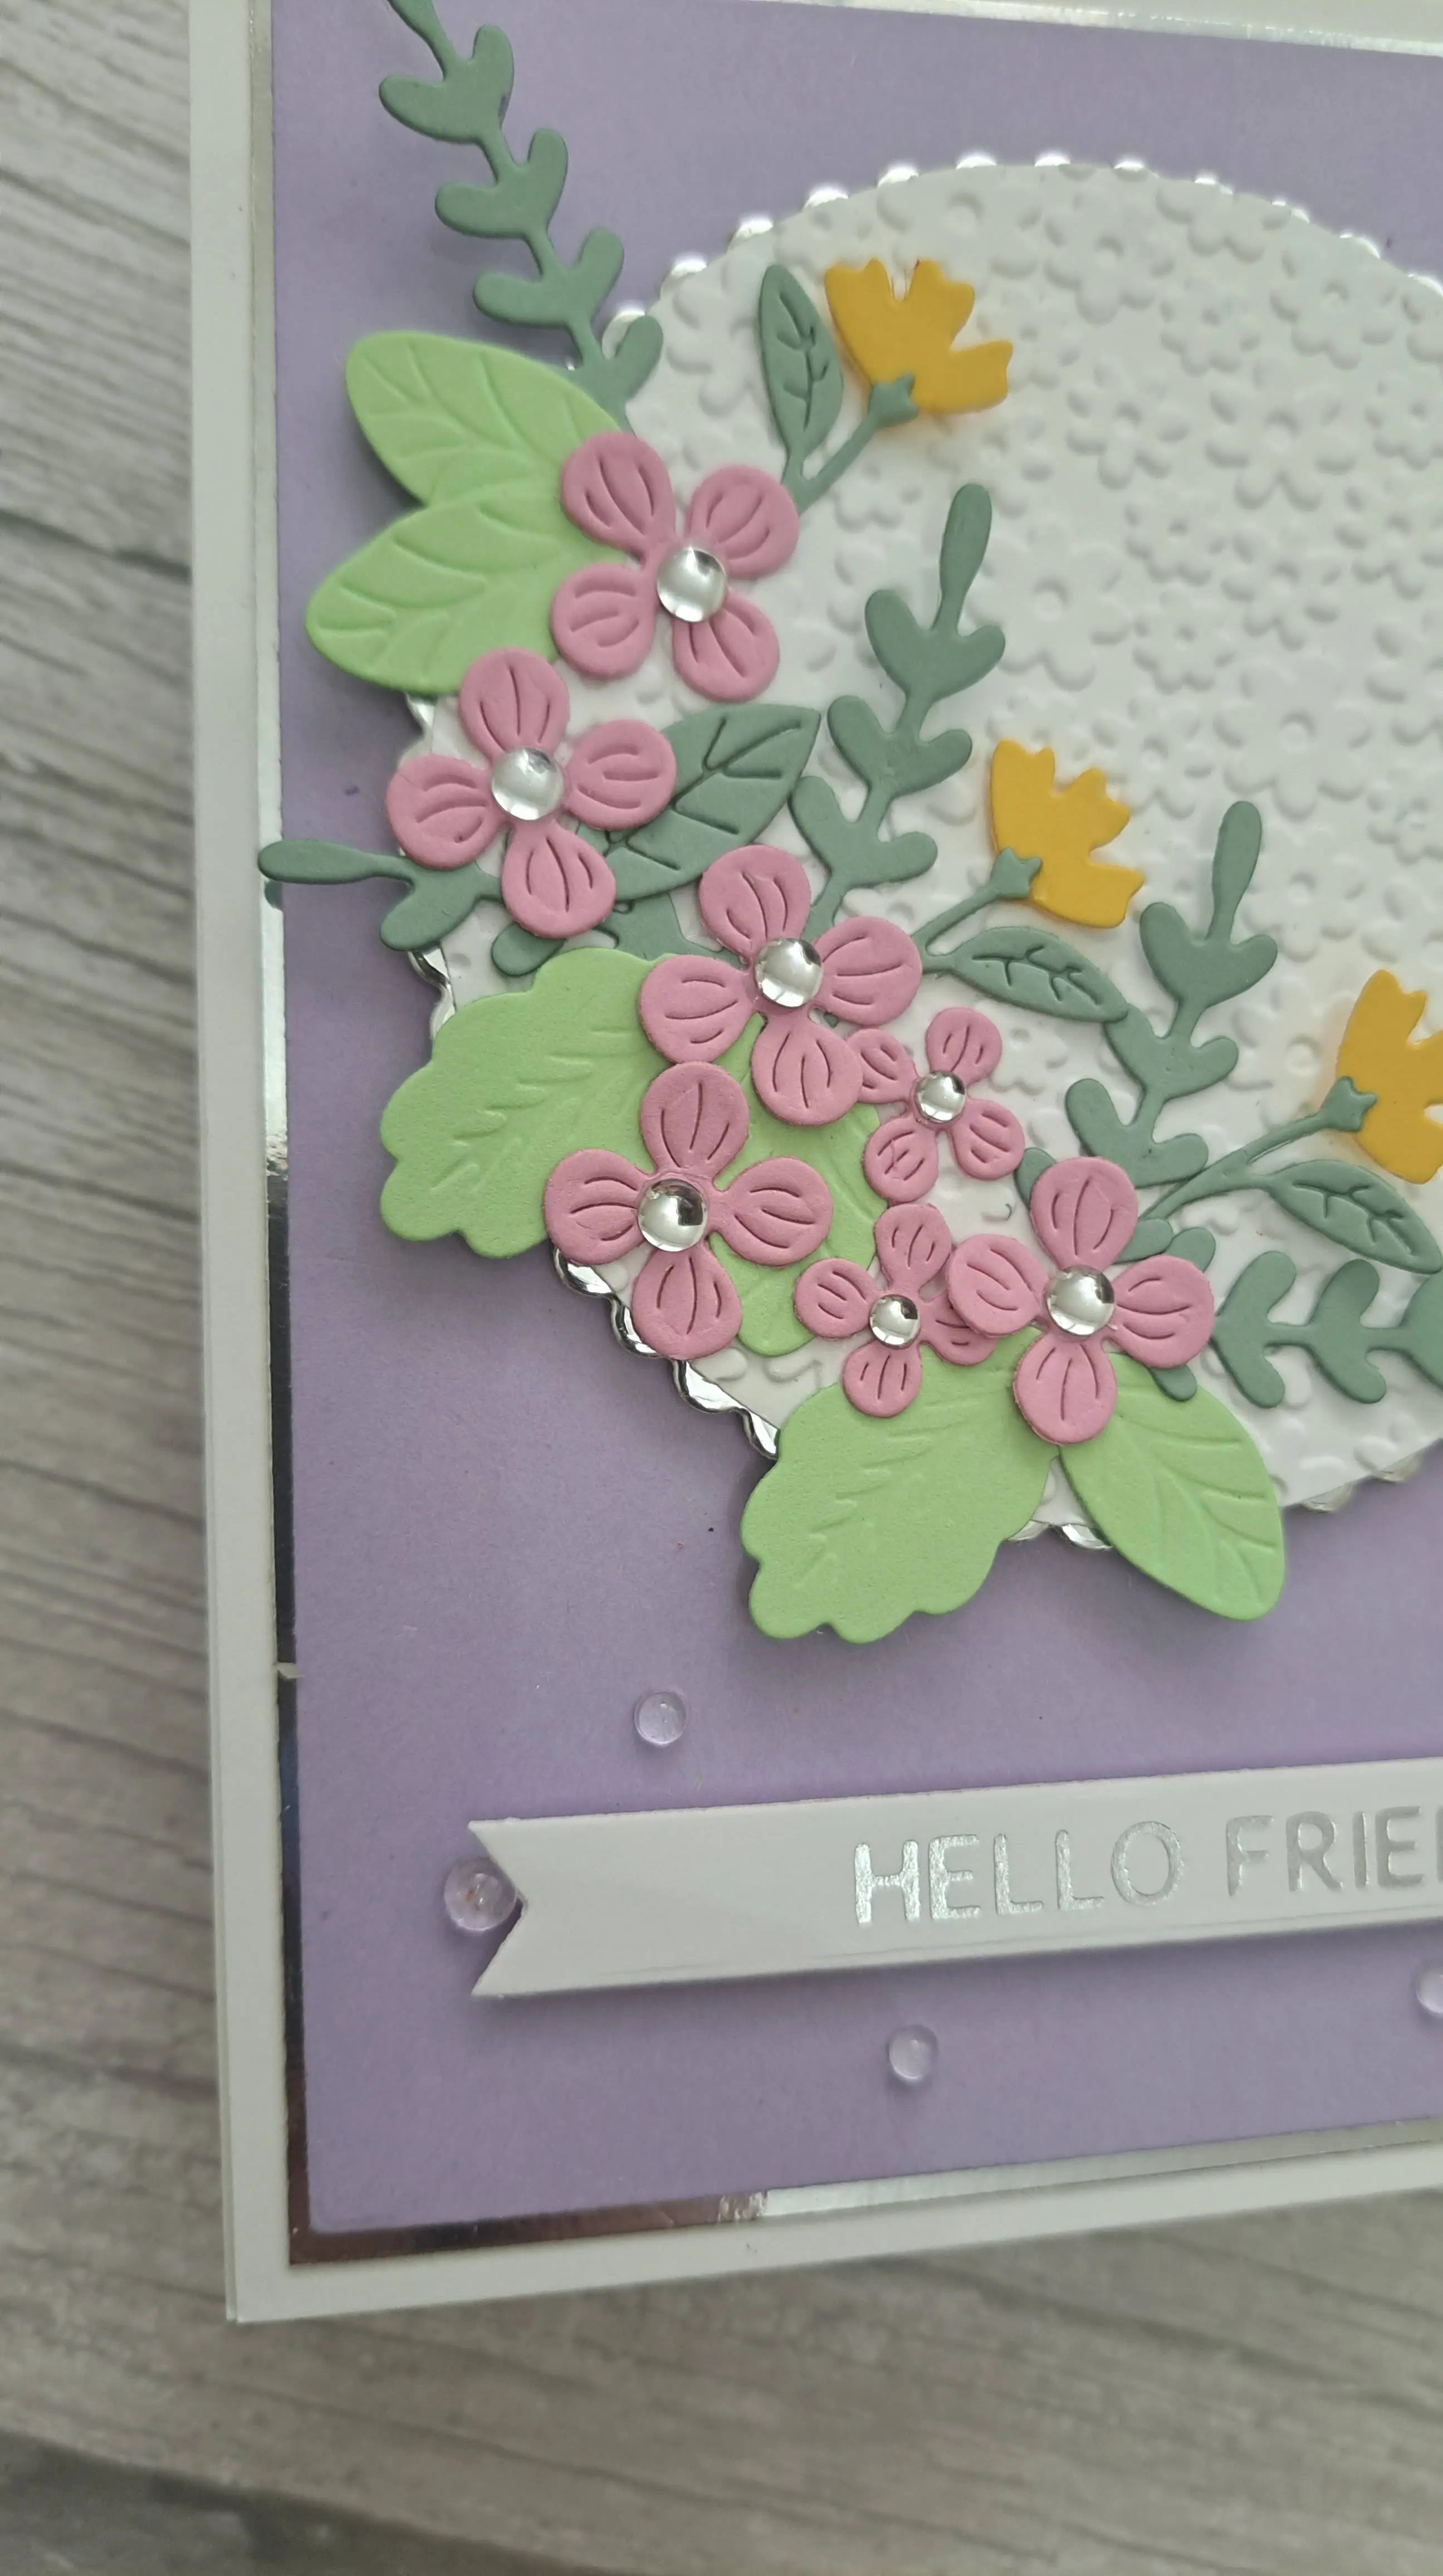
I chose the option of dry embossing, using a very old Darice embossing folder of these cute little flowers. I die cut the circle first, then used the embossing folder.
The background panel is backed by a silver panel, and adhered to the card base. I then added the circle with 3D foam.
The flowers and leaves are from Spellbinders, just a little layering on the smaller yellow flowers, then added with wet glue, placing all the elements until I was happy.
I then added the silver foiled sentiment and some clear drops into the centre of the flowers, and dotted around the bottom area.
I hope you can come and join us with your dry and/or wet embossed creations. xx
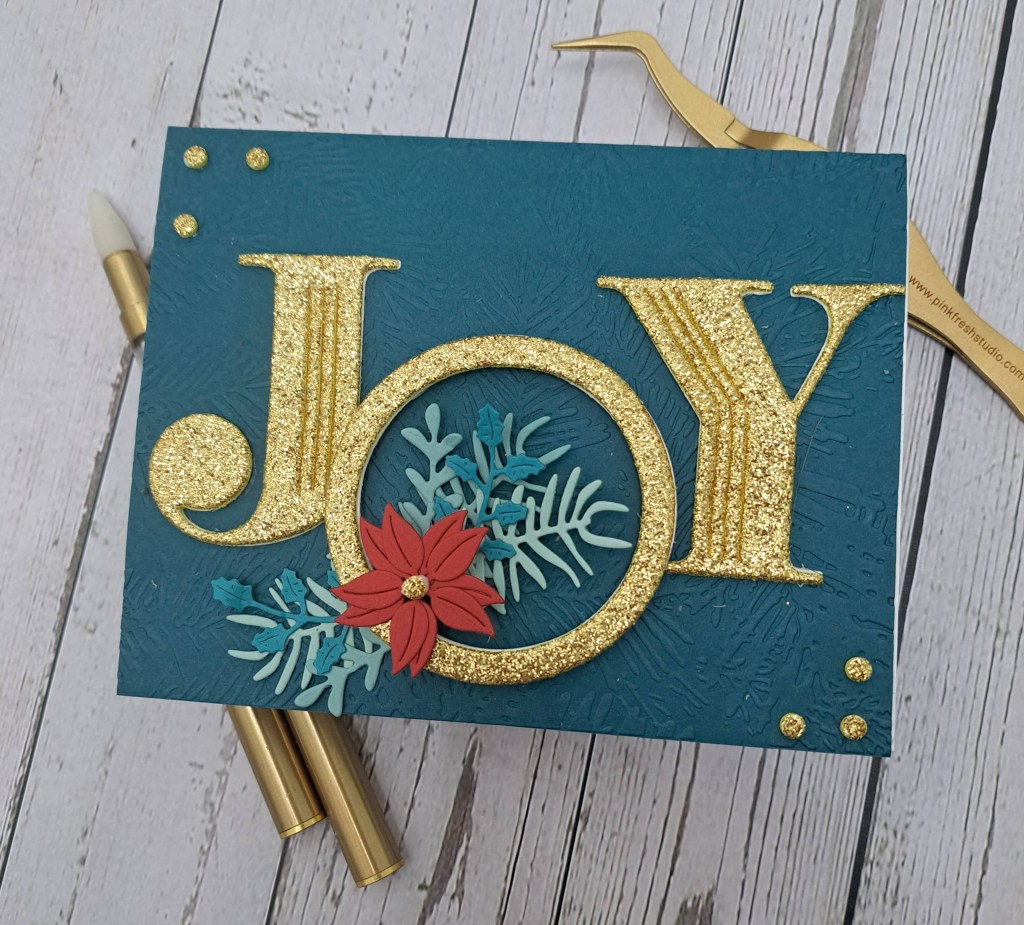
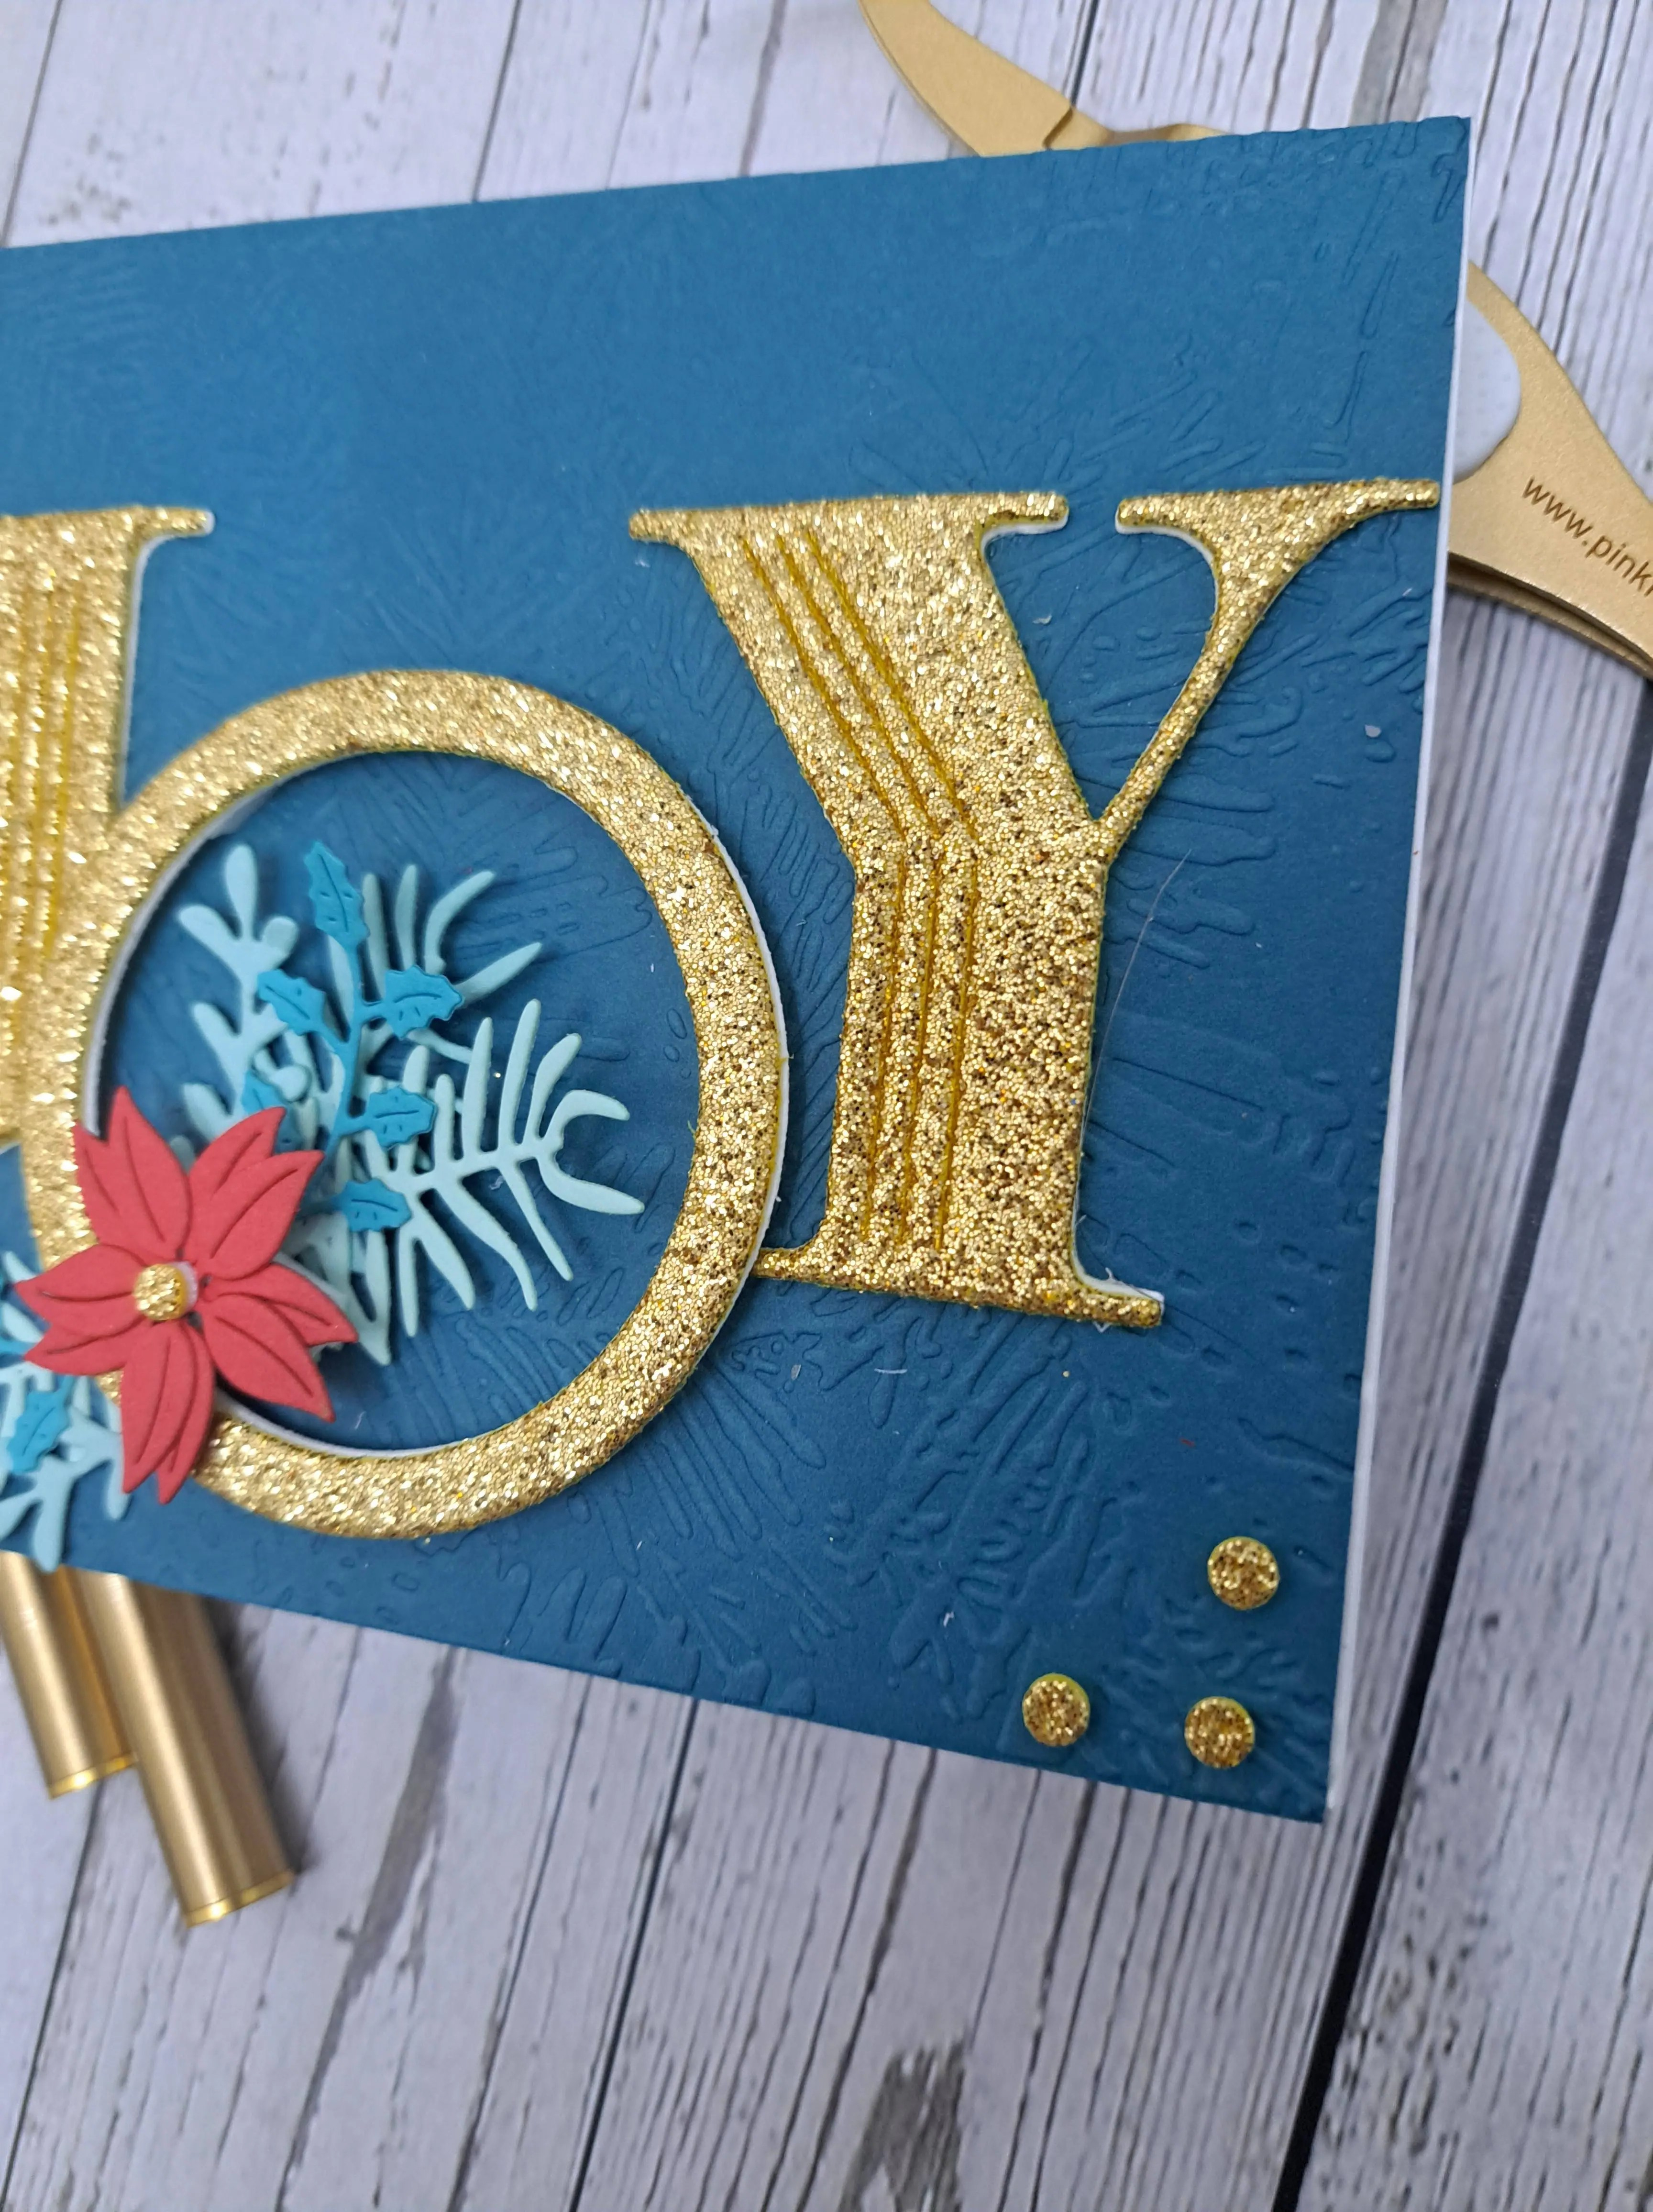
This ‘joy’ die set is from The Stamp Market, who were the guest company as part of the Pinkfresh Studio ‘Create and Connect‘ event. Such a gorgeous stamp, die, and stencil set. I chose to use the die for the word, and die cut out of Spellbinders gold glitter foam, layered with a couple of layers of white card stock for a little more stability.
The background is a dry embossed panel, adhered to the card base, and the word adhered onto that as you see, with a slight overlap on the bottom at each side of the middle letter.
I then used Spellbinders dies and Concord & 9th card stock for the flower, leaves, and foliage, arranged on and around the middle letter. A few gold glitter foam dots in the two diagonal corners and the middle of the poinsettia.
I hope you can come and join us with your Christmas/festive creations. xx
Hello everyone. I have had a couple of days catching up with some virtual crafting events, but took time to create this card using a couple of Spellbinders die sets:
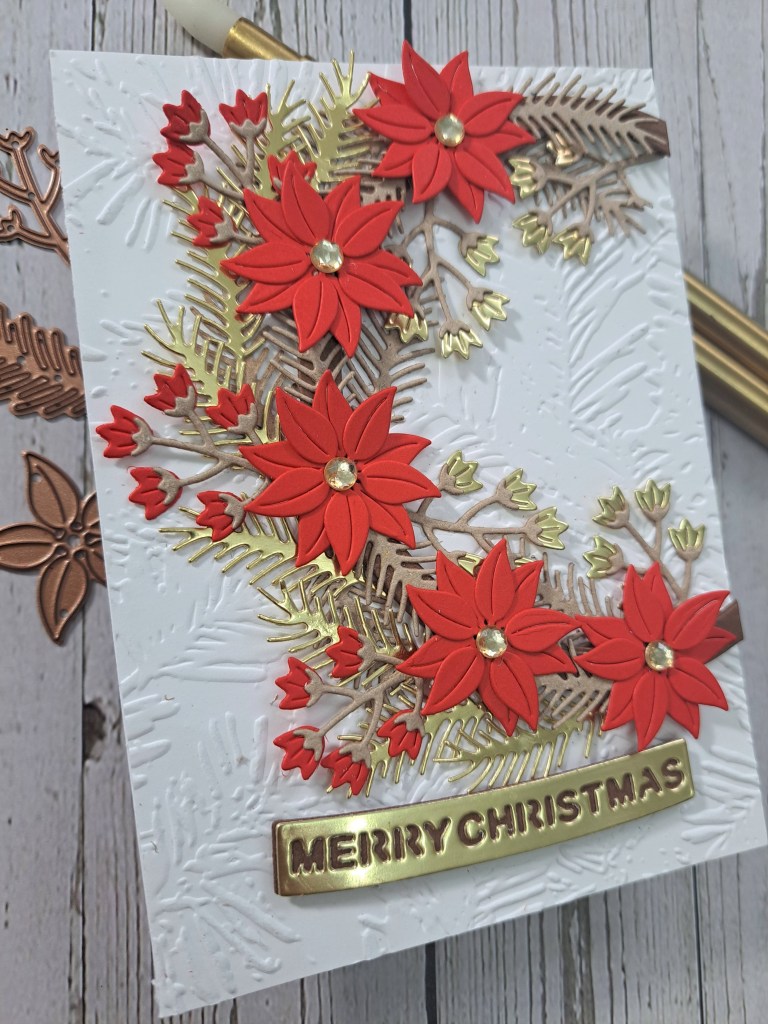
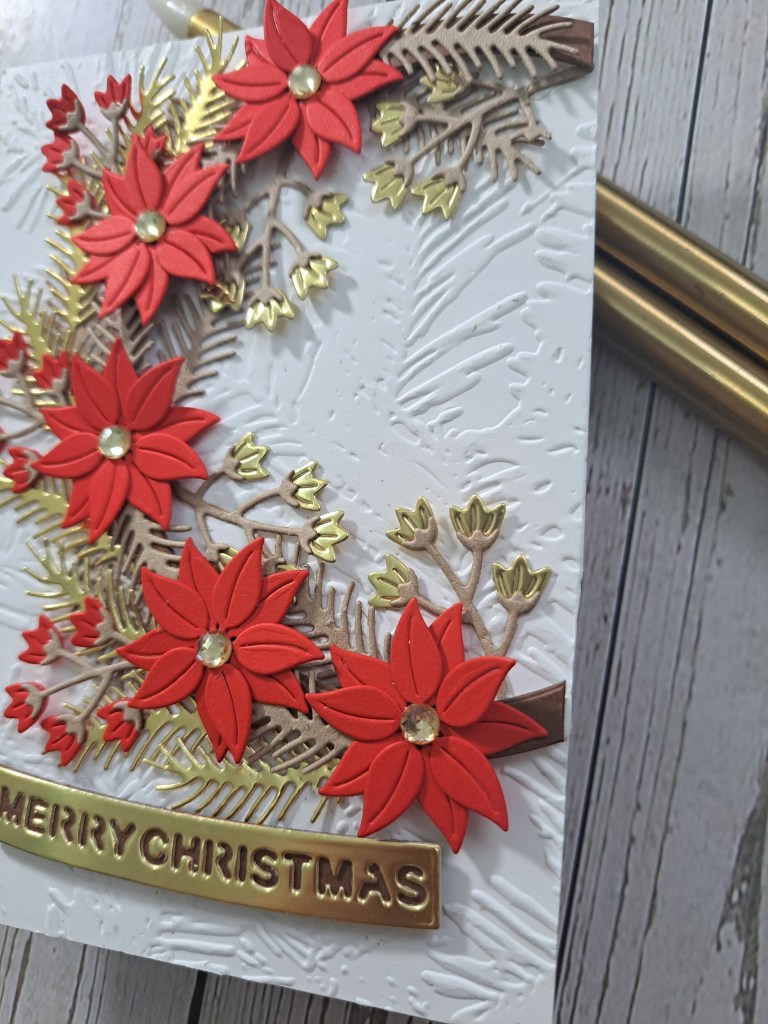
The background panel was created using an embossing folder, one of the items from a recent virtual event, and adhered flat to the card base.
As I always do when creating a card with a lot of die cuts – I set to cutting them all using my little Heffy Doodle mini die cutting machine – this little baby has been my go-to for the little dies – an absolute gem for things like this.
I used Concord & 9th red card stock, for the poinsettias and little flower heads, Kraft card for the sprigs – floral and leaves – dark brown card for the circle at the base of the wreath, and the background to the sentiment, and my favourite gold card stock from Spellbinders for all the gold die cuts……..sprigs, sentiment, and flower heads.
I then put all the different elements together. Those little floral sprays – my goodness they are fiddly. I found the best way for me was to put a little dot of wet glue on the back of the sprig tops – then use my Pinkfresh picker (a ‘swag’ item from a Pinkfresh event last year) for the flower heads themselves. Essentially, creating the floral sprigs wrong way up – that seemed to work better than trying the glue to sprig heads onto the tiny flowers….
Once each item was put together, I then created a circle frame using two different sized circles, off-set it from the centre of the card and glued flat. Then I played……placing each element, moving it, fiddling with it, die-cutting more of the fern in gold, moved it around more, die cutting more poinsettias……..until I got the design I wanted.
I then used wet glue to adhere them, not completely as I like movement on my elements, added the sentiment – and done.
I seem to get into the zone when I create with the small Spellbinders dies – a routine of die cut, assemble, then arrange. I must be acquiring more patience as I’m getting older…..
ABC Christmas Challenge has reached the letters ‘W‘ and ‘X‘, and I am hosting this time round. We want to see your Christmas/festive creations following the themes of:
W is for Wreath, and/or X is for XOXO – hugs and kisses
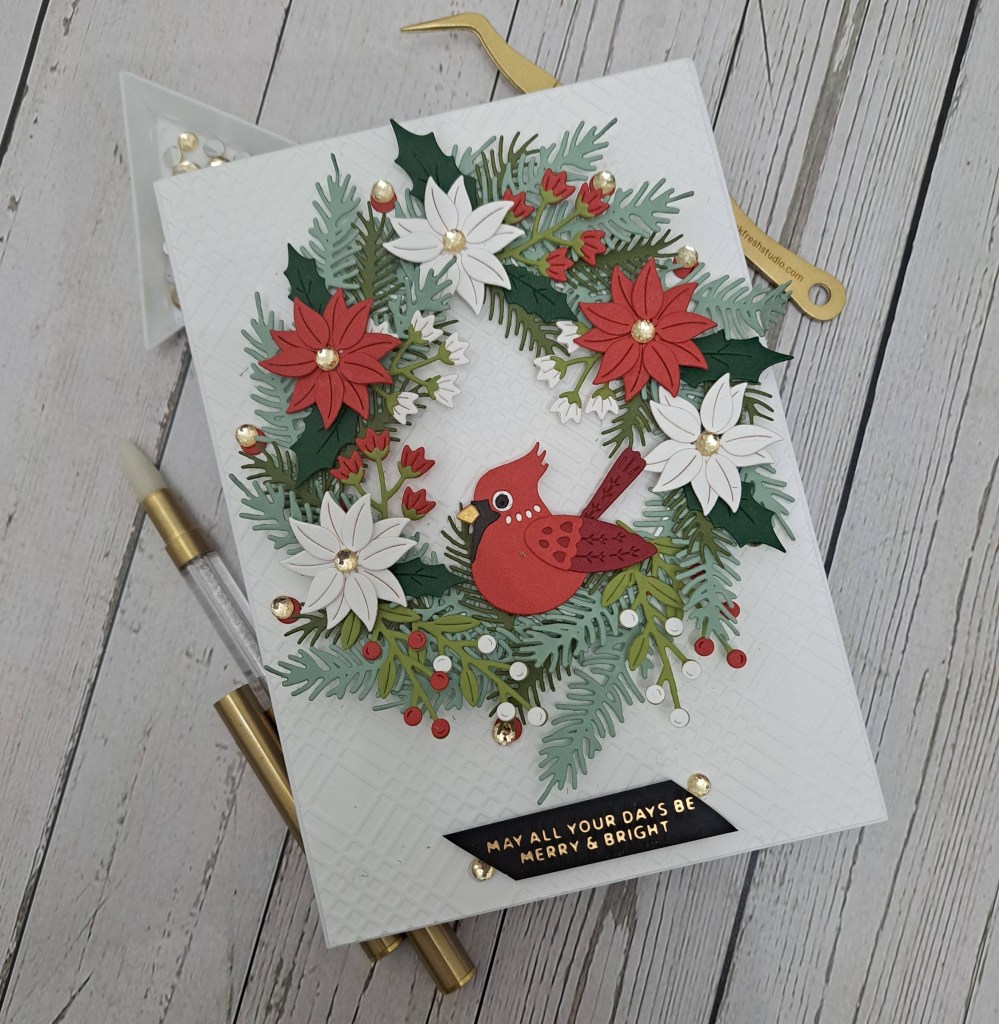
Here is my card:
This card was created using Spellbinders products – and what fun I had with all the die cutting and layering and gluing….
The card base had a dry embossed panel placed on top – just enough detail for interest, but not enough to confuse the matter.
All the leaves, flowers, and the bird, were die cut, layered as required, and then put to one side whilst I played with placement.
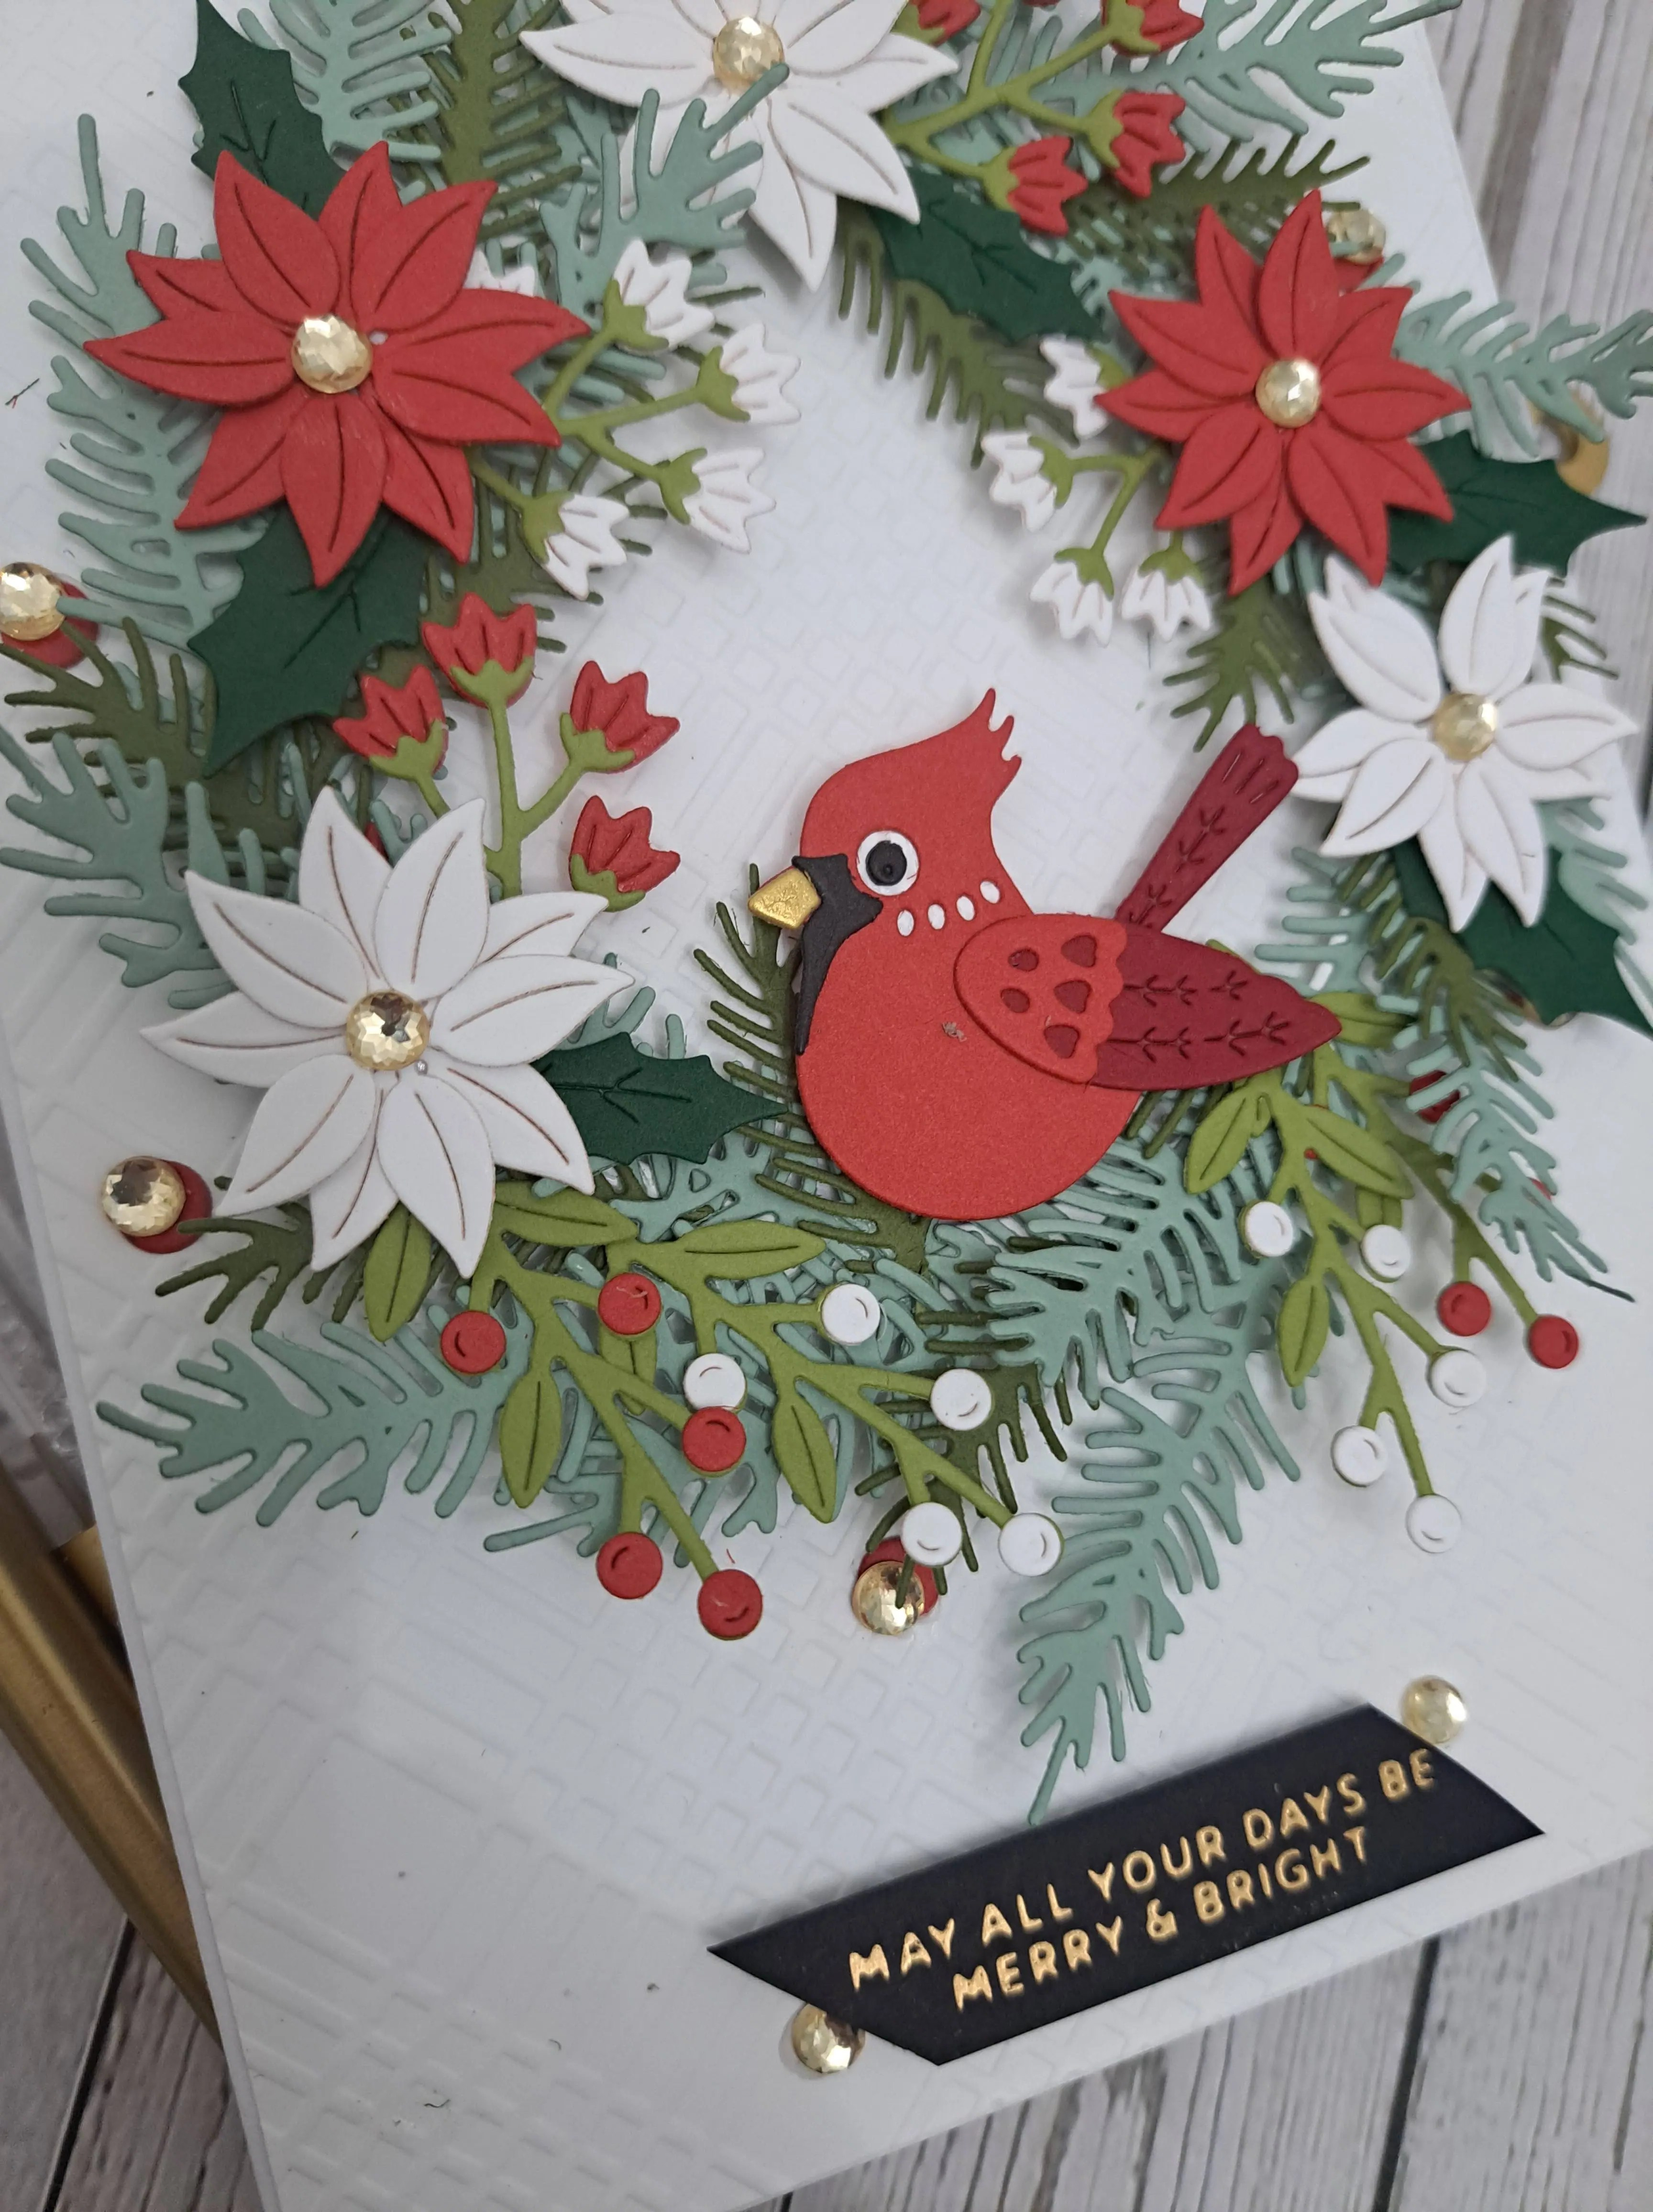
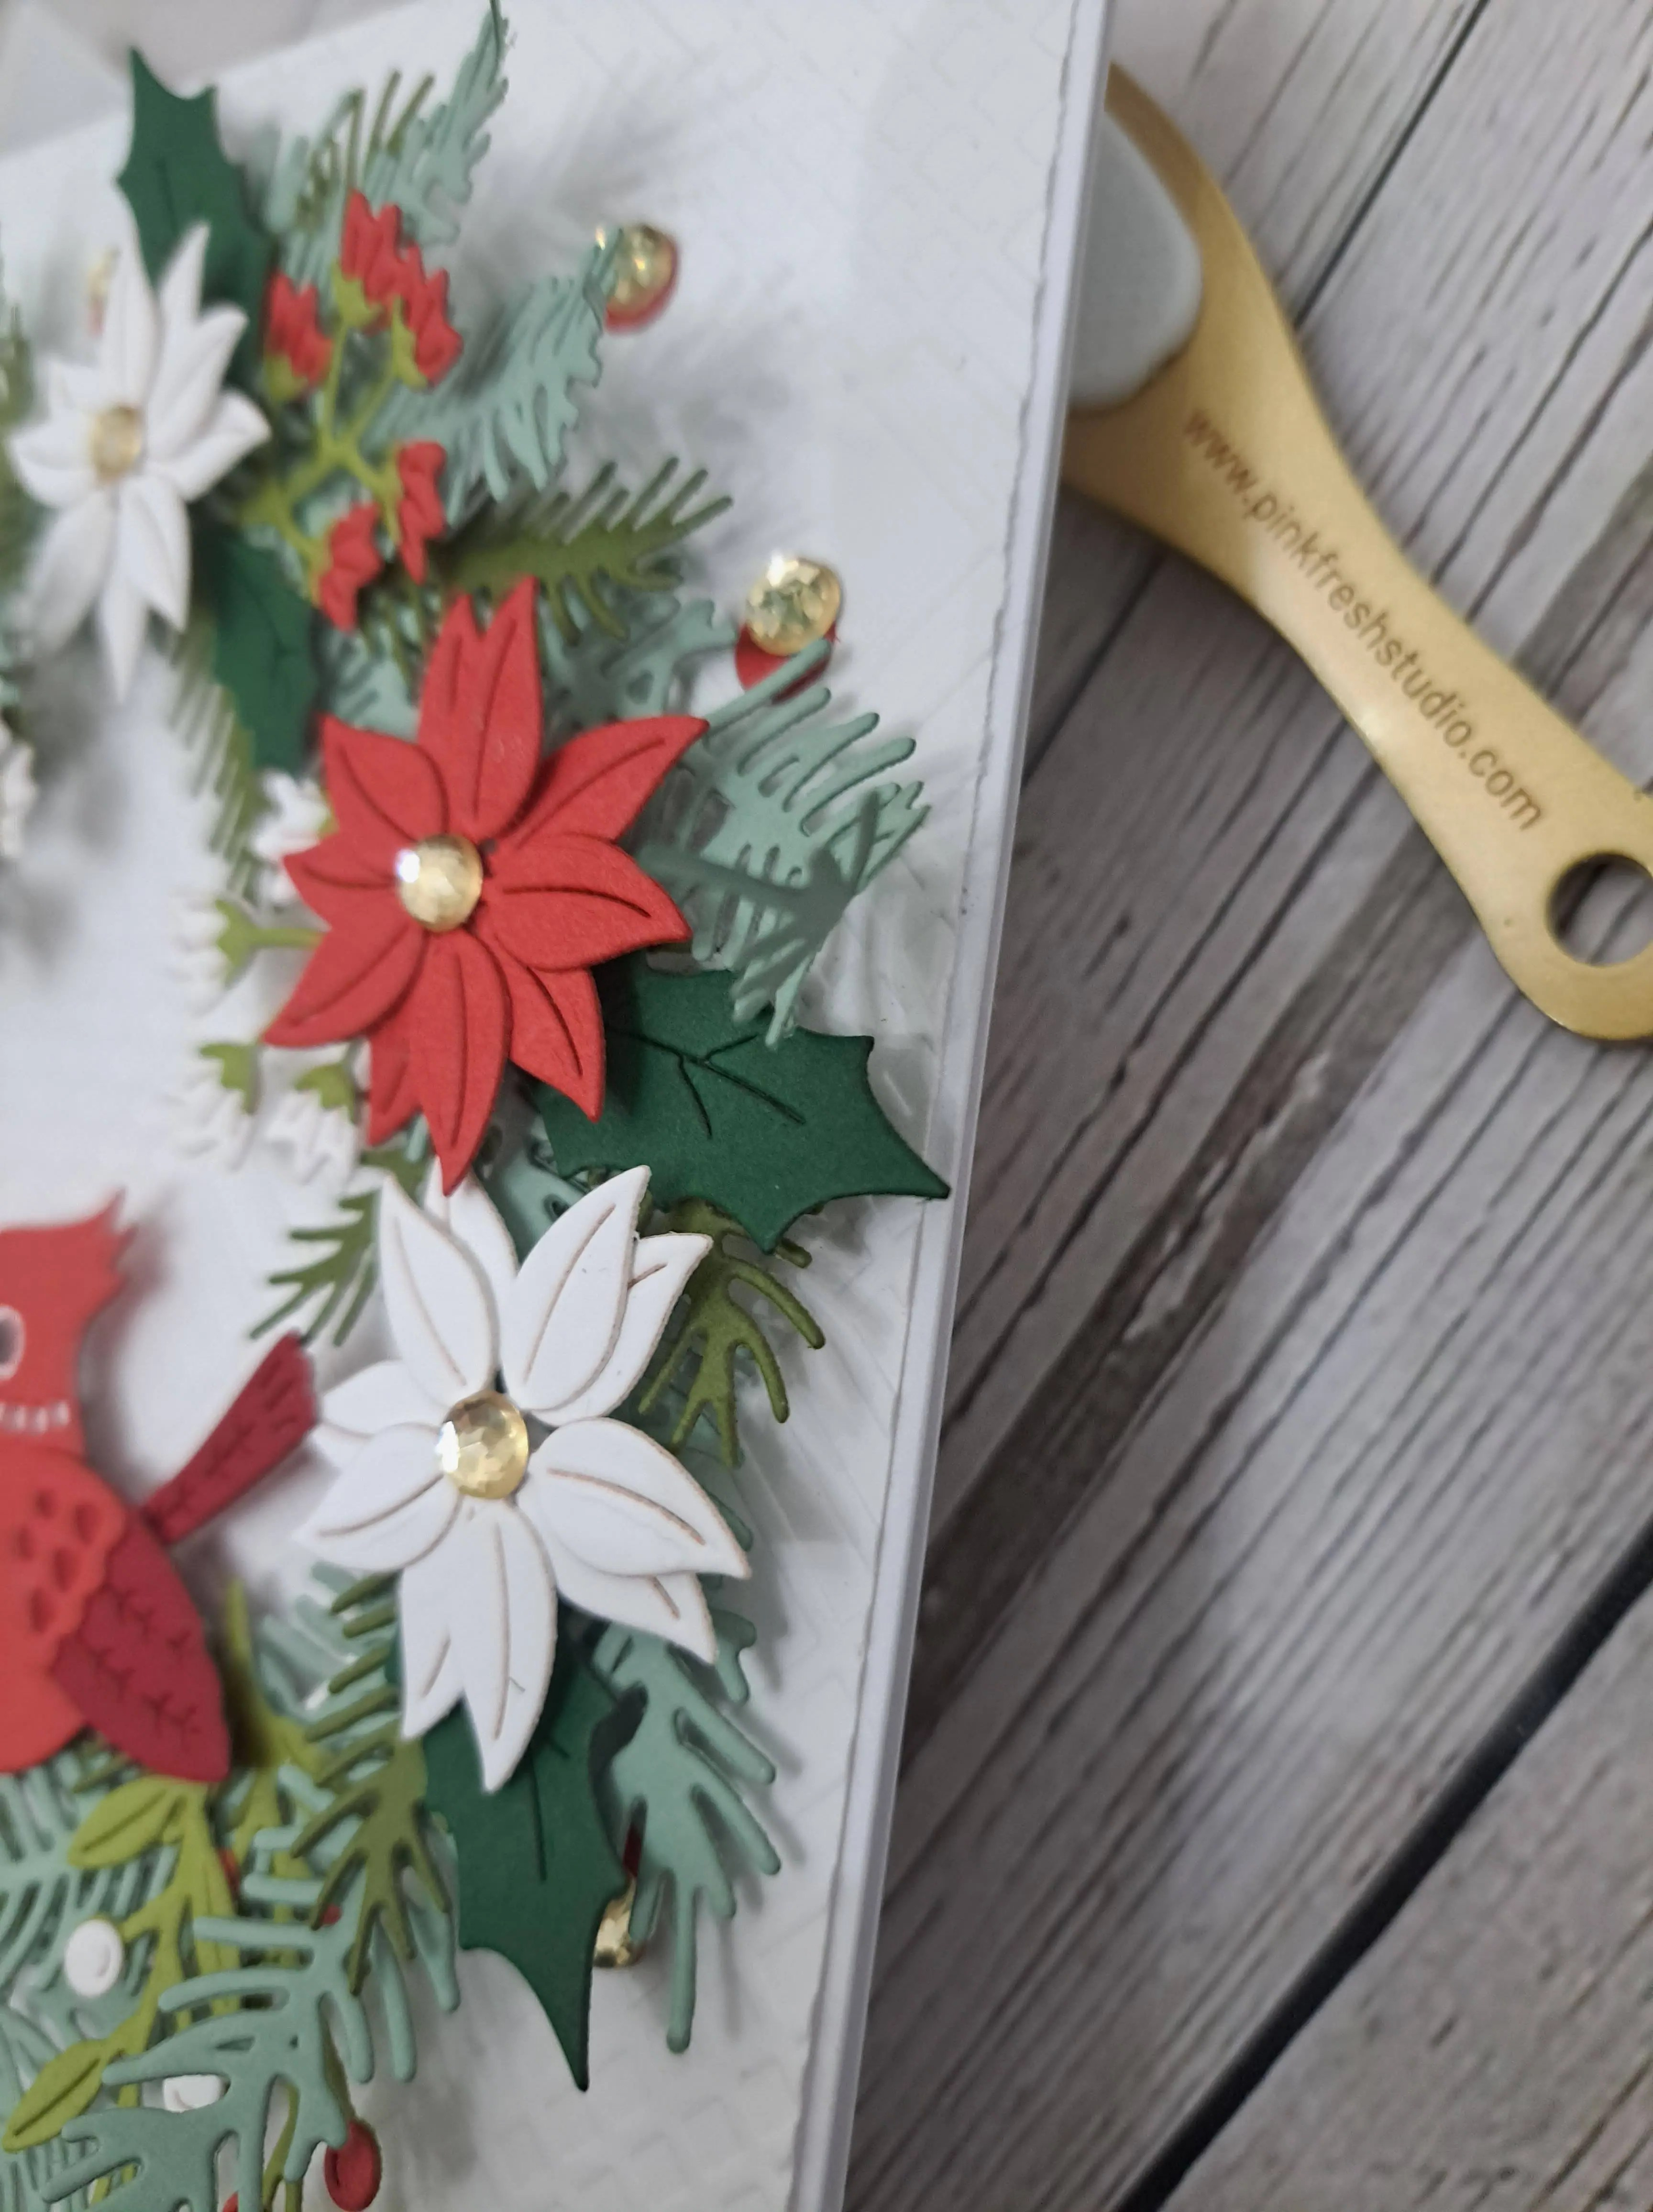
First all the different coloured ferns, then the holly, then the poinsettias, and the floral sprigs just kinda shoved in there – should I say placed delicately…….? You know what I mean…..
Then the little birdie was added perched on the bottom of the wreath.
I also added some of the red ‘berries’ around the wreath, and placed a facetted gold gem on each of those – offset slightly so you could still see the red under the gold.
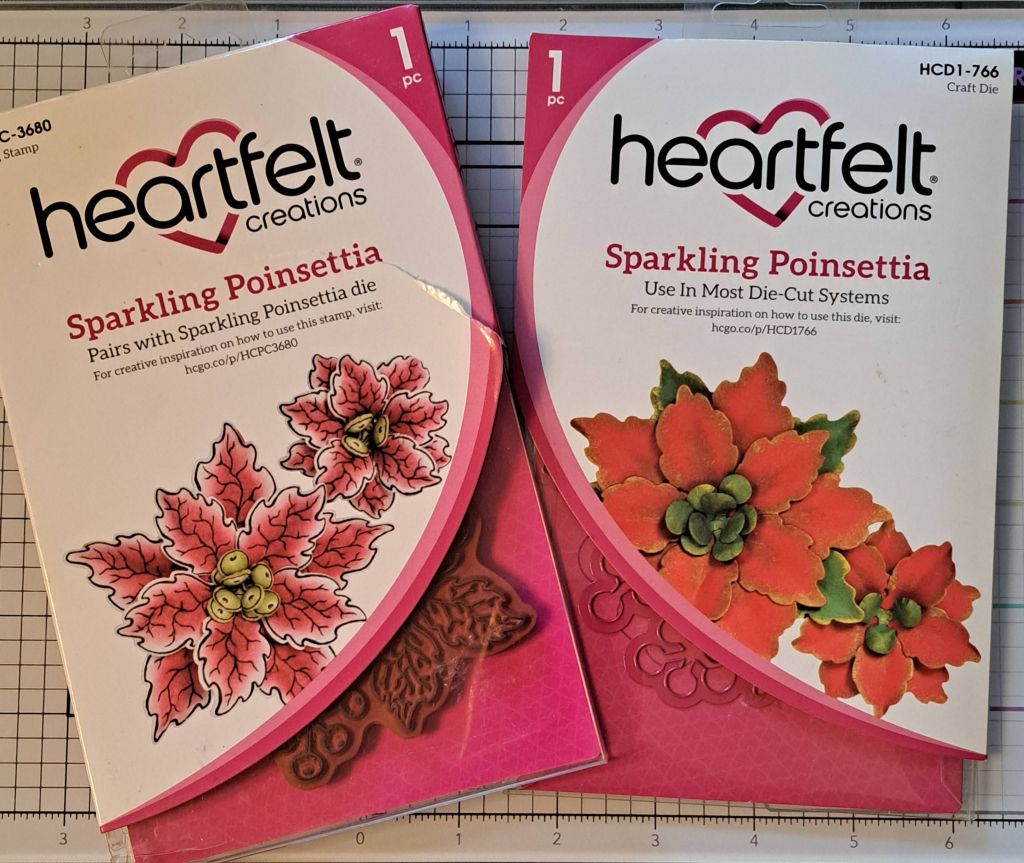
I hope you can come and join me for our challenge – Christmas creations following one or both of our themes. I have added a prize for a random winner – a stamp with matching die set from Heartfelt Creations:
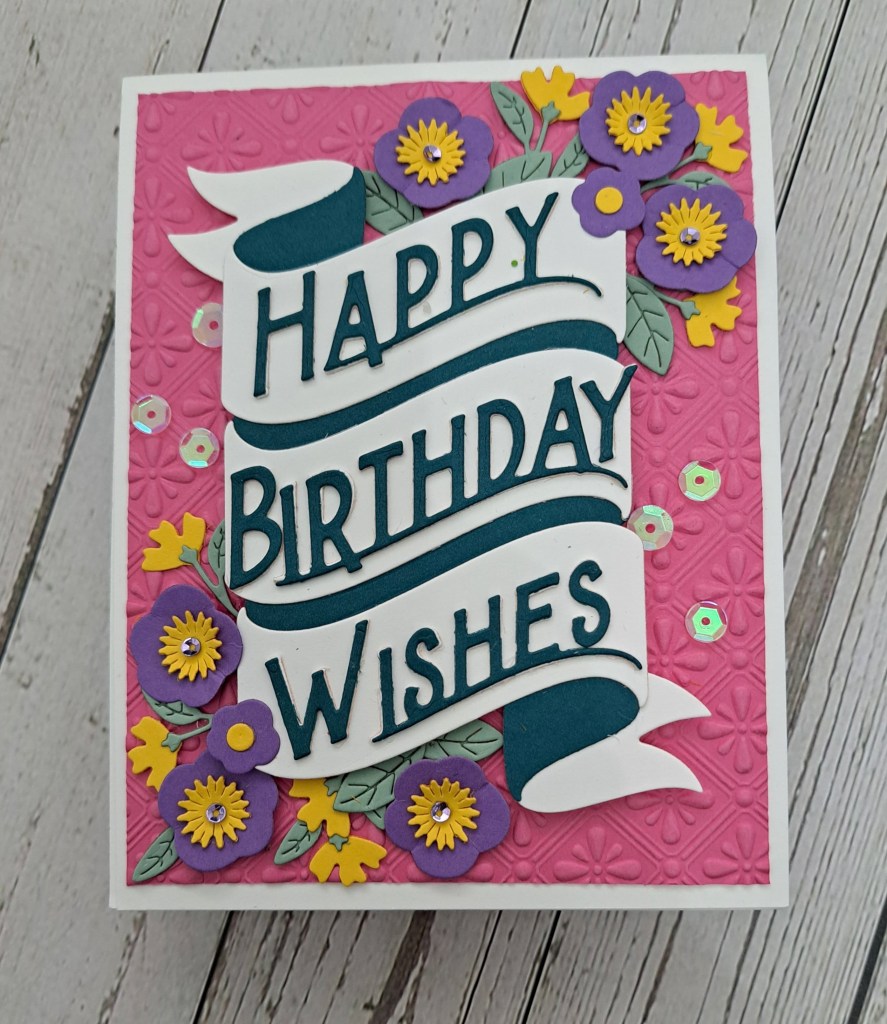
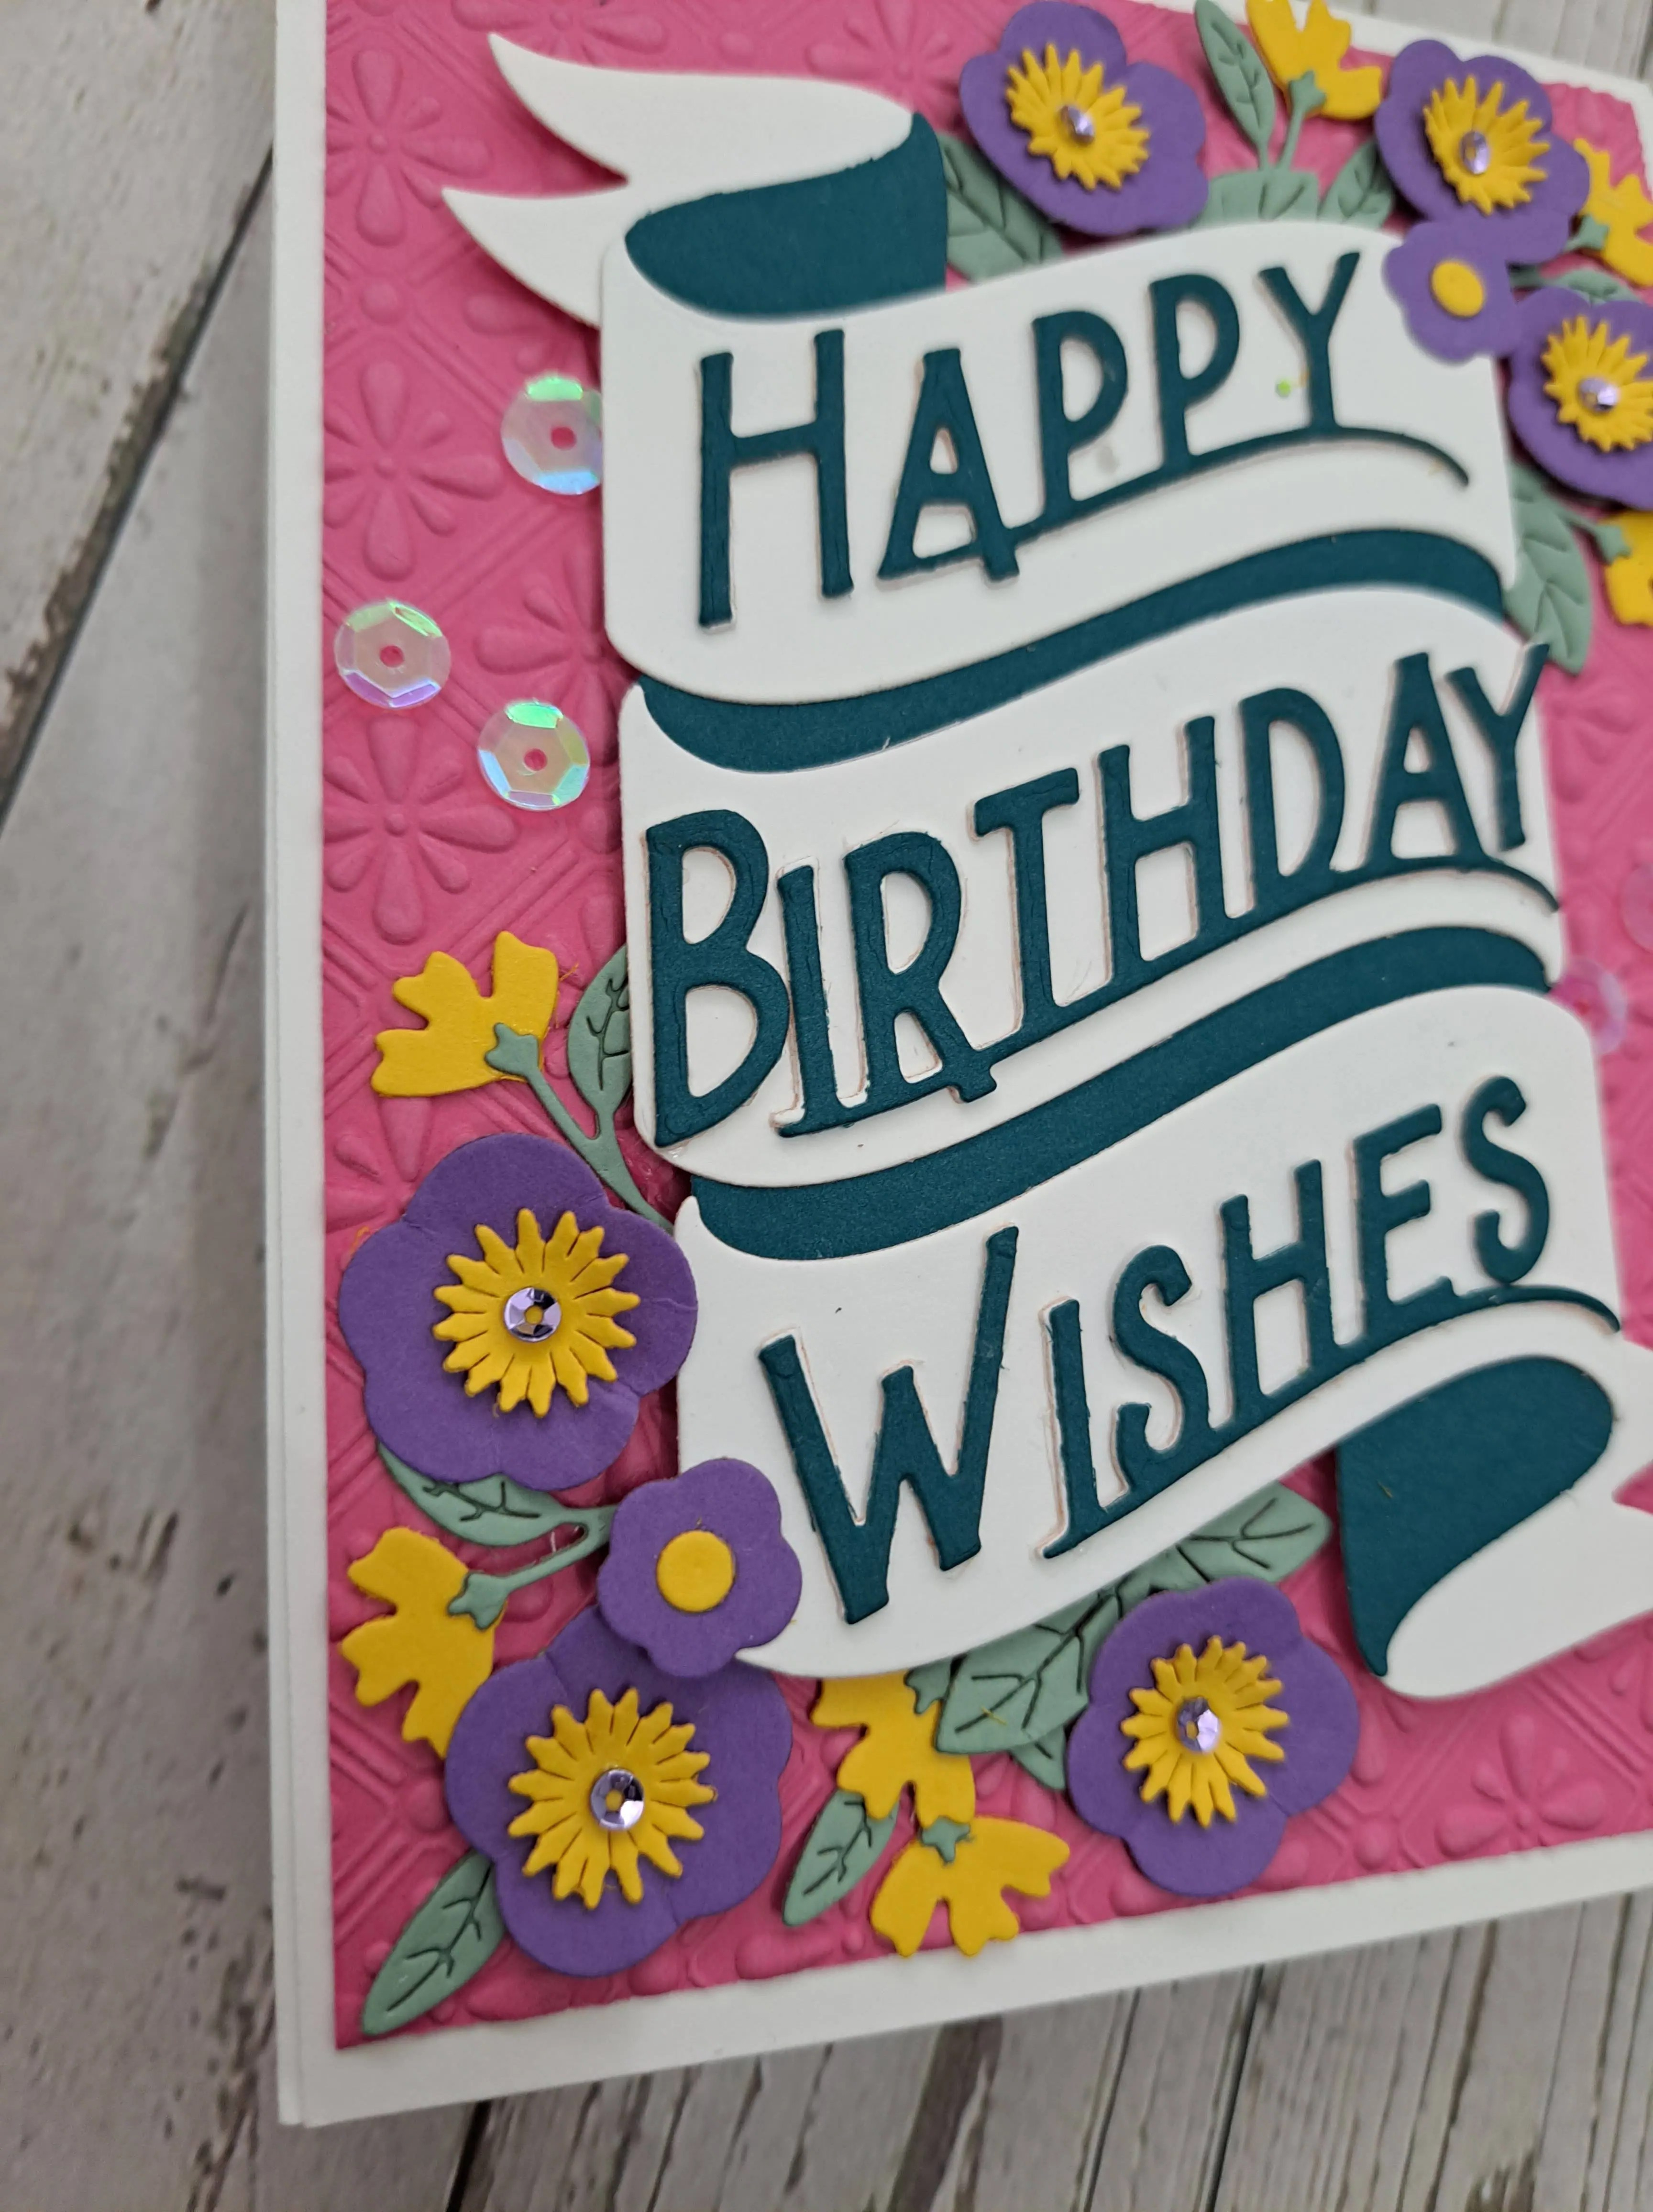
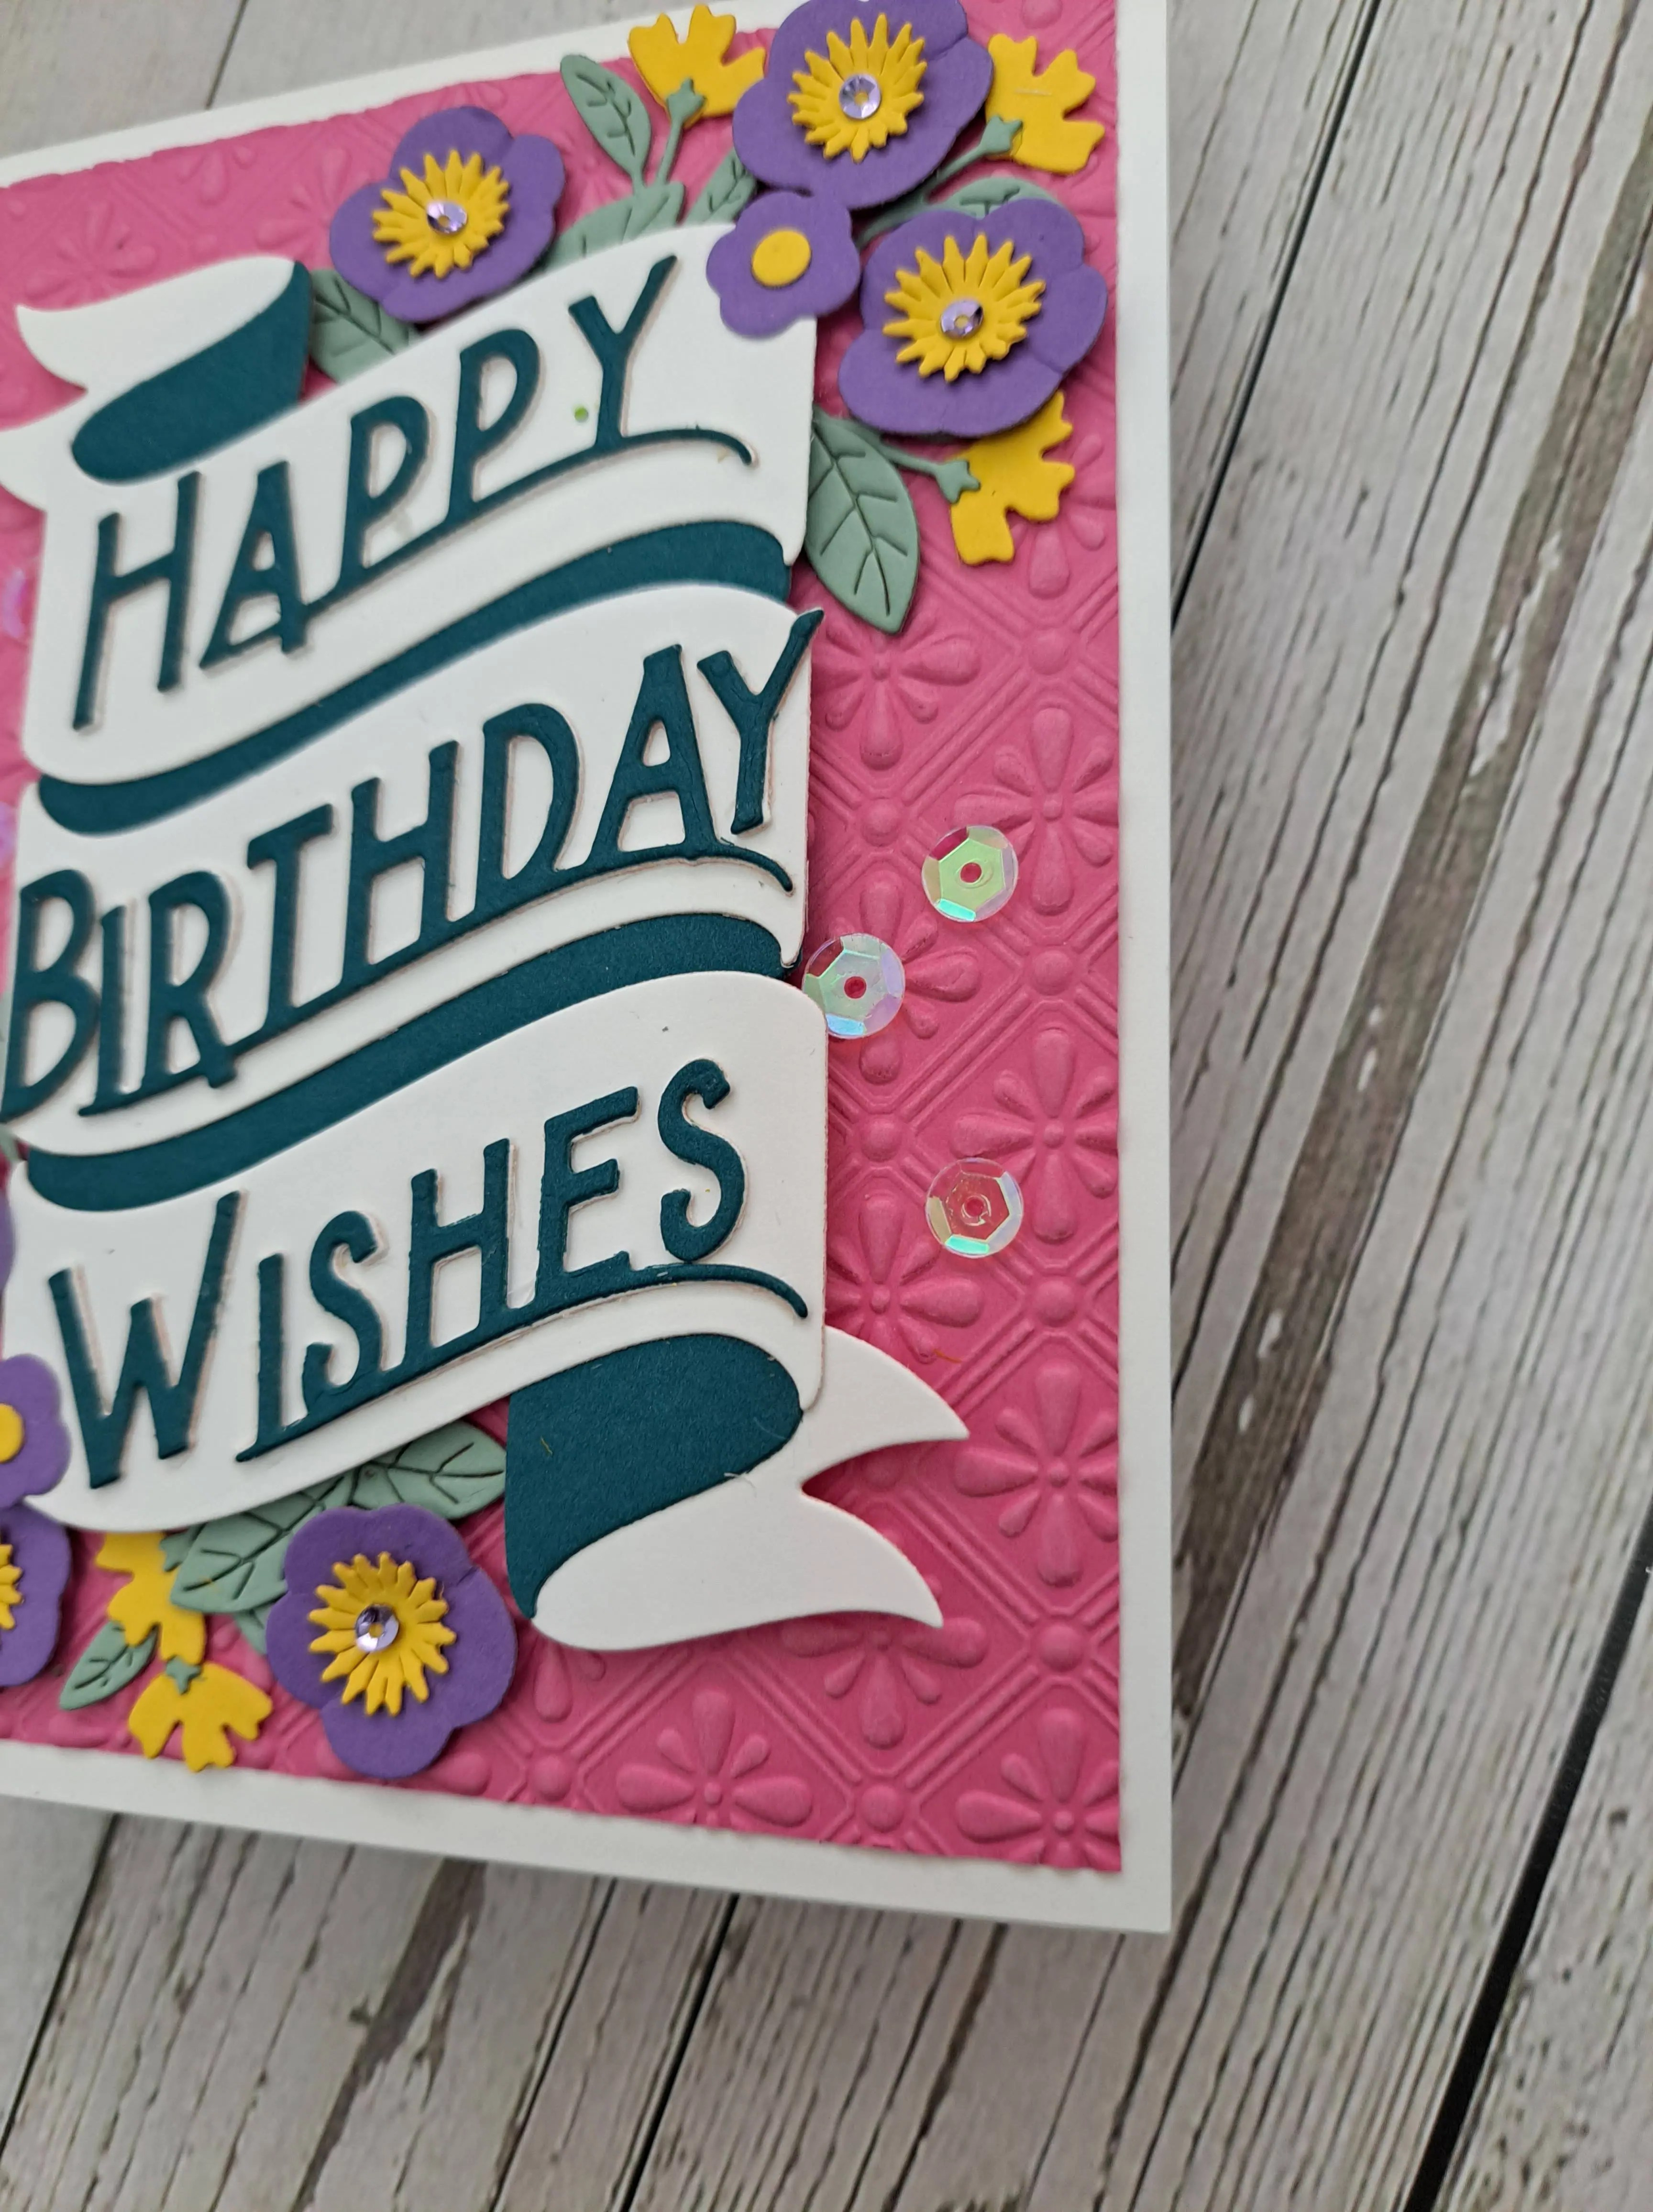
I decided I wanted to go with a bright and colourful card – and I think you will agree with that this is indeed bright!
The background pink panel is dry embossed using a Spellbinders embossing folder and adhered flat to the card base.
I then used a selection of Spellbinder dies to create the rest of the elements.
The sentiment banner was created and adhered with 3D foam, and the flowers were layered and attached with wet glue, and some added bling in their centres.
I also added some iridescent sequins along the sides for a little more bling.
I hope you can come and join us with your birthday creations. xx
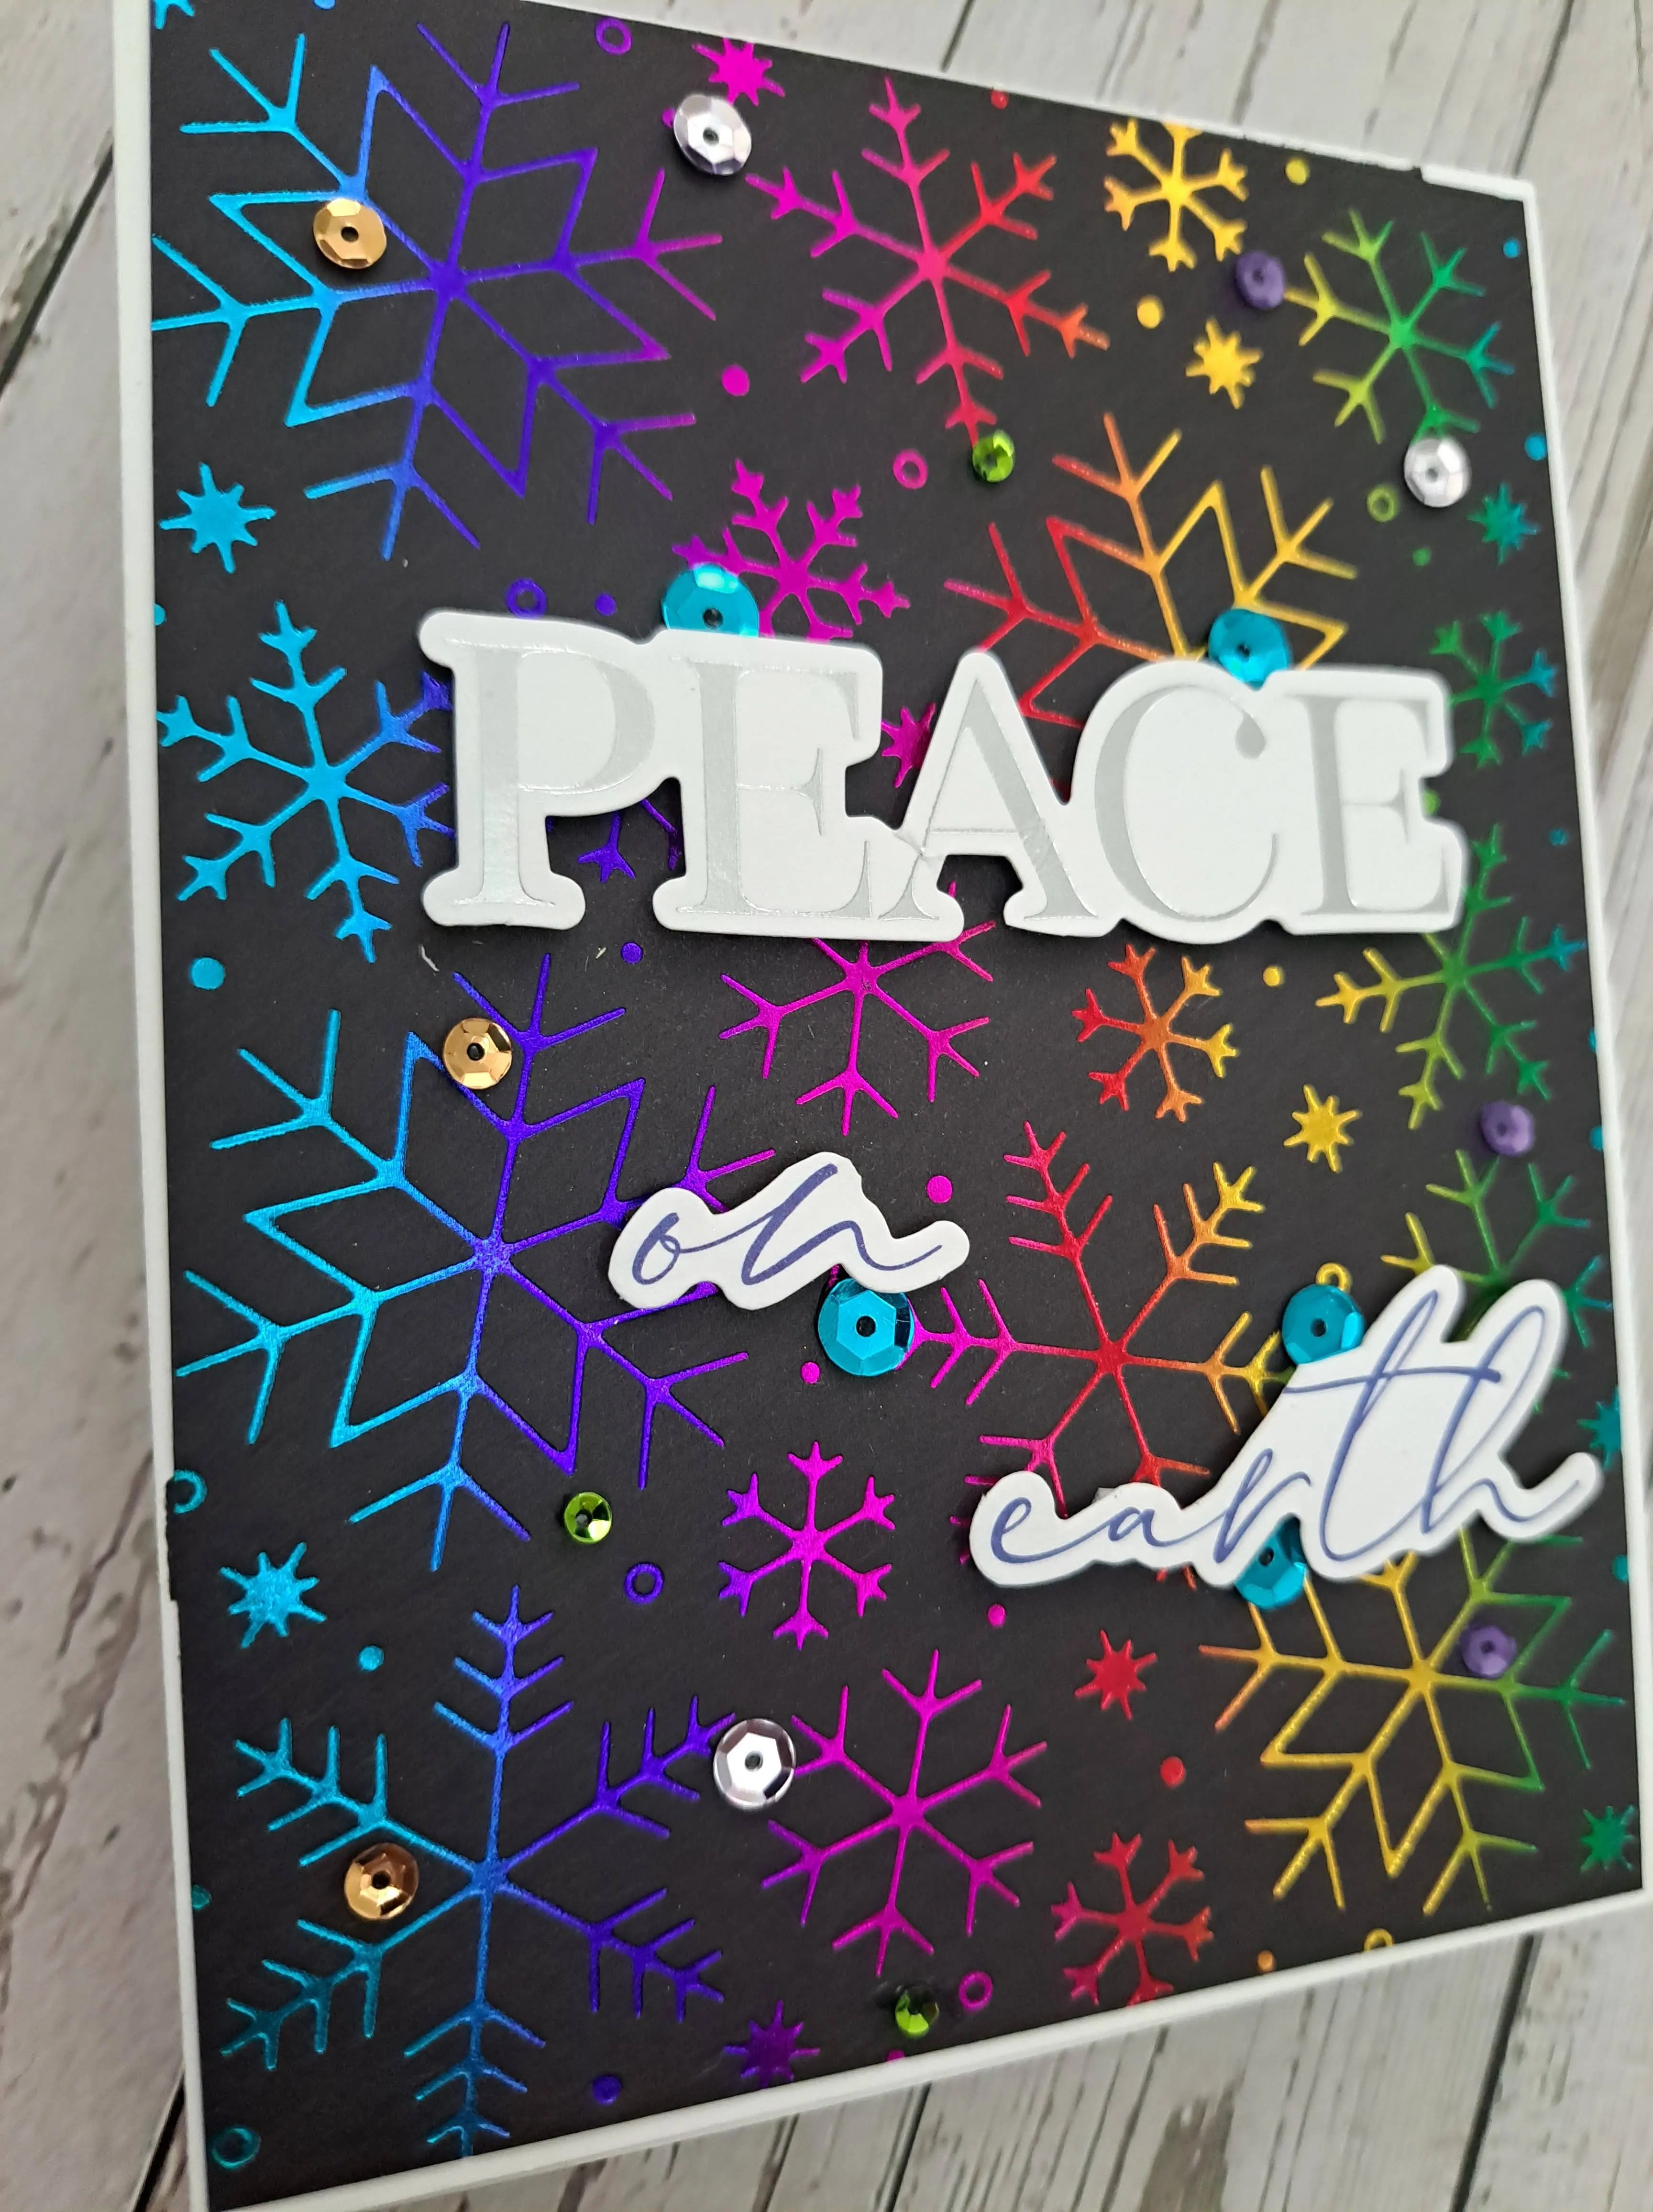
Hello once again. The Alphabet Challenge has reached the letter ‘P’, and Deborah has chosen the theme of ‘Peace’. Here is my card:
The black background panel was created using a Lawn Fawn hot foil plate and a rainbow foil. I like the shine and colours – so vivid and bright and shiny in real life.
The words are from Pinkfresh Studio and were already foiled and die cut.
I then added a whole host of sequins in the colours of the background – blue, gold, silver, green, purple – I just kept adding them…..
I hope you can come and join us with your ‘P for Peace’ creations. xx
Hello there. I am hosting the current challenge at Cardz 4 Galz, and have chosen the theme of:
‘Thanks/thank you/thanksgiving’
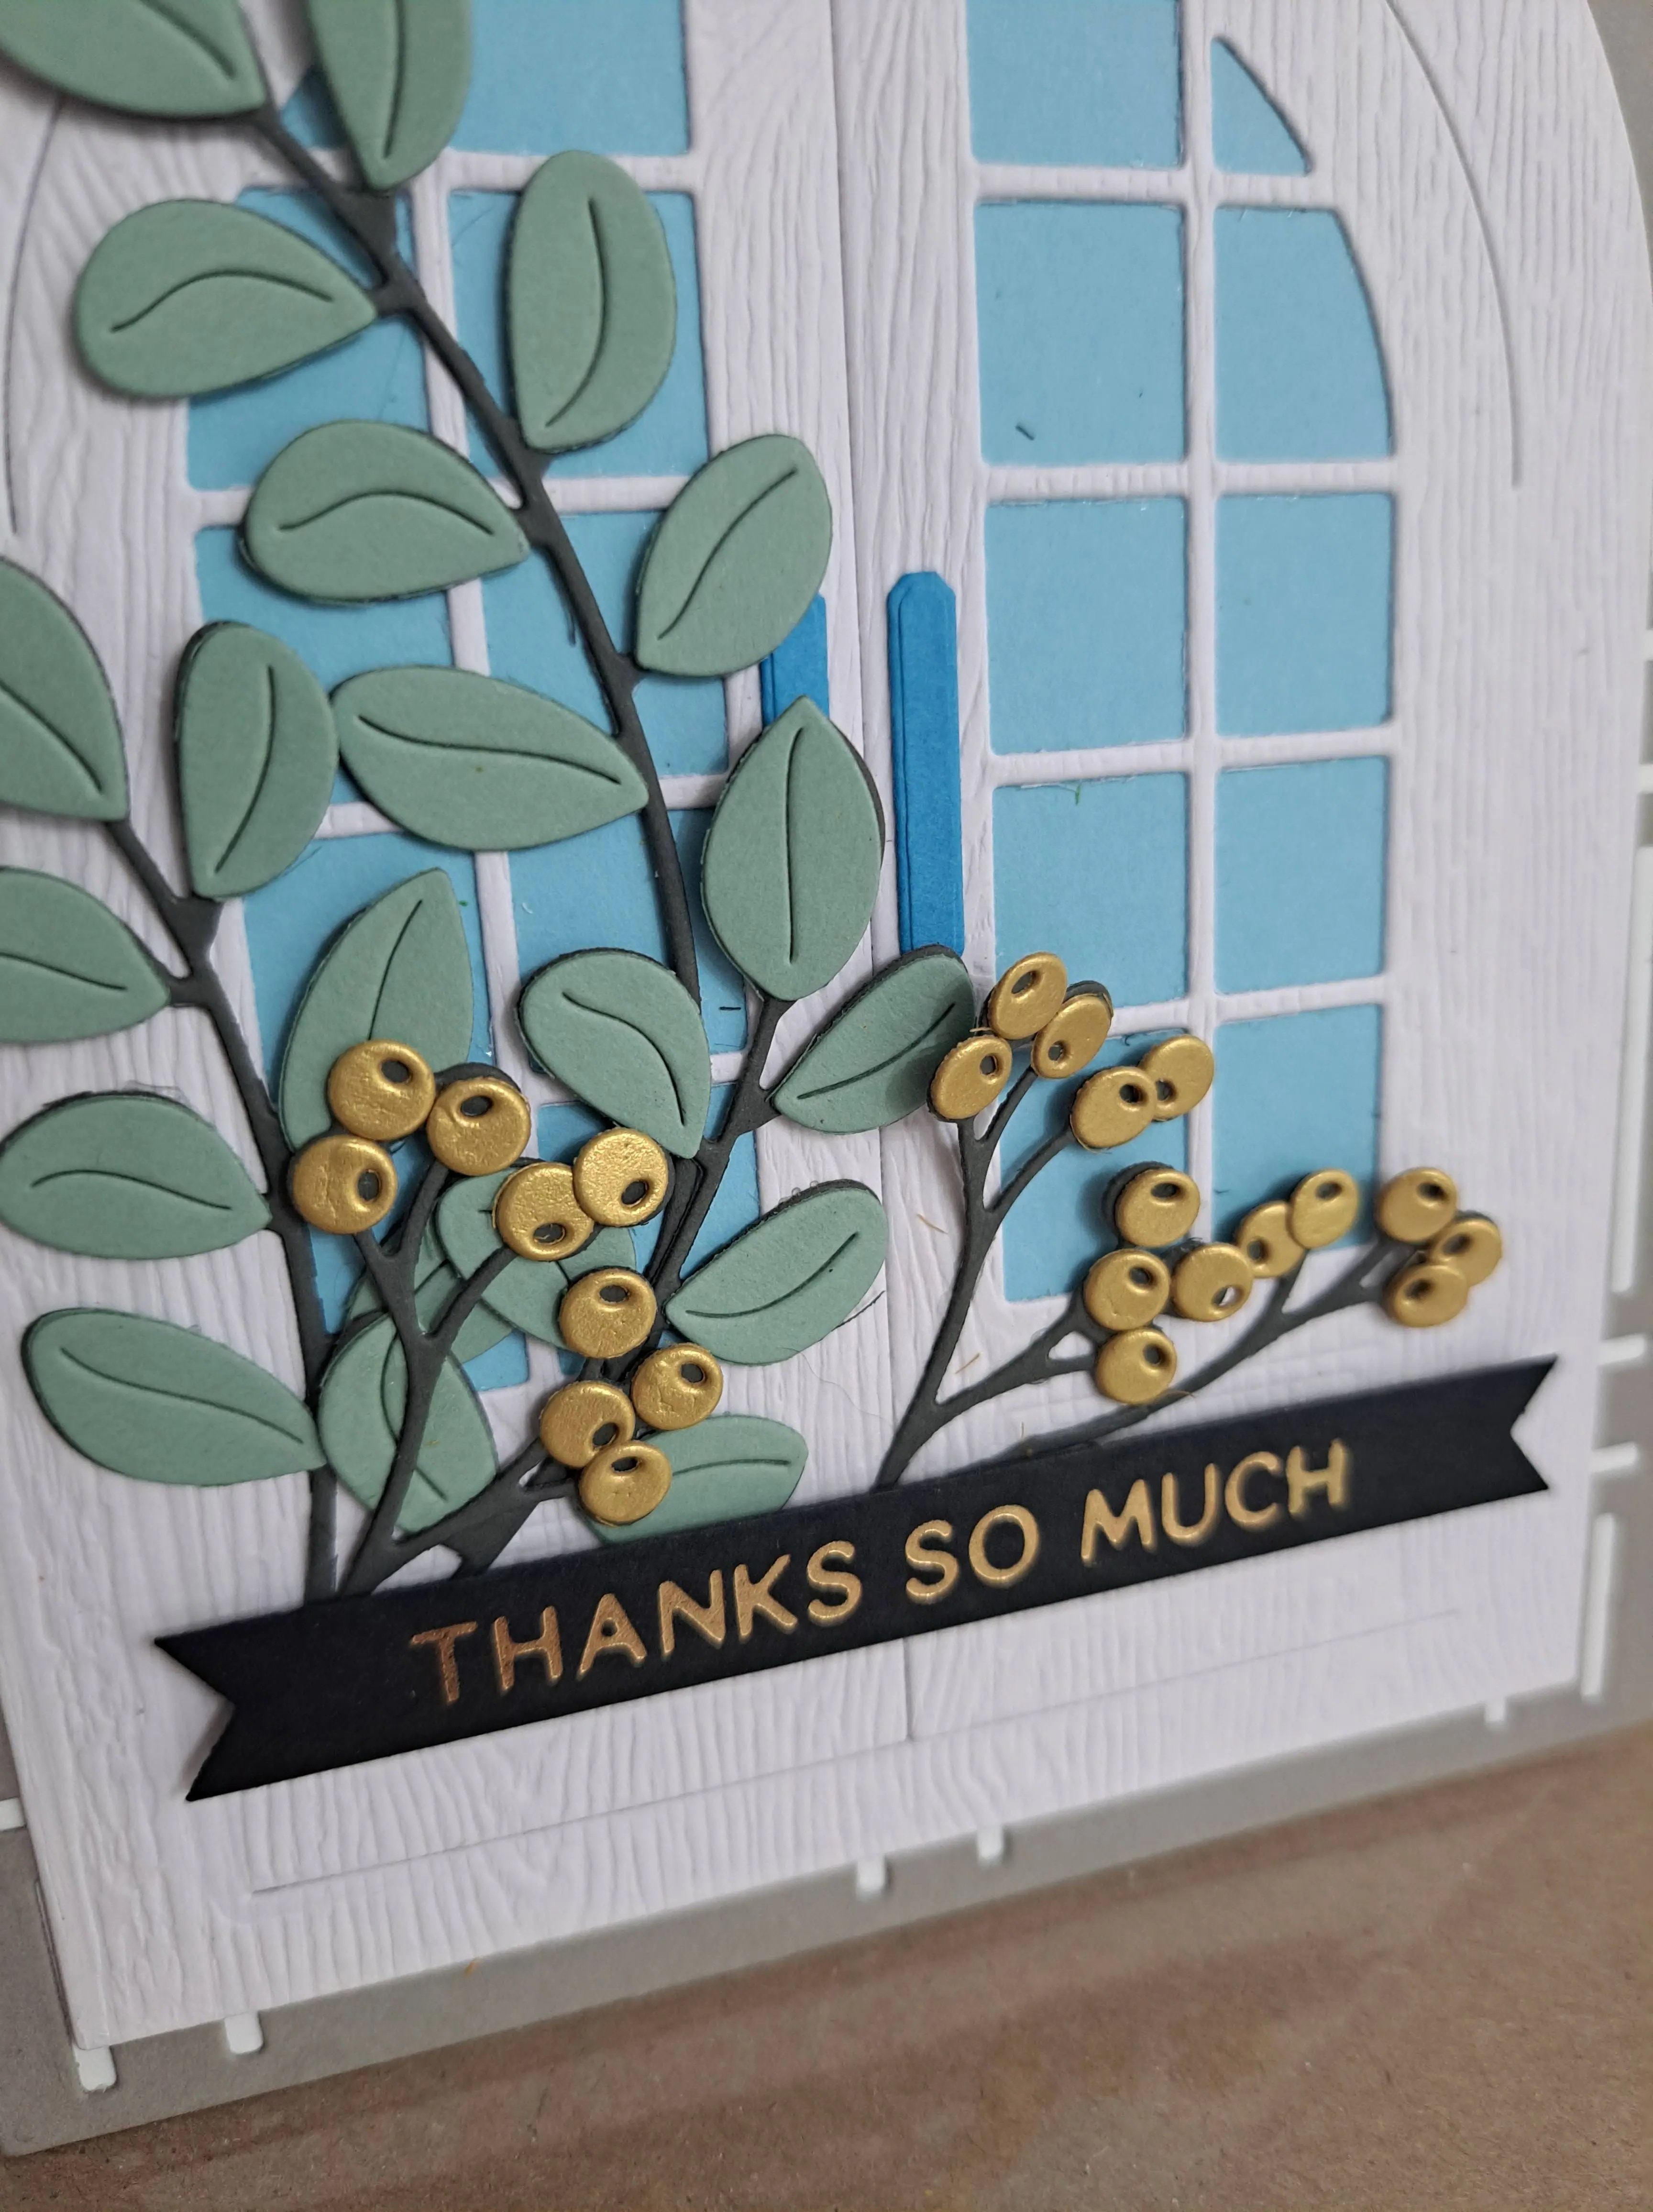
Here is my card:
I used a white card base, onto which I glued a background grey panel die cut with a Catherine Pooler die.
The arch window is from The Greetery, and die cut with white woodgrain card stock from Lawn Fawn. I added an ink blended panel behind the ‘doors’ of the window, and darker blue window handles.
The leaves and stems with berries are from Spellbinders, glued down, and then the foiled sentiment was added.
I hope you can come and join us with your creations following our theme – I look forward to seeing you in our gallery. xx
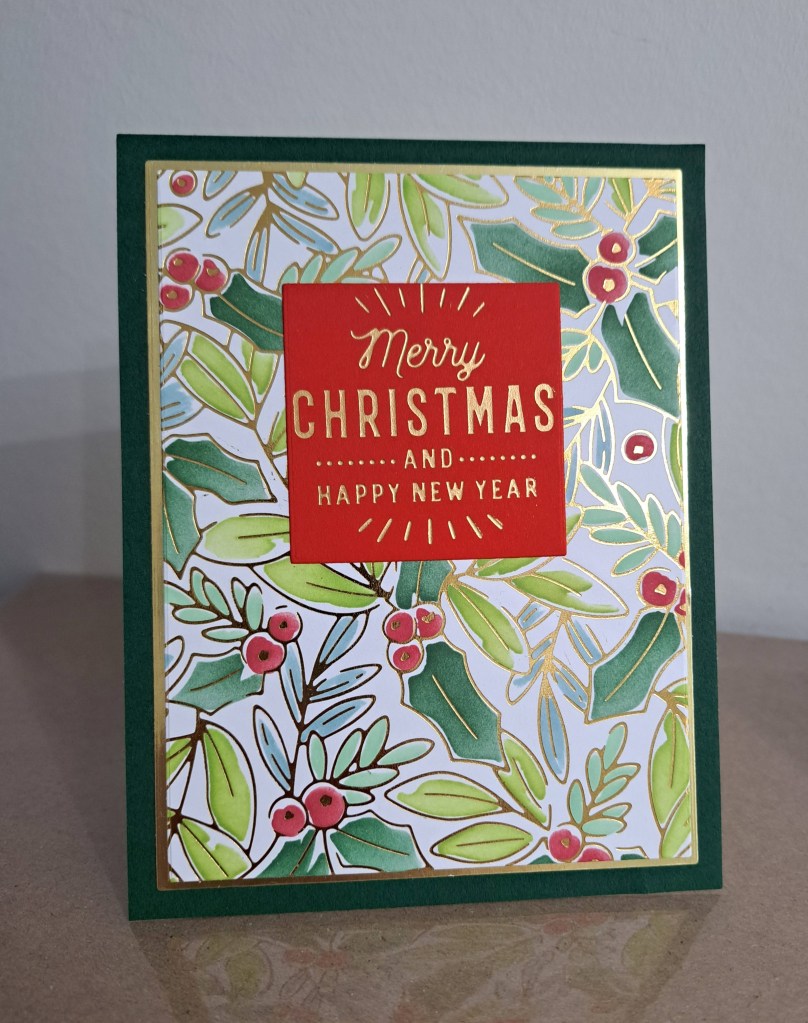
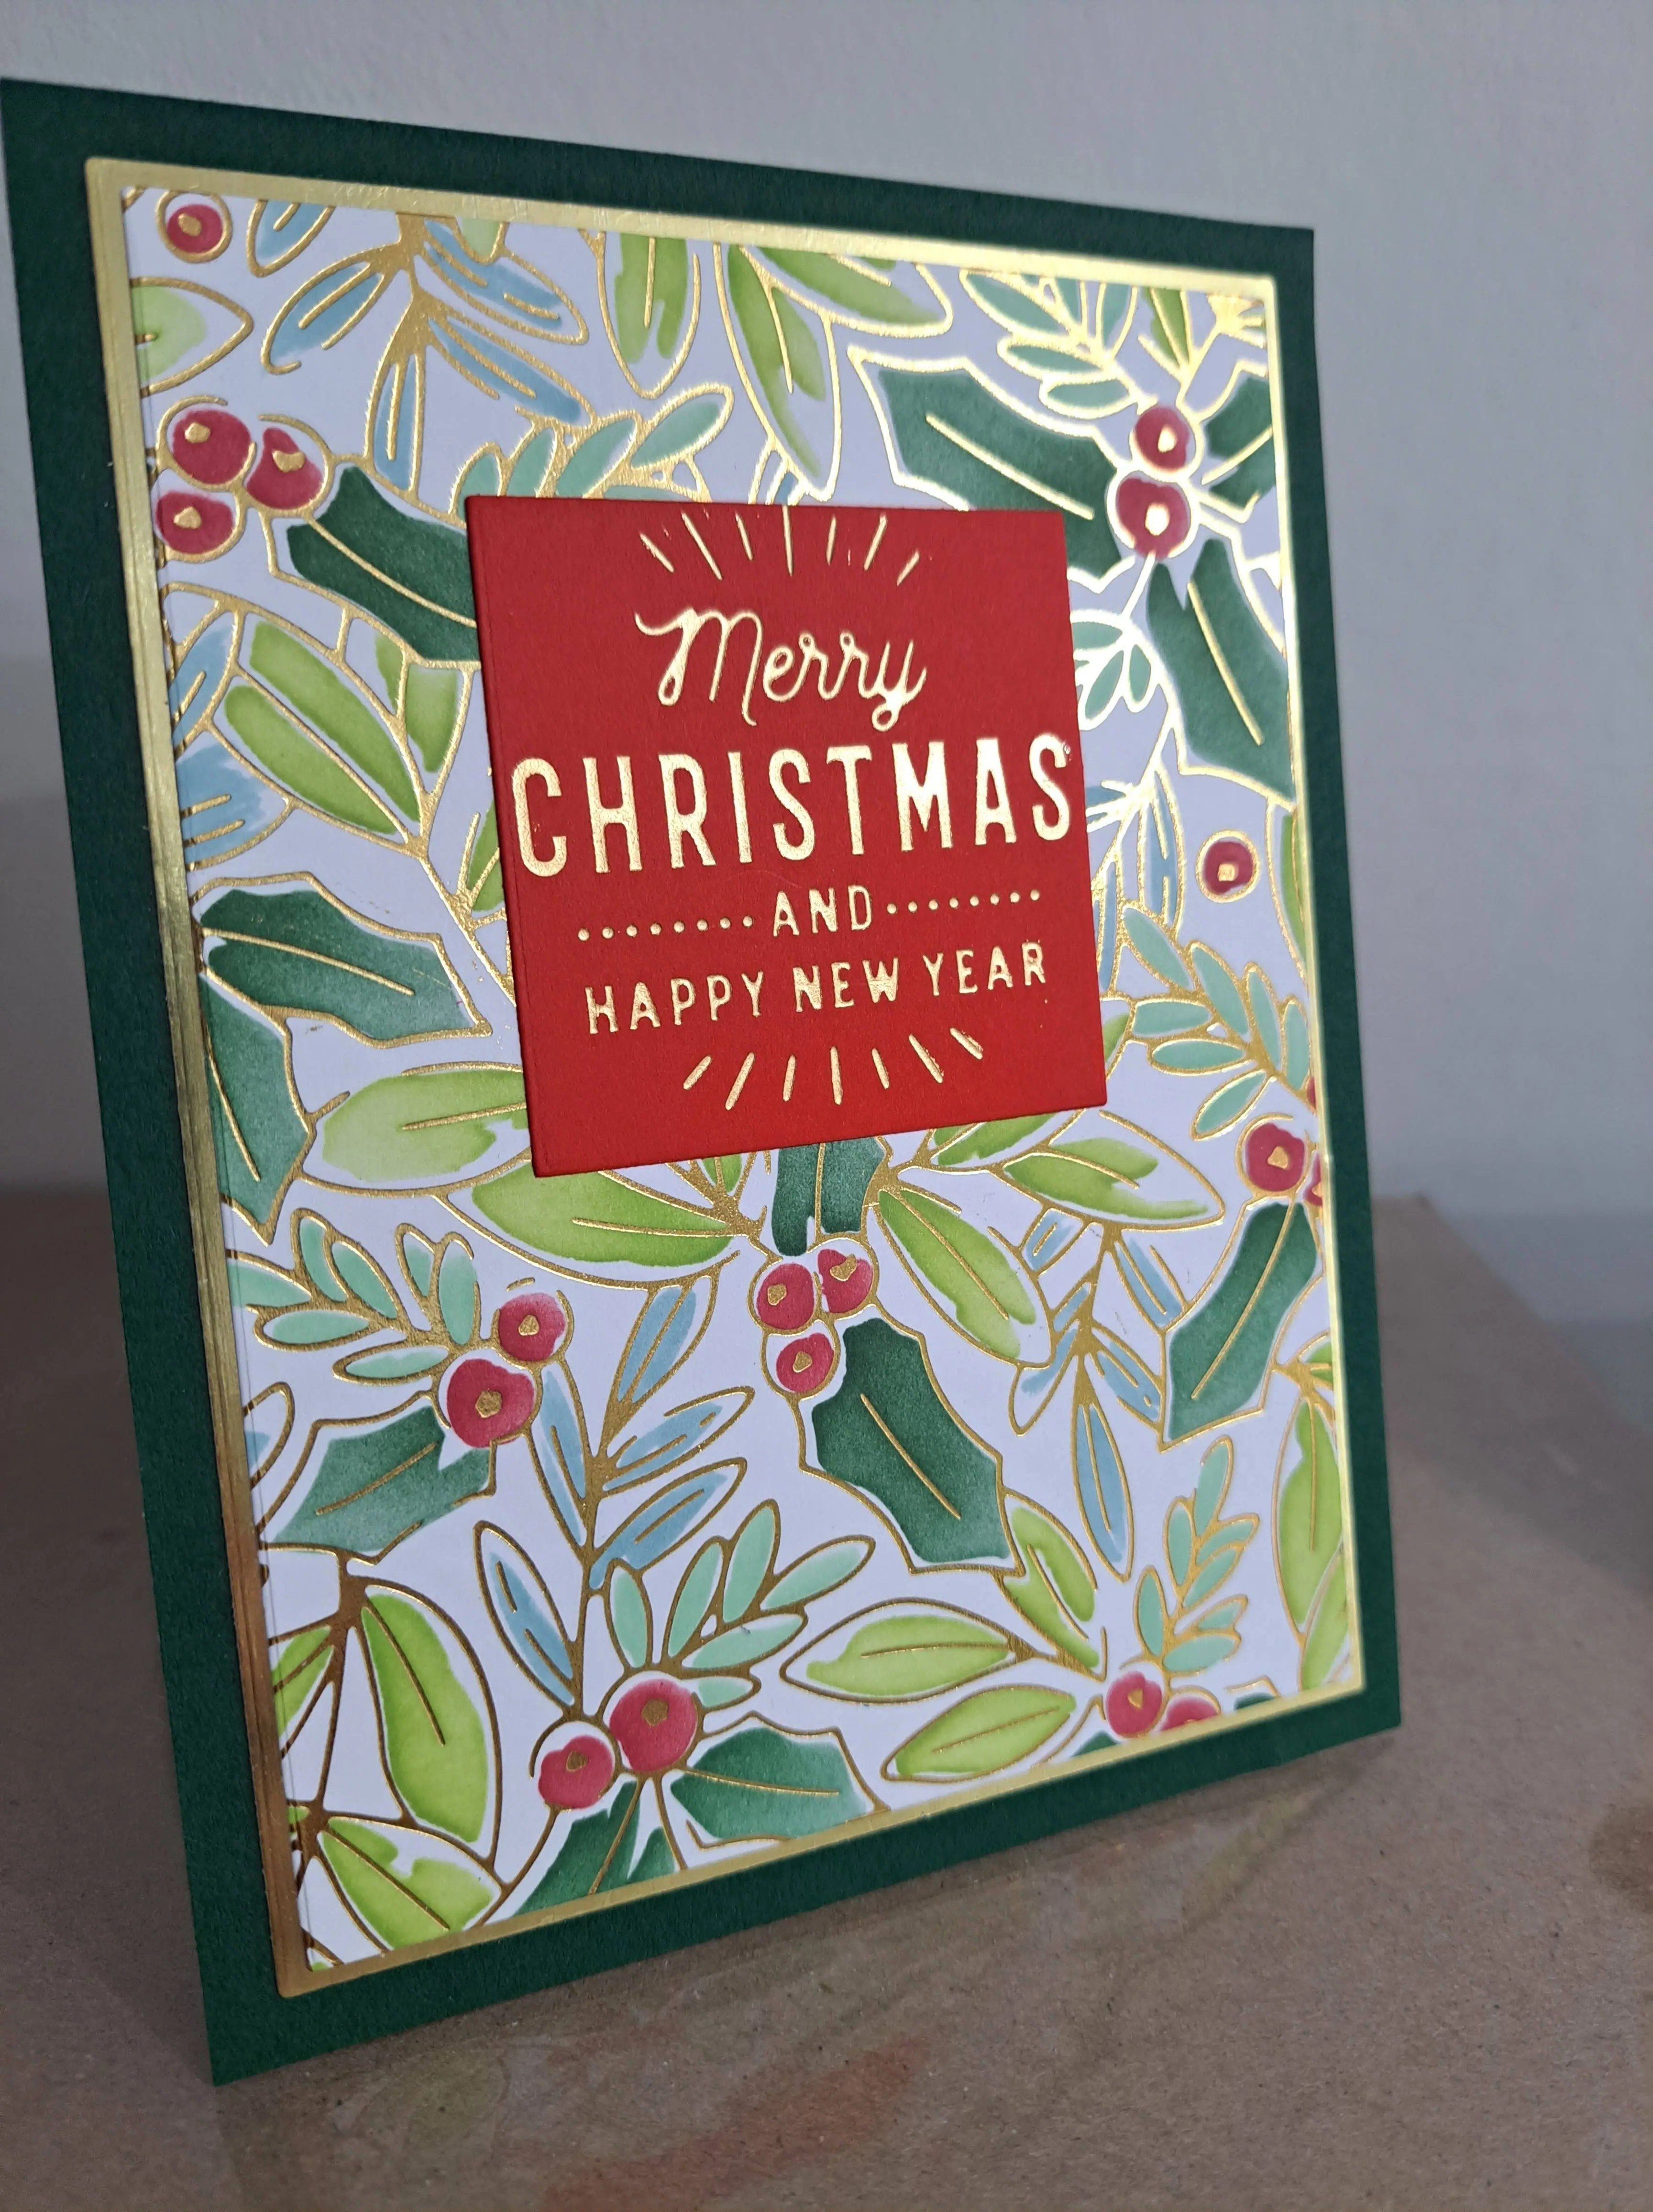
The background holly is a hot foil plate from Spellbinders, and hot foiled using gold. I then used the layering stencils to colour the images. As you can see, it is a whimsical kind of colouring – some bare areas not covered by the stencils – and I really like that look.
I used several shades of green for the leaves, and a deep red for the berries.
Once that was dry, I also added some gold with paint markers to the centre of the berries.
The sentiment was also hot foiled then die cut, and all layered onto a green card base with a thin gold matting layer.
I hope you can come and join us for this challenge. I am looking forward to seeing you in our gallery. xx