Christmas and Pines

20171108_112321

20171108_112355

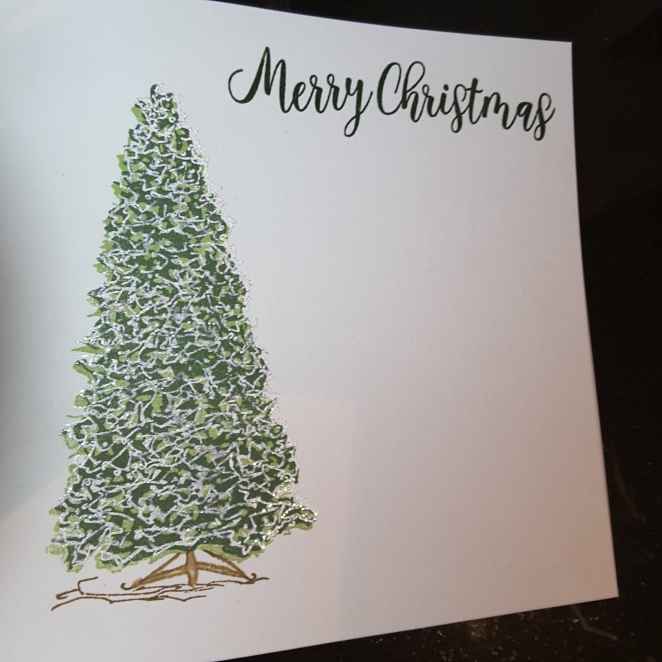
Hello everyone. A quick posting for today, as I made some Christmas cards last night. I was inspired by the Paper Players ‘Holiday Pines’ photograph, and hunted out my pine boughs and pine cone stamps.

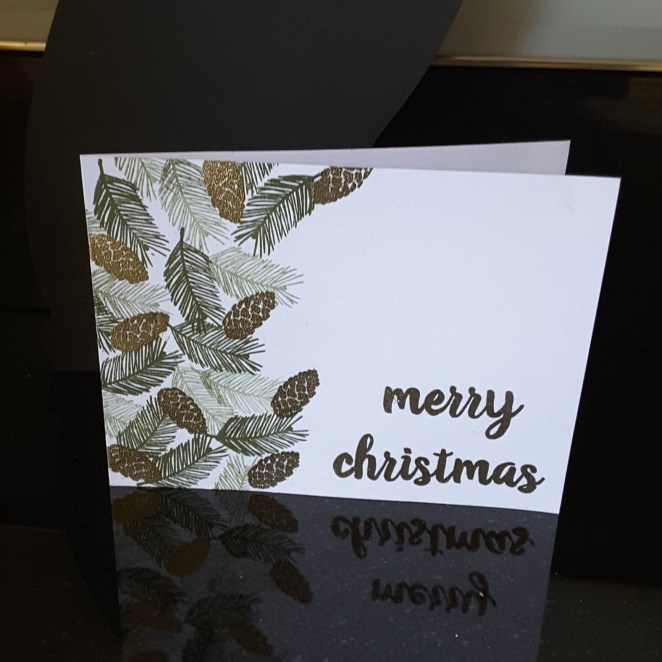
The pine branches are from Catherine Pooler, and the pine cones are from Card-io/Majestix. I kept the feel quite vintage, and used a Stampin Up green for the branches, first and second generation stamping to create some dimension.

I then waited for the ink to dry, and stamped the pine cones in Ranger Perfect Medium, heat embossed with Creative Expressions gold embossing powder. I used the same embossing powder on the Altenew sentiment. I think I have captured some of the shine on the pine cones, but it really does look much better in ‘real life’.

I was so engrossed in making this card, and liked how it turned out, that I went on to make several of them. I may make some more changing it to silver embossing powder, but I don’t think it’ll turn out as effective – we shall see.

I shall be entering the following challenges:

The Paper Players photo inspiration Holiday Pines

Crafty Hazelnuts Christmas Challengeanything goes Christmas

The Holly and Ivy Christmas Challengeanything goes Christmas

Daring Cardmakers3 elements – foliage, green, gold

I hope you are taking part in the current Inkspirational challenge with me as Guest Designer – I look forward to seeing you there.


Blooms fill-in (C&9th)

20171106_15093720171106_150917

Hello there. I hope everyone is having a good day – or had a good day if you are reading this in the evening. I have had this stamp set for a few weeks, and have been playing with different colours, and different parts of the layering. I haven’t added all the layers each time, and if I have done, then I have used more muted colours, to change the whiteness.


I attached to a base card after cutting out a panel with stitched rectangles from Lawn Fawn, but then noticed they are opposite ways up. I don’t think it matters, and actually I like both ways.

All the little individual stamps which make up this stamp set makes it so much fun just doing the one layer stamping. I’ll be trying the matching dies for a different look again, I am sure.

The one problem I did have was making sure the base layer, the solid layer, was stamped fully. I obviously used my Misti for this, but I found that some inks just didn’t want to play, no matter how many times I inked and stamped. The Altenew inks – the large oval inks – seemed to work well, but not really the smaller inks.

I tried different inks, and different card, so I think that you’ll have to use trial and error for this type of stamp set – but I’m loving it all the same.

I shall be entering the following challenges:

Just Us Girls – Thank full

Craftaholics R UsThank you

Here are also some of the other samples and colours I have used, before I put them together and make a card out of them:


Inkspirational Guest Designer – ‘Trend’

20171028_113752

Hello everyone. This is my card as Guest Designer for the new Inkspirational challenge. I was contacted a few weeks ago as my ‘Wave’ card in September won Top Pick. I was sent the cue word of ‘Trend’. Now, this took more thinking about than little, I’ll tell you. There are so many options out there, I even ‘Googled’ trend, had a look through images, and dictionaries, but just couldn’t get my head around it.

So – the other way for me to get inspired is to look through my stash. I ignore what I have on my craft table – as I kinda know what’s there already – and searched through the drawers and the shelves. I wanted some arrows to stamp, to show an upward or downward trend, but I actually don’t have many arrow stamps. I wanted a distress background, and reached for my Tim Holtz Distress Oxides, then suddenly wondered about my stencils.

I thought I remembered an arrow stencil – I was right – but the arrows were all in different directions……..you know where I’m going with this, right? I am ‘bucking’ the trend.

I started with the Tim Holtz stencil, and the Distress Oxides, and just set to it. I haven’t got a clue what colours I used, or how many layers I did. I wanted orange arrows, then decided I wanted them all different, added colours, didn’t like it, added yet more colours, reverted back to mainly orange……

I did the background after the arrows, then went back in to do the arrows afterwards. So this is how it turned out, after I drew round each arrow and it’s detail with a black gel pen, for added dimension, and – of course – splashed some water on it.

The sentiment from Visible Image is stamped onto another piece of card I used the Oxides with, and splashed, and both die cut from the stitched rectangles from Lawn Fawn.

I hope you can play along, and I would love to see what you come up with. :)


Christmas Tree and WOW! powder

20171102_203608

A quick posting for today, showing different ways – using same colours – to stamp the same layering image. I used the Altenew Sketched Evergreen as I love this tree, and the three layers are easy enough to line up, but if you miss slightly – it doesn’t matter.

I used Altenew inks also, and used some WOW! embossing powder for the final layer on two of the cards. I have tried to photograph them, but we all know how notoriously hard it is to get the sparkle and shine easily seen.

The embossing powder actually comes out with a whiteness and sparkle to it, which I liked on the darker tree image, as it gives the impression of snow, I think. DO you?

The sentiment is stamped and embossed with clear embossing powder. On the lighter tree, I stamped in green, then went over it with Ranger Perfect Medium and used the WOW! powder again, but I must have moved the card – even though using my Misti. The embossing came out slightly off-set……..but I actually like it. It created a shadow effect which I tried to reproduce on another card – failed mightily(!!) – but will definitely keep trying to do it again. Happy accident’s, huh?

I did think about a star on top of the tree, or presents underneath the tree, or baubles, but keep it very simple. The embossing powder doesn’t need much else – and is much more effective in ‘real life’.

I shall be entering the following challenges:

Less Is MoreStamp Layering

Crafty Hazelnut’s Christmas Challengeanything goes Christmas (didn’t use the option)

The Merry Christmas Challenge anything goes Christmas

Crimbo CrackersChristmas related quick and easy