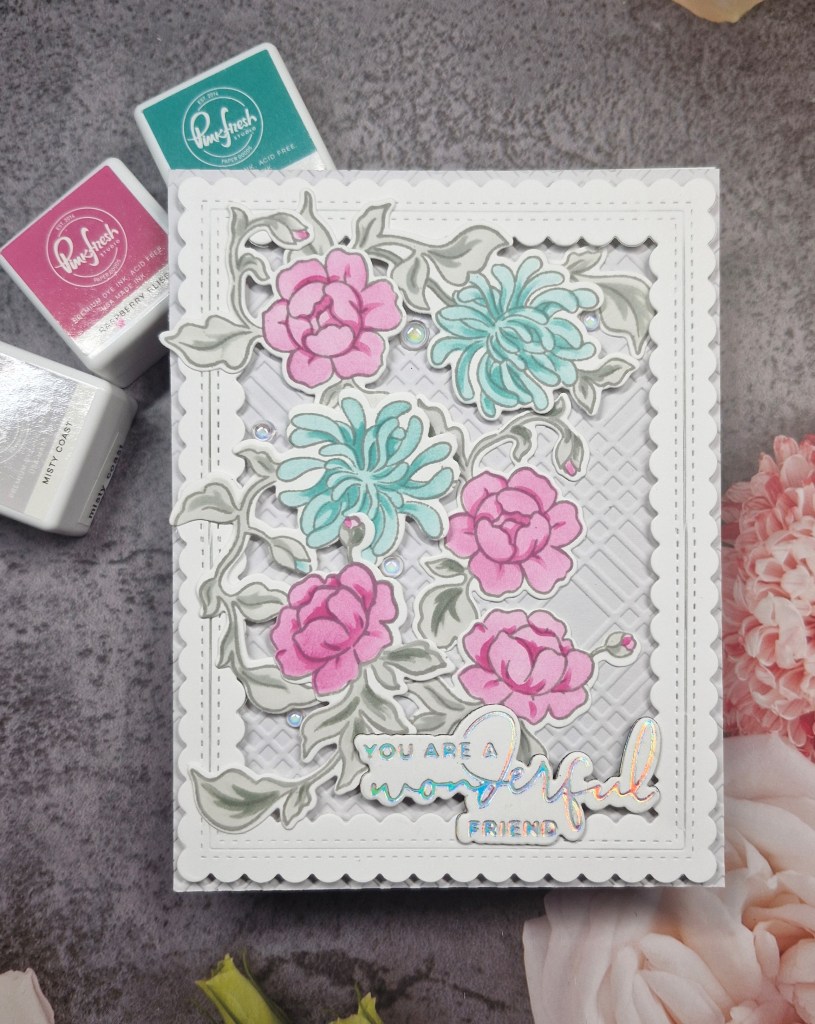
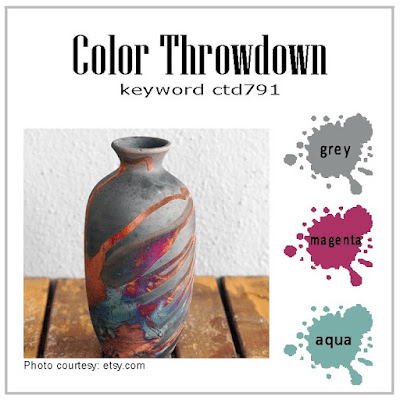
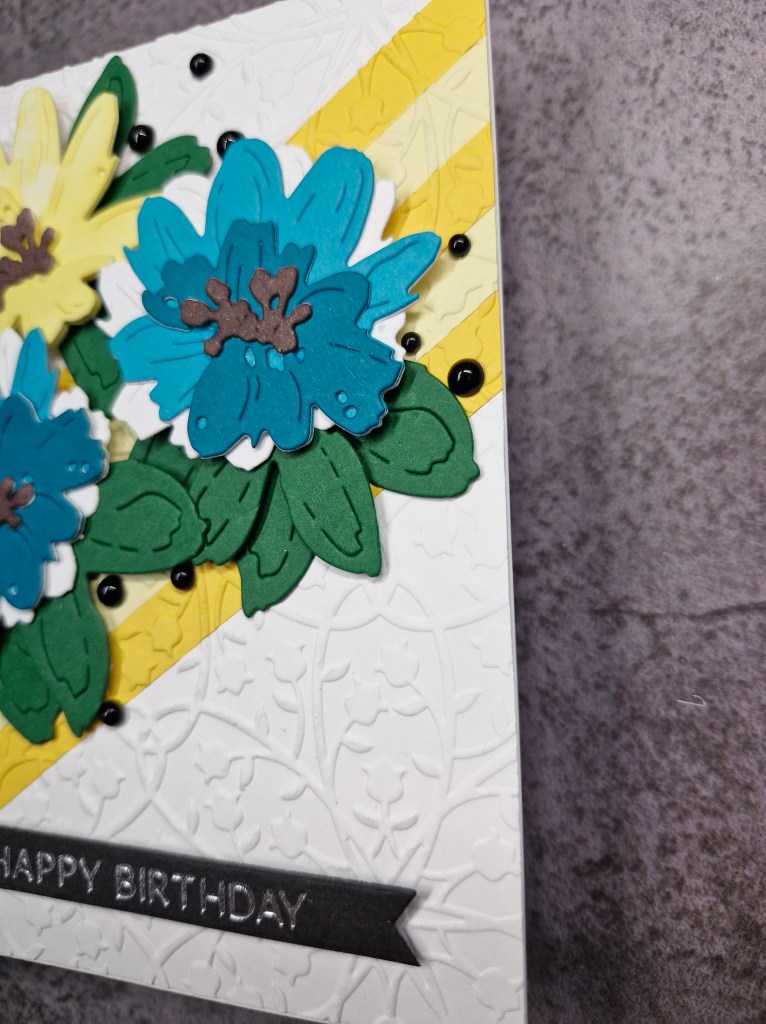
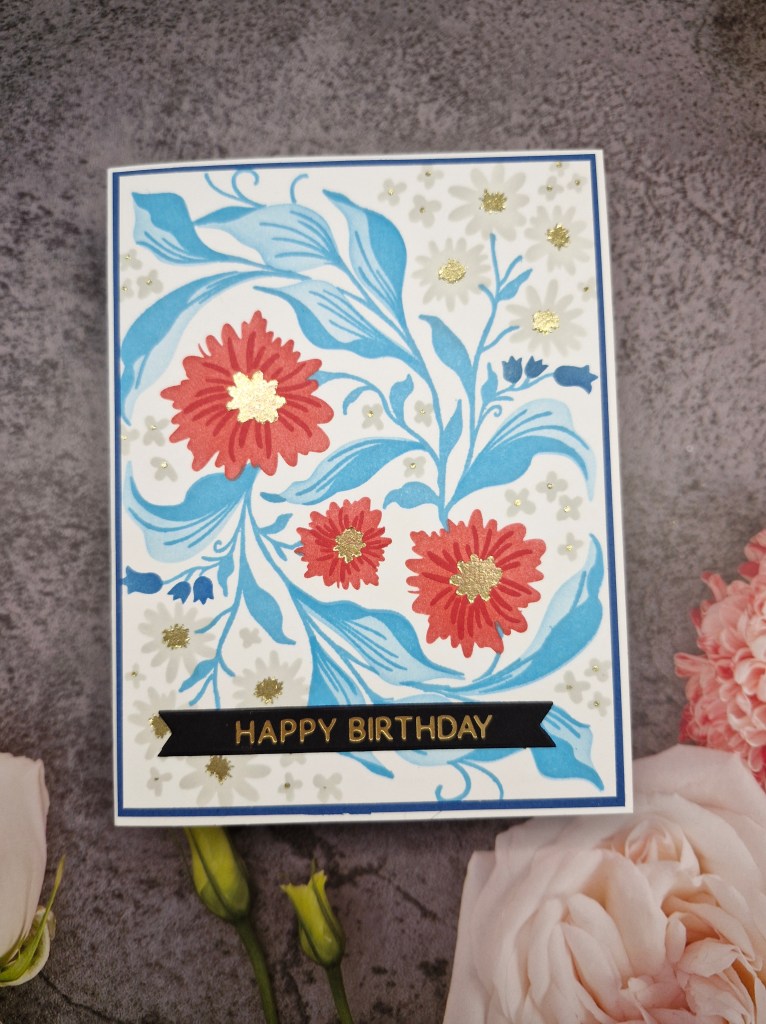
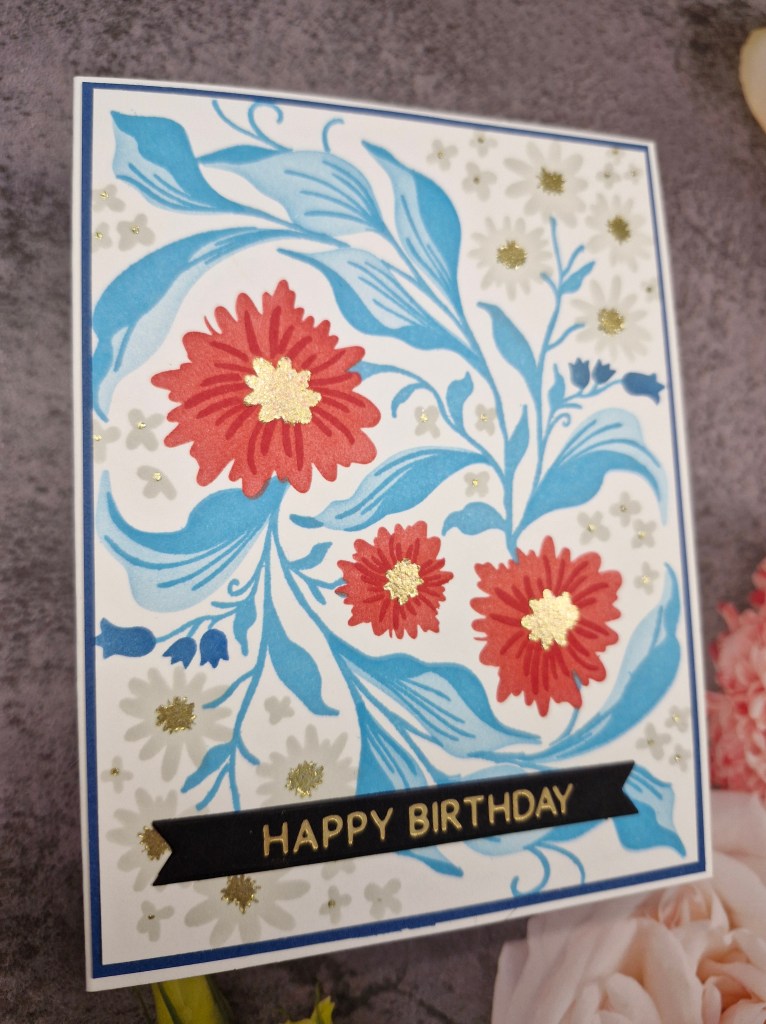
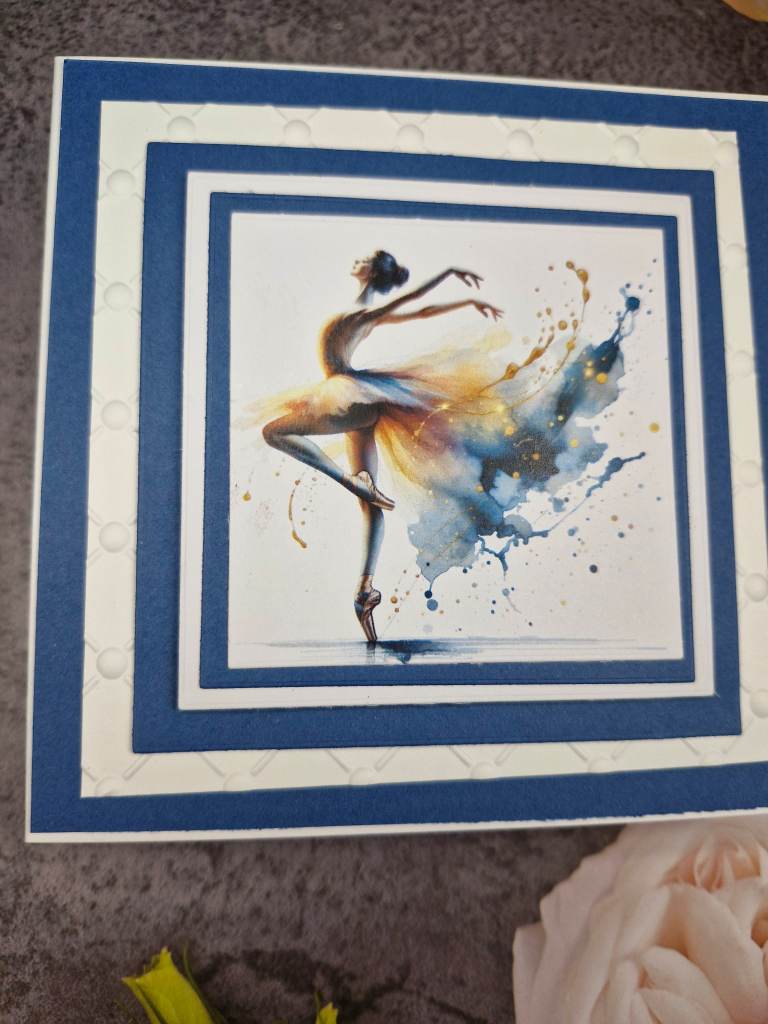
Hello everyone. The Alphabet Challenge has reached the letter ‘D‘, and Dawn has chosen the theme of ‘Dancing‘. Here is my card:
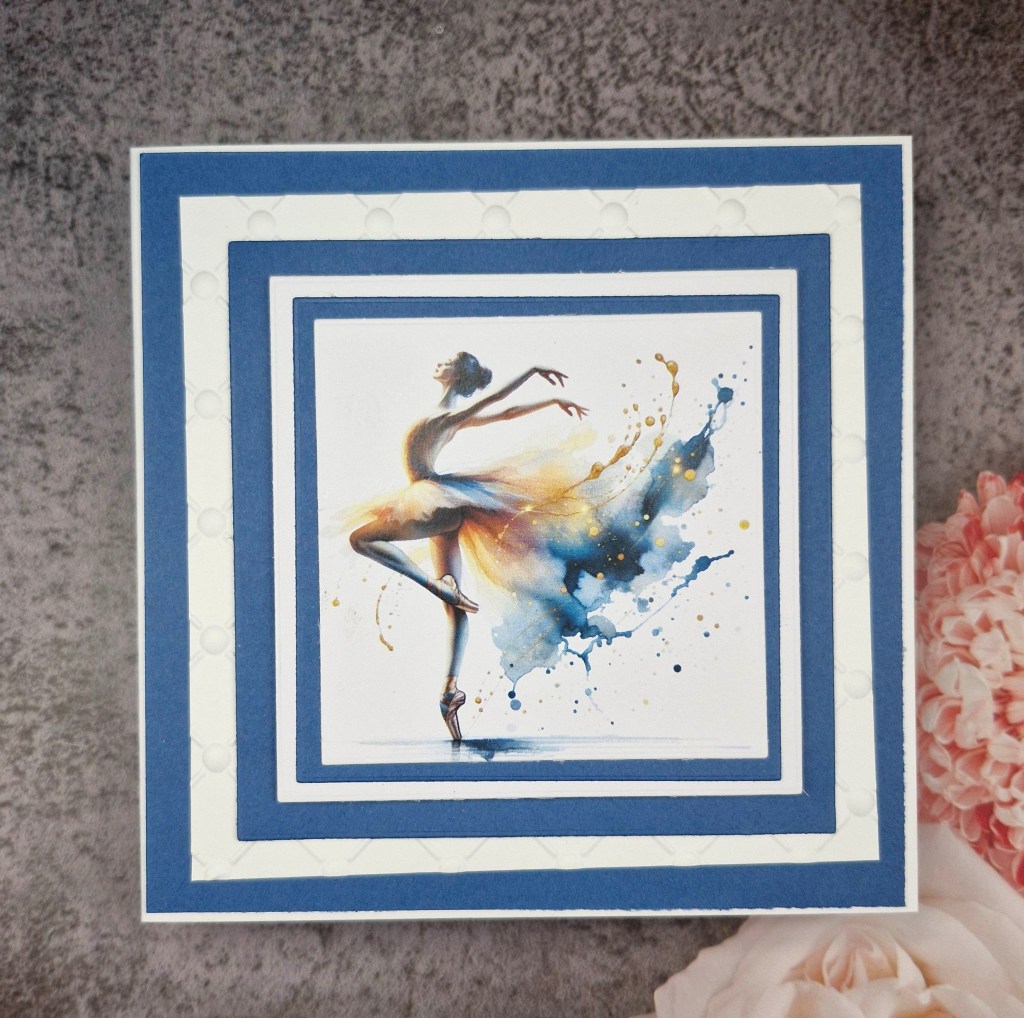
You may or may not believe this – but I have very little in my stash relating to dancing. I thought and I searched, and finally went to Etsy to try and find some suitable images I could use. The site I found this image on – and I did buy and download a few more stunning images – was ClprtCo. I couldn’t resist these vibrant images. There are quite a selection on there, so I must bookmark that page….
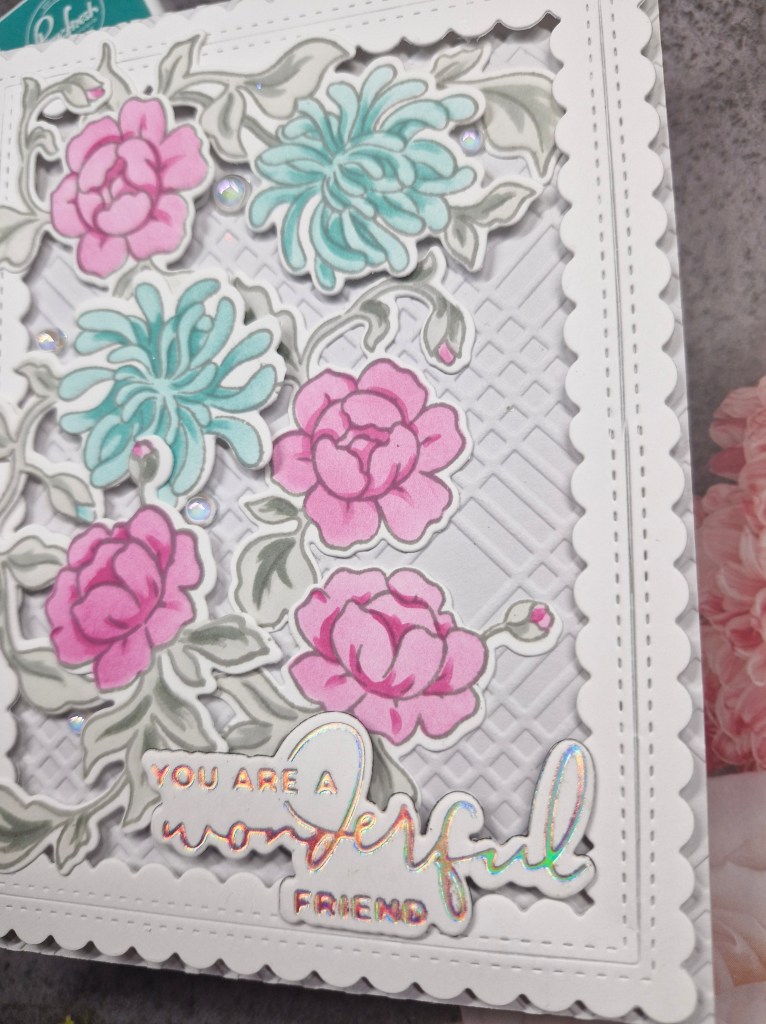
To try and do justice to this image, I simply matted and layered and tried to match some of the almost electric blue. I did add an embossed white piece for a little more interest, but the image speaks for itself I think……
I printed some more of my purchases off, and created a little box of note cards.
I hope you can come and join us with your dance themed creations. xx