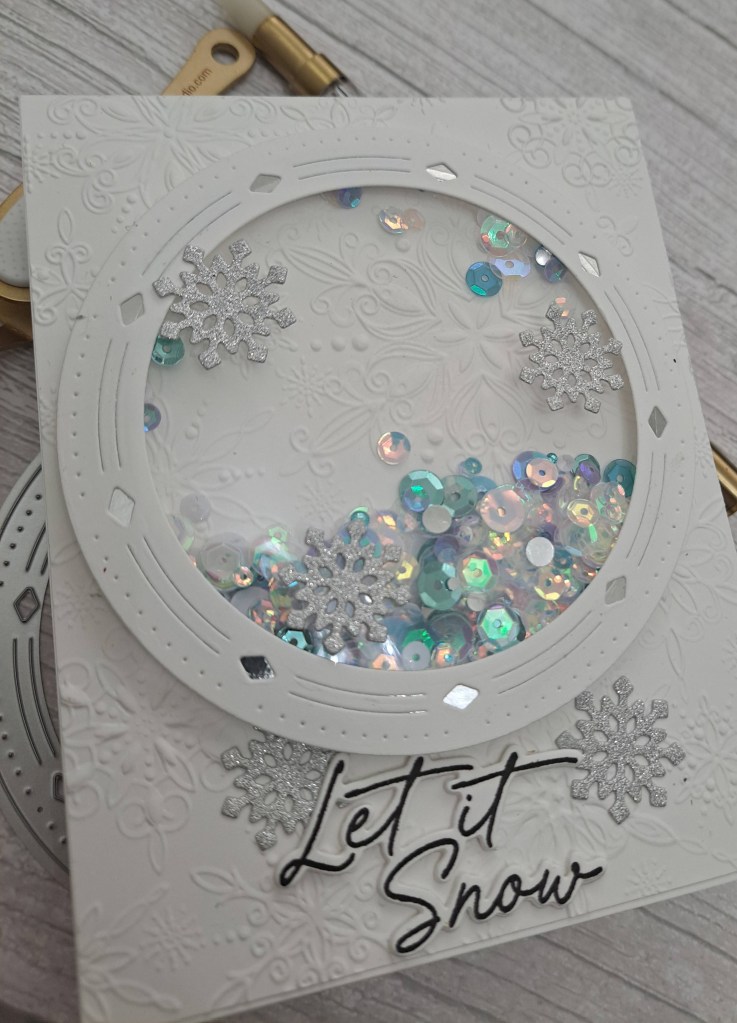
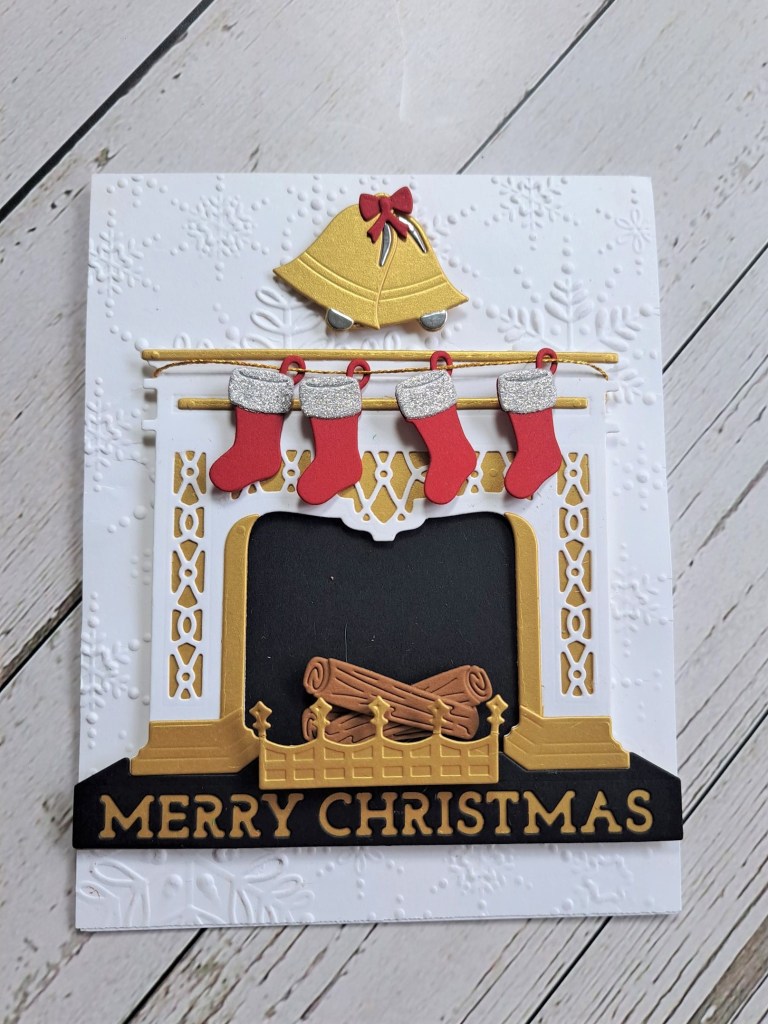
Hello everyone. I have a card to share using products from several companies:
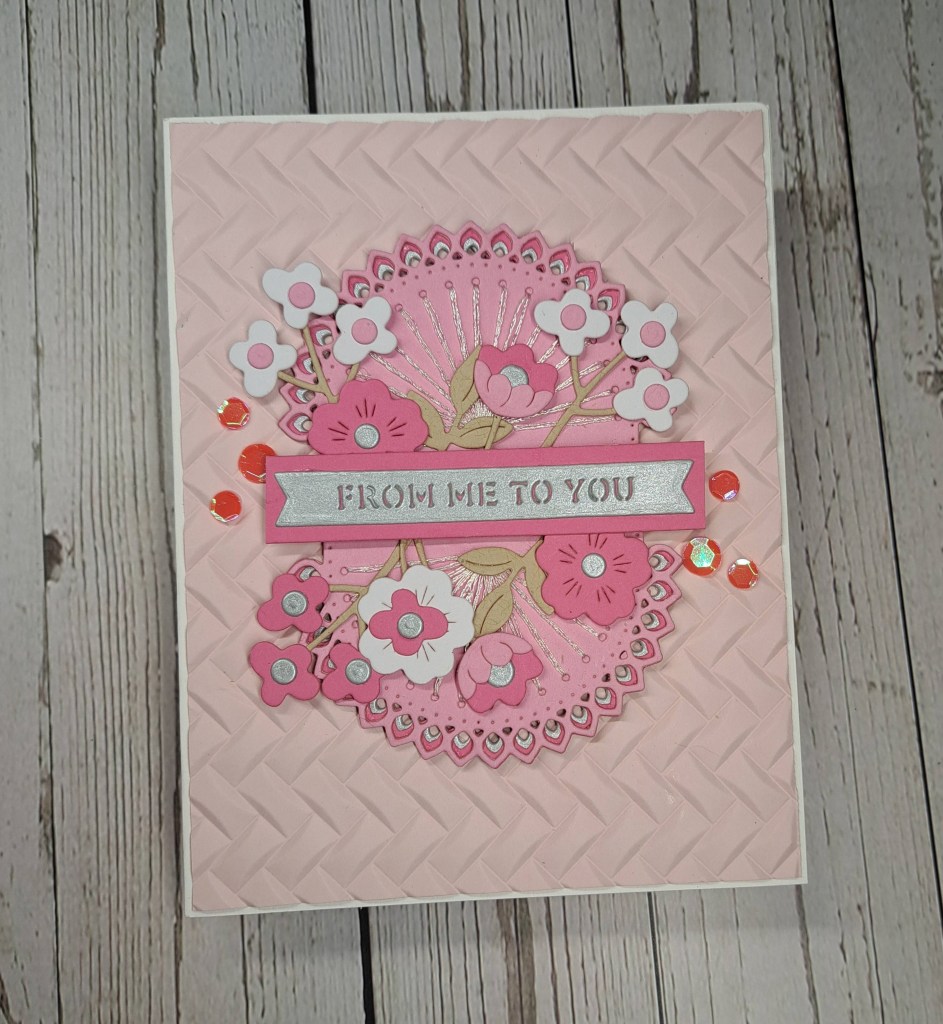
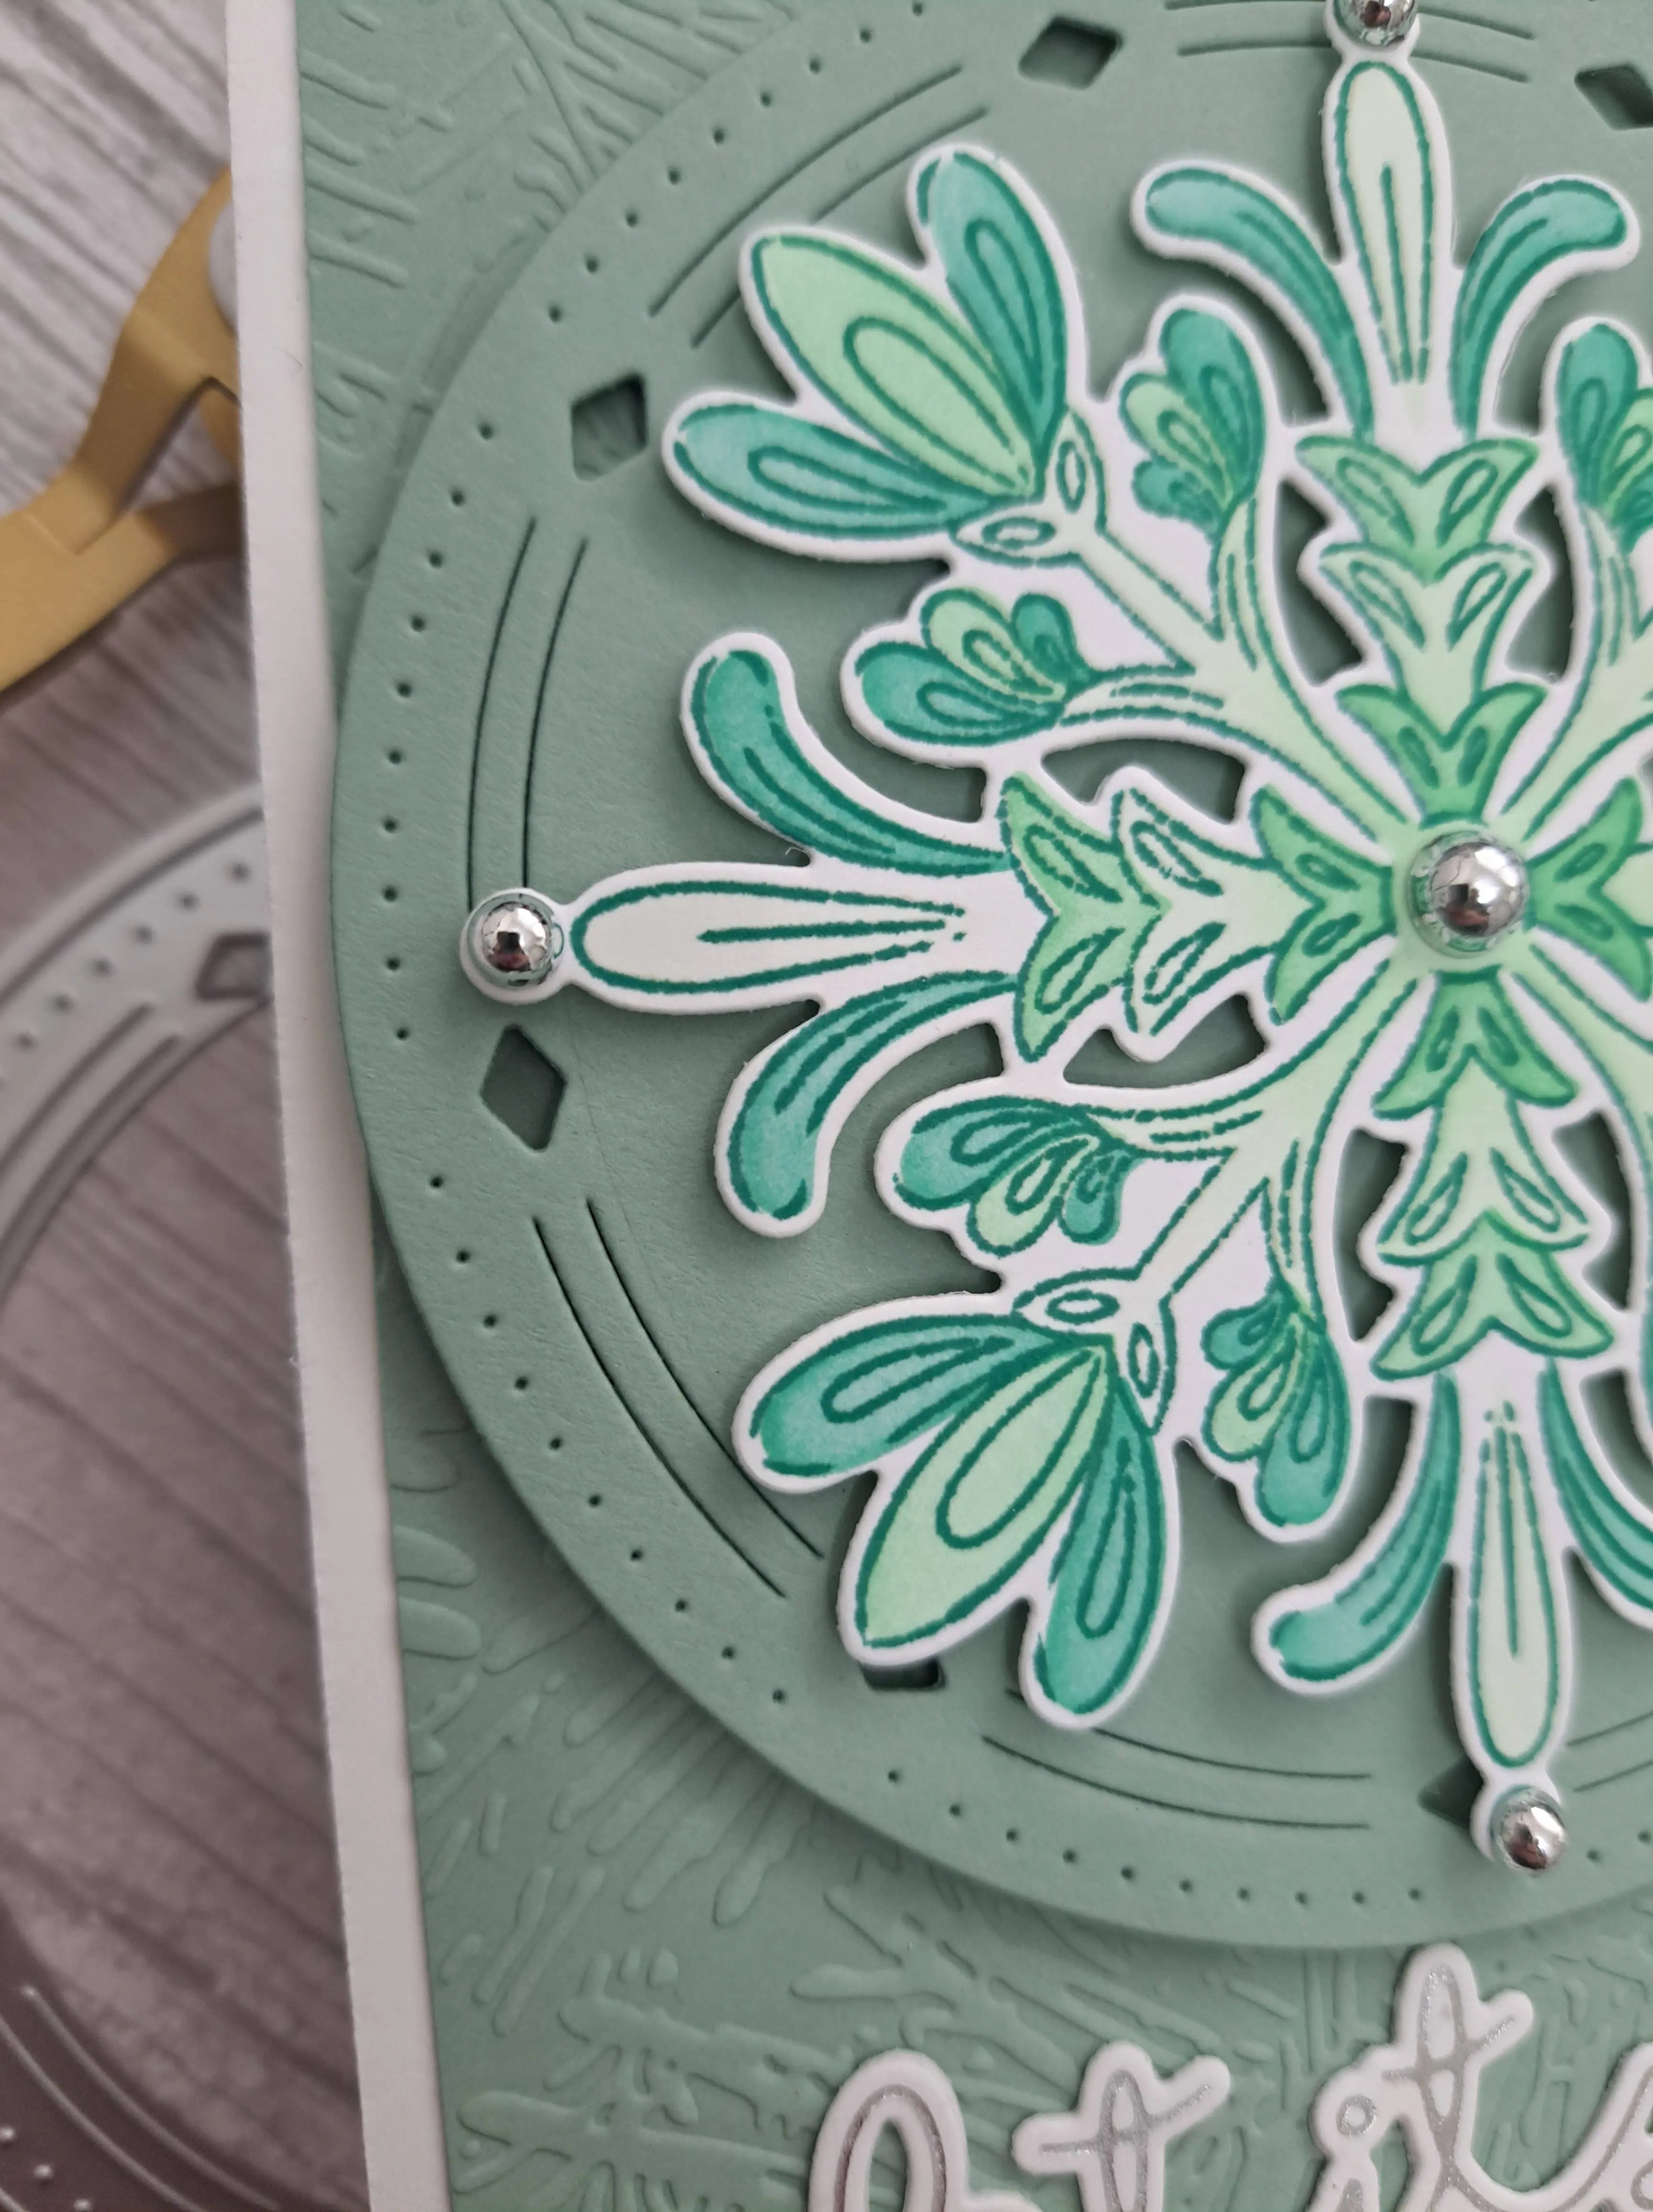
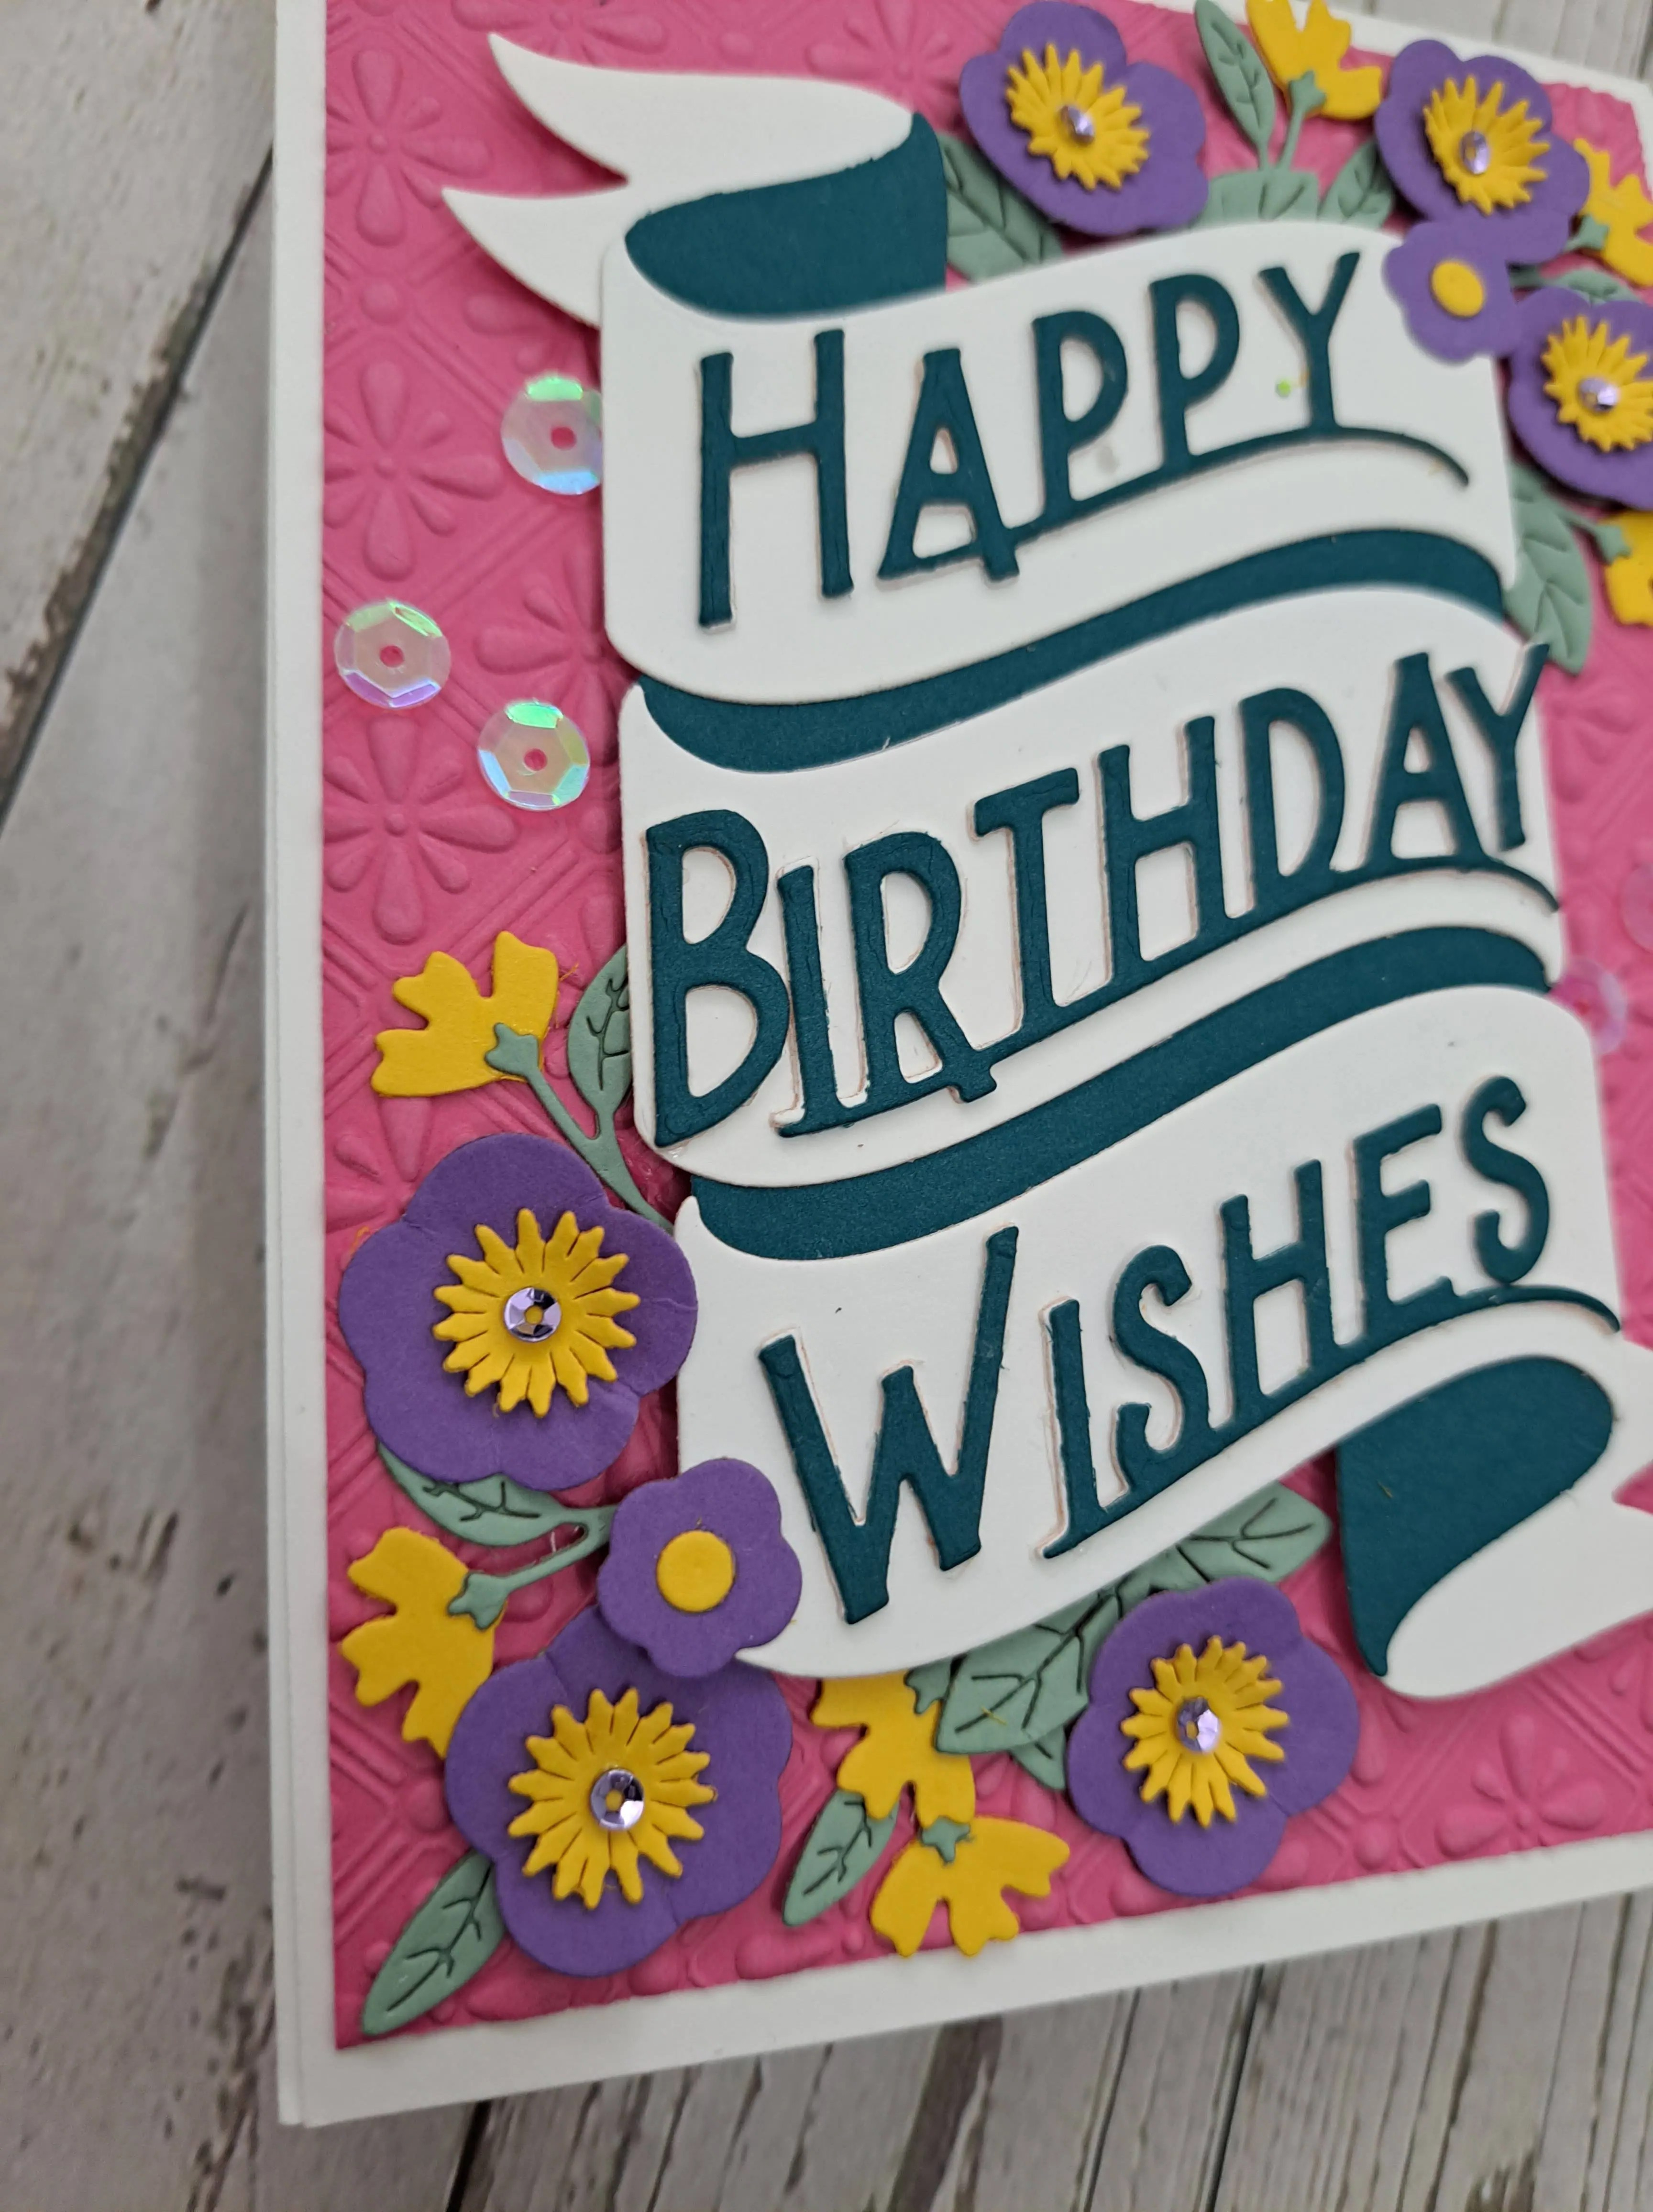
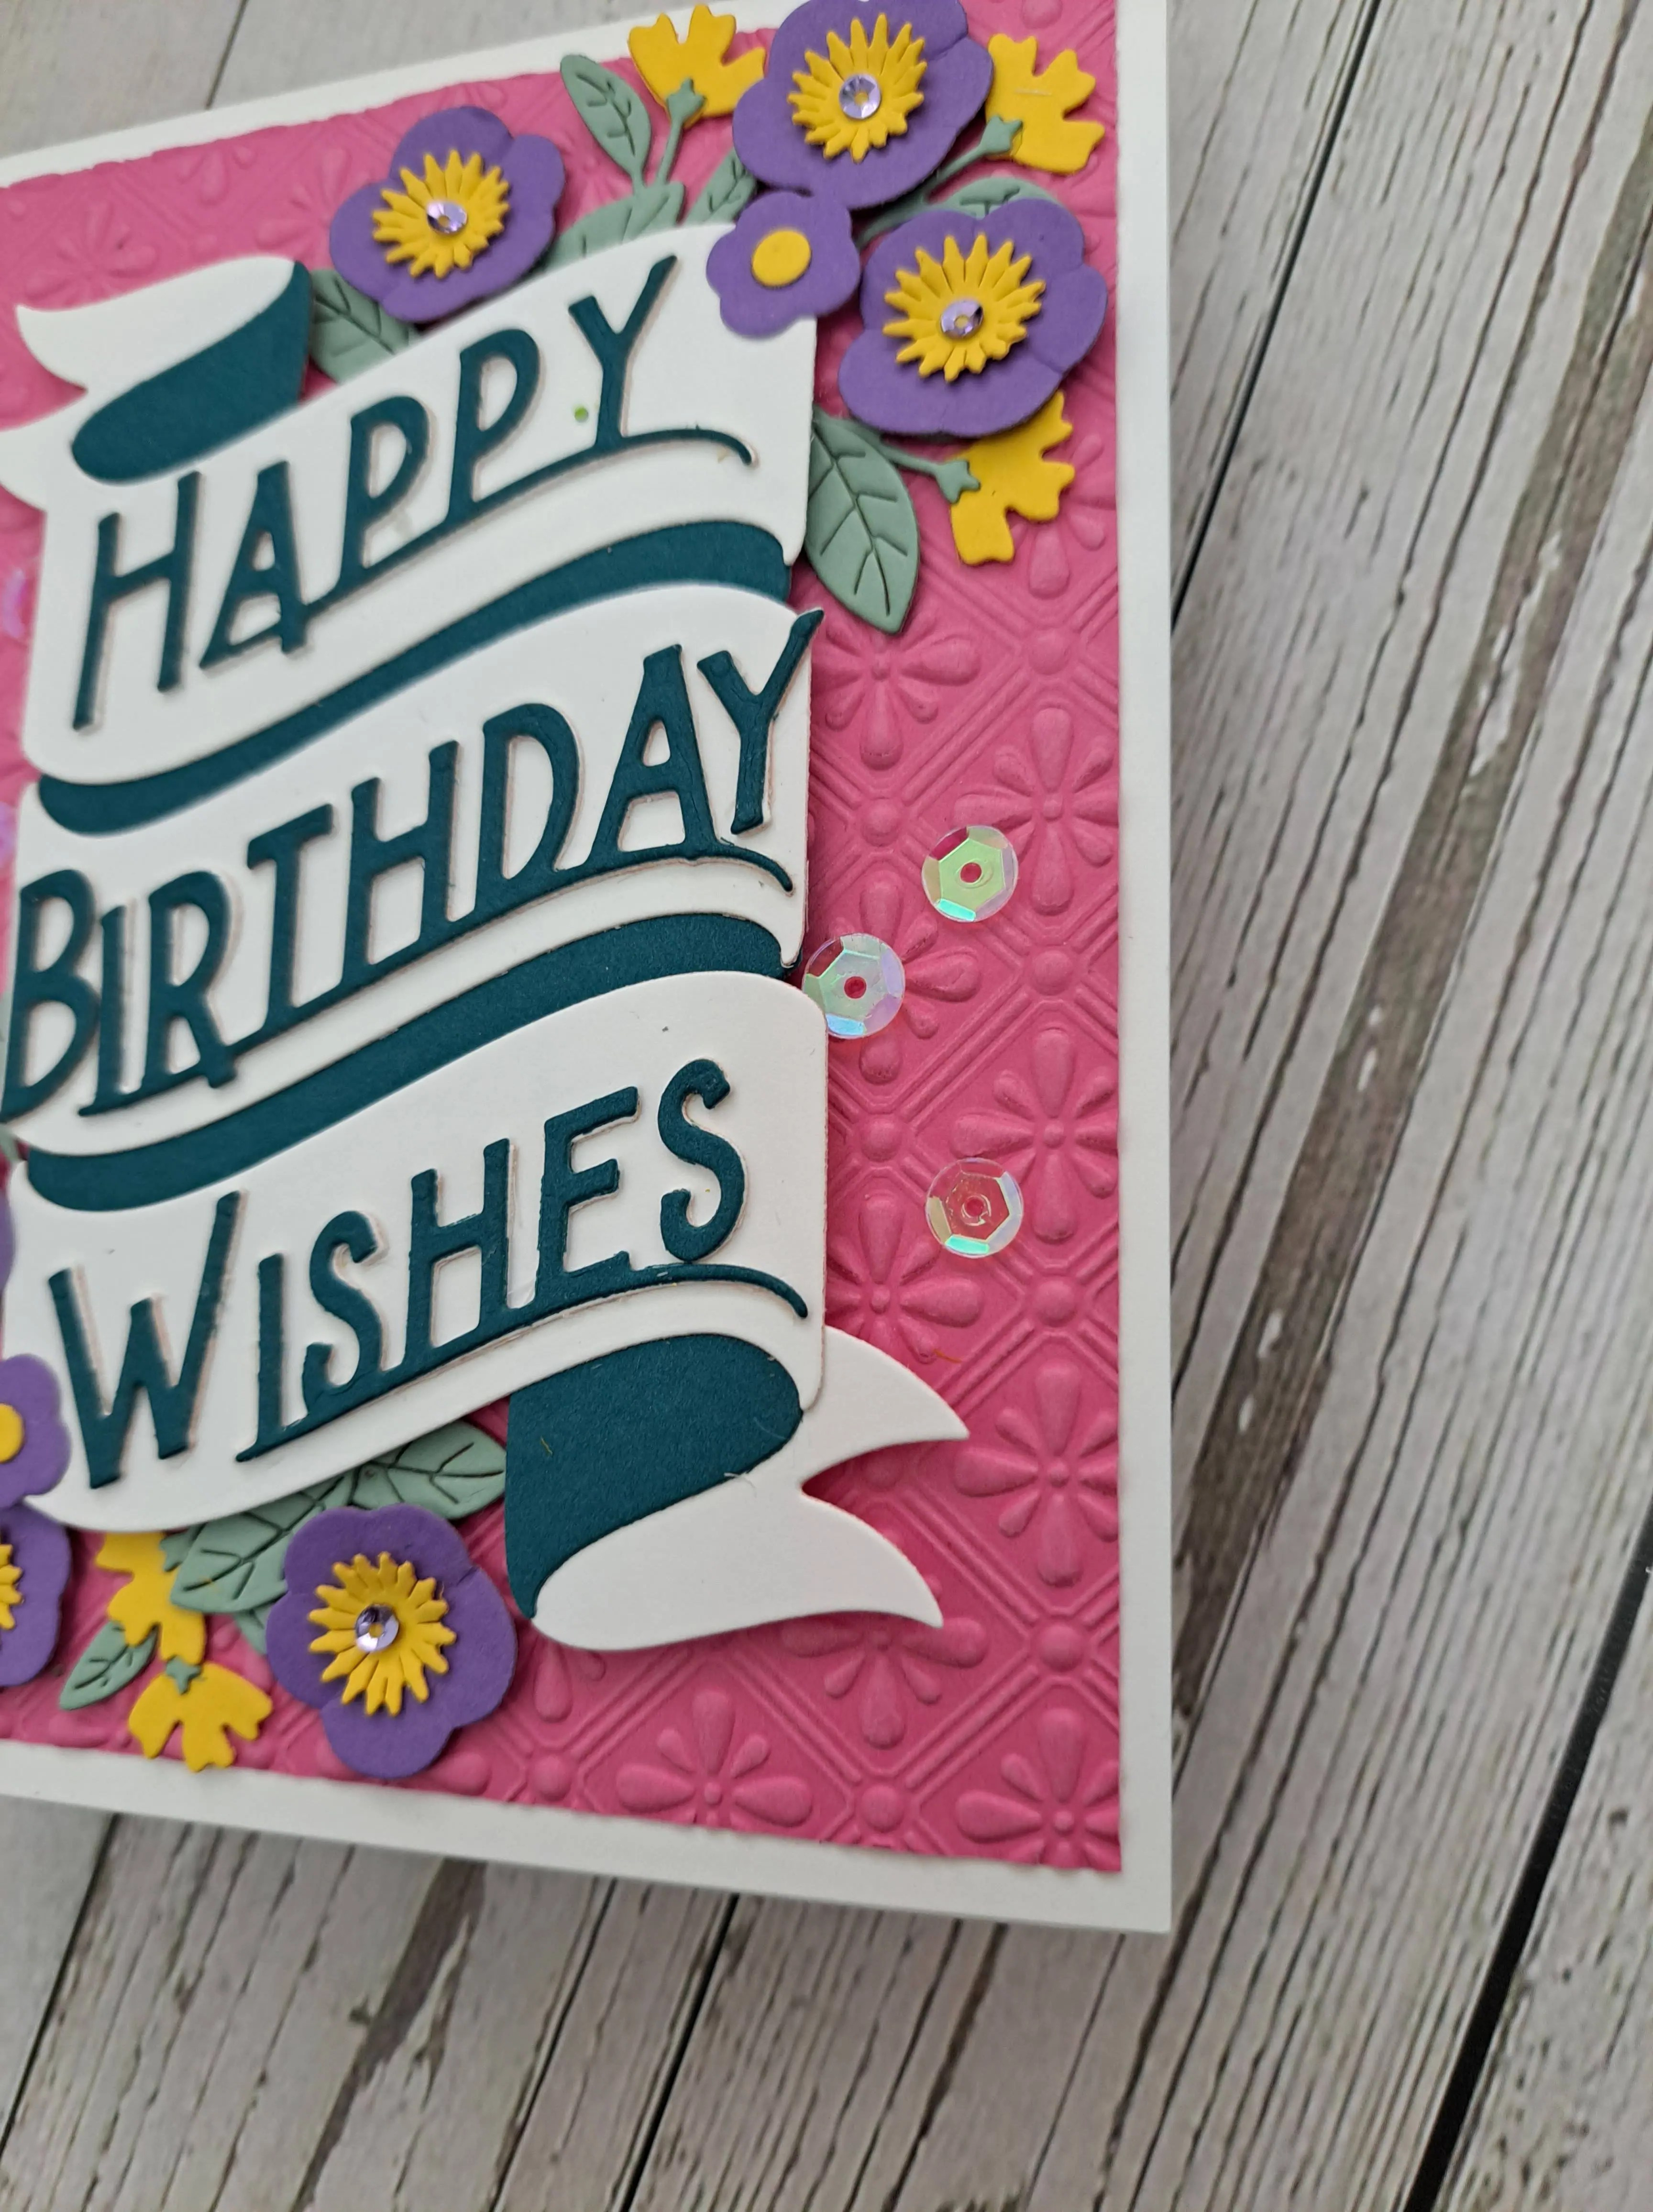
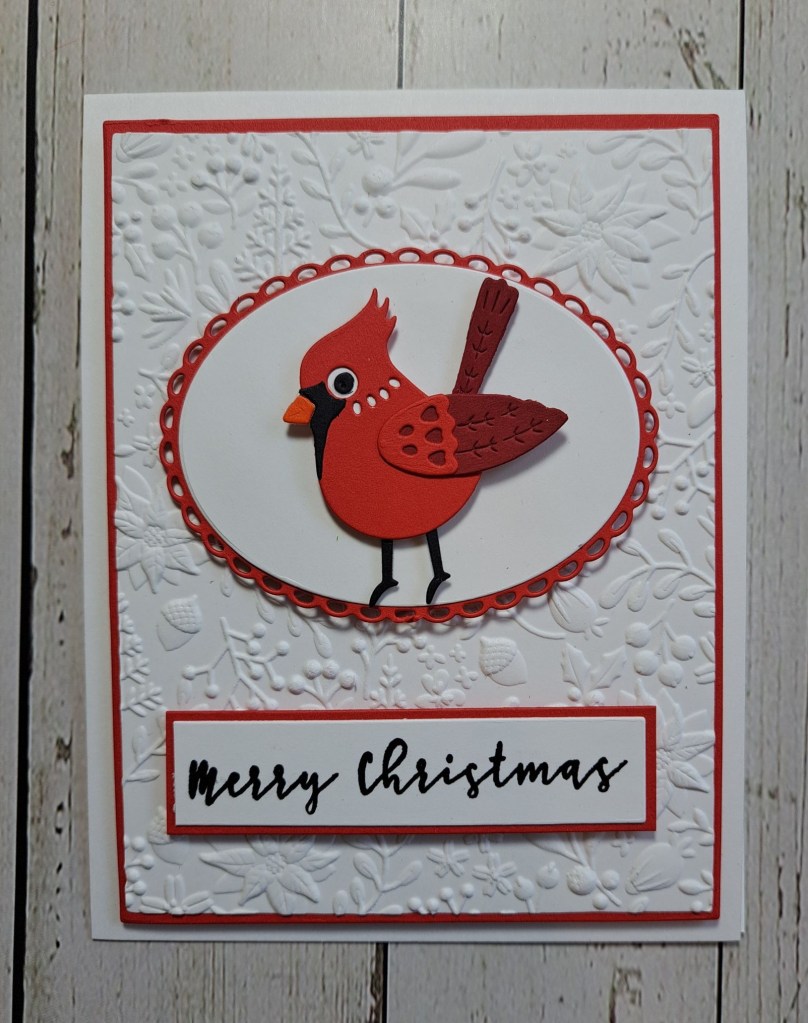
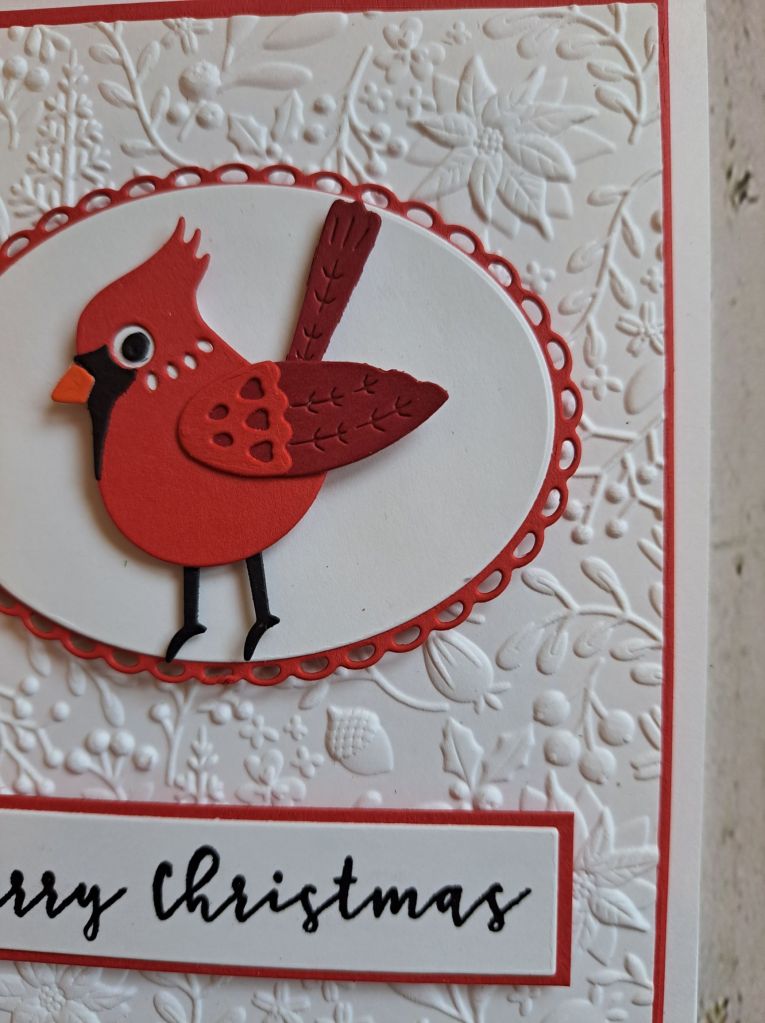
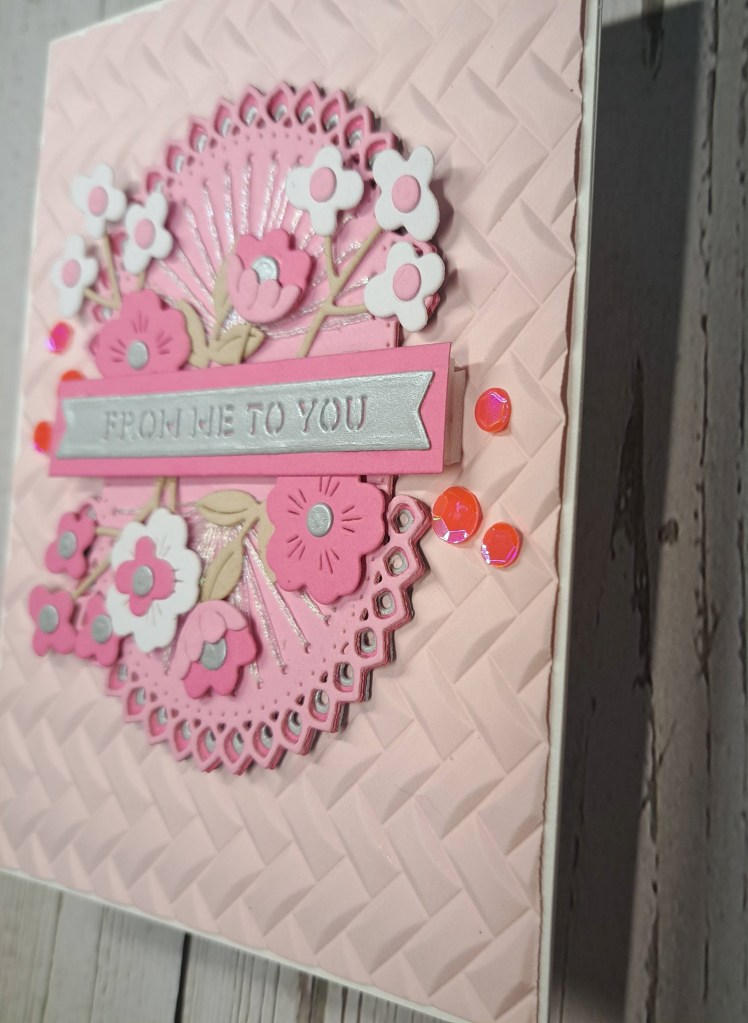
The background panel is a light pink, embossed using a Sizzix embossing folder, and cut down just a tad before gluing onto the white card base/
I then used the Spellbinders Kaleidoscope Arch die set, die cut the floral elements in either dark pink, a lighter pink, or white. The leaf and stems were die cut using a light brown card stock, and Spellbinders matte silver card stock for the flower centres.
The top layer of each of the arches was stitched with silver shiny thread, then the other layers matted underneath.
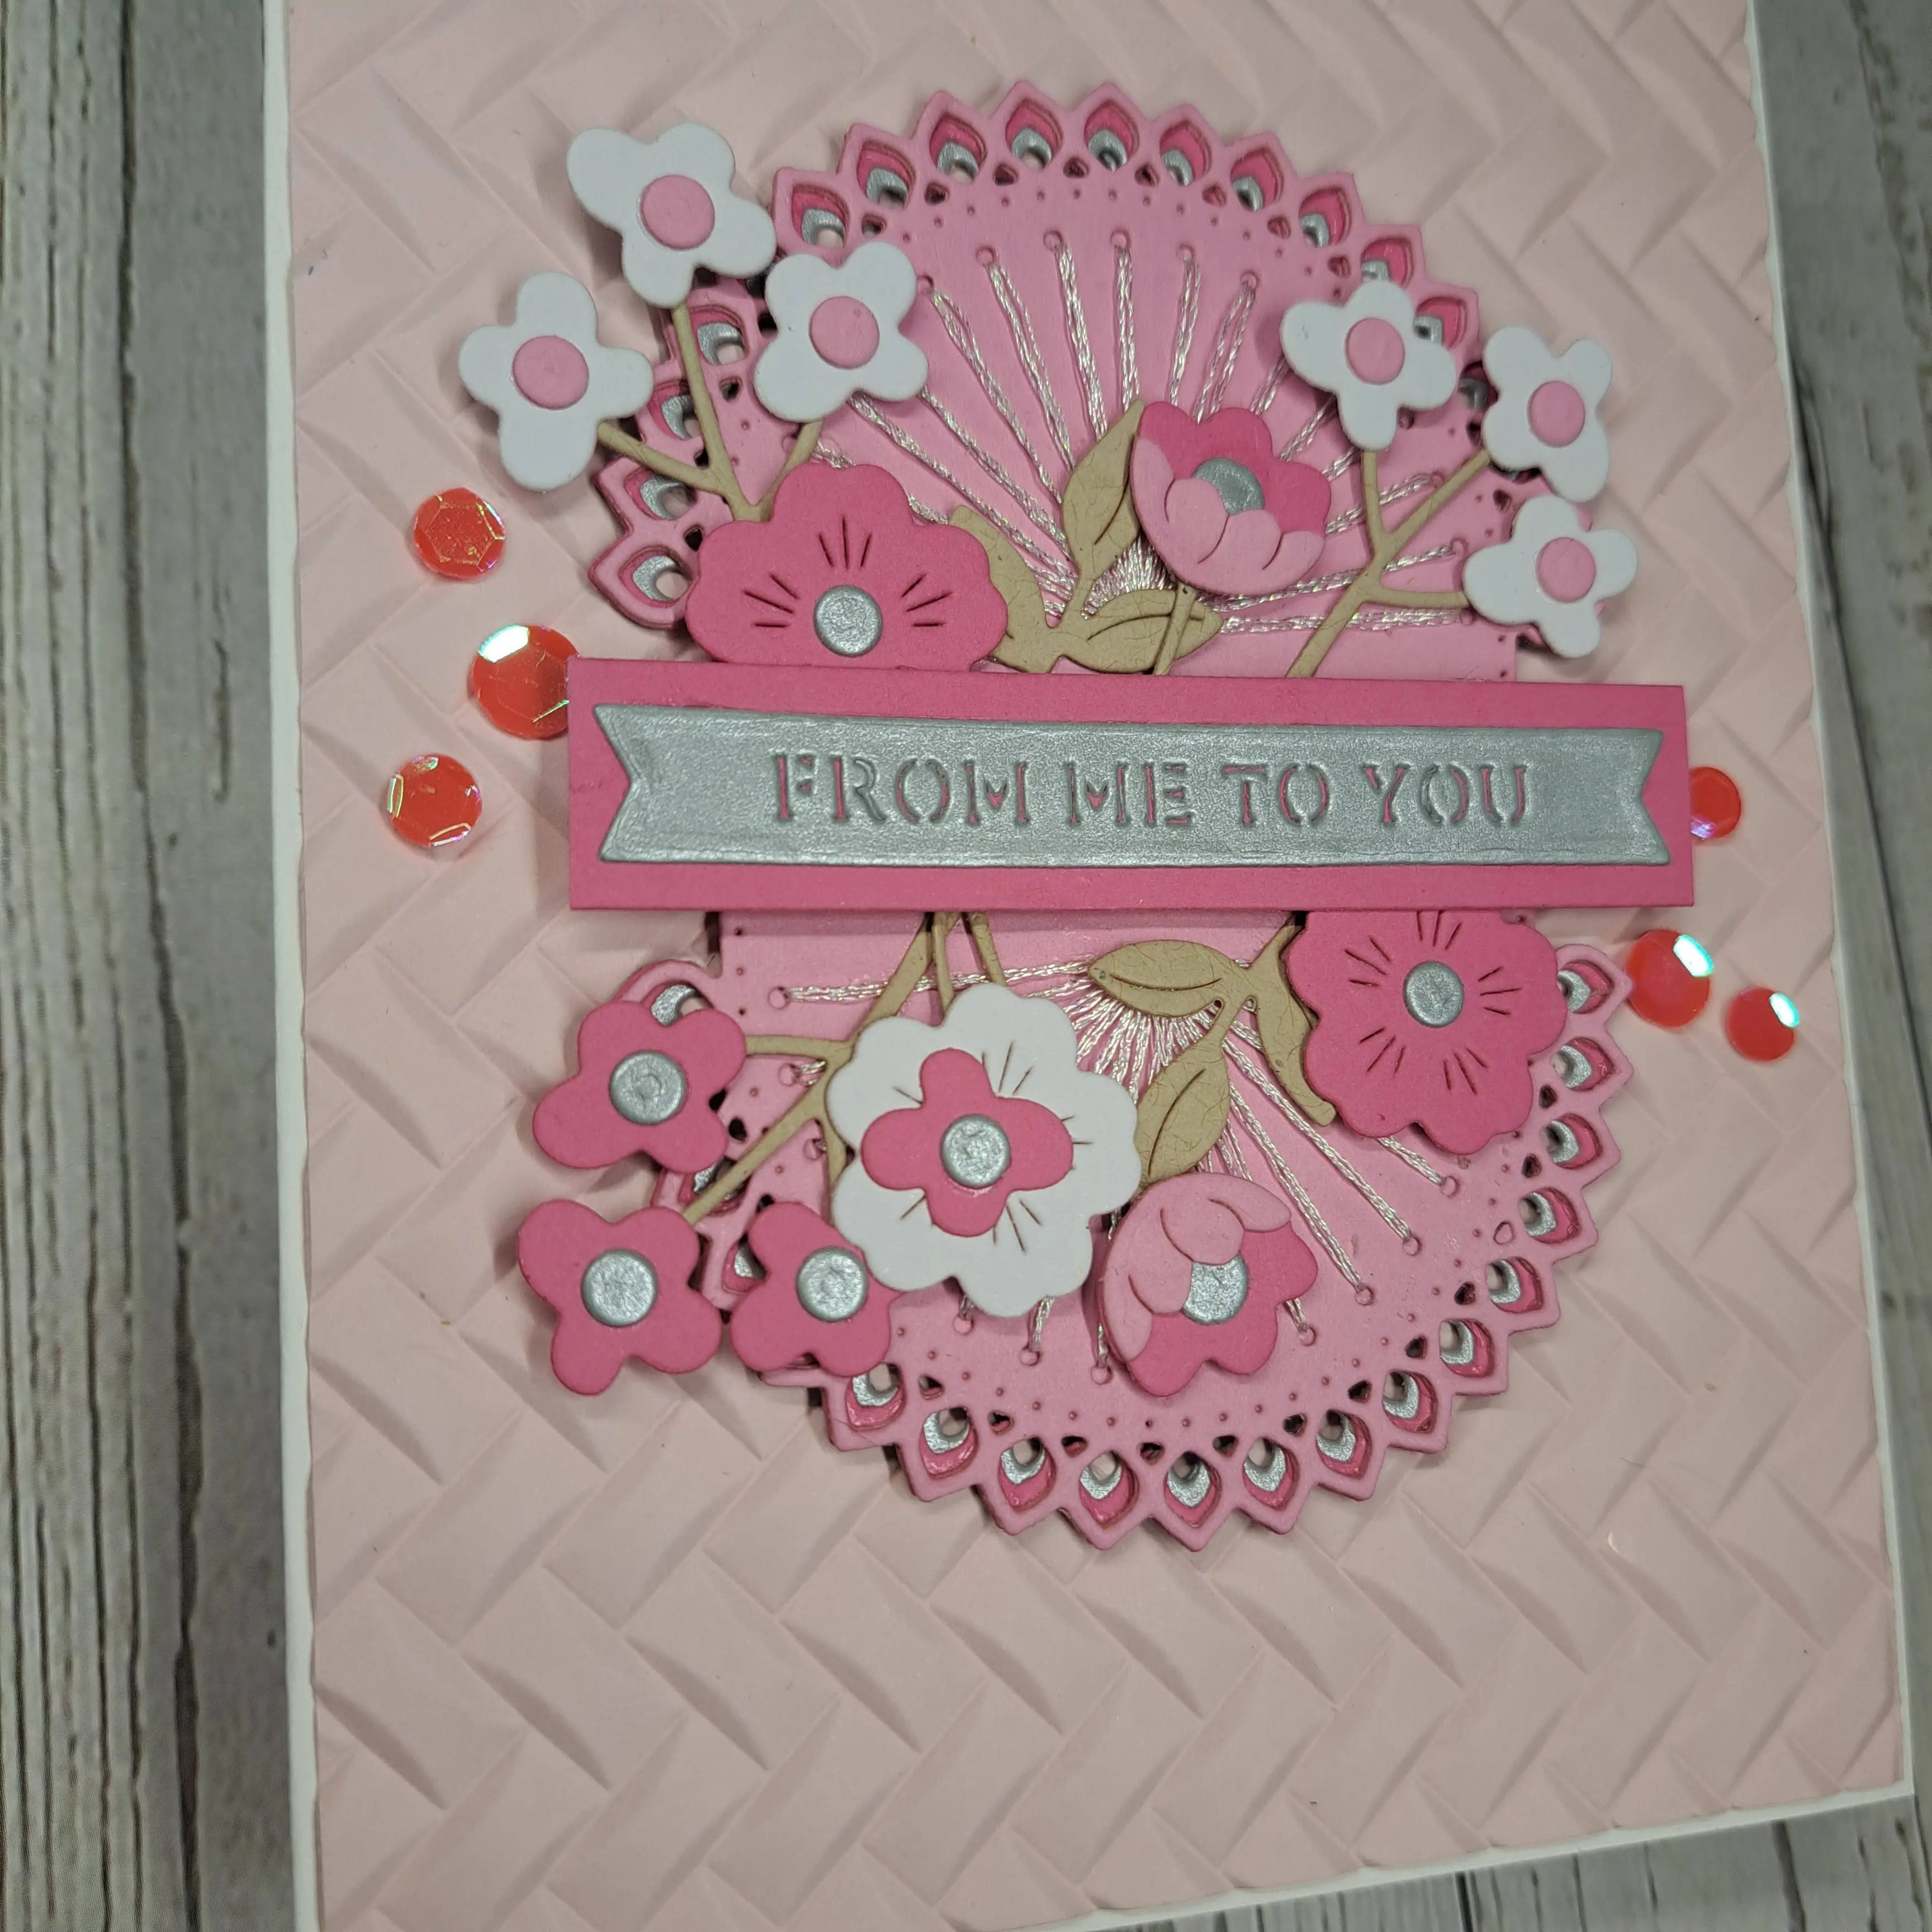
The flowers were layered, and added to the two arches once the sentiment strip was adhered, so I could tuck them underneath.
The pink sequins were part of the year’s Spellbinders Advent Calendar – just perfect for this. They have an almost iridescent look to them – sometimes they look dark pink, sometimes light pink, and at other times gold…
I shall be entering the following challenges:
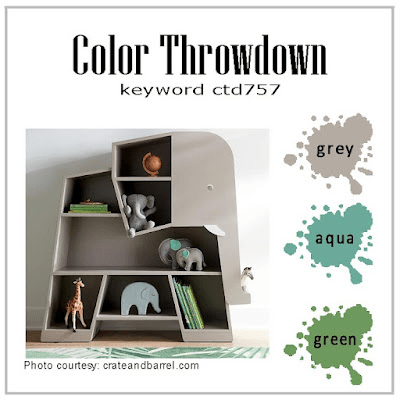
Colour Hues – pink and silver
Aud Sentiments - embossing folder (other options are winter and/or New Year) and a sentiment
Die Cut Divas – die cuts and flowers
Give A Crafter A Cookie – gold and/or silver
Triple B – birds and/or butterflies and/or blooms
The Crafty Addicts – anything goes
Lil Patch Of Crafty Friends – anything goes