Hello once again. The new challenge theme at The Alphabet Challenge has been chosen by Caz. As we have reached the letter ‘J‘, Caz has chosen the theme of ‘J is for Juvenile (young person/child)‘.
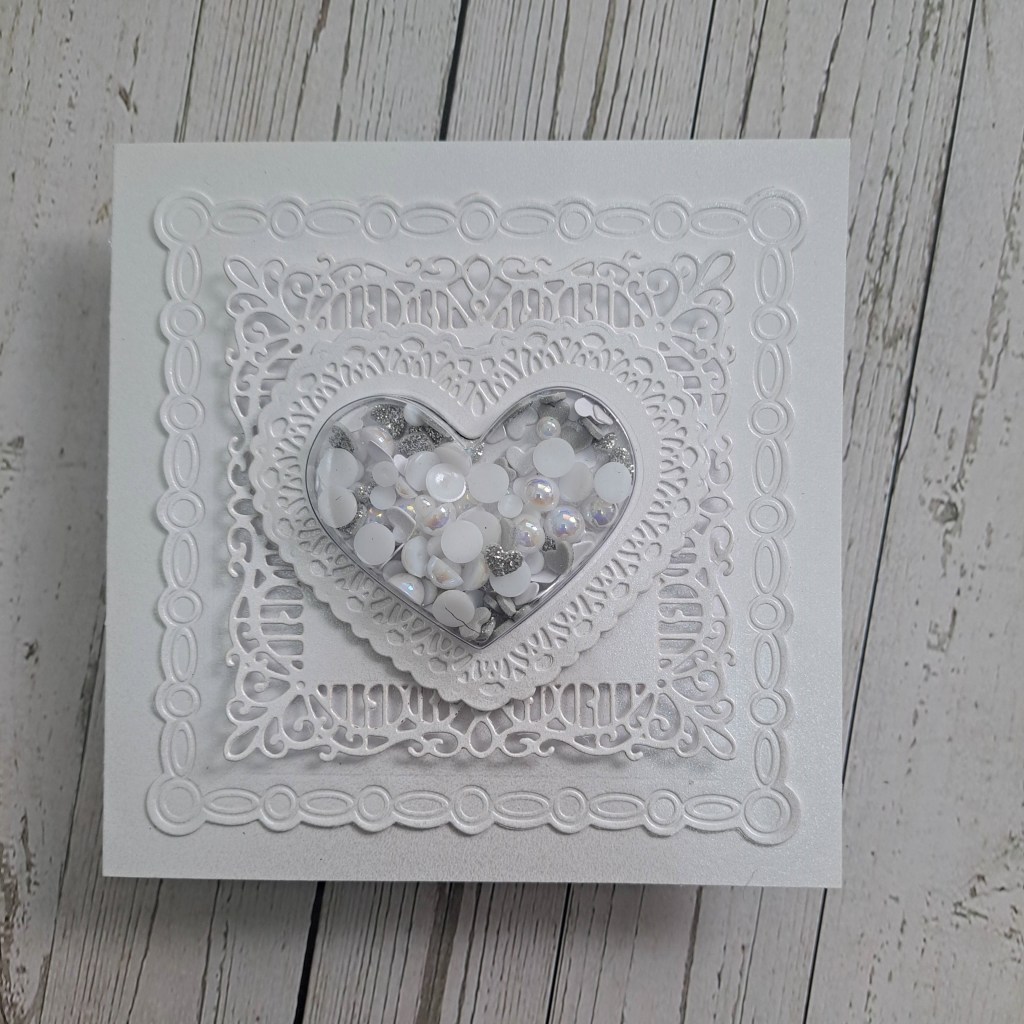
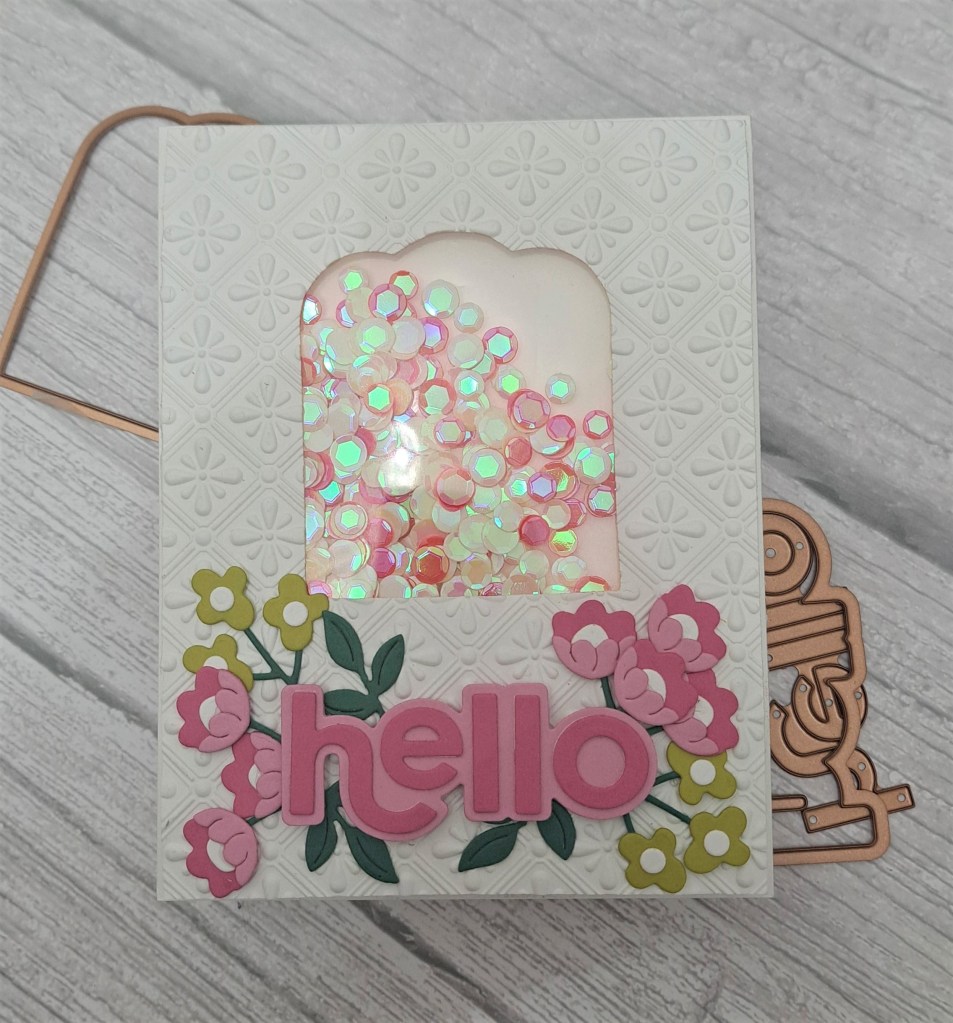
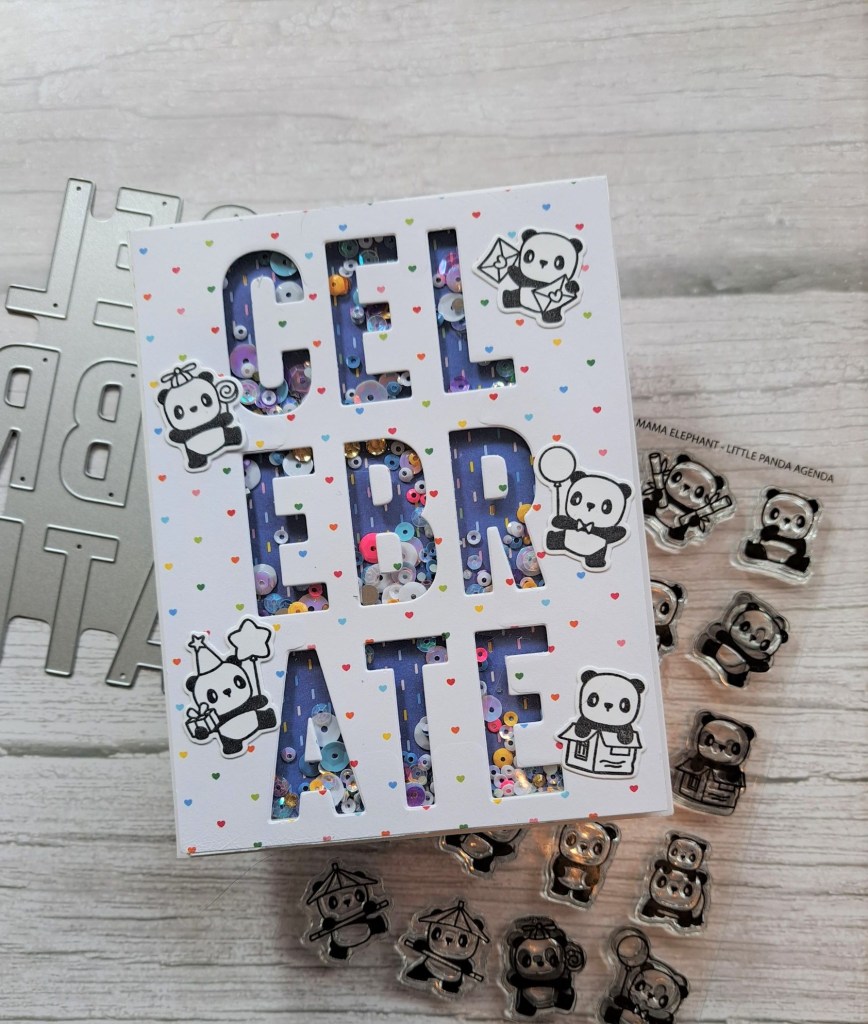
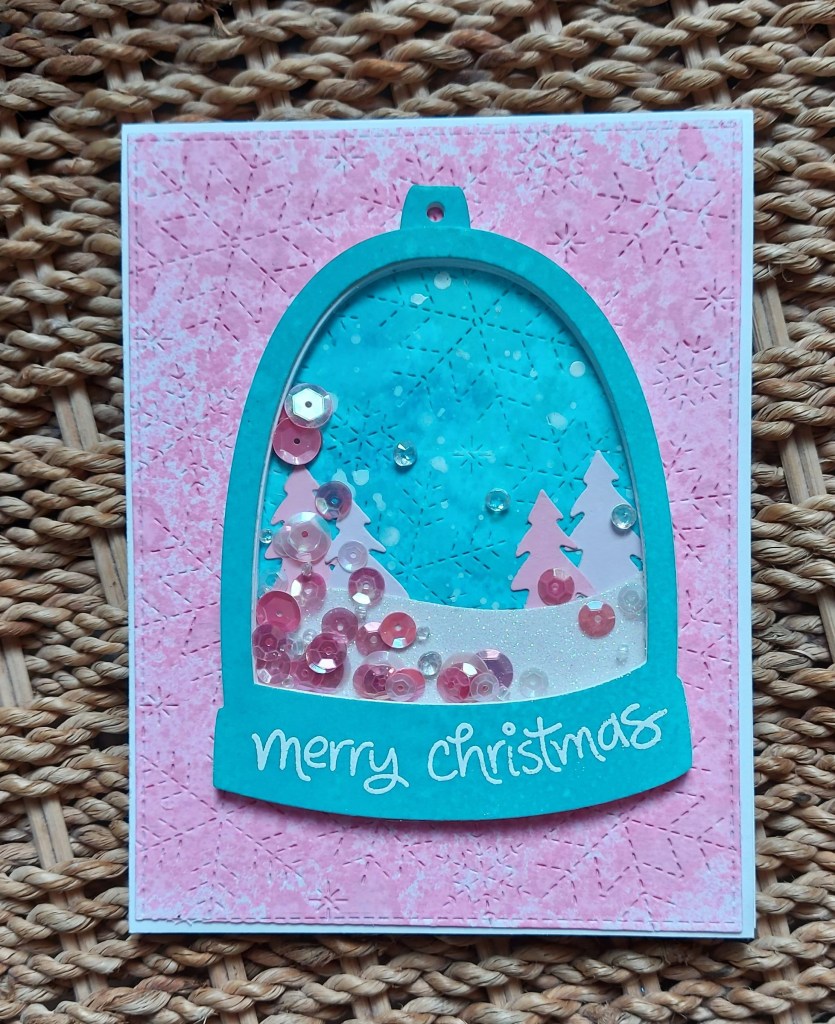
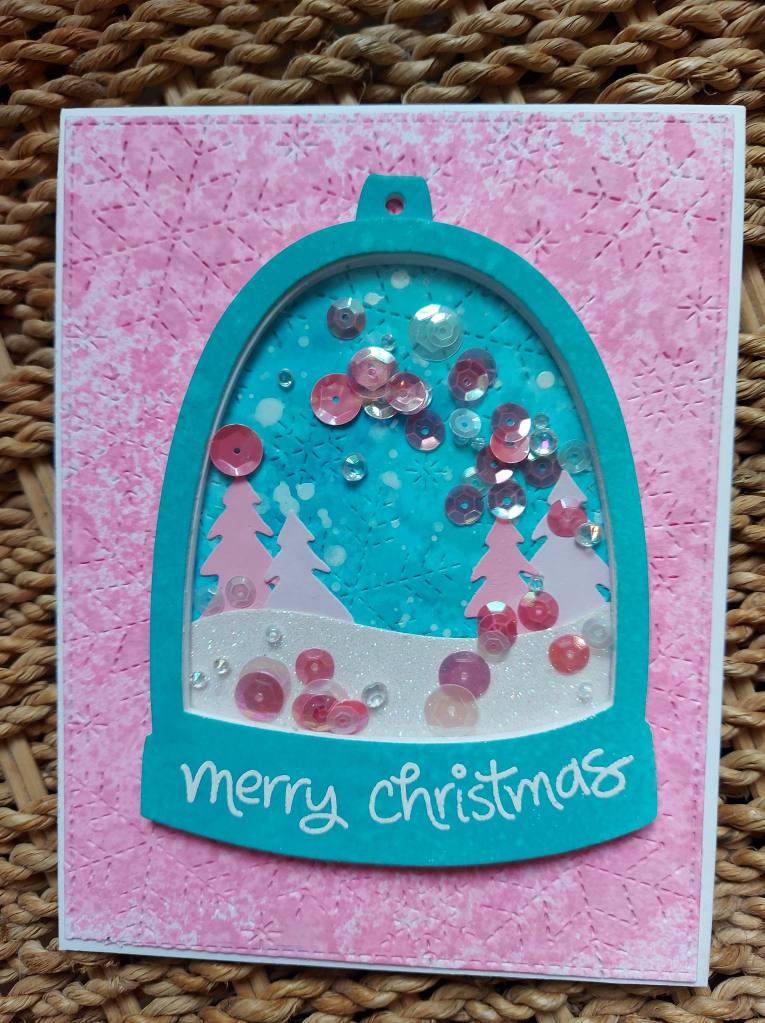
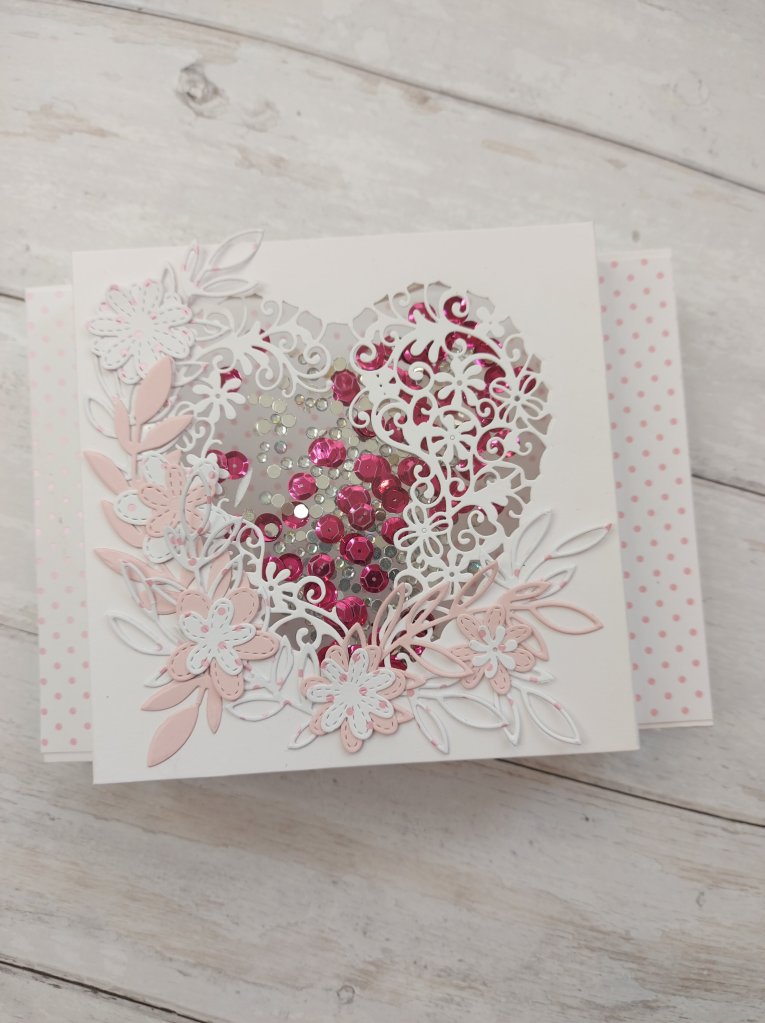
Here is my card:
I don’t make any cards for the younger person, for a child, so this was a challenge for me too.
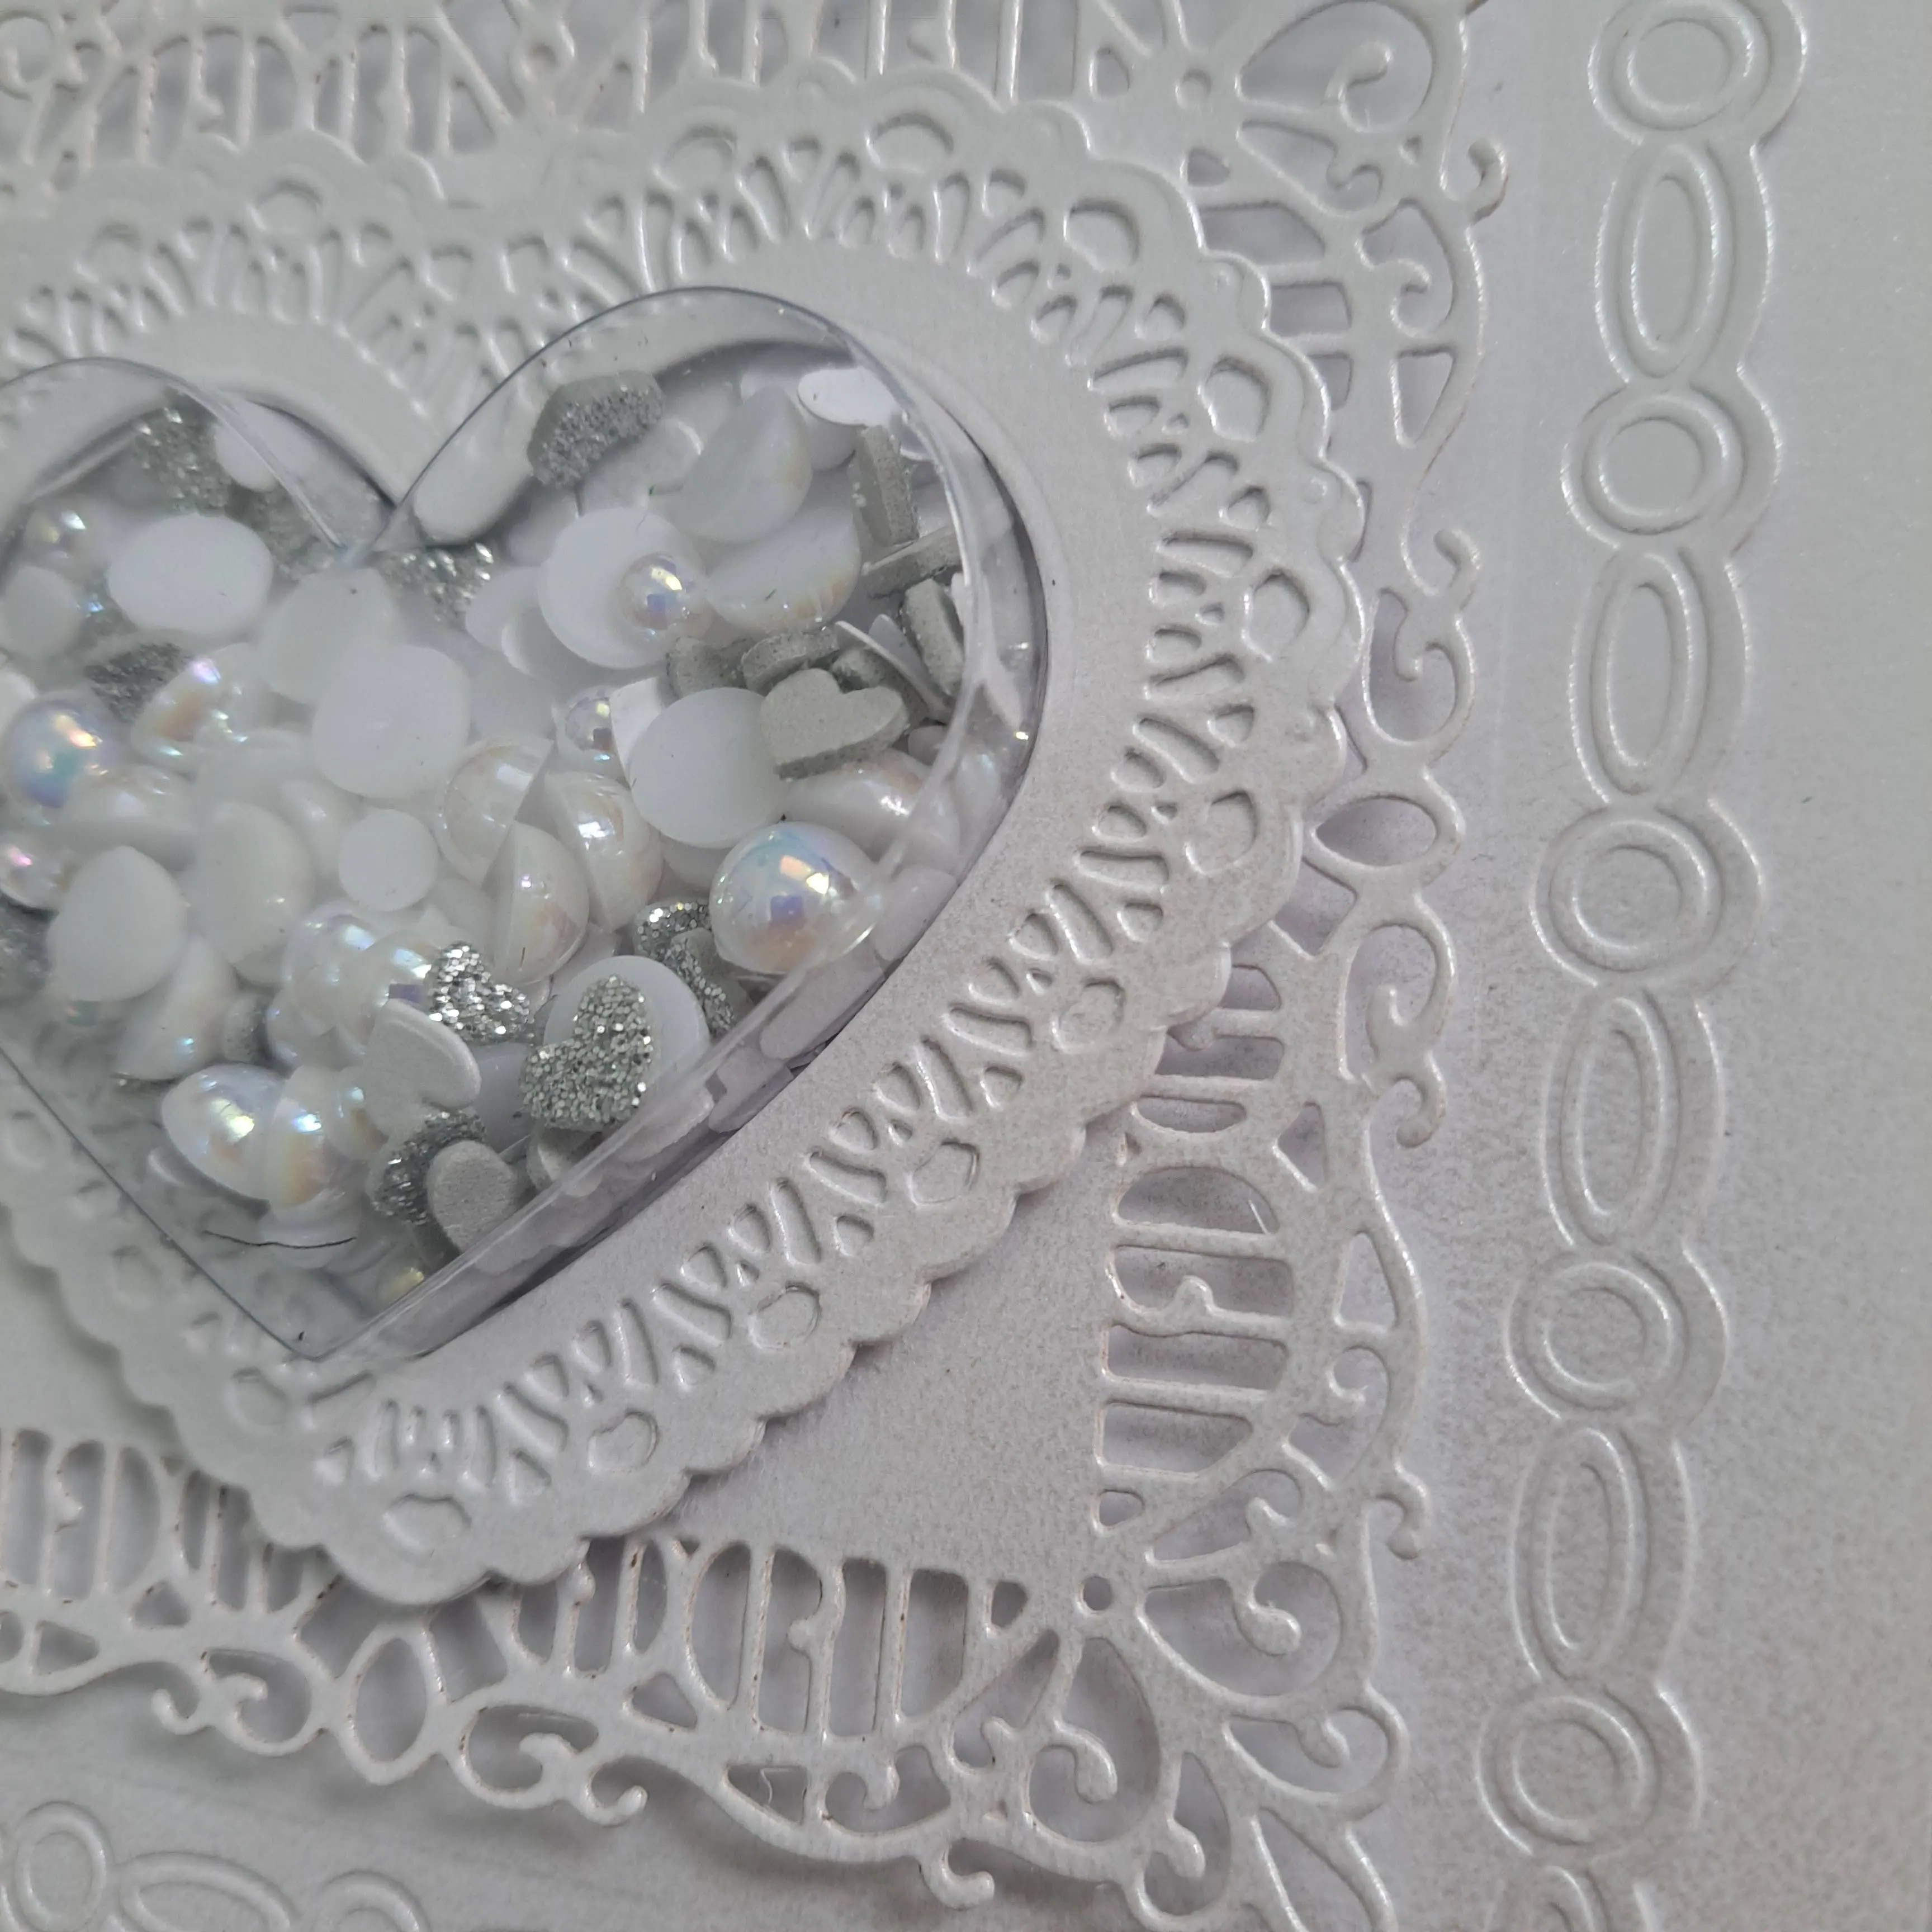
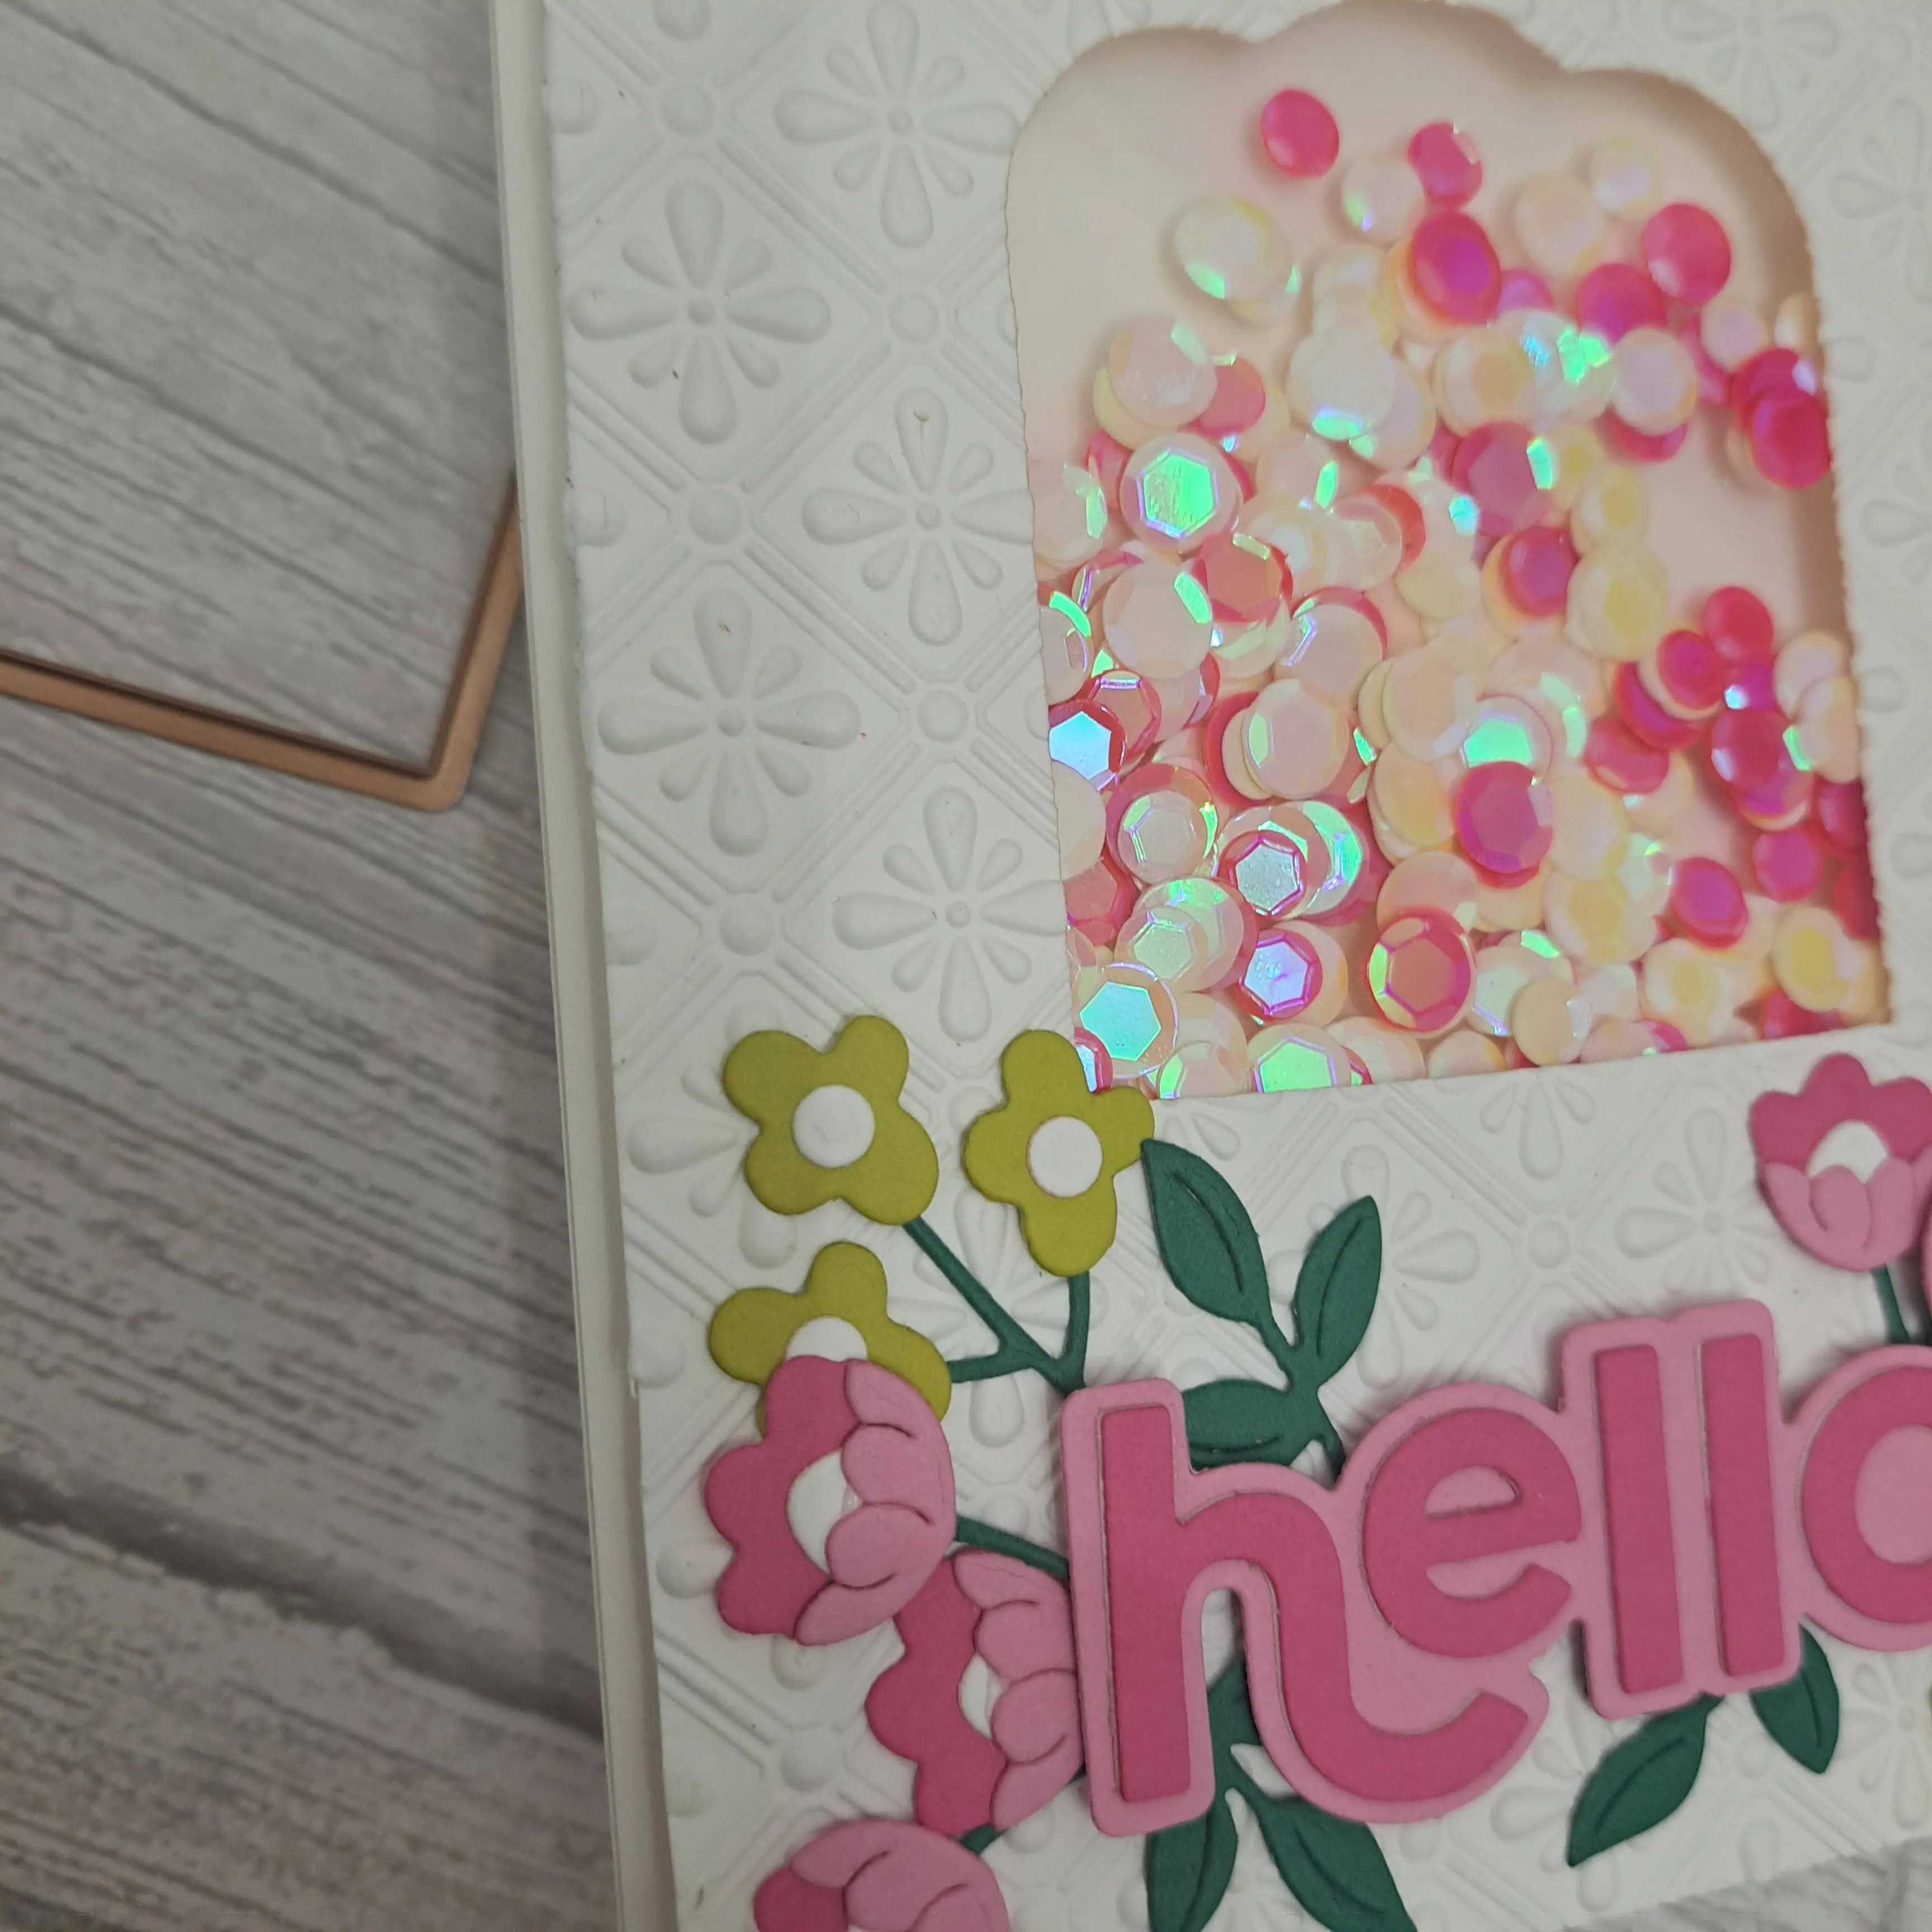
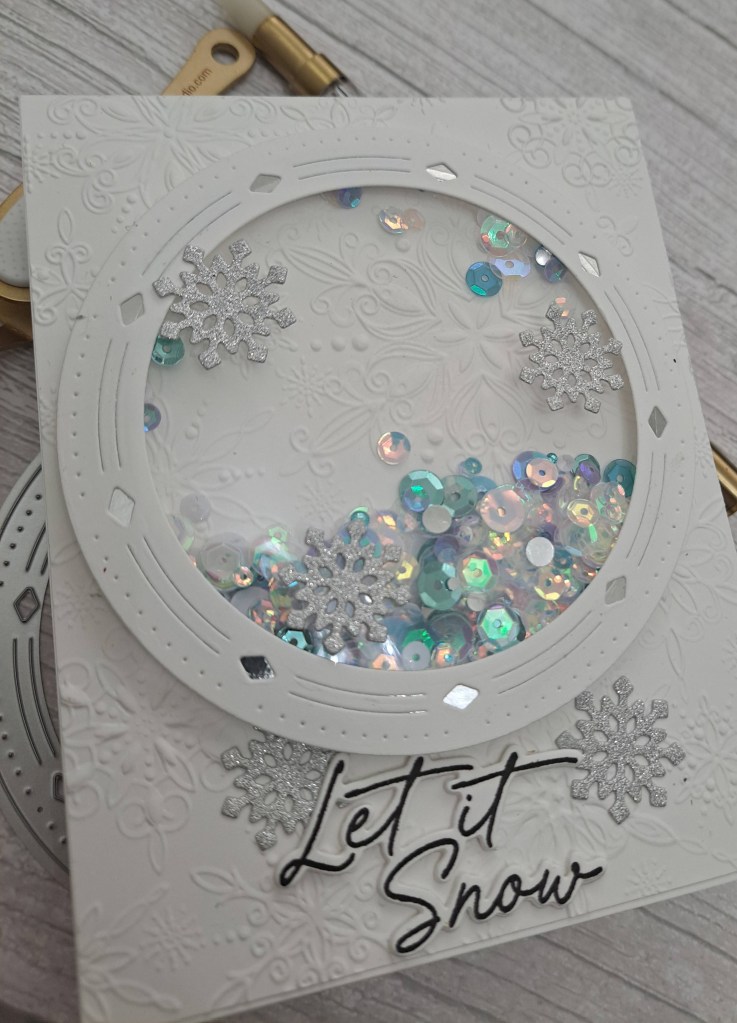
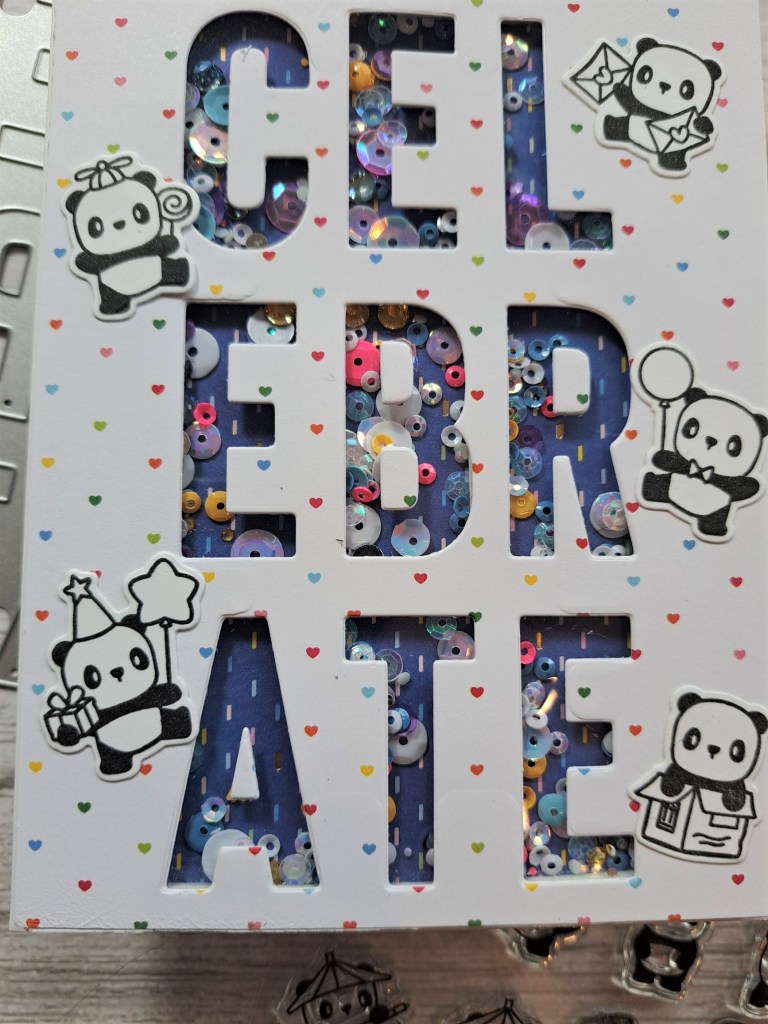
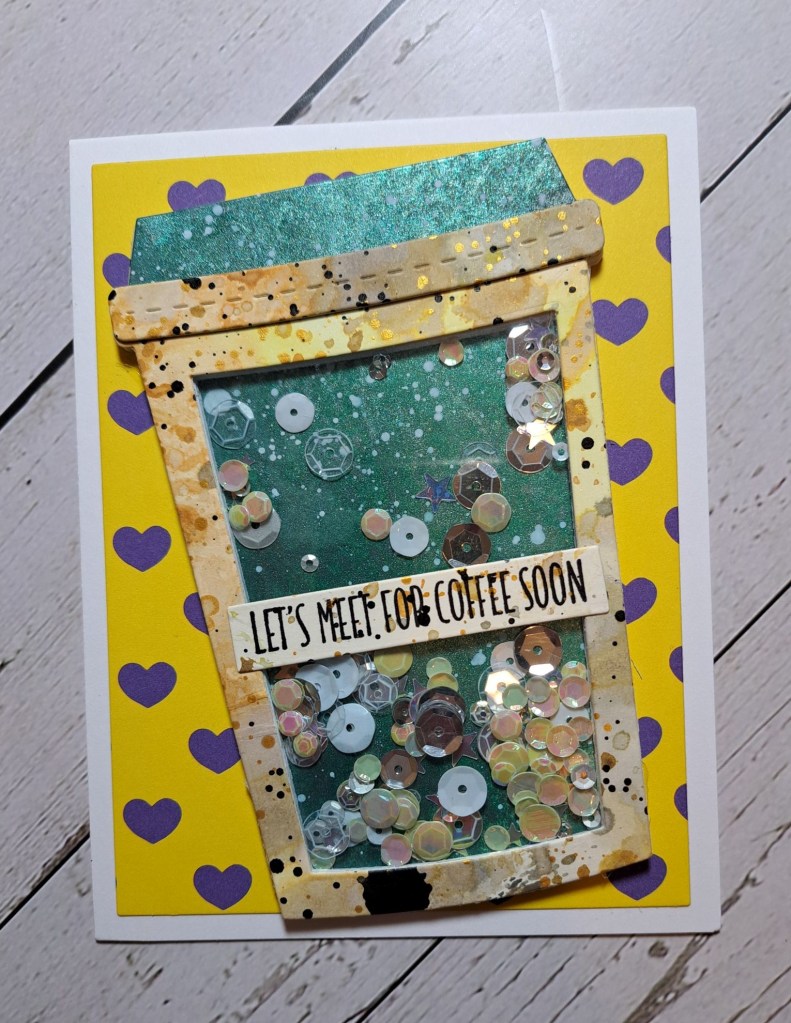
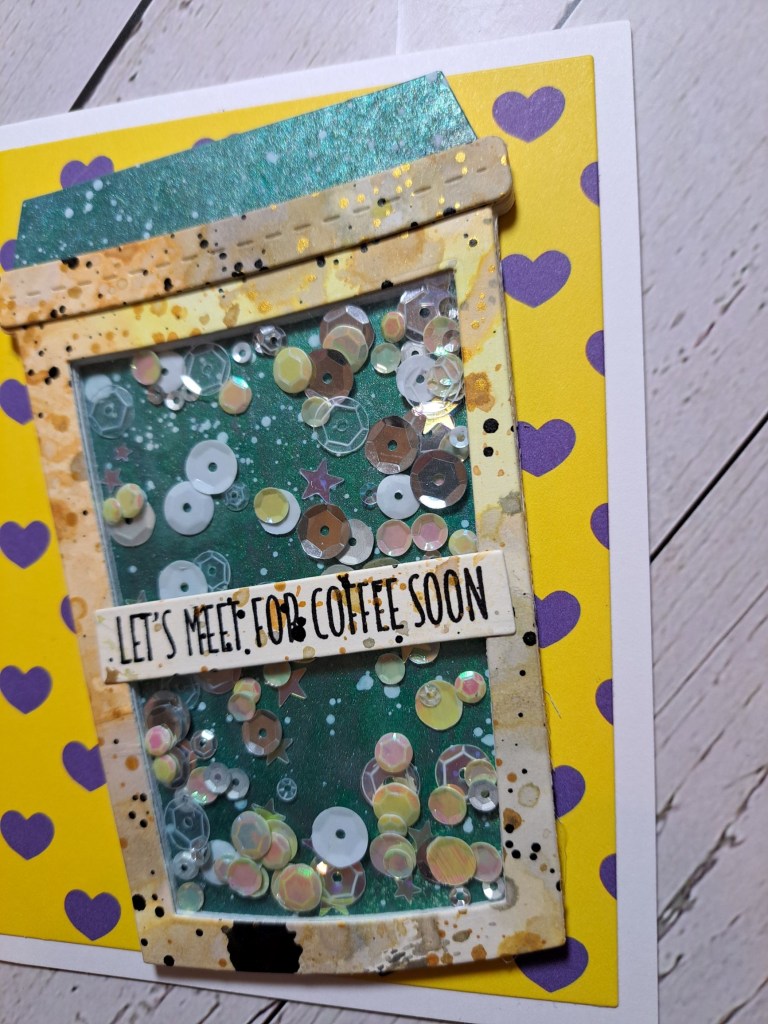
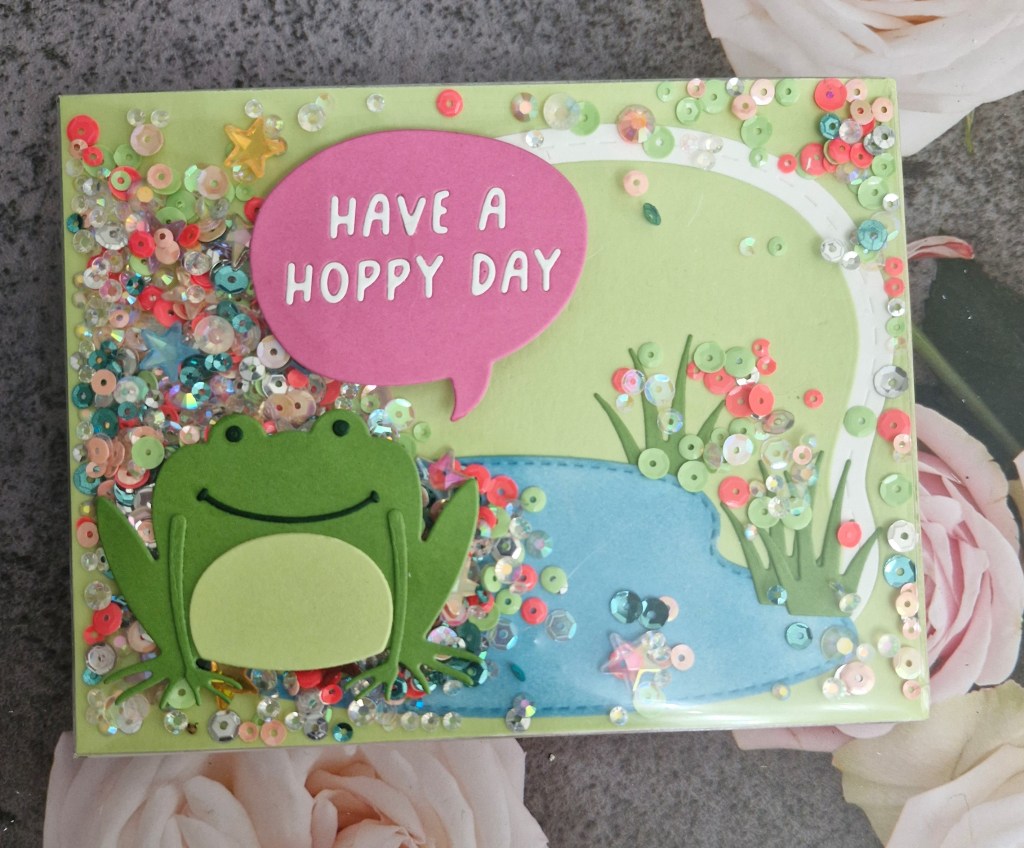
I decided to go with a full shaker panel for some fun, using Tonic Studios shaker pocket, but first I had to create the scene.
The pond scene and it’s grass elements are from a die set from Heffy Doodle – sadly now closed down – but I do have a lot of their products.
Once the scene was created – all glued flat to a white panel to stop the sequins from catching, I created the frog. This frog was one of the die sets from this years Summer Camp. What they call a ‘camp counsellor gift. A cute little die set which I just had to use.
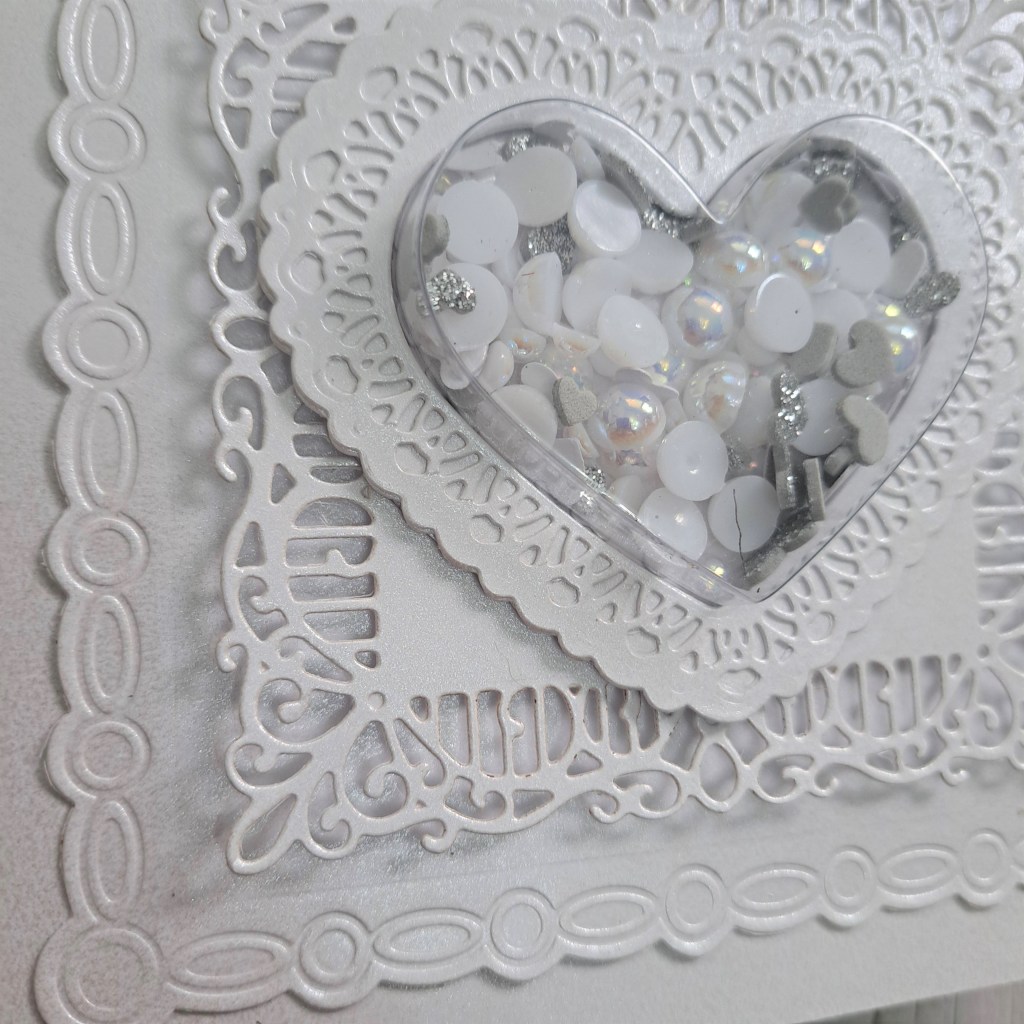
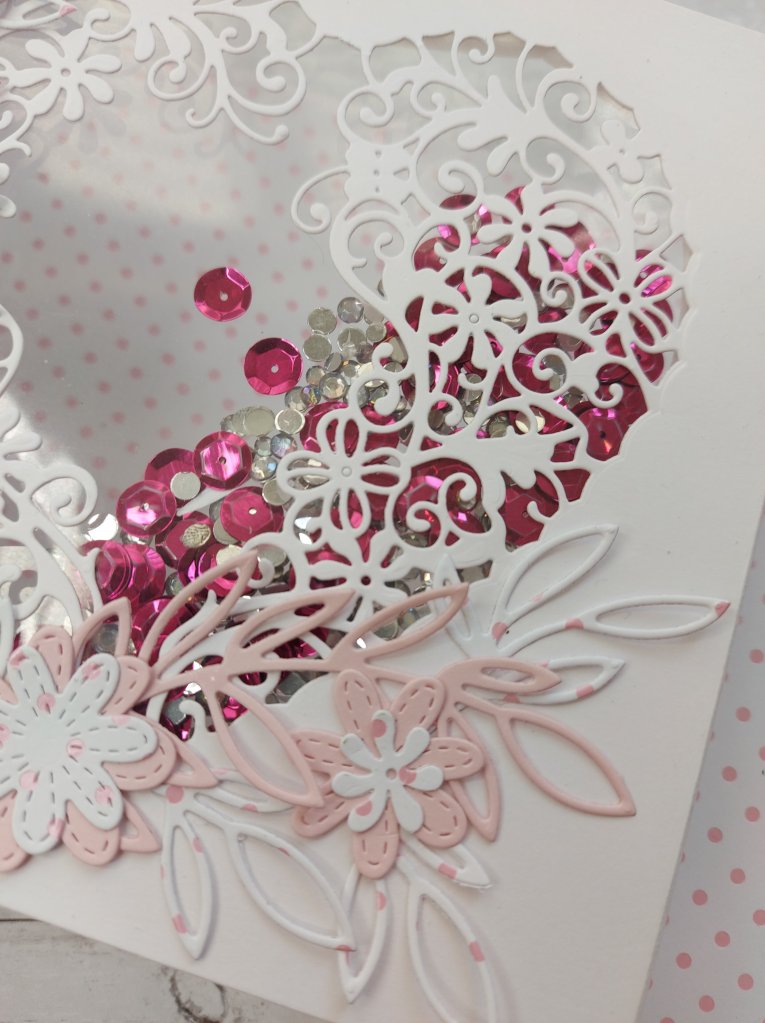
I stuck the shaker pocket down on three sides, added a whole bunch of sequins and other stuff I seem to collect and never use, then sealed the fourth side. I may have added more than is needed – but I do like to see all those sequins move around.
This was then attached to the card base, and the frog glues on top of the acetate.
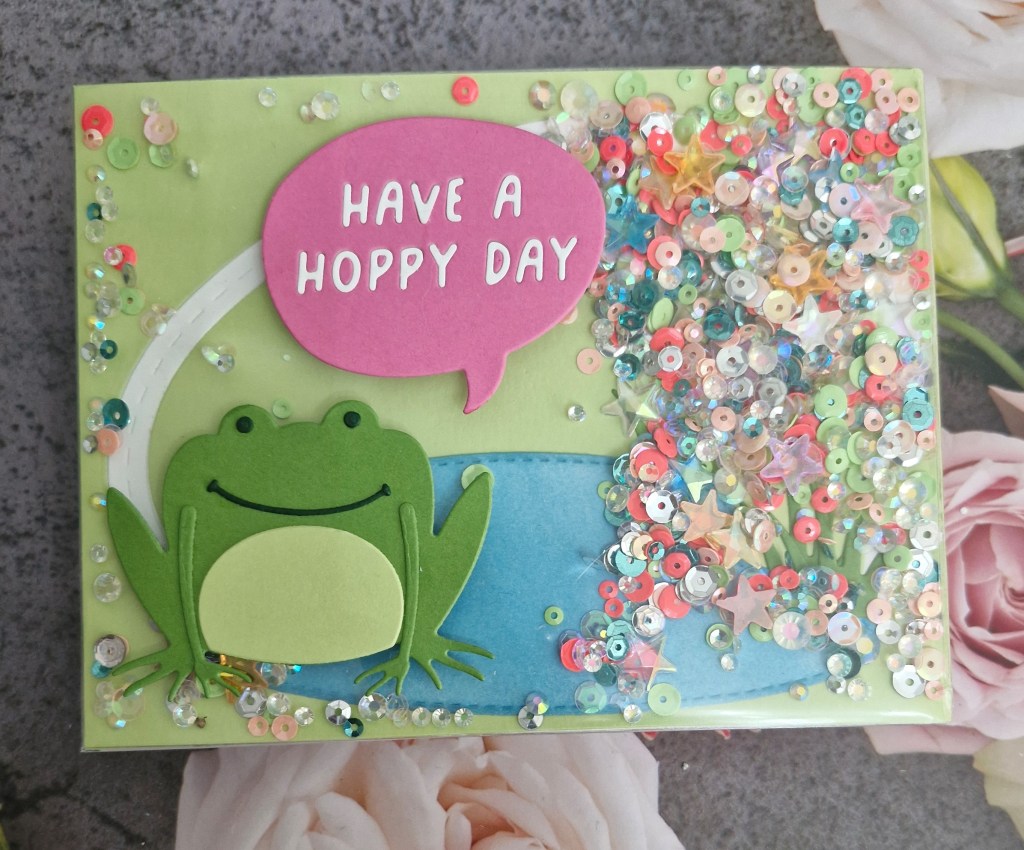
The sentiment is also a dies set – and once die cut from pink, I die cut again in white and inlaid the letters – fiddly but worth it I think.
I hope you can come and join us with your creations following our theme. xx
I shall be entering the following challenges:
Love To Craft – anything goes
Lil Patch Of Crafty Friends – anything goes
Crafty Animals – anything goes with an animal
2 Crafty Critter Crazies – anything goes with a critter
A Perfect Time To Craft – anything goes
Craft Rocket – animals
A Cut Above – die cuts anything goes
Pinspirational – die cuts