Hello everyone. I hope everyone is doing well, and enjoying the day…..
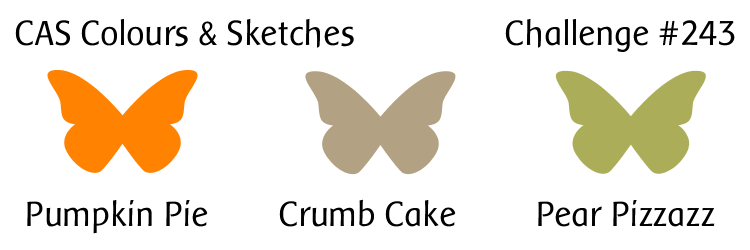
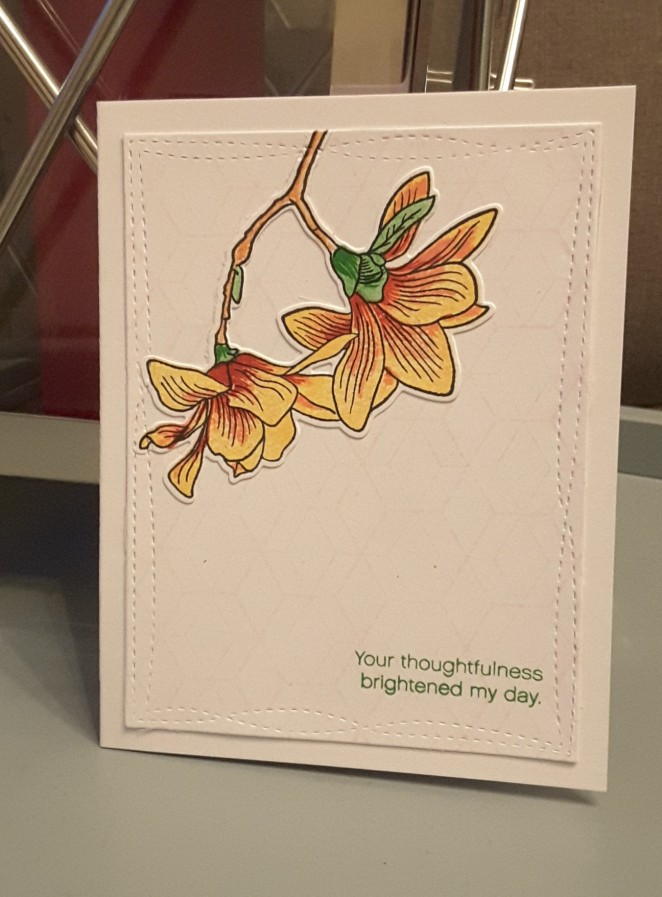
This card was made in a larger format, to leave some clean space on the card. The colours are from the current challenge from CAS Colours and Sketches – Pumpkin Pie, Crumb Cake, Pear Pizzazz. I first stamped the flowers from Stamps By Me, in Crumb Cake, then again – using my Misti – stamped over the top of the colour with Ranger Perfect Medium, and embossed with clear embossing powder.
I coloured the flowers with Pumpkin Pie, and the leaves with Pear Pizzazz, before using my Lawn Fawn ‘Wonky Rectangles’ to cut the panel. I then used the Sue Wilson ‘Shadow Box Collection – Stitched Lattice Frames’ to emboss the grid pattern into that panel. I also used the three rectangles from that same die set to cut a thin frame out of Crumb Cake Card, and another layer to go underneath the white panel. That way, I had stitching on all the layers.
The bottom thinner frame is stuck directly onto the base card, with the flower panel and it’s Crumb Cake layer being raised on 3D foam pads.
The sentiment is from Stamps By Me, stamped in Versafine Black Onyx.
As it is very, very windy outside today, I photographed inside again. I probably spent as much time hunting for a suitable photo situation as I did putting the card together…..
I shall be entering the following challenges:
CAS Colours and Sketches – Pumpkin Pie, Pear Pizzazz, Crumb Cake
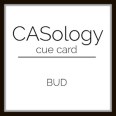
CASology – grid
Seize the Birthday – anything goes birthday (not using optional theme)