A Little Holiday Sparkle

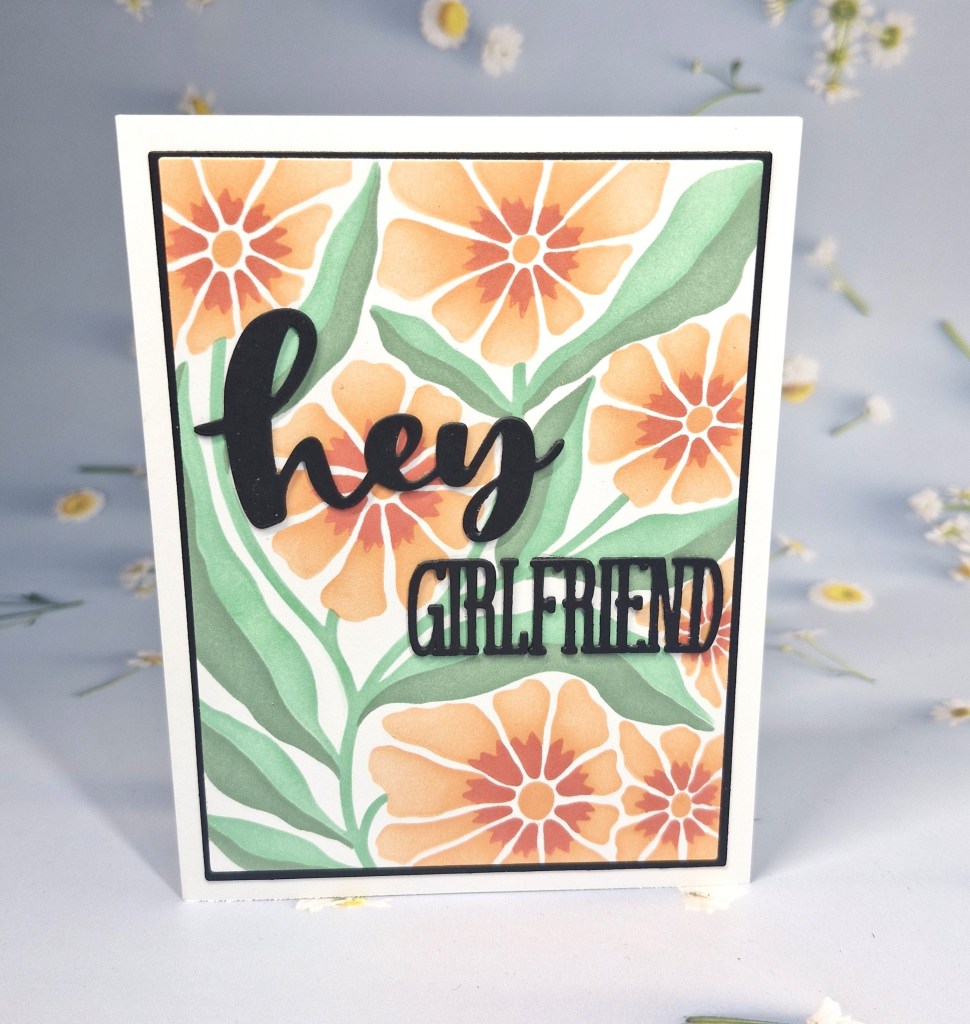
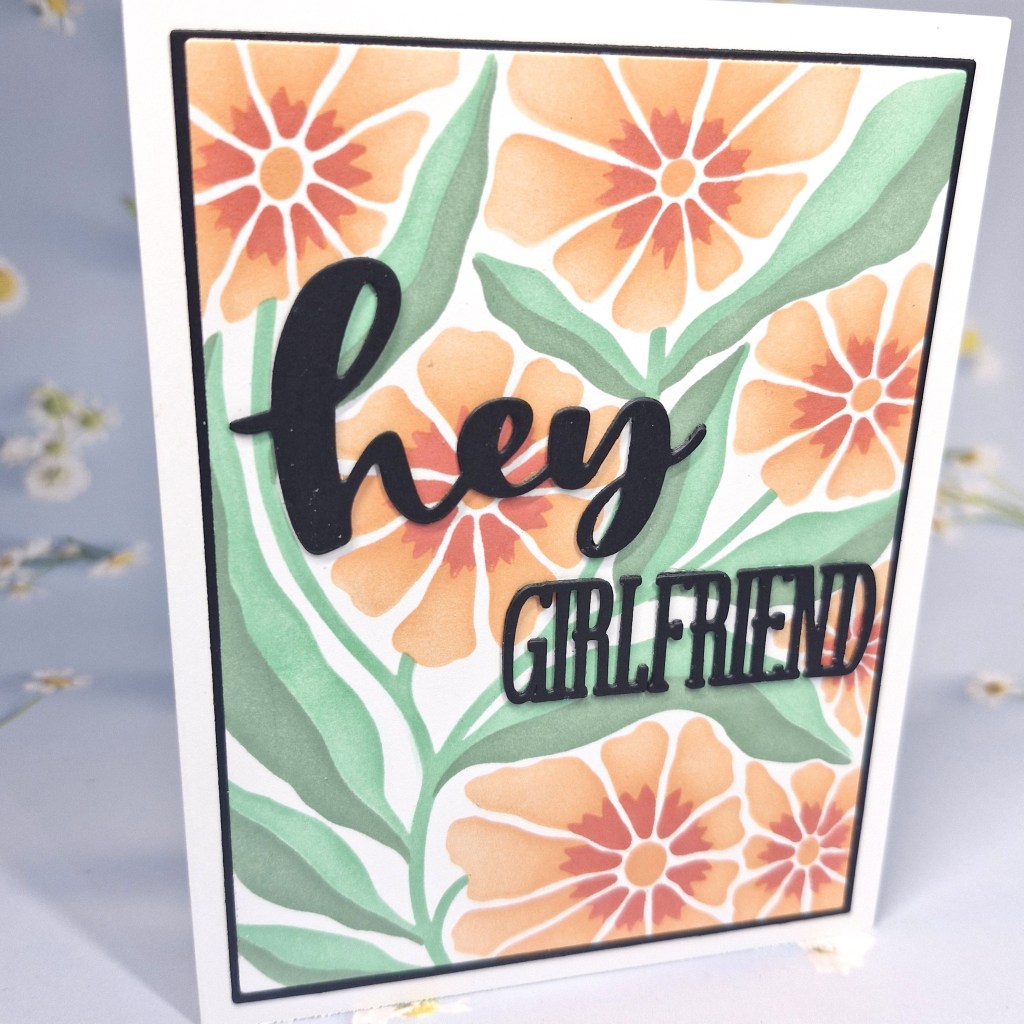
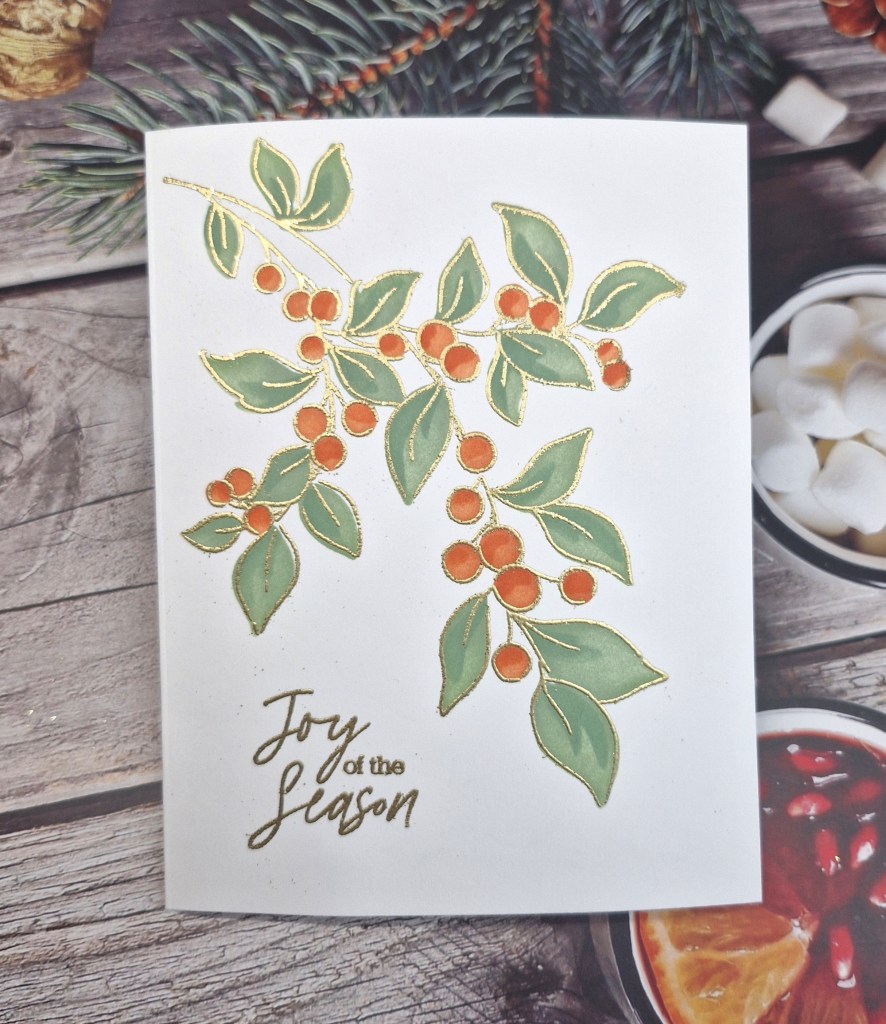
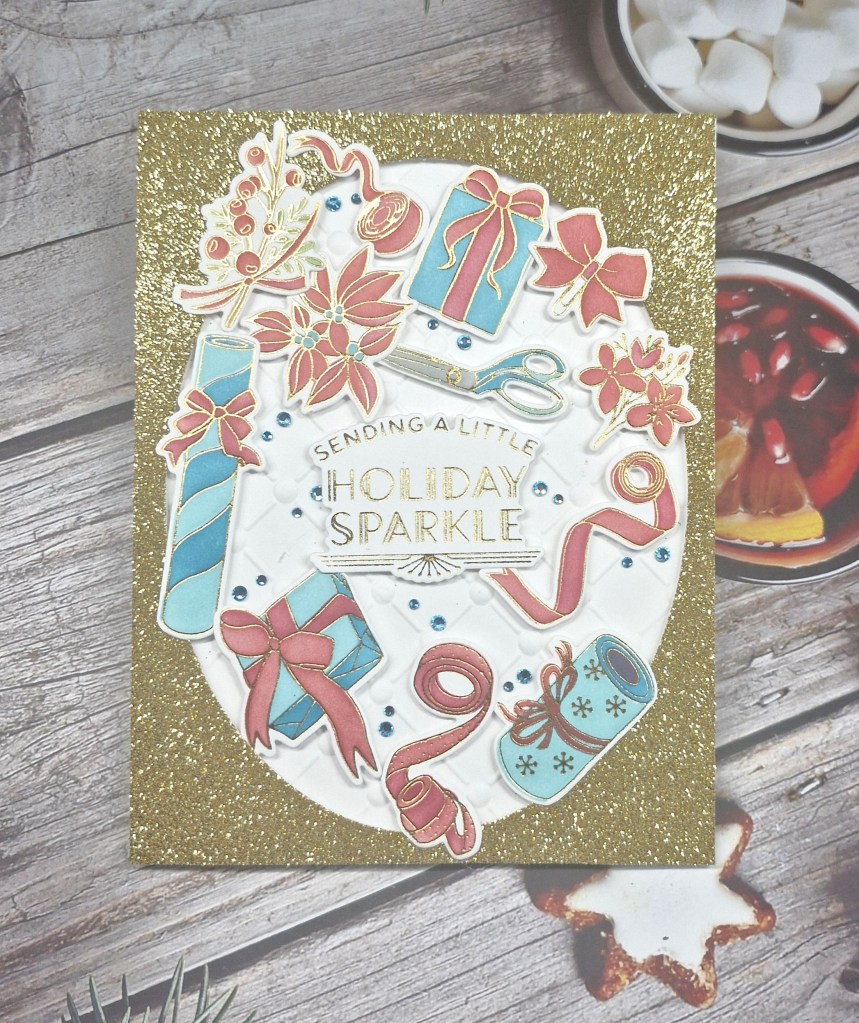
Hello again. The Holly & Ivy Christmas Challenge has started a new challenge – the theme is always ‘anything goes Christmas‘. Here is my card:

I used a collection of Pinkfresh Studio products to create this card, received for as part of a previous virtual event.

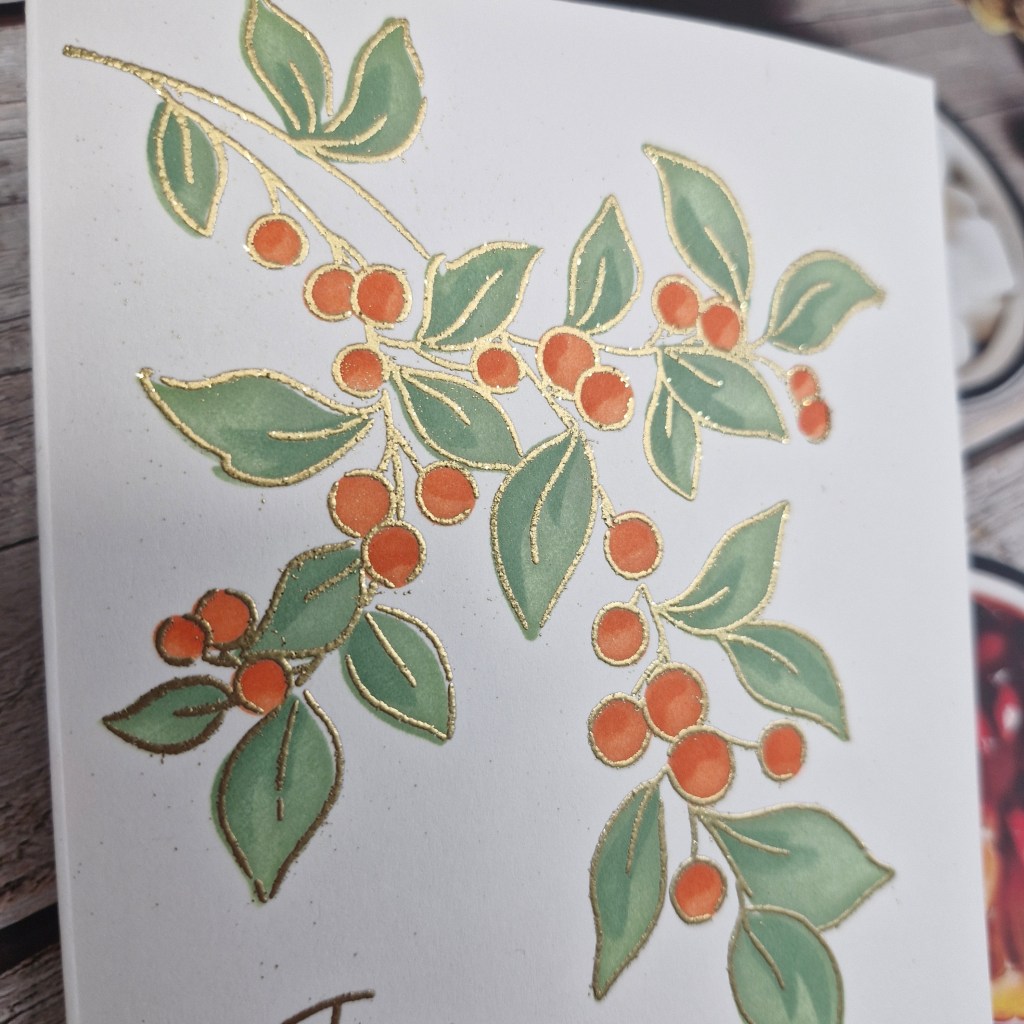
The first step was to hot foil the plate with the images on them, then ink blend with my choice of colour scheme using Pinkfresh Studio inks, then use the matching die to cut them out.

For the background, I took a white panel and used a Spellbinders embossing folder, placing that behind a panel of gold glitter card stock from which I die cut an oval from the centre.

I added the hot foiled sentiment to the centre of the aperture, then arranged the images with a mixture of 3D foam and glue.

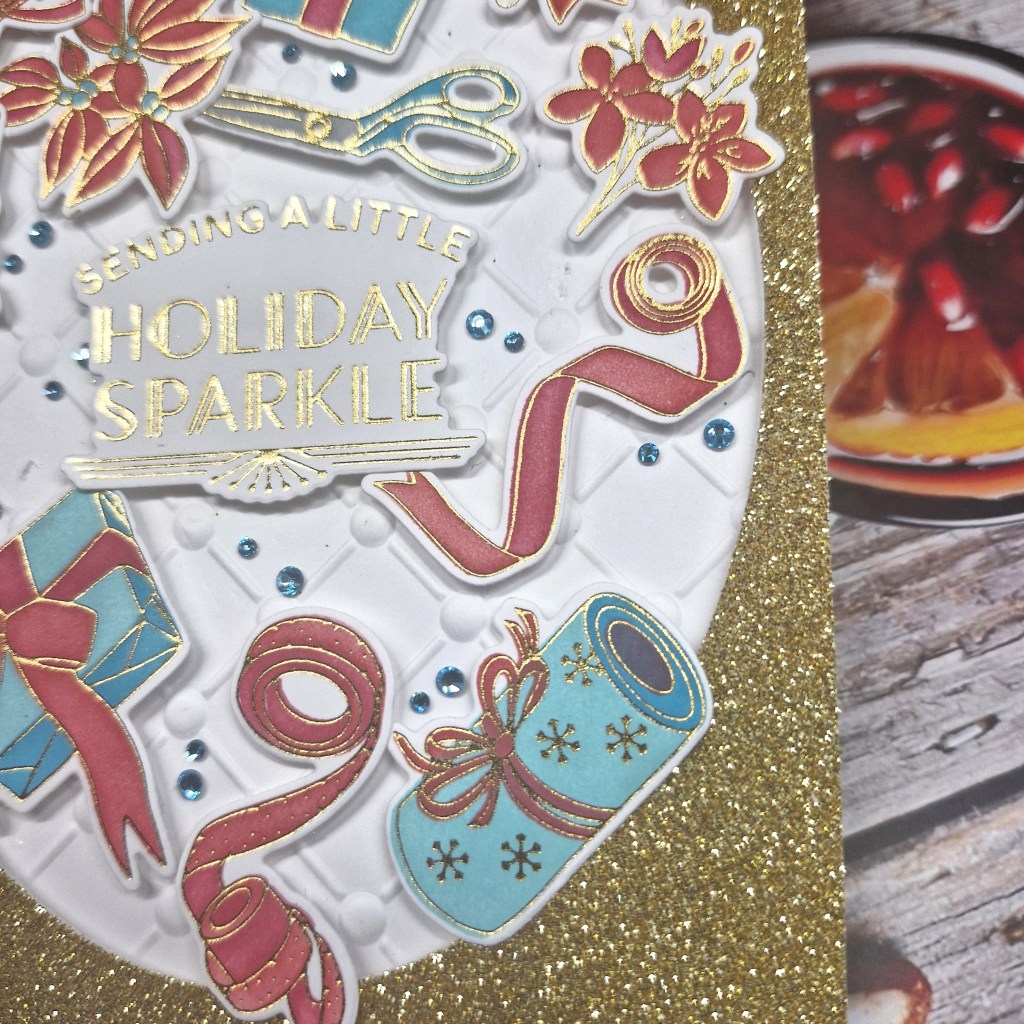
The final step was to add some teal gems here and there – quite a few actually – I just couldn’t stop….

I hope you can come and join us with your creations following our Christmas theme. xx

I shall be entering the following challenges:

Just Add InkChristmas

Just Us Girls stencils

Aud Sentimentstags and/or Christmas in July and a sentiment

Peace On Earthanything goes Christmas

Crafters Café anything goes – option of Christmas in July taken

Congrats On Your New Home

Hello again. There is a new challenge starting at The Alphabet Challenge. Dawn is hosting, and she has chosen the theme of ‘H is for Home’. Here is my card:

I chose to use an older Lawn Fawn die set for the house – ‘Build-a-House’. The main part of the house was die cut, then I used a small Tim Holtz ‘Mini Brickwork‘ embossing folder to create the brick effect.

All the other layers and elements were die cut and assembled, with some light grey textured card stock for behind the windows.

Once the house was completed, I used a Hero Arts mica spray received as part of an online event, sprayed the top of normal white card to create a less intense look – sprayed finely to not damage the card stock of over-wet it, and let that dry. I like the effect of the solid top and the flecked bottom part of the card, and I simply adhered the house to the centre.

I stamped the sentiment from a Scrapbook & cards today stamp set, die cut with the matching dies, layered a couple of times for stability, and glued that down.

The final step was to add three facetted gems….

I hope you can come and join us following our theme. xx

I shall be entering the following challenges:

A Cut Aboveanything goes with die cuts

Crafts Galore anything goes

Here Is A Place To Start anything goes – option to use vellum not taken

Lil Patch Of Crafty Friends anything goes

Ally’s Angelsanything goes

Cardz 4 Galz – Fun Fold

Hello everyone. I have had a short break with hubby – travelling around Italy with a short stop in Switzerland. Hubby drove and we covered 1000kms in four days, through several mountain passes and lots and lots of hair-pin bends – they look like amazing zig-zags on the maps we followed.

Now back and hopefully crafting more, though I must my mojo seems to be having a longer break than me.

Here is the card I made for the new challenge at Cardz 4 Galz. Sue J is hosting, and she has chosen the theme of ‘Fun Fold’.

The design team has been a little more adventurous with their fun folds than me, but I actually enjoyed the process of creating this card.

I chose the gatefold layout, using patterned paper with a woodgrain effect as a backdrop to the vibrant flowers I was going to add.

The middle panel was another piece of paper from the same collection, the bamboo trellis is from Spellbinders, which I cut and assembled twice so I could make it a little longer.

The flowers and leaves are also from Spellbinders, using a few of their floral sets, assembling and arranging to cover the join in the trellis, and just generally whatever suited my eye.

The panel was then attached to the left side of the gate-fold card, and the foiled sentiment added – a bold black strip with gold foiling to make it stand out. Gems were added to the centre of the flowers – and a few around and about.

I hope you can come and join us with your creations featuring fun folds – I look forward to seeing which folds you use. xx

I shall be entering the following challenges:

Die Cut Divas die cuts – birthday

A Cut Aboveanything goes with die cuts

Ellibelle’s Corner anything goes

Crafts Galore – anything goes

Love Those Pretty Papers anything goes with patterned paper

Inkspirational word prompt – birthday

G is for Girlfriend

We have started a new challenge at The Alphabet Challenge. Having reached the letter ‘G’, Billie A has chosen the theme of:

G is for Girlfriend

Here is my card:

For this card, I chose to use the Concord & 9th layering stencils for the background, and ink blended using Pinkfresh Studio inks. I then cut this down slightly, added a black layer, then attached to a white card base.

The ‘hey’ part of the sentiment is from Time 4 Tea Designs,. and the ‘girlfriend’ part if from Spellbinders. Both sentiment were layered a couple of times for extra dimension.

I hope you can come and join us following our theme.

I shall be entering the following challenges:

Ally’s Angelsanything goes

Addicted To Stamps & Moremake your mark

Lil Patch Of Crafty Friendsanything goes

Stencil Fun stencils – option of use own flags colours not taken

Mouse Wedding

Hello once again. We have anew challenge starting at Cardz 4 Galz, Caz is hosting, and has chosen the theme of:

Wedding or Wedding Anniversary

Here is my card:

I took the opportunity to use some Elizabeth Craft Designs die sets to create this fun card. I actually gave this to someone this past weekend for their wedding.

I started by die cutting the mouse heads in a brown card stock. Once die cut, I did a little ink blending around the edges to create some dimension, and assembled all the pieces. The eyes, ears, nose, mouth, hat and floral head band were also die cut and added, with a little ink blending to the ears.

These mice actually come with their bodies too – but I just used the heads for a cute and whimsical look.

The background panel was embossed using a Spellbinders embossing – all the hearts adding to the wedding vibe. The frame was die cut using a Pinkfresh Studio die set.

Hubby and I had our 37th wedding anniversary last week – 37 years! Wow! Obviously, I was married extremely young…..

I hope you can come and join us with your creations following our wedding or wedding anniversary theme. xx

I shall be entering the following challenges:

Simon Says Stamp Wednesday Challengeemboss it

Lil Patch Of Crafty Friendsanything goes

Crafty Animalsanything goes with an animal

A Cut Aboveanything goes with die cuts

Ellibelle’s Corner – anything goes

Crafts Galoreanything goes

Joy Of The Season

Hello everyone. ABC Christmas Challenge has started a new challenge. We have reached the letters ‘N‘ and ‘O‘, and the Christmas themes this time are:

N is for Non-Christmas Stash

&/or

O is for One Layer Cards

Here is my card for the ‘O is for One Layer Card’:

I started by gold heat embossing the Pinkfresh Studio ‘Berry Branch’ stamp set onto a white card base, then used the matching layering stencils to colour the image.

The sentiment was also gold heat embossed.

So – truly a one layer card. No added bling (very unlike me!), and looking very clean and simple. The Design team has some fabulous inspiration for both of the themes for this month, and I hope you are able to join us with your Christmas creations following one or both of our themes. xx

I shall be entering the following challenges:

Addicted To Stamps & Moremake your mark

Everybody Art Christmas

Daisy ChainChristmas in July

Craft RocketChristmas in July

Merry Little Christmas Challenge anything goes Christmas

12 Months of Christmas Link-Upanything goes Christmas

Happy Birthday to a True Classic

Hello everyone. I have a card today to share as Guest Design Team member for the new challenge at Christmas (or not) Bingo.

This is the board for you to choose a column, and use at least three items from that column. I chose column I – masculine – free – stenciling:

The products I used for this card are from a recent online event by Pinkfresh Studio. I generally attend their virtual events, but wasn’t sure about this one. It was called ‘Cards For Him’ and as I rarely make masculine cards I wasn’t sure – until I saw the sneak-peeks and the range of products for the event.

I used the ‘dotted nested deckled rectangle‘ dies to create the grey frame – layered a couple of time for dimension. I took a white piece and die cut again, and this time I stencilled some light blue clouds onto it to create a background for my little scene. I then stamped the sentiment.

The car was stamped and ink blended using the matching layering stencils, then die cut. This stamp set is called ‘True Classic‘.

The houses behind were ink blended with their matching stencils, then die cut. I didn’t stamp them first as I wanted less defined outlines for those. It did make the layering of the stencils more of a challenge, but thankfully as they were all straight lines it wasn’t a major issue.

The frame was attached to the card base, the inner cloud area inserted, the car added, then the houses tucked in behind.

Hubby and I have had quite a few sports cars in our time, never a blue one though, but when you are grunting every time you try to get out of them low slung things – knees, back, hips – we decided it was time to move to cars which were higher. We have some fabulous memories though.

I hope you can come and join the team and I with your creations following one of the columns. xx