The new challenge at Cardz 4 Galz is hosted by Helen, and she has chosen the theme of :
’embossing – wet or dry’
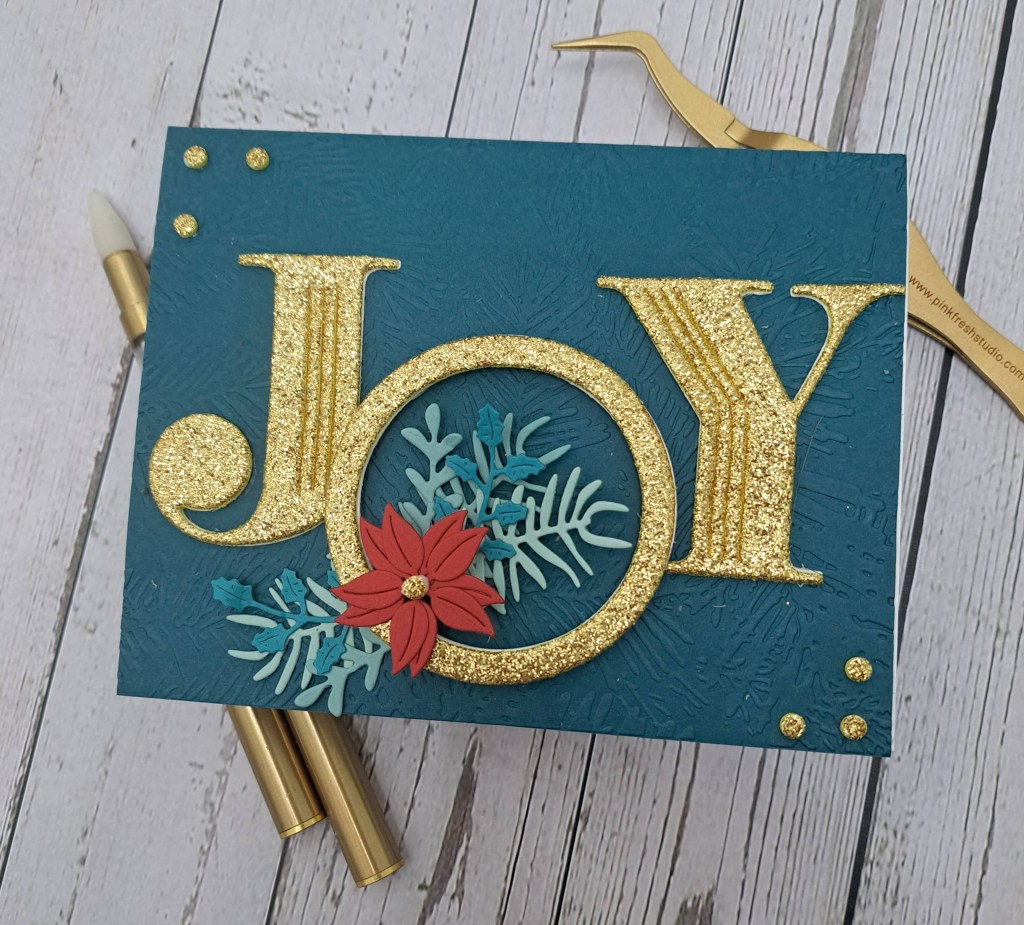
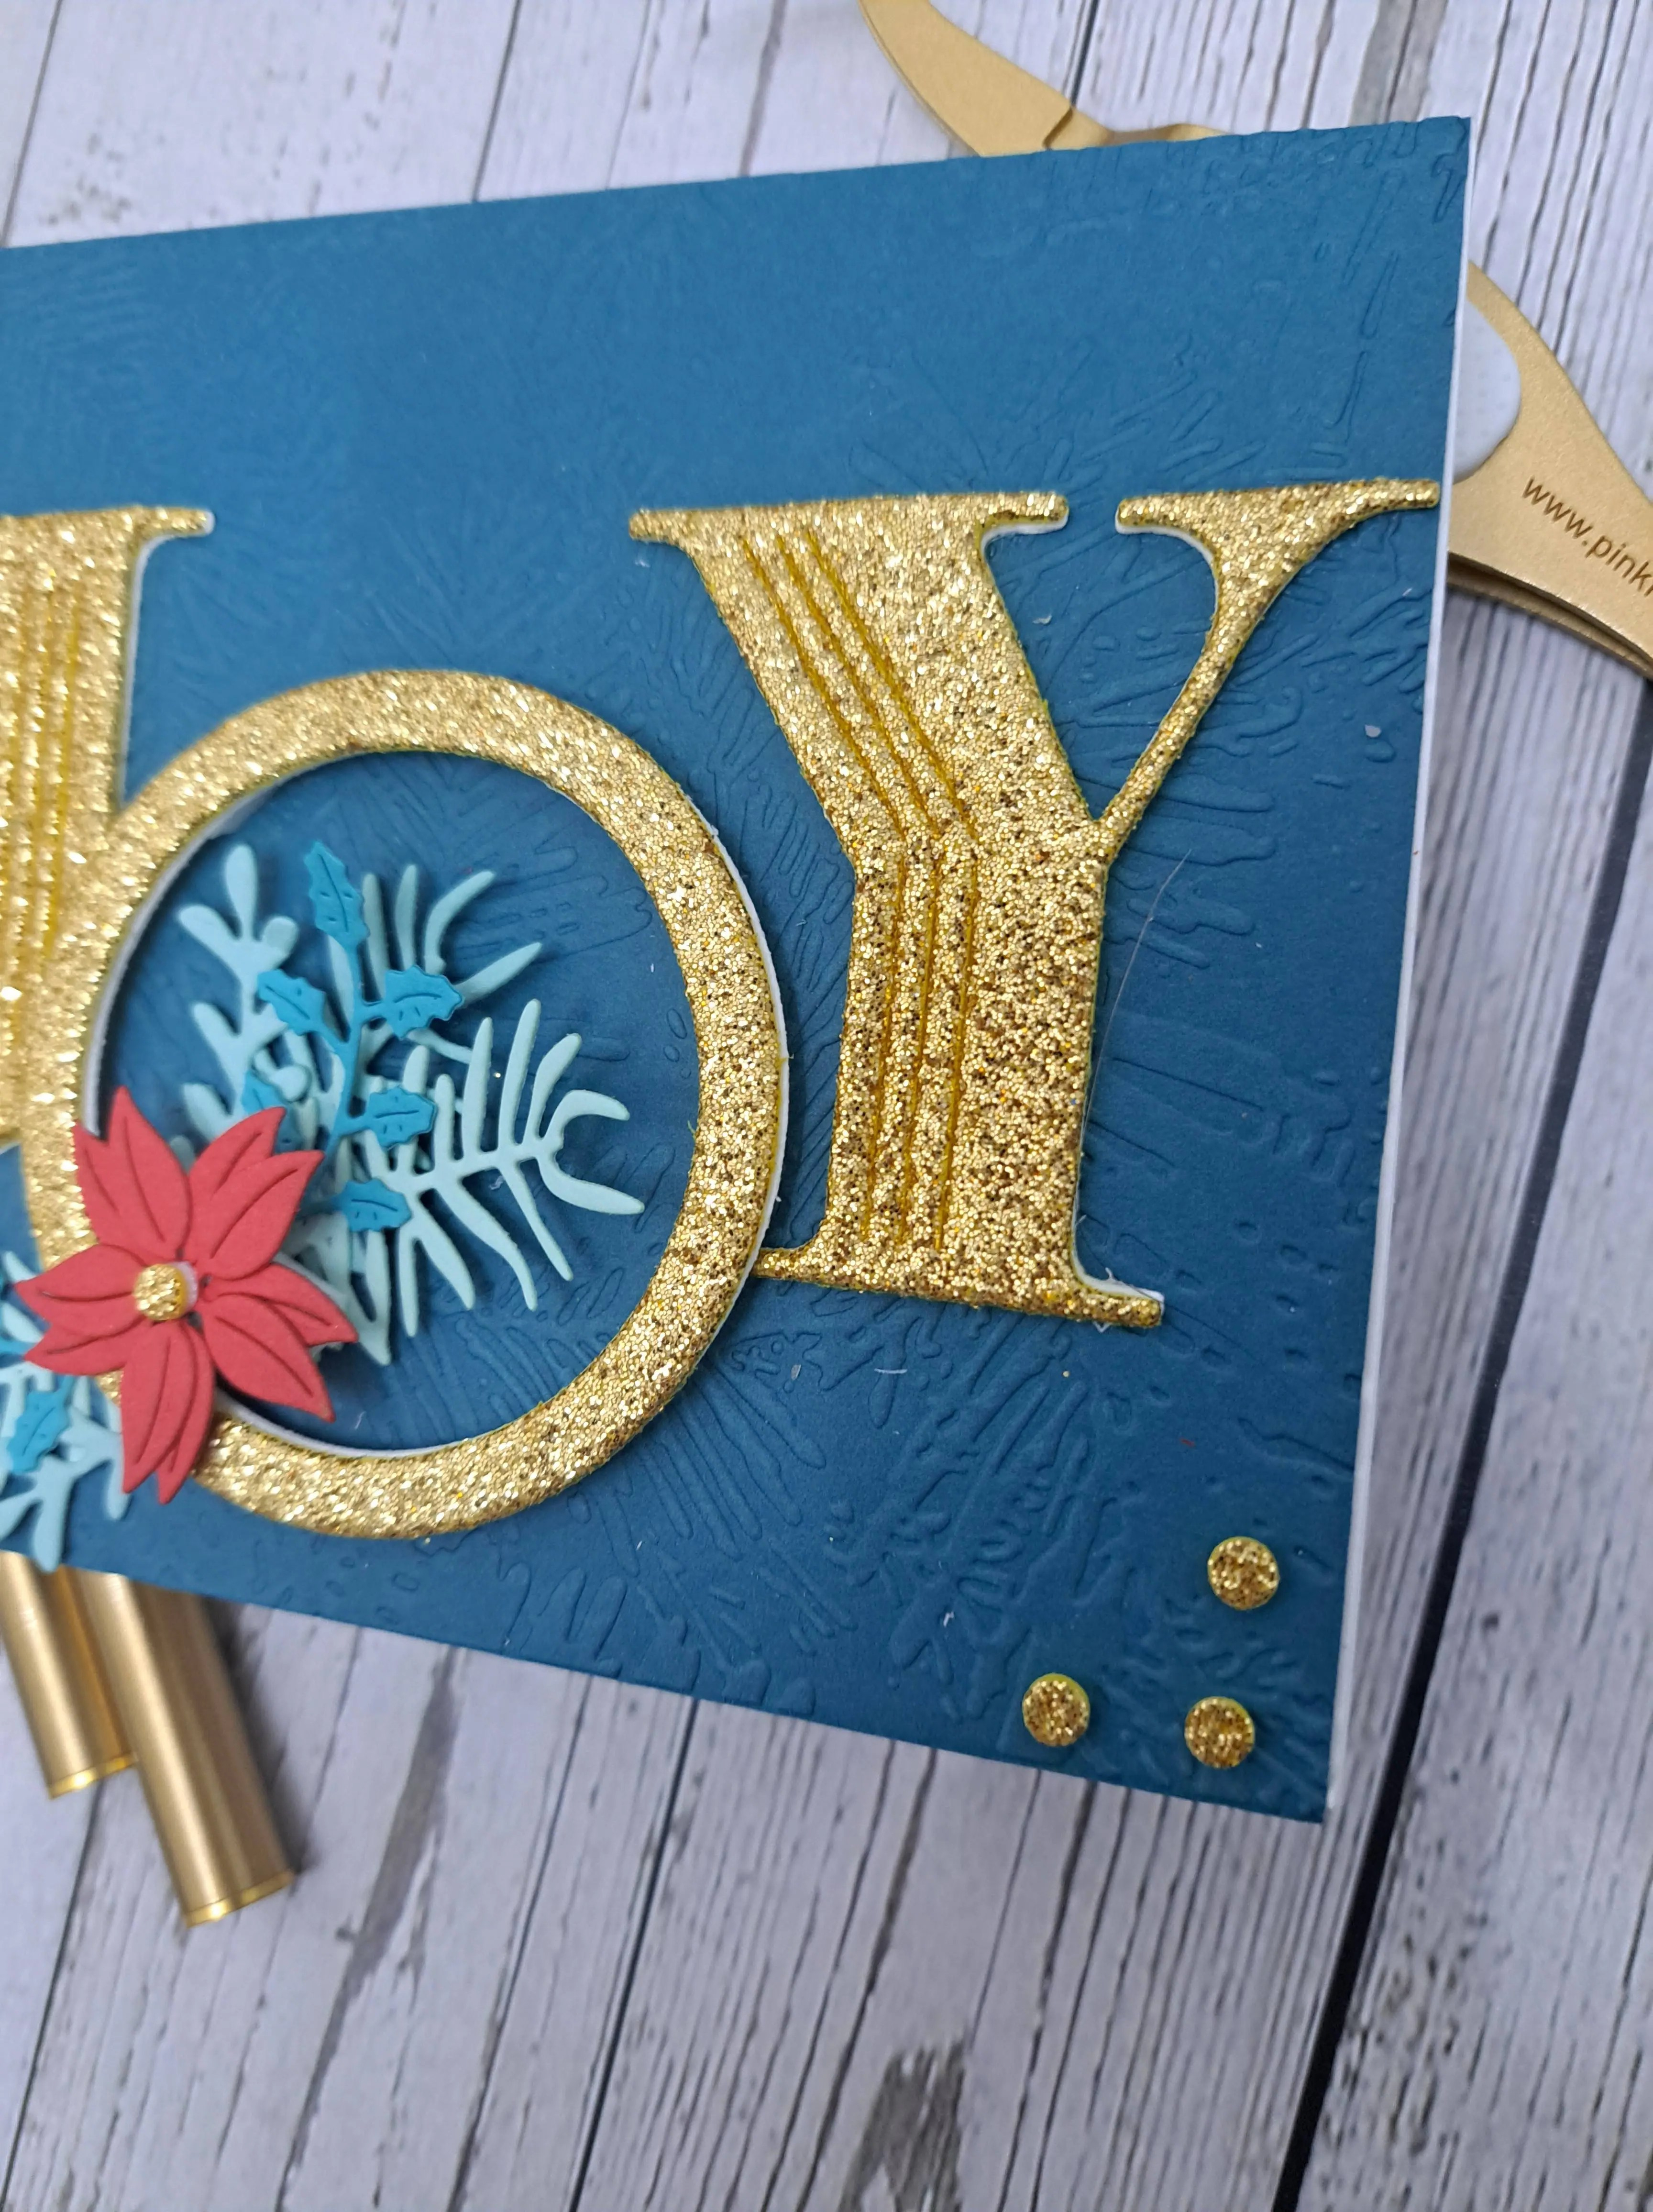
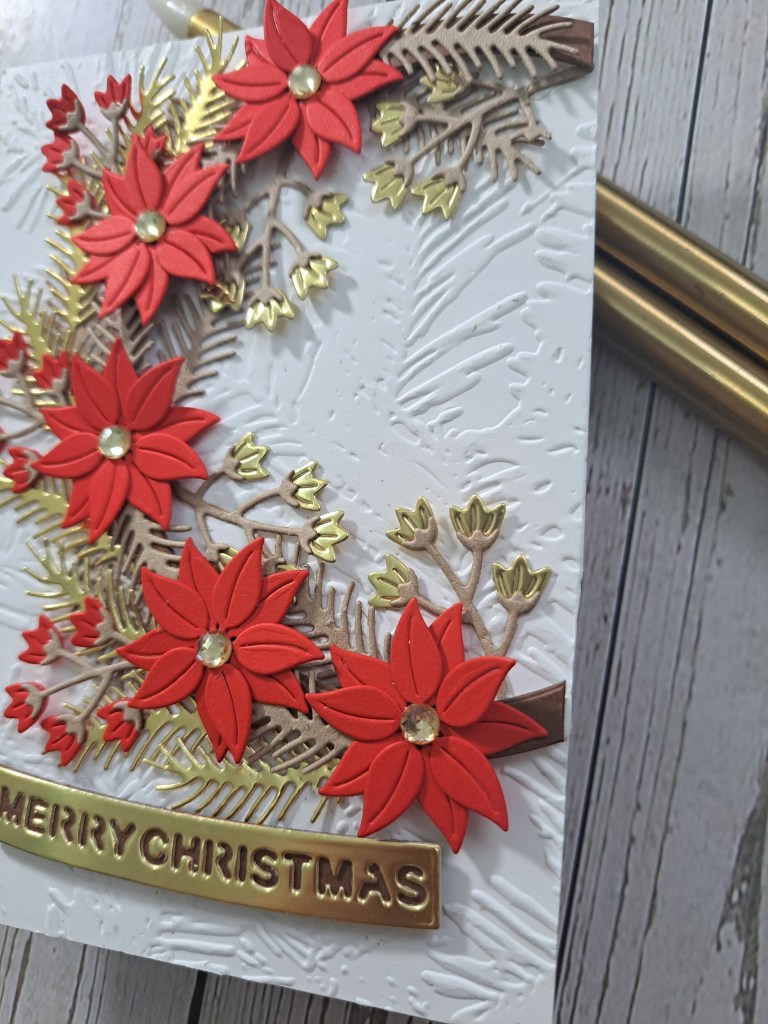
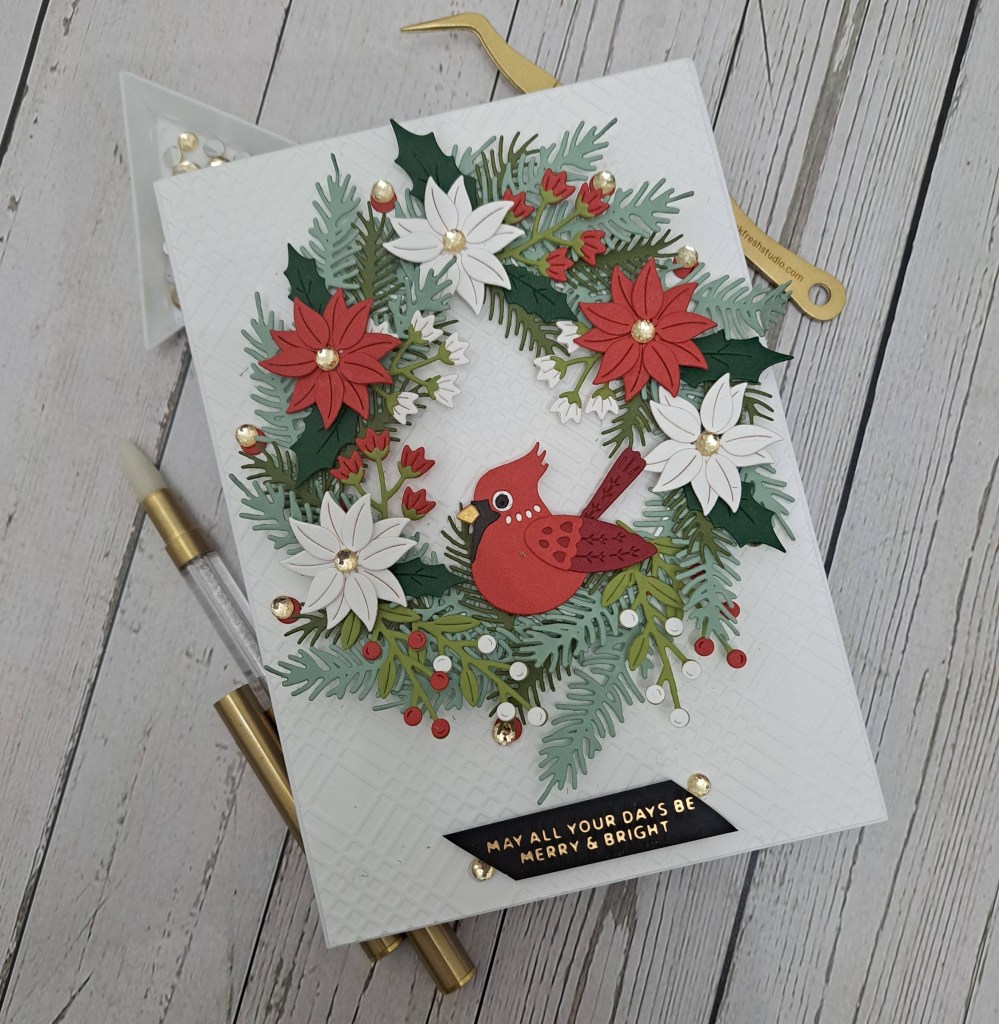
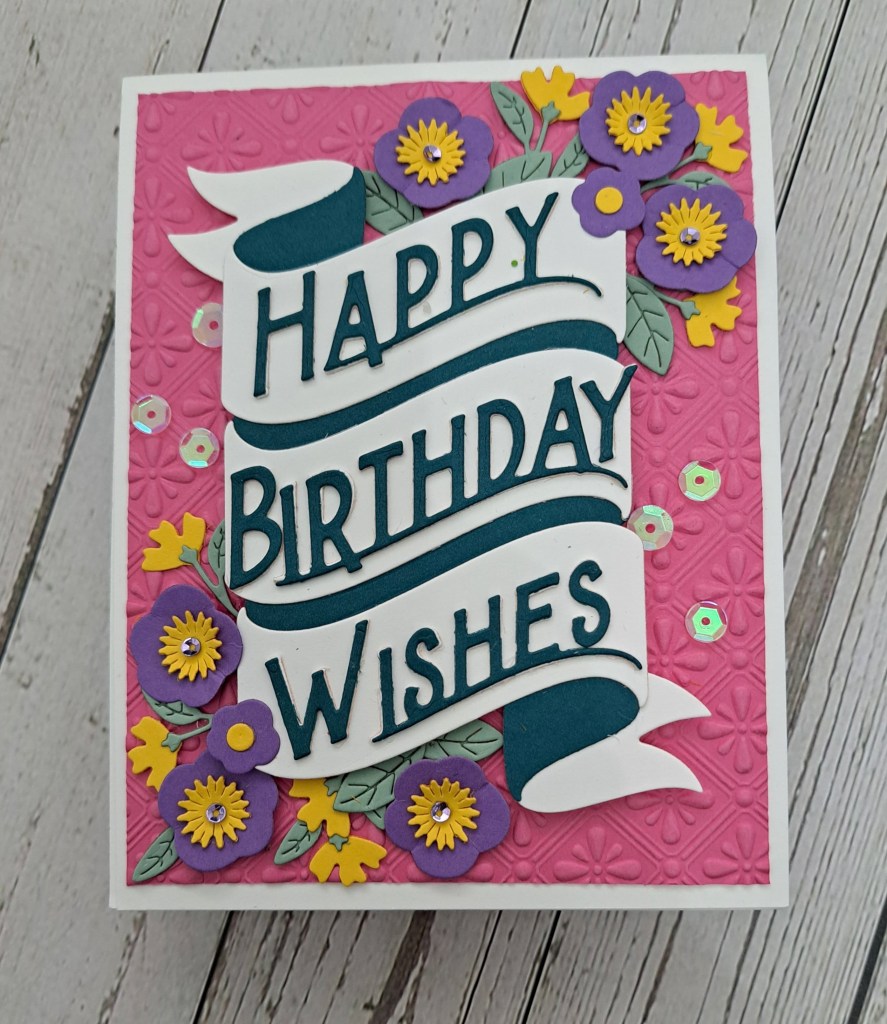
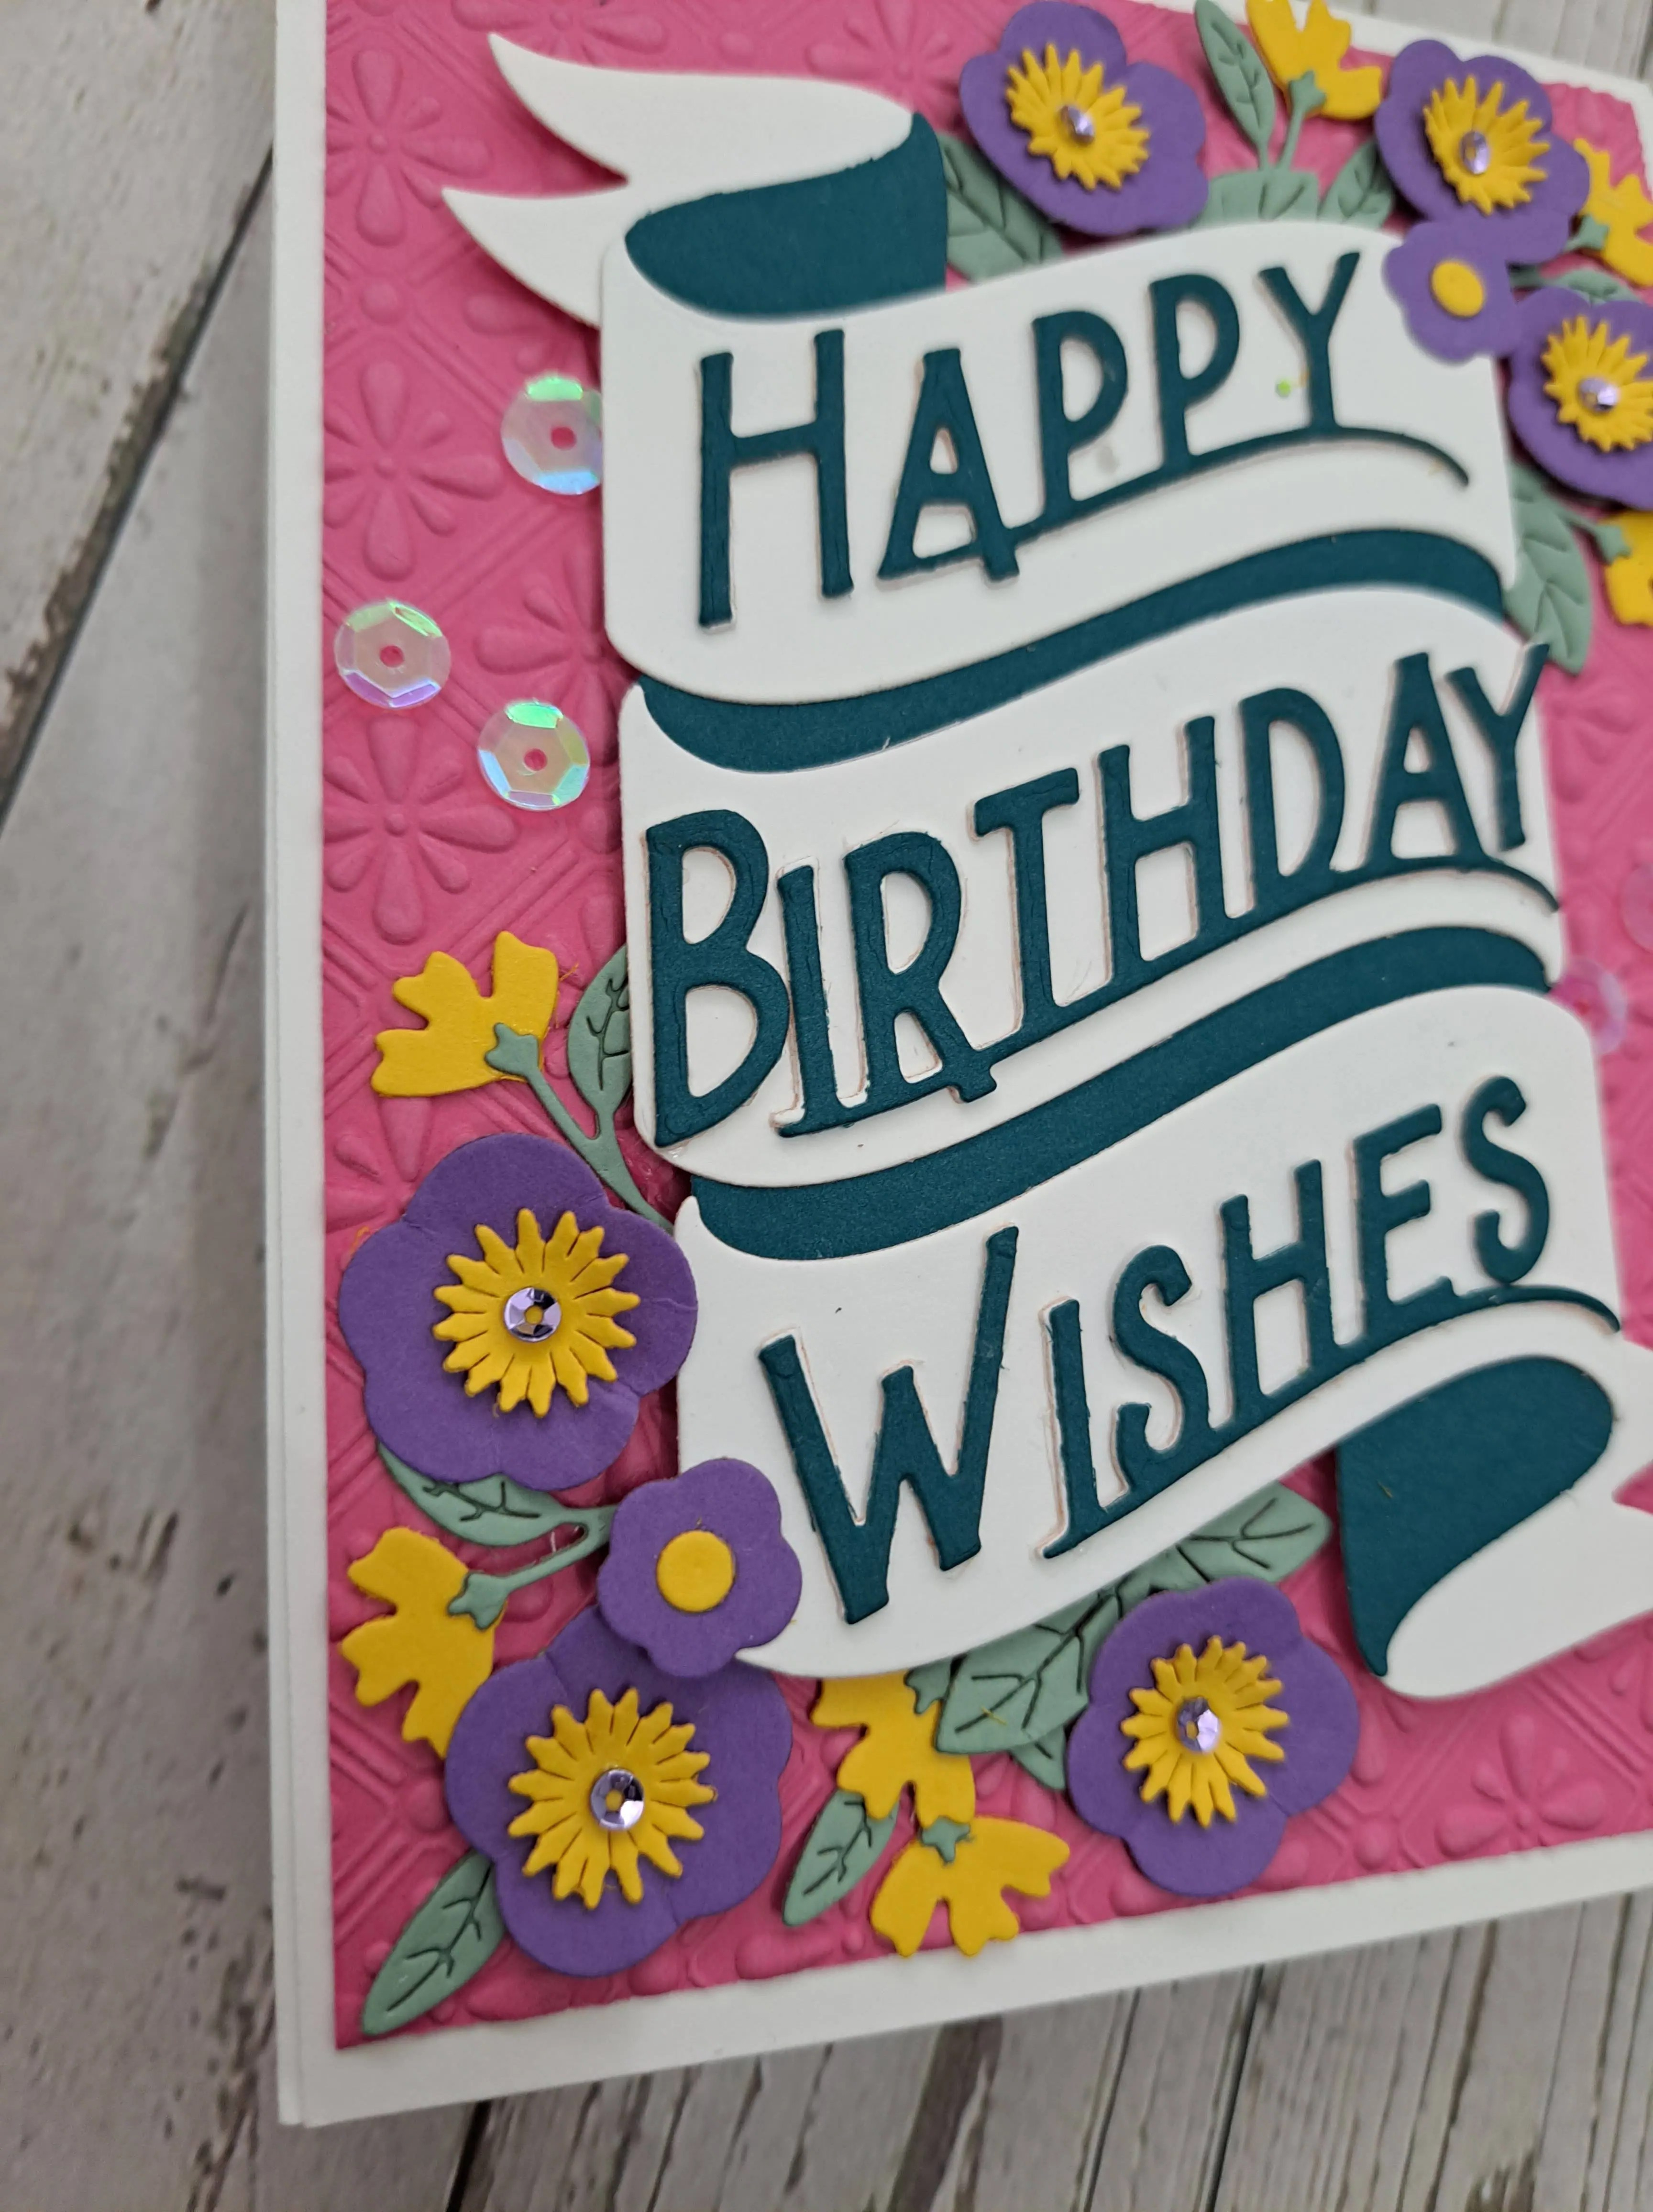
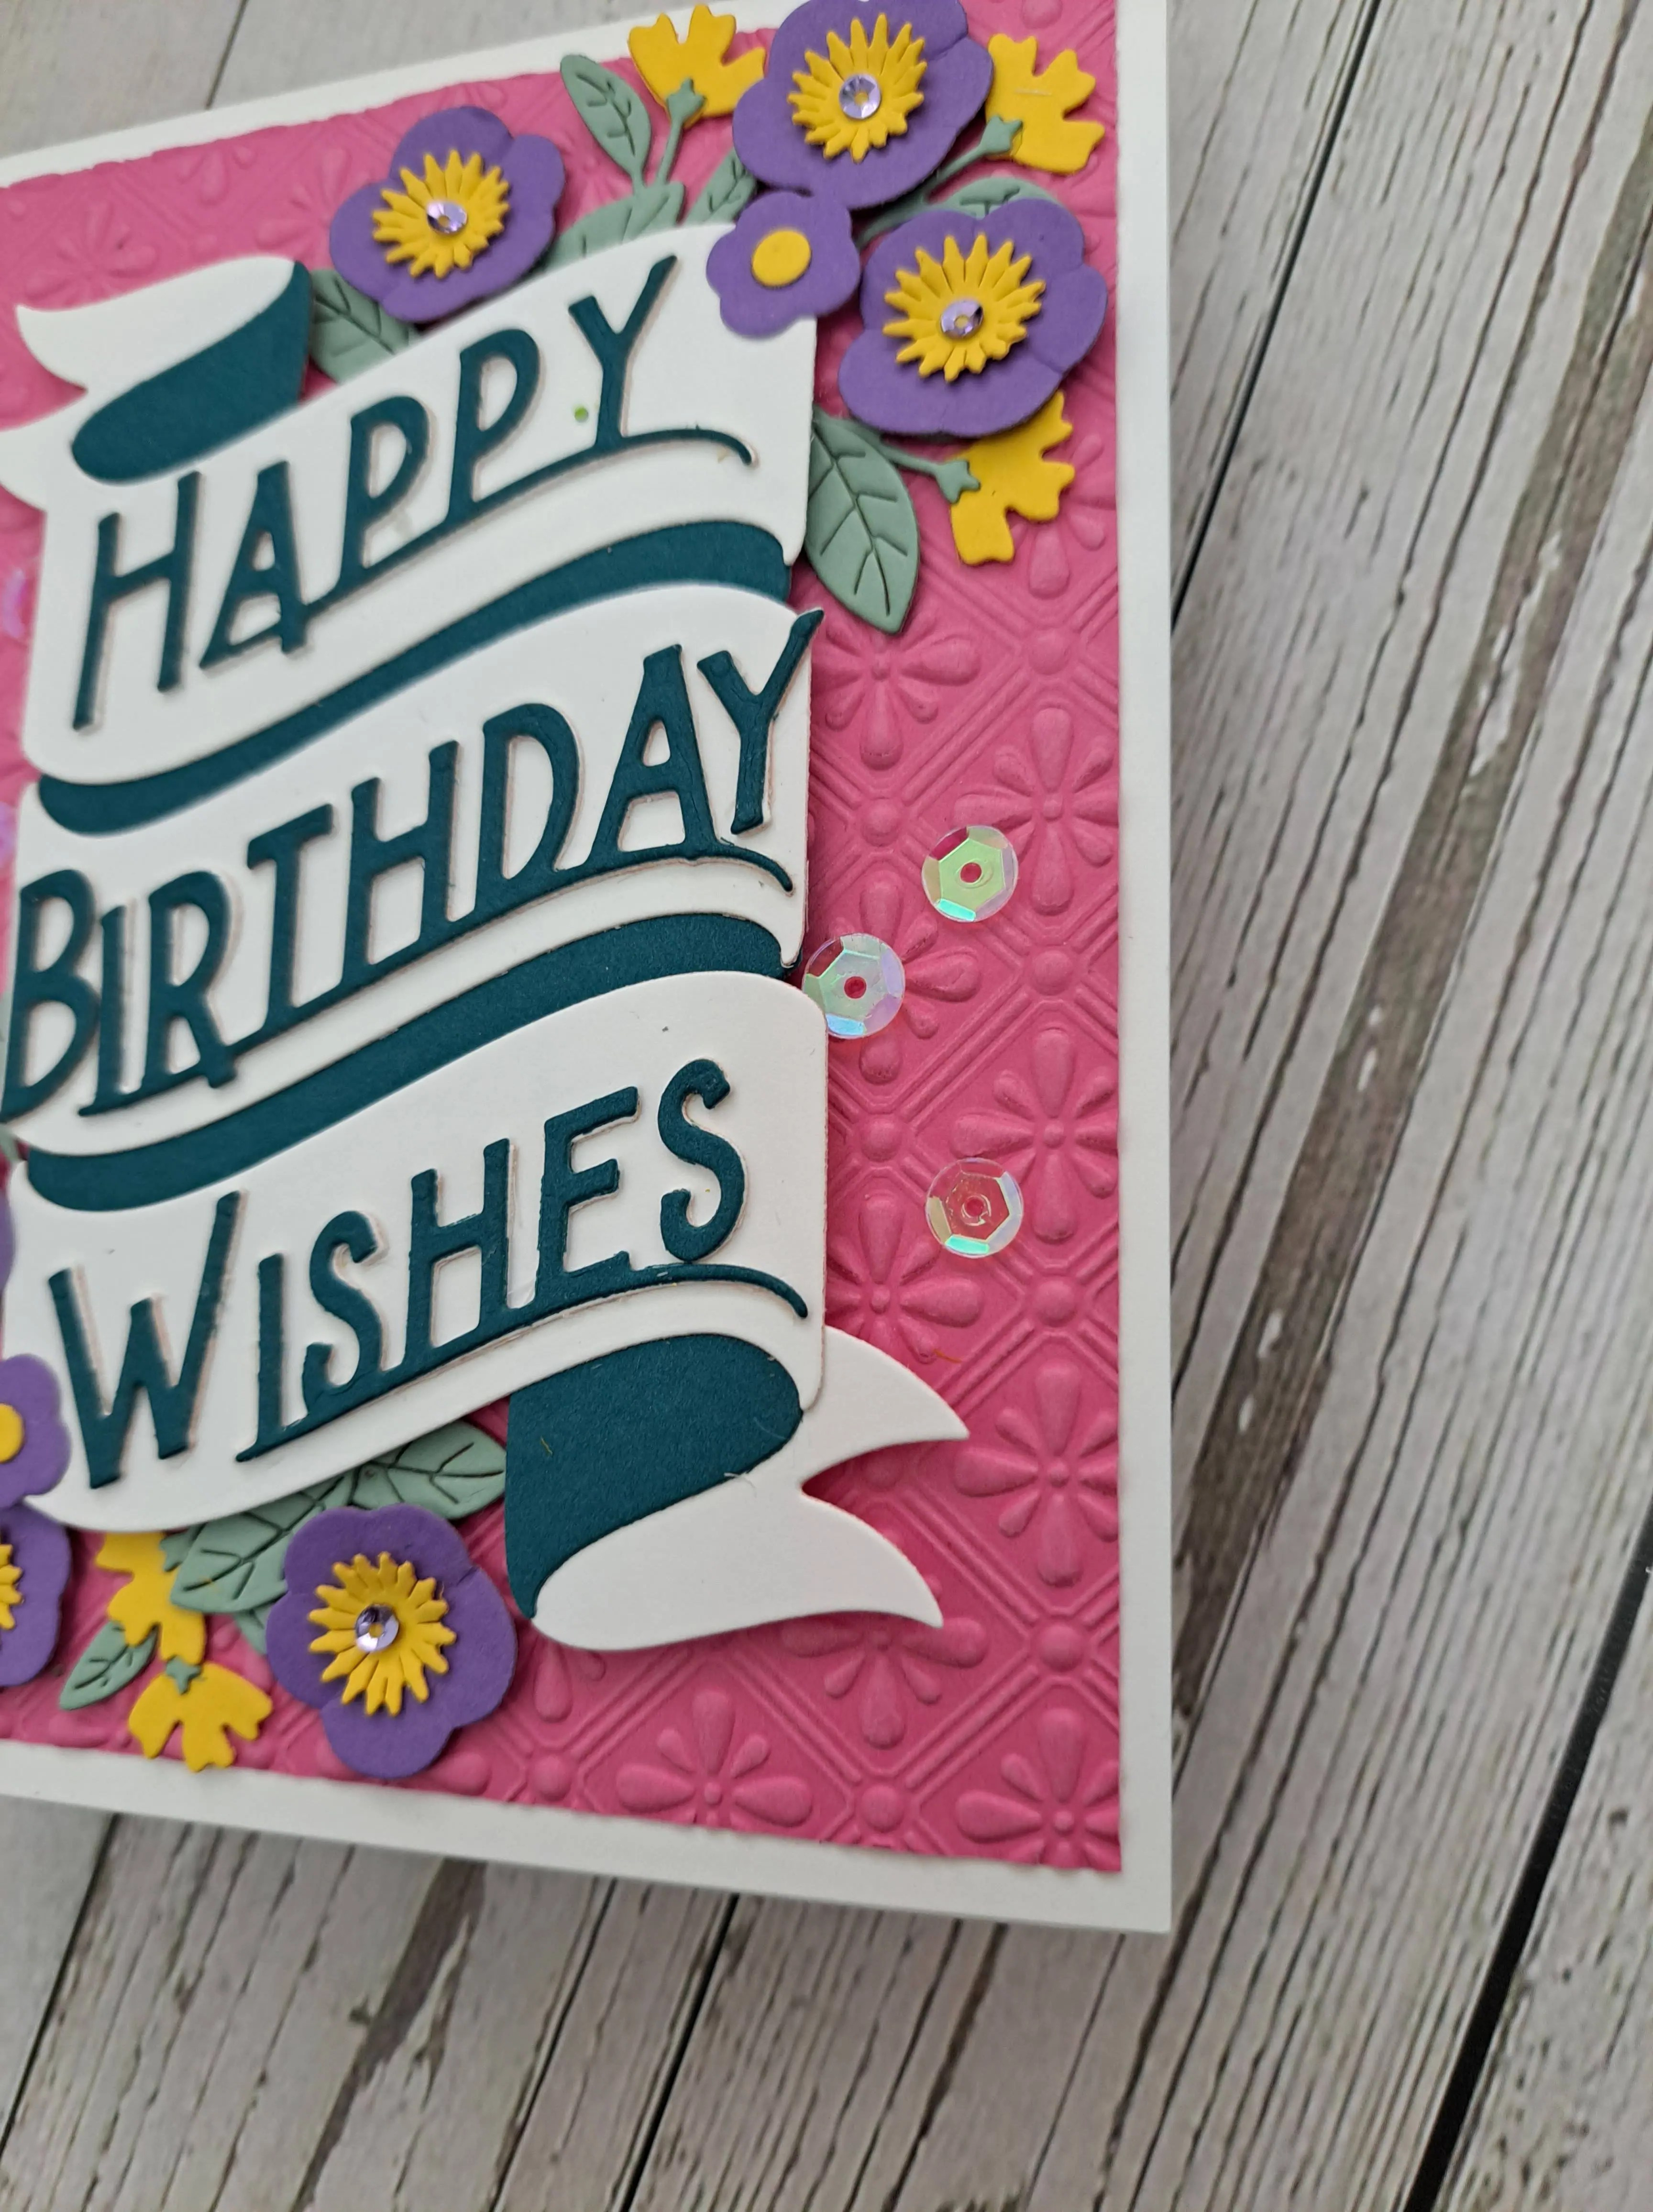
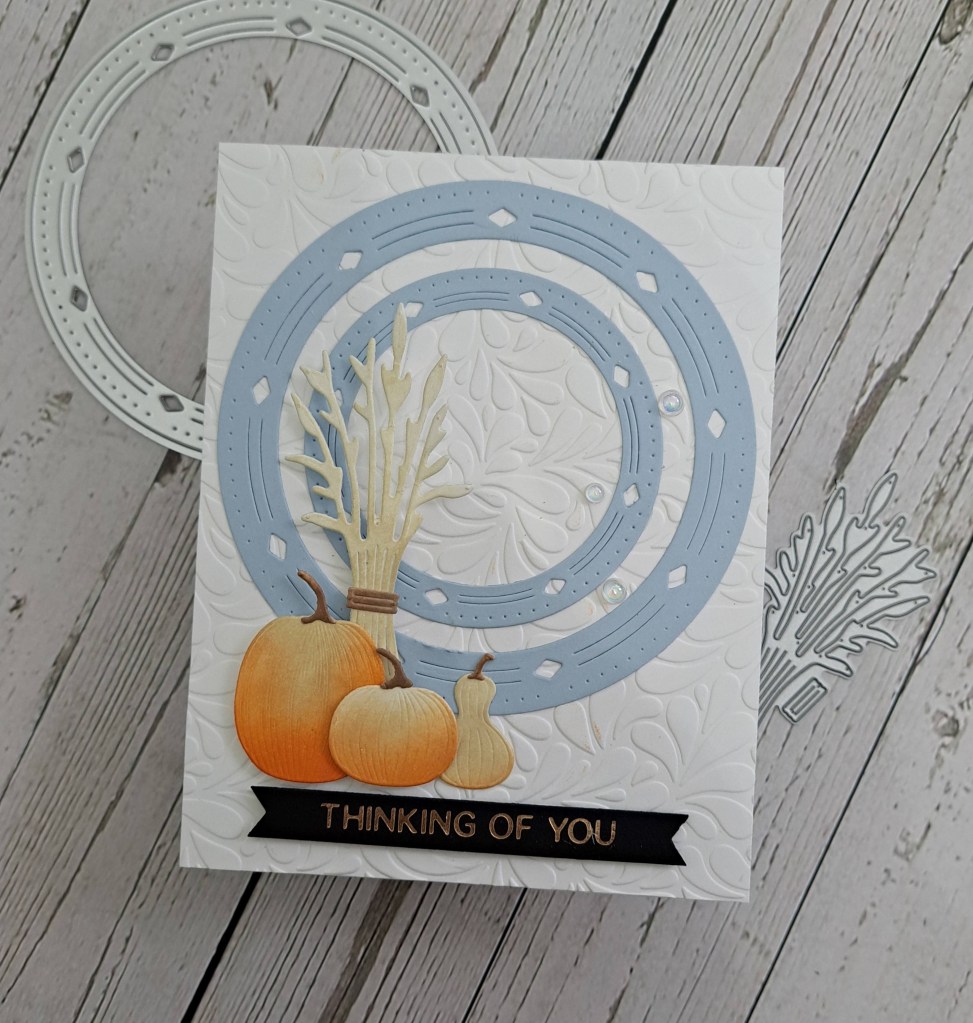
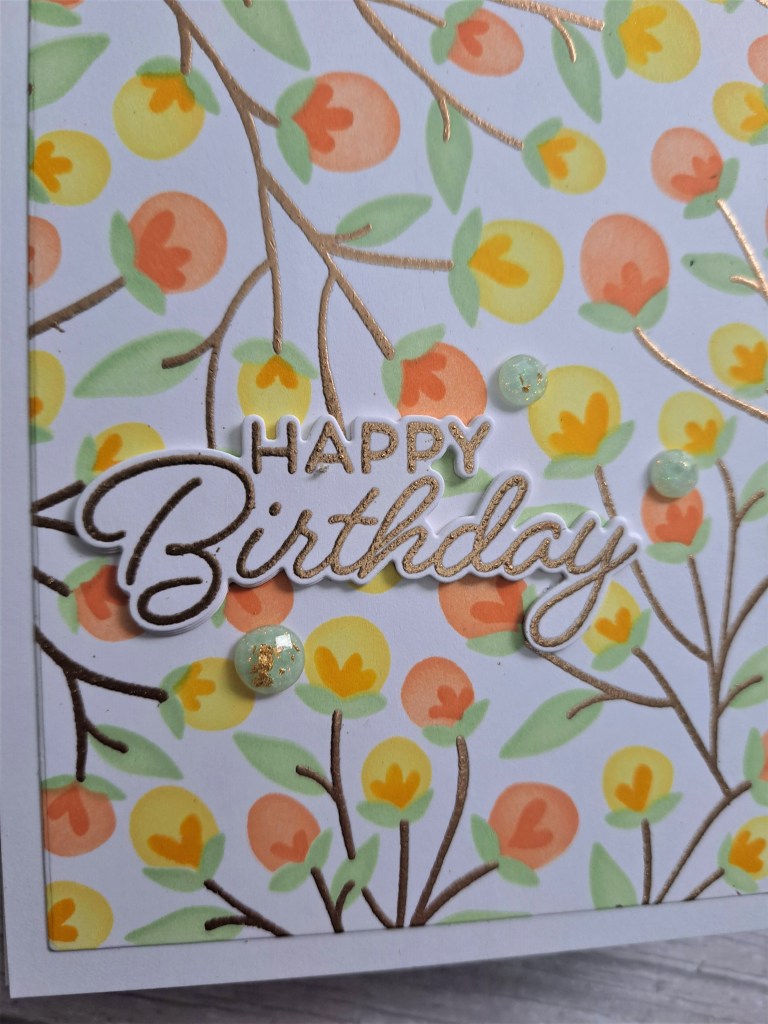
Here is my card:
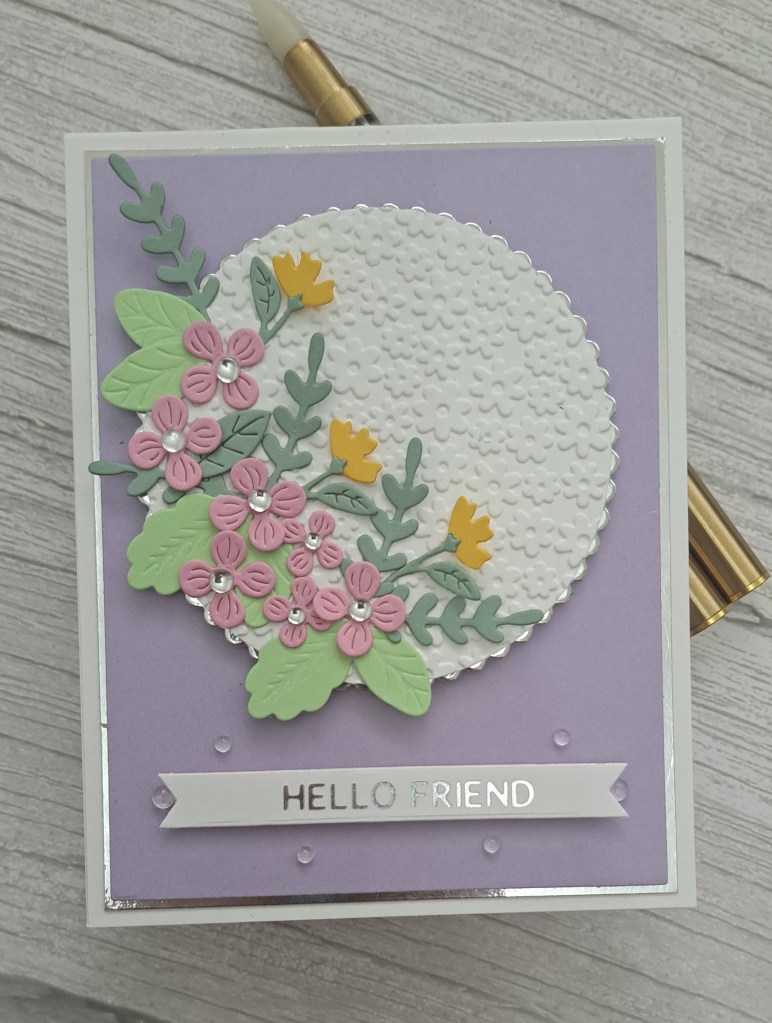
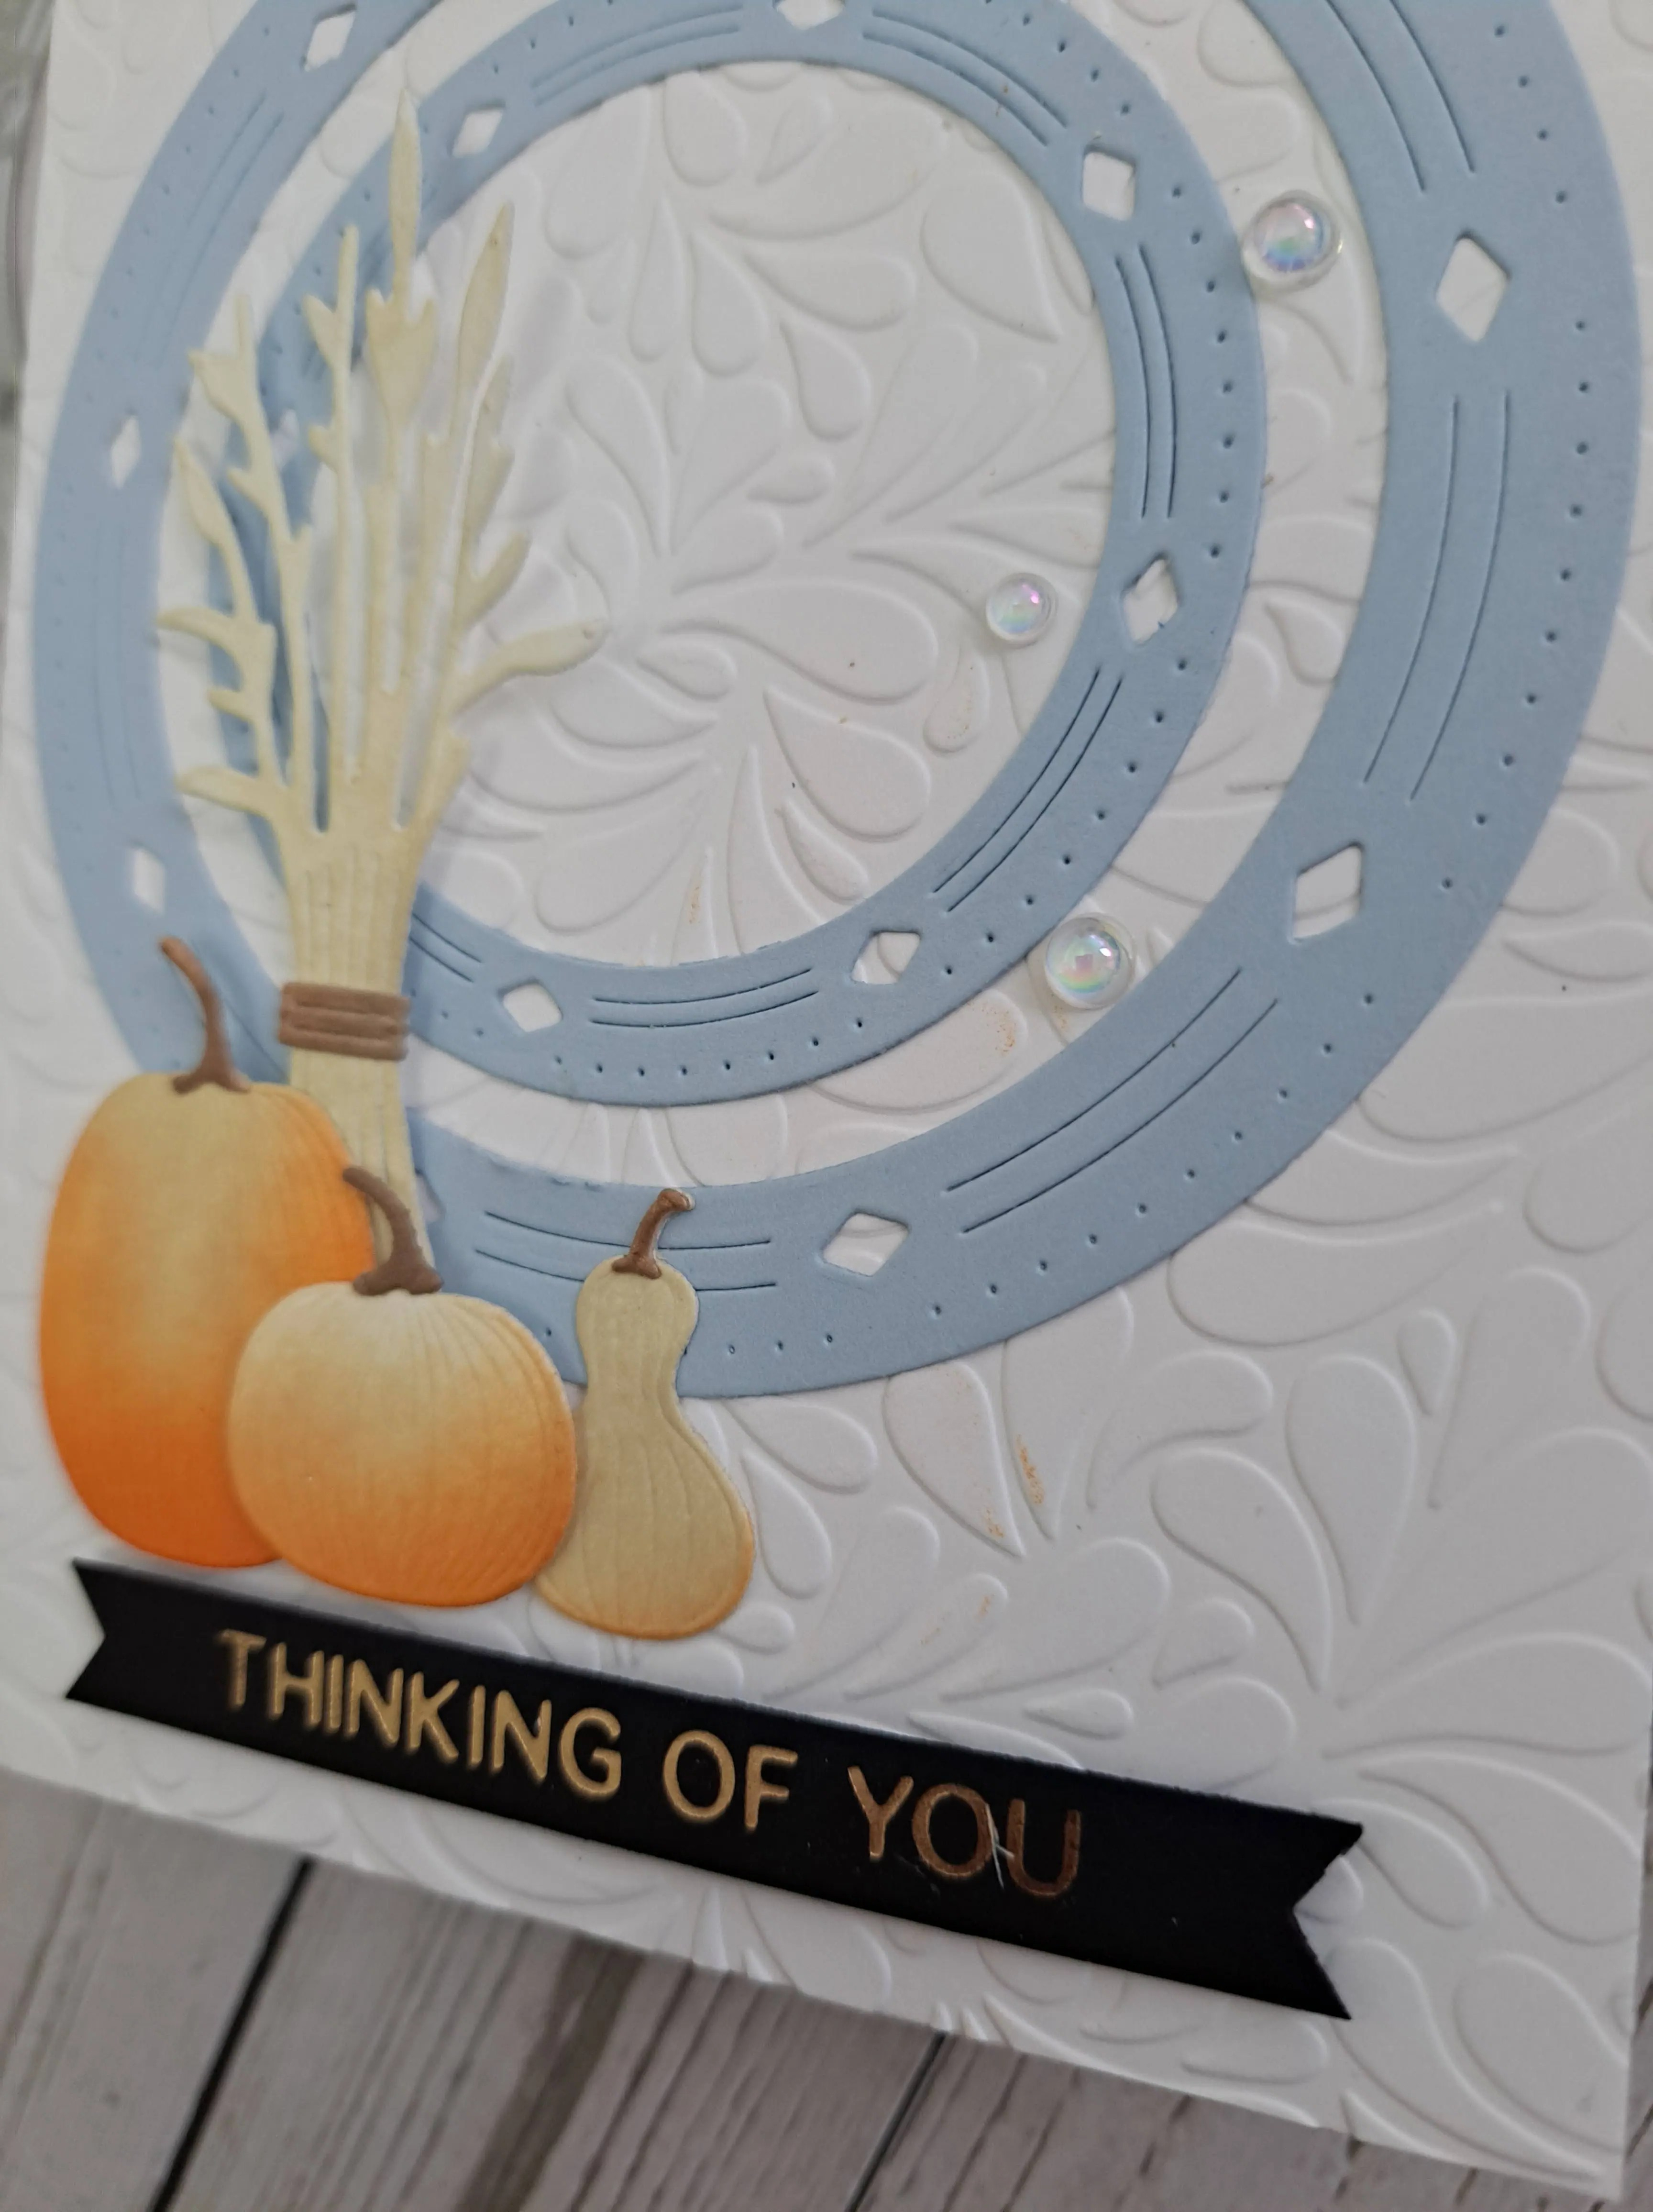
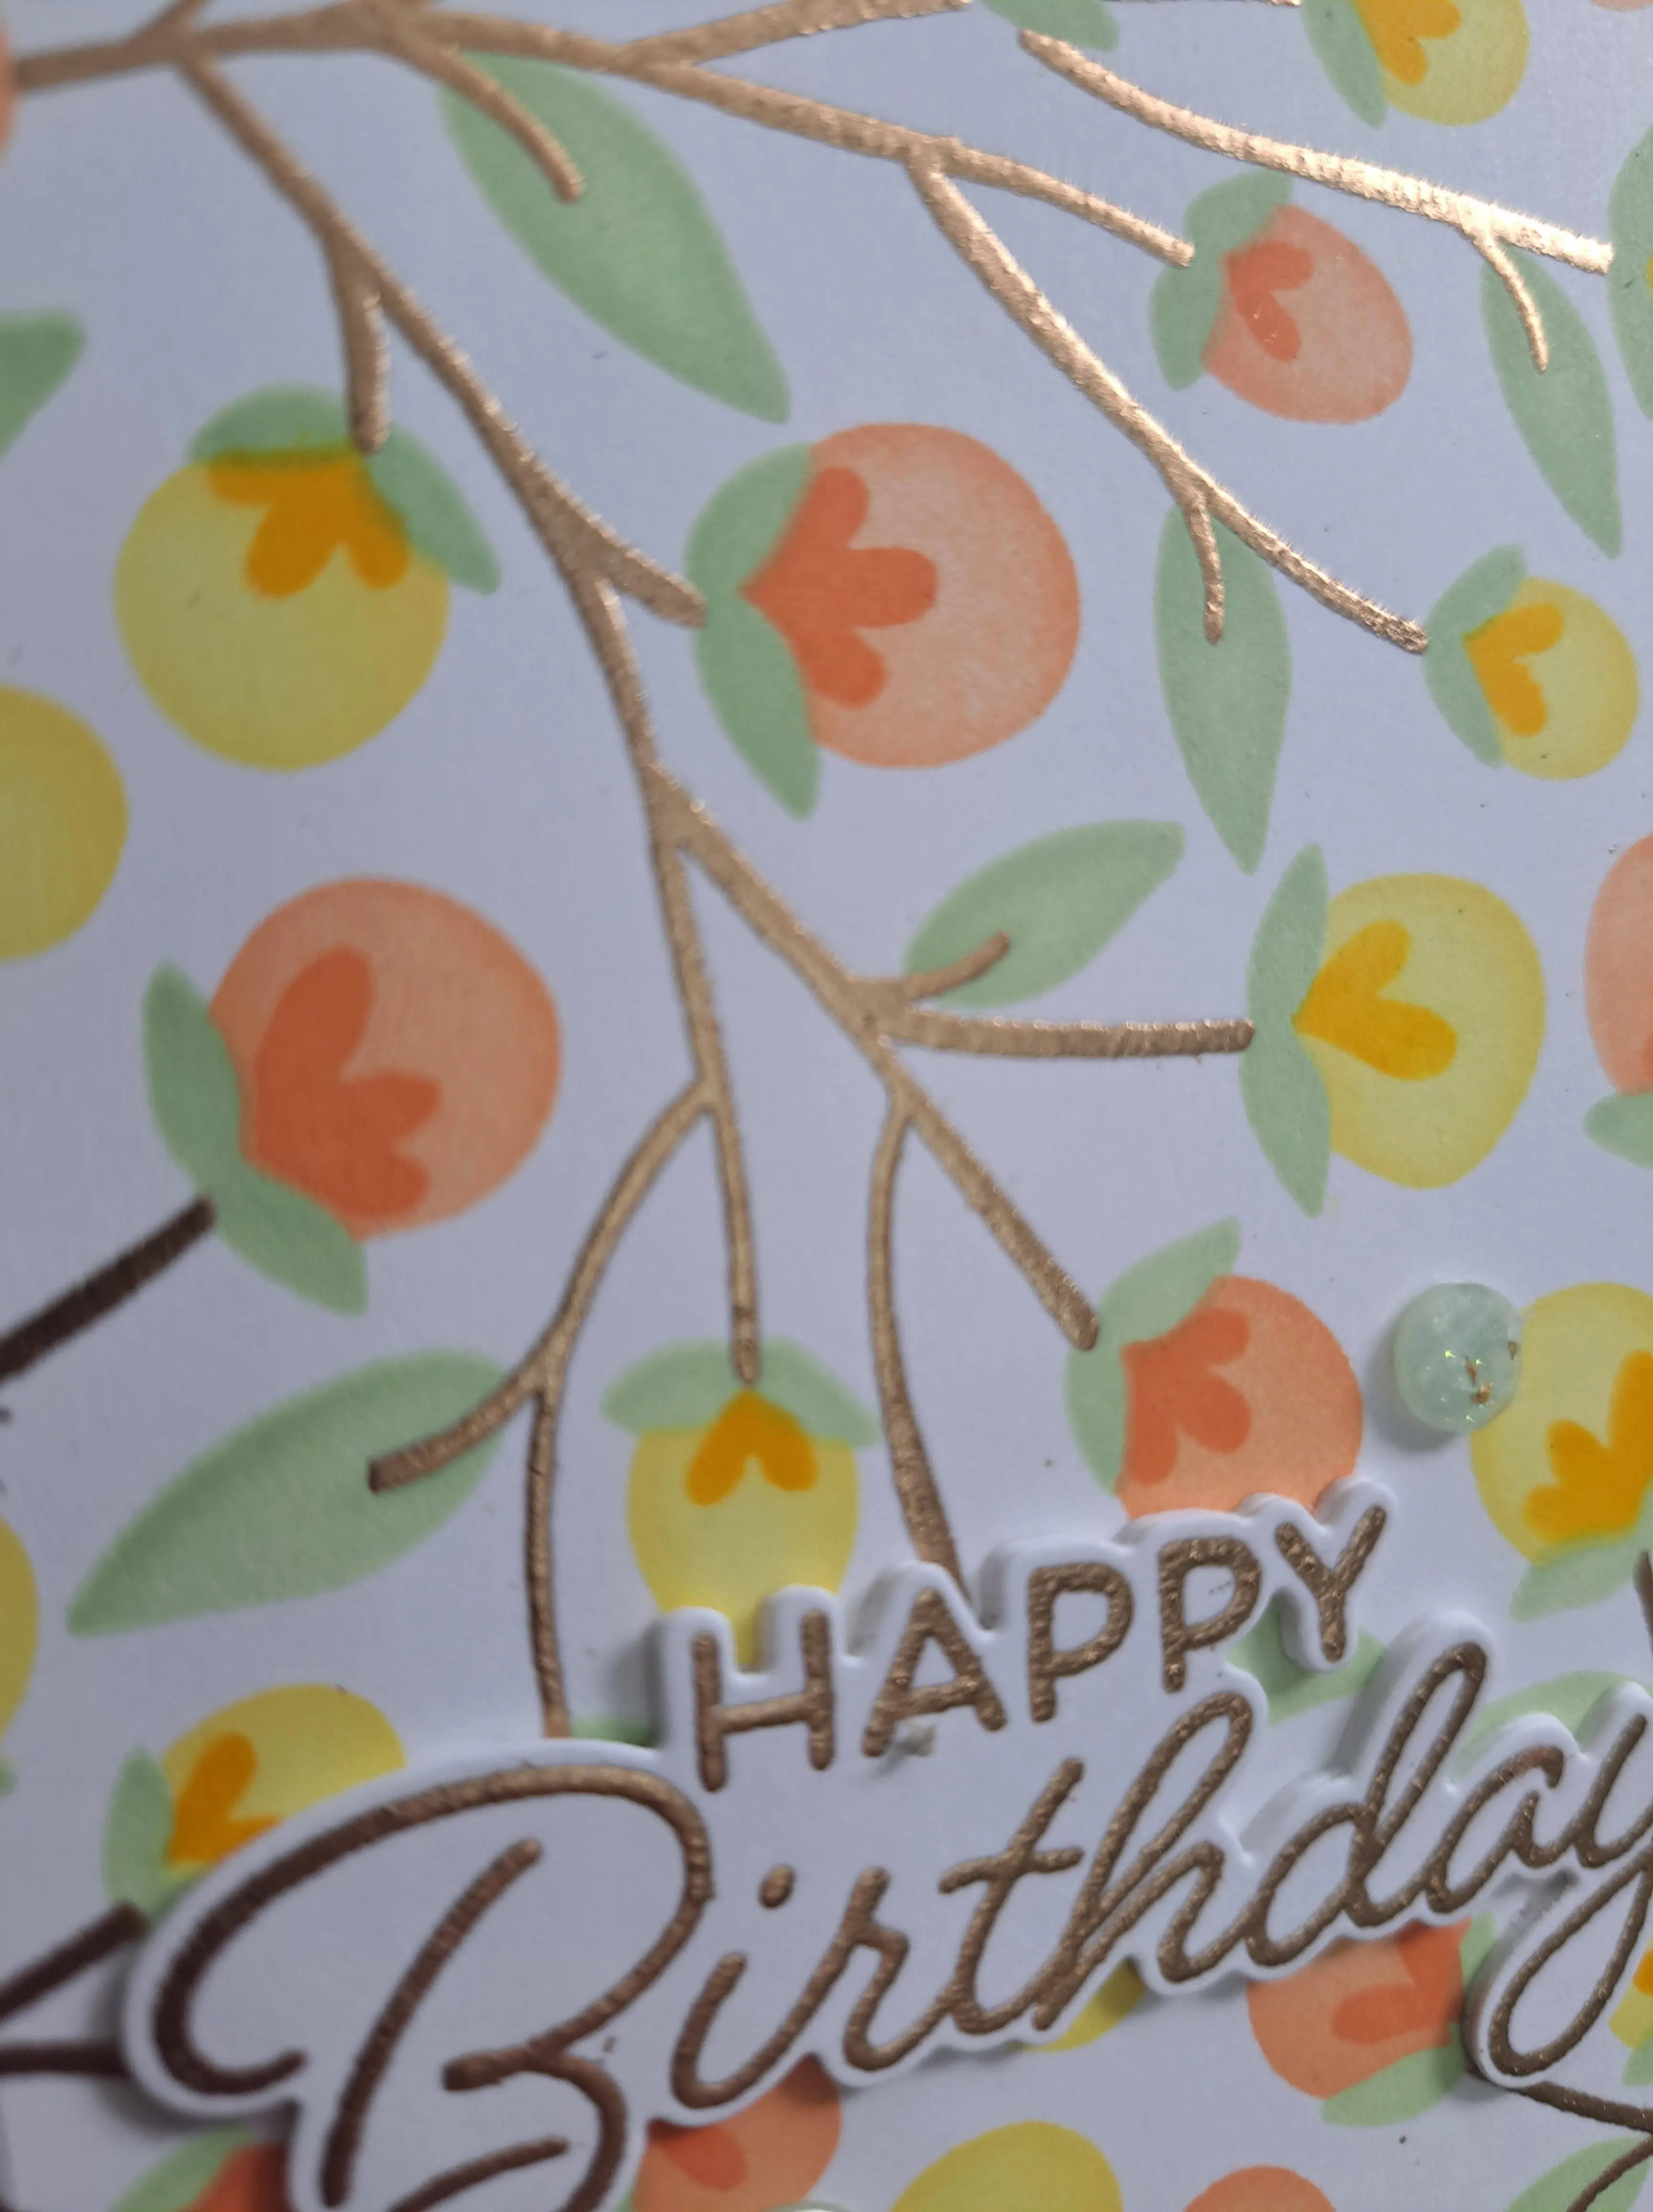
I chose the option of dry embossing, using a very old Darice embossing folder of these cute little flowers. I die cut the circle first, then used the embossing folder.
The background panel is backed by a silver panel, and adhered to the card base. I then added the circle with 3D foam.
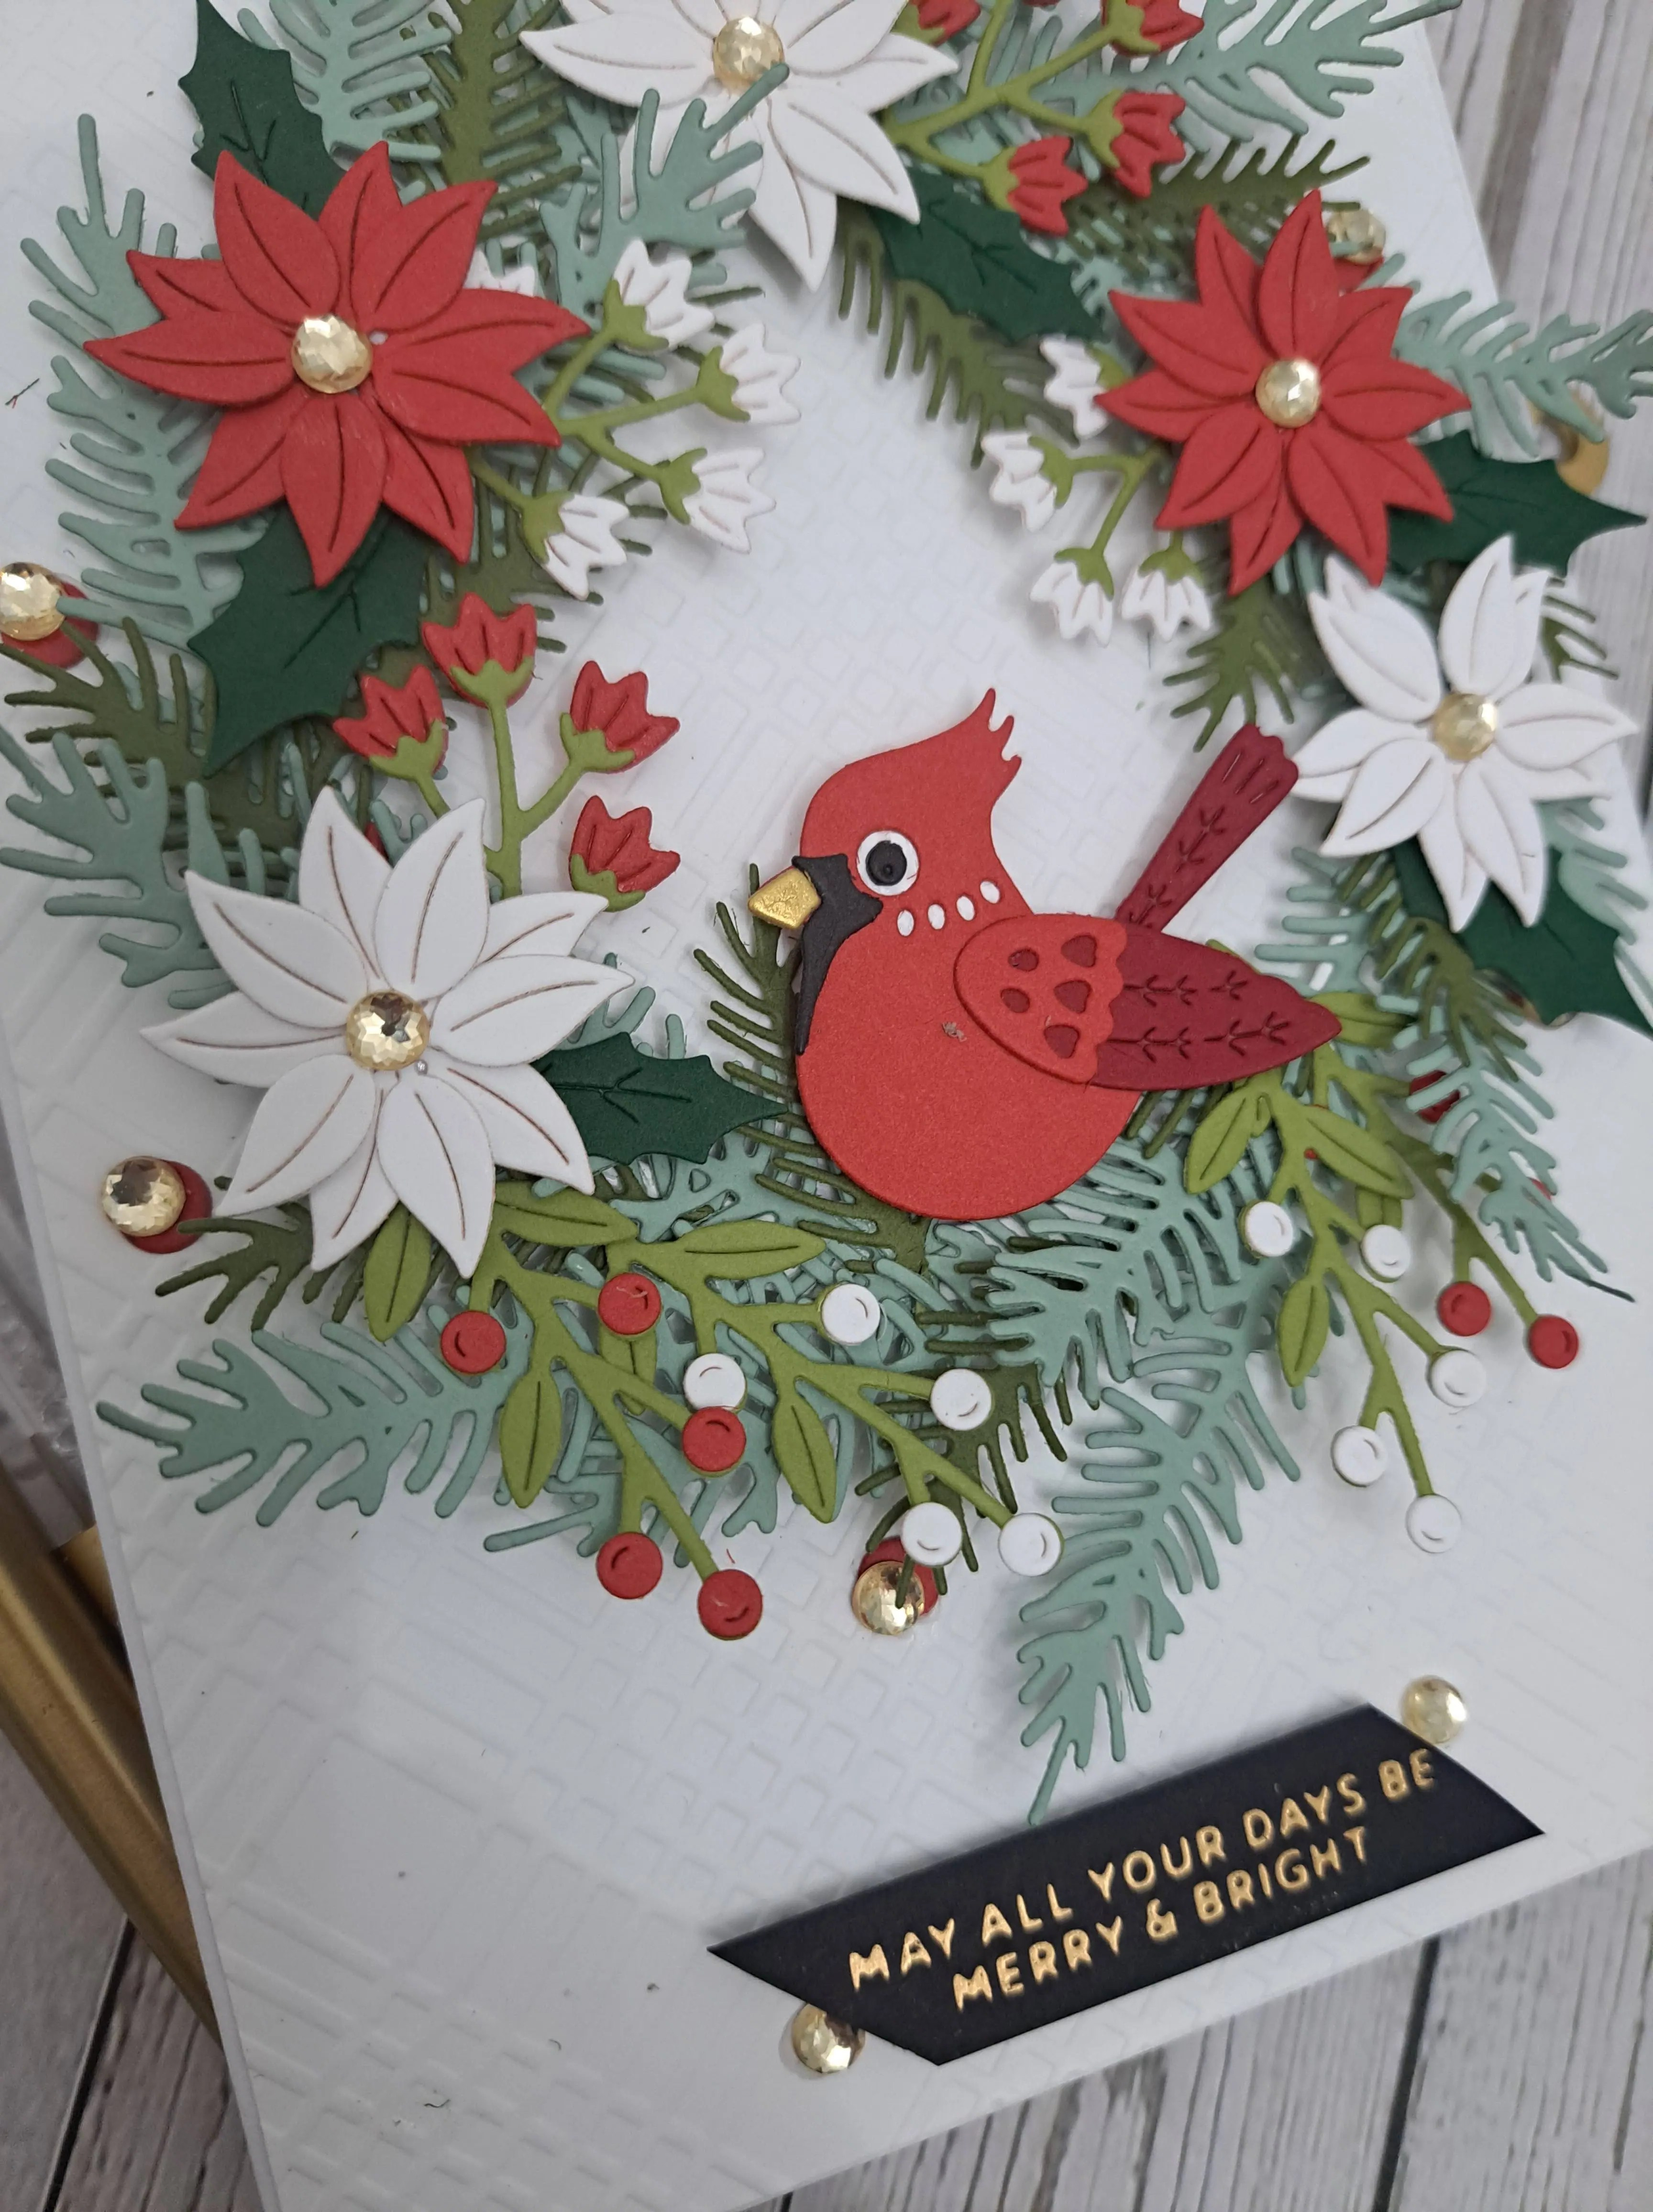
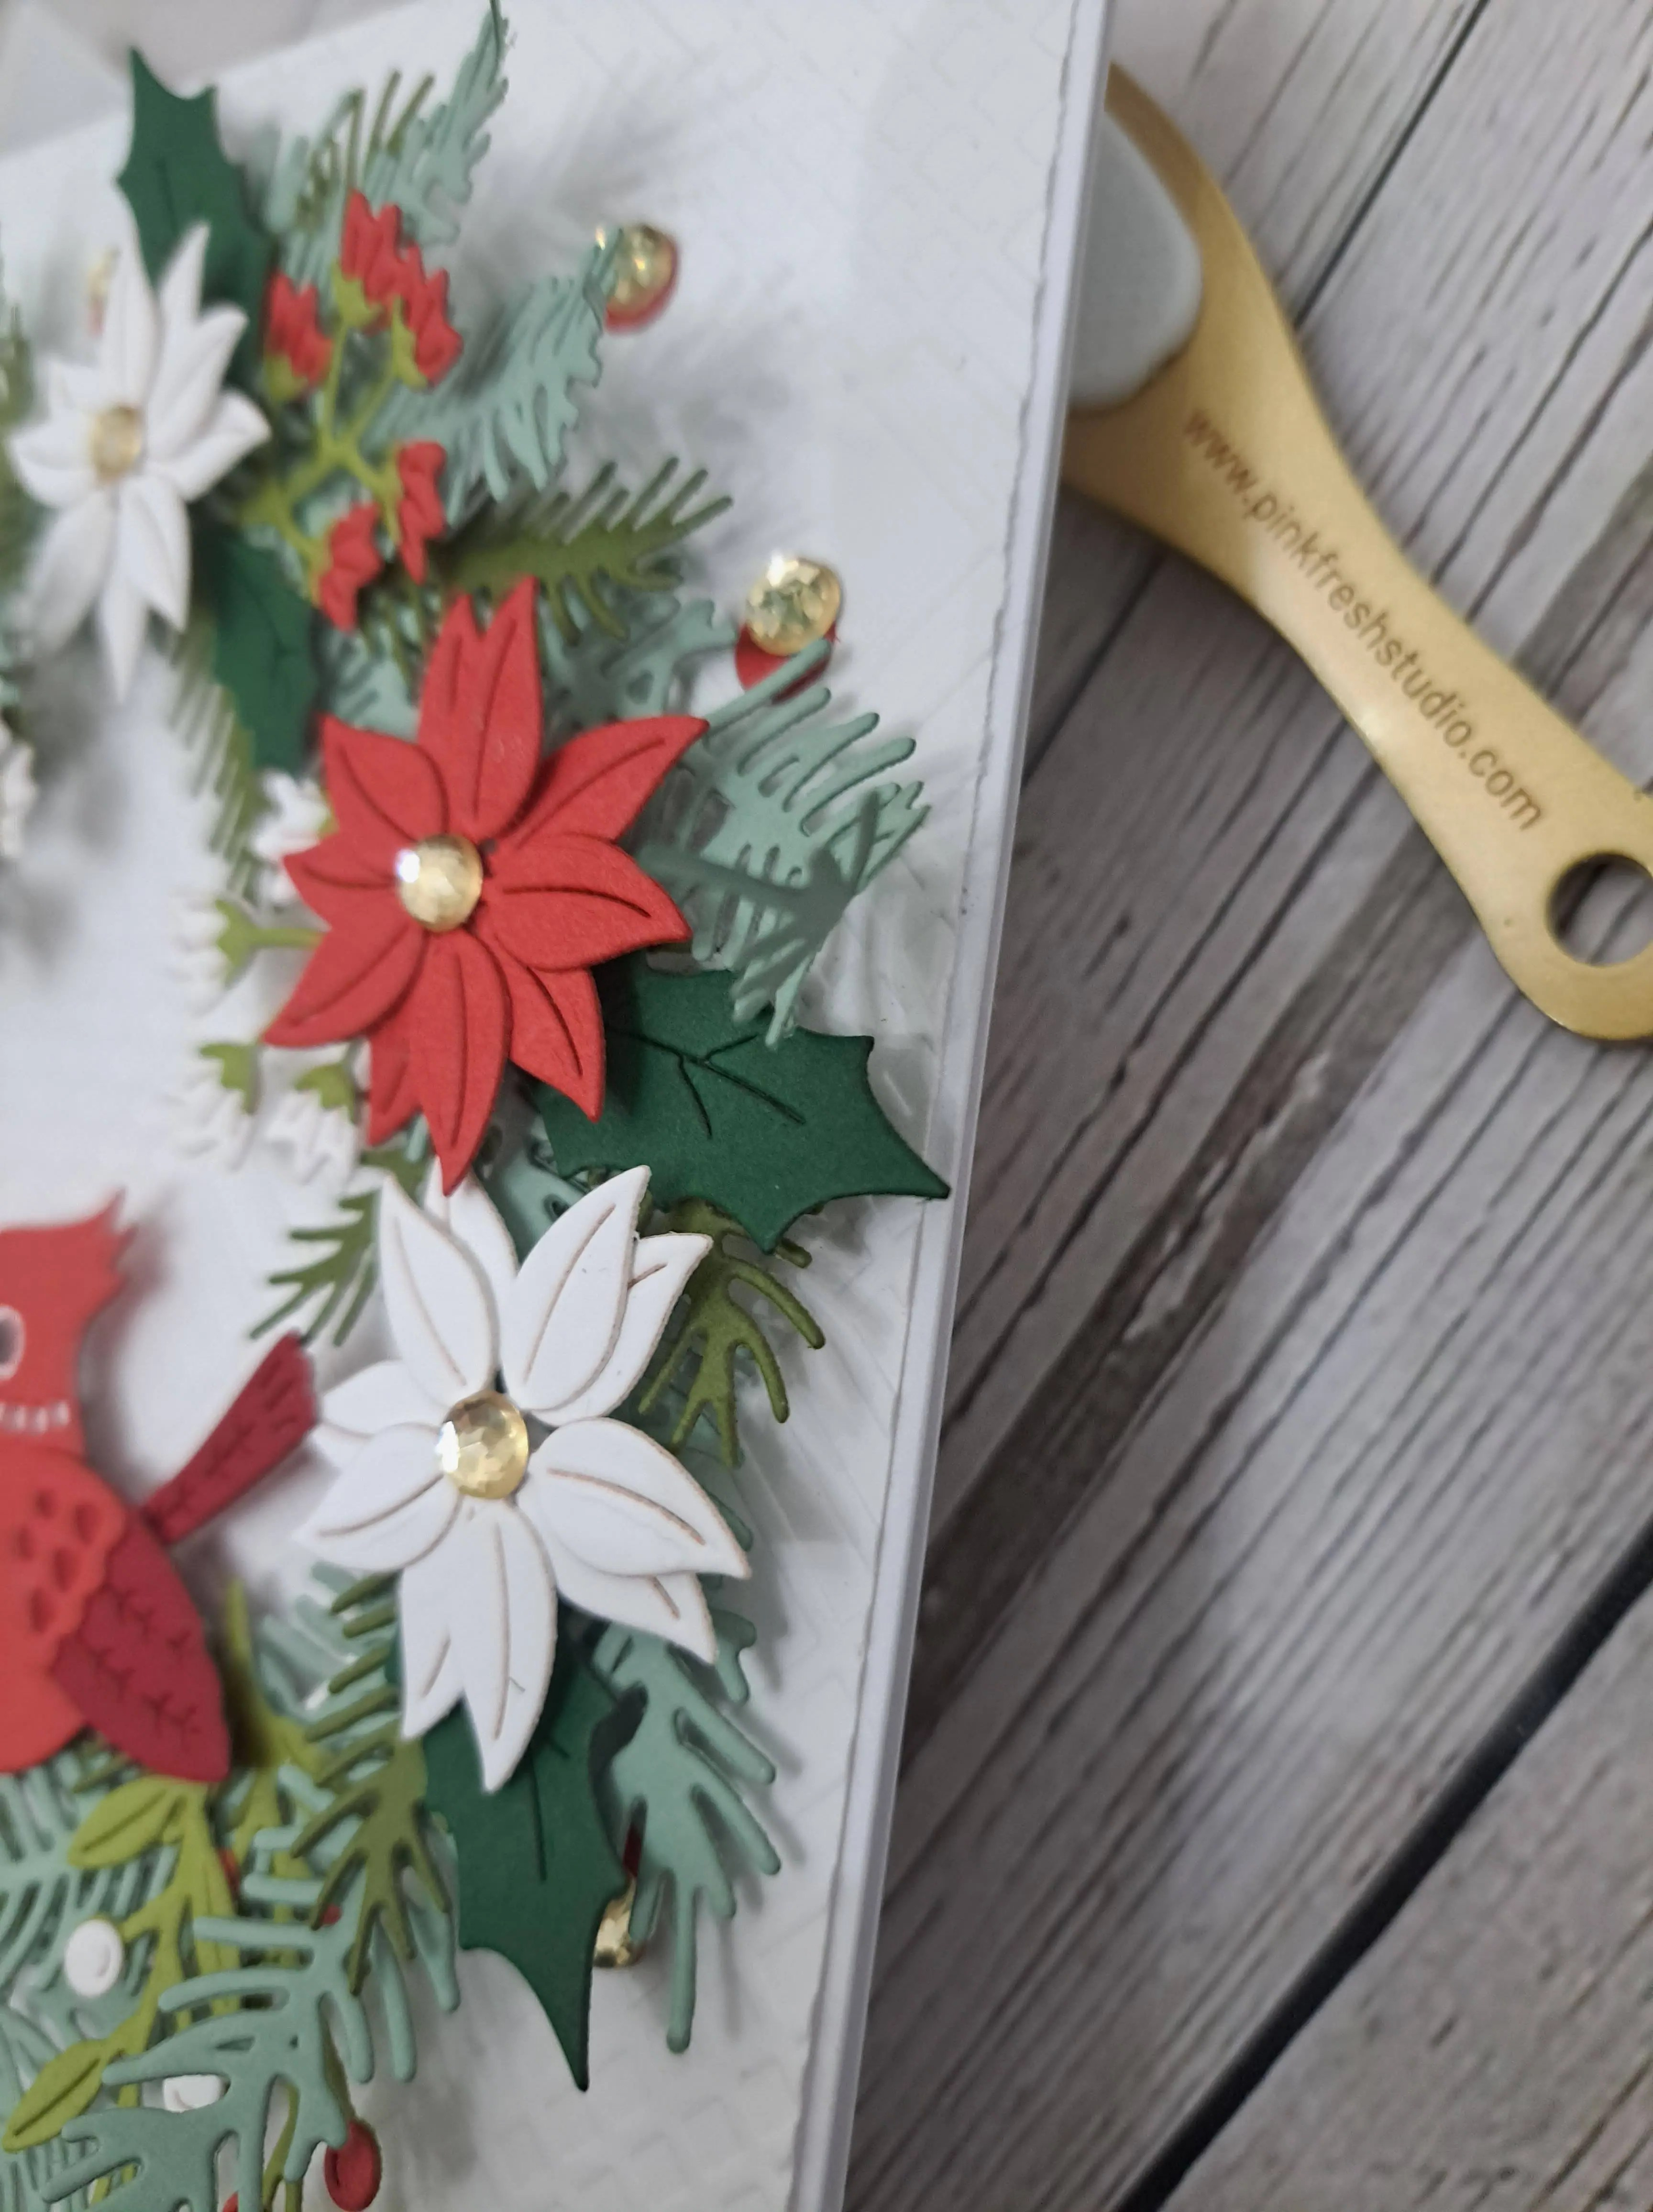
The flowers and leaves are from Spellbinders, just a little layering on the smaller yellow flowers, then added with wet glue, placing all the elements until I was happy.
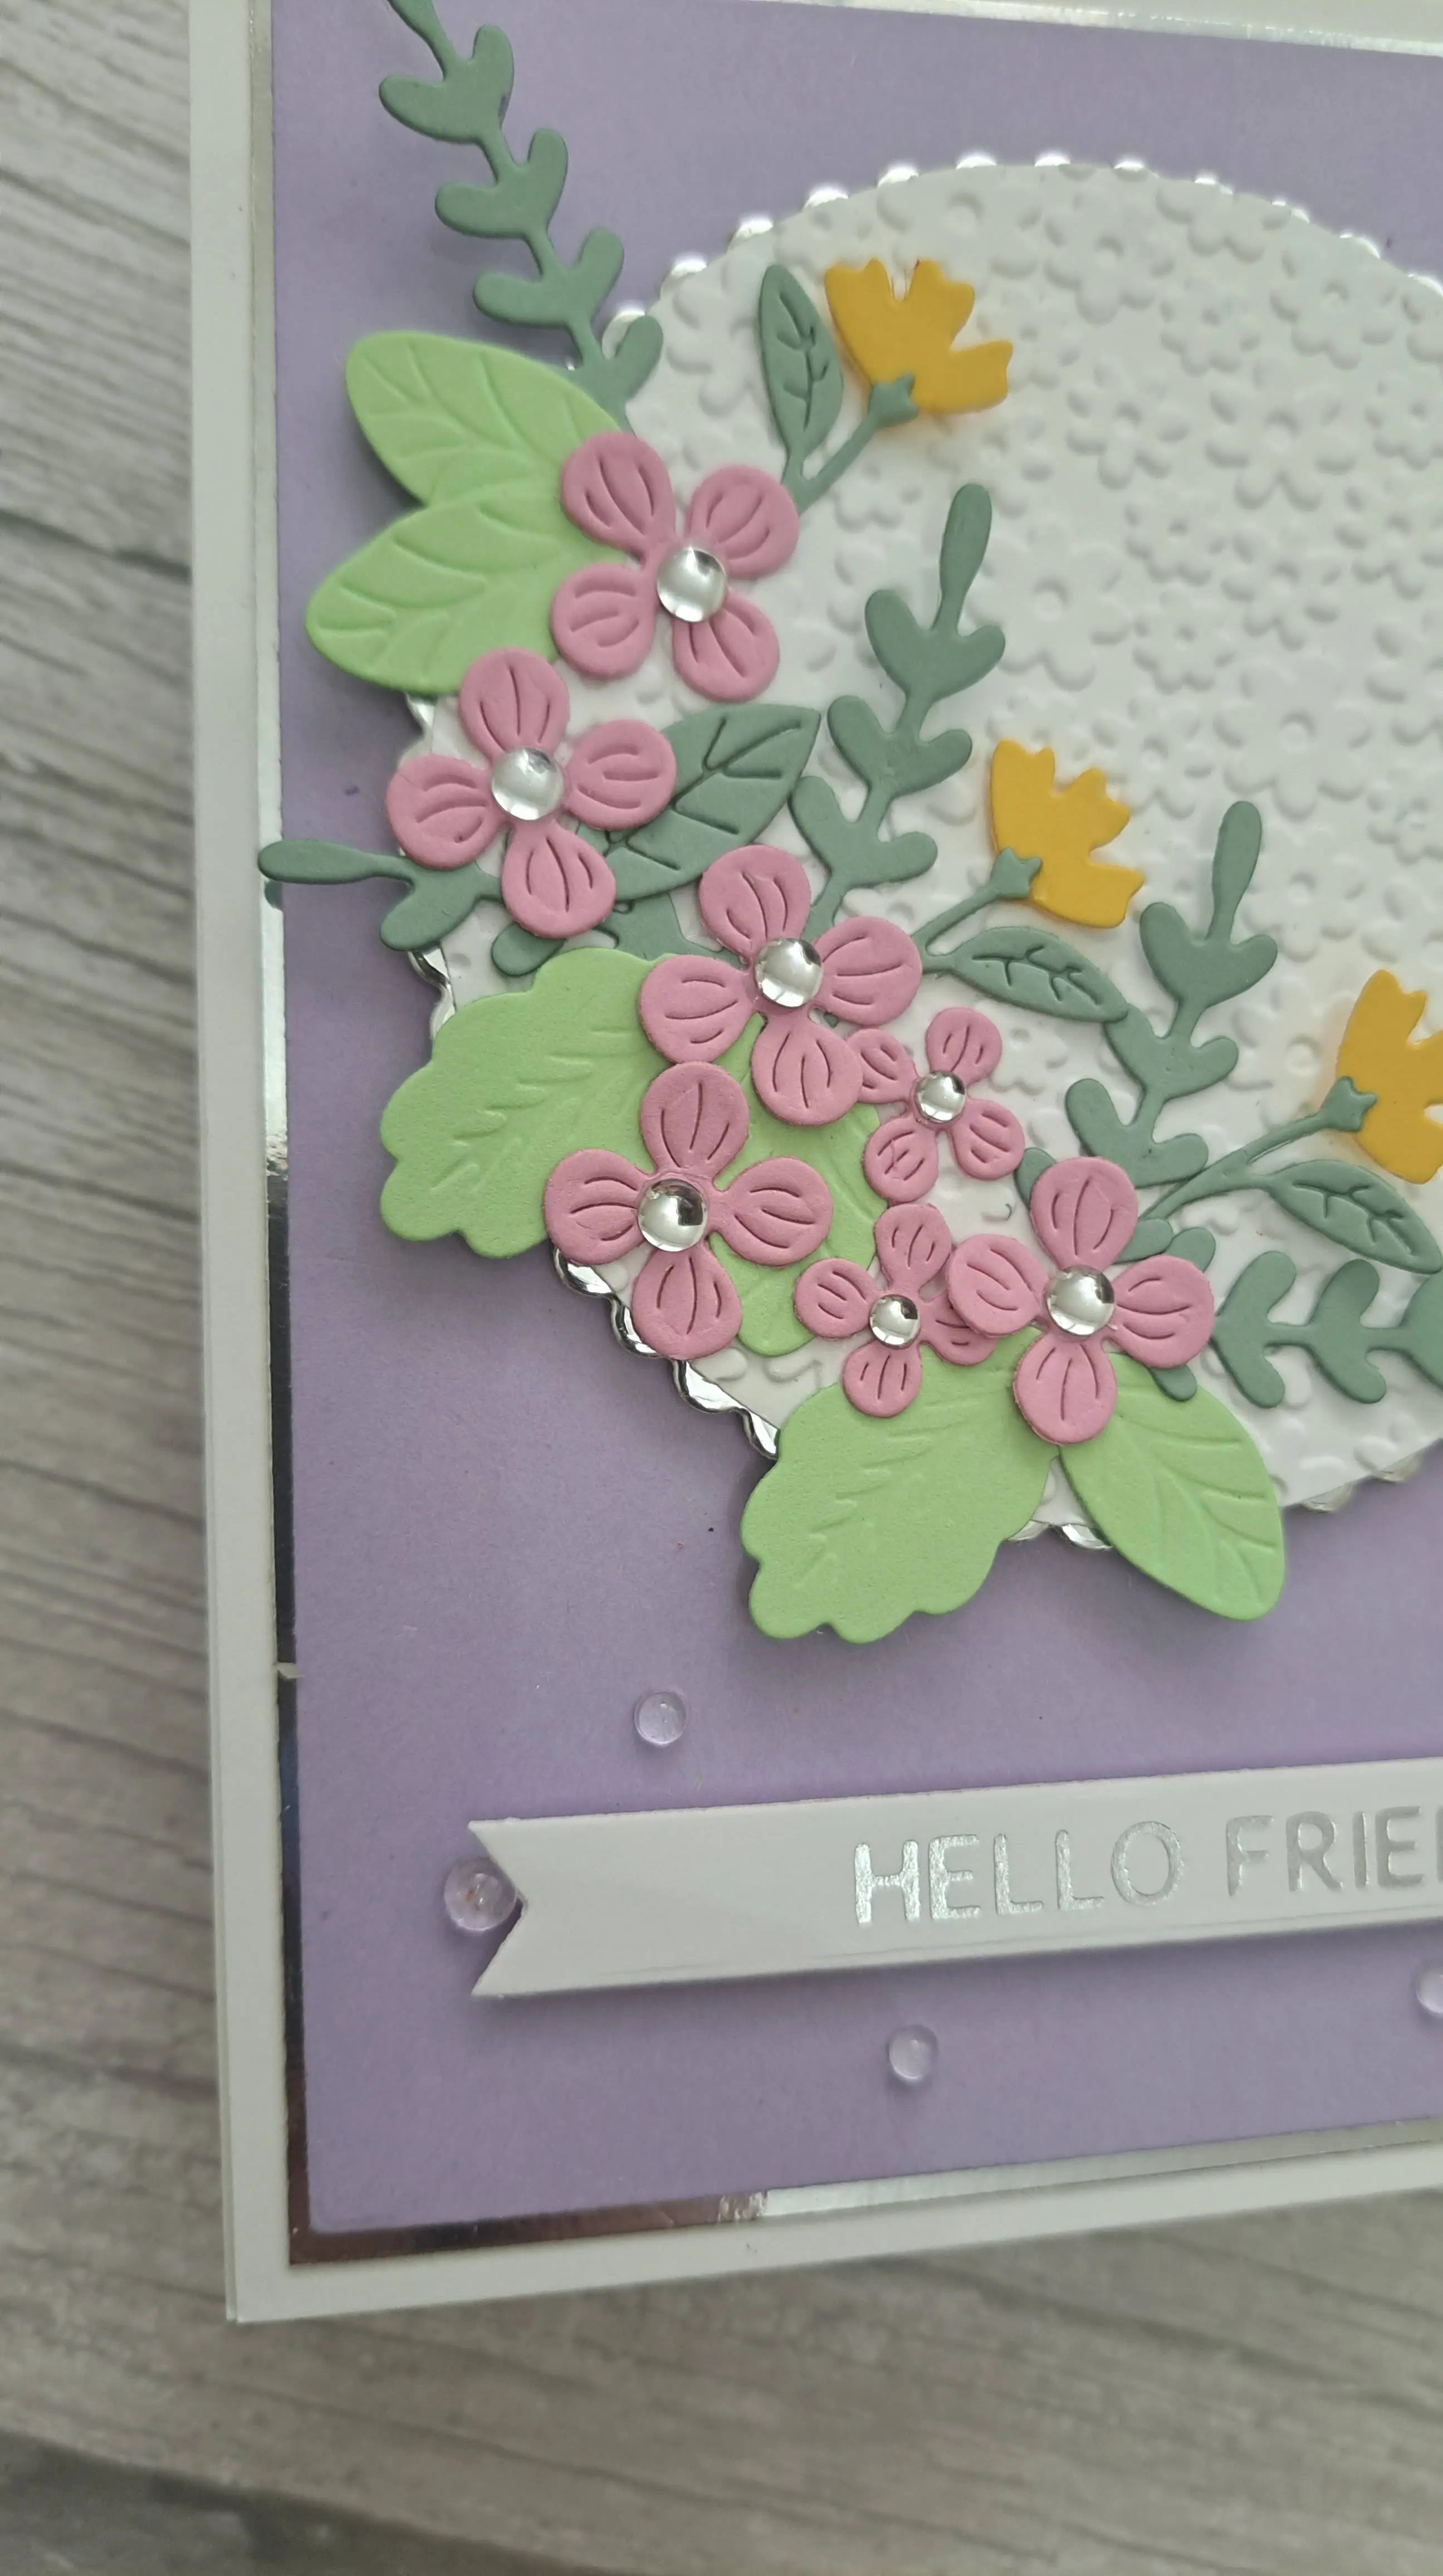
I then added the silver foiled sentiment and some clear drops into the centre of the flowers, and dotted around the bottom area.
I hope you can come and join us with your dry and/or wet embossed creations. xx
I shall be entering the following challenges:
Lil Patch Of Crafty Friends – anything goes
CYHTP – embossing folder, option of turkey/thanksgiving not taken
A Perfect Time To Craft – anything goes
The Crafty Addicts – anything goes
Triple B – Birds and/or butterflies and/or blooms
Avenue 613 Create – anything goes, option or wet or dry embossing taken
Ally’s Angels – anything goes