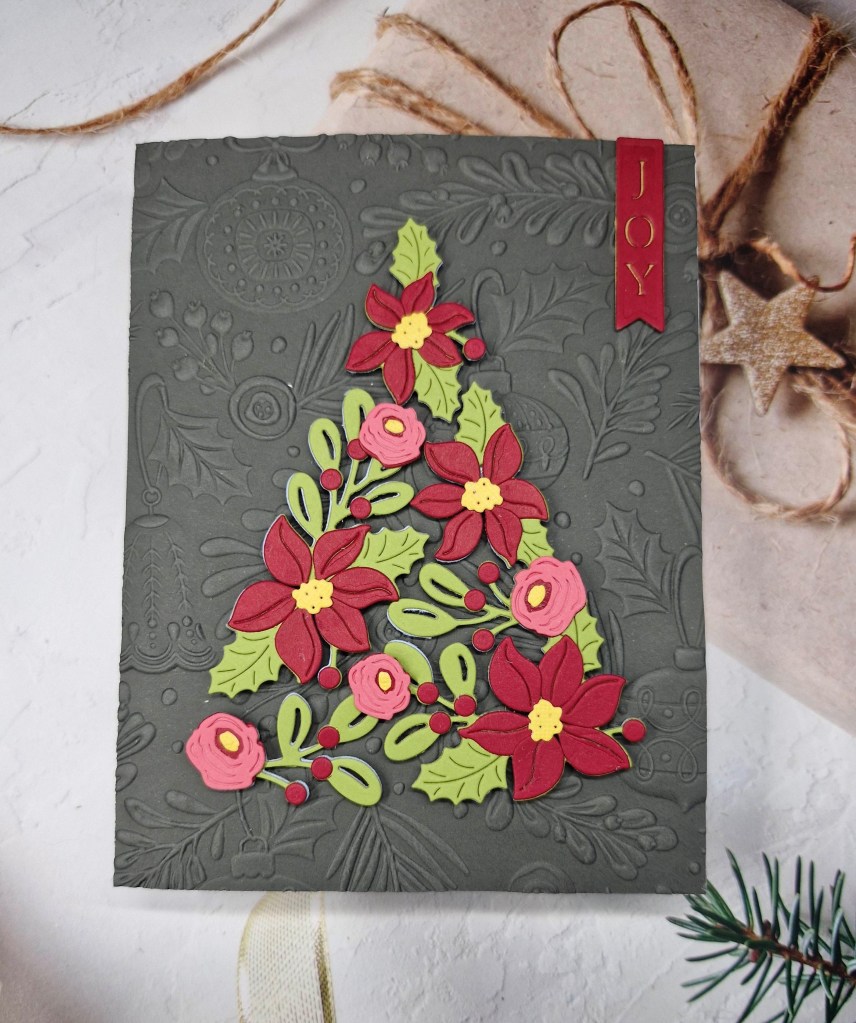
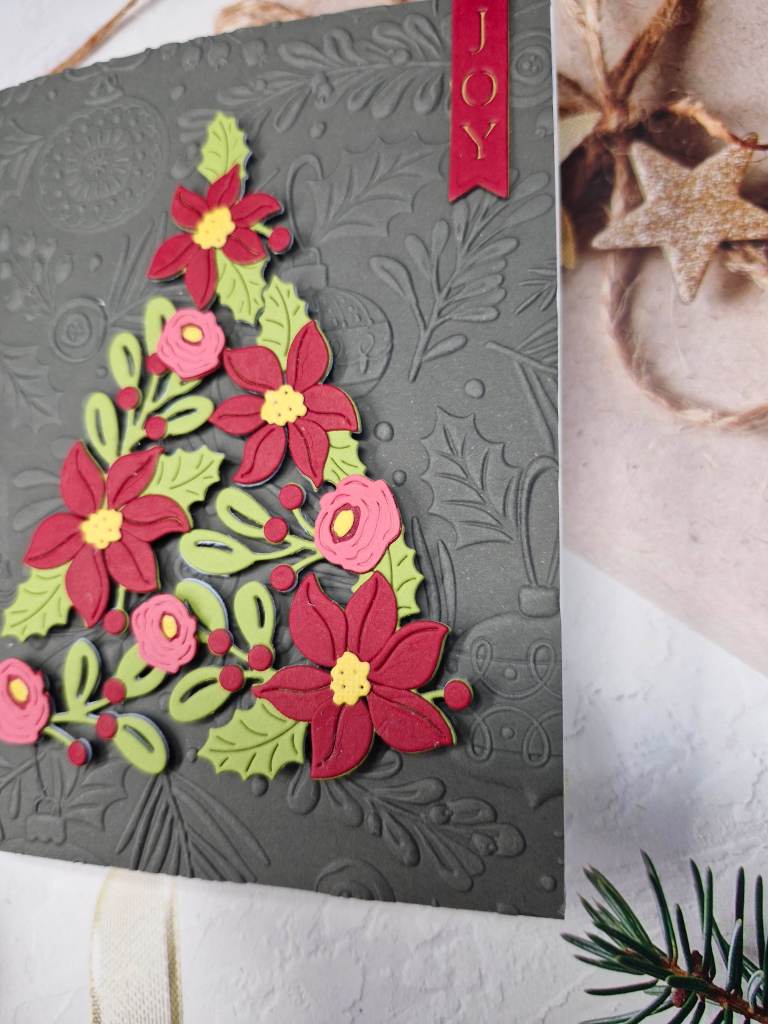
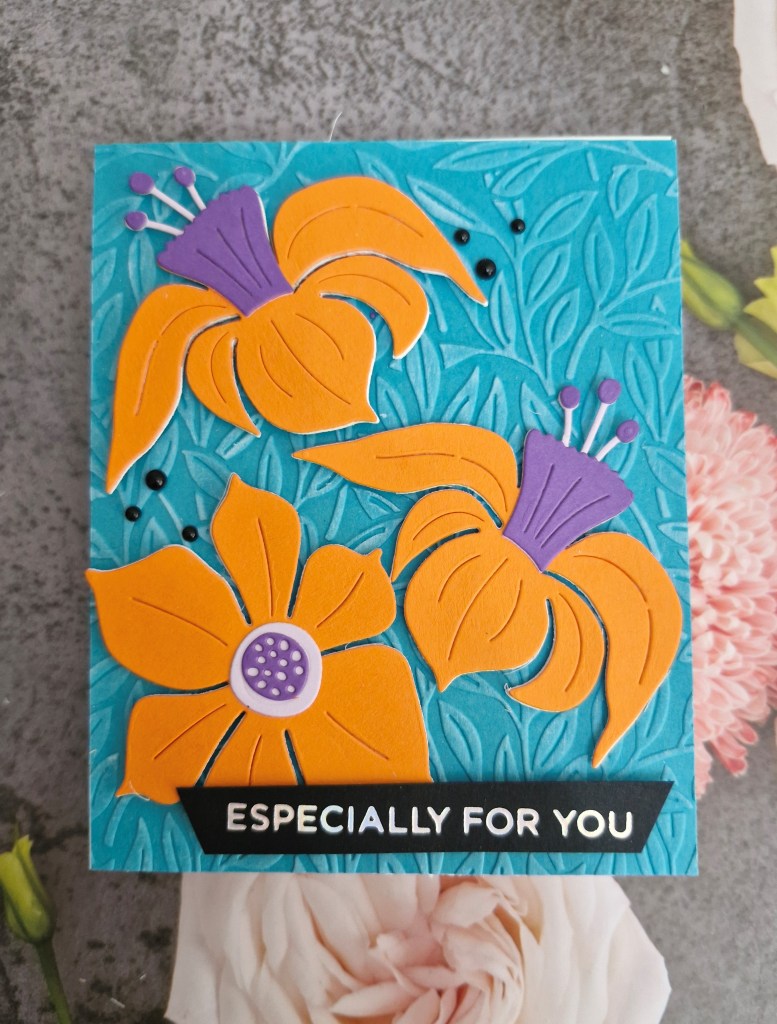
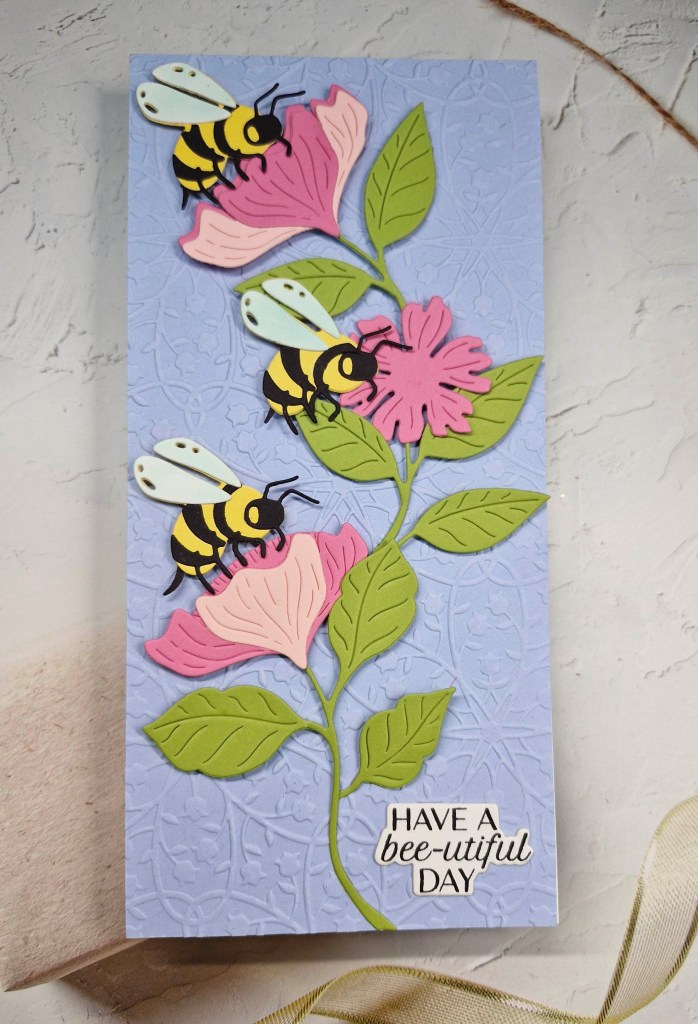
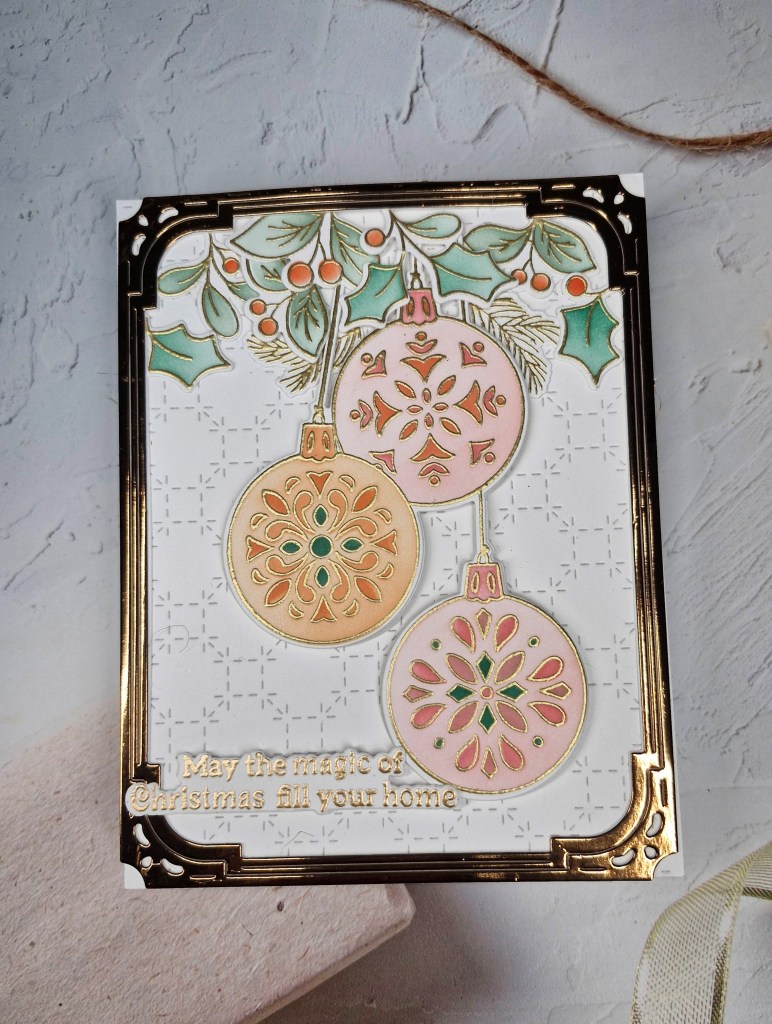
The Alphabet Challenge has reached the letter ‘F‘, and Melanie has chosen the theme of ‘Fruit’. Here is my card:

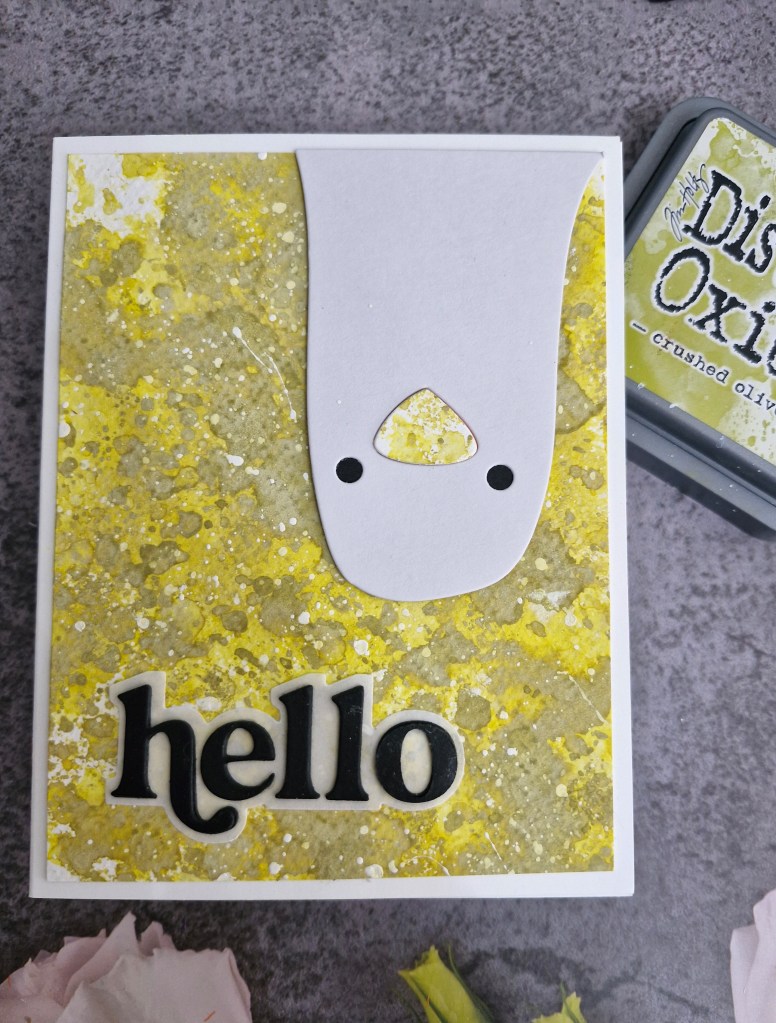
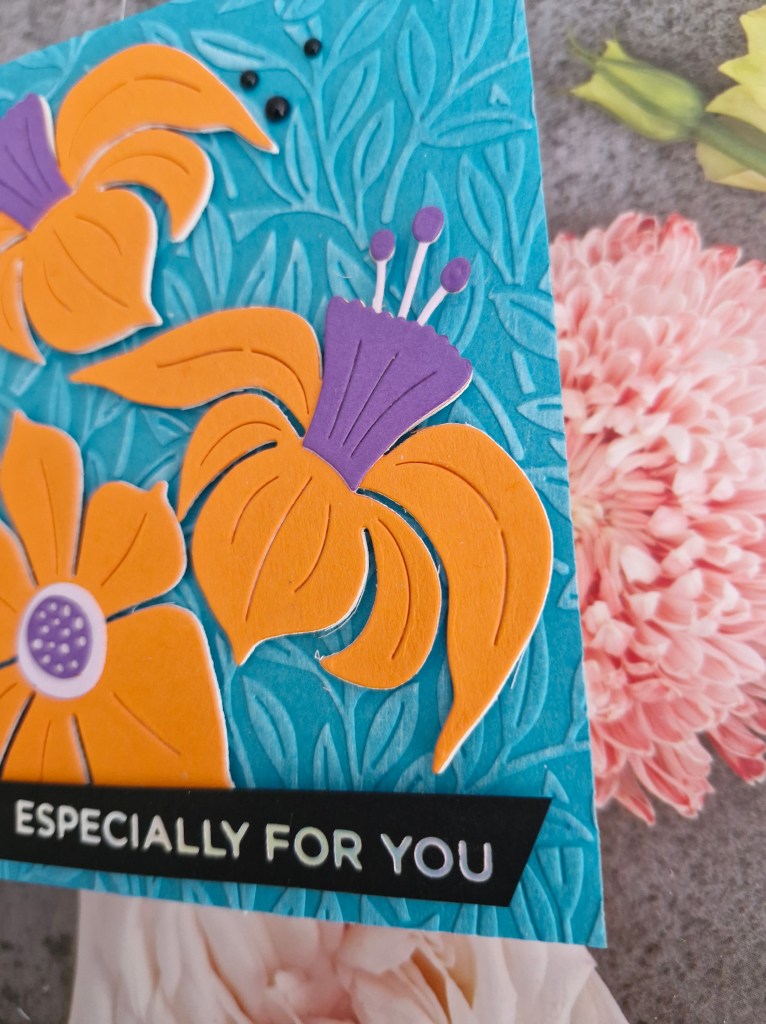
The background was created using a Spellbinders embossing folder, and as the fruit are quite a vivid colour, I went with a dark background again. I am liking a darker background behind strong colours of die cuts.
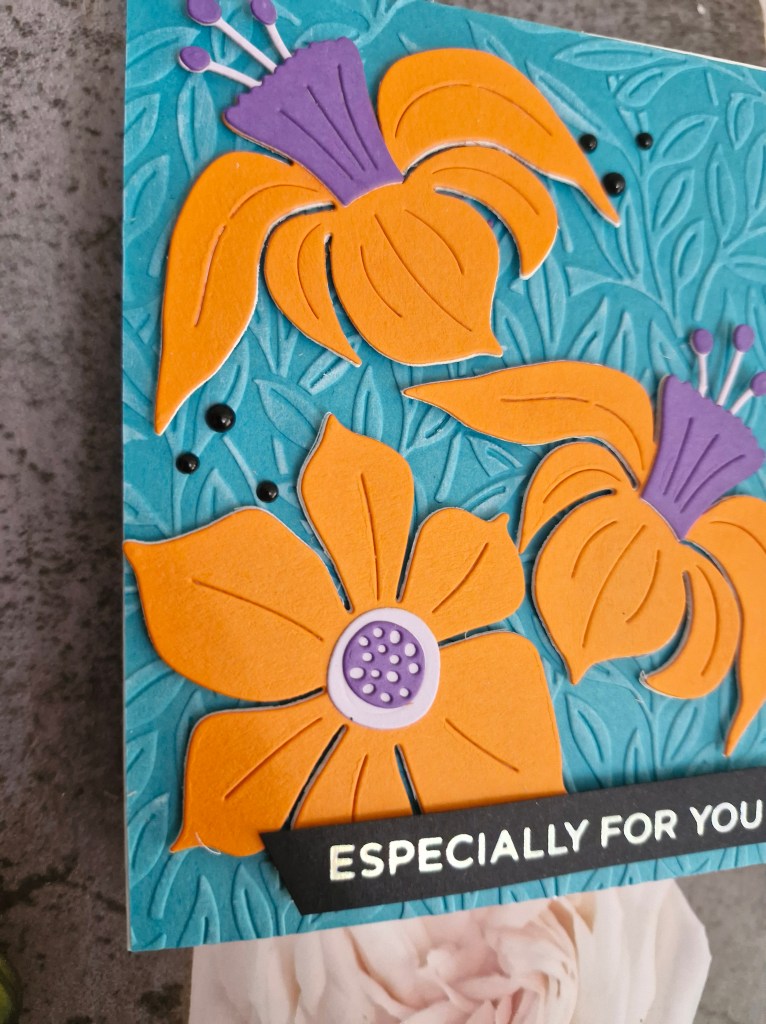
The whole arrangement was die cut and layered using Concord & 9th card stock, as well as some Spellbinders card stock. I am still in my fussy mind-set – liking repeatedly die cutting and layering all those itty bitty pieces…..and Spellbinders do their leaves and flowers so very well – my favourite die cutting elements to put together.


The sentiment was added and using gold card stock.
I hope you can come and join us with your fruit themed creations. xx
I shall be entering the following challenges:
CYHTP – embossing folder – option of beach not taken
A Perfect Time To Craft – anything goes
Crafts Galore – anything goes
Craft Rocket – no designer paper
Die Cut Divas – die cuts and favourite die cut shapes – leaves and flowers for me
Ellibelle’s Corner – anything goes