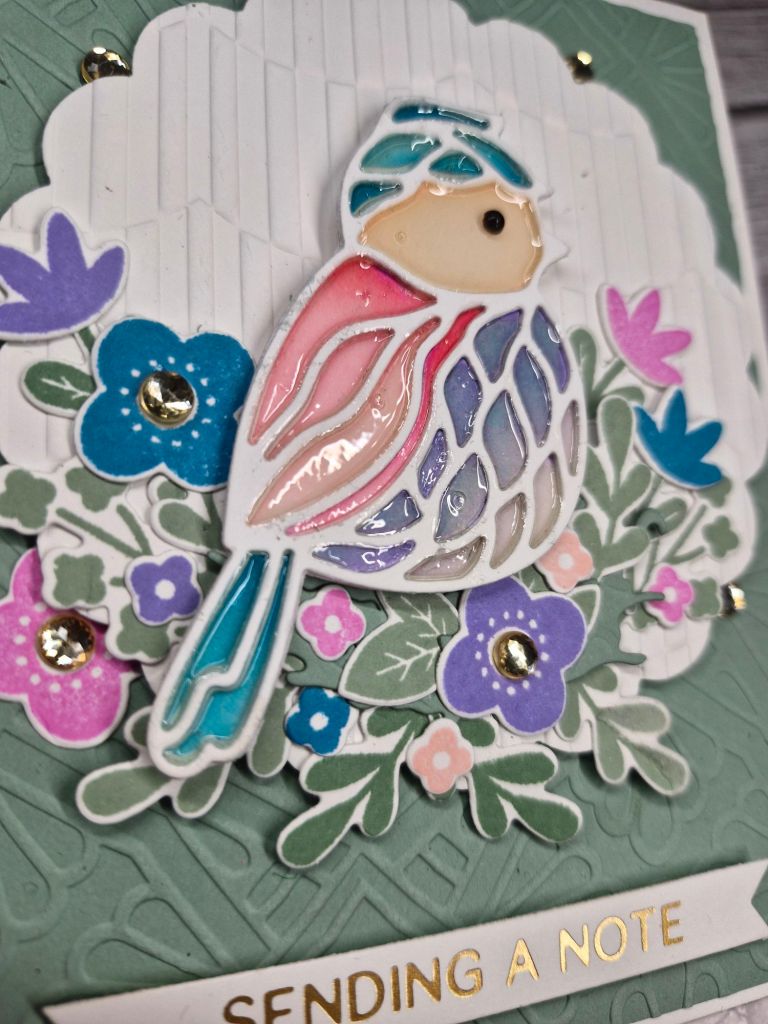
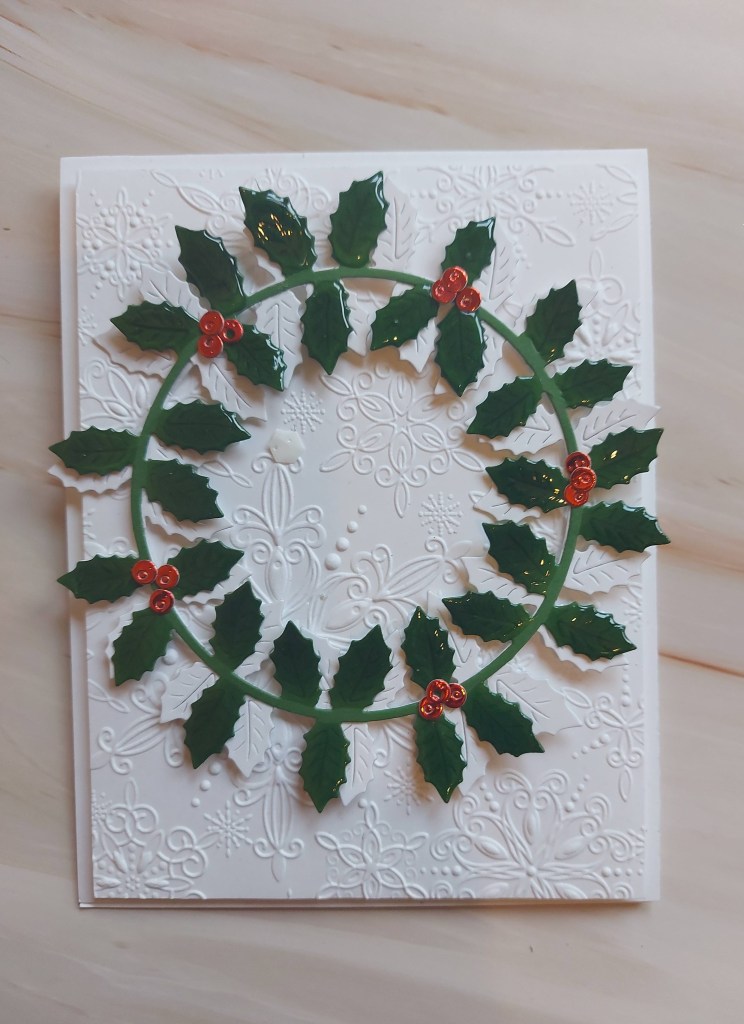
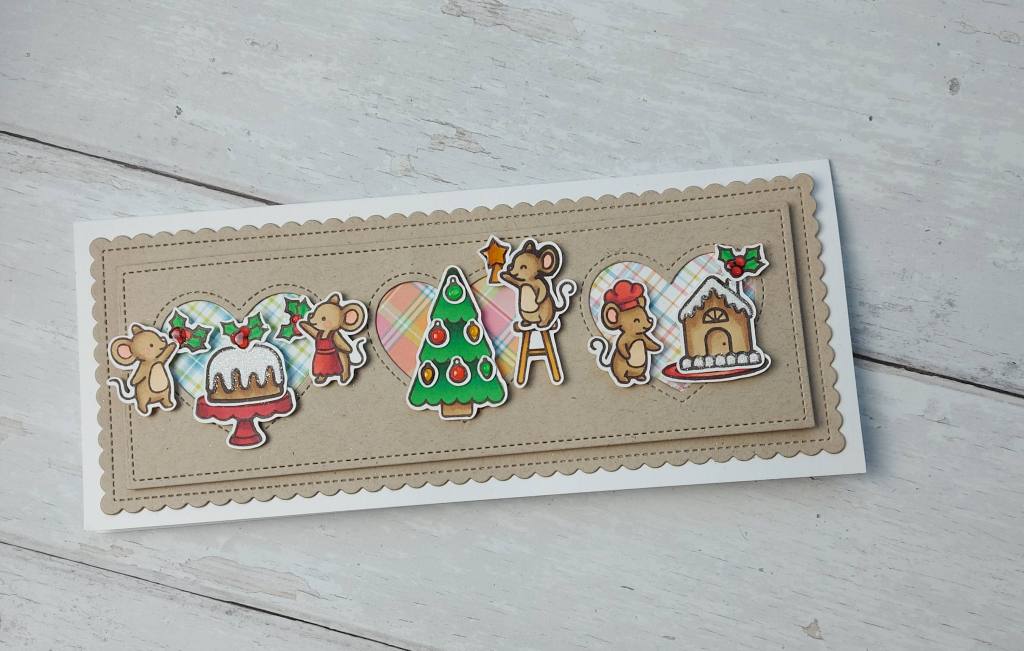
Hello. I had some time to create in my craft room today using some products from the recent Simon Says Stamp ‘Sending Love‘ virtual class event. Even though I don’t see myself as a particularly romantic person, the products were inspiring. Here is my creation:
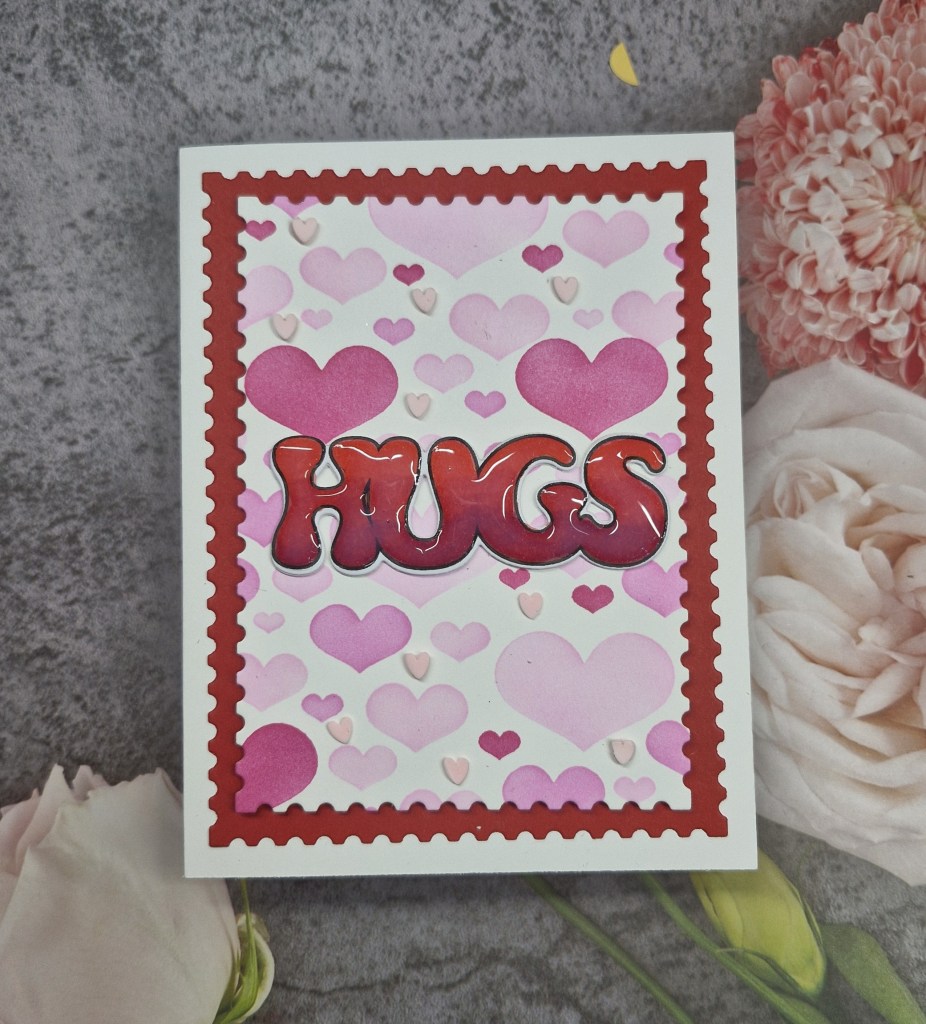
I first started by using the layering heart stencil. There are four layers to this stencil, and I used Pinkfresh Studio inks in tones of pink. This panel was then die cut using the ‘postage edge’ die set – part of the kit – and a larger layer of red to mat behind it.
These two layers were attached to a white A2 card base, the red glued directly down, and the heart panel raised using some craft foam.
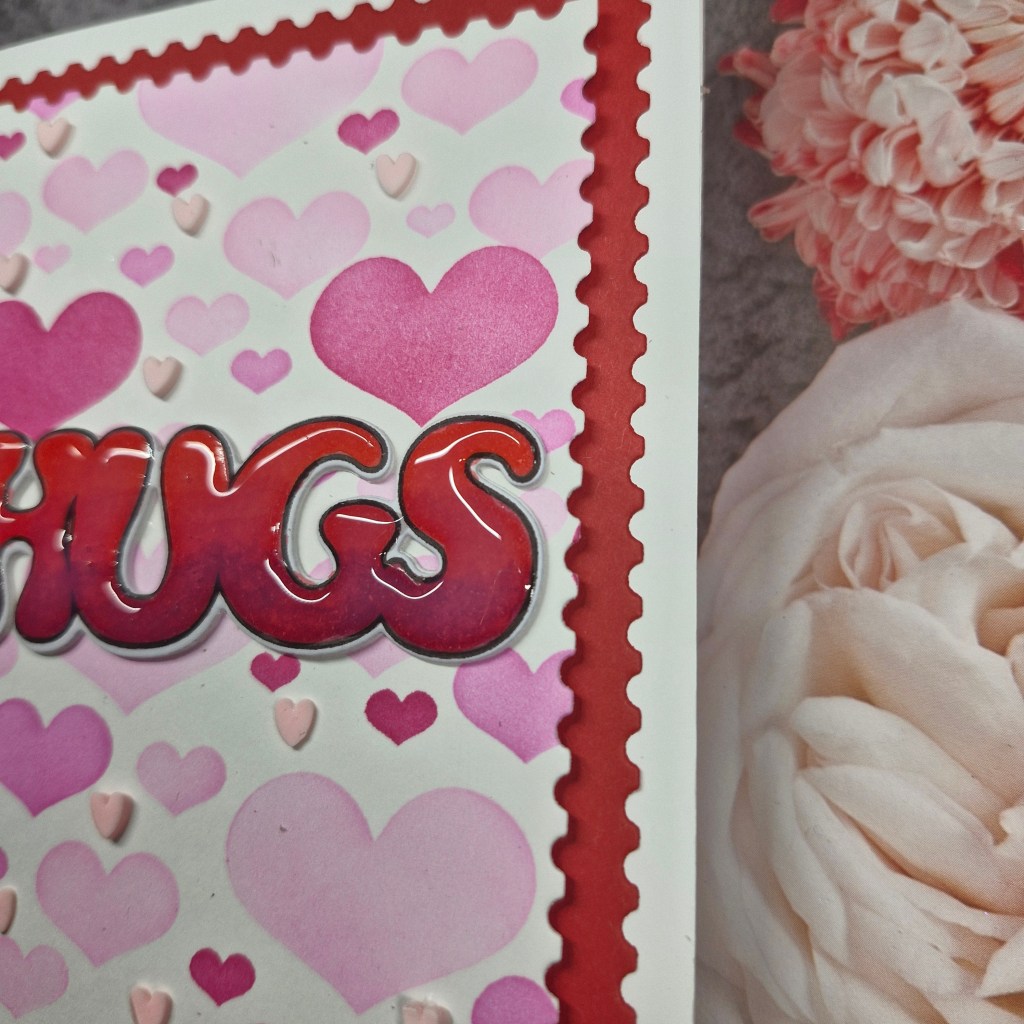
I then stamped the ‘HUGS’ in black Gina K Amalgam ink, then coloured with three red Copic markers, creating a gradient darker at the bottom and lighter at the top. This word was then die cut, and I also added three more die cut layers to make this a little more sturdy.
The word was then glued down, and I added some glossy accents on top to make it all shiny…

I also raided my stash as I knew I had some little heart embellishments, and added some light pink hearts around and about in the open spaces:
This actually turned out to be a mixed media project at the end, which surprises me as it is quite simple – but yet effective.
I shall be entering the following challenges:
Addicted To Stamps & More – dies cuts and/or stencils – both were used
Inkspirational – red and pink
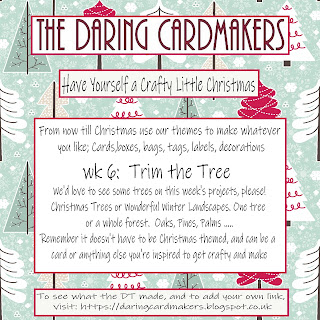
Christmas (or not) bingo – column G – red, free, die cuts
Lil Patch Of Crafty Friends – anything goes
We Love To Create – anything goes mixed media – Copics, dye inks, pigment ink, glossy accents
Colorful Options – mood board
Stencil Fun – anything goes with stencils, option to use pink and red taken
Creative Artiste Mixed Media – anything goes mixed media – Copics, dye inks, pigment ink, glossy accents