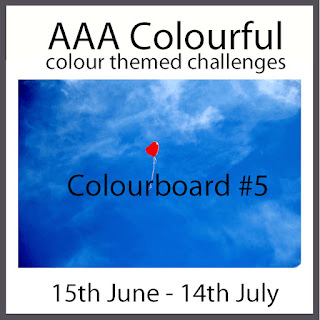
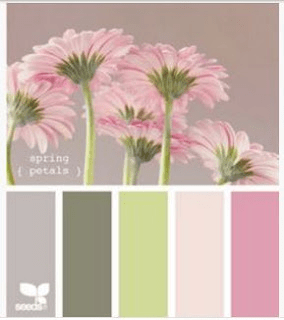
Hello once again. The Alphabet Challenge has started a new challenge, our leader Caz is hosting, and she has a colour mood board for you to base your creations on. Here is the board:
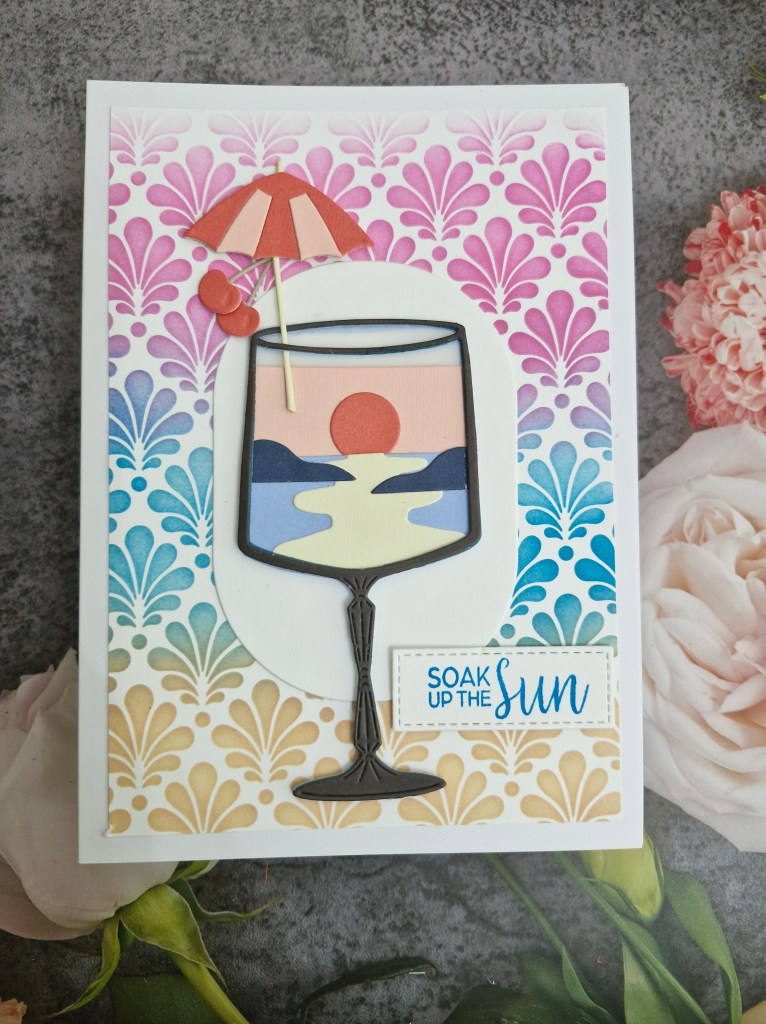
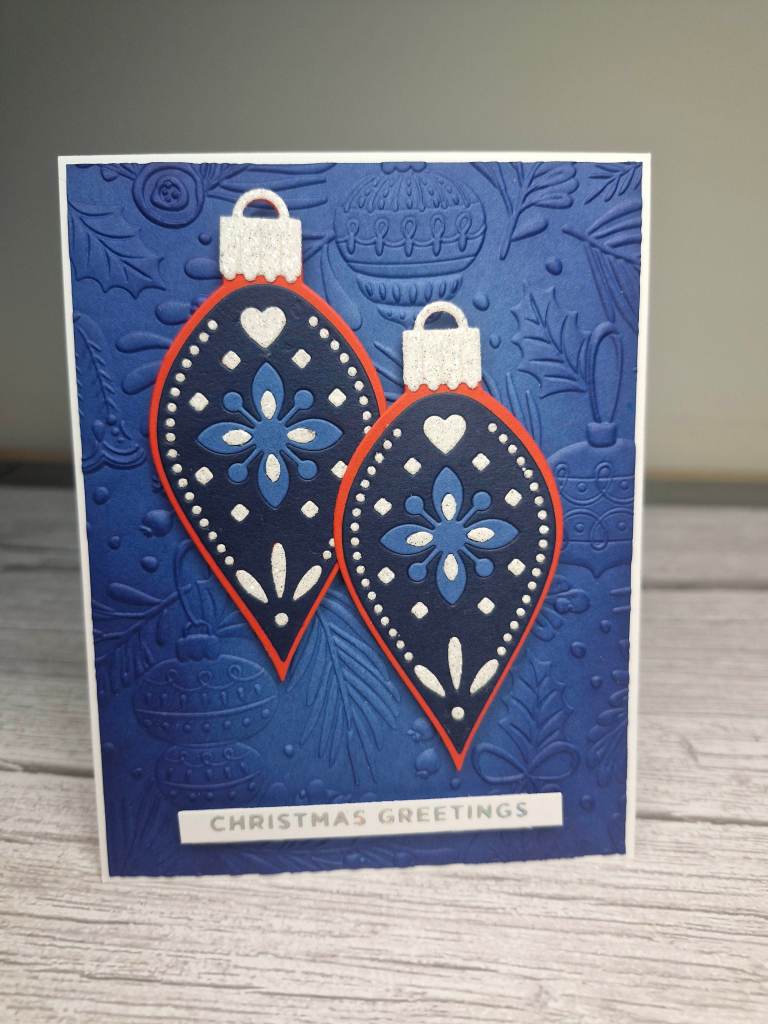
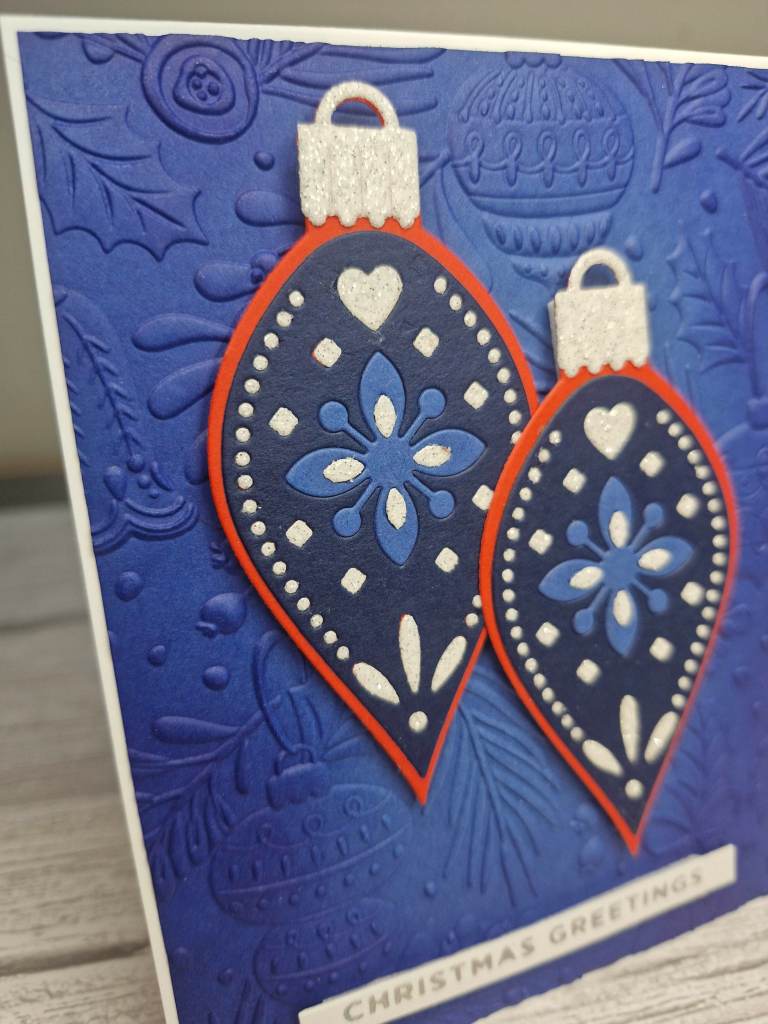
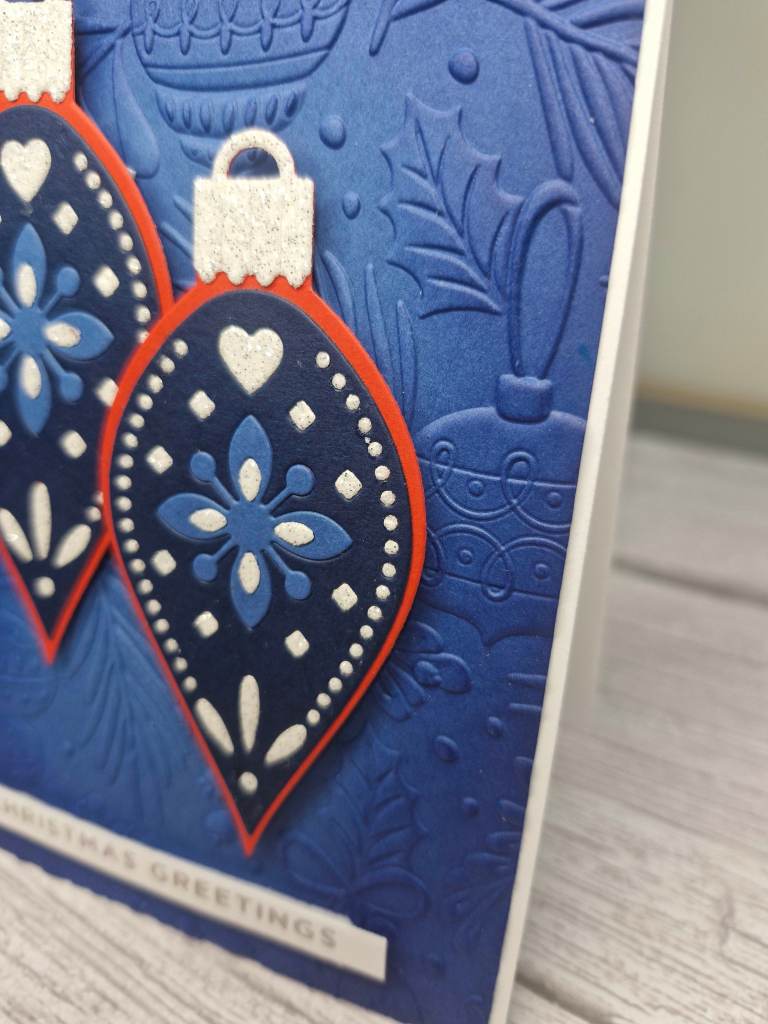
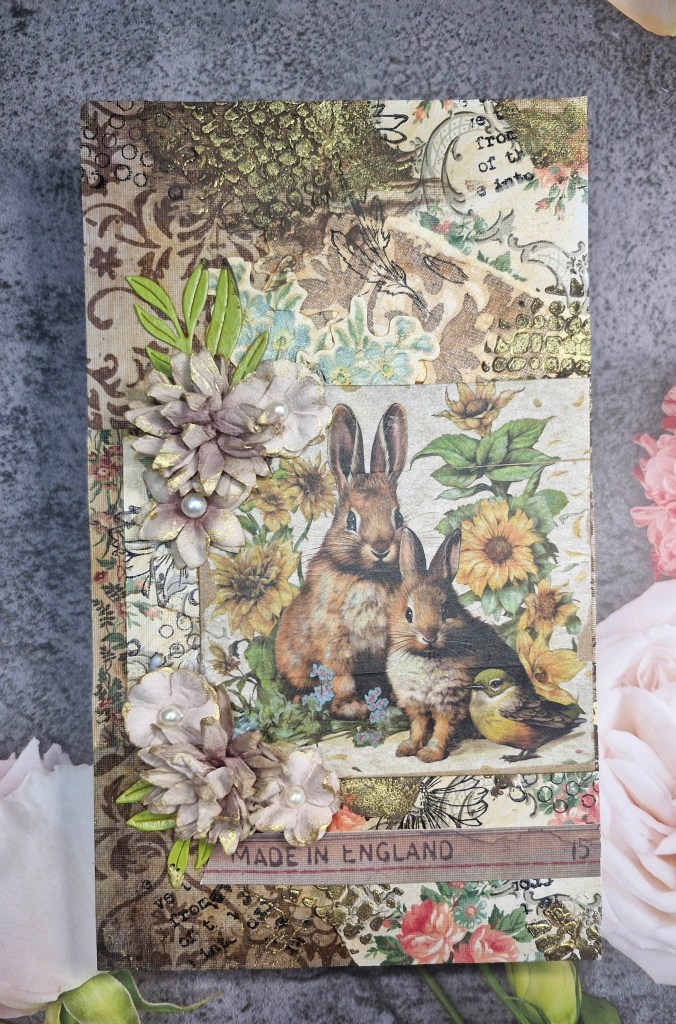
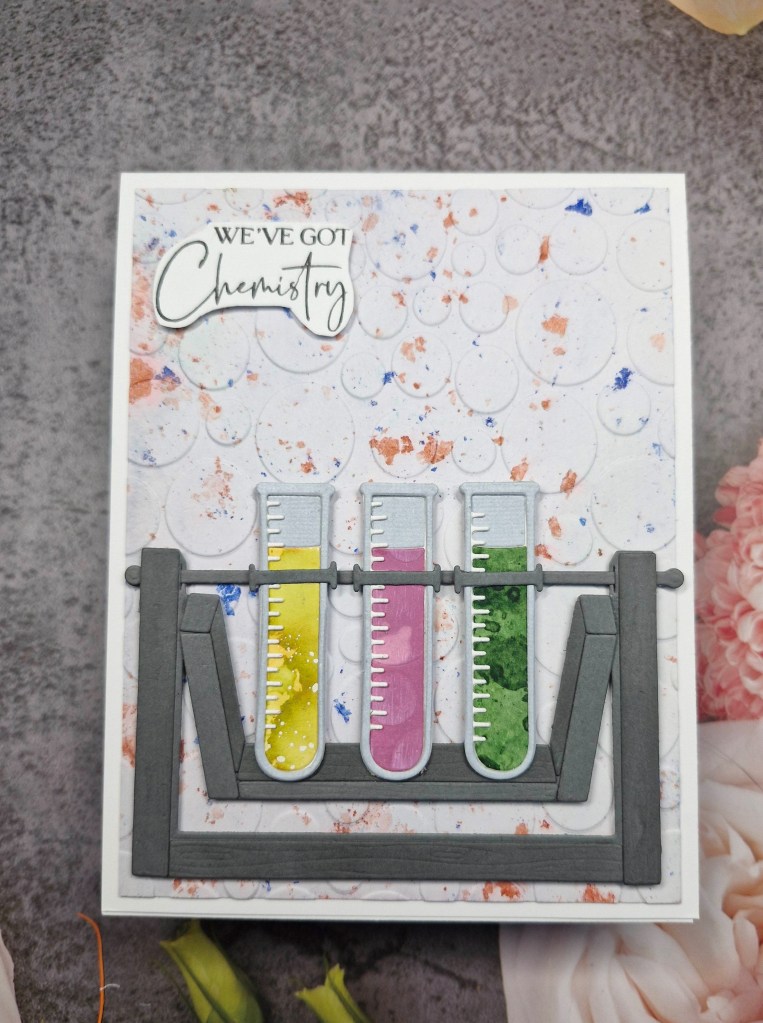
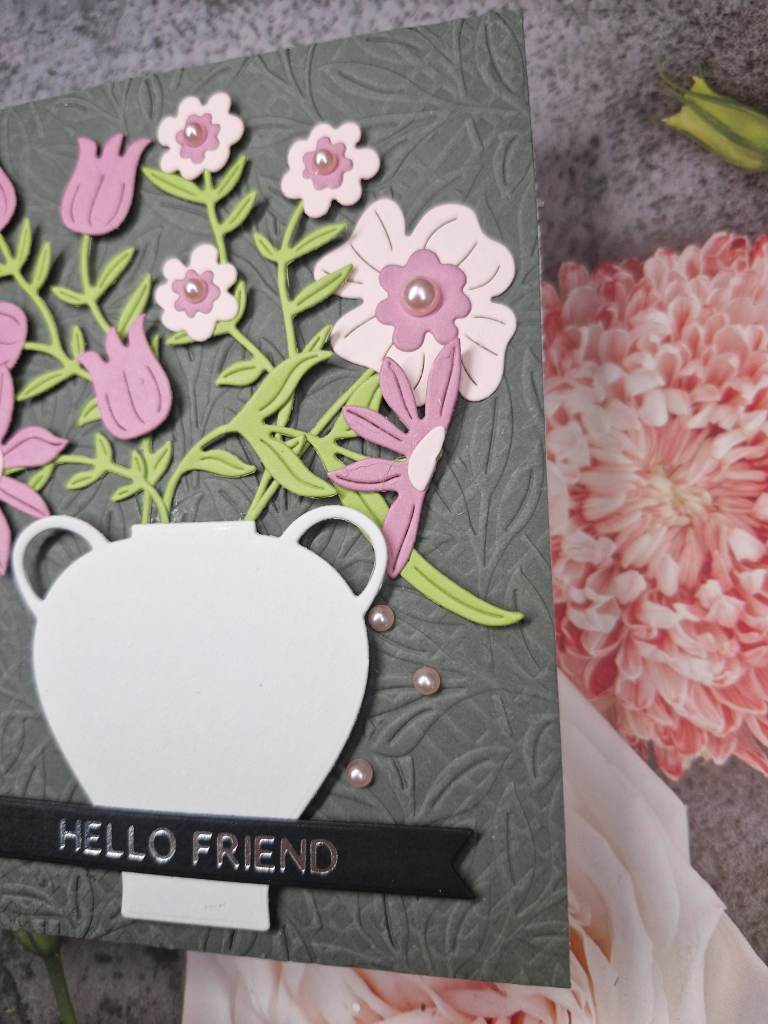
Here is my card:
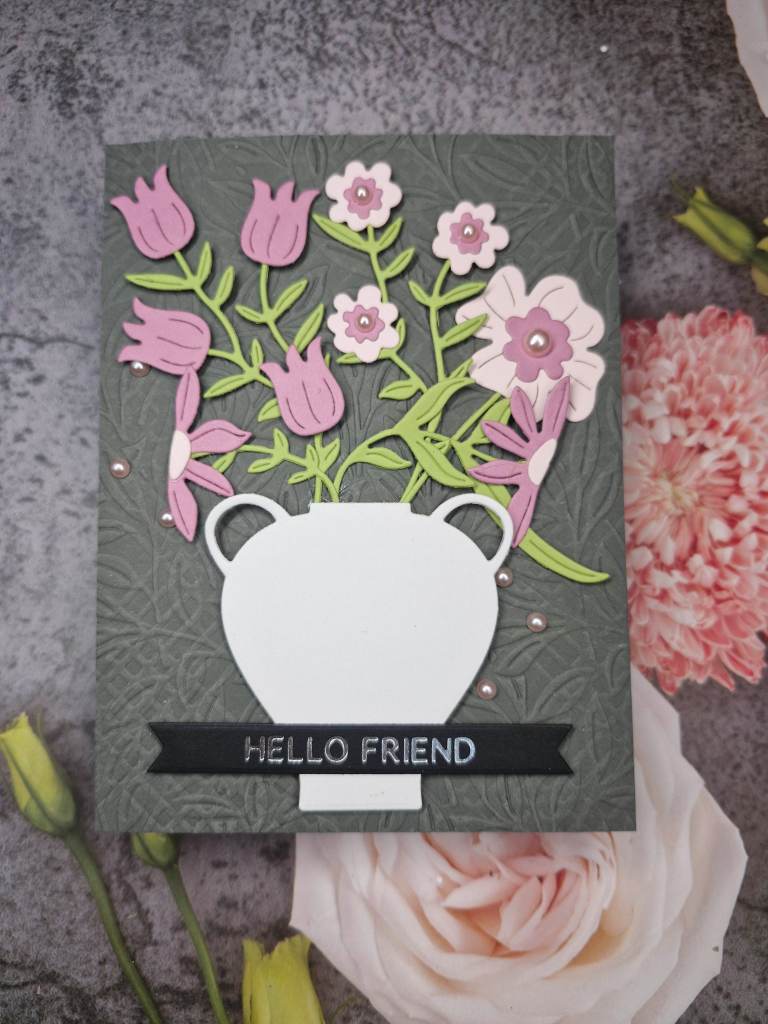
I chose to make the background the darker grey to highlight the pink of the flowers, and the lighter grey of the vase.
I dry embossed the background panel with a Spellbinders embossing folder, and die cut the vase and foliage from various colours of Concord & 9th card stock using Spellbinders die sets.
Once the flowers were layered together, and the vase adhered with 3D foam, I arranged them as you see. It usually takes me a while to figure out arrangements like this, so this actually took longer than die cutting and gluing….
Once arranged to my liking, I used glue and little pieces of 3D foam, then added a previously foiled sentiment.
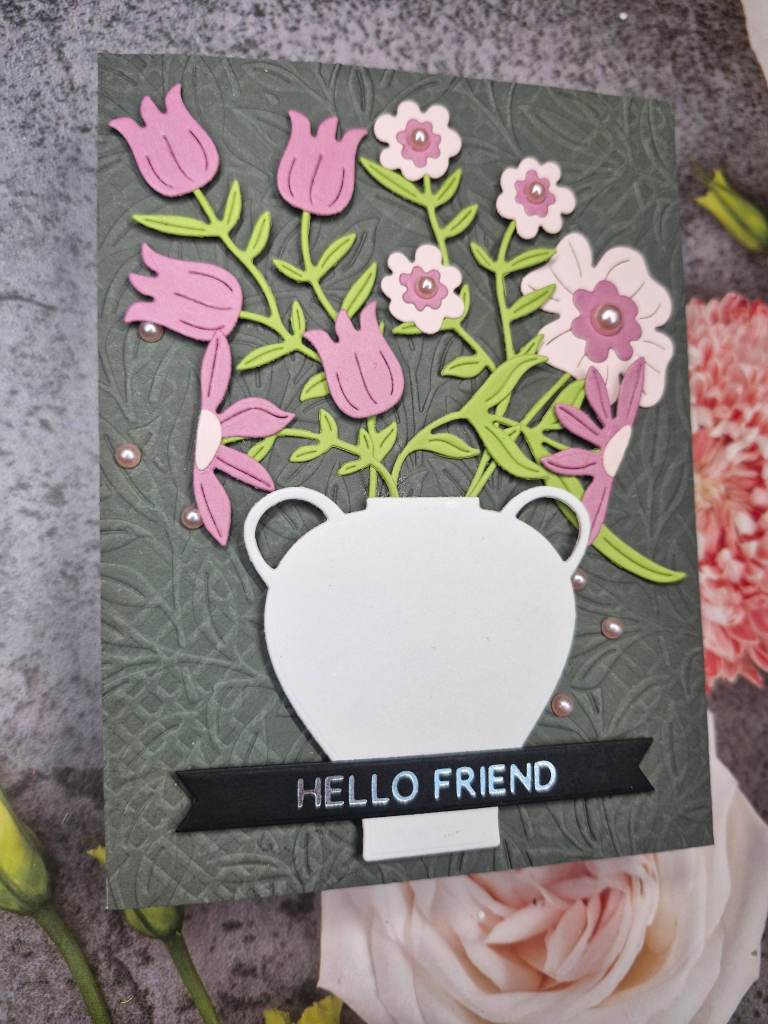
Some pink pearls added to the flower centres and the background for extra interest and dimension.
I hope you can come and join us with creations for which the mood board colours are most prominent – neutrals can be added too.
I shall be entering the following challenges:
A Perfect Time To Craft – anything goes
Crafts Galore – anything goes
Ellibelle’s Corner – anything goes
Here Is A Place To Start – anything goes
Triple B – birds and/or butterflies and/or blooms
Tic Tac Toe – middle row – free, layers, flowers
Double D challenge – basket and/or posies
Beautiful Blossoms – flowers