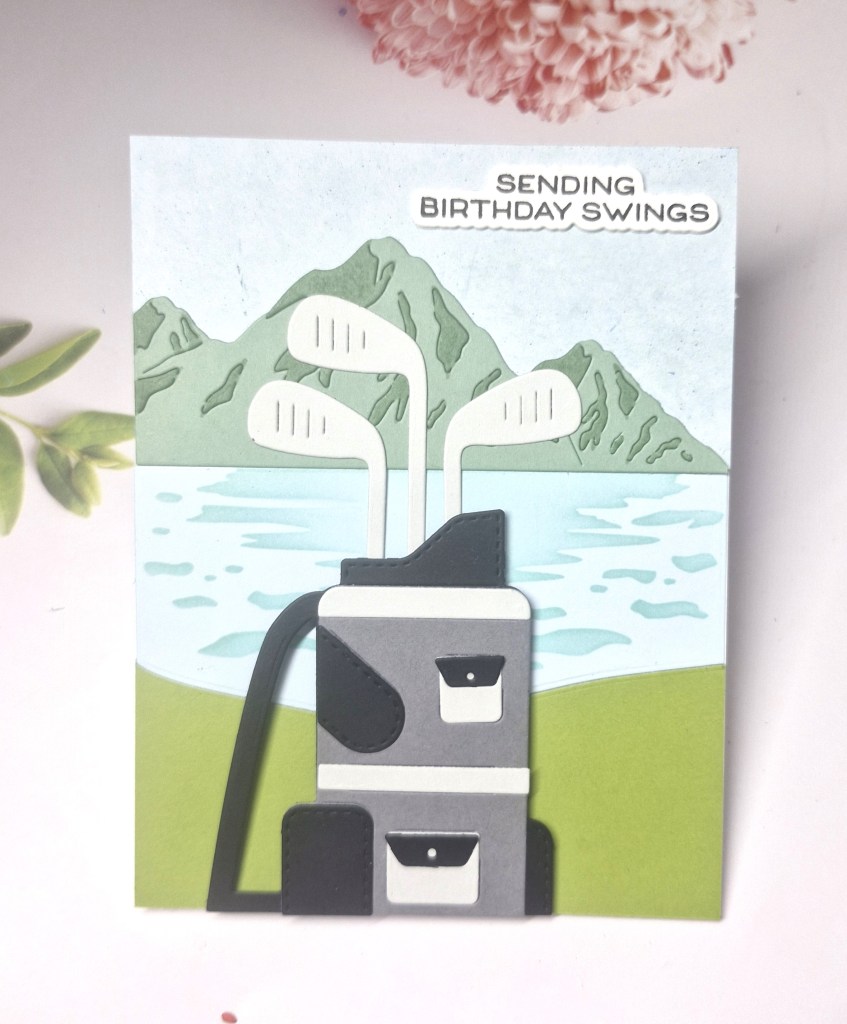
Hello everyone. It is hubby’s birthday on 11th August, so I created this card using Waffle Flower die and stencil sets as he is an avid golfer and frequently travels abroad on golfing trips:
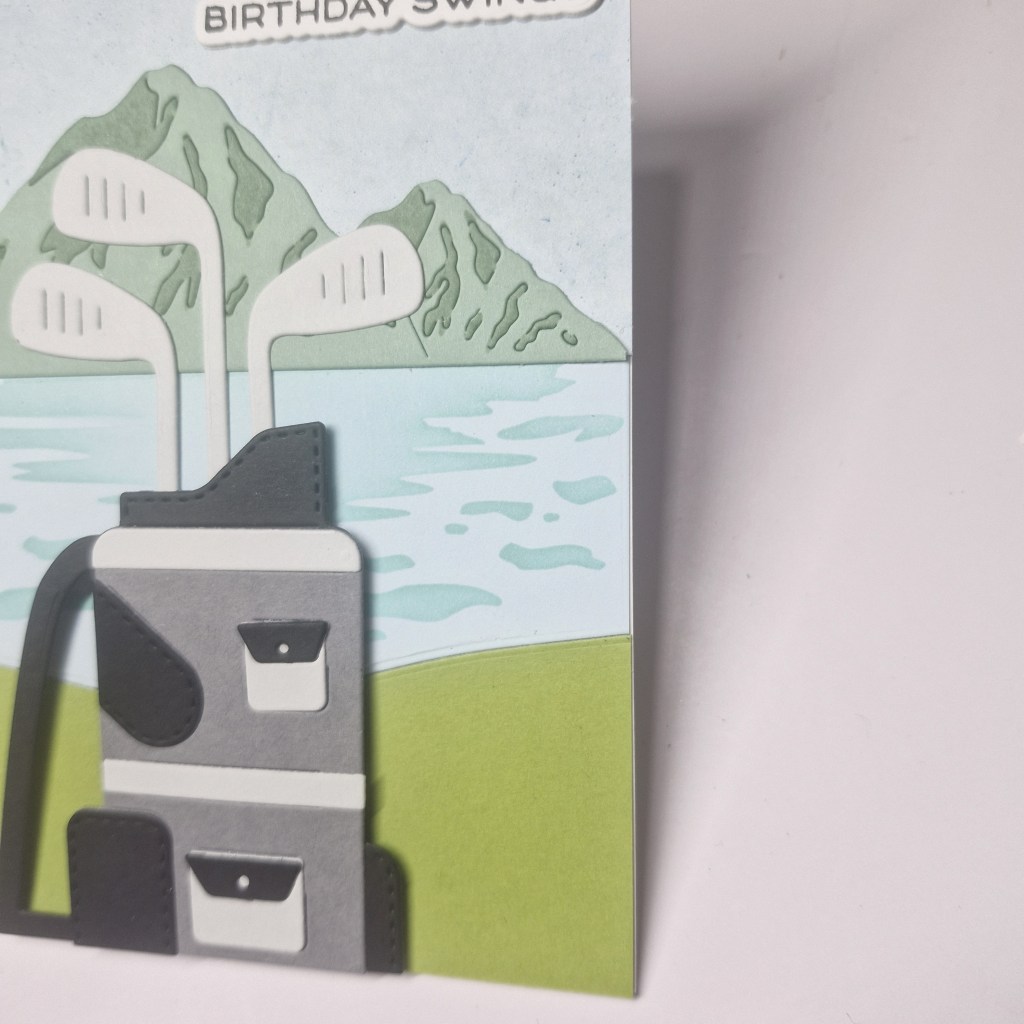
I first die cut the golf bag and clubs, using grey and black, as his current golf bag is those colours – he isn’t a flashy kinda guy!
The background was created using another die and stencil set from Waffle Flower, first die cutting the mountains and the water, then used the stencil to create some dimension.
These were layered together, adding some paper for the sky area, and some green card stock for the grass.
The sentiment is also from Waffle Flower – part of this release – stamped then die cut, then layered a couple more times before gluing to the card.
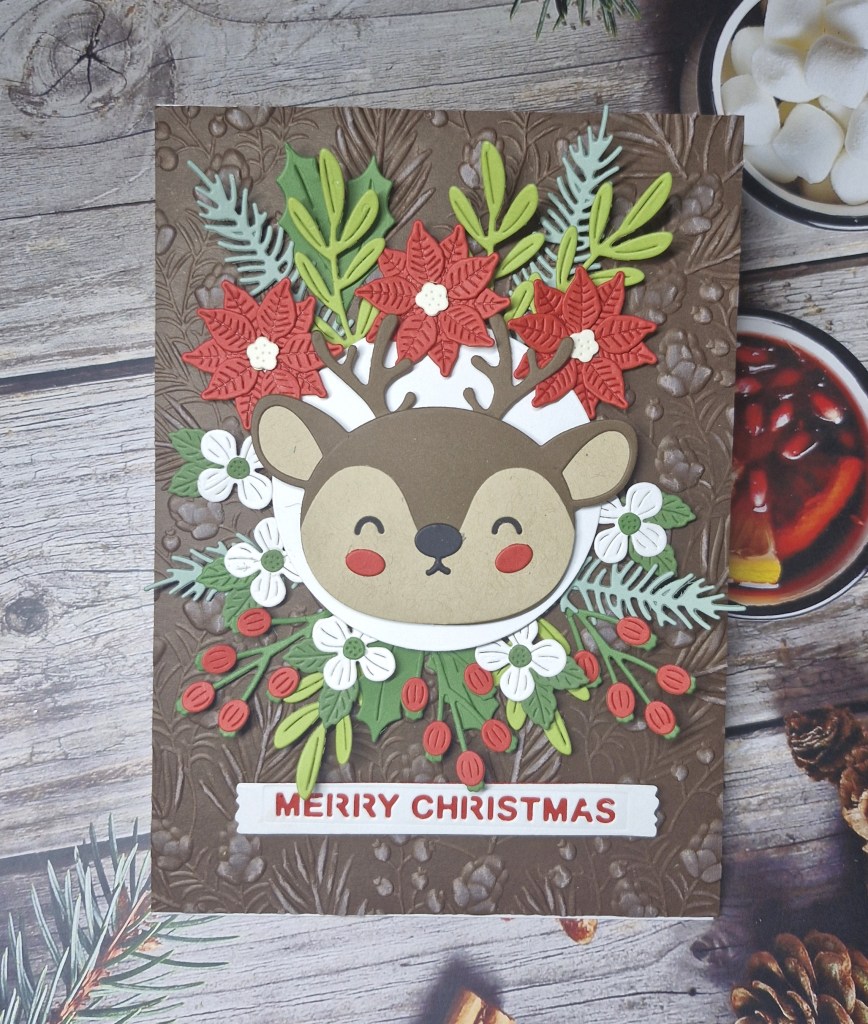
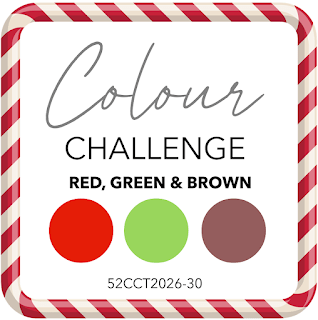
Hello once again. I was intrigued by the current colour inspiration for a Christmas card at 52 CCT to use brown, red, and green, and came up with this card:
I wanted to use this new deer die set from Spellbinders, which I thought would cover the brown part of the colours, and as you can see – I fully embraced the brown…..
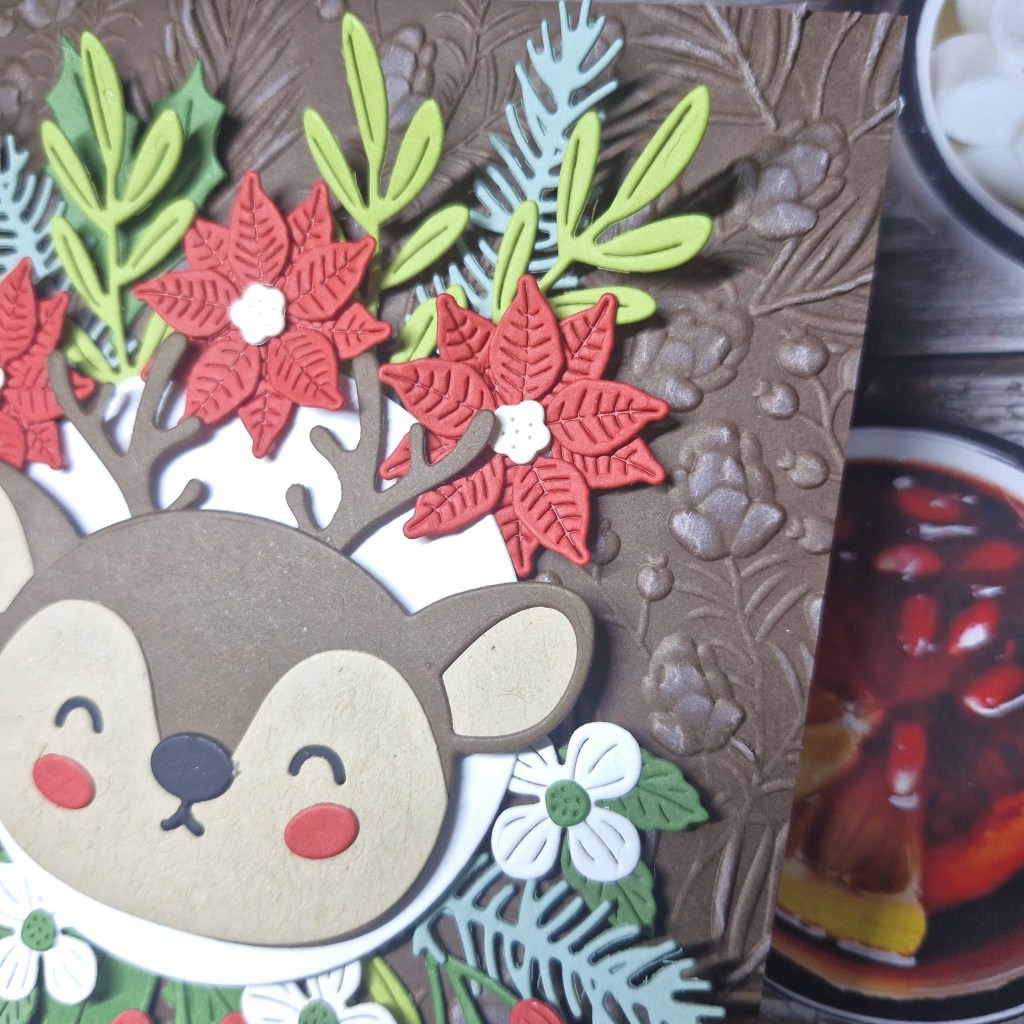
I started by die cutting and assembling the deer, and then used several tones of green and a red to cut the foliage and flowers from another Spellbinders die set, as well as red for the buds. I also die cut some white flowers. I did die cut quite a few of all the elements, as I didn’t know how many I was going to use on the project.
I used a 5×7 inch card base and added a piece of brown card stock which had been run through with a Spellbinders embossing folder – I also swiped some white pigment ink over the top to catch the raised areas – almost like adding a touch of frost.
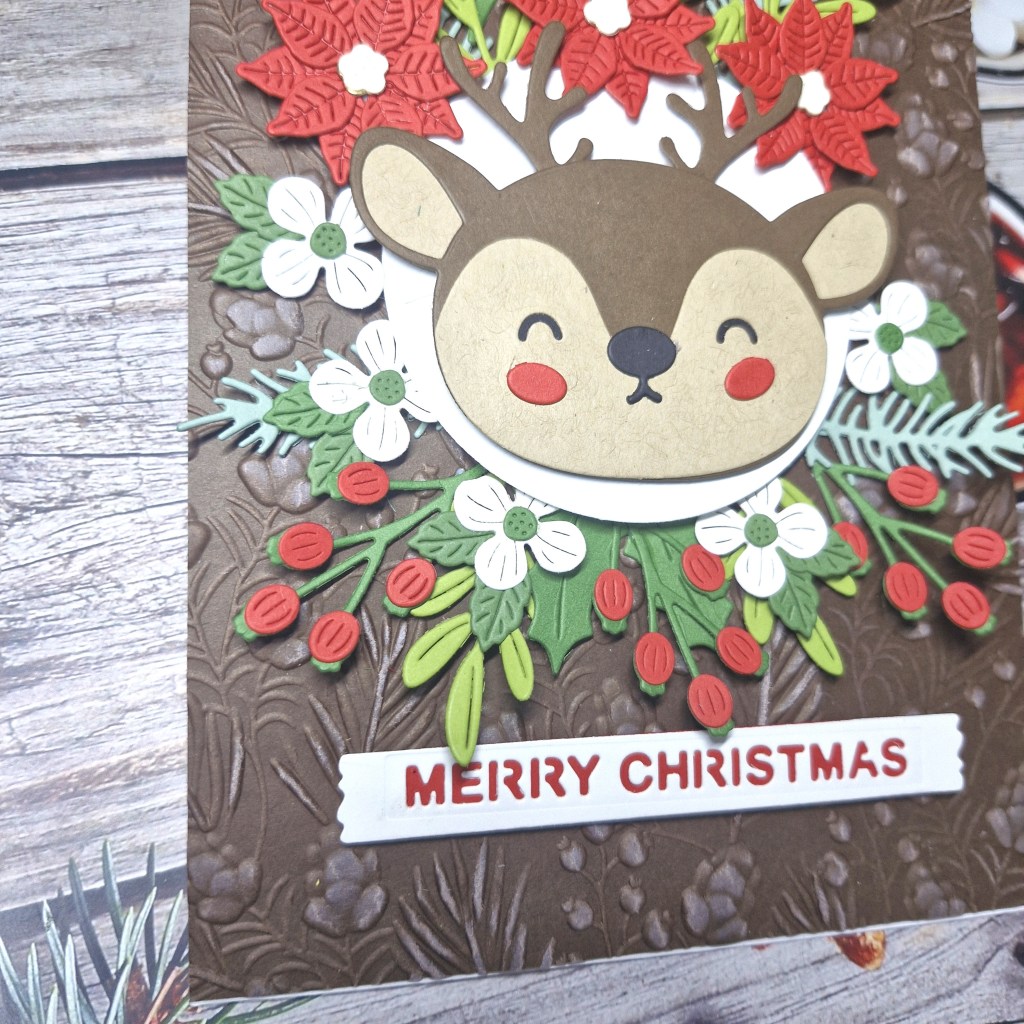
To further enable the deer to stand out a little more, I added a white circle behind him, and then arranged all the foliage and flowers around the edge of that. I just kept adding to create fullness, and am quite pleased with the outcome.
I did want to add some gold, but that isn’t included in the neutrals you can use, so I stayed with the three colours and white.
The sentiment is from a Spellbinders/Simon Hurley die set.
Hello all. As you know, I have recently returned from visiting my sister in Canada. During that trip, we travelled to see one of her friends in the stunningly gorgeous area of Grand-Metis. This card was created as an homage to that visit, and to send as a thank you note to her friend.
I started by creating the images using a Waffle Flower layering stencil – Postage Collage Coastal. This panel was then die cut with the postage collage die, then cut down to be individual images.
I then created the frames using another Waffle Flower die set (Postage Collage Frames), stacking the frames a couple of times for more dimension, then the images glued behind.
I chose these particular images as the chalet was right on the coast facing the sunset, there is a lighthouse nearby, and I saw a few ships passing by in the distance.
The crabs are also from Waffle Flower, die cut and layered.
To make enough room for everything, I chose a 5×7 inch card base, and added a piece of light blue card stock. This blue piece was run through a Spellbinders embossing folder, after first inking up one side to give the background a little more colour.
All the images were arranged and added with 3D foam.
I chose not to add a sentiment on the front, but will instead write a note myself for the inside, but first I need to translate it into French before writing it……
Hello everyone. I am back from my sojourn to see my sister in Canada – fabulous to catch-up face-to-face and help sort her craft room in the new house.
It is time for the new challenge at Cardz 4 Galz, and Caz has chosen the theme of:
Blue Skies
Here is my card:
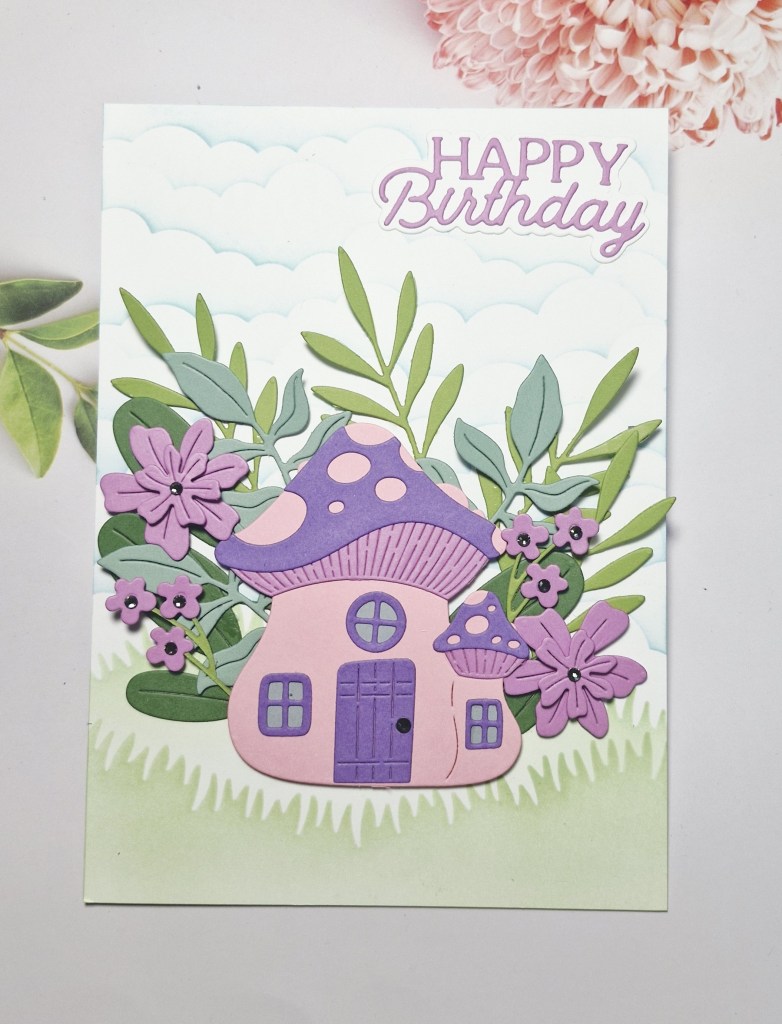
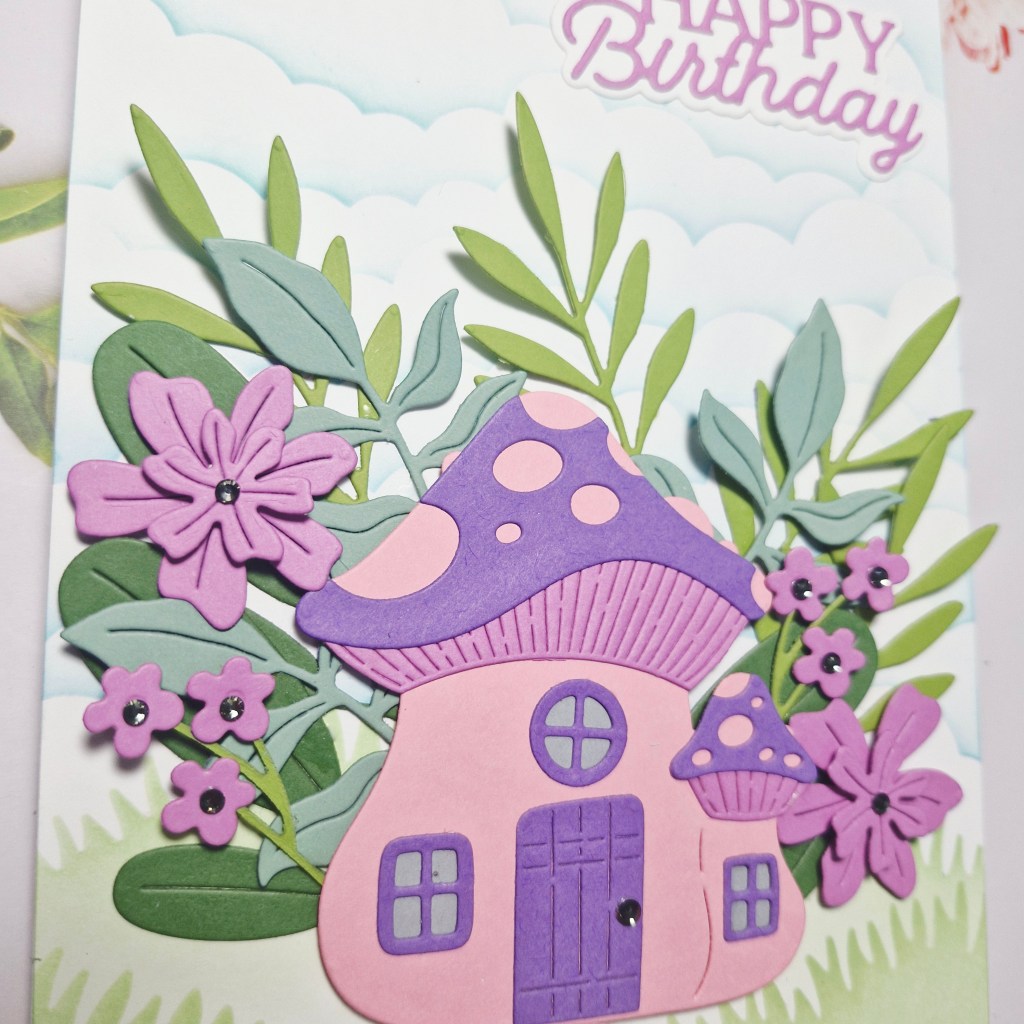
I started by creating the blue skies in the background by using an MFT stencil and Pinkfresh Studio inks. I then added a couple of layers of grass, also by using a stencil and ink blending.
The main image of the mushroom is from a Spellbinders die set ‘Mushroom Mansion‘ and die cut from Spellbinders and Concord & 9th card stock. The foliage and flowers are also from the same die set.
All the layers were glued and assembled, the layout arranged to my liking, and then the sentiment die cut and added.
A few small gems inserted to the centre of the flowers, and for the door knob on the mushroom.
I hope you can come and join us with your creation following our theme – add blue skies. xx
Hello once again, It is time for the new challenge at The Alphabet Challenge. Having reached the letter ‘G’, Pamela has chosen the theme of:
Games
Here is my card:
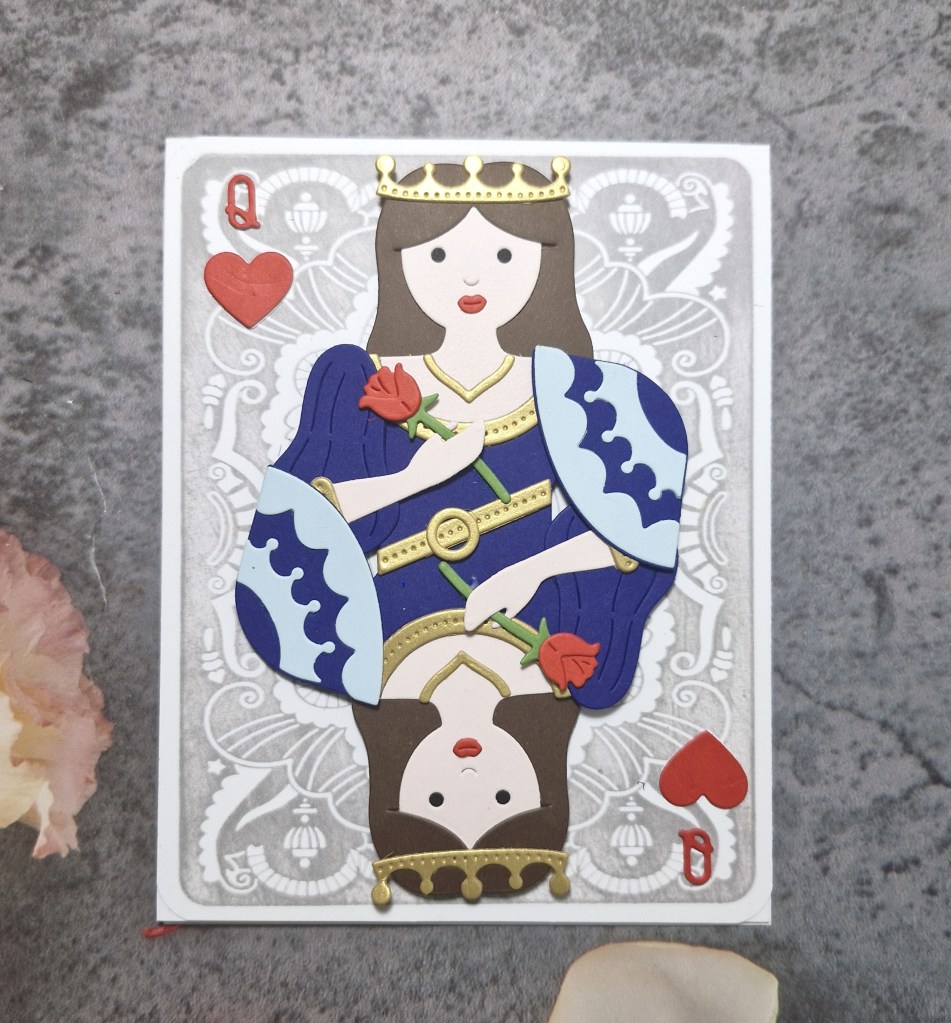
I’ve been wanting to play with this collection of dies from Spellbinders/Jaycee Gaspar, and just haven’t got around to it. Here was my opportunity.
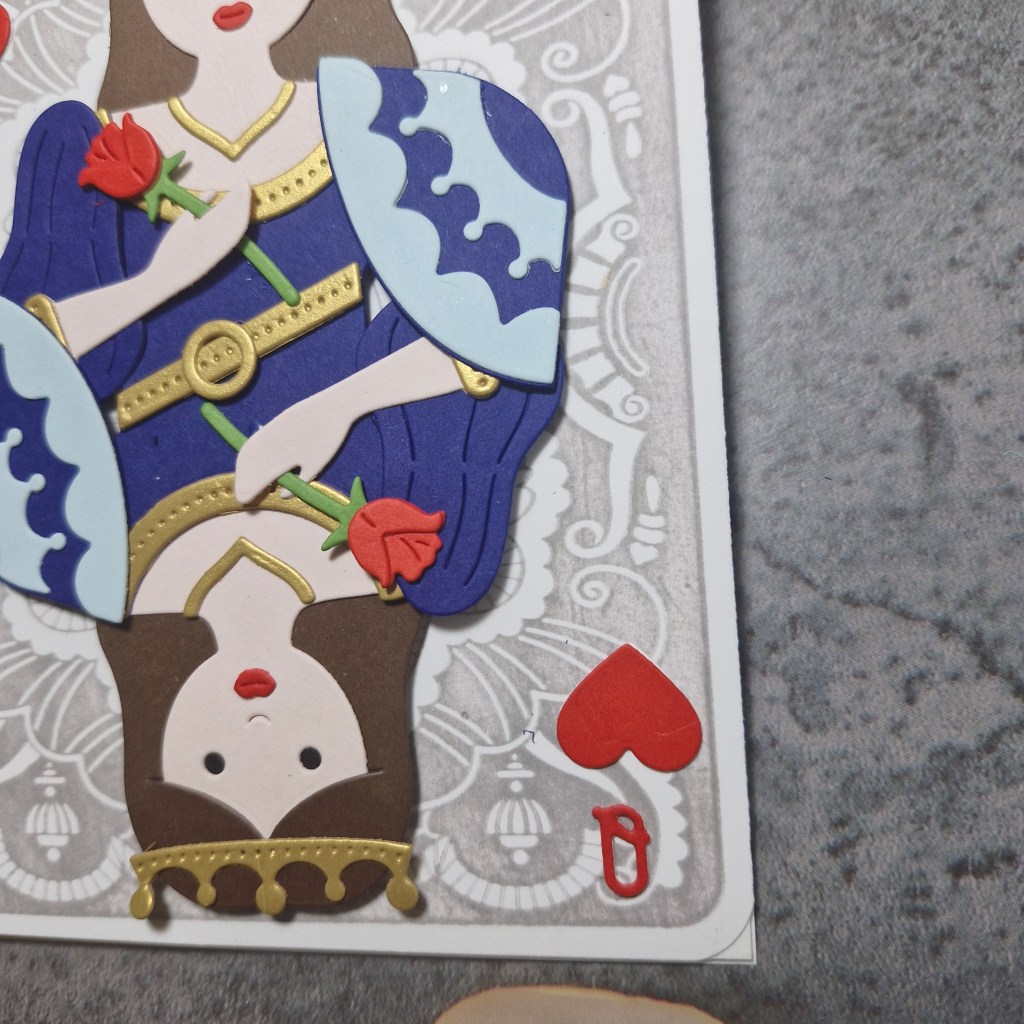
I die cut all the pieced for this Queen, then followed his YouTube video on how to piece everything together. There are quite a few pieces for this picture, and of course using the two Queen images doubled the work – but it was all worth it to me. I really enjoyed the process.
To let the Queen stand proud, I used the letter press plate for the background and a light grey ink, rounded the corners just like a real playing card, then glued to a card base.
The Queen was added, using glue and very, very small pieces of 3D foam tape where needed, as well as the red Q and heart.
I hope you can join us, following our theme, and I look forward to seeing you in our gallery. xx
Hello again. I have scheduled this post to start with the new challenge at Cardz 4 Galz. I’m currently away visiting my sister in Quebec, so unsure how much access I will have to comment and respond – she will try and keep me busy helping her and her hubby settle into their new house……
The new challenge has the theme chosen by Pamela, a word inspiration:
Rainbow
Here is my card:
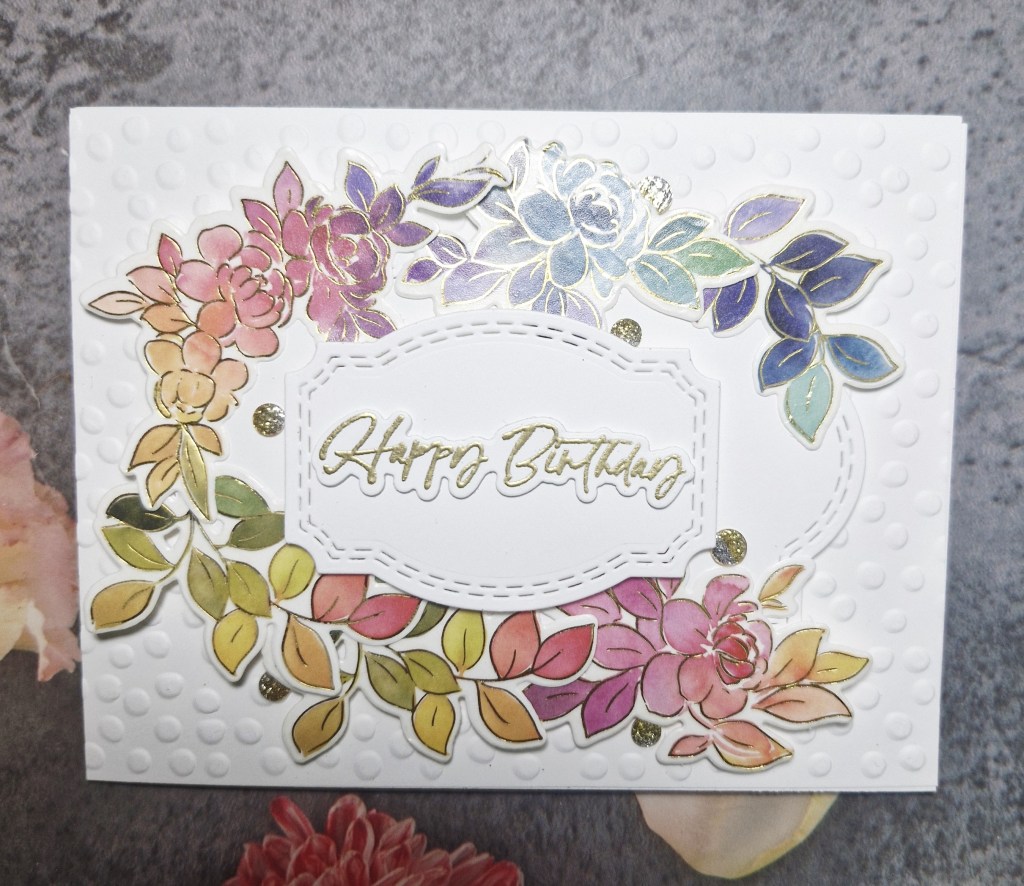
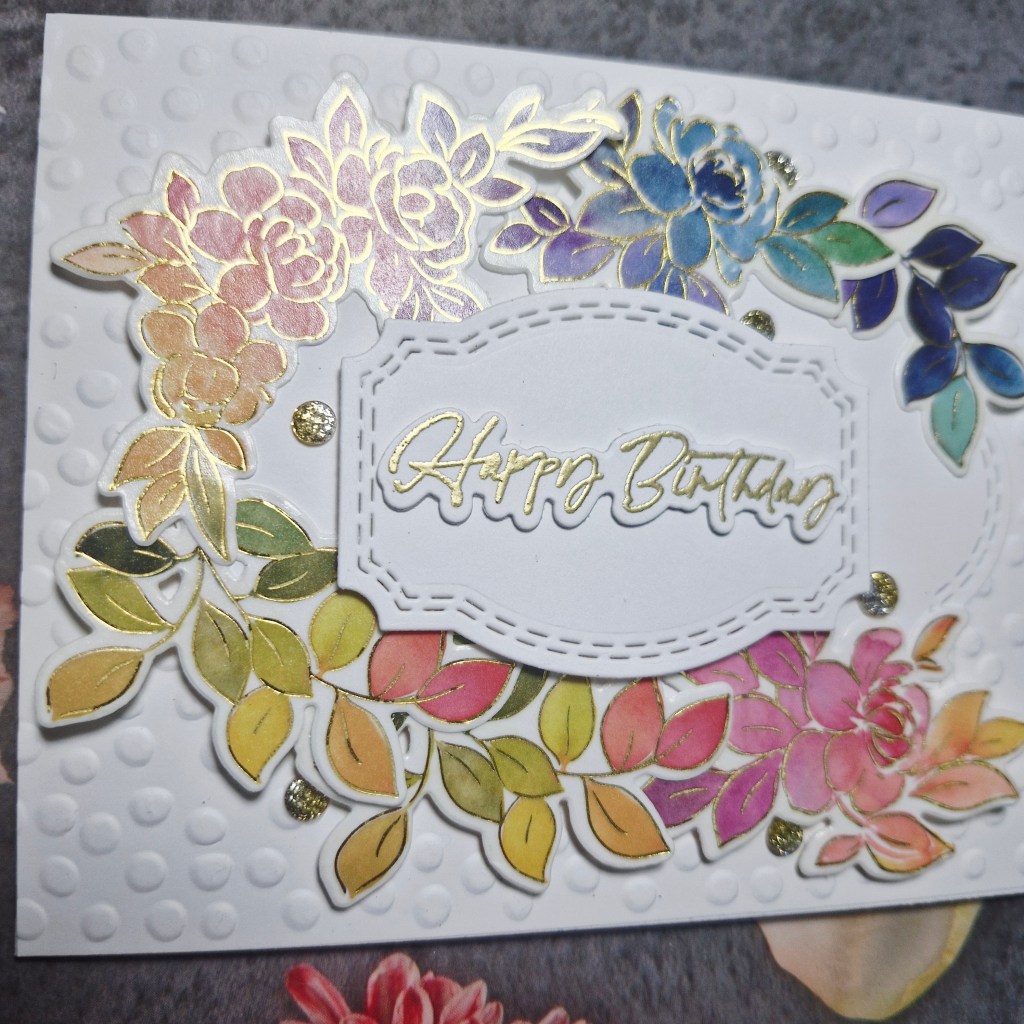
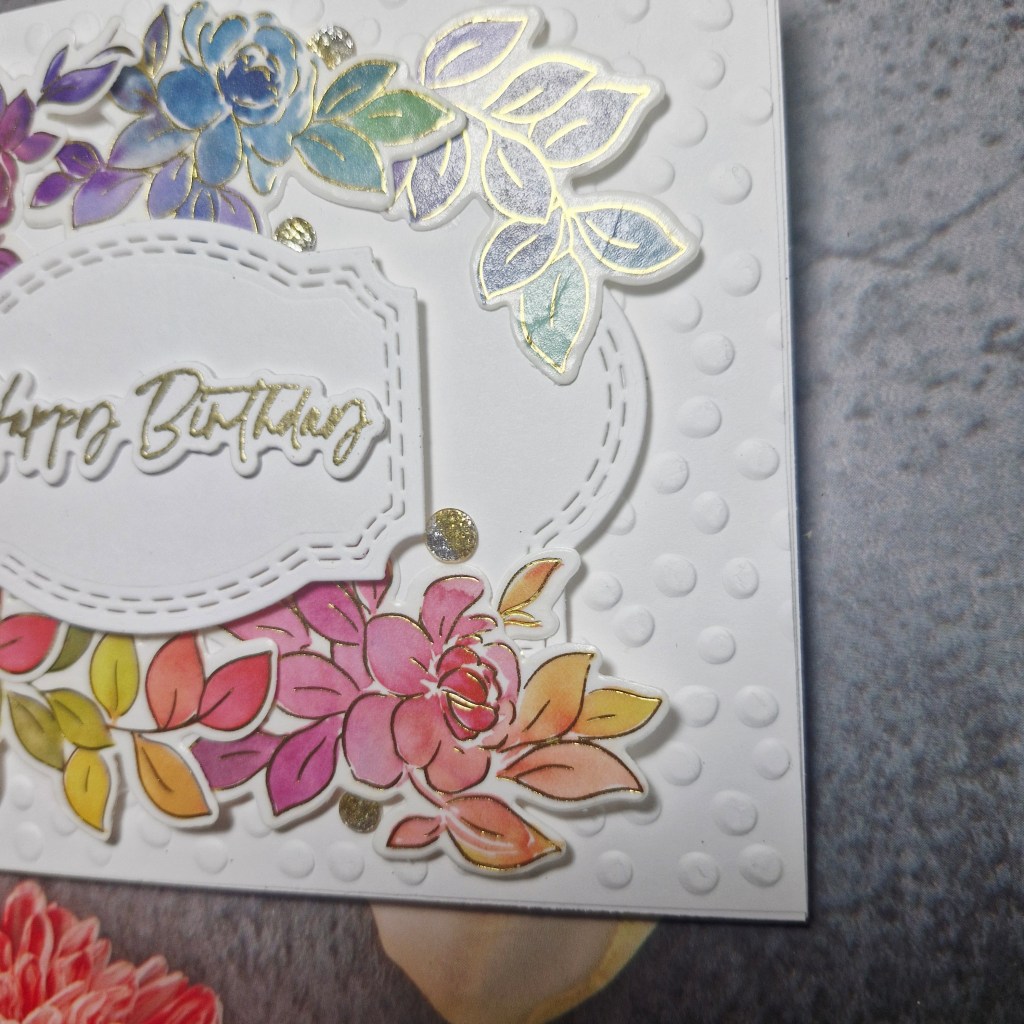
For this card I chose to use a rainbow floral washi from Pinkfresh Studio – Vines & Roses. I started by laying the washi down onto white card, then used the matching die to cut the images out.
The background panel was created using a Sizzix embossing folder, then gloued down to the card base.
The oval was die cut from a Pinkfresh Studio nesting oval die set, and then the floral images arranged around this oval, attached with glue and 3D foam as needed.
The centre panel was also created using a Pinkfresh Studio die set (Double Stitched Fancy Frames), and the sentiment gold heat embossed, die cut, adhered to the little panel, then attached to the centre of the card.
Some ombre gems also added for more interets and a little sparkle.
I hope you can come and join us with your creations inspired by our theme of ‘rainbow’. xx
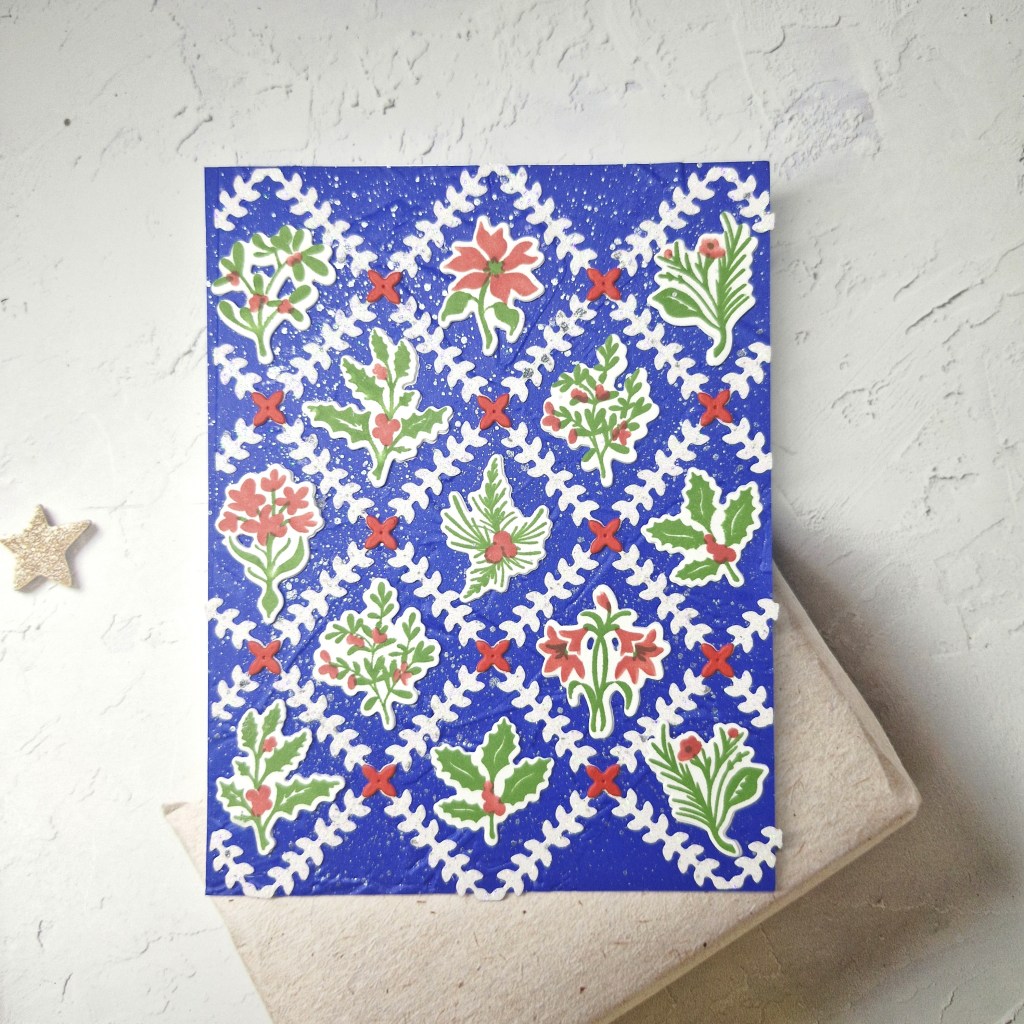
I have a Christmas card to share using products from The Greetery:
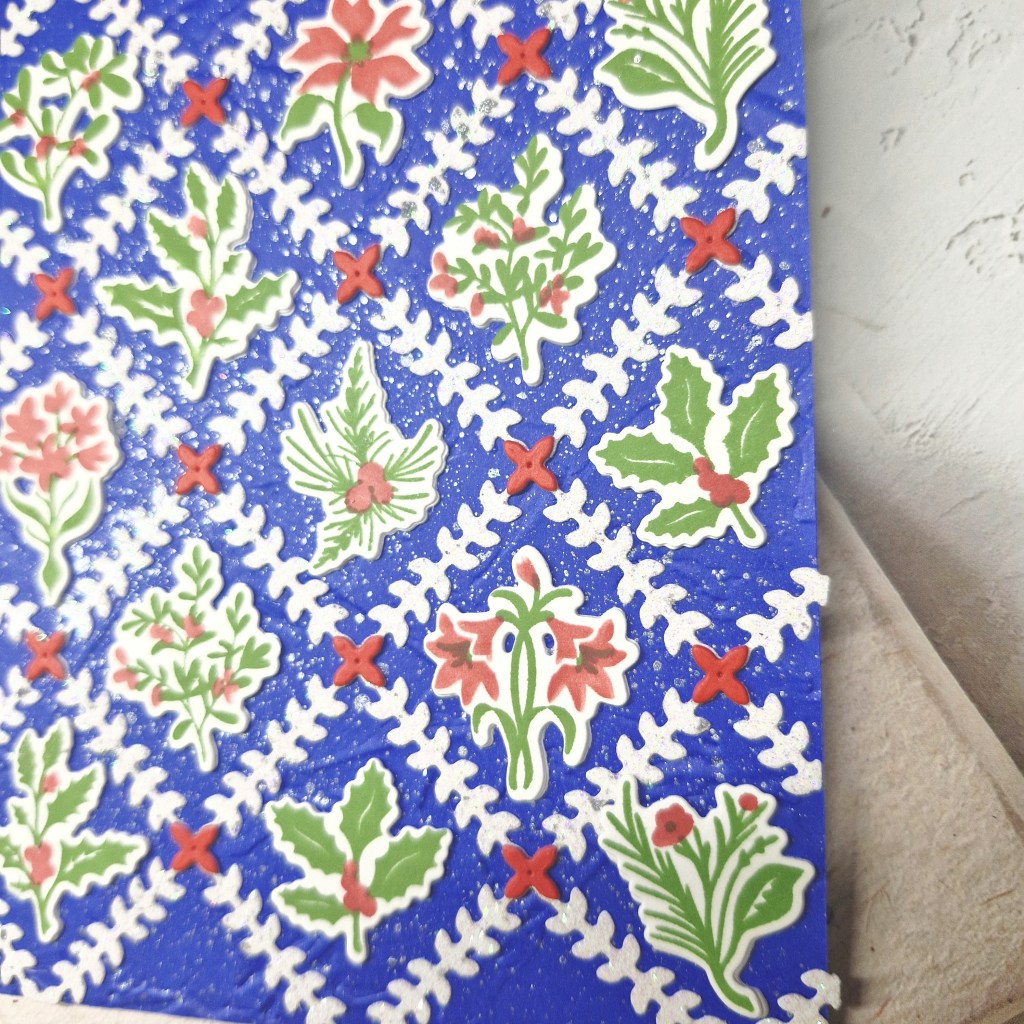
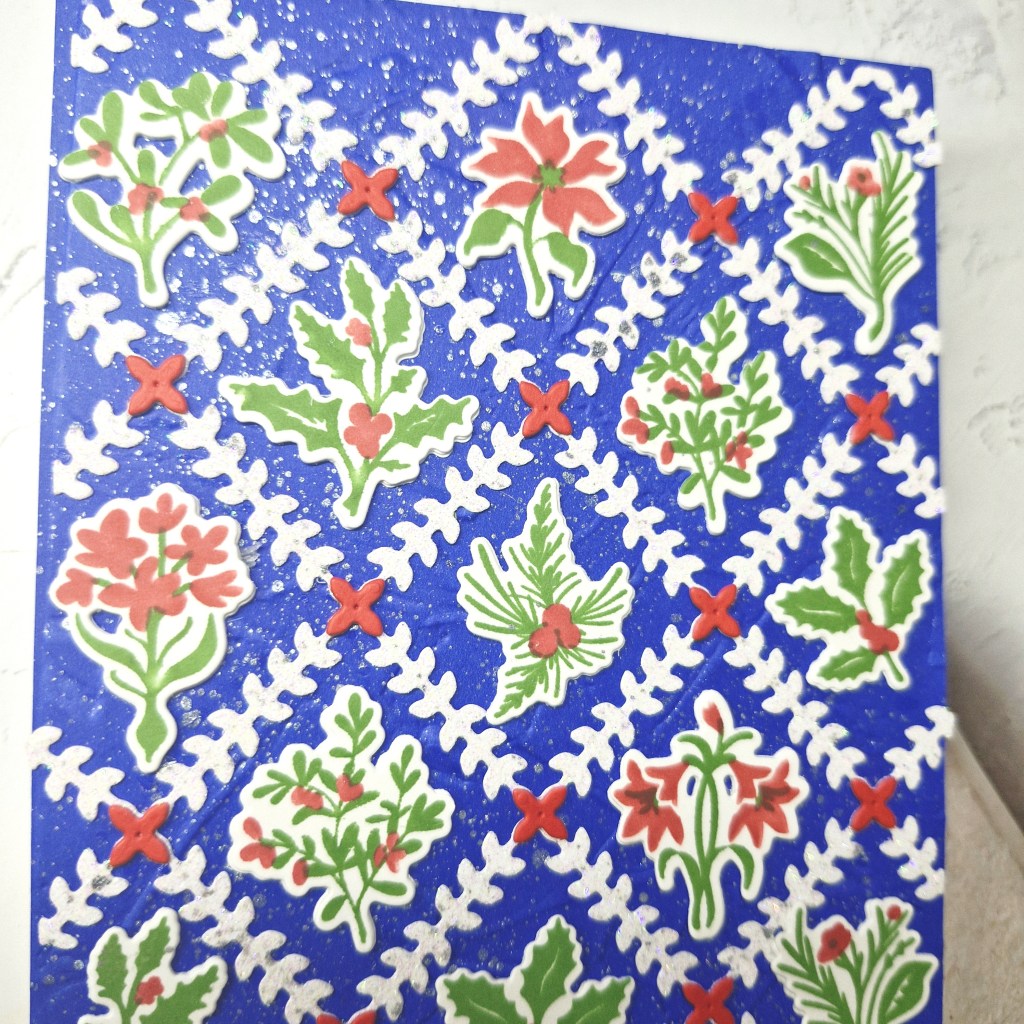
I wanted to play with the ‘Bitty Holiday Botanicals‘ so I started by stamping the green foliage, then used the matching stencil to colour it. The die was then used to cut them out.
I then used the ‘Diamond Foliage‘ die and cut this out of white glitter card stock.
I chose a dark blue card for the background, from Concord & 9th, and ran that through with an older Stampin; Up embossing folder to create a subtle texture. This panel was splattered with pewter acrylic shimmer and then – when dry – adhered to the card base, the white glitter diamond foliage piece glued down, and the the little red flowers added to each of the cross-sections of the die.
I die cut each of the images twice more and stacked them, adding as you see.
I liked the outcome so much, I didn’t think it needed a sentiment on the front.
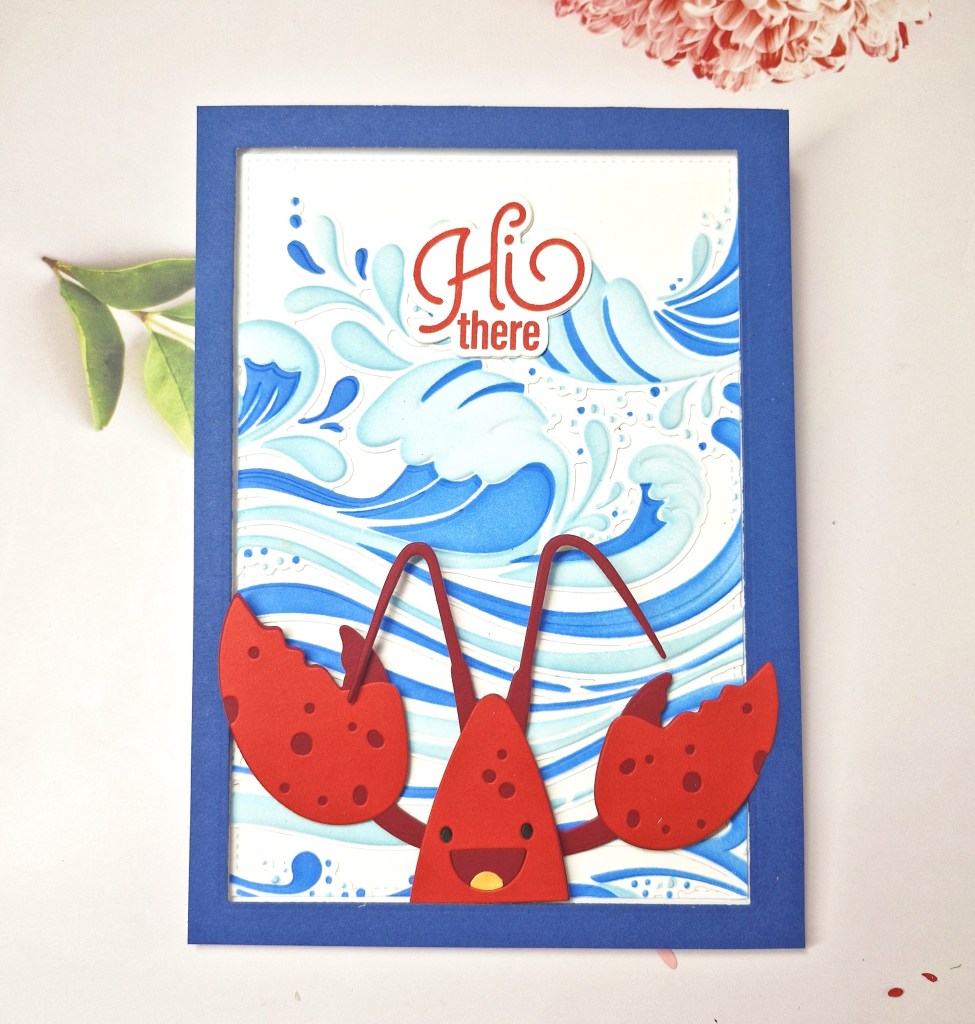
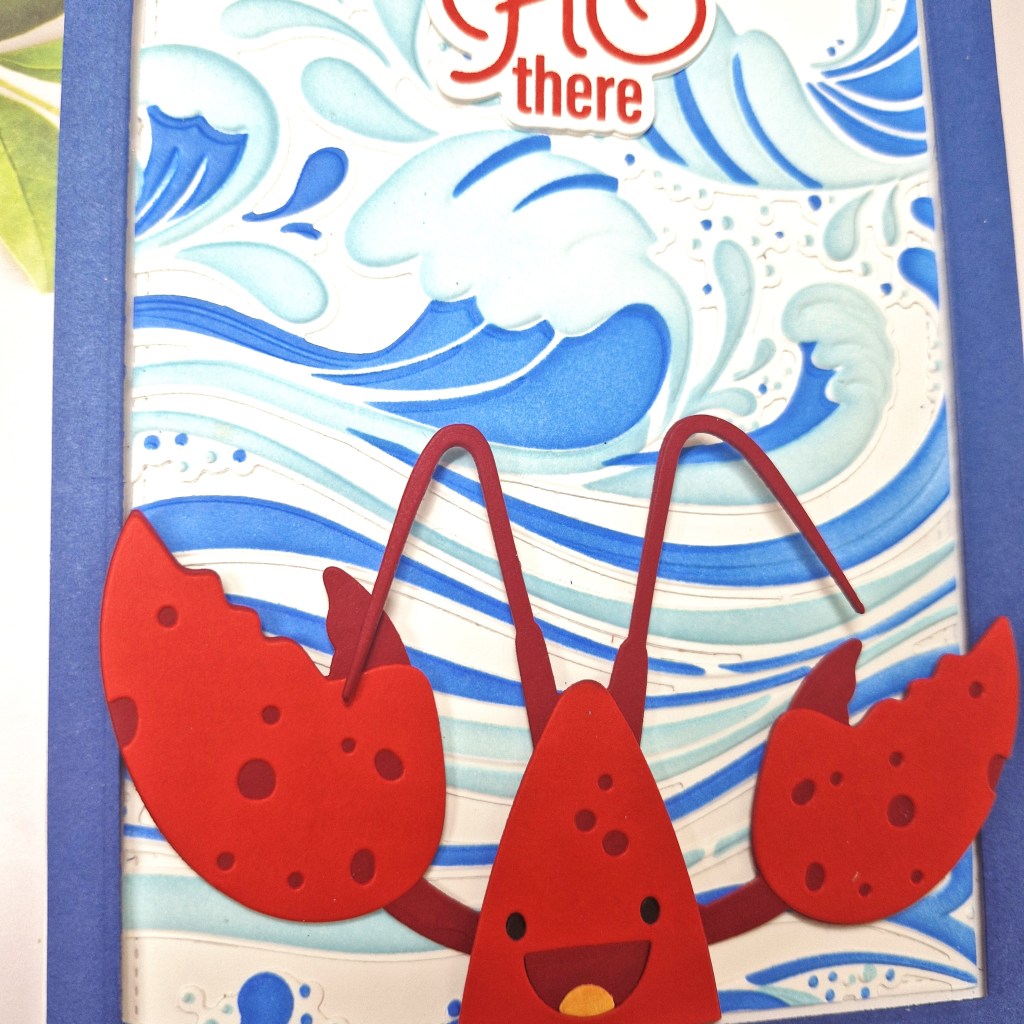
This card was inspired by the challenges which encourage you to use red, white, and blue:
I wanted to use new products from Waffle Flower and The Greetery, as I thought the colour inspiration would suit perfeclty.
I first began by creating the Waffle Flower ‘Happy Lobster‘ using a couple of shades of red card stock from Concord & 9th. The eyes were drawn in black on the darker red before adding the top layer, and the tongue was a little light orange ink blending onto a small piece of card then die cut.
I didn’t attach the arms until I figured out the background and design – which took me more time than anything.
I knew I wanted to use the ‘Making Waves‘ embossing folder and layering stencils, and actually played around with this a few times. On one piece, I ink blended using the two layering stencils, then die cut, then used the embossing folder. On another piece I die cut, then ink blended, then used the embossing folder. On a third piece I embossed, then ink blended, and was going to cut down the panel when I knew what size of card base I wanted. Three similar but slightly different outcomes.
I chose to use the panel I had ink blended, then die cut, then embossed.
I also chose to use a 5×7 inch card base – lots of room for the images.
How to keep the edges looking neat and tidy…? I decided to add a frame. Using a 5×7 inch piece of card, I die cut the inner rectangle using a Gina K Designs Master Layouts die set in white, then another in a darker blue from Concord & 9th.
I adhered the waves to the white inner stitched panel, trimming off any over-hang, and attached to the card base. The blue frame was added with C9 3D foam strips.
The lobster was placed were I wanted him to be, but I did die cut one more layer for the piece which had his antenna on for a little more stability.
The sentiment was stamped, die cut, and two additional layers added, then glued as you see. This was from a Simon says Stamp set which came with a kit in February this year.
This was fun to make, and I’m sure I will use this background again at some point.
I’m off to visit my sister and her husband in Quebec, Canada next week for two weeks, so whilst we may spend some time crafting, there will probably only be the scheduled posts for upcoming Design Teams.
We haven’t seen each other face-to-face for 4 years, only WhatsApp video and messages, and she has just moved into a new house. Lots of things to do to sort out – especially her craft room – catch up, and generally get out-and-about in that wonderful province.
I will be taking my MetaQuest with me – I do virtual boxing and combat for a couple of hours a day – and she has borrowed an e-bike from a friend of hers, so I should be able to keep up with my daily exercise regime – to some extent, anyway.
I shall be entering the following challenges:
Cut It Up – die cuts and create your own background
Hello everyone. I am delighted to share with you today that I am joining the design team at Ally’s Angels. The challenge is a monthly ‘anything goes’ theme, and can be anything – cards, journals, planners – but be sure to check the rules tab.
Here is my card:
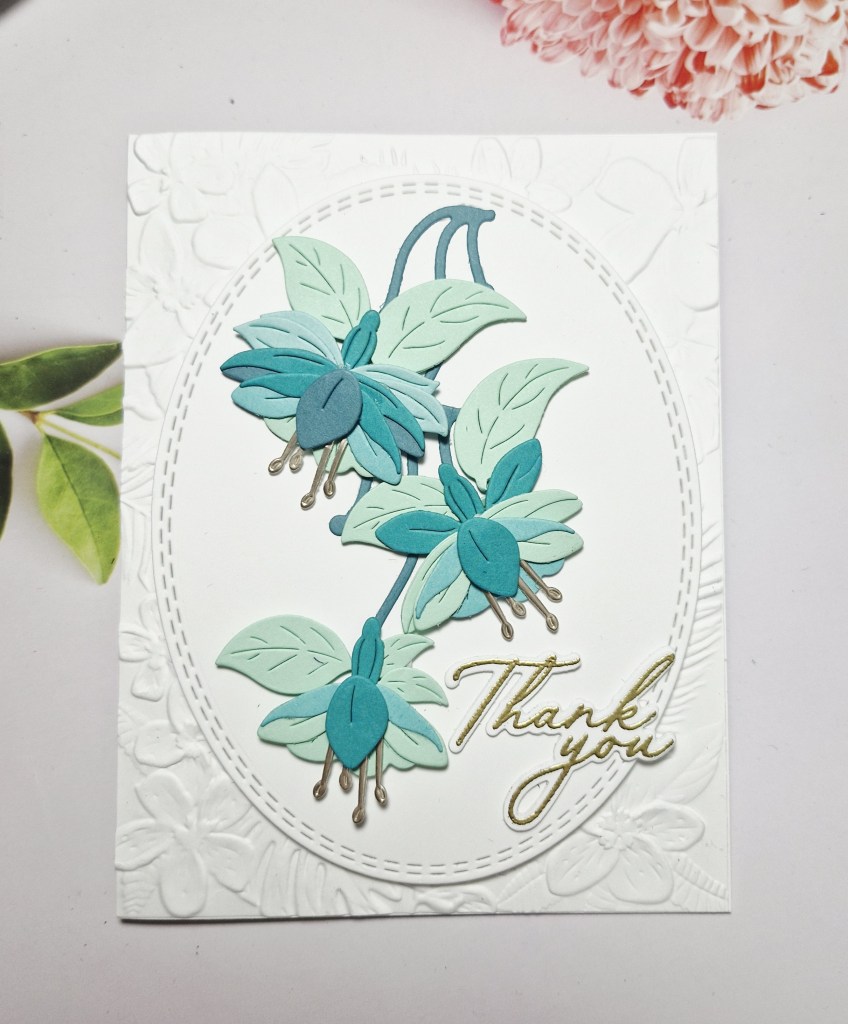
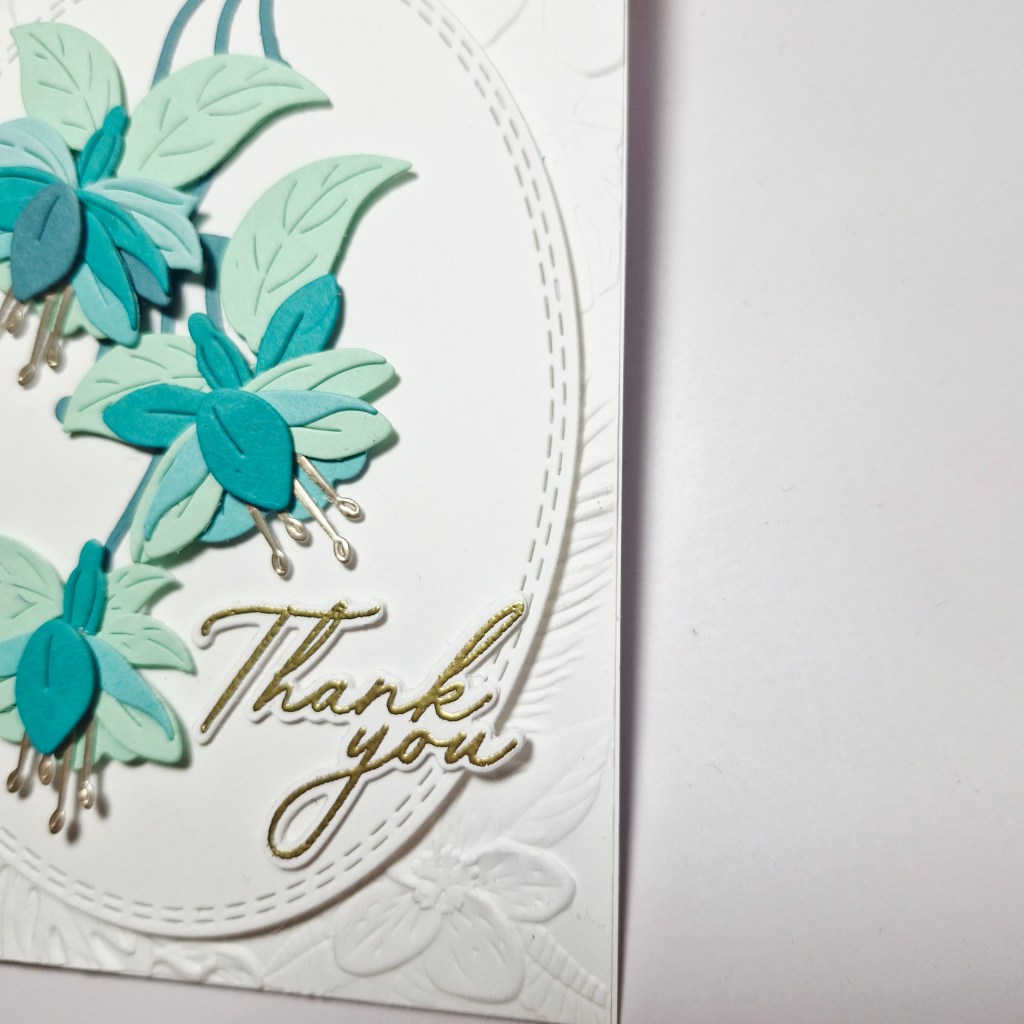
I thought a ‘thank you’ card was suitable for being accepted into their Design Team, and used the Spellbinders die to create the flowers. I did have to watch a couple of YouTube videos, but they came together quite quickly once I got my head around them – so many layers.
As you can see, I used a combination of different teal tones, adding gold for the stamen.
The back panel was created using an embossing folder, the oval was die cut from a Pinkfresh Studio nesting ovals set, then the florals attached with 3D foam.
The sentiment was gold heat embossed, die cut, then added as you see.
I hope you can come and join us with your creations – I’m looking forward to seeing them in our gallery. xx