Dinosaur Birthday

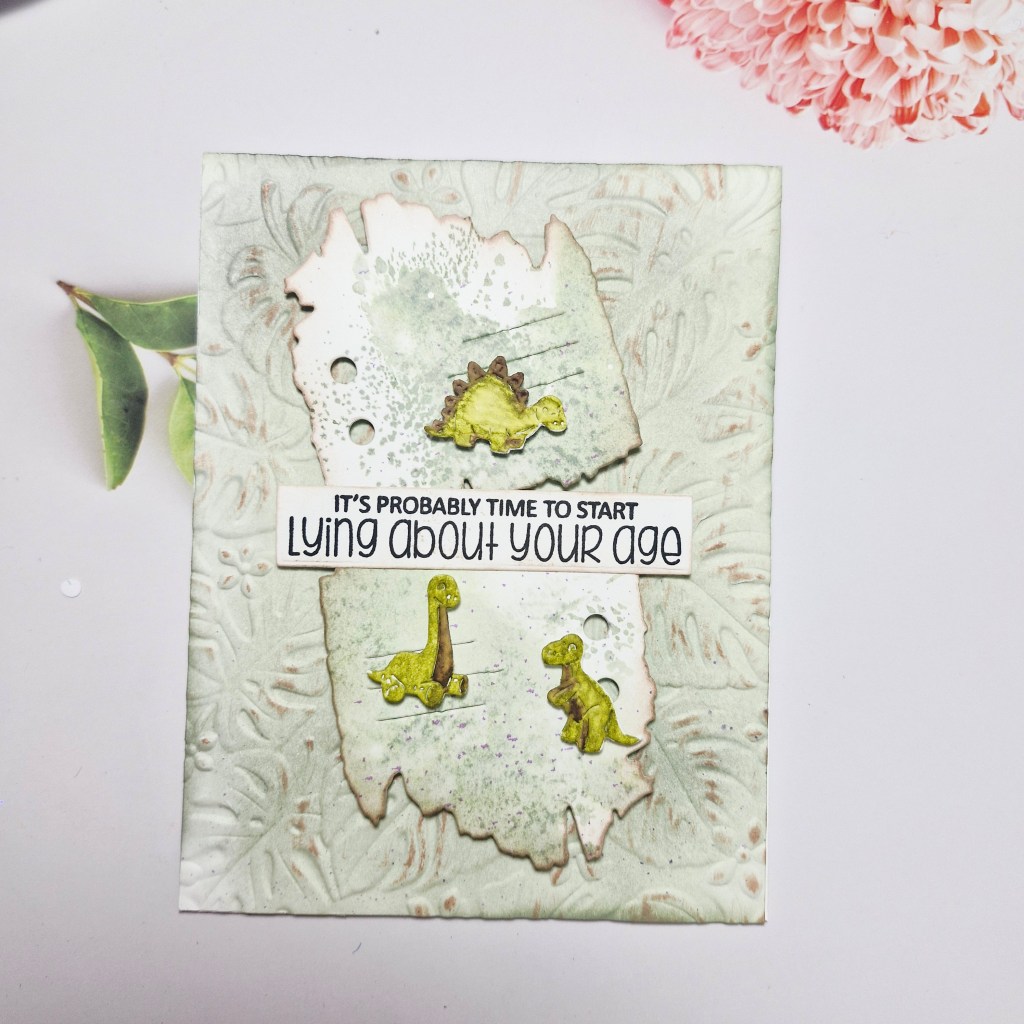
Hello there. I have a birthday card to share as Surprise Party Guest at the new challenge at Seize The Birthday. The new theme is:

Birthday and funny/punny

Here is my card:

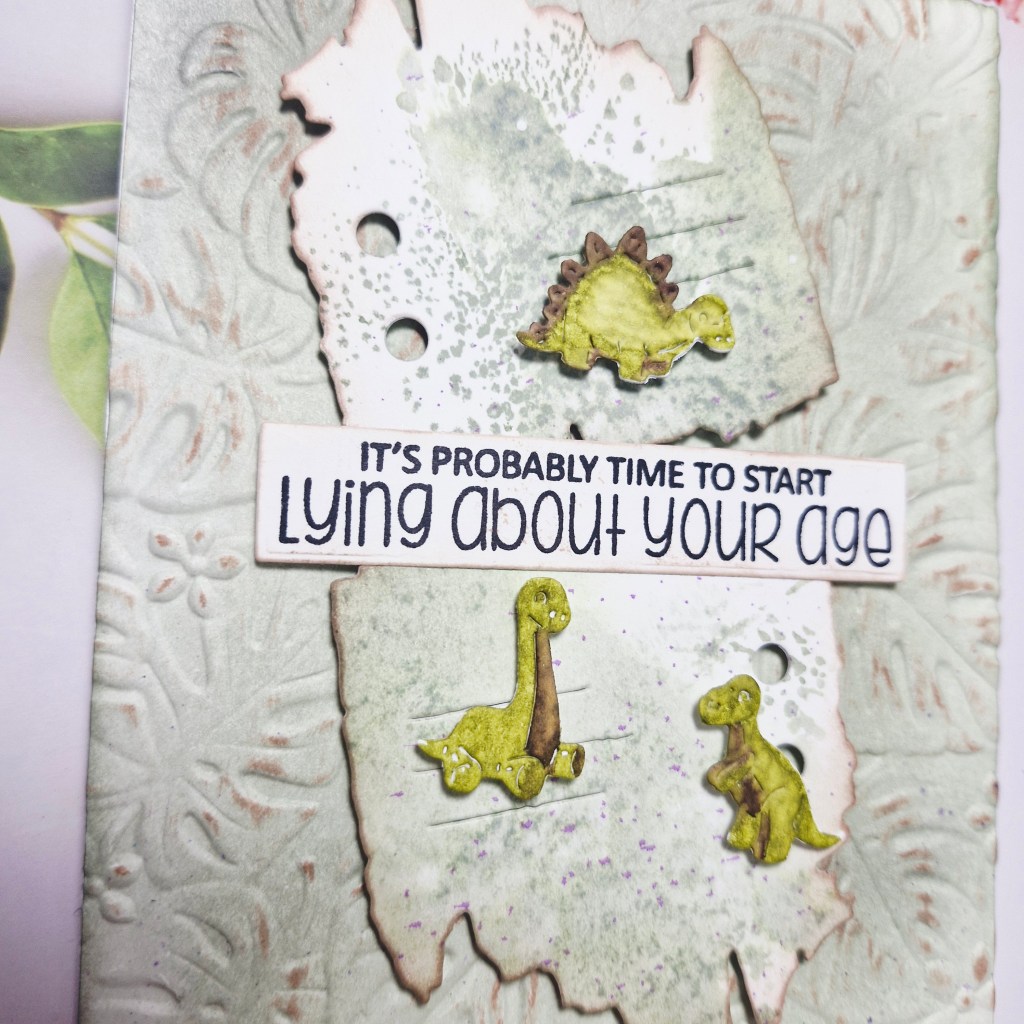
For this card I used the new dinosaur dies from Gummiapan. These little cuties come as one set, so I die cut them out of water-colour card and used my Zigs to colour them in – very haphazardly, very roughly, and just let the colours do their thing.

I decided to go more mixed media for a change with the background, and started by die cutting another label/tag die from the same company out of an ink smooshed and splattered panel I had.

The background panel was created by using a piece of Distress Heavy white card stock, a little ink blending, running it through with a Spellbinders embossing folder, then brushing a brown ink pad over the top to catch the higher parts of the design.

All the elements were attached, then the sentiment stamped and added as you see.

I hope you can come and join us with your birthday projects following the theme. xx

I shall be entering the following challenges:

Mix It Up anything goes – option of shaped card not taken

Addicted to Stamps & More birthday

CYHTP embossing folder – option of tie it up not taken

Critter Crazyanything goes with a critter

Daisy Chain Challengebirthday

Simon Says Stamp Monday Challenge funny/punny

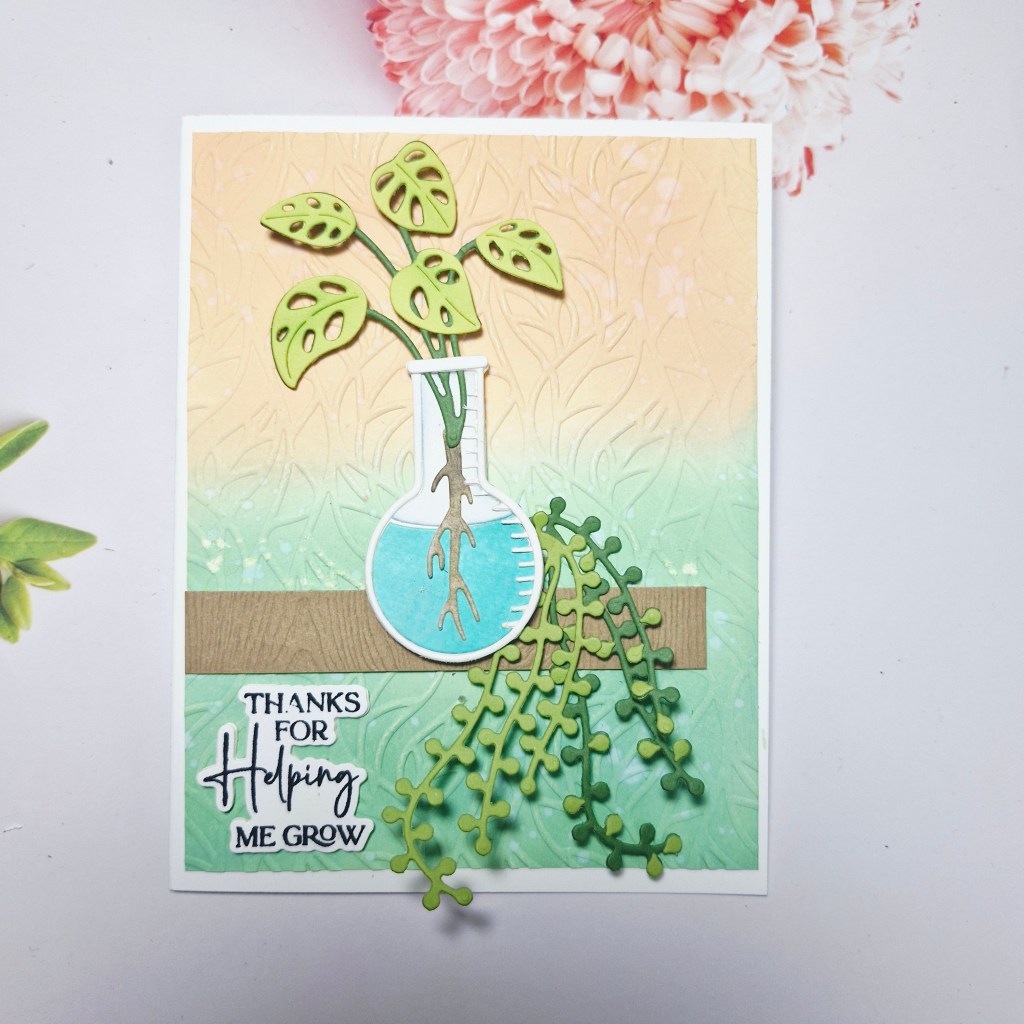
Thanks For Helping Me Grow

Hello once again. It is time for the new challenge at The Alphabet Challenge. We have reach the letter ‘H’, and Deborah has chosen the theme of:

H is for Horticulture – the science of creating gardens

Here is my card:

For this card I chose to use Spellbinders die sets which were part of a virtual event

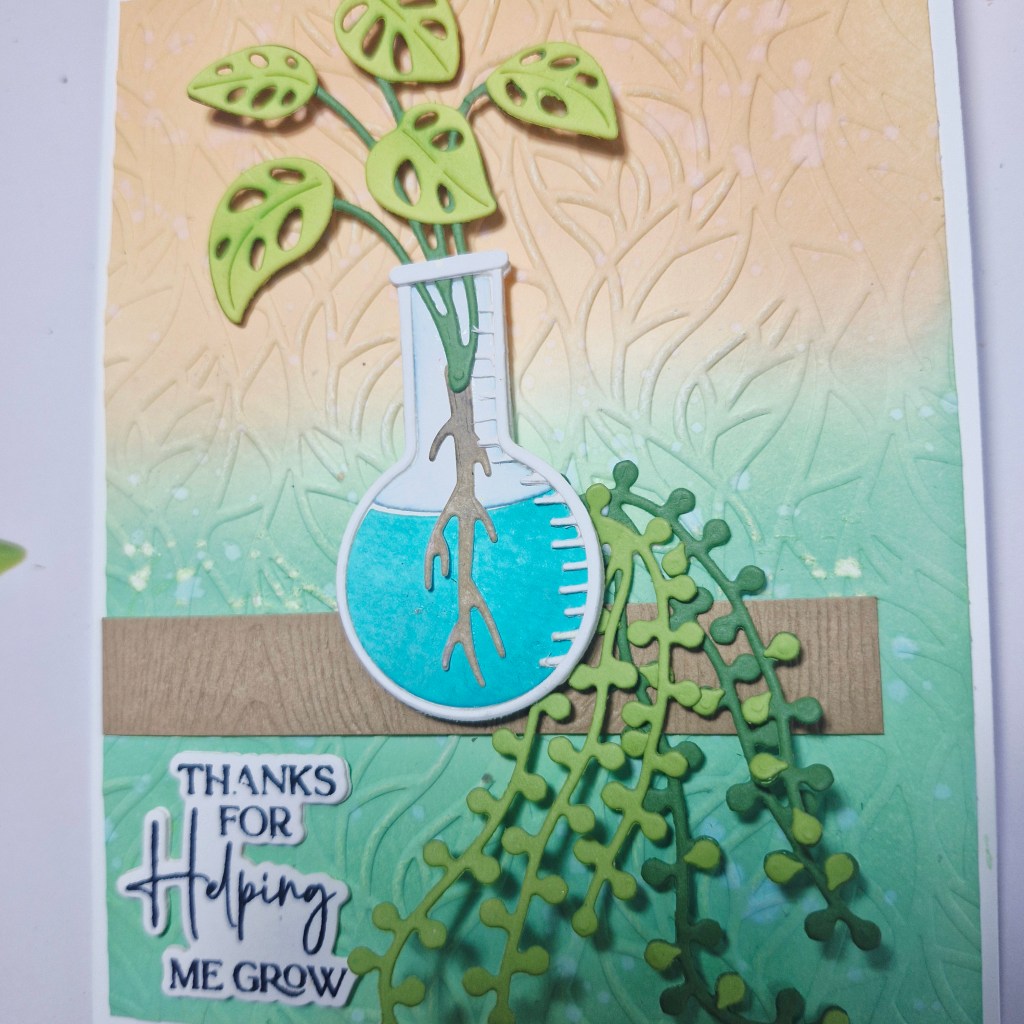
I started by die cutting the layers for the glass vial and the foliage out of Spellbinders and Concord & 9th card stock.

The blue water level in the glass was created by taking a blue ink cube and smooshing it down onto water-colour card stock, and adding some splatters.

The background panel was ink blended, run through with a Spellbinders embossing folder, then some white and gold shimmery splatters added.

The shelf created by die cutting with a Lawn Fawn woodgrain card stock. The sentiment stamped and die cut, layered a couple of times.

All the elements were assem,bled then added with either glue or 3D foam pieces.

I hope you can join us with your horticultural creations. xx

I shall be entering the following challenges:

Love To Craft – anything goes

Mix It Upanything goes – option of shaped card not taken

A Cuit Above anything goes with die cuts

Blue Christmas

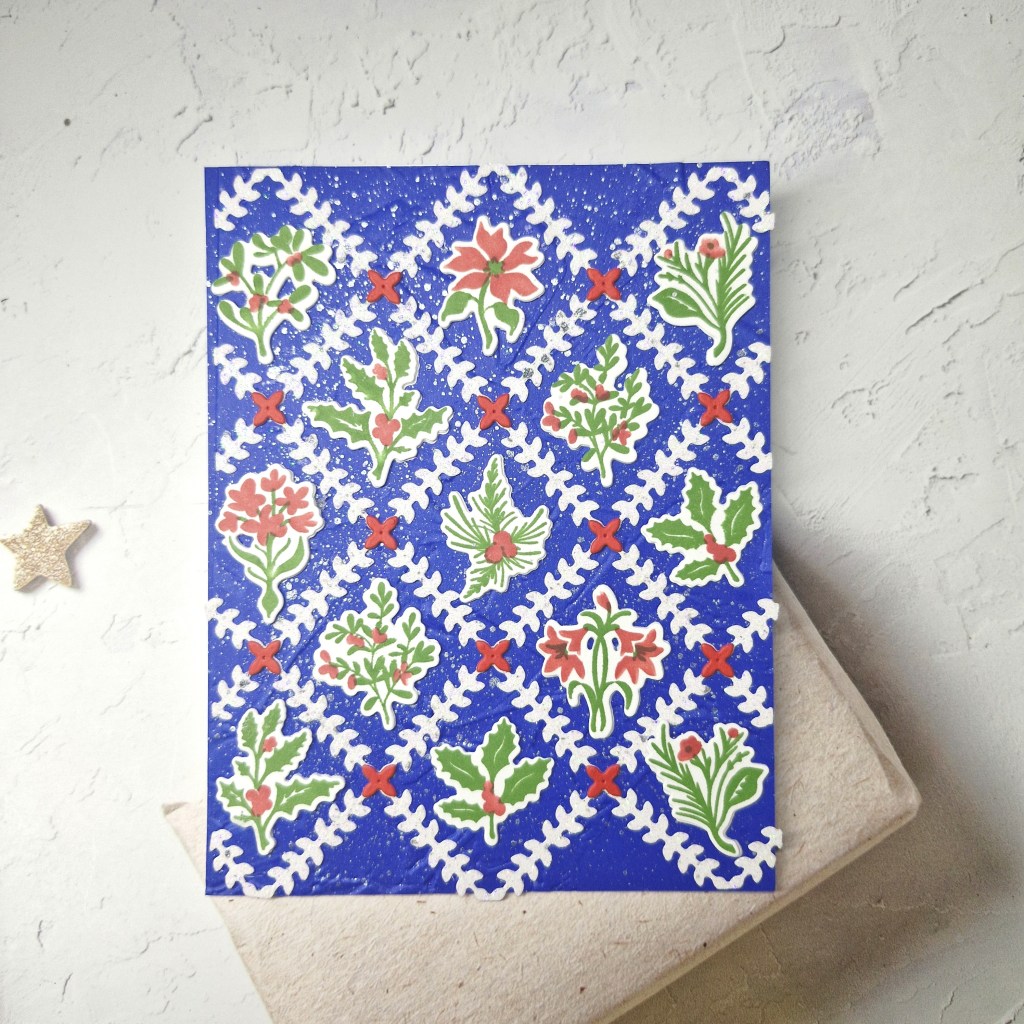
I have a Christmas card to share using products from The Greetery:

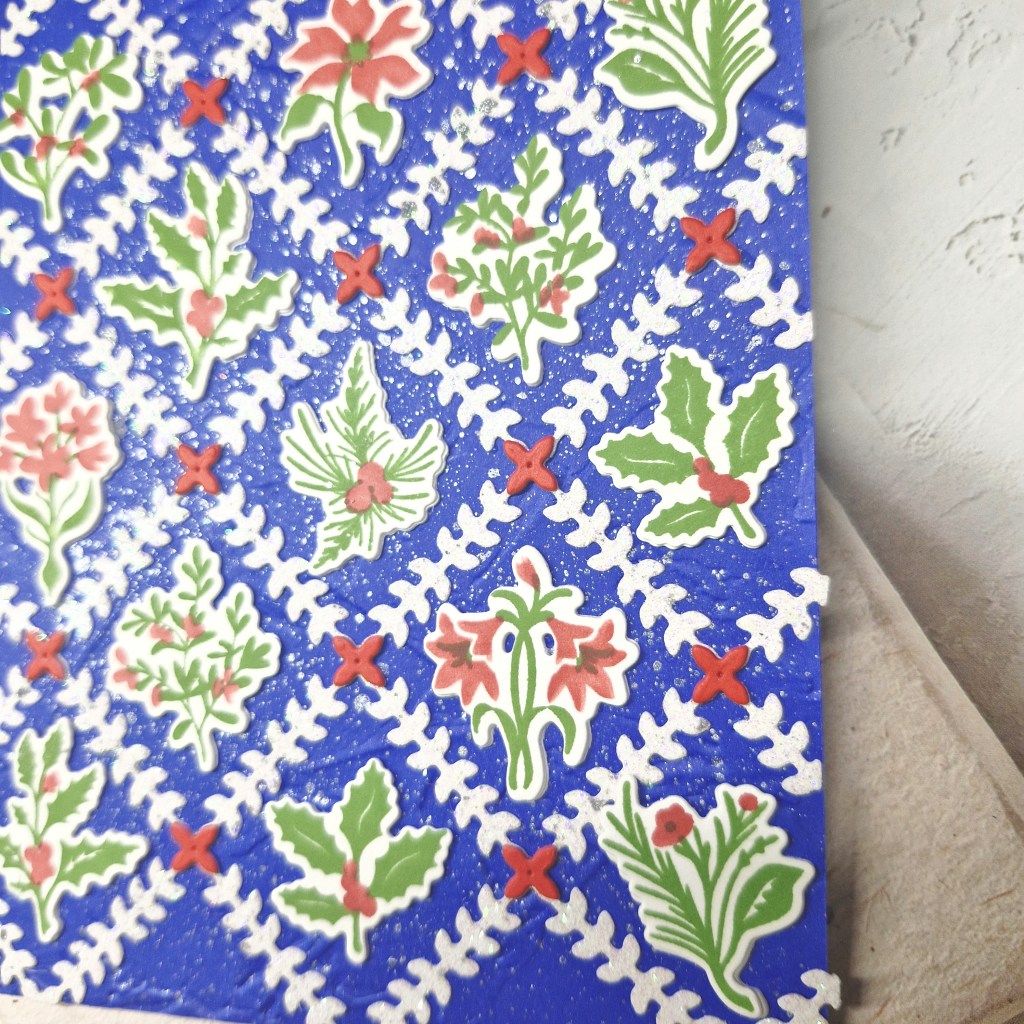
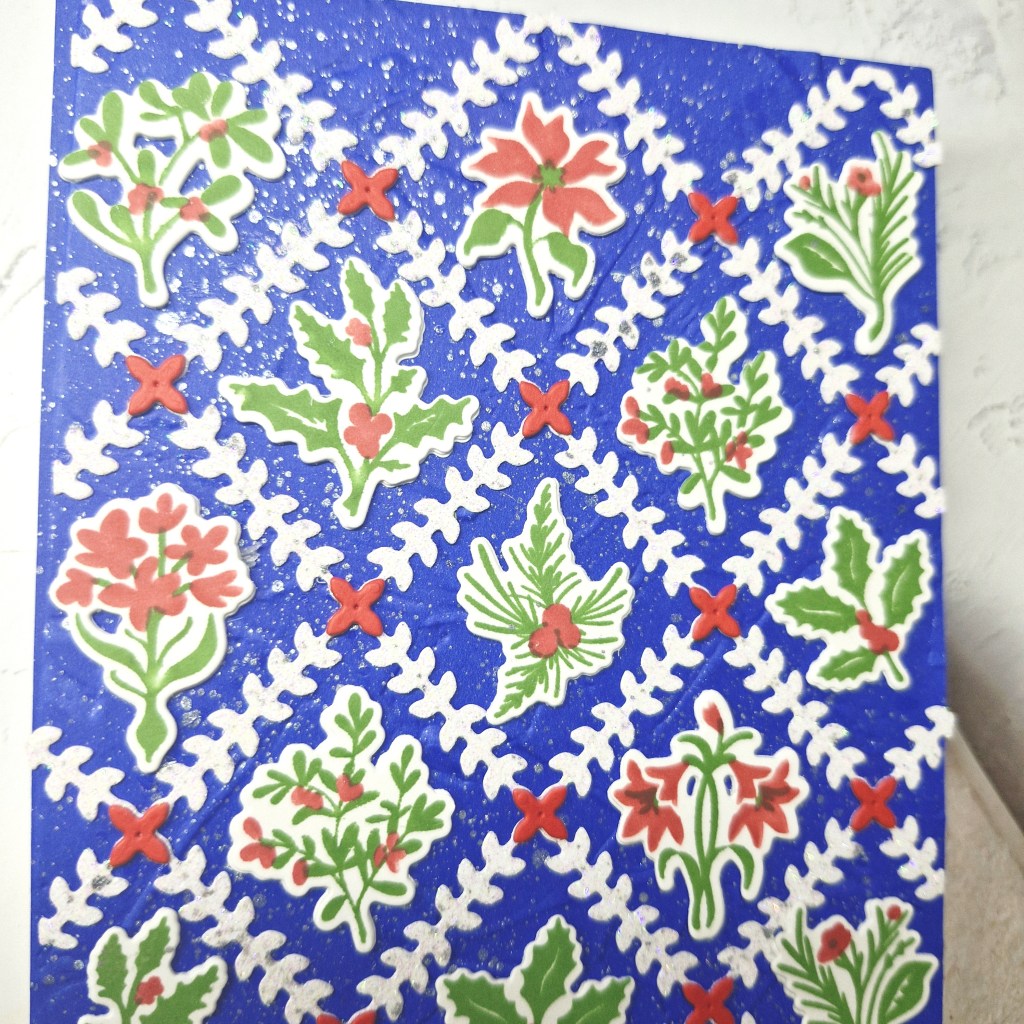
I wanted to play with the ‘Bitty Holiday Botanicals‘ so I started by stamping the green foliage, then used the matching stencil to colour it. The die was then used to cut them out.

I then used the ‘Diamond Foliage‘ die and cut this out of white glitter card stock.

I chose a dark blue card for the background, from Concord & 9th, and ran that through with an older Stampin; Up embossing folder to create a subtle texture. This panel was splattered with pewter acrylic shimmer and then – when dry – adhered to the card base, the white glitter diamond foliage piece glued down, and the the little red flowers added to each of the cross-sections of the die.

I die cut each of the images twice more and stacked them, adding as you see.

I liked the outcome so much, I didn’t think it needed a sentiment on the front.

I shall be entering the following challenges:

Make My MondayChristmas in July

Die Cut Divasdie cuts and Christmas in July

Dragonfly DreamsChristmas in July with glitter or sparkle – glitter card and shimmery splatter

Merry Little Christmas Challenge anything goes Christmas

Birthday Wildflowers

Hello once again. I have a card to share for the new challenge at The Alphabet Challenge. We have reached the letter ‘W‘, and Tee has chosen the theme of:

Wildflowers

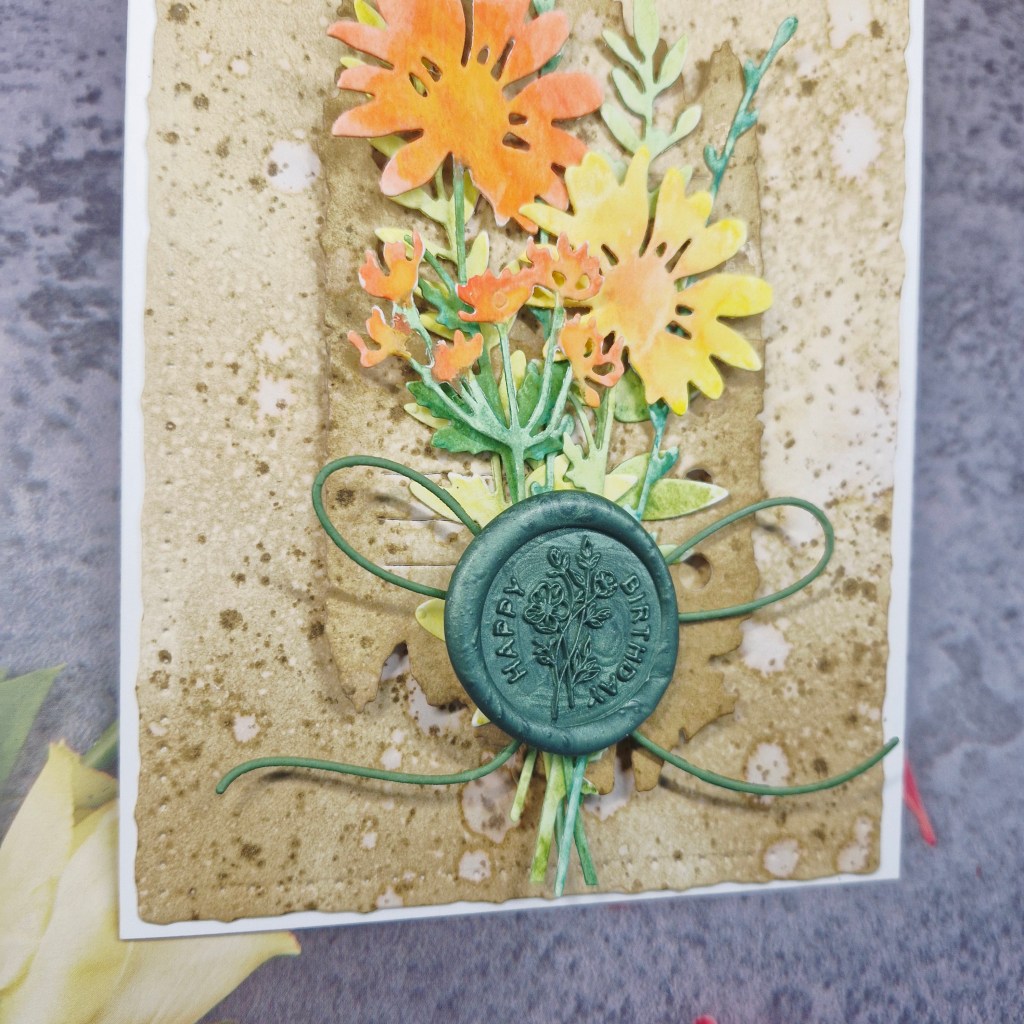
Here is my card:

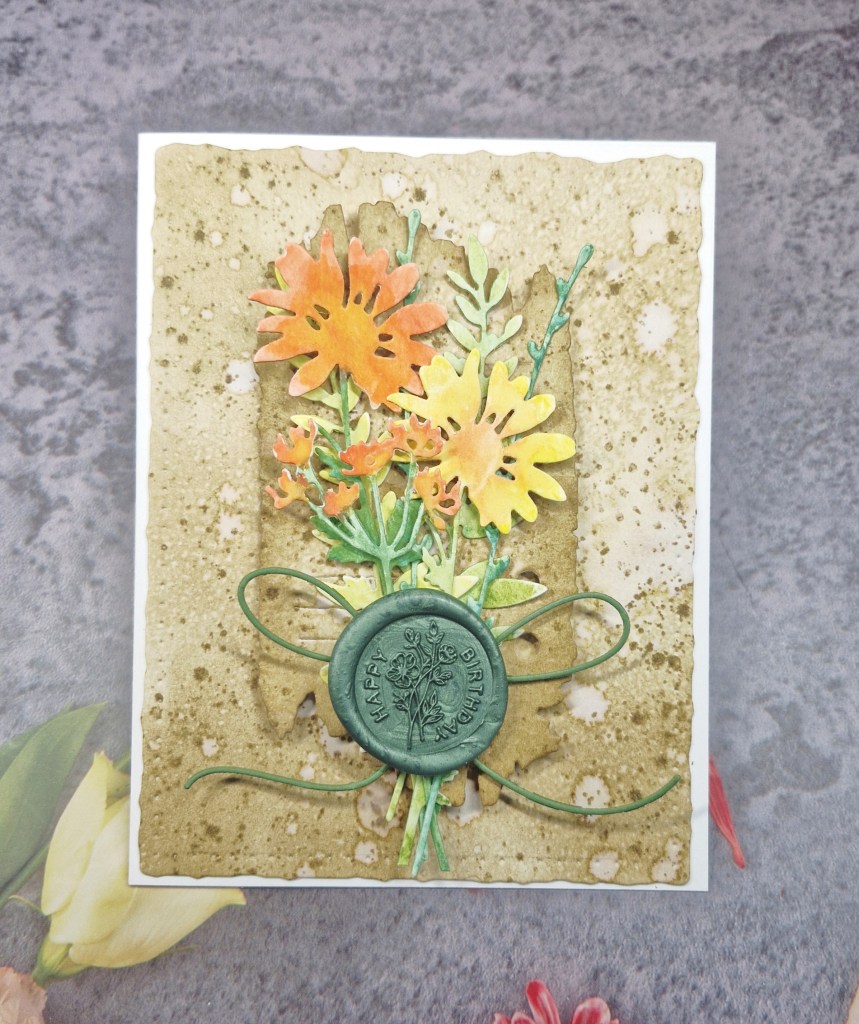
I decided to go mixed media with this, as I already had the background panel made from a class with Jenn Shurkus.

The background was created using ink blending onto a white panel, adding water splatters and then ink splatters. I created two panels – one slightly darker. Once dry, I cut down the lighter panel using the Tim Holtz ‘Deckle’ guillotine to give a torn edge effect, then with the darker panel I used a Gummiapan die from their 2024 Advent Calendar to create two tickets which I overlapped.

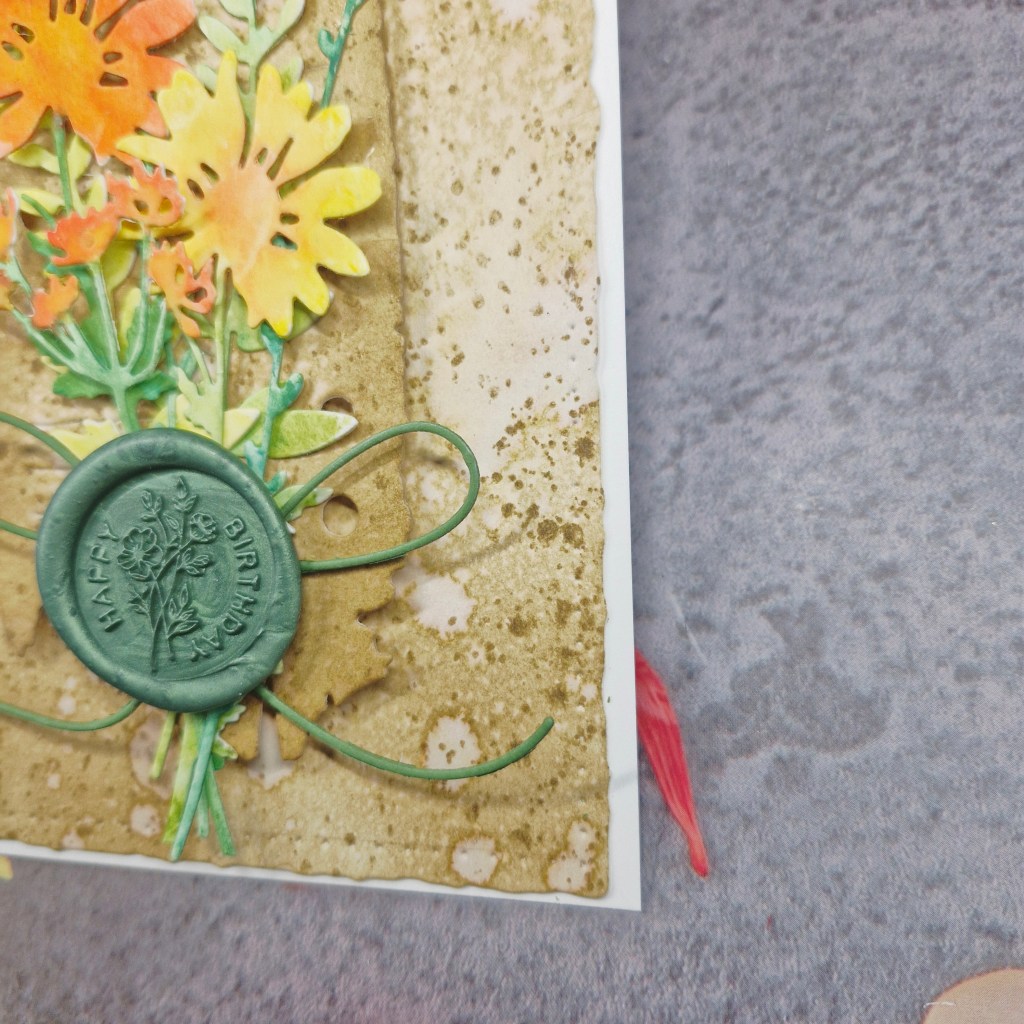
I like the torn edges, the holes, and the lines on these dies, which added further interest.

The next step was to create some wildflowers, and for this I turned to a Tim Holtz die set. I die cut them out of white water-colour card stock, but left them in the panel. To colour them I used Distress water-colour pencils in varying shades, keeping the colouring quite ‘rough’ for want of a better word, and left them to dry.

I found a big loopy bow die in my stash, and pulled out a previously created wax seal.

All the elements were now ready for me to assemble the card.

I hope you can come and join us with your creations following our theme of wildflowers. xx

I shall be entering the following challenges:

Ellibelle’s Corner Garden Partyanything in or from the garden

Seize The Birthday birthday – option of anything goes with wings not taken

We Love 2 Createanything goes mixed media

AAA Birthdaybirthday and die cuts


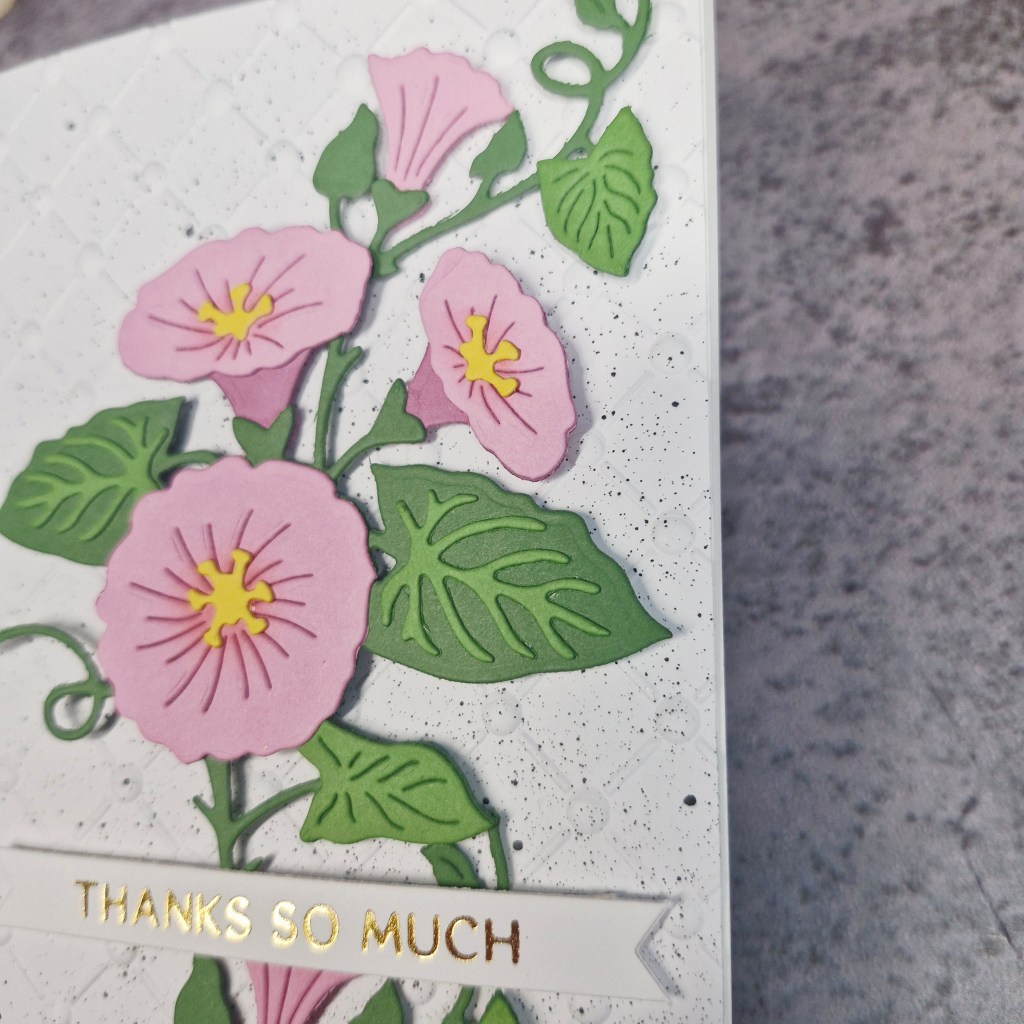
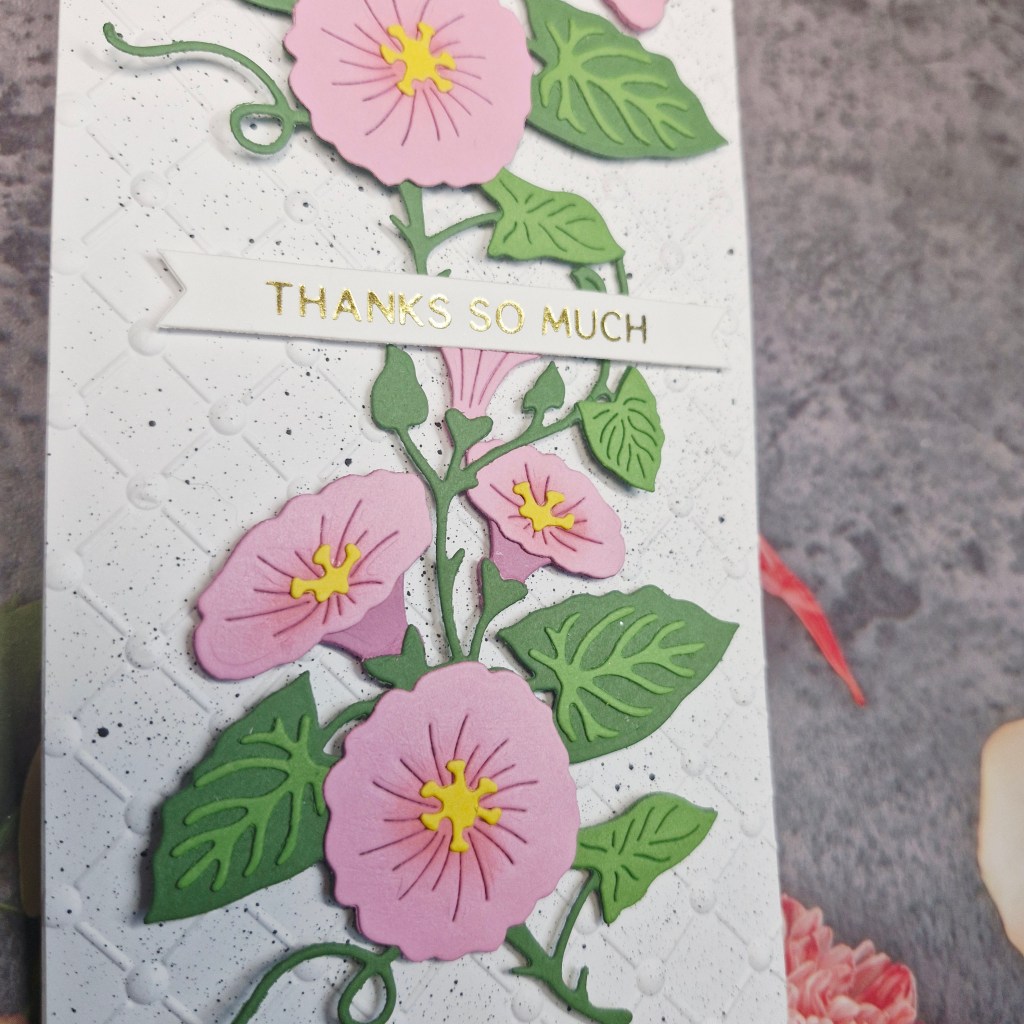
Thanks So Much

Hello everyone. The new challenge has started at Cardz 4 Galz, and Debbie has chosen the theme of:

embossing – heat or dry

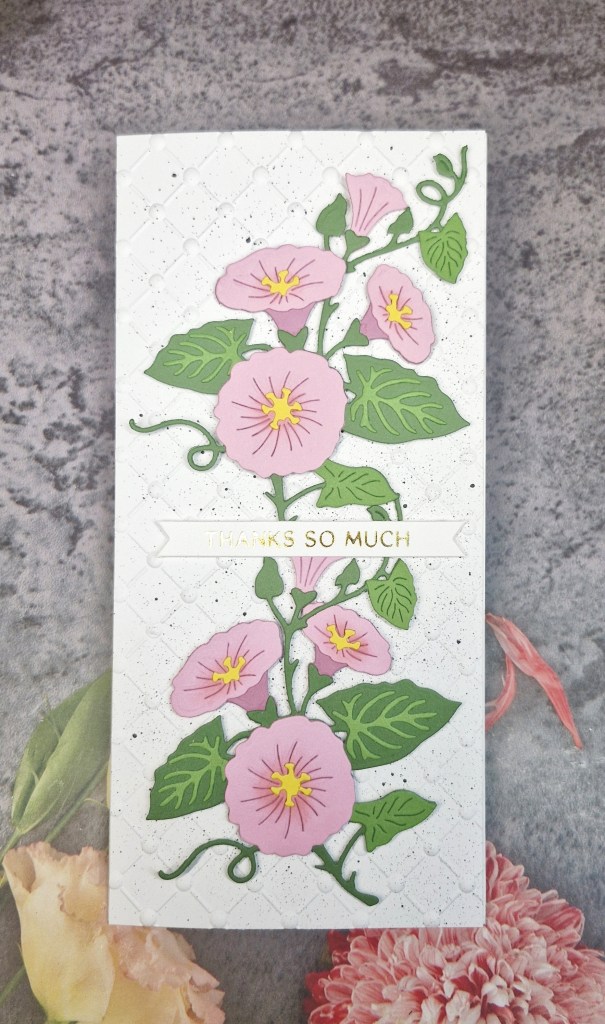
Here is my card with dry embossing:

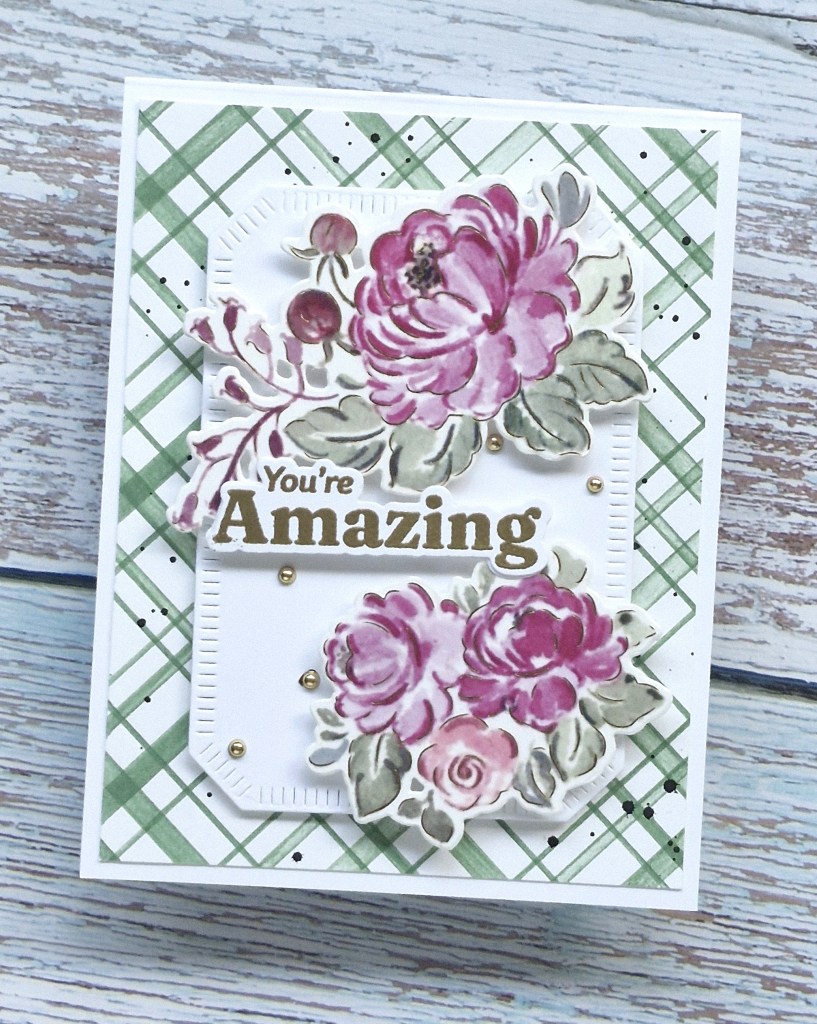
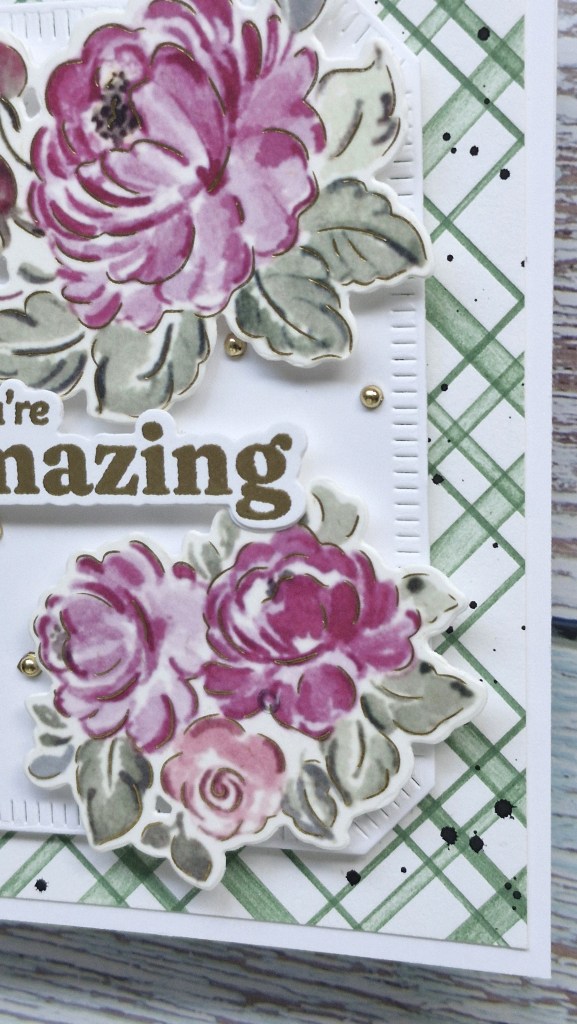
I chose to make a very tall card here, as I wanted to use two of the floral images. These florals are from The Greetery and are called ‘Botanicuts Morning Glory’.

The layers were die cut and assembled, choosing to use a lighter green for the veins of the leaves instead a darker green. I don’t know why – it just looked pretty…..

I then took the slimline card base, cut a piece of white card the same size, and ran that through with a Spellbinder embossing folder.

When I placed everything down, I felt the background needed just a little something more, so I added some splatter – small splatters, not too much – just enough for interets.

I was happier with the look, so when it was dry – it didn’t take too long – I attached the images with 3D foam, and added the foiled sentiment:

I hope you can come and join with your dry or heat embossing creations. xx

I shall be entering the following challenges:

Lil Patch Of Crafty Friendsanything goes

A Cut Aboveanything goes with a die cut

Triple Bbirds and/or butterflies and/or blooms

Mix It Upanything goes with the option of die cuts taken

R is for Ribbon

Hello again. The Alphabet Challenge has reached the letter ‘R’, and Billie A has chosen the theme of:


R is for Ribbon

Here is my card:

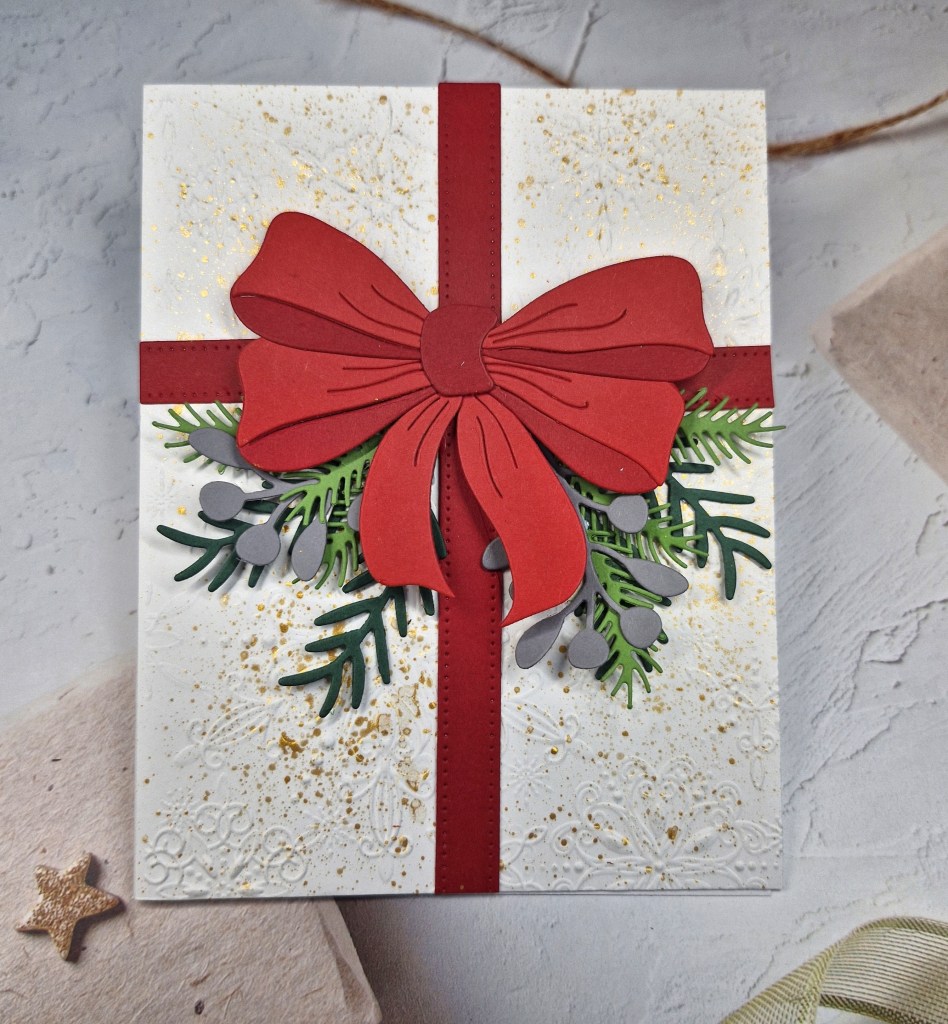
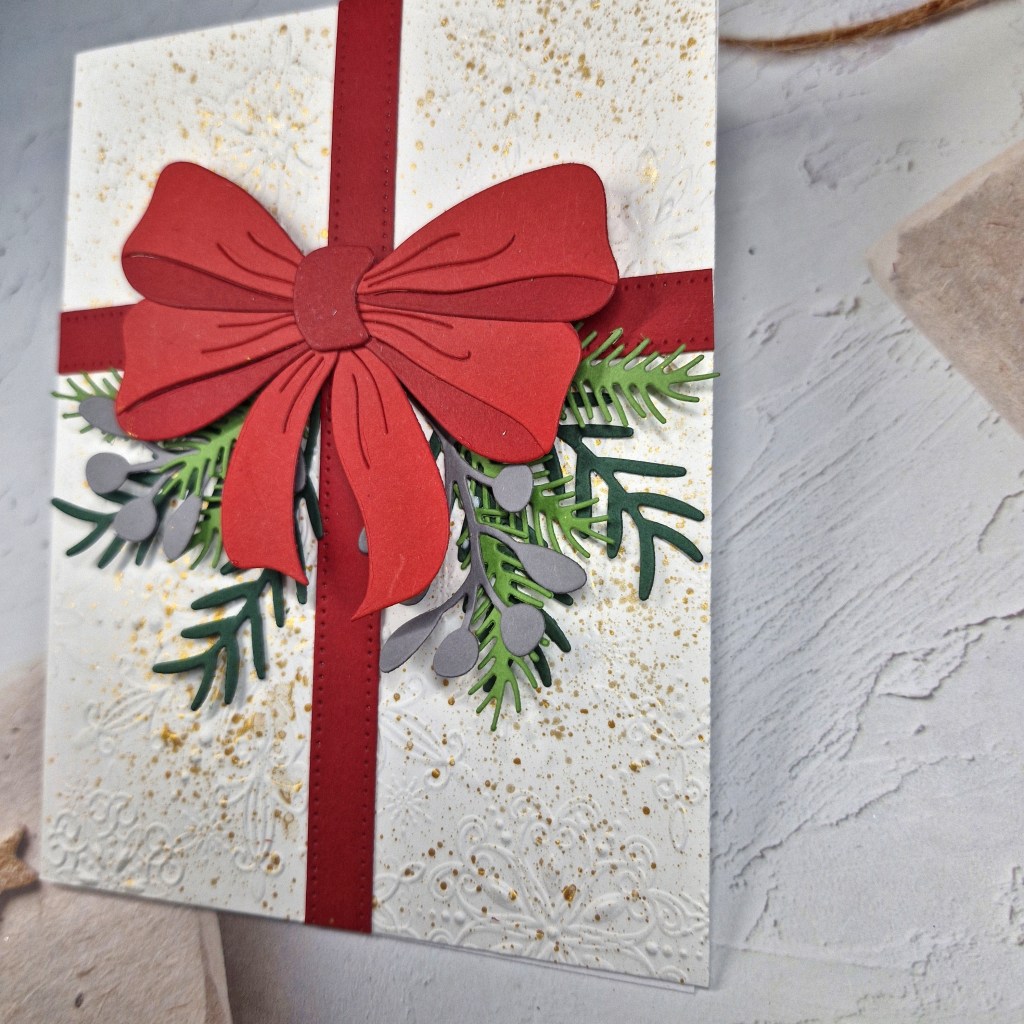
I used The Greetery ‘Big Beautiful Bow’ as the focus for the theme and the focus for the card. I love the layers you can create using the die – I have had it for a while and absolutely do not know why I haven’t used it…..

The layers were die cut from two tones of red, then glued together.

The base panel is white, embossed using a Simon Says Stamp embossing folder, then splattered with gold acrylic paint.

The foliage was die cut using a couple of Spellbinder dies in green tones, with some grey added because I do like grey foliage….

Once the background panel was dry, I adhered the bow with 3D foam, then added the four red strips. The foliage was placed as you see, with just the part hidden under the bow glued down, the rest of them I like to leave loose for added interest.

I didn’t add a sentiment, which is unusual for me, but I like the way it looks without one.

I hope you can coma and join us with your creations following our theme. xx

I shall be entering the following challenges:

Addicted to Stamps & More Christmas

Fab ‘n’ Funky Christmas

Peace On Earth anything goes Christmas

Die Cut Divas die cuts and Christmas/Winter

A Cut Aboveanything goes with die cuts

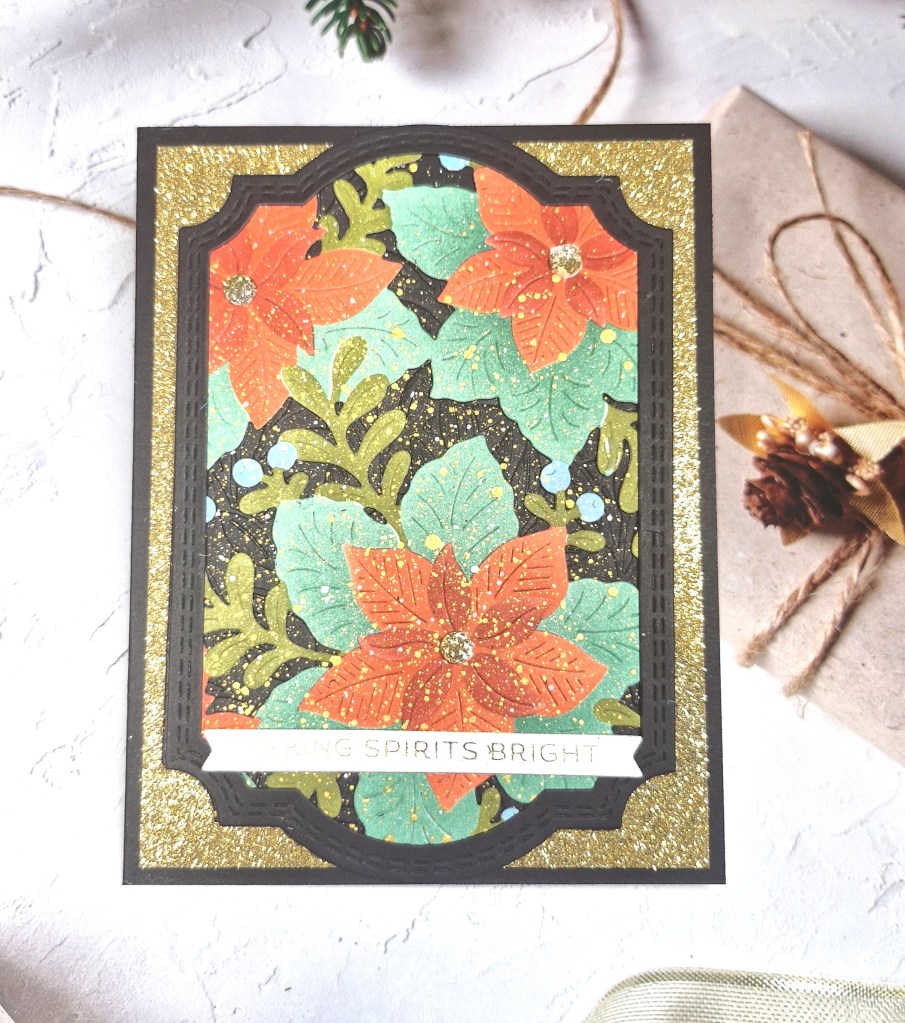
Making Spirits Bright

Hello everyone. The Holly & Ivy Christmas Challenge has started a new challenge – anything goes Christmas. Here is my card:

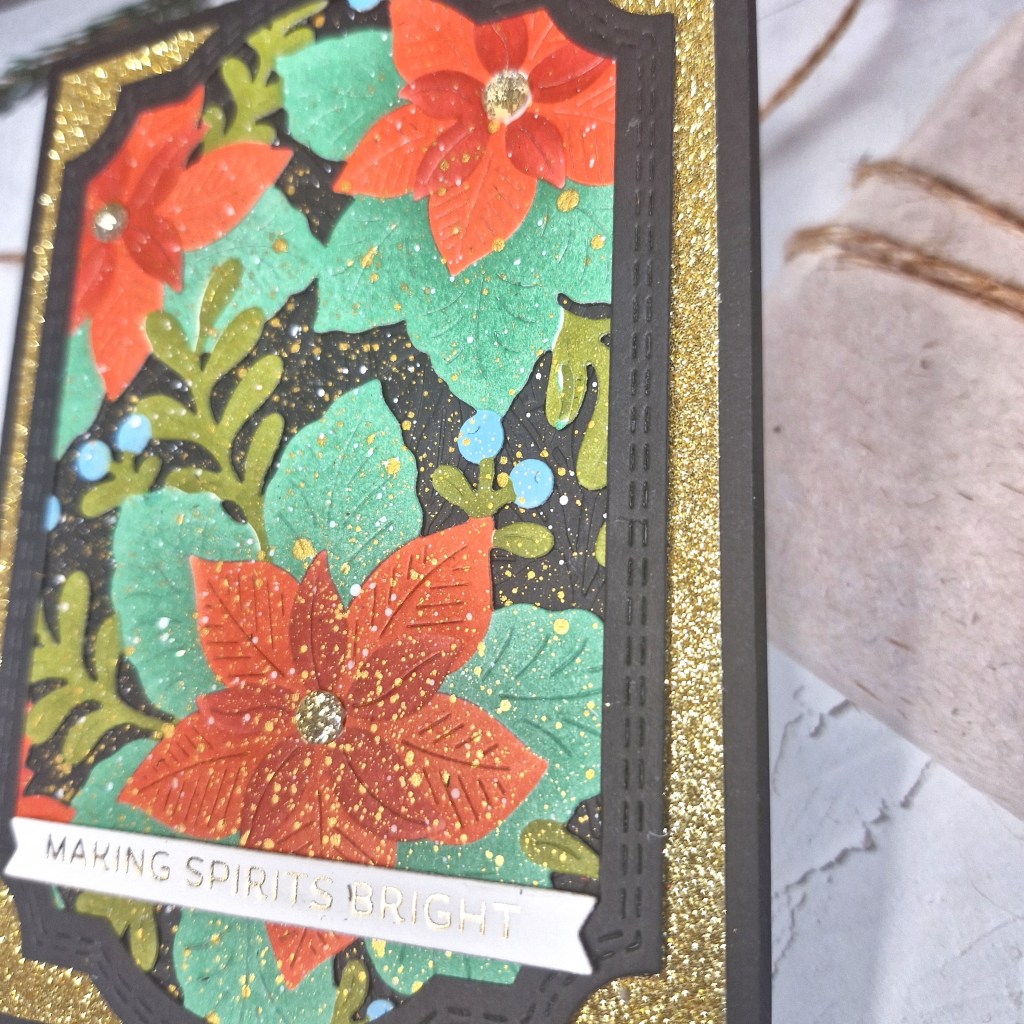
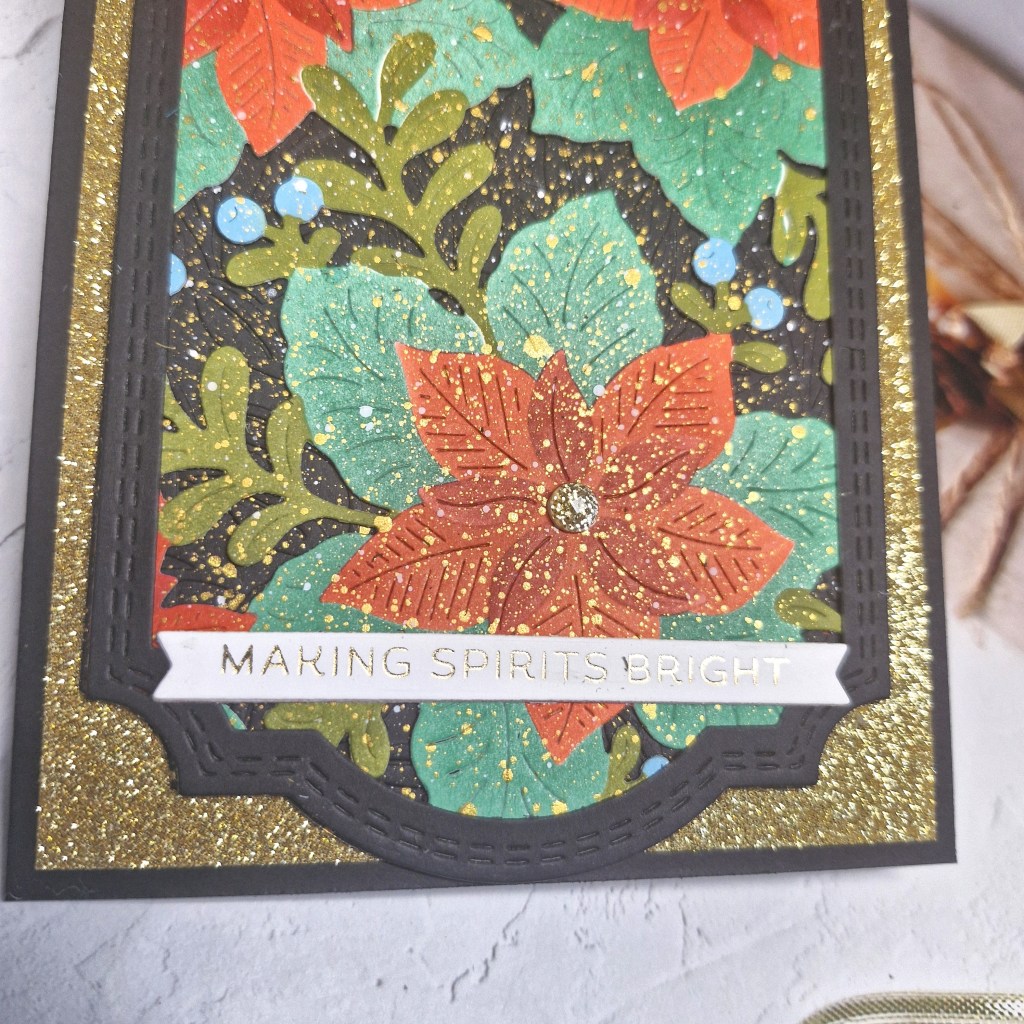
There’s a lot of glitter and shine with this card, and I’ll try and show you on the following pictures.

To begin, I started with the Pinkfresh Studio ‘Whispers of Poinsettia’ die and stencil set. I started by using the stencil and ink blended all the layers with different coloured inks, then used the matching die to cut it out.

To add more drama, I used a black panel and cut to an A2 card base size, then used another Pinkfresh die set to cut the frame out of black, and used an embossing folder for the cut out portion of the frame. The poinsettia panel was also die cut with the larger of the frame dies, placed behind the frame, the black embossed panel added behind, and then I added some splatters that with some gold shimmery acrylic paint from Liquitex.

When I say ‘some’ splatters – I kinda went to town with it….

A gold glitter card stock panel was cut, and all the layers added with wet glue.

I added a foiled sentiment and them some ombre glitter gems for the centre of the flowers.

I hope you can come and join us with your Christmas creations xx

I shall be entering the following challenges:

Inkspirational seasonal

A Cut Aboveanything goes with a die cut

We Love 2 Createanything goes mixed media

12 Months of Christmas Link-up anything goes Christmas, option of snowfall not taken

Triple Bbirds and/or butterflies and/or blooms

Creative Artiste Mixed Media anything goes mixed media

Crafters Café anything goes – option of Christmas taken

Stencilled Bauble

Hello once again. The Alphabet Challenge has reached the letter ‘R’, and Veronika has chosen the theme of:

R is for Round

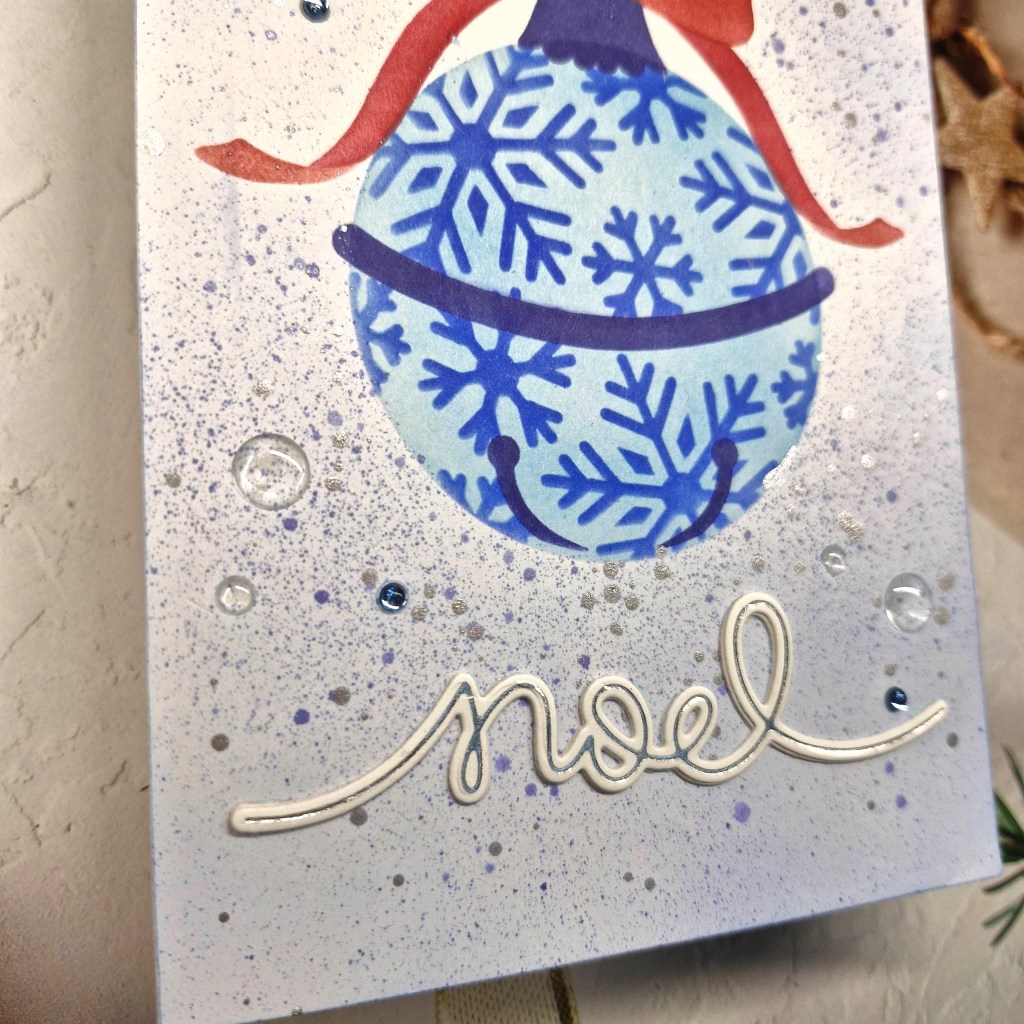
Here is my card:

I used the Bibi Cameron ‘Snowflakes Ornament’ stencil set from Spellbinders.

The stencils were used direct onto the card base, and Pinkfresh Studio inks. There are several layers to each stencil, for different parts of the bauble. There are actually two bauble sizes, and I chose to do the largest.

Once the bauble was stencilled, I then used the mask over it and splattered with silver sparkle acrylic paint, and then again with one of the blue inks used for the stencilling.

The sentiment is foiled using a Lawn Fawn hot foil set, then die cut with the matching die and attached with wet glue. I then added some clear gems for a little more interest.

I hope you can come and join us following our theme. I shall be entering the following challenges:

12 Months of Christmas Link UpChristmas, option of stitched up not taken

Stencil Fun use stencils, option of sparkle or shine taken

Everybody Art Challengeblue tones

Crafty Catz Weekly Challengeanything goes, option of blue Christmas taken

Ally’s Angelsanything goes

Ellibelle’s Corner I Spy something for Christmas

Merry Christ-mouse

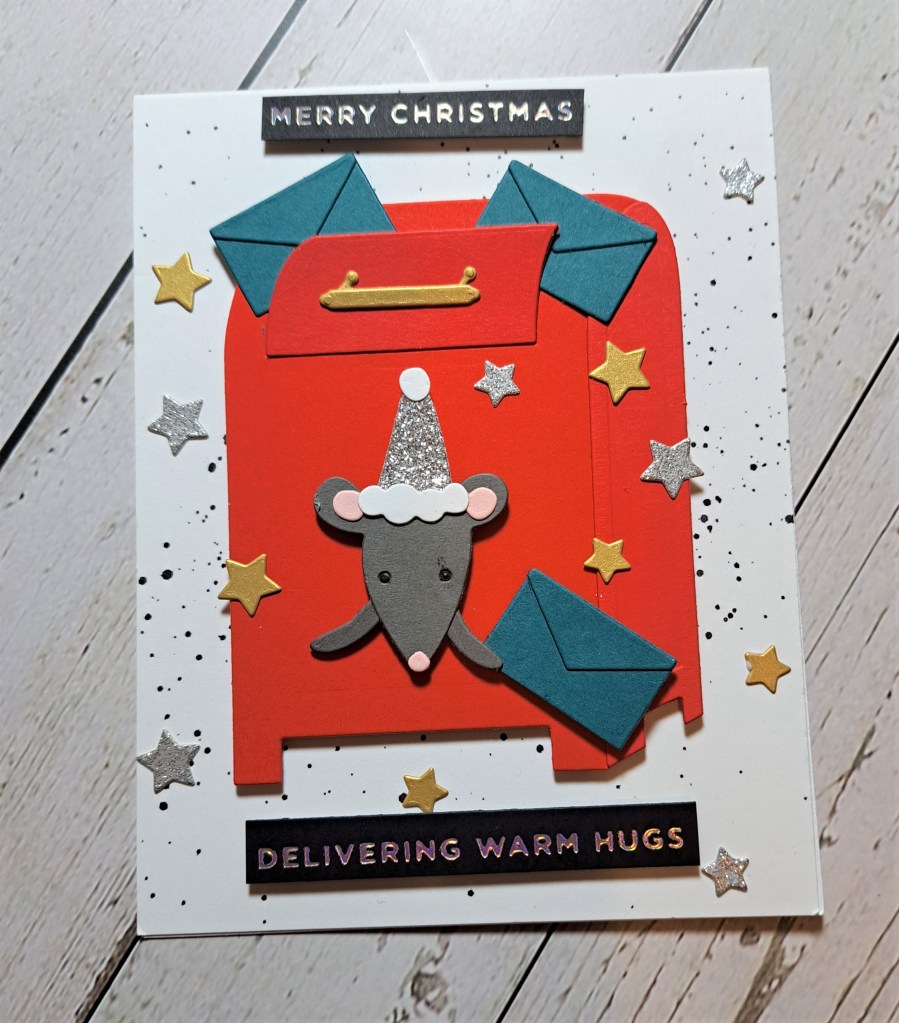
Hello once again. The Holly and Ivy Christmas Challenge has started it’s last challenge for the year. As always, it is ;anything goes Christmas’. Here is my card:

I used quite a few Spellbinders die sets for this card – loving the die cutting and assembling of all the elements. I must have been in a finnicky mood that day…..

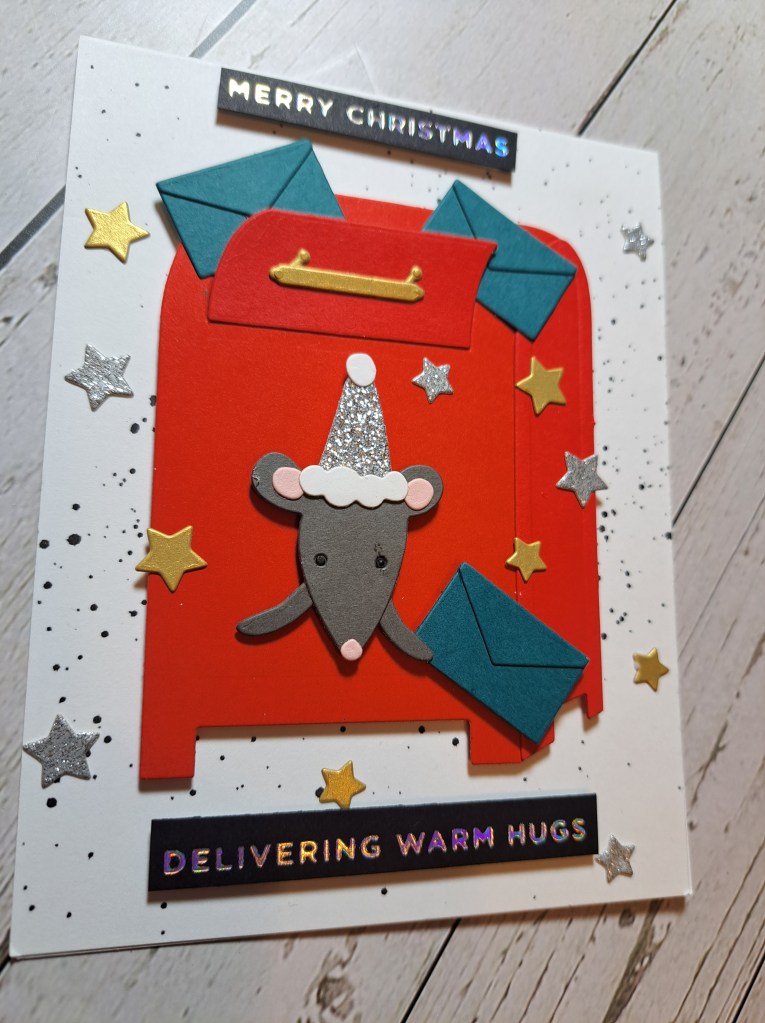
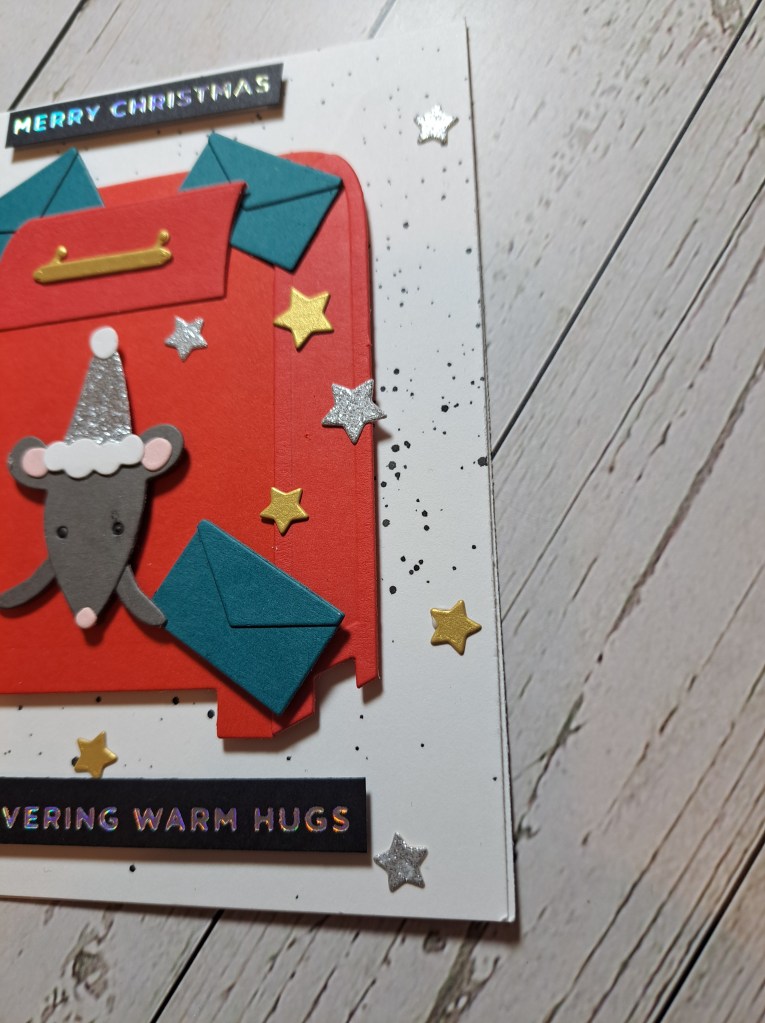
I first took the white card base and added some black splatters, and whilst this was drying I turned to the post box, envelope and mouse, cut out the elements, and assembled them.

Once I had put the post box on the card base, added the mouse to the front, I slotted the envelopes in as you see, then decided that there was something missing – so I die cut those hearts and arranged them around and about.

The sentiments are from a previous foiling session.

I hope you can come and join us for the last challenge of this year – we will certainly back in the New Year – creating Christmas cards for our stash. xx

I shall be entering the following challenges:

Mix It Up Challenge atg – option to use a technique (splattering, foiling)

Lil Patch Of Crafty Friendsanything goes

2 Critter Crazies – animals as focus

Here Is A Place To Start anything goes with option happy holidays

Ally’s Angelsanything goes

A Robin Christmas

Hello there. A little playing in my craft room yesterday created this card:

I searched through the Color My Life app for a die set I knew I had which contained Robins – but couldn’t remember the make and where I had stored it. I found it was a Creative Expressions die set from Lisa Horton – and an old one as the date on the back was 2017 – but at least I had remembered I had it somewhere.

I first die cut the robins using brown, Kraft and red card stock. I added their little hats – red and a white glittery card stock, then set aside.

The leaves and holly were die cut from a previous created mica sprayed piece of card, which I had also splattered with white Liquitex acrylic paint. The white glittery oval is die cut from a Gina K master Layout’s die set.

I then turned to the card base, added a brown layer, and a white dry embossed panel – a Spellbinders embossing folder – and then played with the layout of all my elements until I was happy, adding a previously foiled sentiment.

Here is a look at all the glitter and shine:

I shall be entering the following challenges:

Sparkles Forum Christmas festive things with wings

Daisy Chain Challenge Christmas is coming

Winter WonderlandChristmas and Robin Red Breast

Allsorts Challenge wings and/or tails

Make My Monday Challenge things with wings

CYHTPembossing folder – twist of thanks not taken