Teal and Silver Christmas

Hello again. I have a card to share created during the snowy and cold weather snap we are having here in the UK. A lot of time spent in my craft room this past couple of days.

I started with a darker teal background panel from Concord & 9th, and ink blended slightly around the edges to create a central halo effect.

Whilst this was drying, I then took some snowflakes and die cut them from white glitter card stock several times, these were then adhered haphazardly to the dark teal panel using wet glue. I went over the edges with them, and when those extra pieces were snipped off, I found small places to add them too – not much wasted here.

The sentiment was die cut from silver glitter card stock, added to an even darker teal shadow layer, then attached to the snowflake panel with 3d foam.

I decided more bling was needed, so I used some facetted silver gems for the centre of the snowflakes, and smaller ones dotted here and there around the background.

It was difficult to capture all the glitter and shine with a photo, but it really is sparkly in real life.

I shall be entering the following challenges:

52 Christmas Card Throwdown – Christmas and sparkle

Try It On Tuesday – sparkle

Creative Fingers – anything goes

MAWTT – sparkle

A Perfect Time To Craft – anything goes

A Cut Above – die cuts – option ‘warm it up’ not taken

Craft Rocket – Christmas and/or Winter

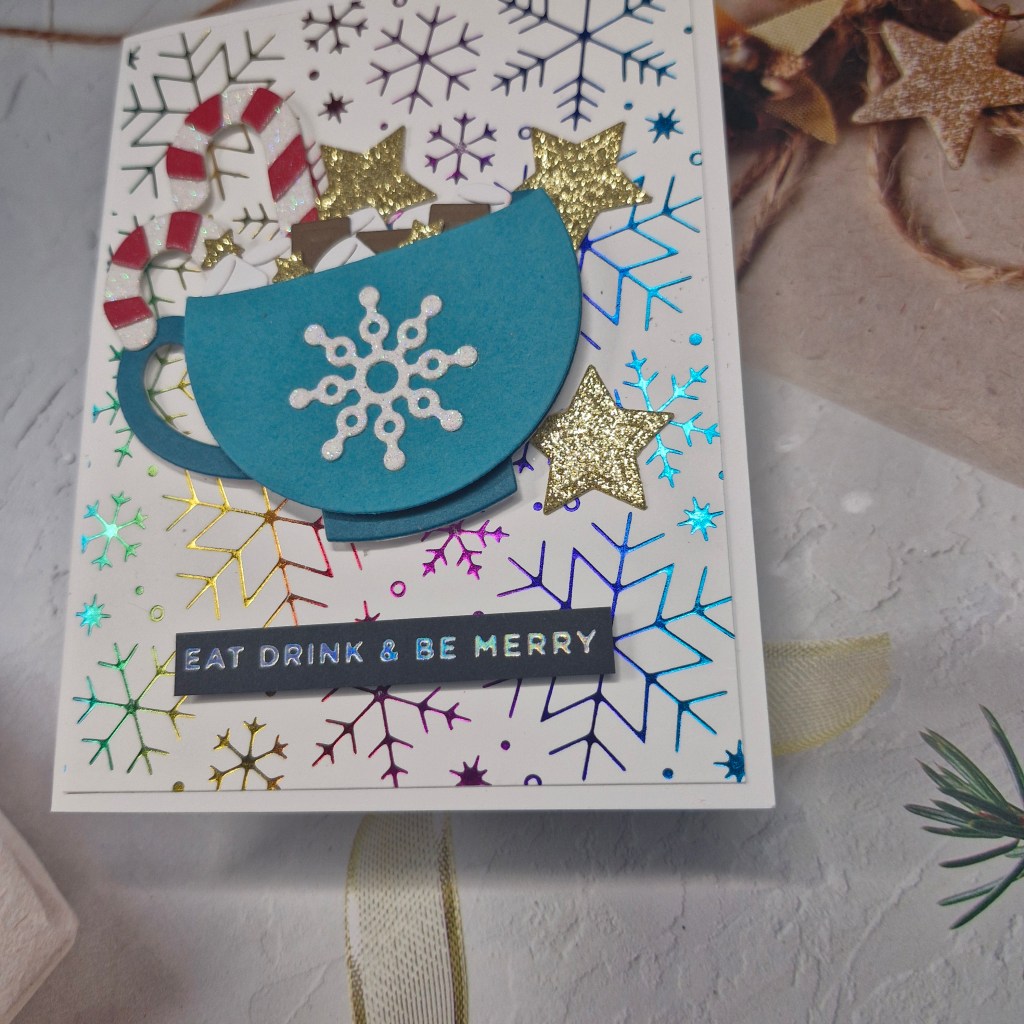
Eat, Drink, and Be Merry

Hello everyone. I am back from a few nights in gloriously sunny Tenerife – hubby and I decided to have a short break away. Fabulous time – but back from 24 degree temperatures to the UK forecast saying a little snow on the way here….

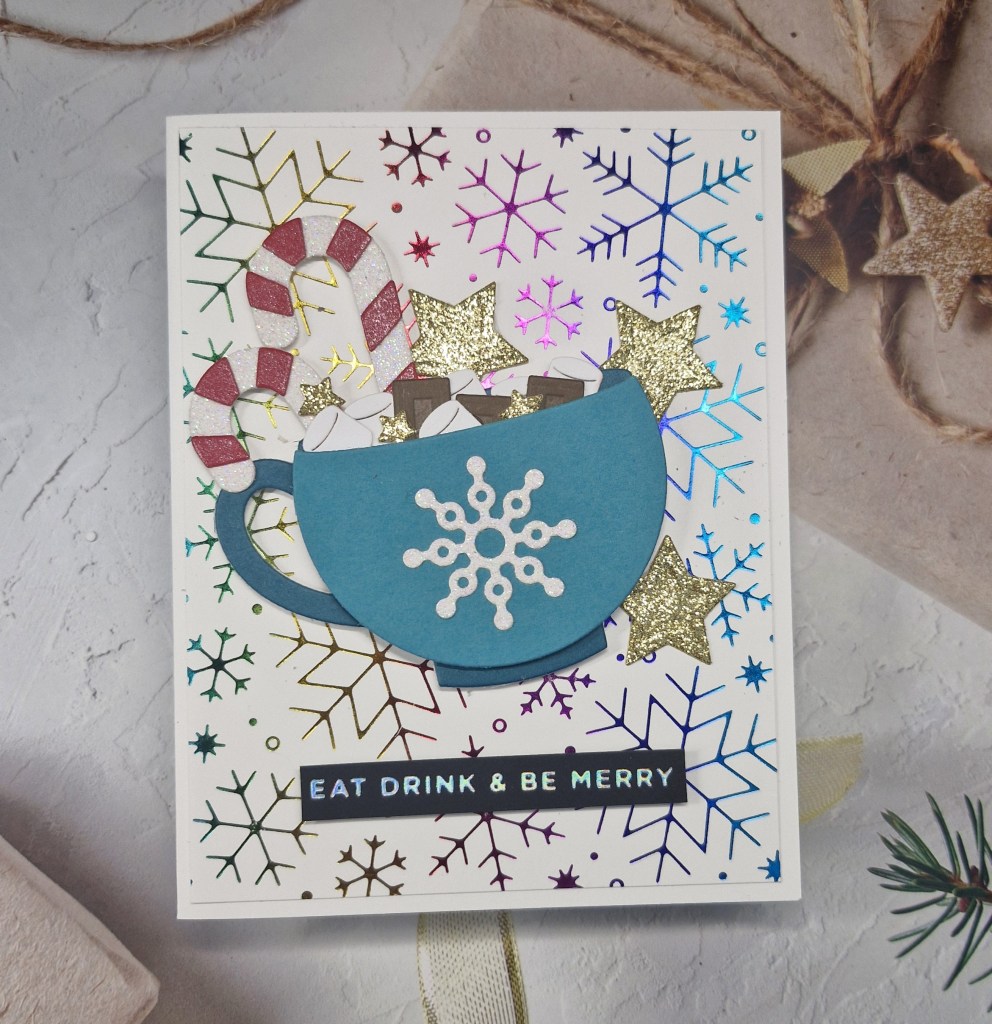
Here is a card I created using some products from several companies:

The background panel – cut slightly smaller than the A2 card base – was hot foiled using a Lawn Fawn hot foil plate and Spellbinders rainbow stripe foil. I liked the variety of the colours for the snowflakes. This was adhered flat to the card base.

The dies are from Spellbinders ‘Merry Mug‘ die set. I used Pinkfresh Studio gold glitter card stock for the stars, and the other die cuts using card from my stash from Heffy Doodle, Pink Frog, and some unbranded.

The mug was die cut from two different shades of teal to create a darker piece behind, and the front panel raised with low 3D foam pieces so I could tuck things down.

The candy cane from white glitter card stock, then the red pieces adhered on top – that was a challenge, getting the red to stick to the glitter – patience is not my forte….

I flued the mug flat to the foiled piece, then played around with the other elements, adding the marshmallows and the chocolate pieces haphazardly into the top of the mug.

The last thing to be added was the foiled sentiment – I chose a black strip foiled with silver for a striking contrast.

I shall be entering the following challenges:

Jungle Belles Rock – Christmas Feast – sweets and treats

MAWTT – Sparkle

Crafty Calendar – anything goes

Craft Rocket – Christmas and/or Winter

Sparkles Forum Christmas – Christmas and snowflakes

Inspiration Station – photo inspiration – inspired by the hot decadent drink

Love To Craft – anything goes

Merry Little Christmas Challenge – Christmas anything goes

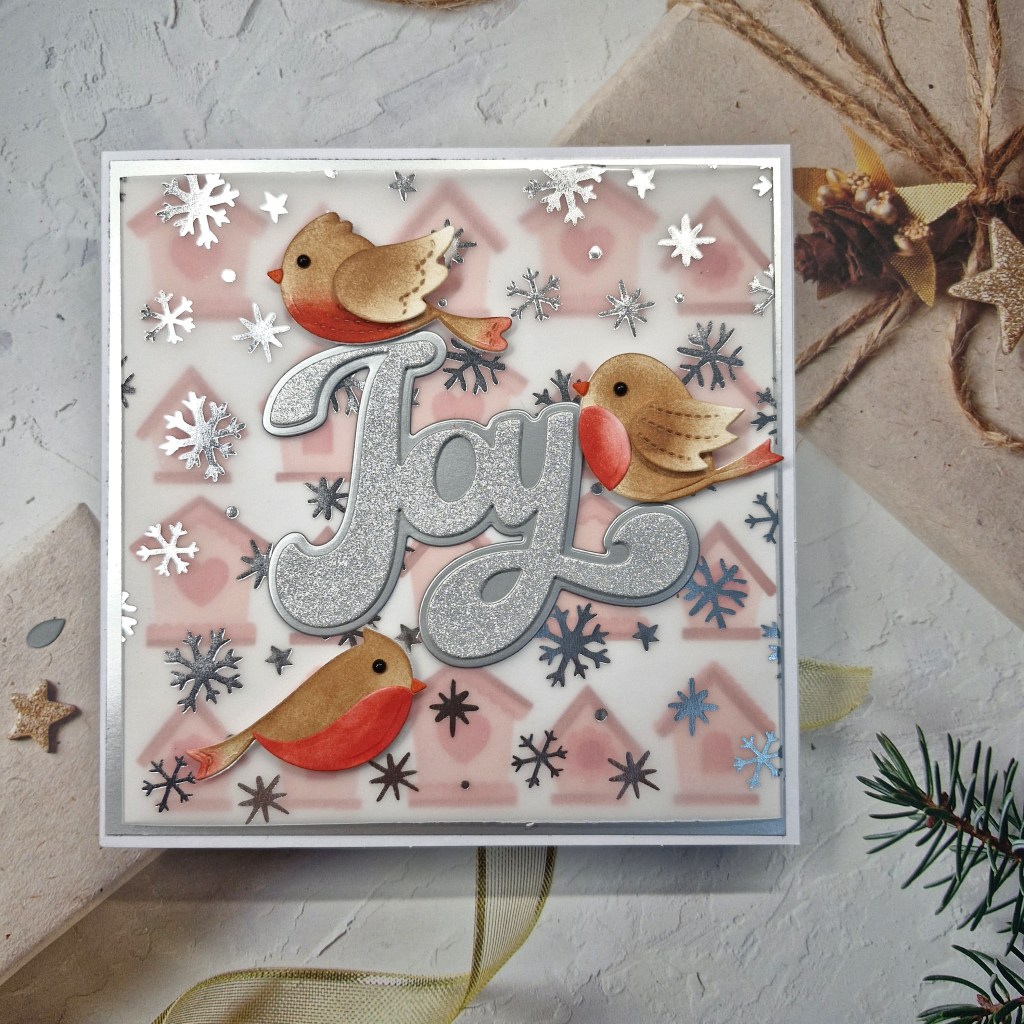
Joyful Birdies

Hello. I have been spending a lot of time in my craft room to escape decorating work and have another card to share:

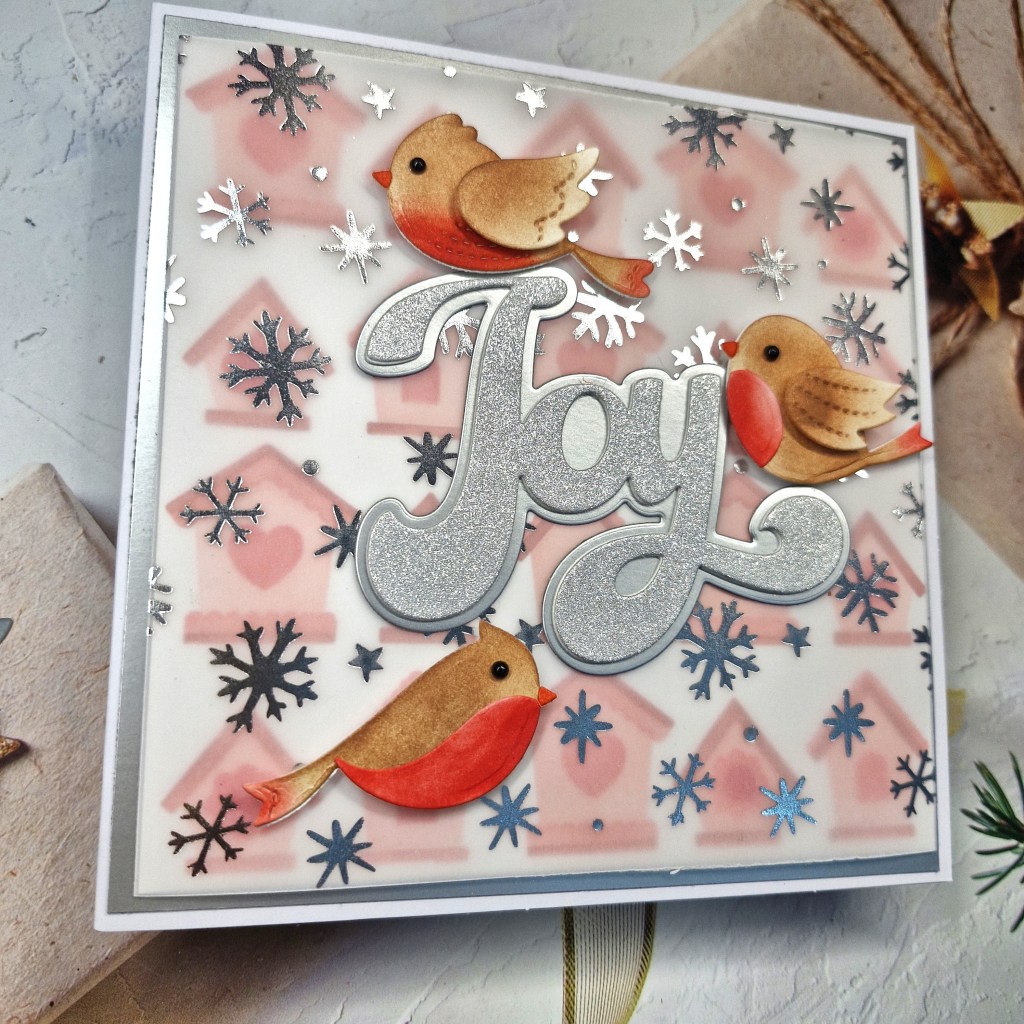
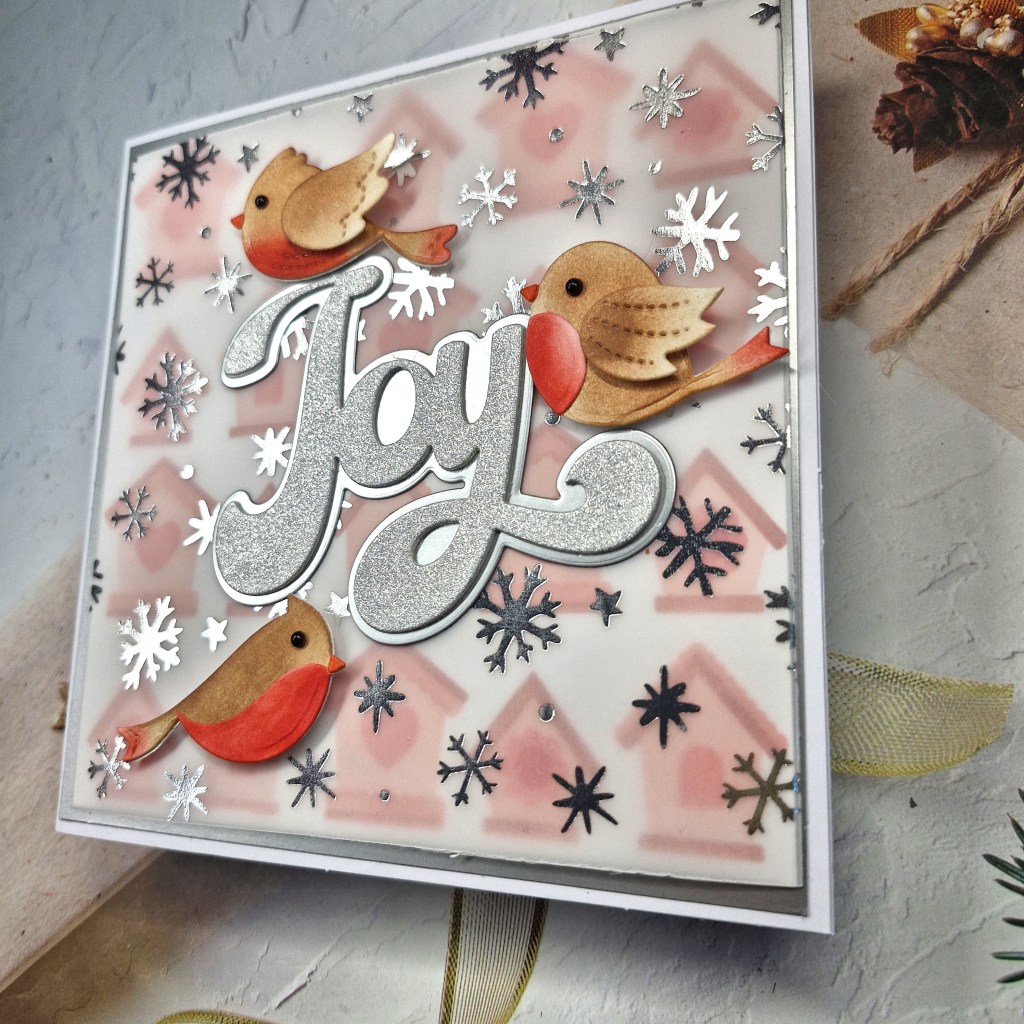
I used some Pretty Pink Posh products which I ‘found’ when I was searching for something else. I was inspired to use the bird house stencil, and the bird dies.

I first created the birdhouse stencilled background using Pinkfresh Studio inks. I used coral and pink tones, and then cut that panel into a 5.5 inch square – knowing I was going to use a 6 inch square card base.

I then die cut the birdies out of white card stock, then ink blended a brown and a red Distress ink. I wanted them to look like Robins. The beaks are so small I used an orange Copic, and the eyes are little black gems.

After placing the birdies on the background panel – they didn’t really stand out very much so I looked for a way of still showing the background stencilling and found this Polkadoodles vellum with silver snowflakes….

I cut that 5.5 inches by 6 inches, used a bone folder to score each end, then wrapped it around the sides to hold it in place, then added double sided tape. This way, there is no glue on the front of that snowflake acetate.

I then die cut the word ‘Joy’ from a Stamps Of Life die set provided to us for a virtual event – the shadow layer from a mat silver, and the word itself from a silver glitter non-shed card stock.

I die cut the word a couple more times and layered with the silver glitter word for a little more dimension and stability.

I first added the word with glue, then each of the little birdies was added with small pieces of 3D foam.

This is a very shiny and glittery card which makes it difficult to take a photo of – but I think you can see all the shine.

I shall be entering the following challenges:

Everybody Art Challenge – things with wings

Simon Says Stamp Monday Challenge – stencil it

Shopping Our Stash – birds and/or feathers

Polkadoodles – anything goes

Allsorts – magic of the season

Ally’s Angels – anything goes

Addicted to Stamps and More – die cuts and stencils

Crafty Animals – anything goes with an animal
Season’s Greetings

Hello once again. I have had a little play with some new layering stencils from The Greetery:
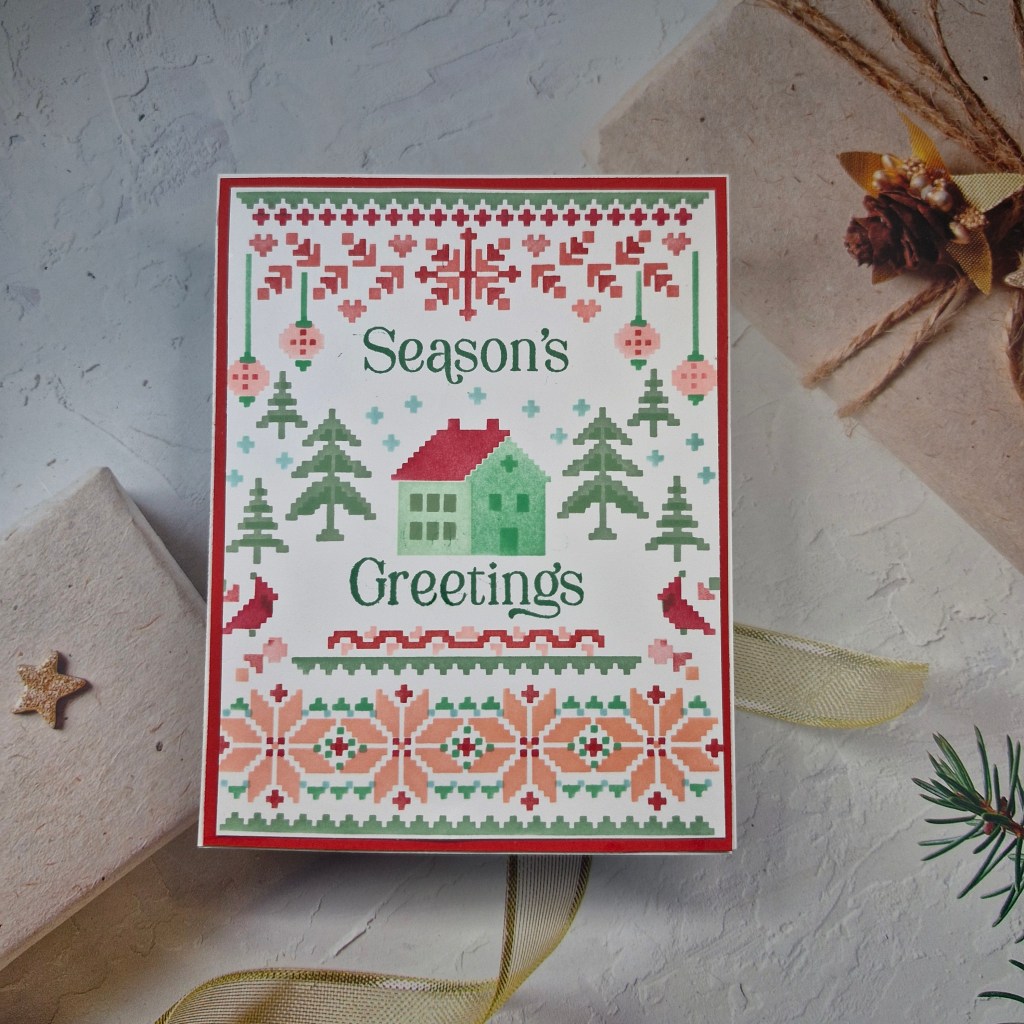
This was actually quite fiddly to do as I wanted different colours on the same stencil layer. It did take me quite a while for each layer, and the very small blending brushes did come in handy for all those smaller places. I used some low tack tape to mask areas off which were near to each other, but generally had fun with the colours.
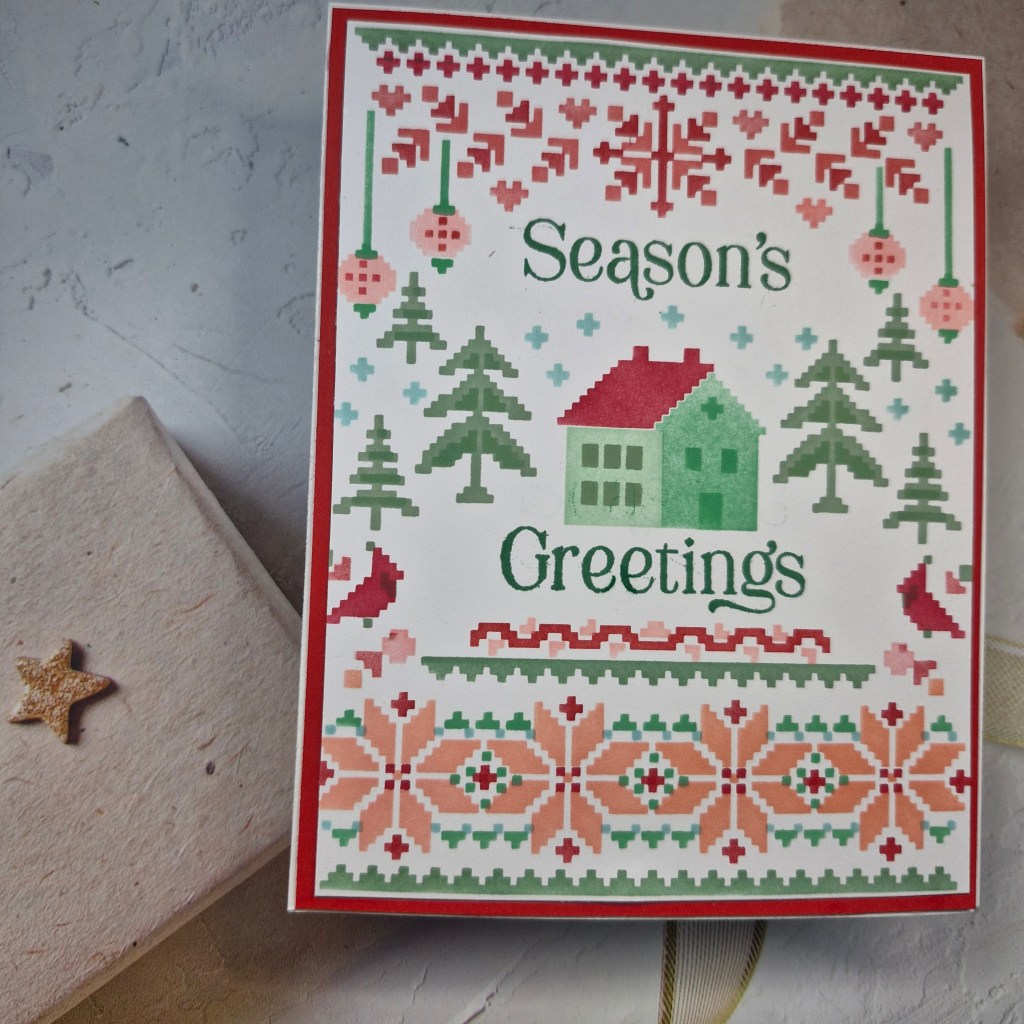
I used Pinkfresh Studio inks, as they come in four shades of each colour-way – which also made things a little easier.

The sentiment is from Concord & 9th. It is a sentiment which is joined together, and instead of cutting the stamp apart, I used tape to mask off each of the words at a time, to stamp in the spaces. I really had to concentrate to remove the tape before stamping – a mistake I have made on previous cards – and one you don’t really forget!

I then cut the panel down slightly, matted it with a red card stock, then added to a white card base.

No additional elements, no bling, no gems – I think this looks good just as it is.

I shall be entering the following challenges:

12 Months Of Christmas – anything goes Christmas, option to use chevrons not taken

Peace On Earth – Christmas anything goes

Inkspirational – seasonal

Lil Patch Of Crafty Friends – anything goes

Simon Says Stamp Monday Challenge – stencil it

Crafty Catz – anything goes – option to use dies/punches not taken

Ally’s Angels – anything goes

Poinsettia and Pinecones

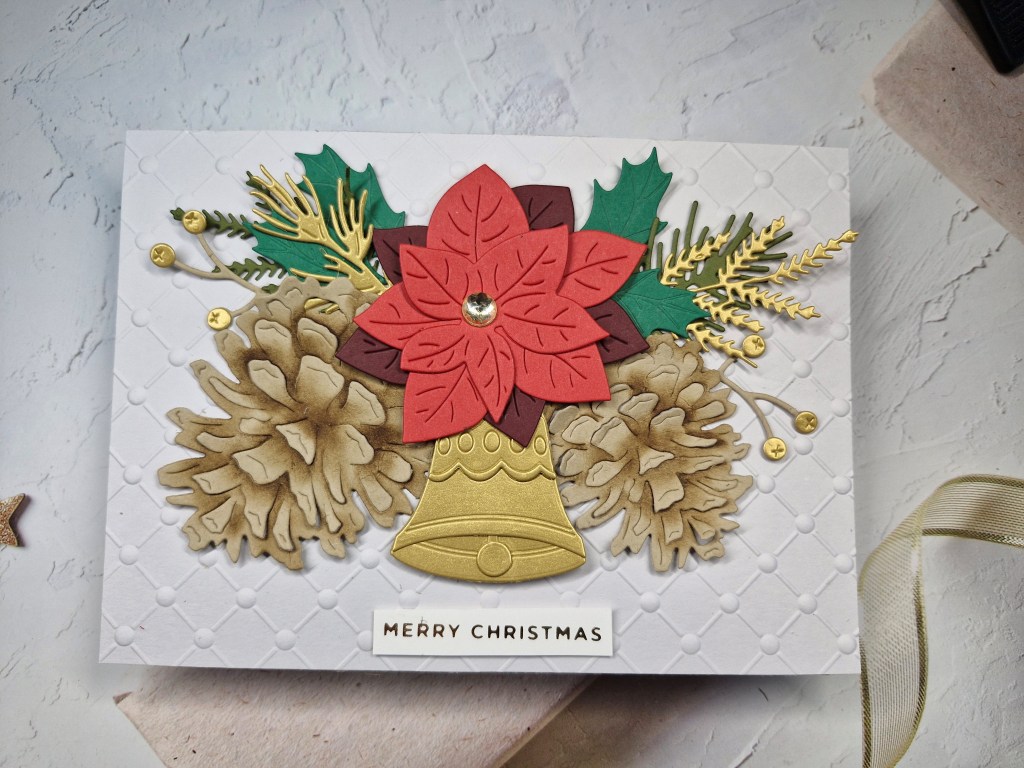
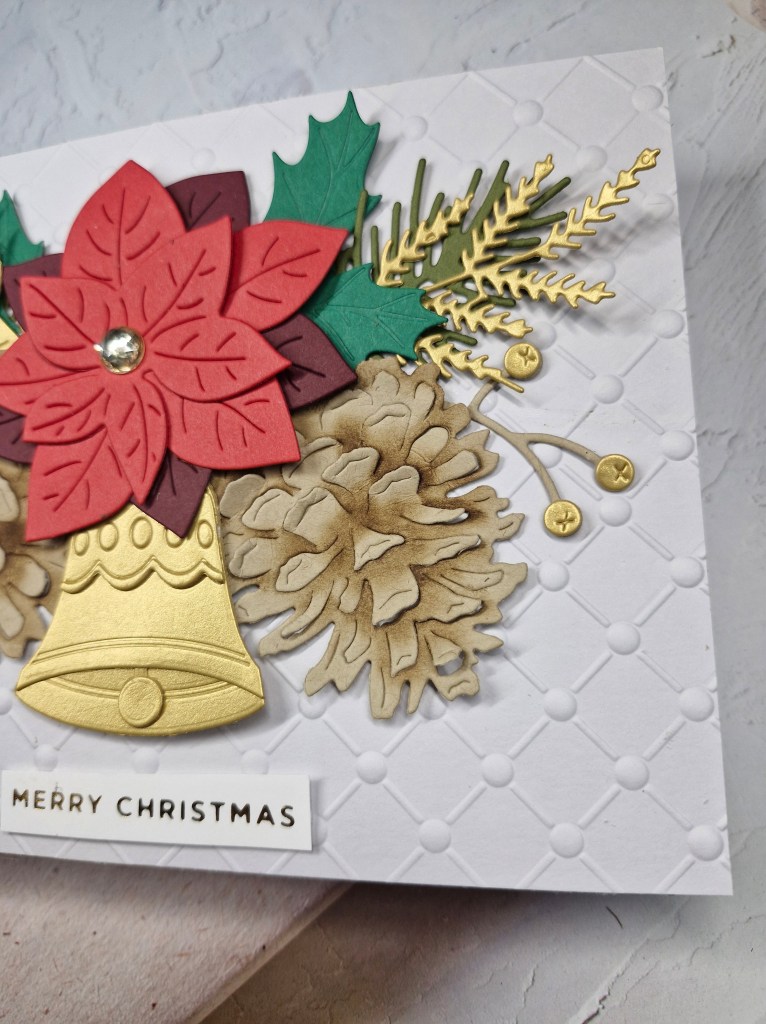
Hello everyone. The Holly and Ivy Christmas Challenge has started a new ‘anything goes Christmas’ challenge. Here is my card:

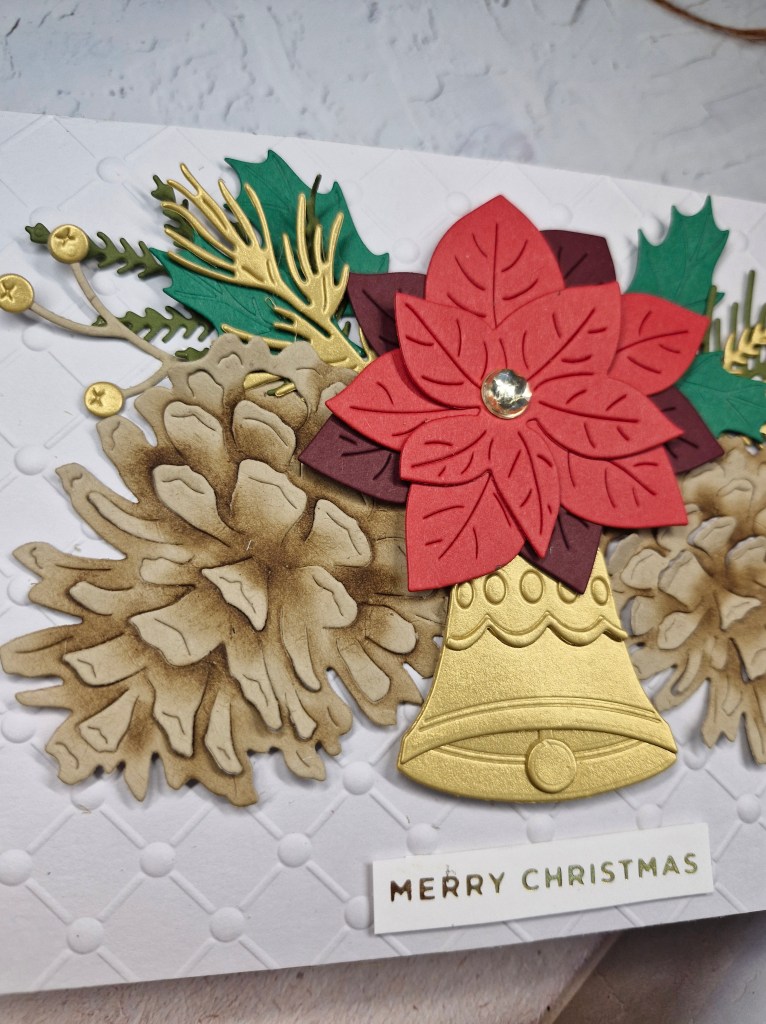
I chose to use a 5×7 inch card base as the die cuts are quite large. The pinecones are from The Greetery – die cut from a lighter brown card stock, then each of the little details ink blended at the base the create even more dimension.

The bell was die cut from some brushed gold cardstock using a Honey Bee Stamps die set, then layered with glue.

The foliage and poinsettia were from Spellbinders, die cut with two shades of red for the flower, some different green cardstock and brushed gold for the foliage.

I used an embossing folder for a panel on the card base, then played with the placement of all the die cut elements, adding with a mixture of glue and 3D foam.

The sentiment is a foiled strip, and I also added a faceted gem for the centre of the poinsettia.

I hope you can come and join us with your creations following our Christmas theme. xx

Delivering Warm Hugs

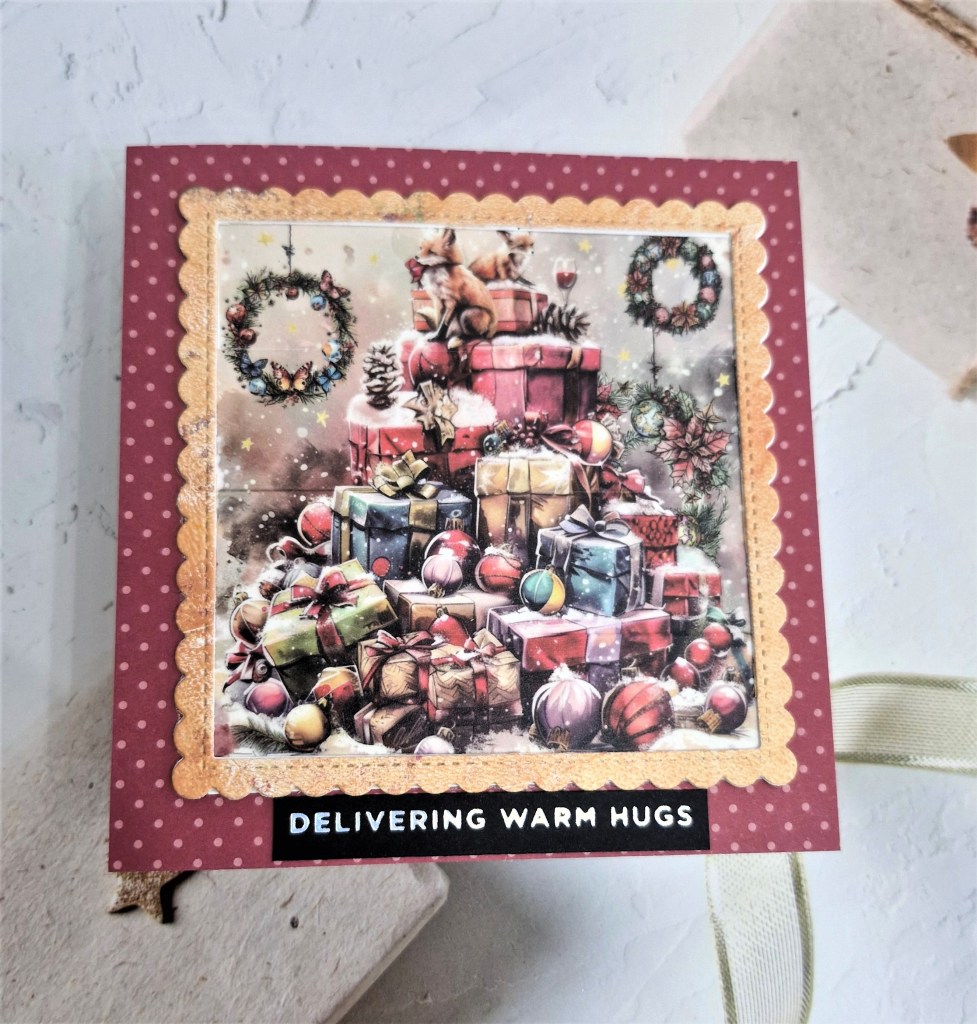
Hello everyone. The Holly and Ivy Christmas Challenge has started a new challenge. The them is always ‘anything goes Christmas’. Here is my card:

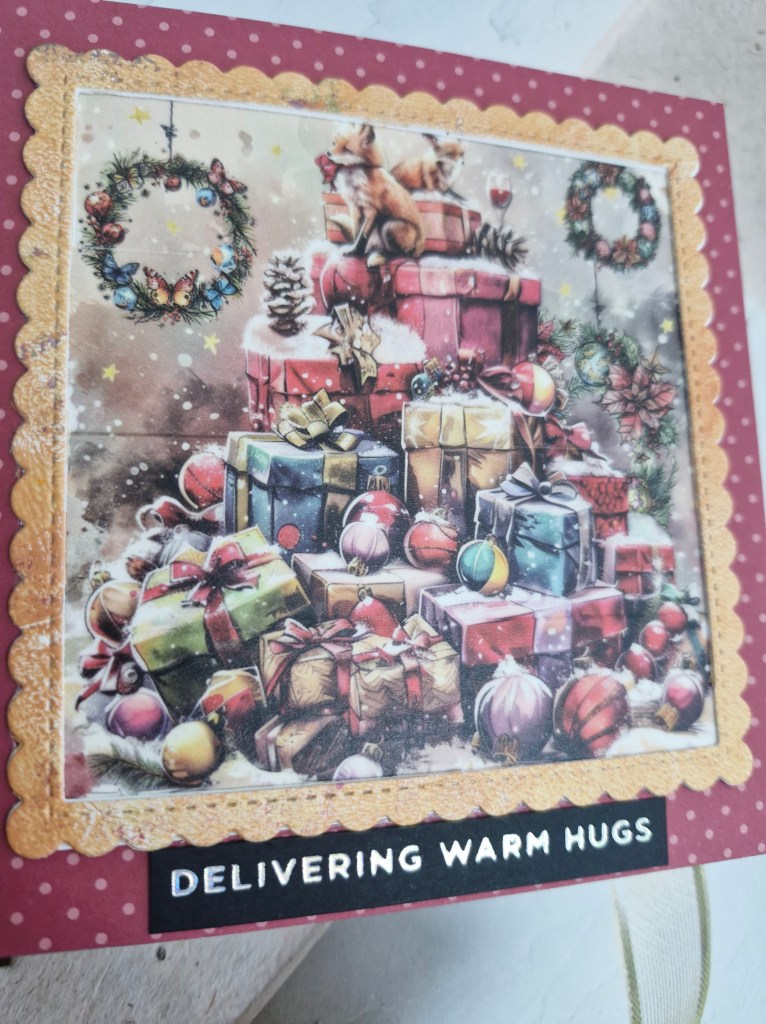
The main image is another layering washi tape from AALL and Create. A couple of foxes on top of a whole mound of presents.

Once the washi was layered onto some white card stock, I cut it into a square.

The background paper was added to a square card base, then I used a piece of previously created paper from a gel plate play session to die cut a scalloped square frame. Before die cutting the square I added the paper onto some white card for stability, then die cut the frame.

I went with the vintage feel to this card.

The sentiment is a foiled strip and added as you see.

I hope you can come and join us with your Christmas creations. xx

I shall be entering the following challenges:

Jingle Belle’s – Christmas and vintage

Allsorts – delightful animals – or anything goes

Creative Inspiration Challenge – anything goes

Double D – use shapes – squares, rectangles, circles, ovals – I used square shapes

Creative Fingers – anything goes

Ally’s Angels – anything goes

Merry and Bright

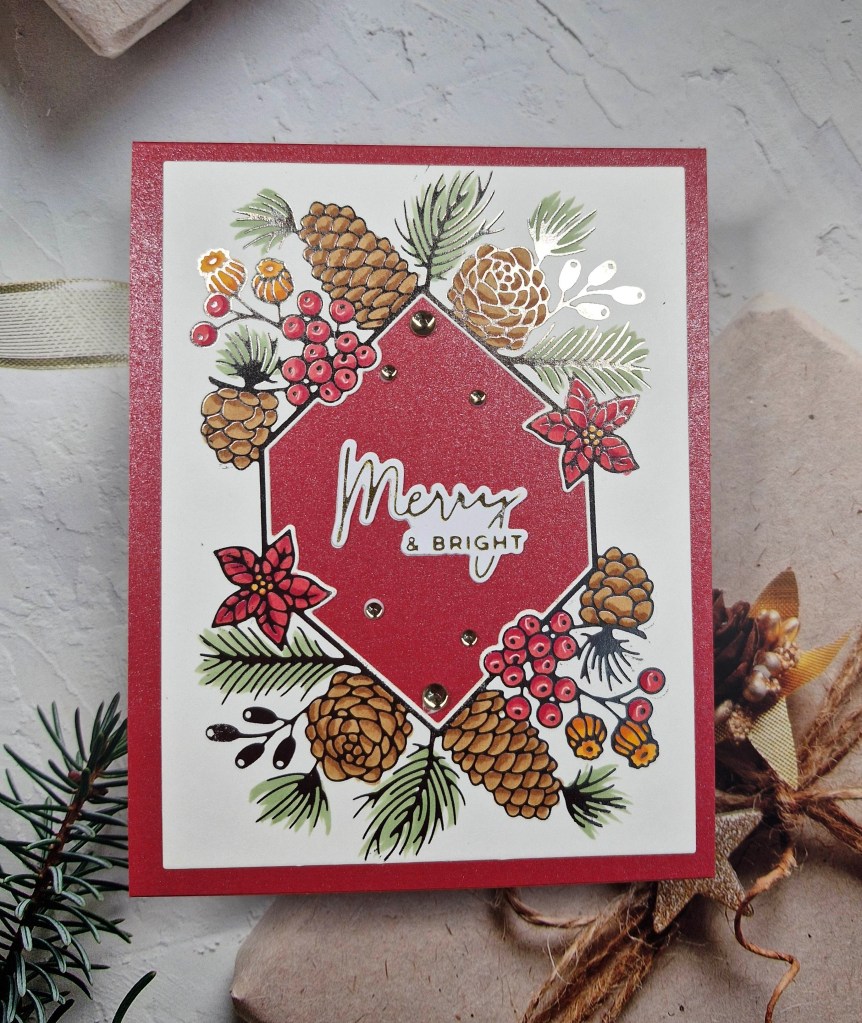
Hello all. The Holly and Ivy Christmas Challenge has started a new challenge. The theme is always ‘anything goes Christmas’. Here is my card:

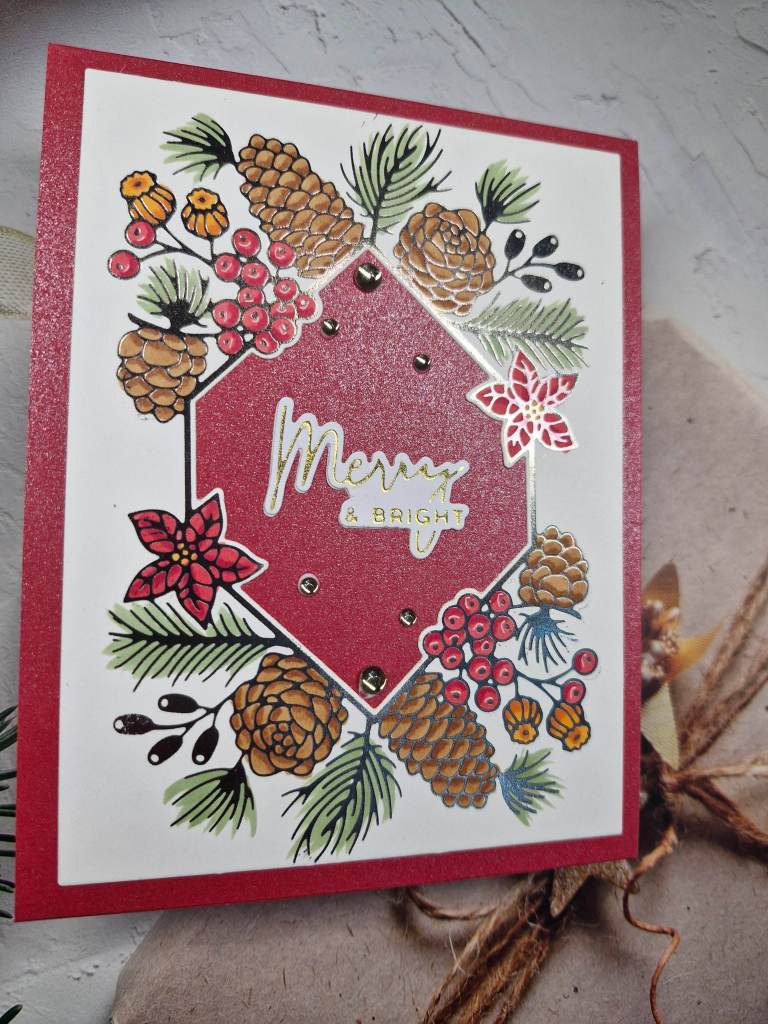
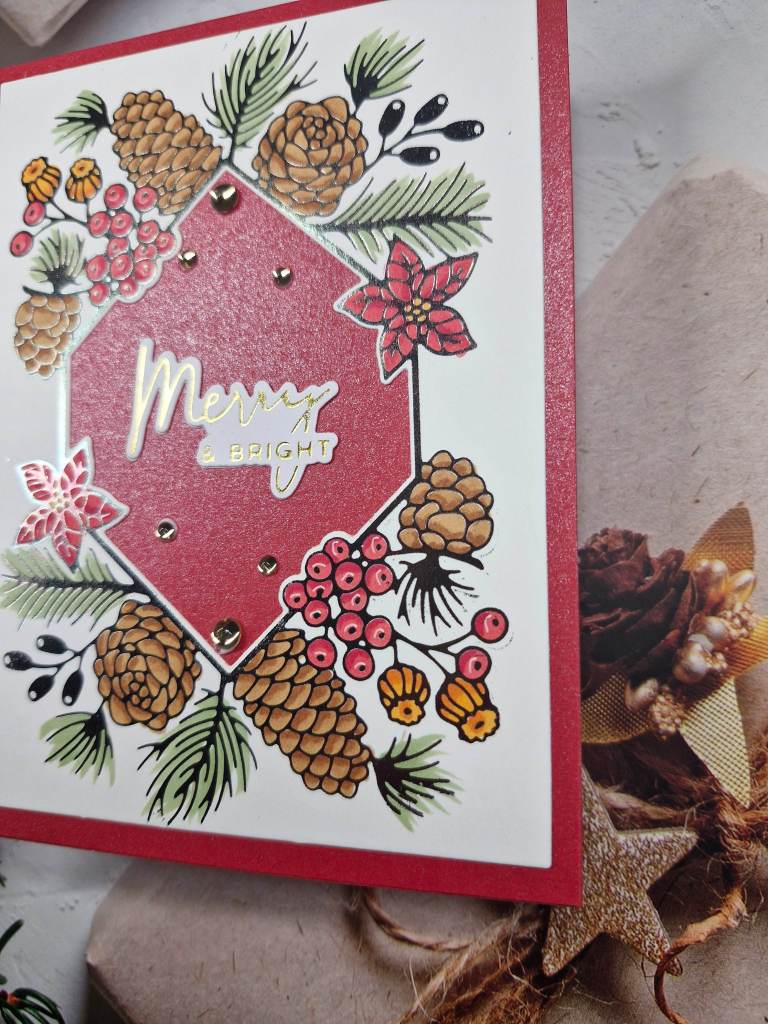
The image is from Spellbinders, and was hot foiled onto a piece of white card stock. Once foiled, I then coloured parts of the image with Copics, then cut the centre out with the matching die.

This panel was then layered onto a shimmery red card stock base – glued flat – and the foiled sentiment inserted into the middle space.

I then added some gems, and some white gel pen detail to some of the berries.

I hope you can come and join us with your Christmas creations. xx

I shall be entering the following challenges:

Crafty Gals Corner – anything goes, option of Christmas taken

Krafty Chicks – Christmas

Merry Little Christmas Challenge – anything goes Christmas

Love To Craft – anything goes

Addicted to Stamps and More – any occasion

A Perfect Time To Craft – anything goes

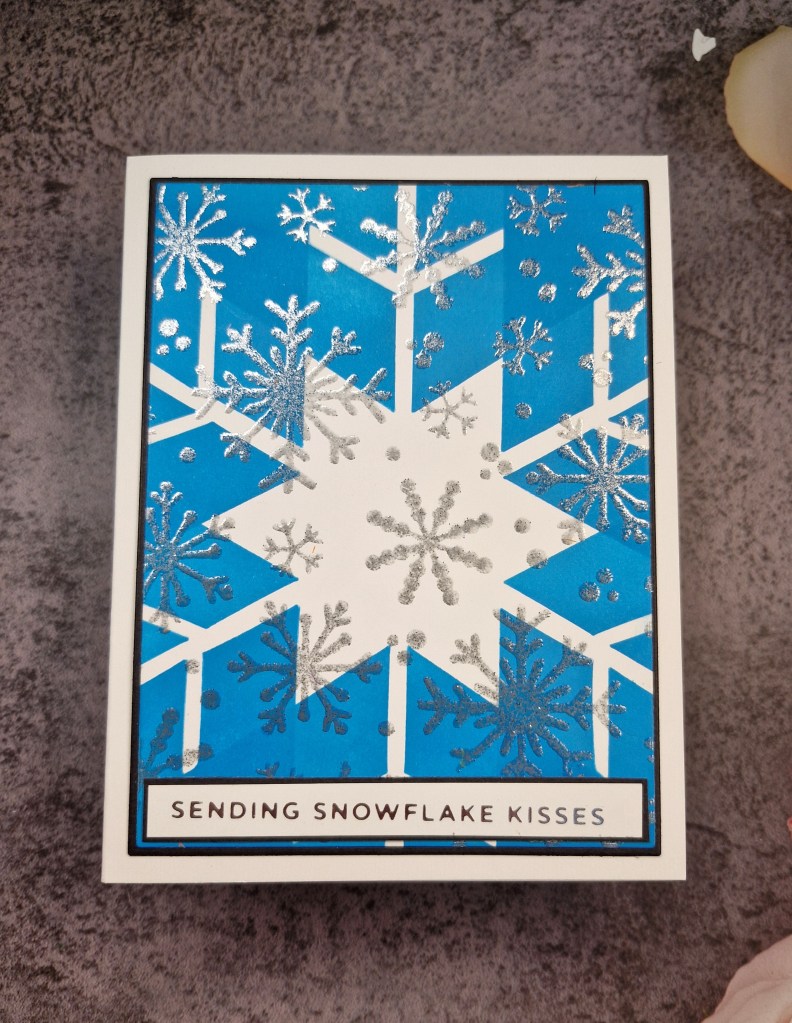
Snowflake Kisses

Hello once again. The Holly and Ivy Christmas Challenge has finished their summer break and we start another challenge. The theme is always ‘anything goes Christmas’. Here is my card:

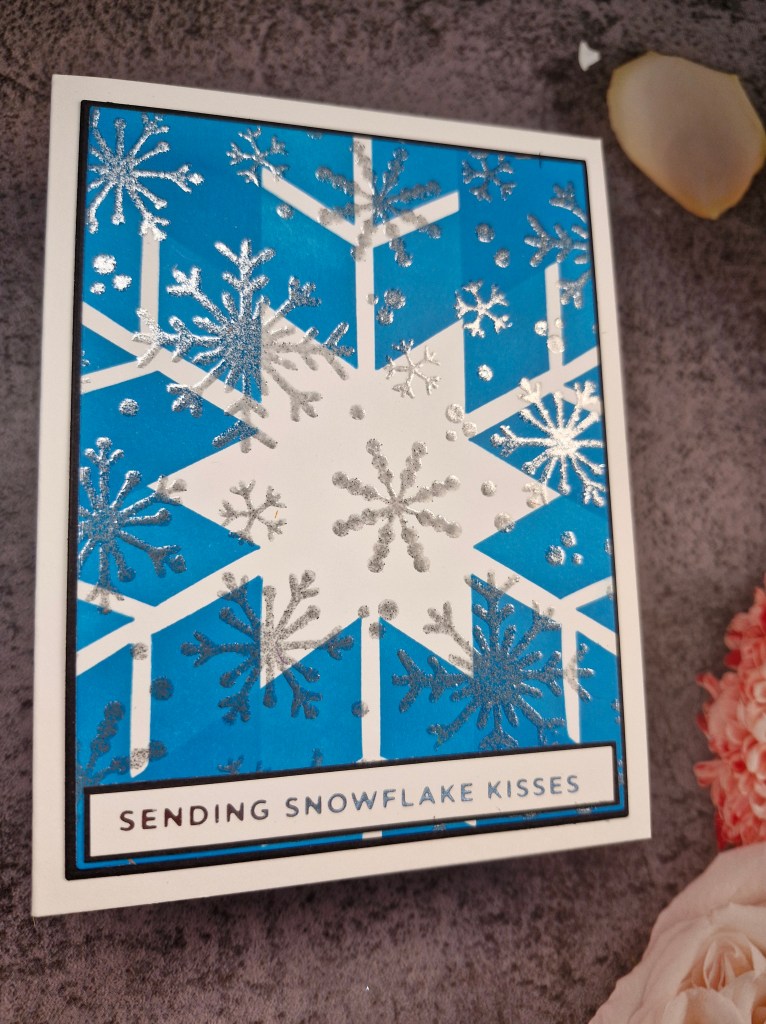
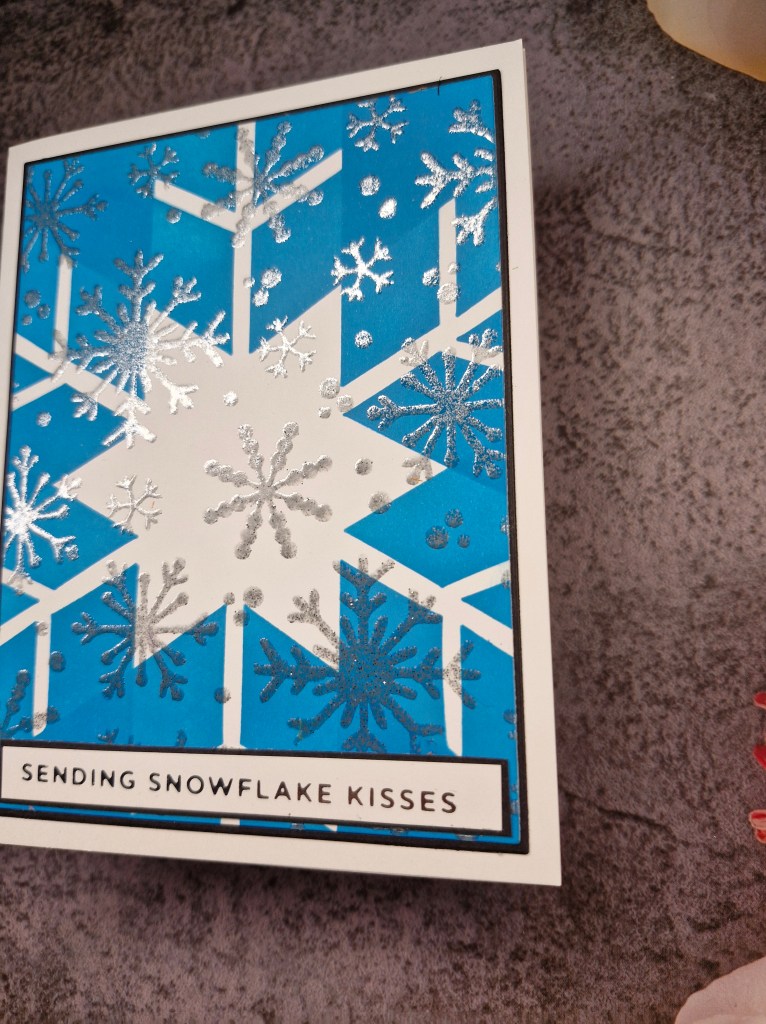
The blue star background was created using a new product from Uniko. An ink and flip stencil. I did have to watch YouTube videos made by the owner – Bev – to get my head around it.

I used one shade of blue Distress Oxide, and by flipping the stencil and ink blending again, you get the different tones, and the snowflake shape. I still have no idea how it works – but it does. There are a few of the ink and flip stencils on the web site, and I did buy a couple of them, so I’ll be playing with them at some point.

Once the background snowflake was done, I decided to heat emboss some snowflakes on top. I did make sure the inked panel was completely dry before doing this, of course.

I randomly stamped the snowflakes in the background – no rhyme or reason – and used a silver embossing powder.

The snowflake panel was cut with Gina K Master Layouts, a black layer added, and then adhered to the card base.

The foiled sentiment was also layered with black, and adhered flat to the panel.

I hope you can come and join us with your Christmas themed creations. xx

I shall be entering the following challenges:

Peace On Earth – anything goes Christmas

Daring Cardmakers – Christmas in July

Lil Patch Of Crafty Friends – anything goes

Creative Fingers – anything goes

Ally’s Angels – anything goes

Crafty Gals Corner – anything goes – option of Christmas taken

Merry Little Christmas Challenge – anything goes Christmas

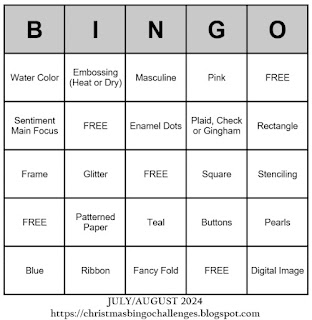
Christmas (or not) Bingo – the column – free/rectangle/stenciling

ABC ‘N’ and ‘O’

Hello everyone. The ABC Christmas Challenge has reached the letters ‘N’ and ‘O’, Fabiola is the host this time round and the Christmas themes are:

‘N’ for No Stamping and ‘O’ for Off The Edge’

I went with the no stamping option. Here is my card:

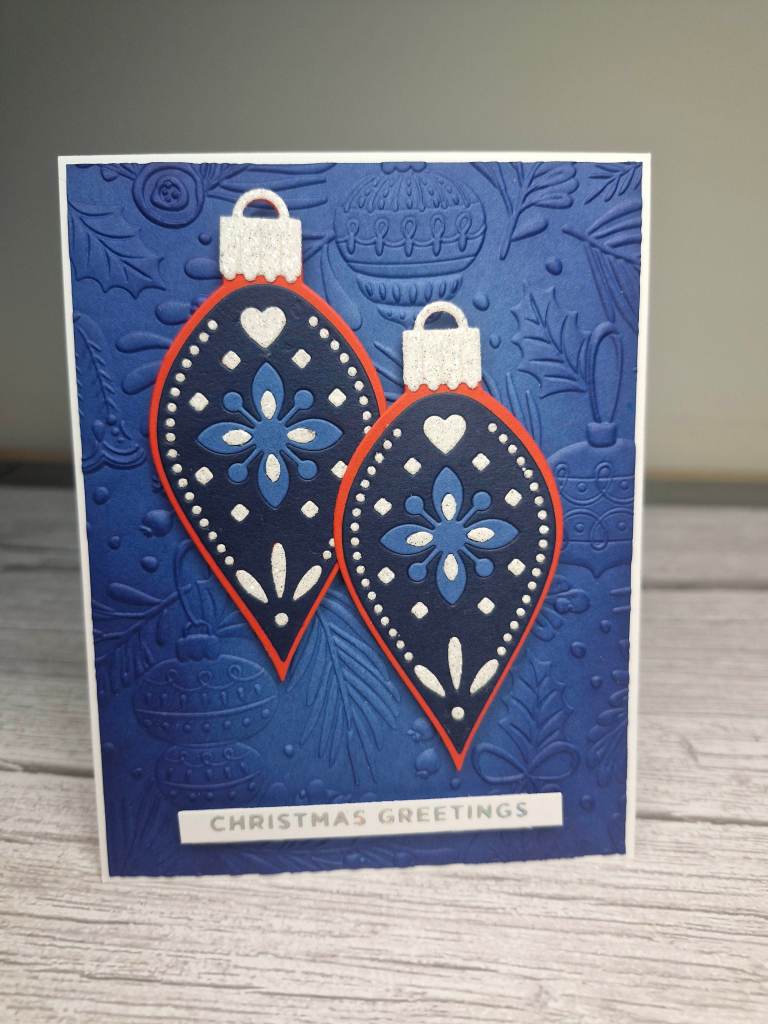
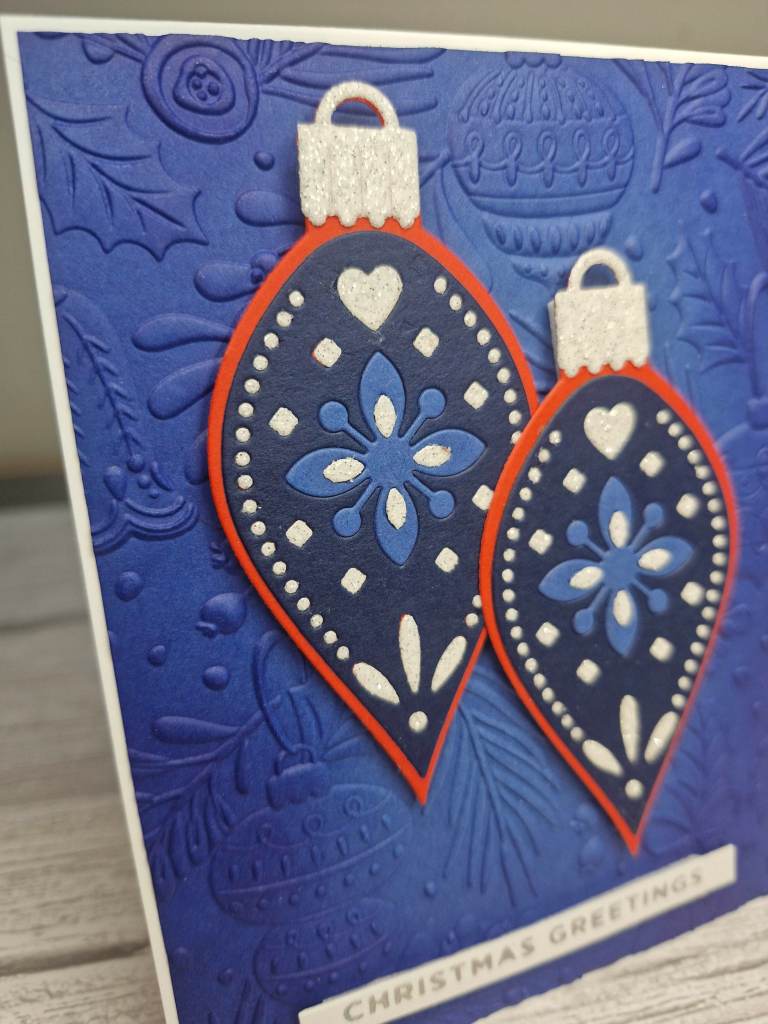
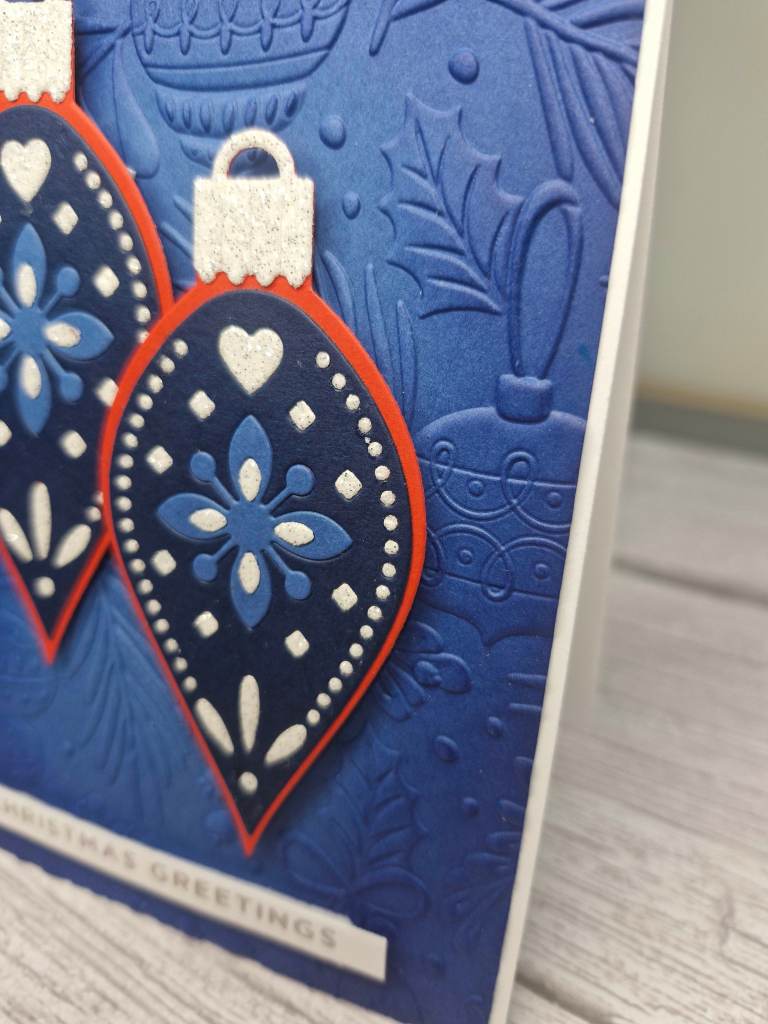
I am sure you all know by now that I am a Spellbinders fanatic, and this card was created using one of their die sets and one of their embossing folders.

The background was embossed and then a darker blue ink blended around the outside edges to create a halo effect.

The baubles were all die cut, and all those little pieces of white and blue were die cut and inlaid back into their little places – a fiddly job, but I treated as a therapeutic endeavour.

I also used some white glitter card stock for some portions of the die cuts.

The sentiment is from a previous hot foiling session.

I hope you can come and join us with your Christmas creations following one or both of our two themes. xx

I shall be entering the following challenges:

AAA Colourful Challenge – mainly blue colour board

A Perfect Time To Craft – anything goes

Sparkles Forum Christmas – handmade ornament or ornament card

Christmas Crafts All Year Round – anything goes Christmas

Merry Little Christmas Challenge – anything goes Christmas

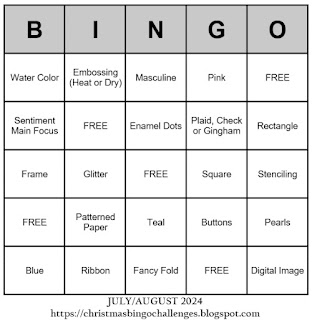
Christmas (or not) Bingo – column ‘I’ – free, embossing (wet or dry), glitter (glitter card)

Christmas Lantern

Hello once again everyone. ABC Christmas Challenge has reached the letters ‘L’ and ‘M’. The themes this time round are:

L is for Lanterns

and

M is for Music

Here is my card for the Lantern theme:

This card was made from the products received as part of the Pinkfresh Studio ‘Create and Connect’ February 2024 virtual event.

The background panel was created using a stitched panel, and glued down to the card base.

I then die cut the frame out of gold glitter card stock, adding it with 3D foam so I could tuck some elements beneath it.

The lantern and foliage were stamped and gold heat embossed, and then ink blended using the matching layering stencils.

A gold foiled sentiment then added to complete the card.

I hope you can come and join us with your Christmas creations following one or both of our two themes. xx

I shall be entering the following challenges:

Merry Little Christmas Challenge – anything goes Christmas

Love To Craft – anything goes

Mix It Up – anything goes – option of inlaid die cut not taken

Lil Patch Of Crafty Friends – anything goes

Craft Rocket – no designer paper

Sparkles Forum Christmas – Christmas and use dies

MAWTT – early Christmas

Stencil Fun – use stencils – option of birthday not taken