Hello. I was proud to be the winner for the Christmas Craft Creations May 2023 challenge, and therefore offered a Guest design Team spot for July.

This is the second card I created for the half-way reminder post.
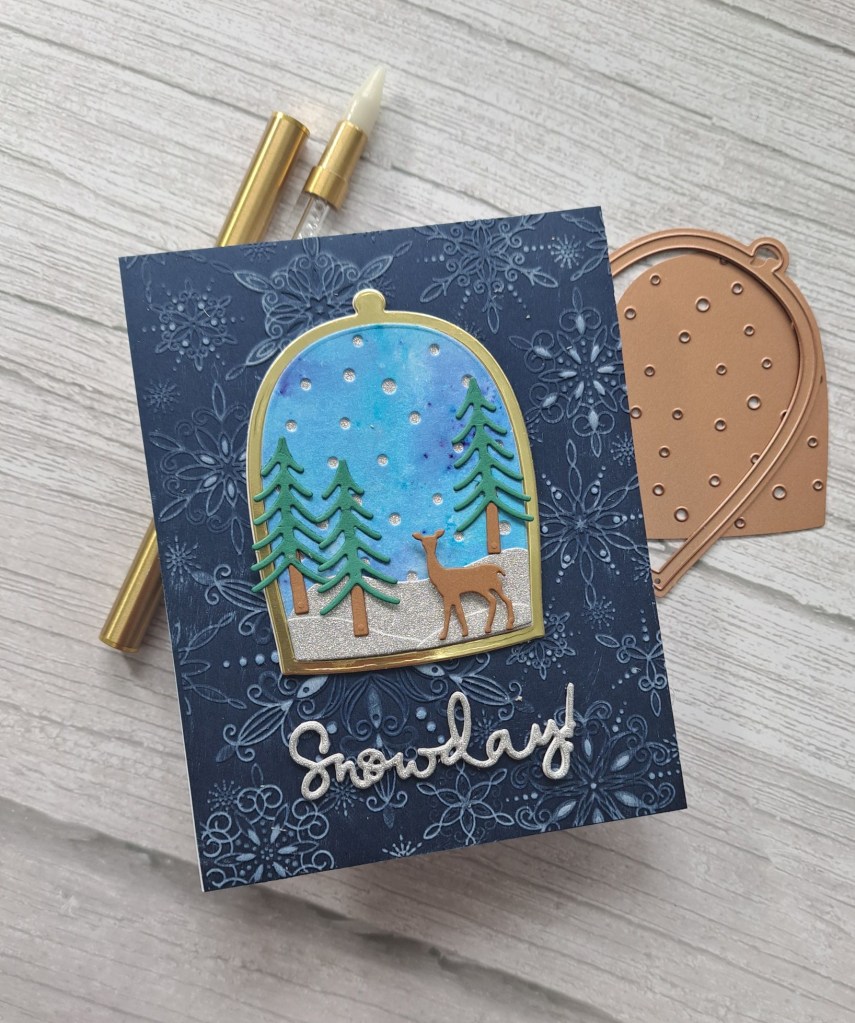
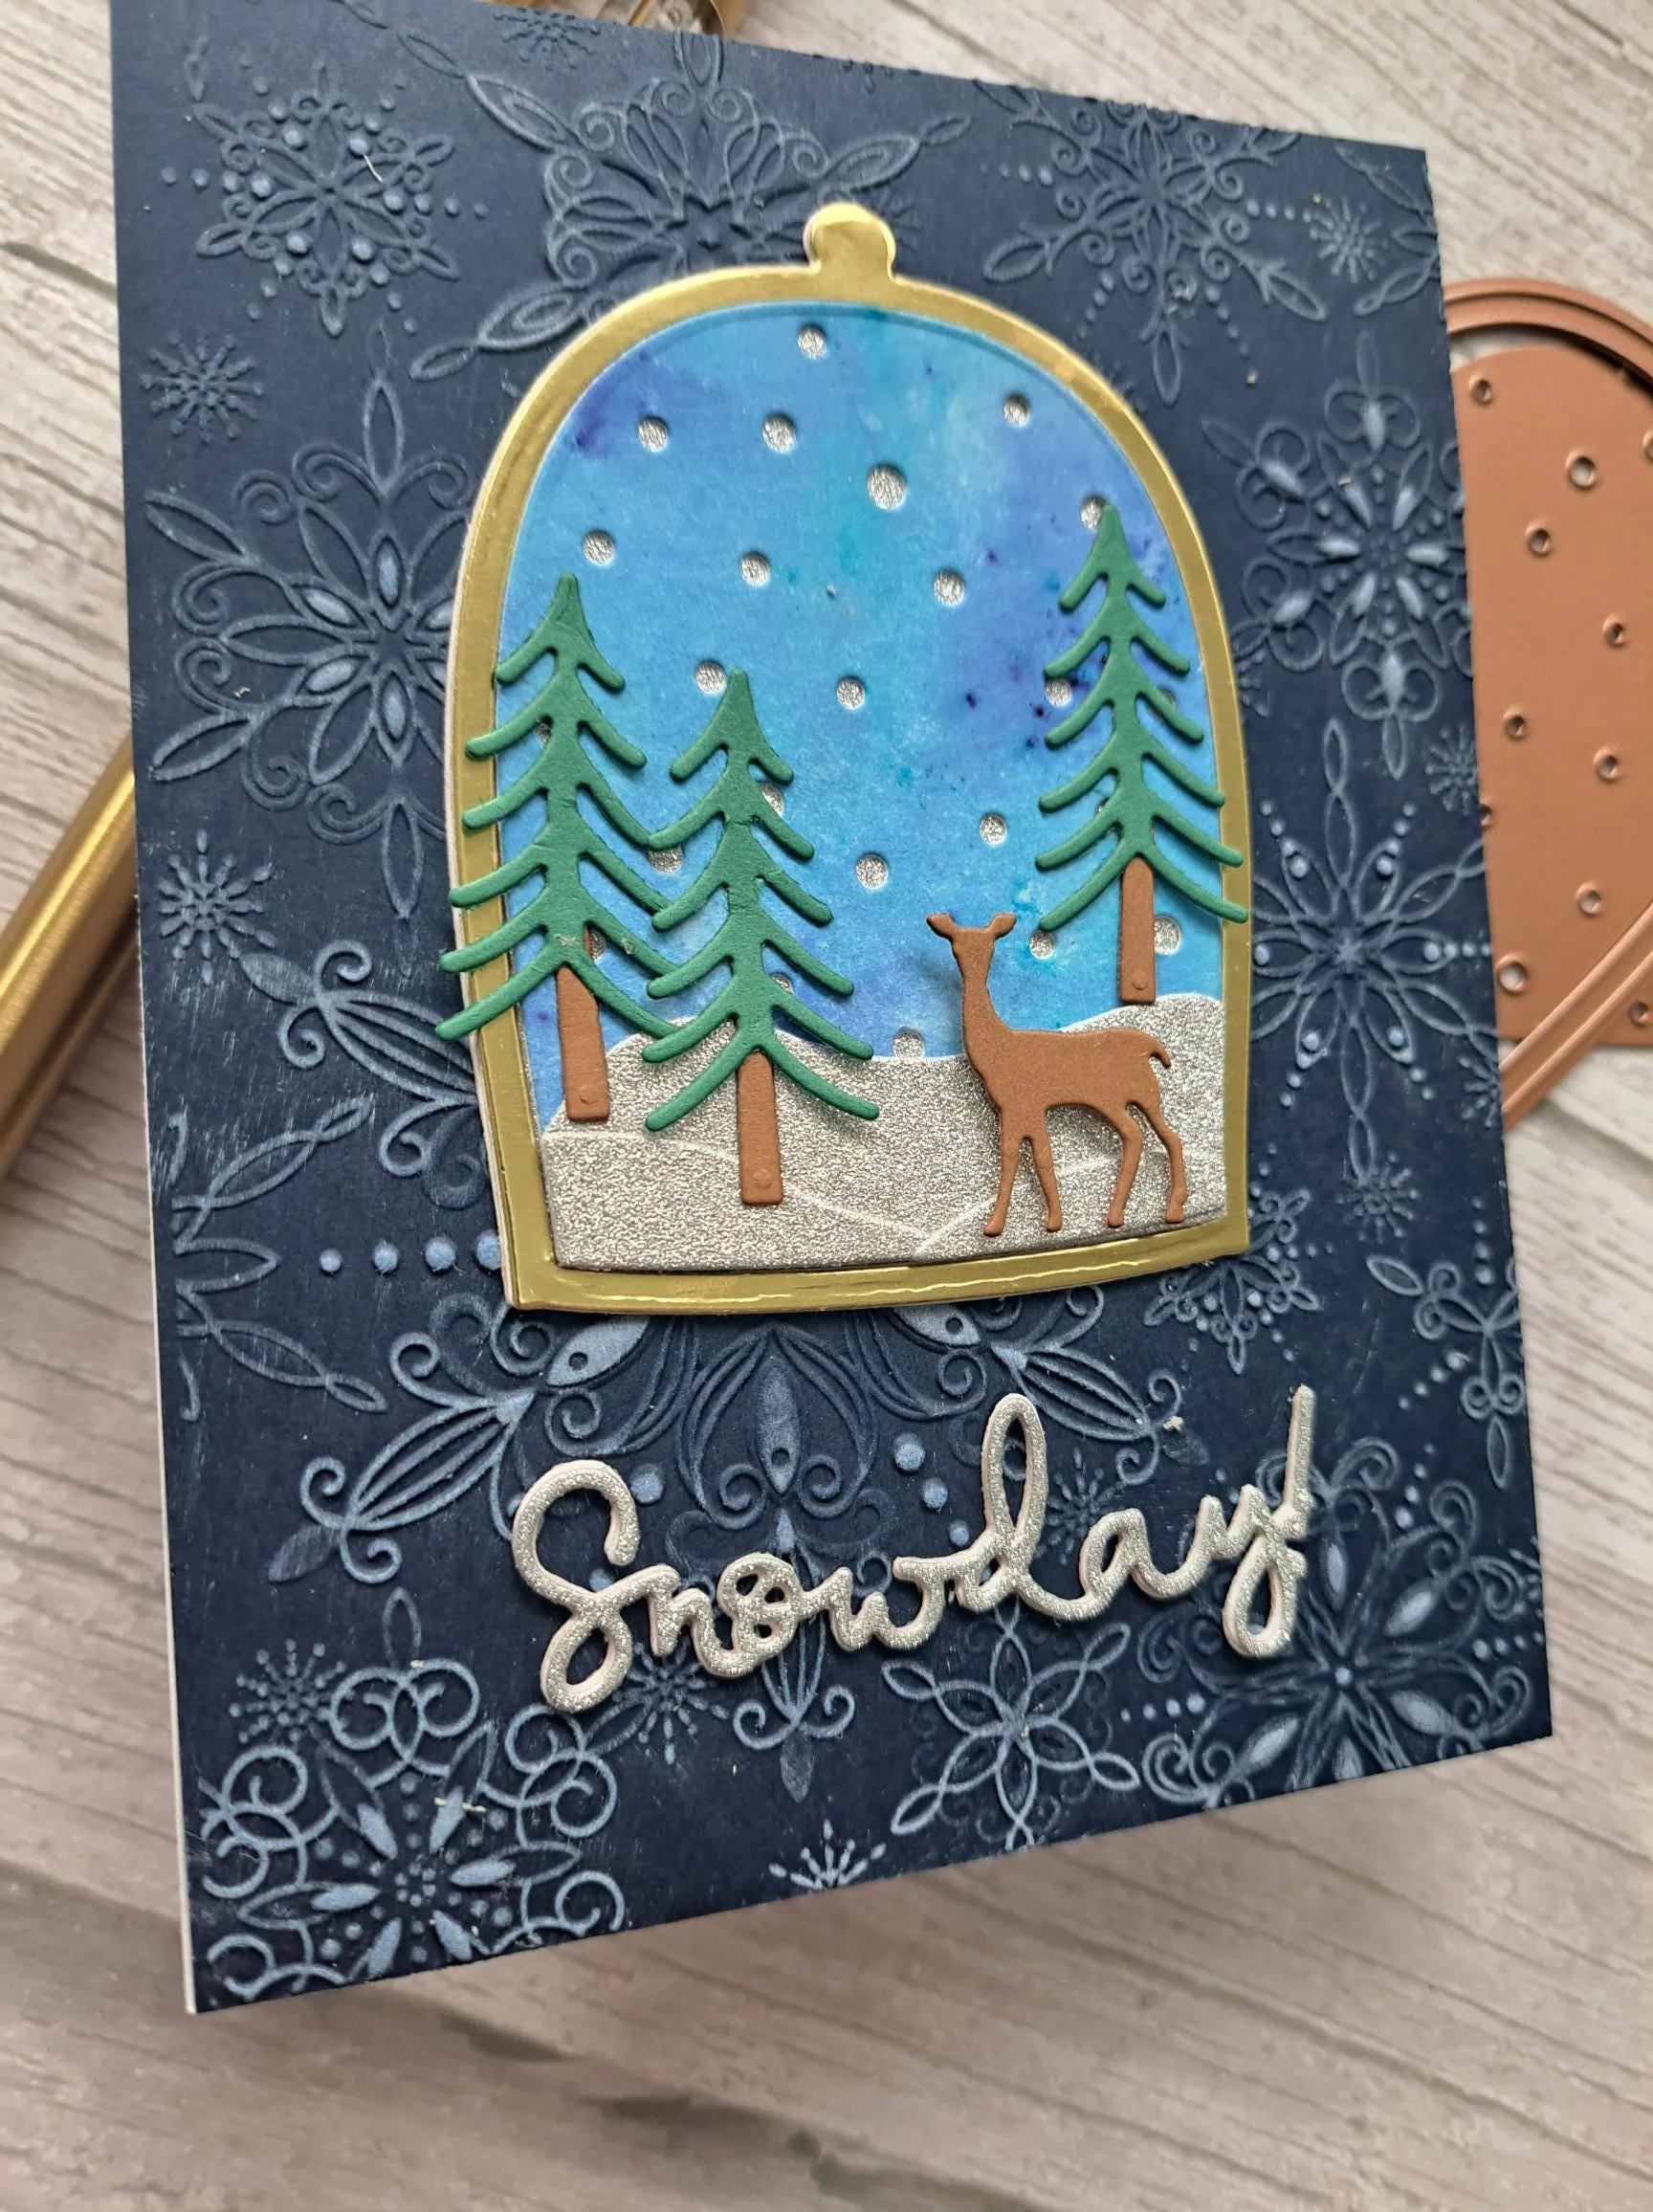
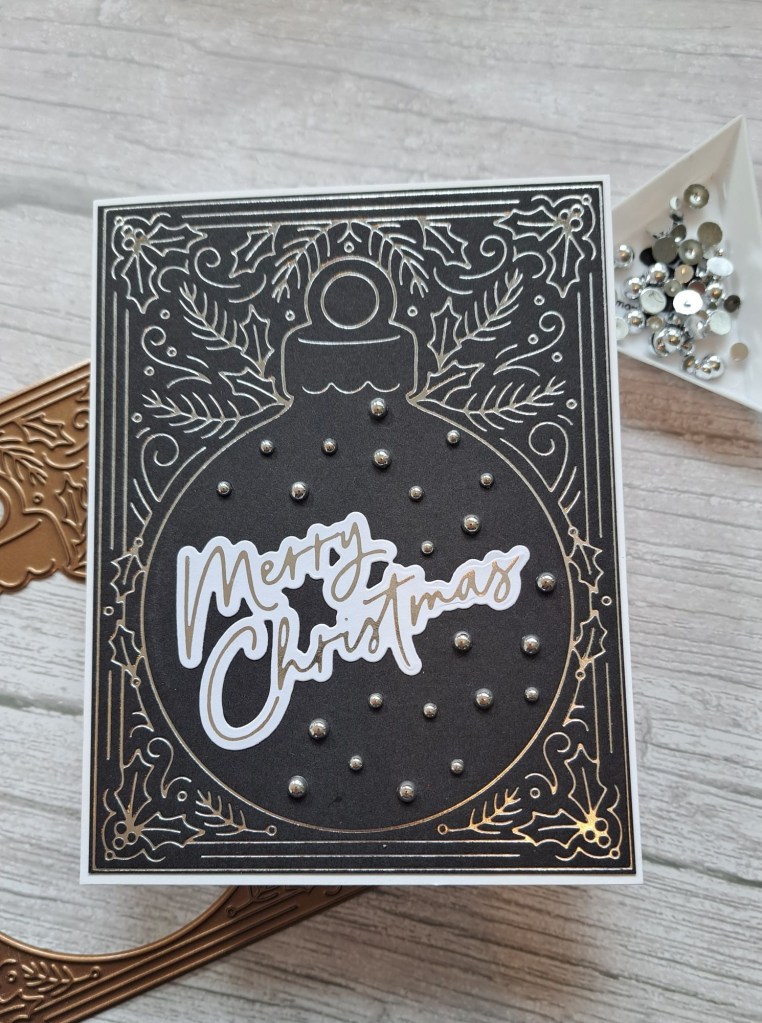
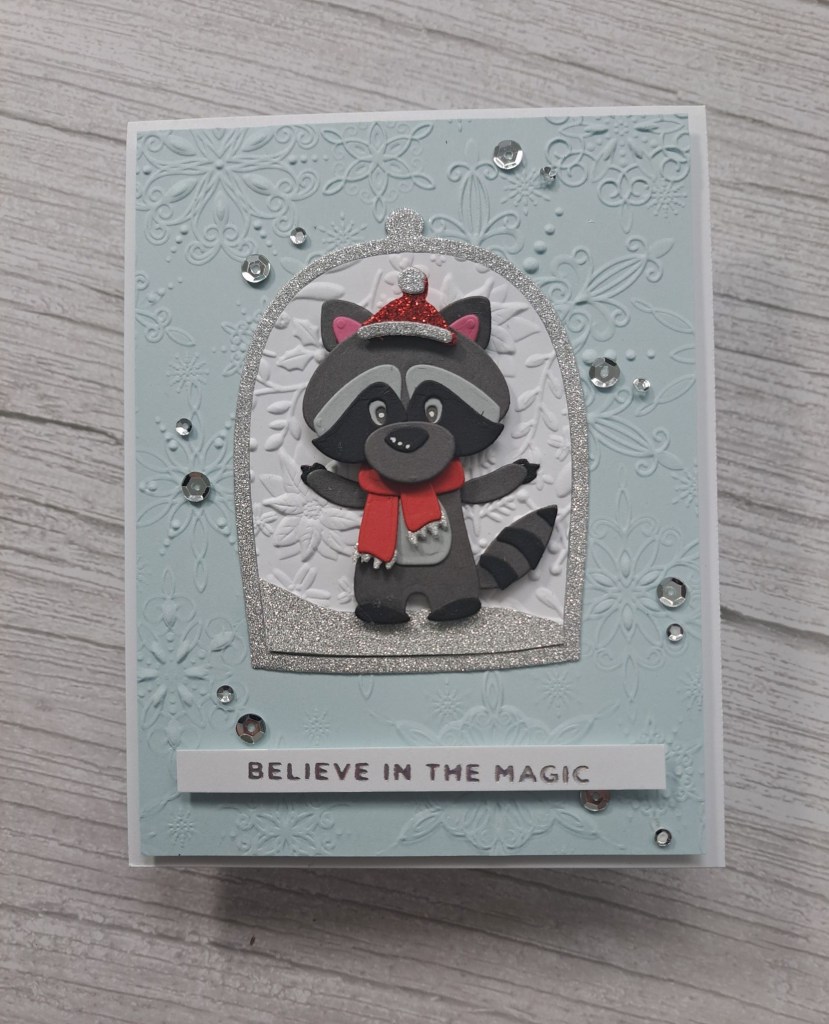
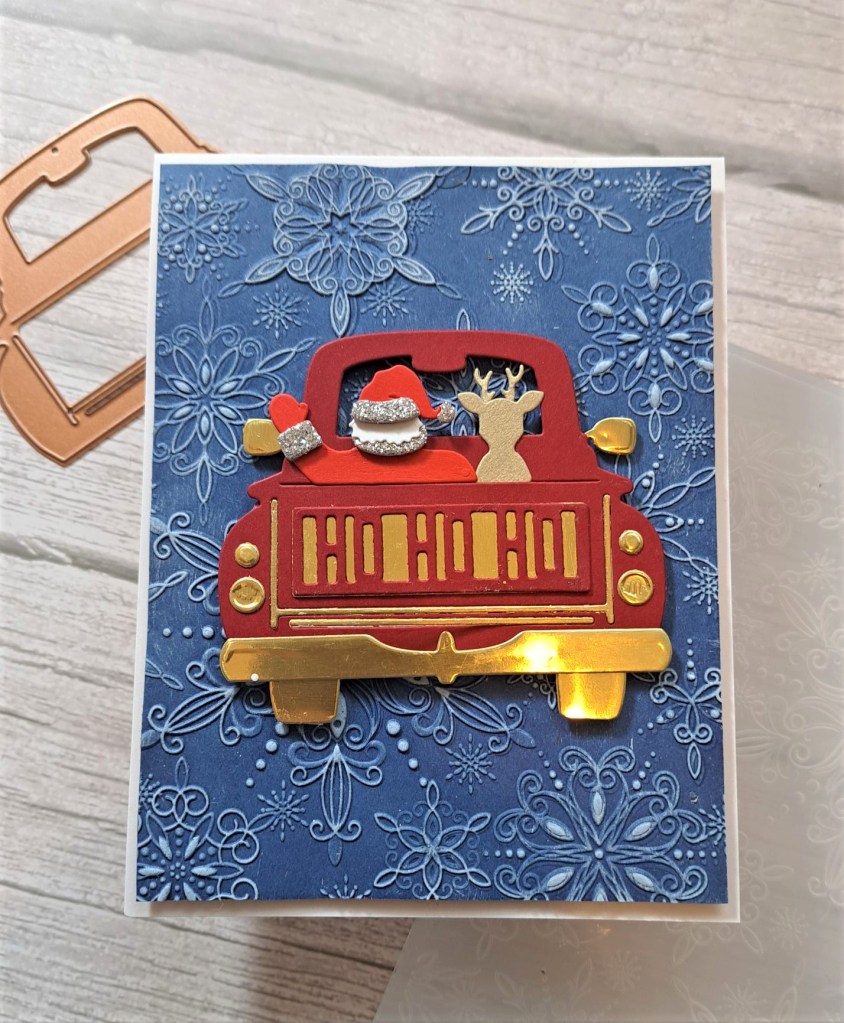
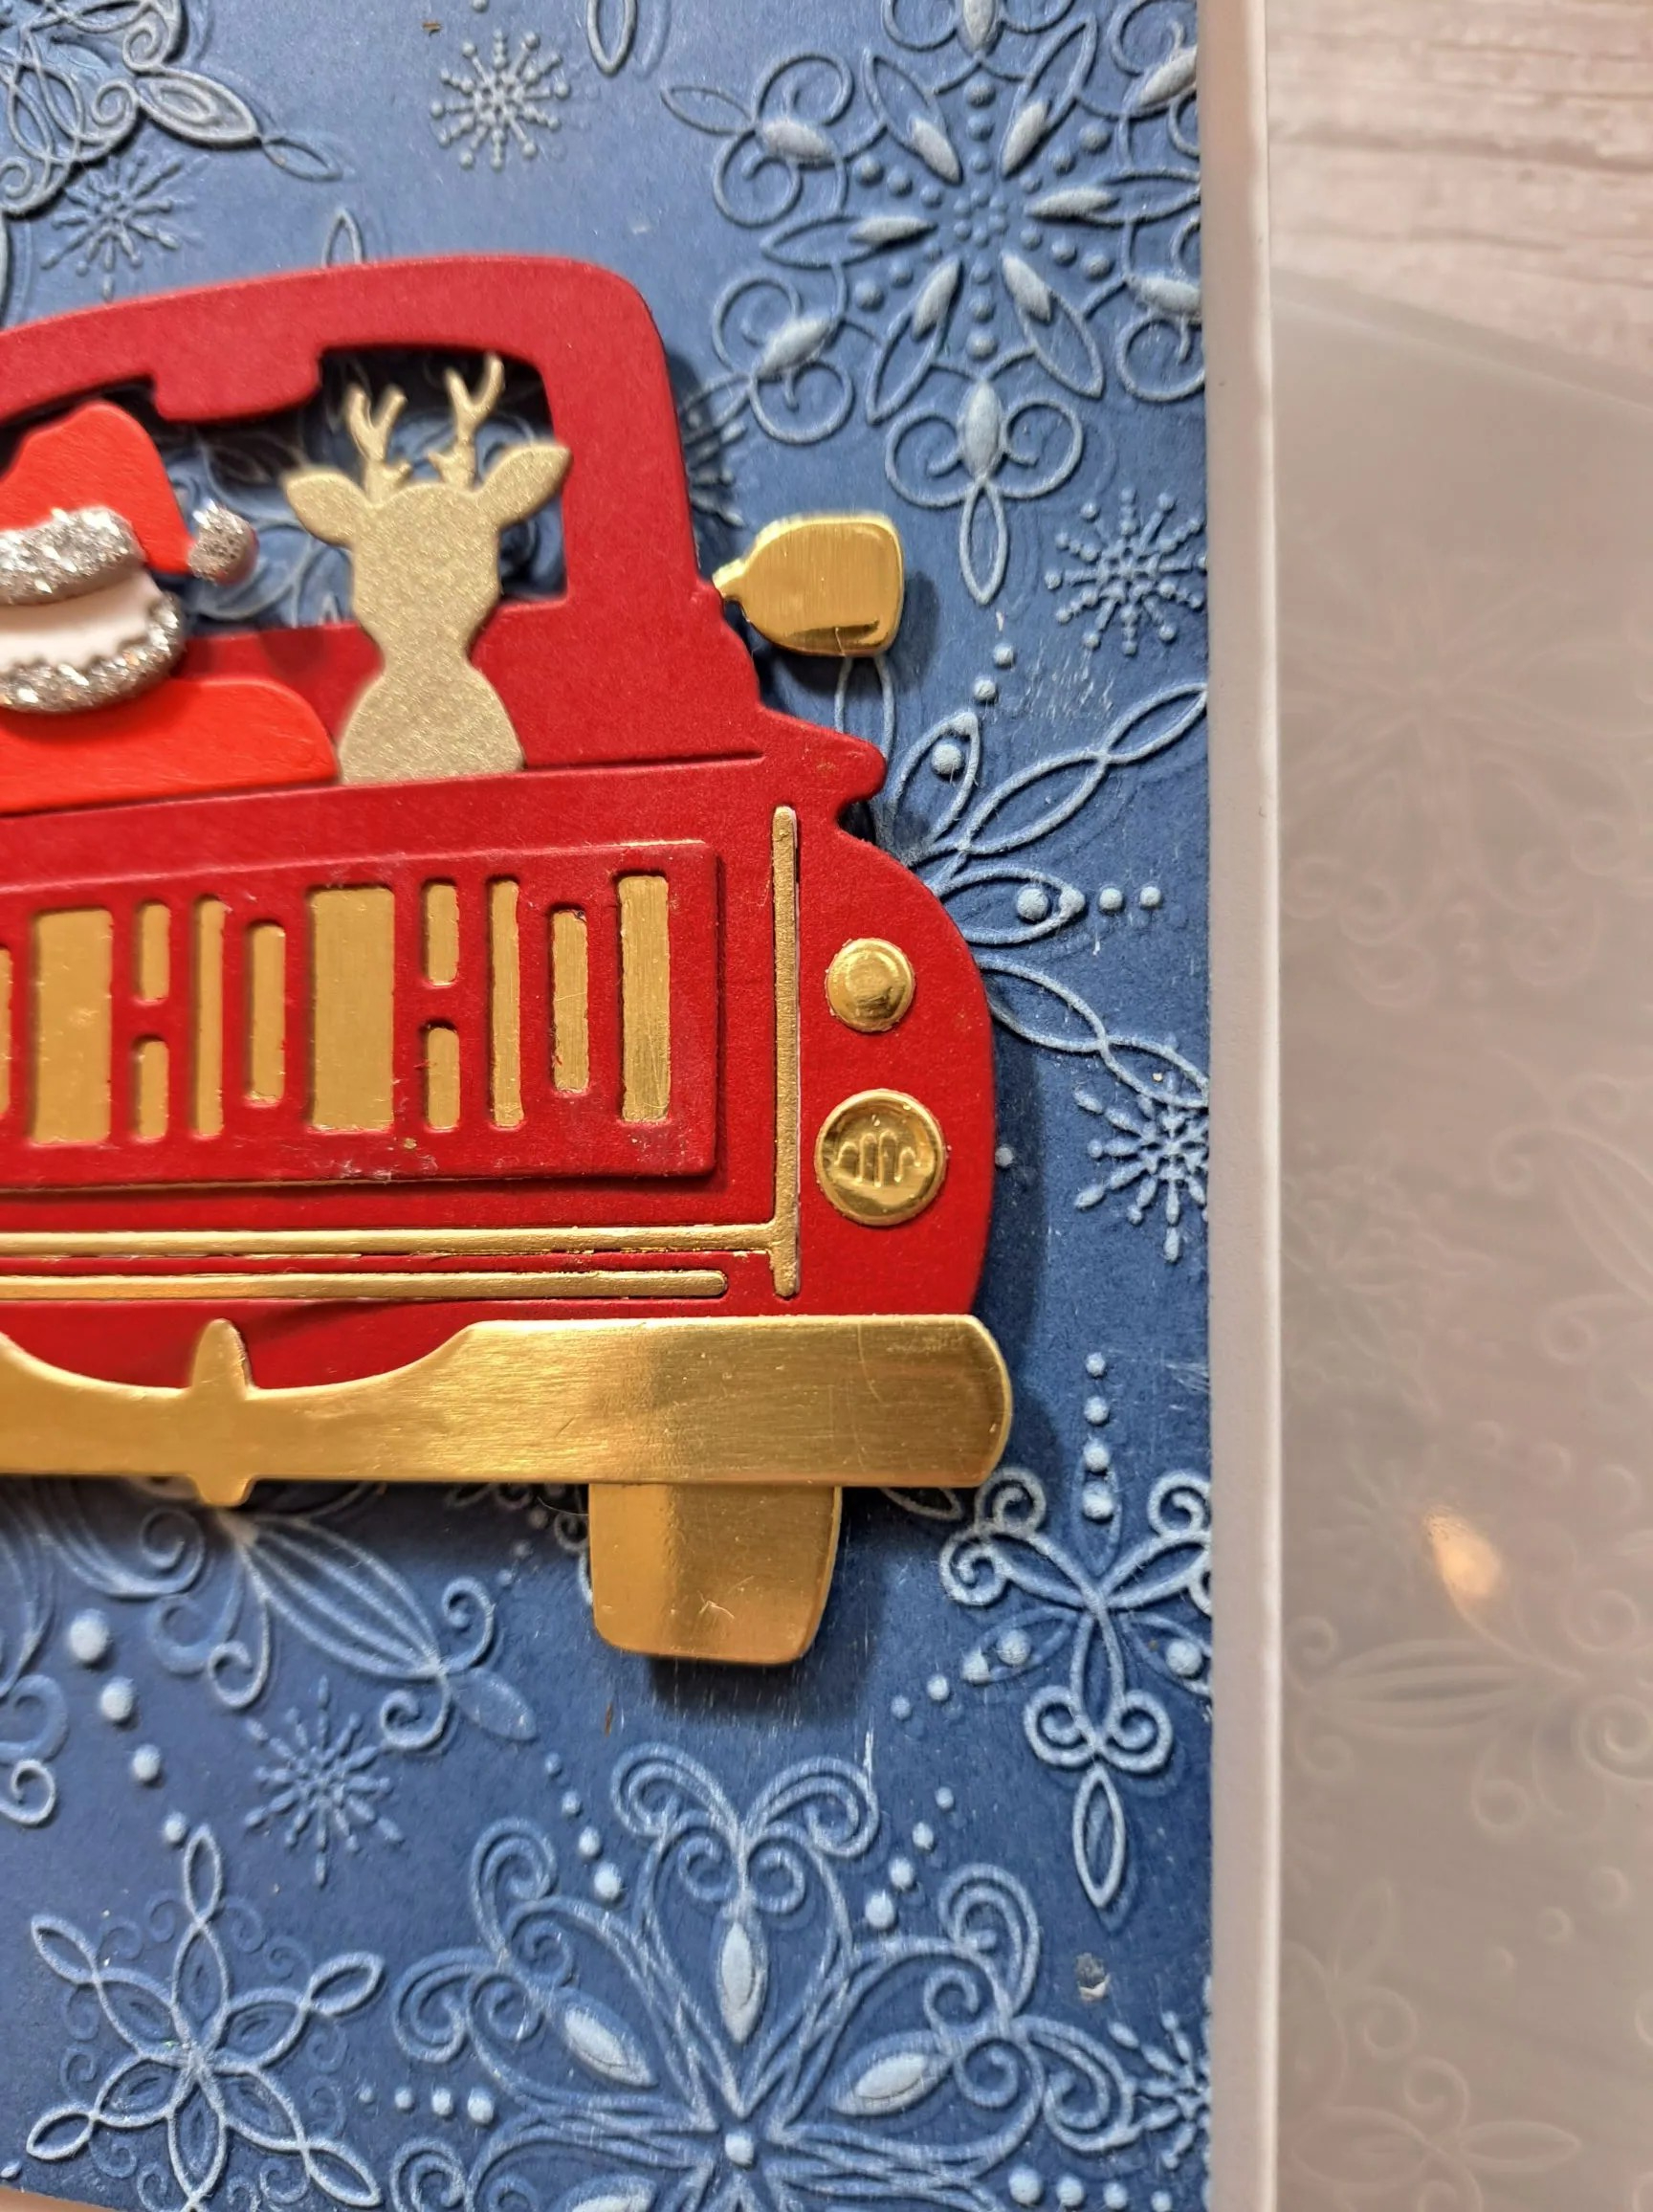
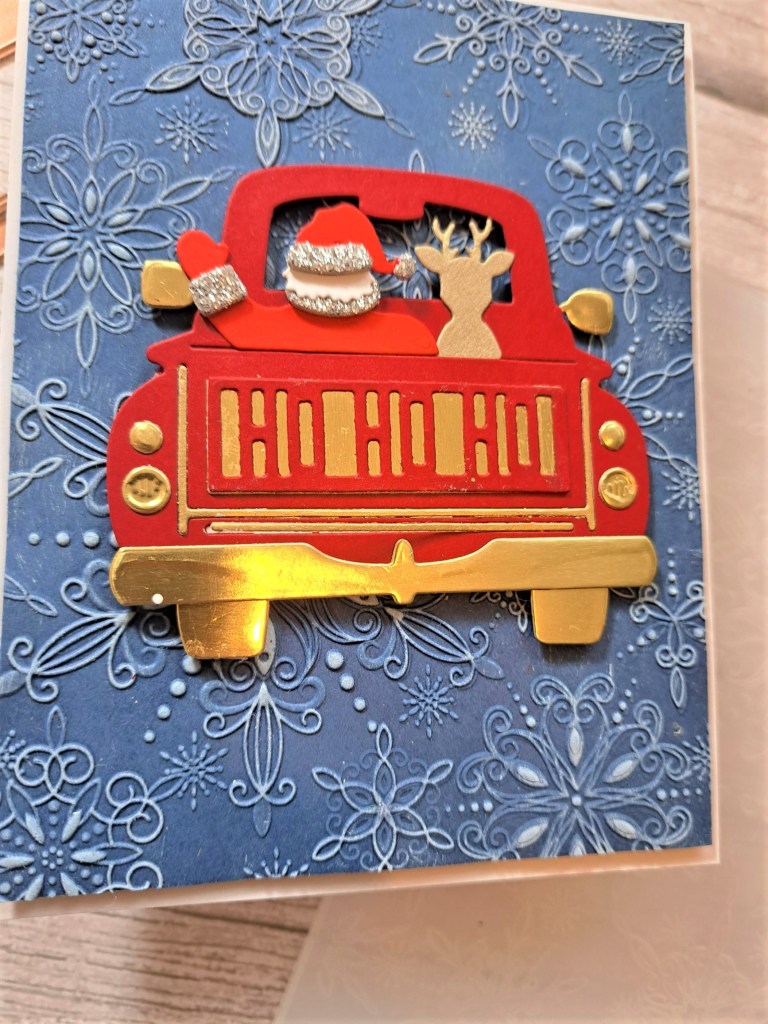
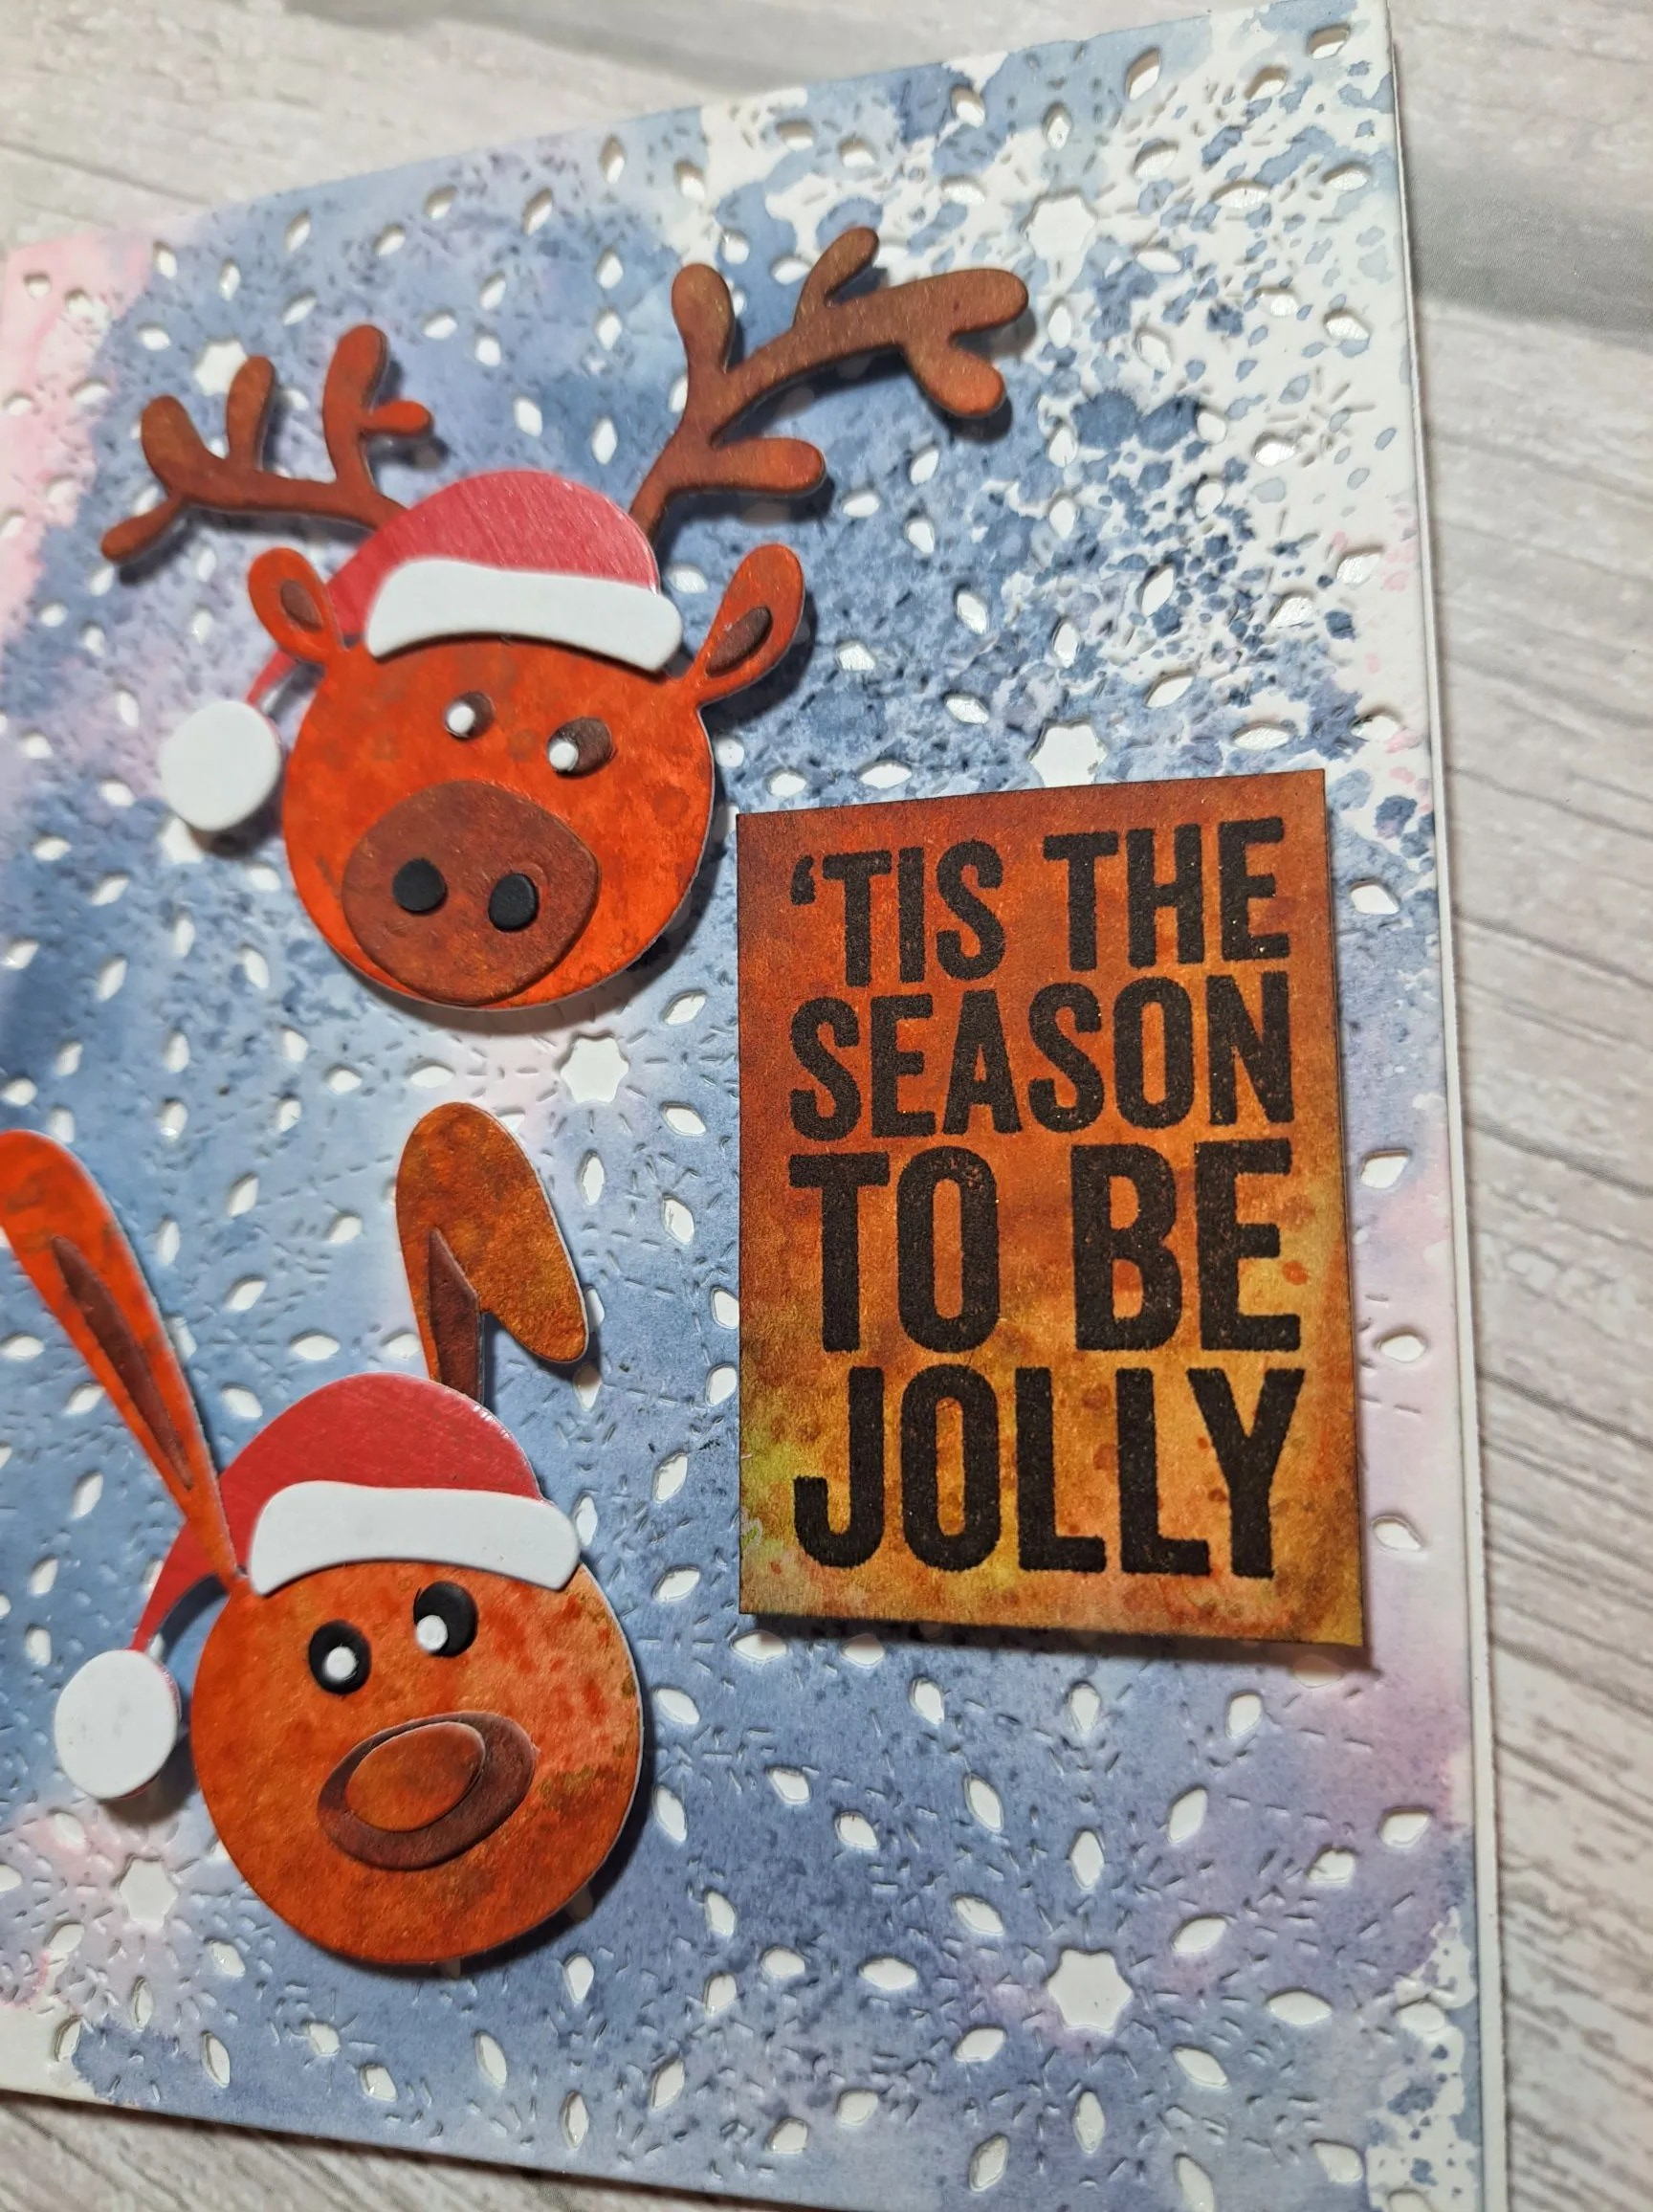
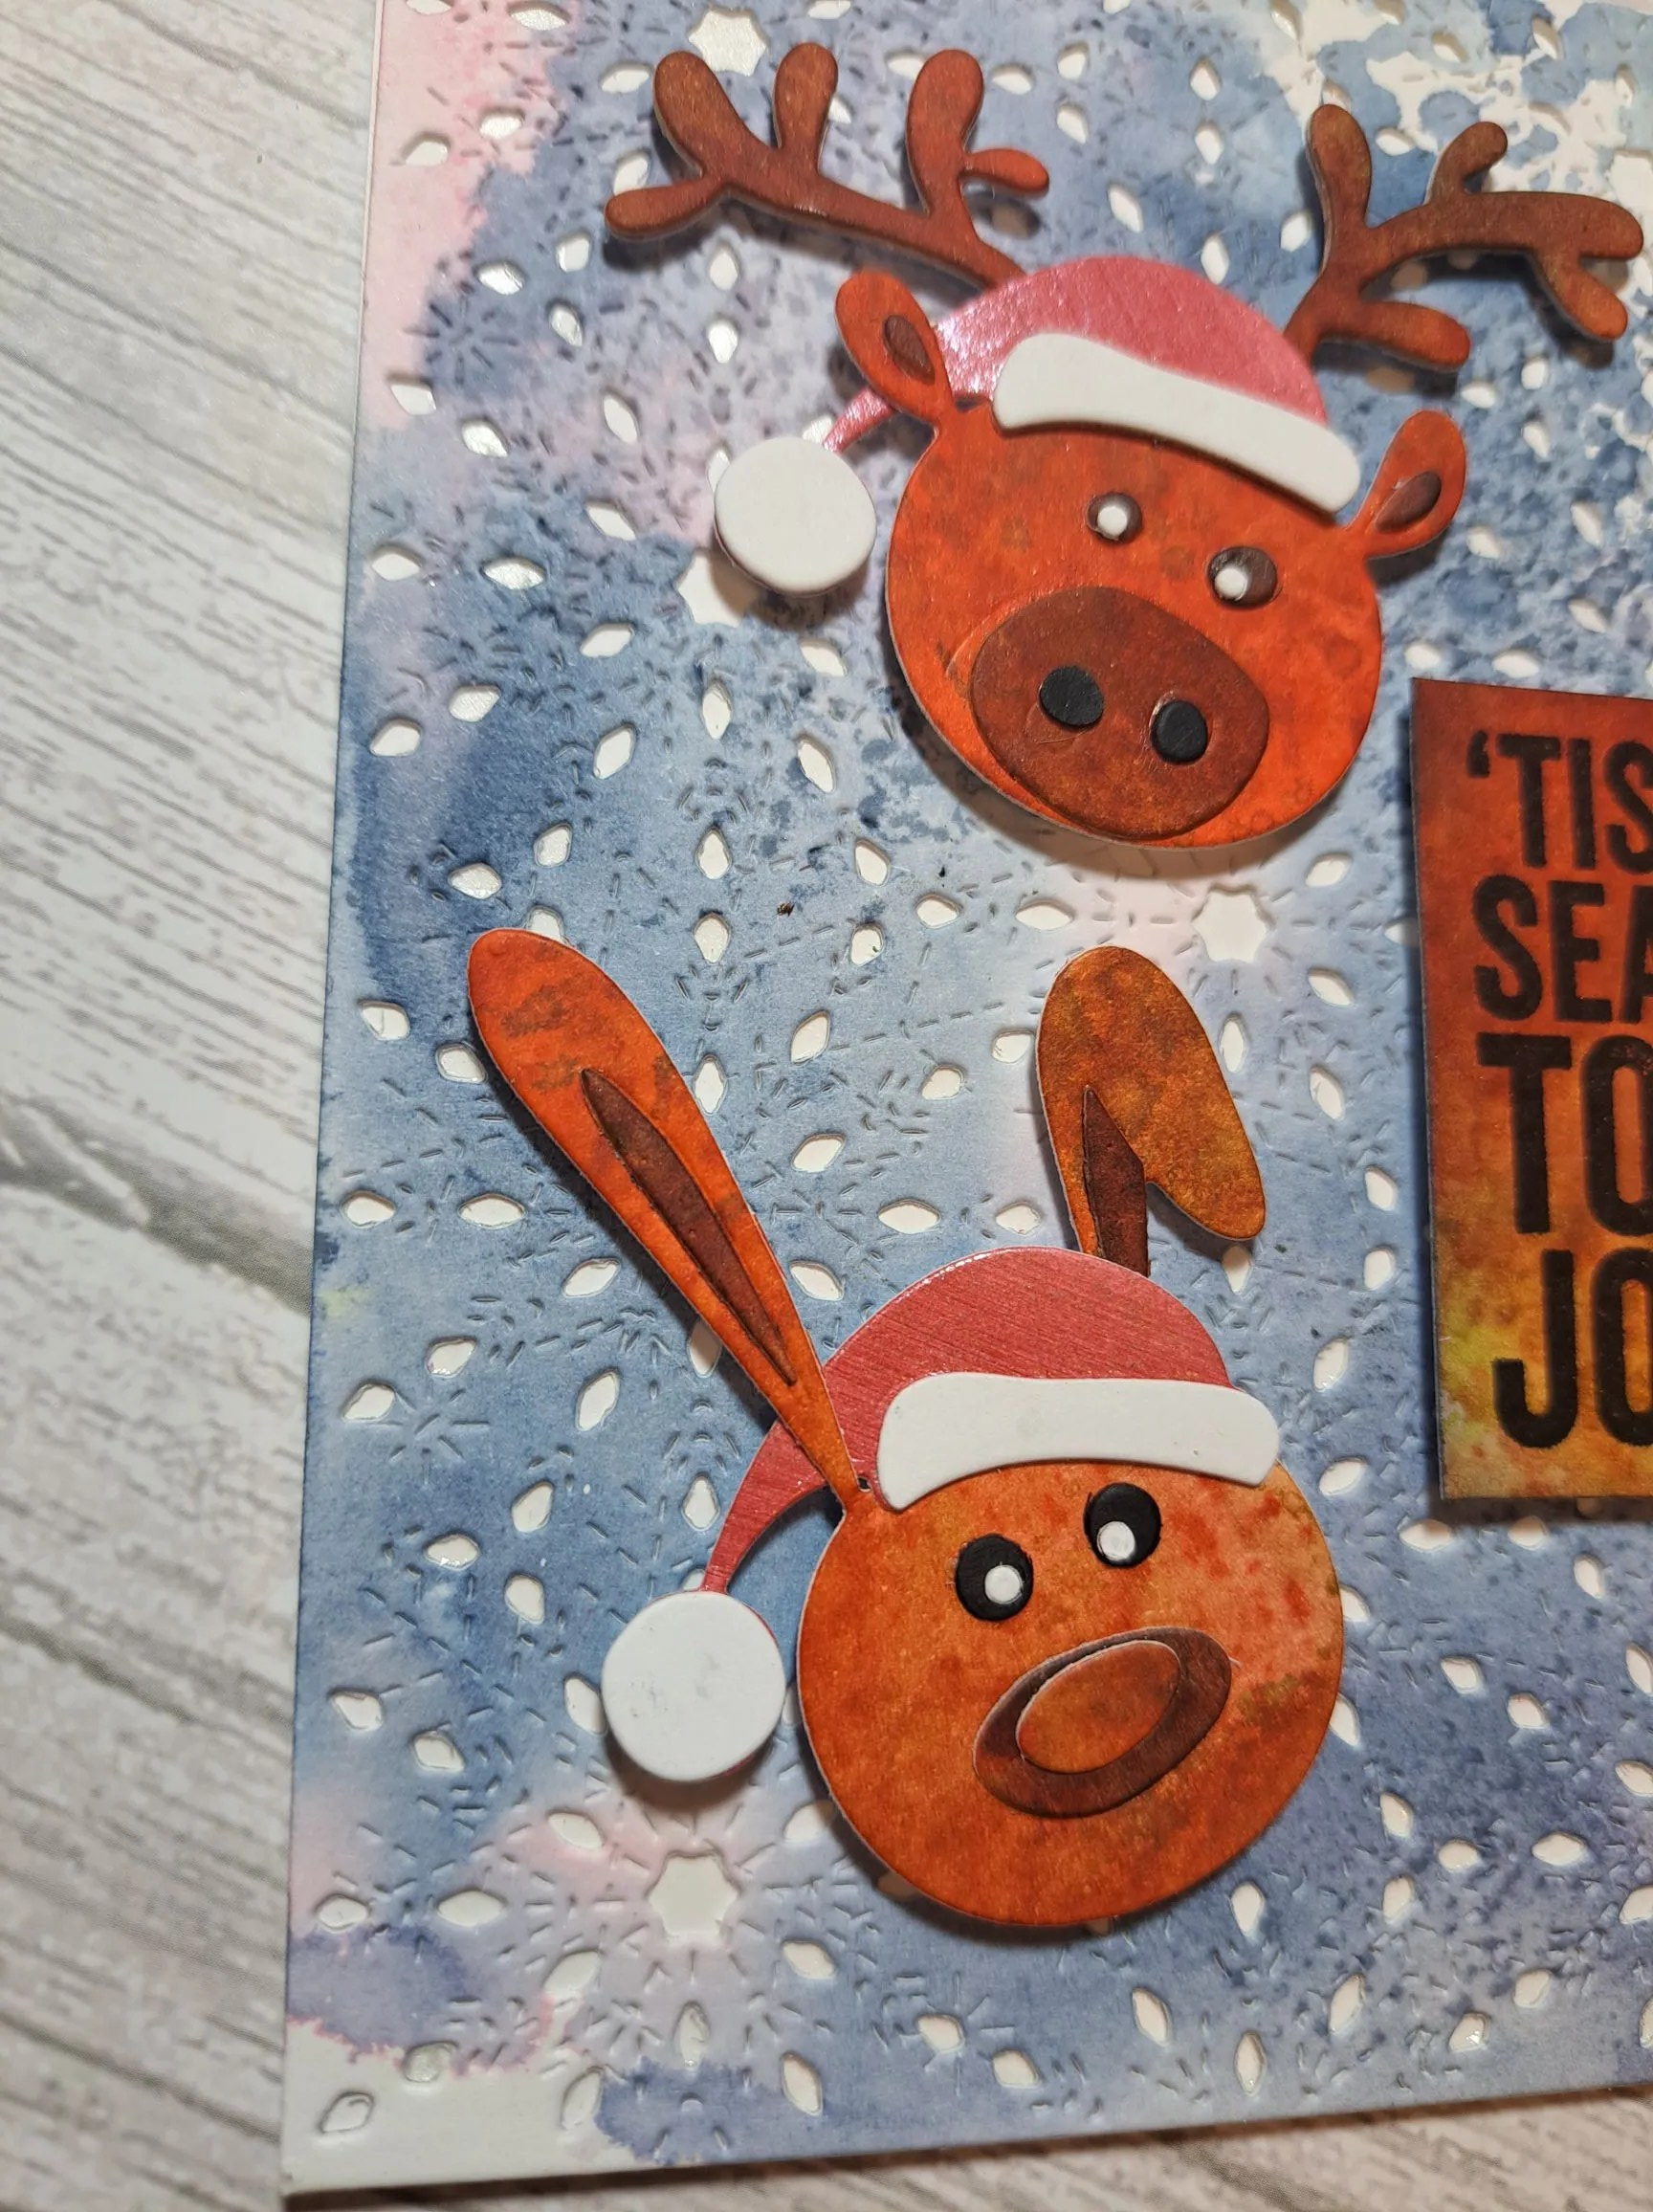
I used a panel of dark blue card stock, and the same embossing folder from Simon Says Stamp as my first Guest DT card, then gently rubbed a white pigment ink pad over the top to highlight the snowflakes.
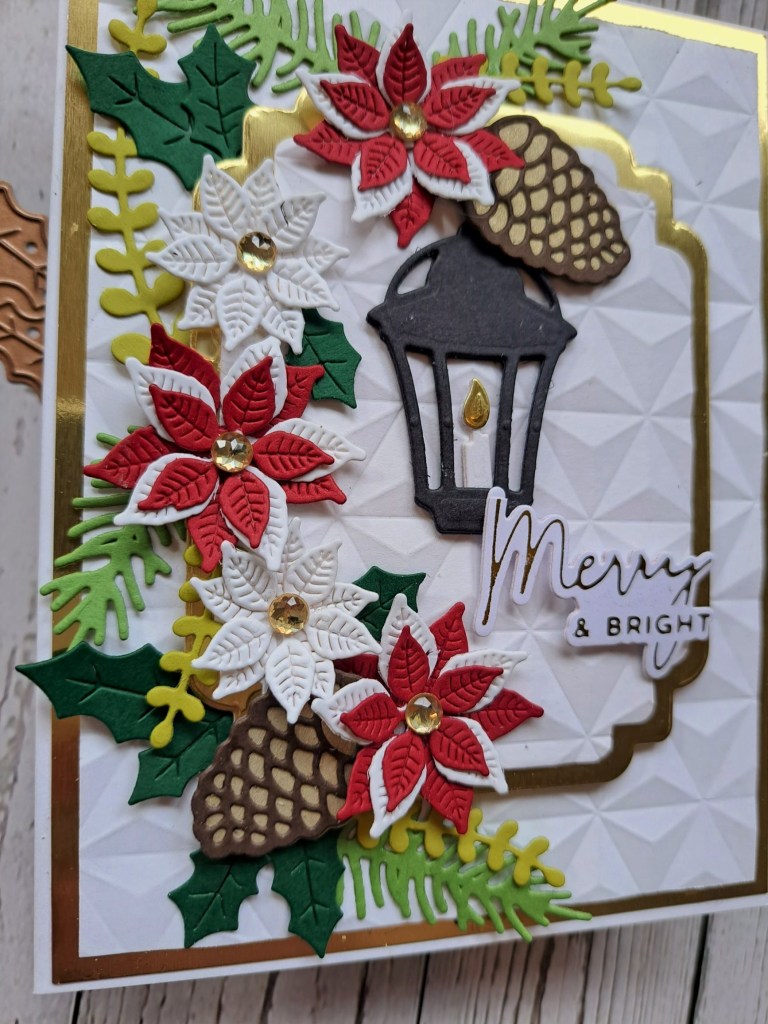
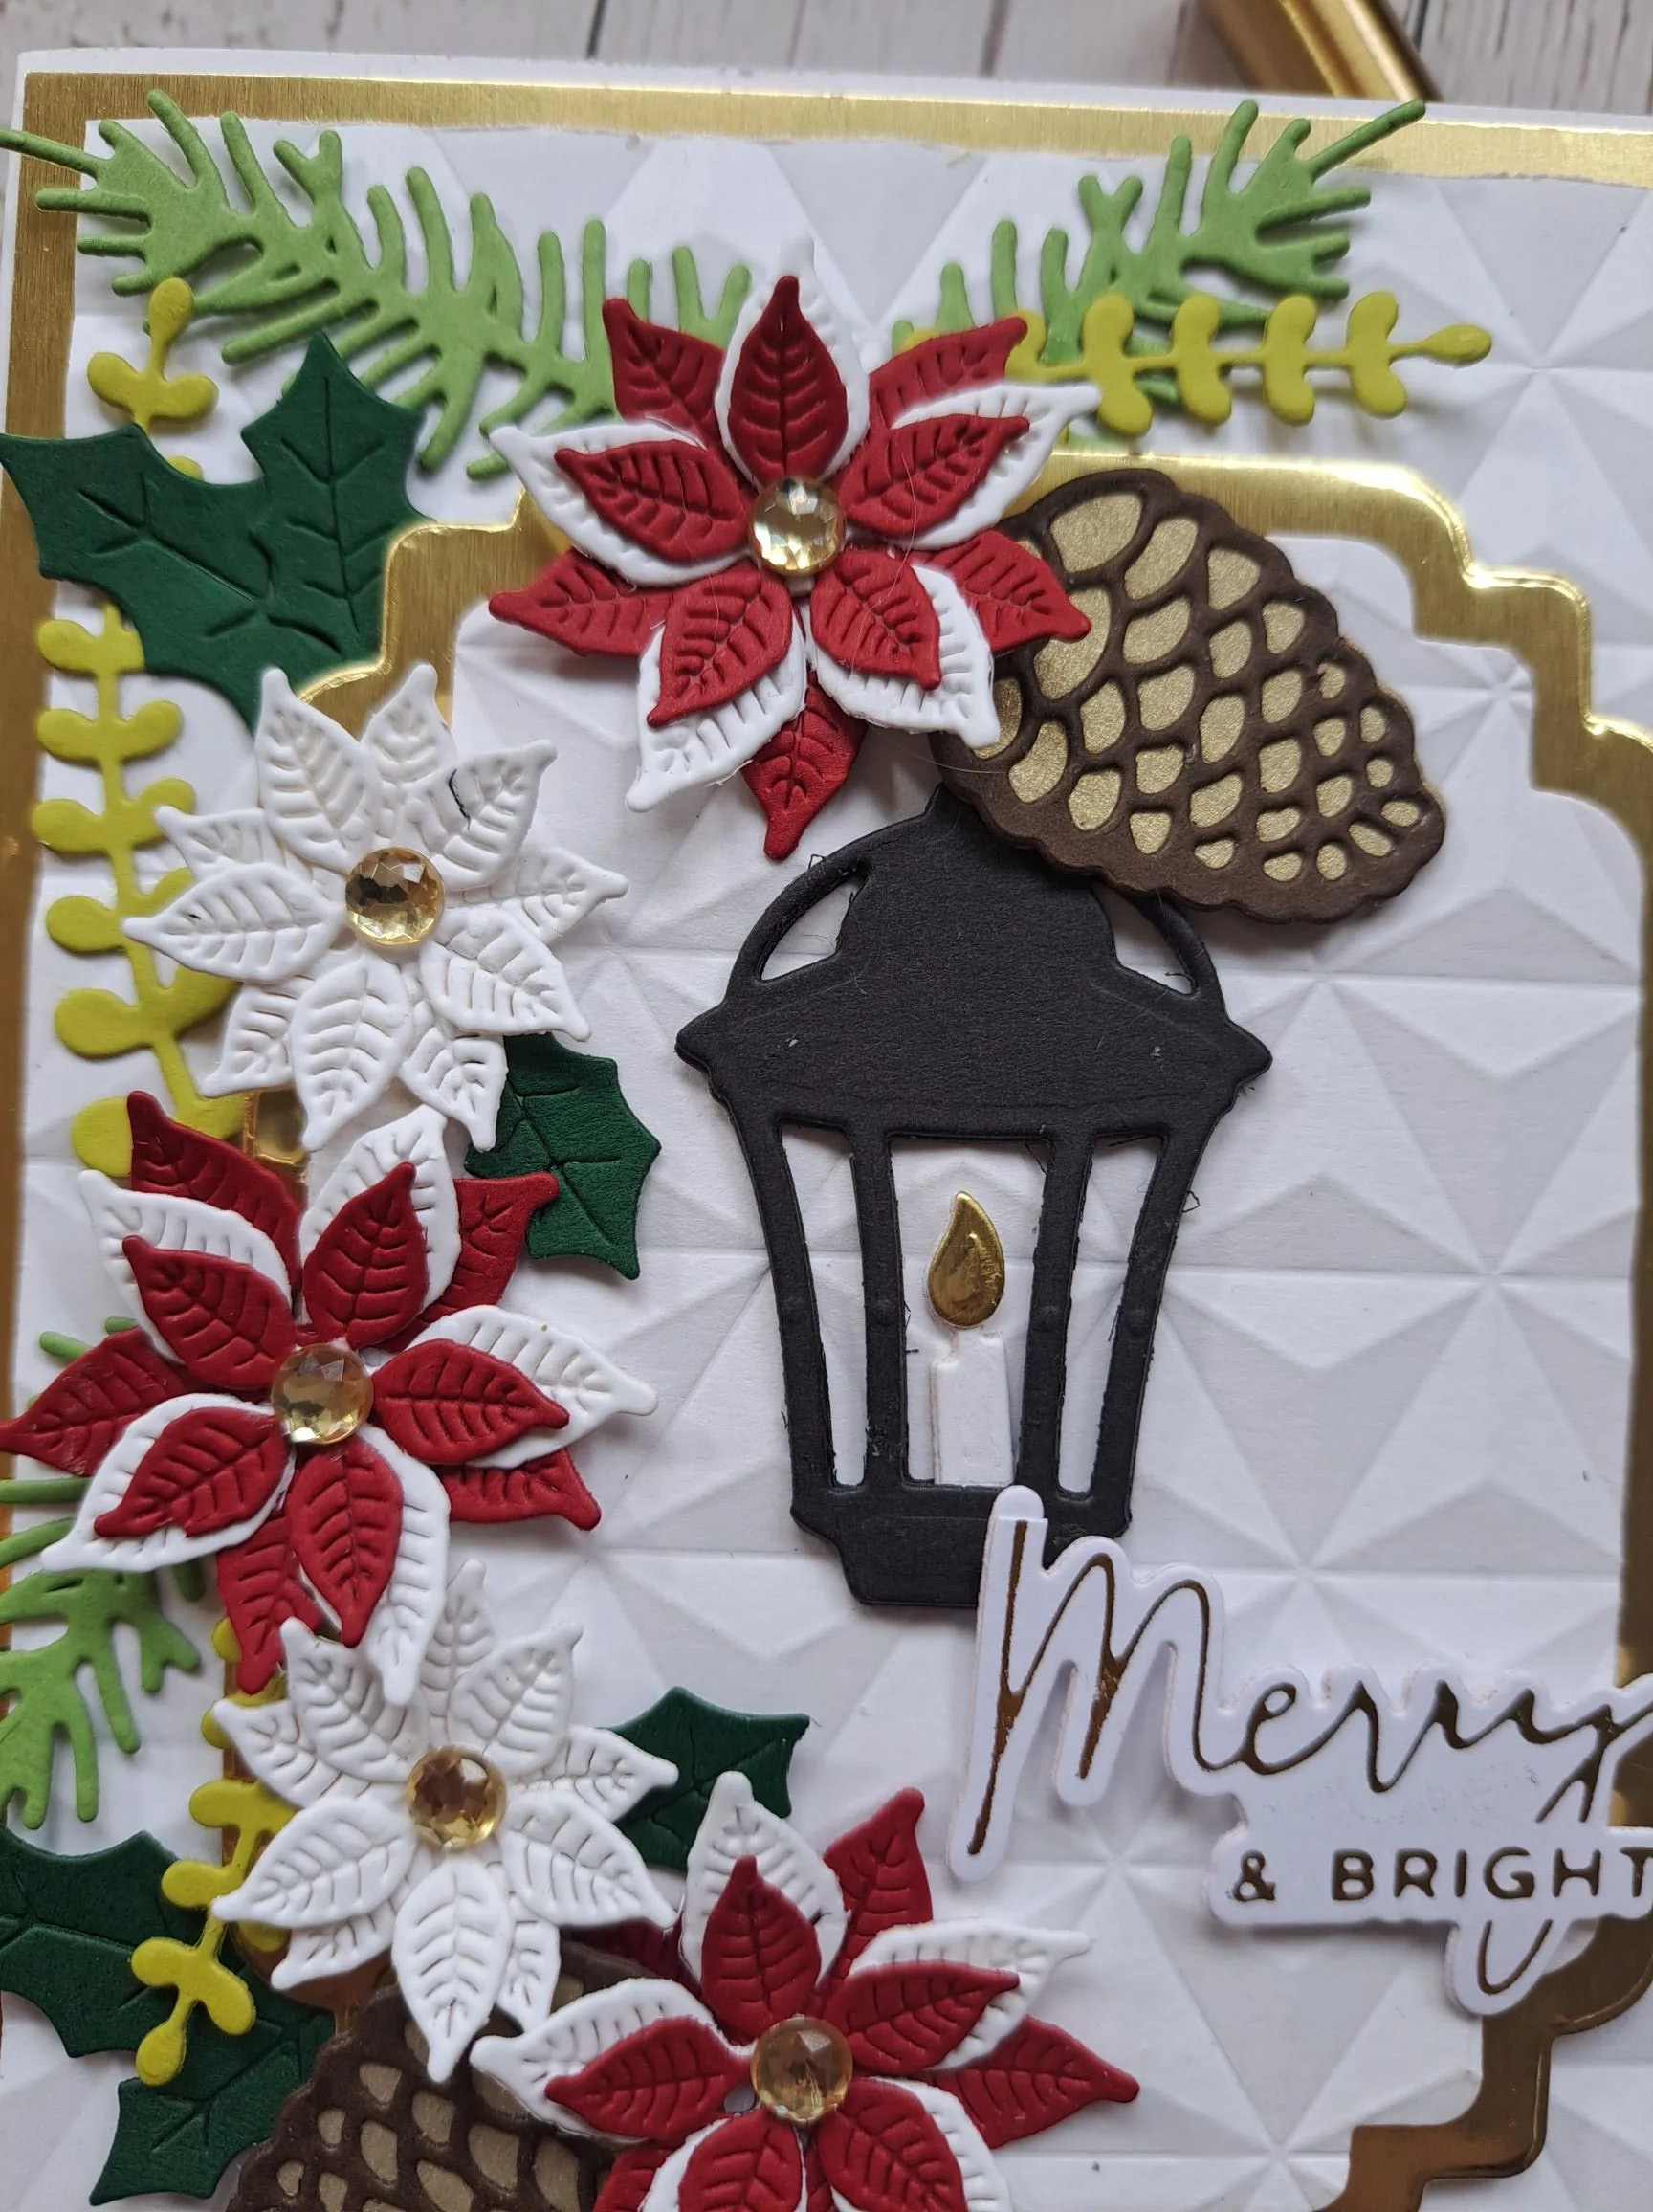
Whilst that was drying. I die cut all the elements I wanted to use from the ‘Santa’s Workshop’ die set from Spellbinders, then arranged them all as you see.
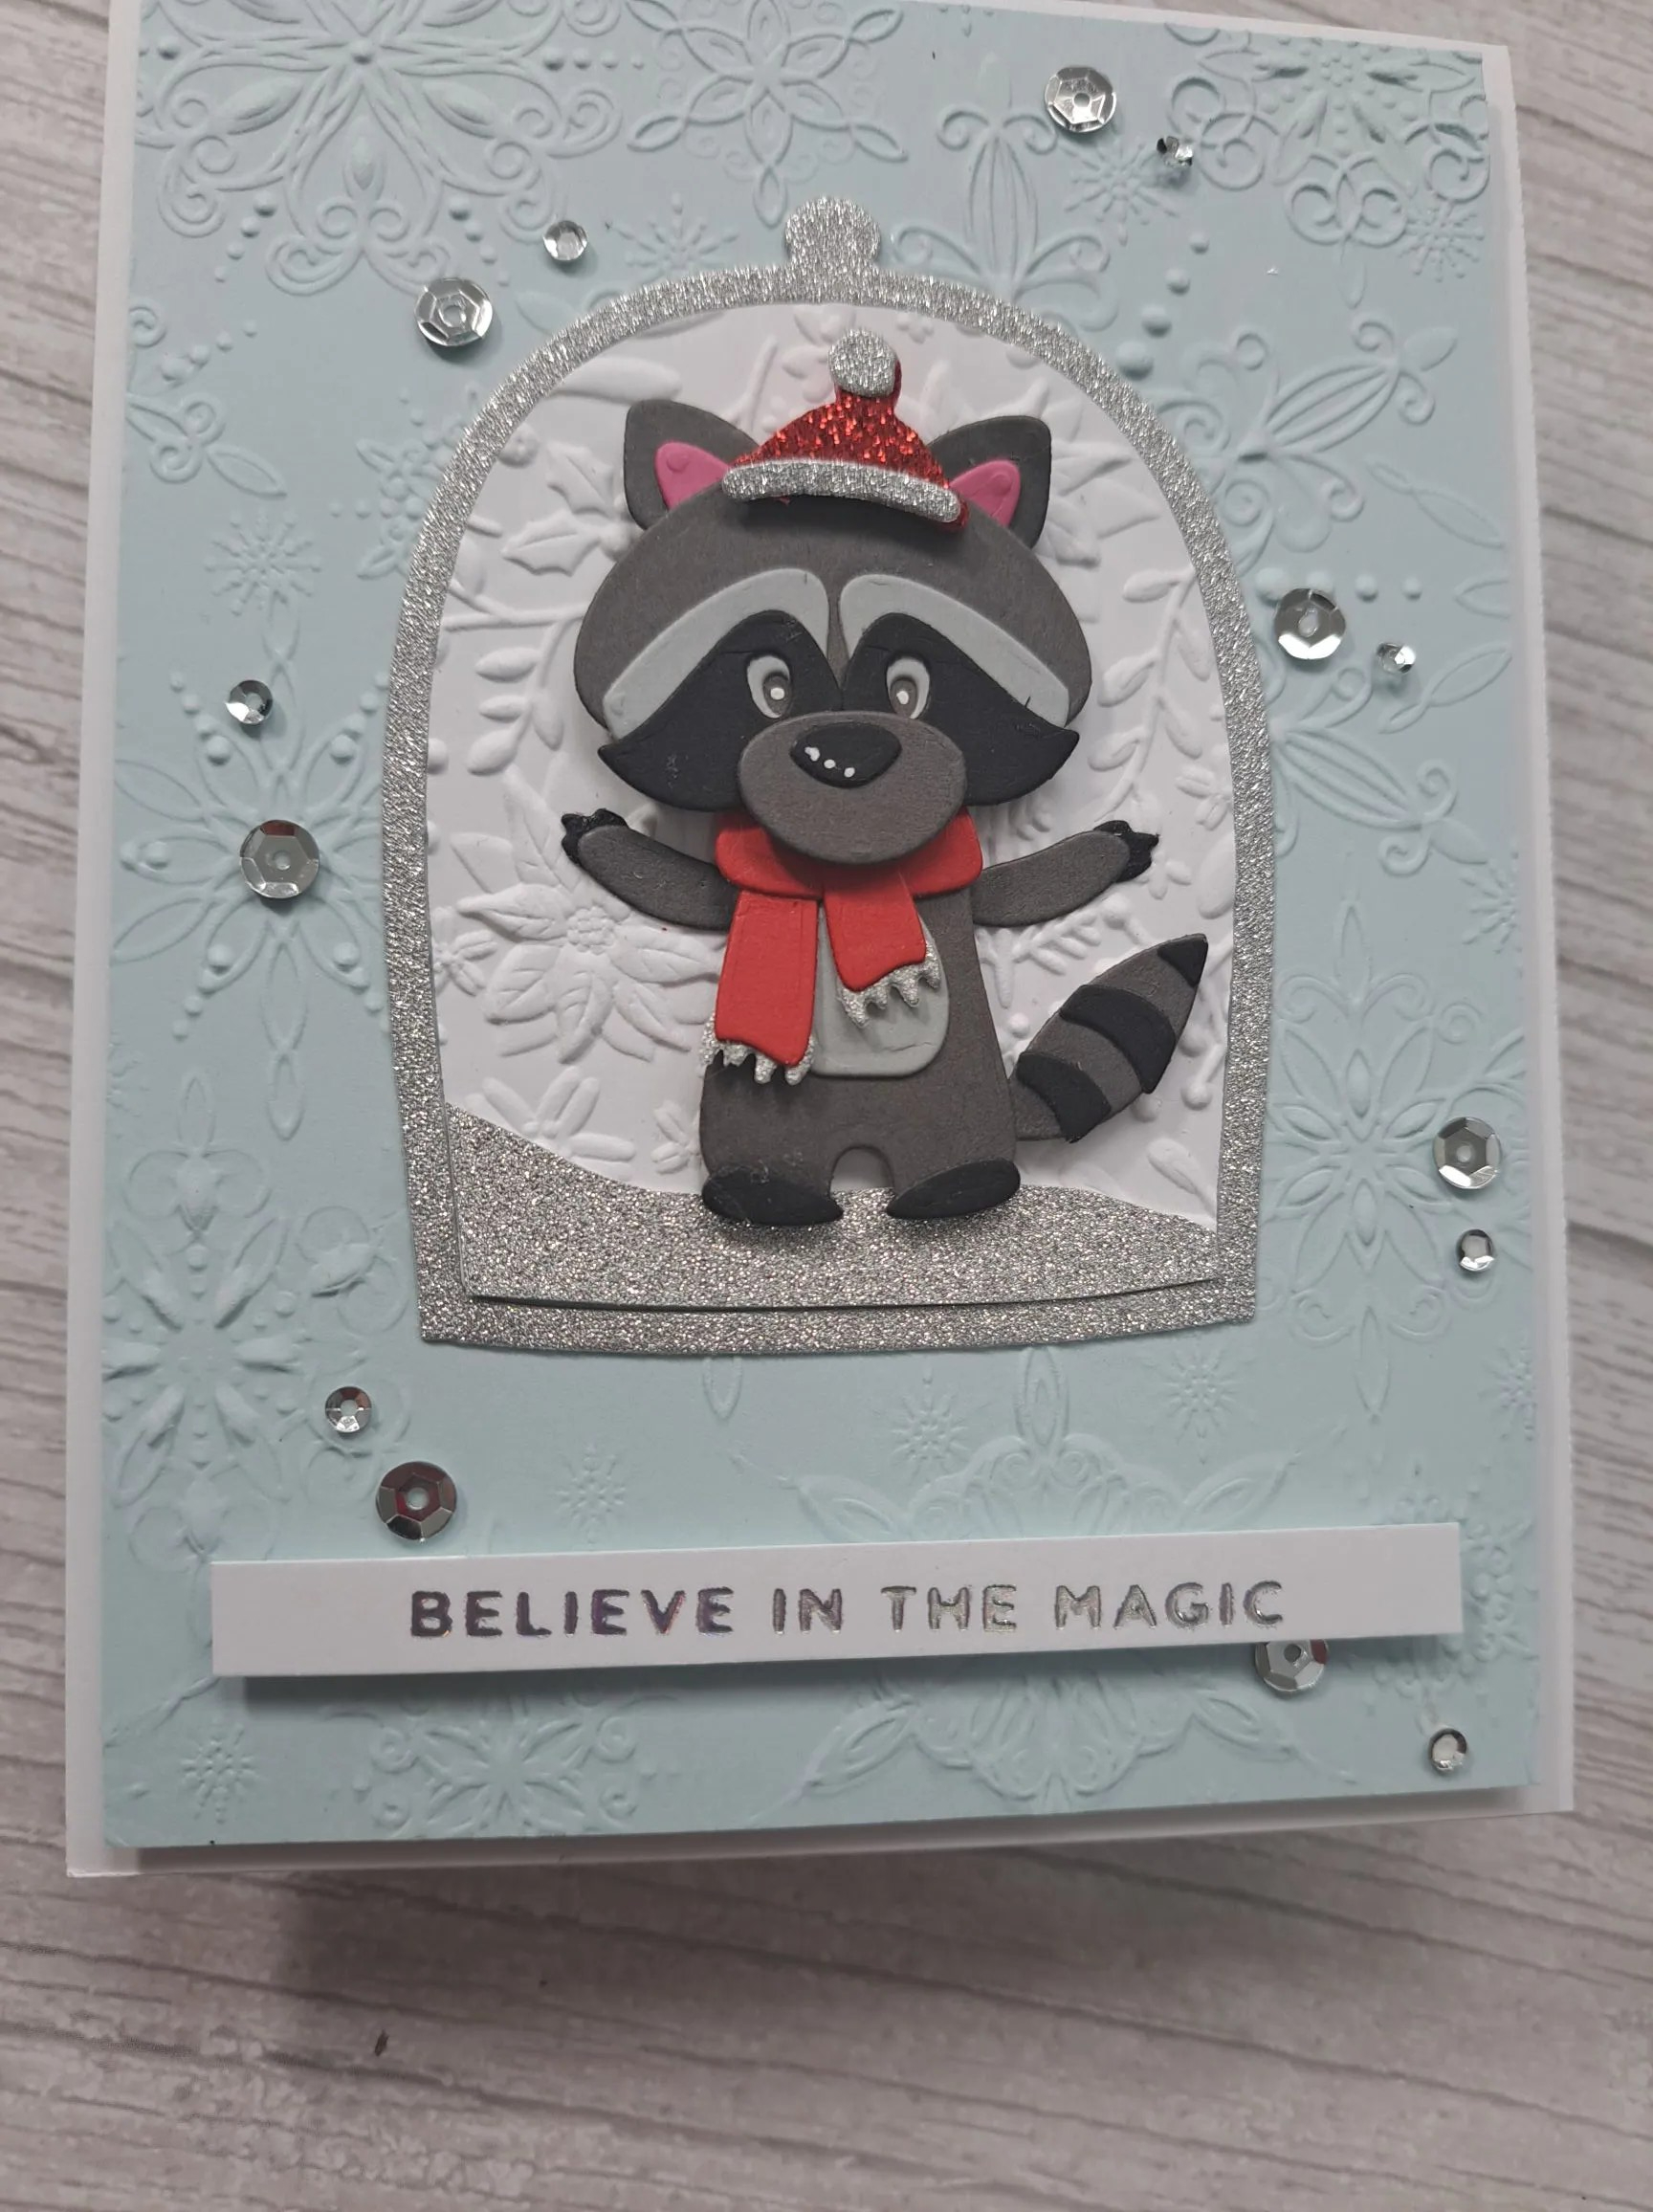
The lighter blue panel is ink smooshed and then die cut. The hills and sentiment die cut from silver glitter card.
We are half way through the challenge, so you have plenty of time to join us with your ‘anything goes‘ Christmas creations. xx
I shall be entering the following challenges:
Craft Rocket – Christmas in July
12 Months Of Christmas – anything goes Christmas
Country View Challenge – 4 legged friends
Sparkles Forum Christmas – Christmas and include gold
Get Creative – Christmas in July
Peace On Earth – anything goes Christmas
Merry Little Christmas Challenge – anything goes Christmas