Hello everyone. Cardz 4 Galz has started a new challenge. Helen is hosting this time, and has chosen the theme of :
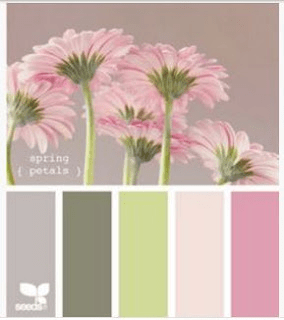
‘Pretty In Pink’
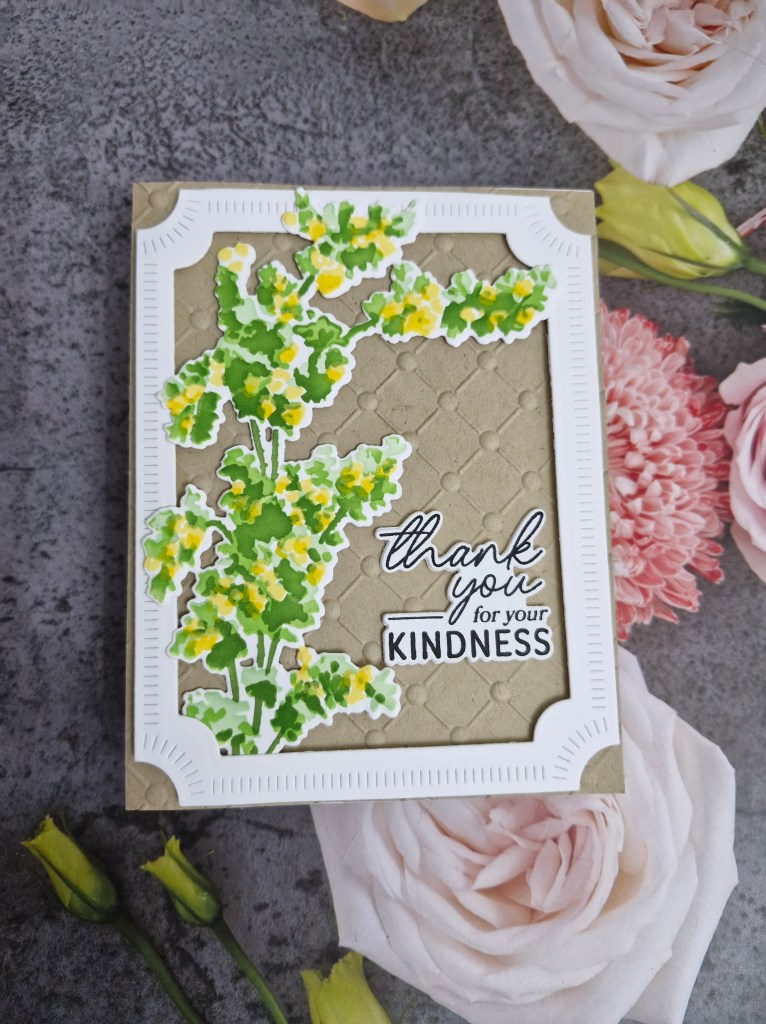
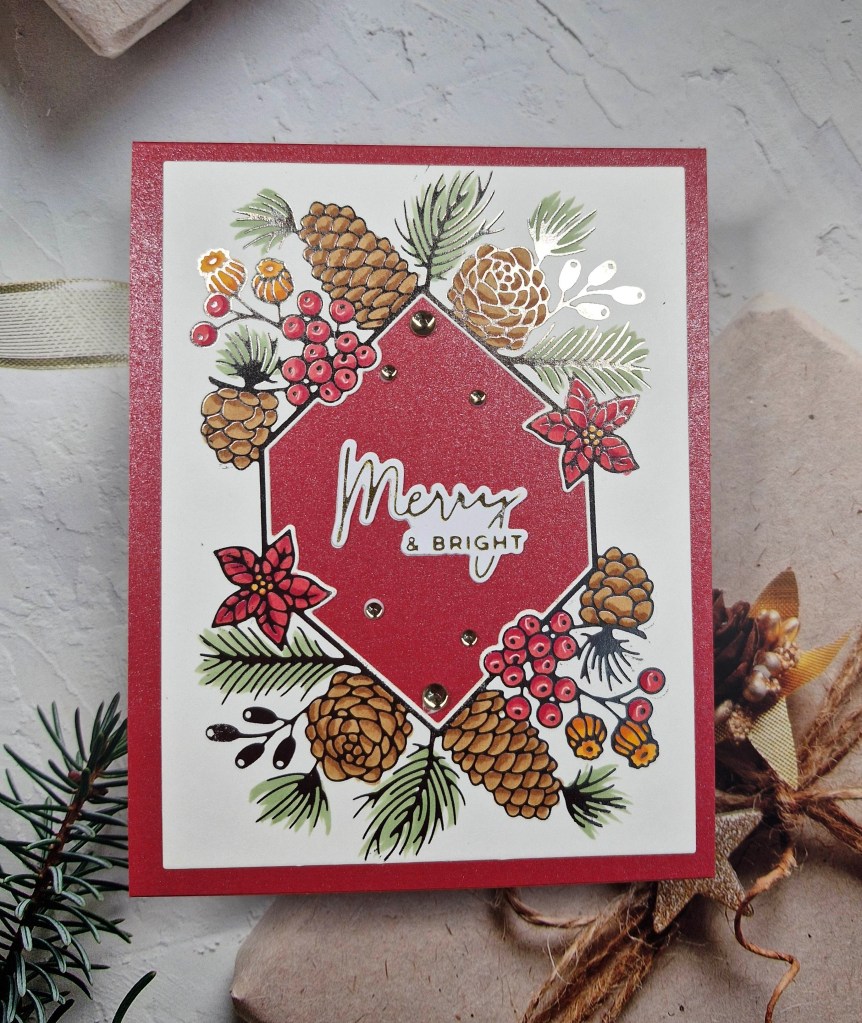
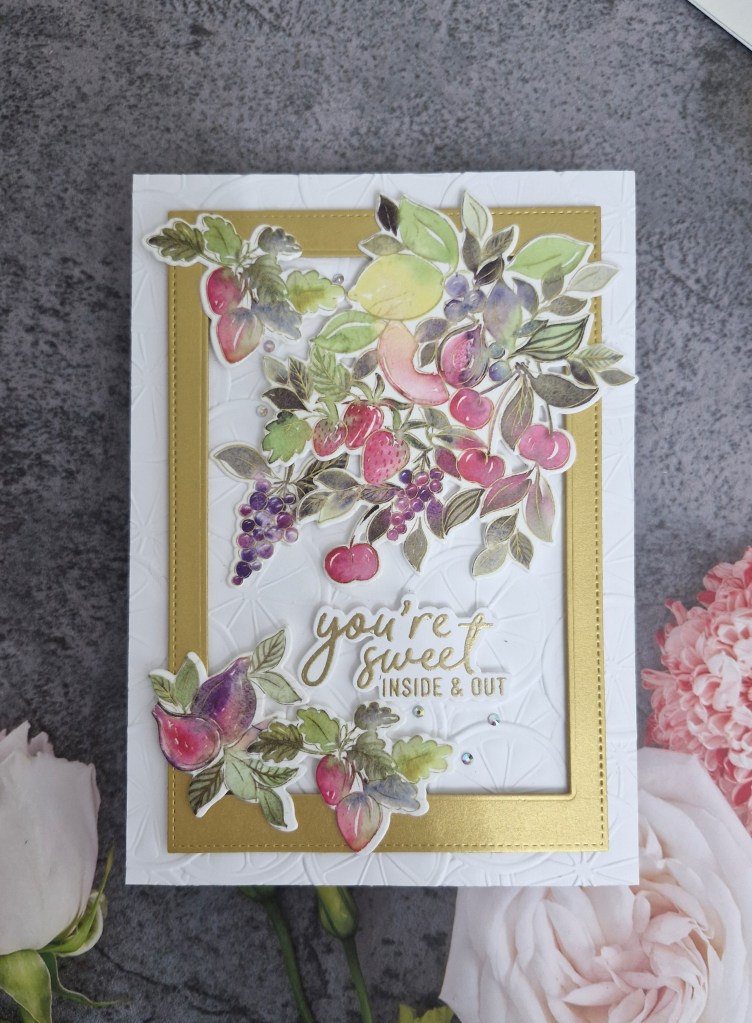
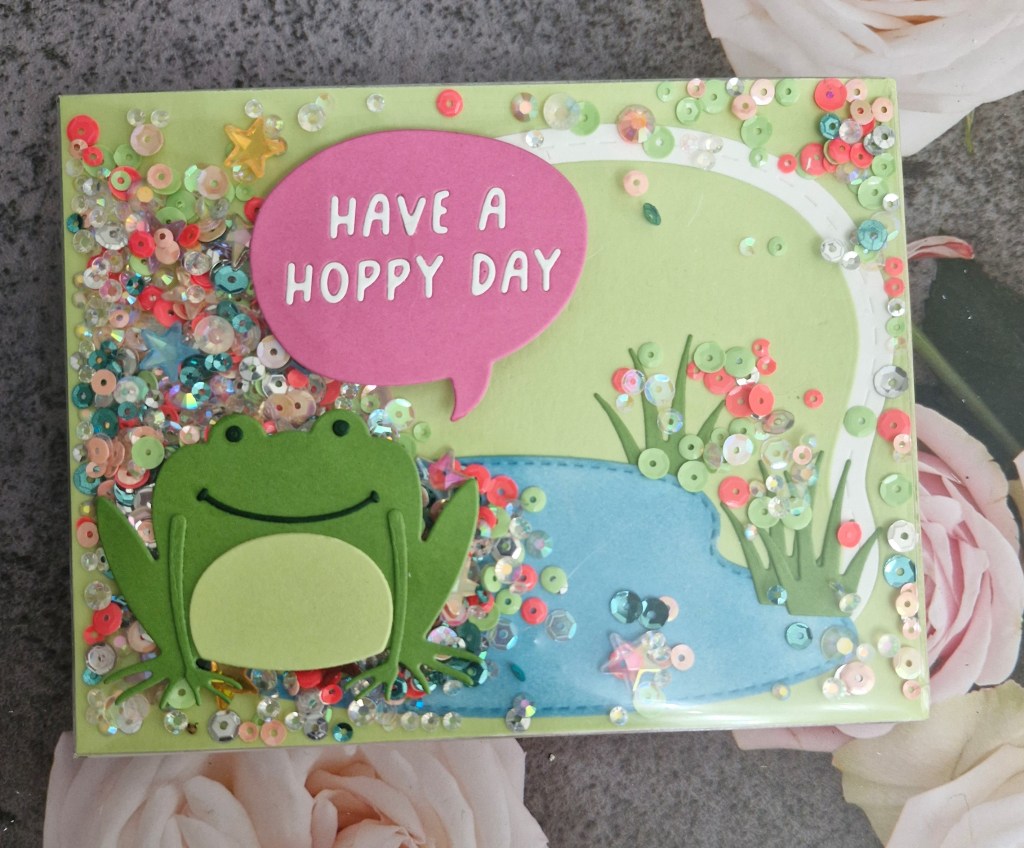
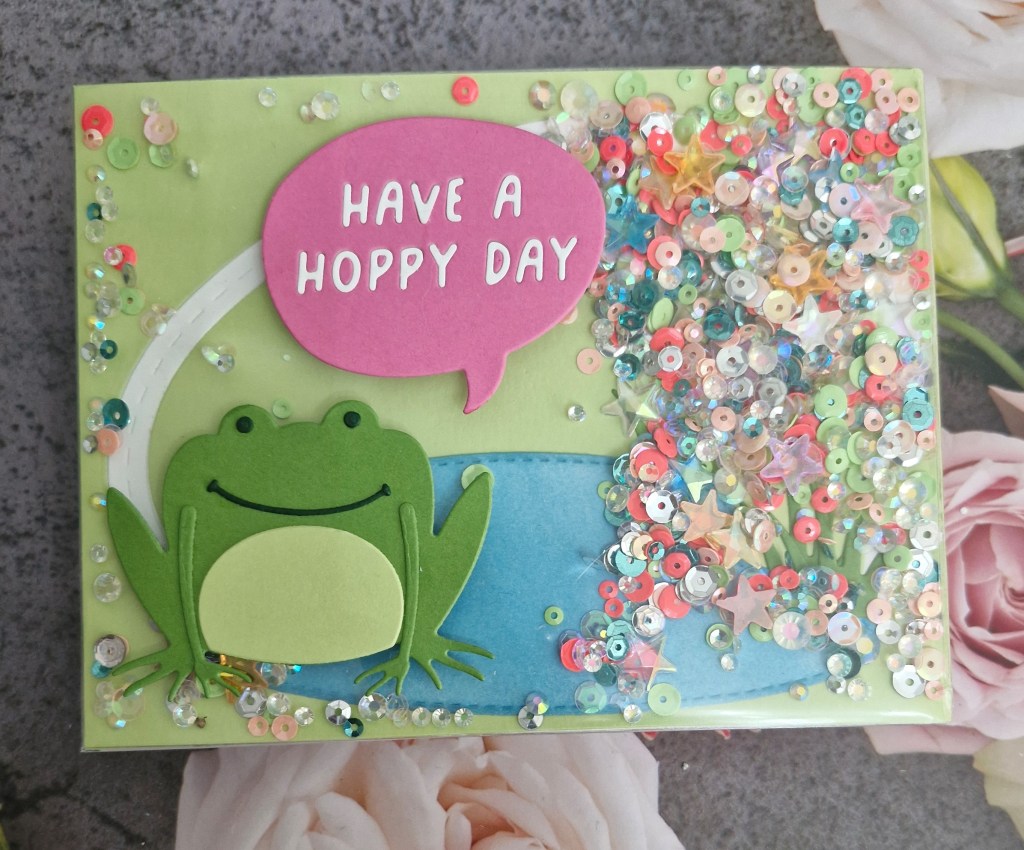
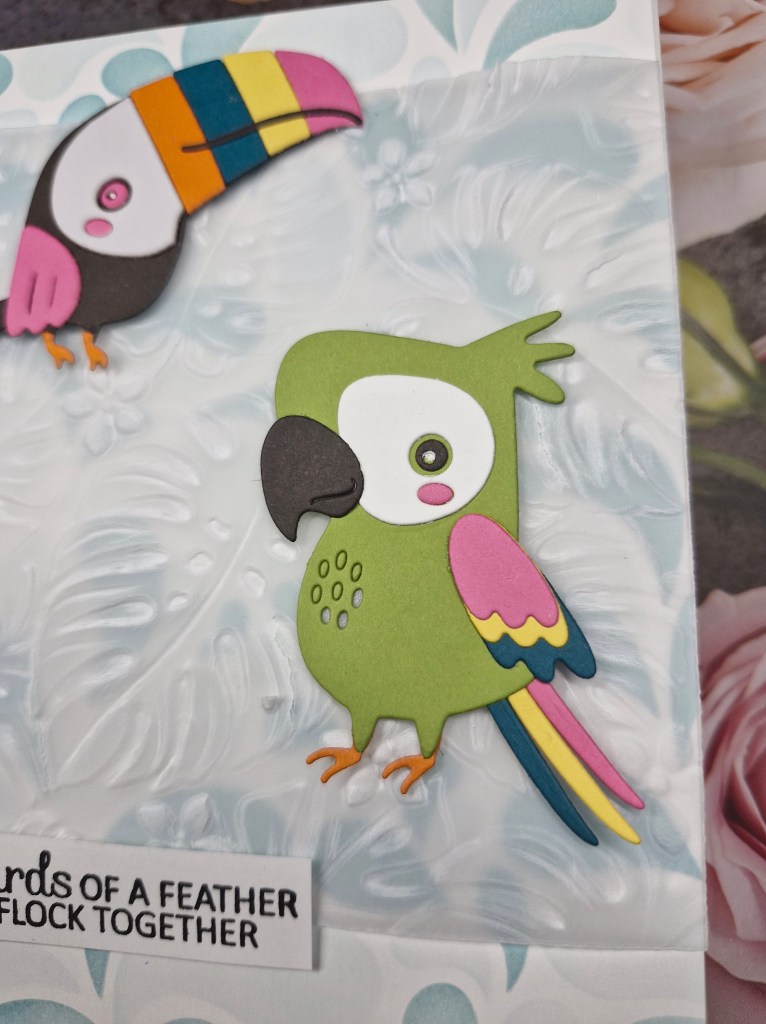
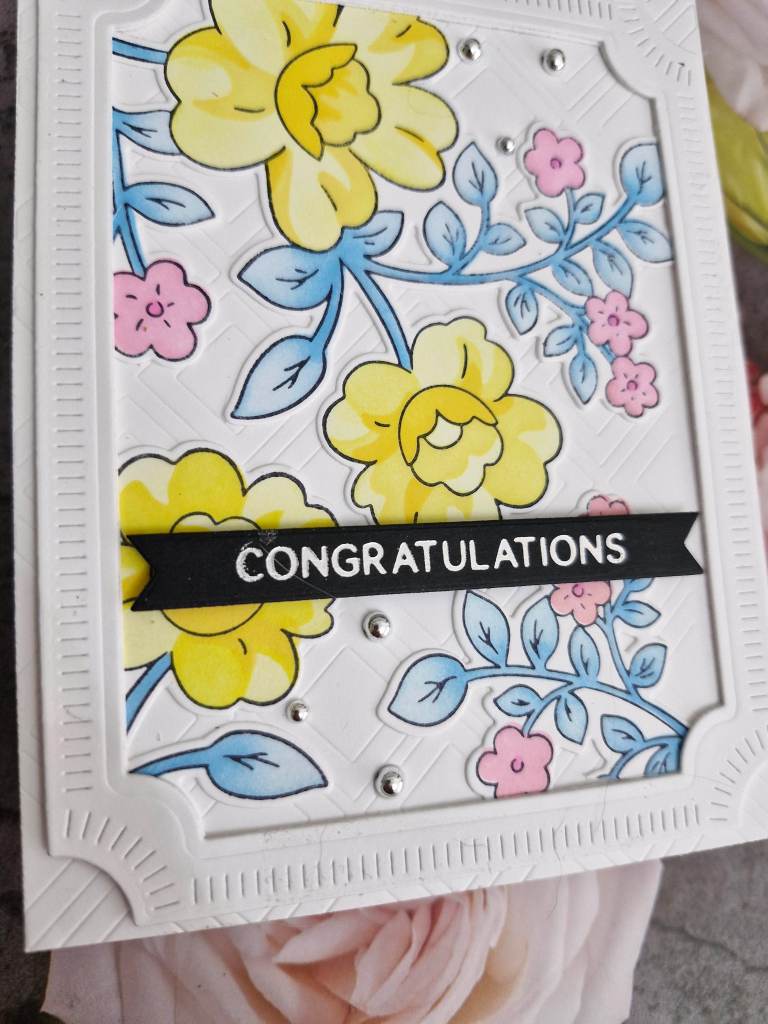
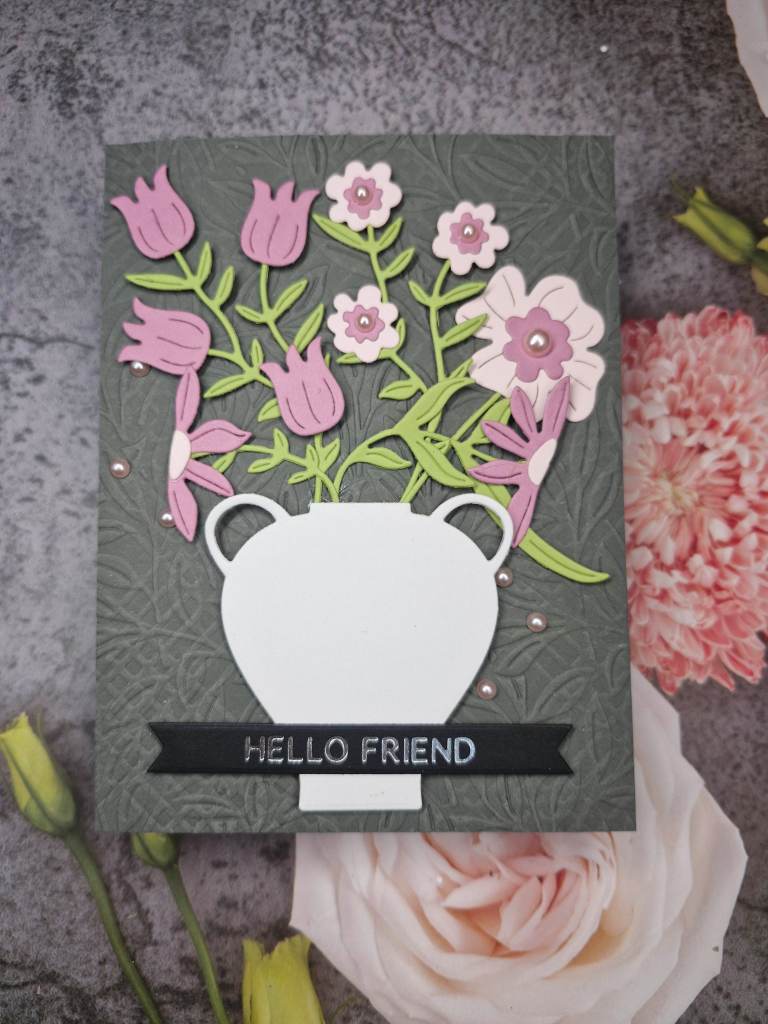
Here is my card:
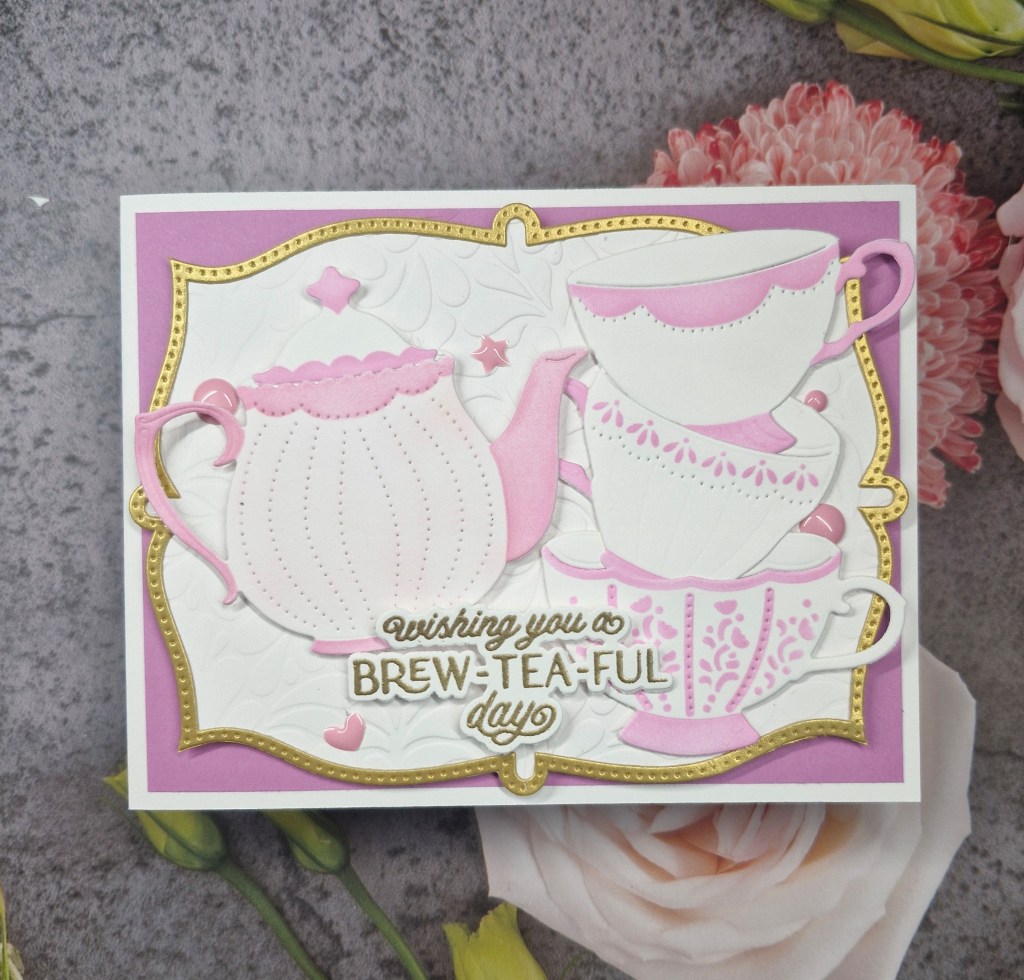
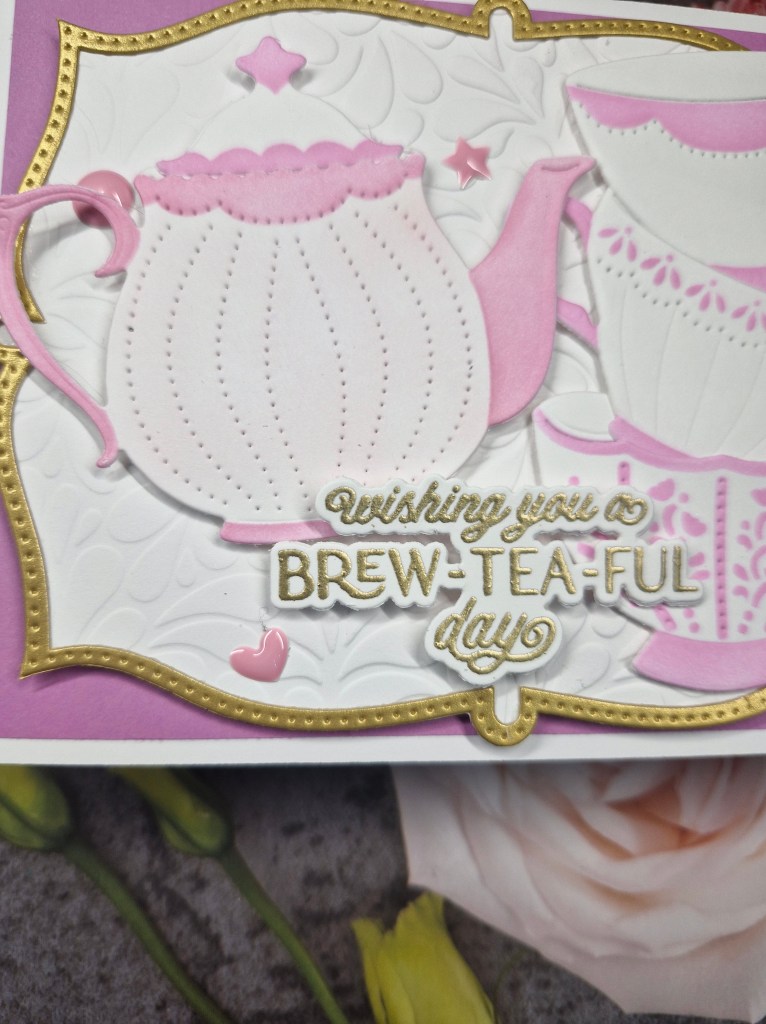
I wanted to use the new products from The Greetery, and thought the die cuts of the teapot and cups inked with the matching stencils would work a treat. It is not very often I create a wholly pink card, but I am pleased with the outcome.
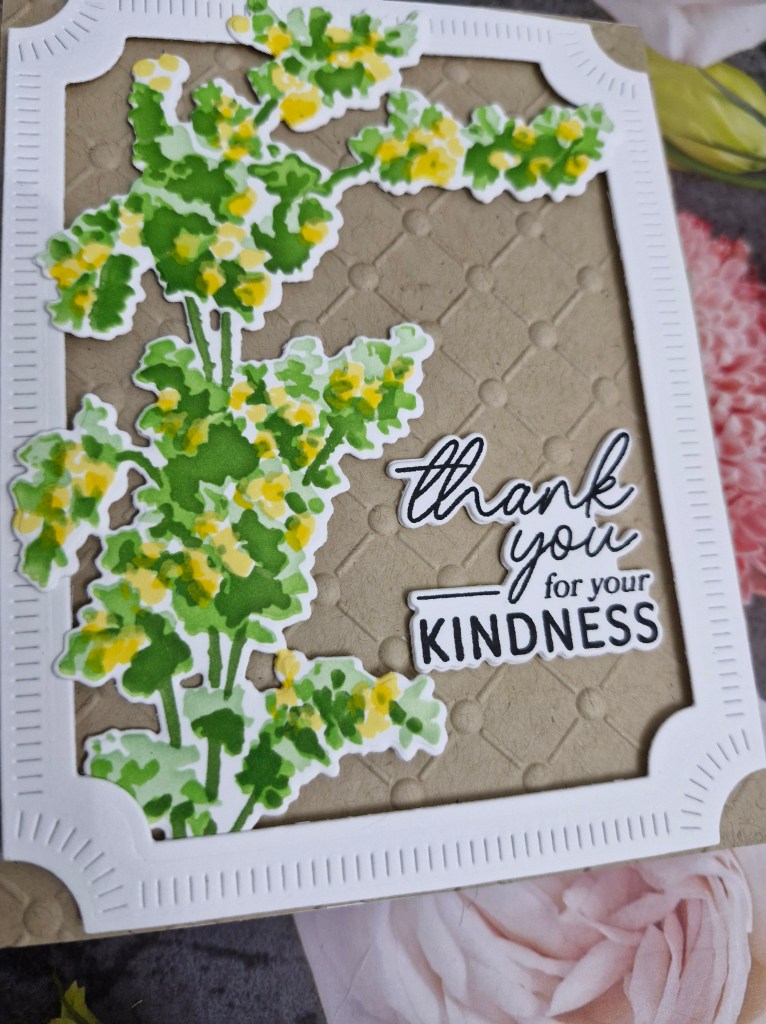
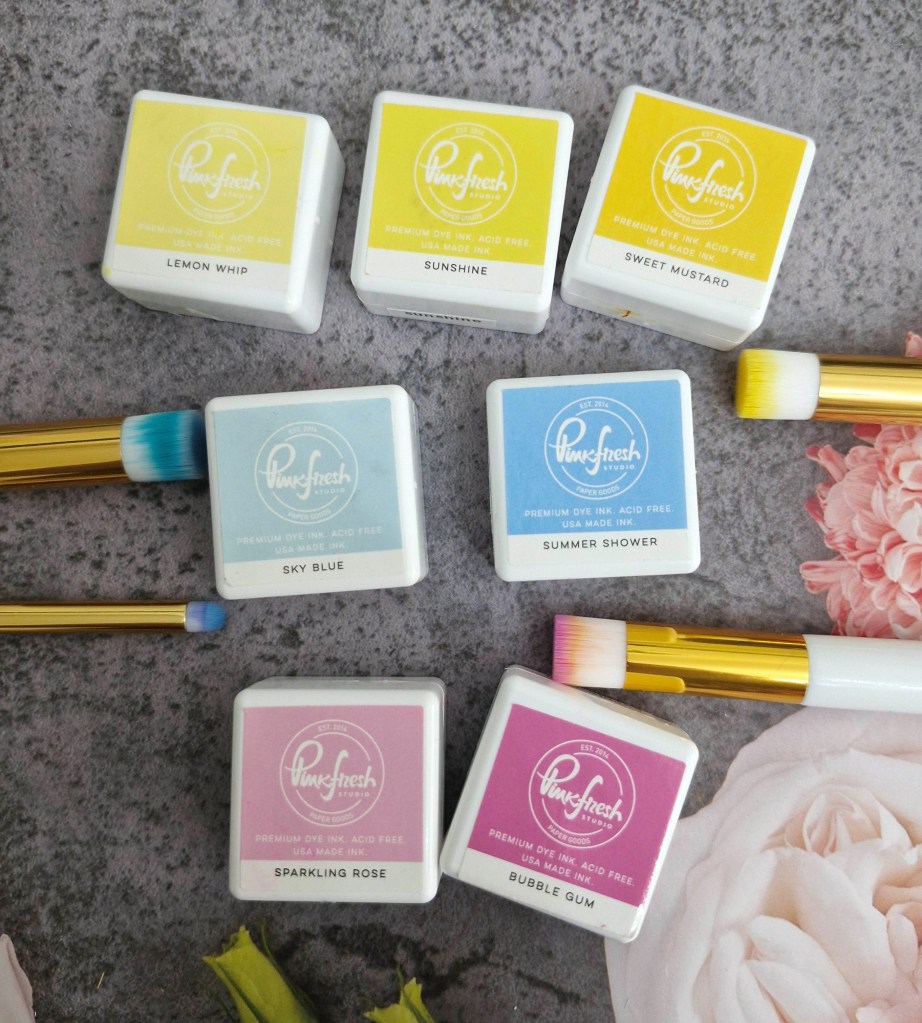
The background card was layered with a pink panel, and onto that I layered a white panel which I had dry embossed using a Spellbinders embossing folder, then and added a gold frame. The gold frame was created using a die set from Pinkfresh Studio, received as part of their virtual event coming up this next weekend.
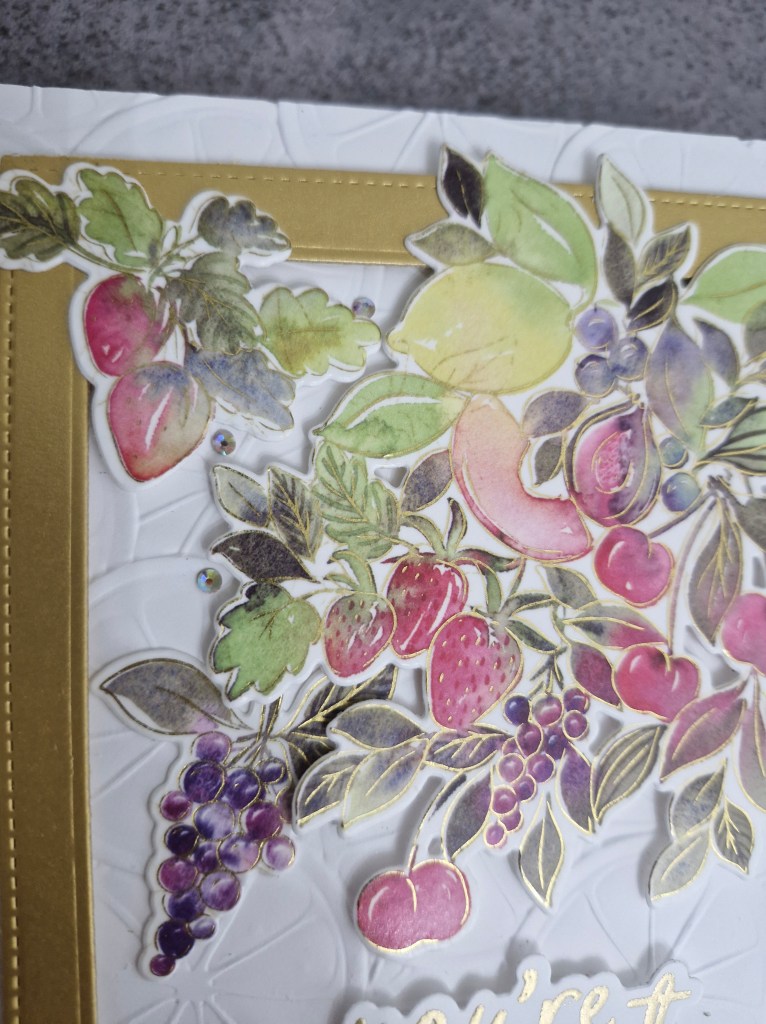
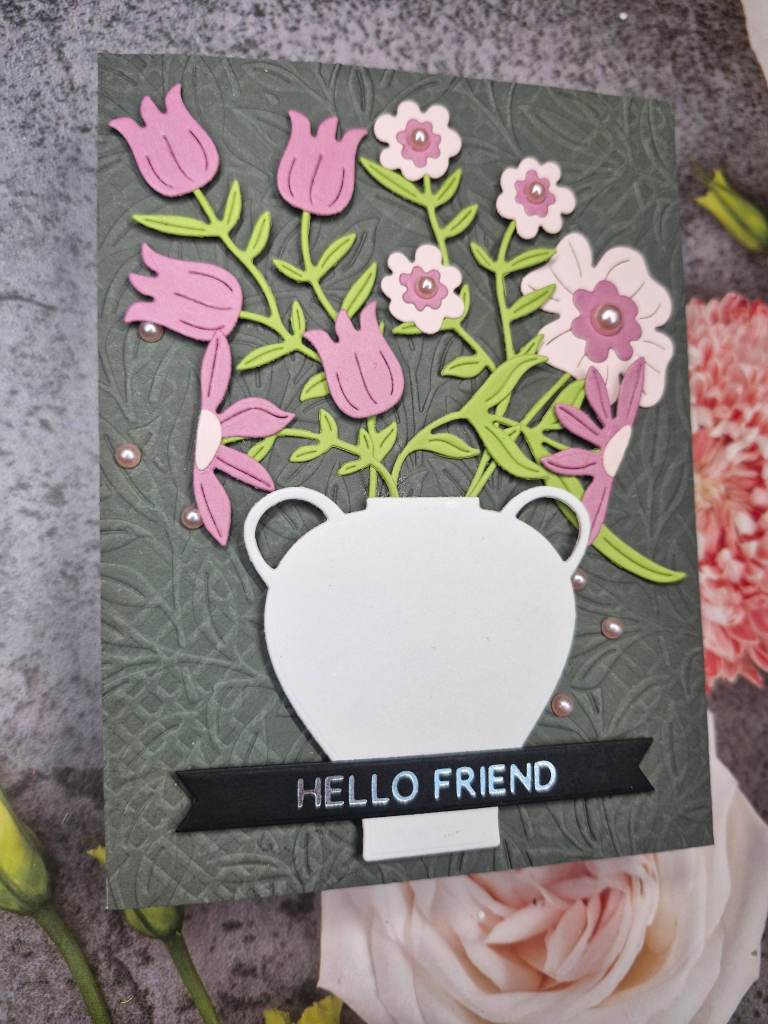
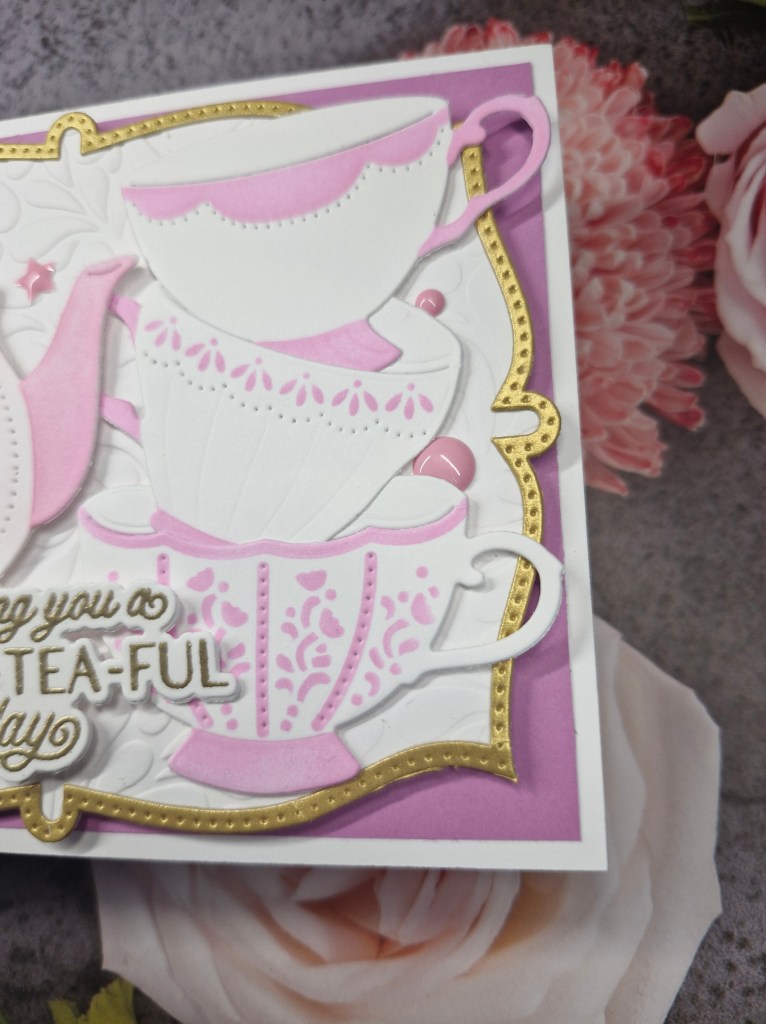
I then die cut all the tea pots and all the cups as I didn’t know which combination I was going to use, then ink blended through the matching stencils to create the interest on each die cut.
I also added some extra pink ink blending to the whole of the tea pot – subtle – but it is there.
I played around with the placement of each, then added either glue or 3D foam to create the little scene.
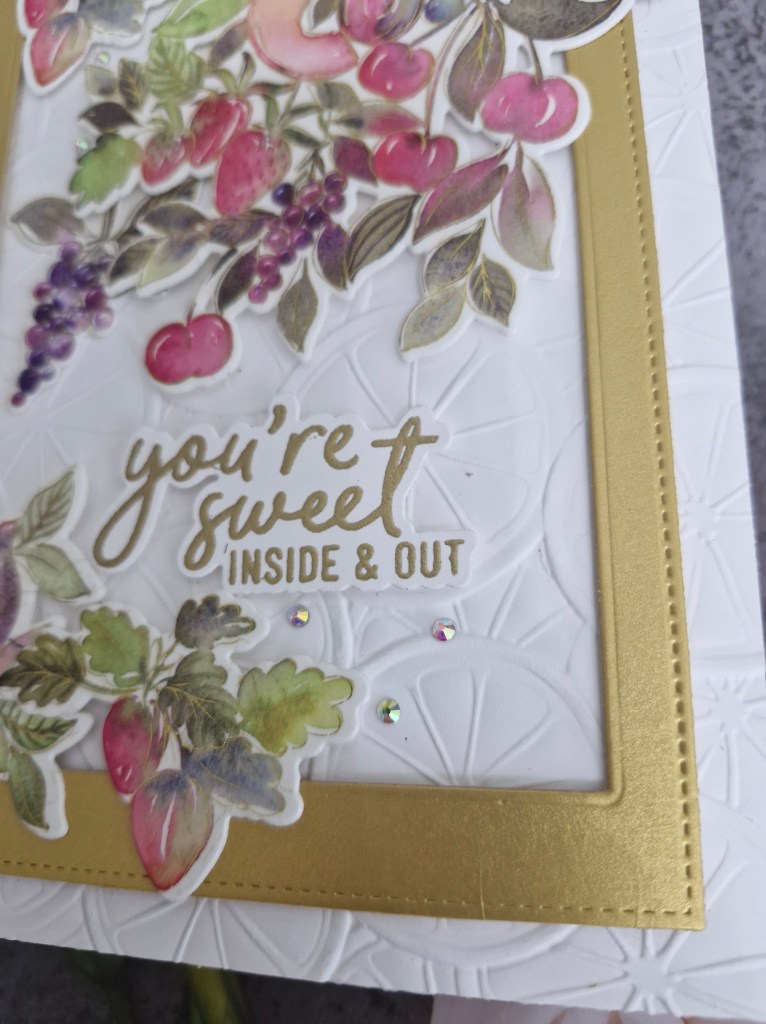
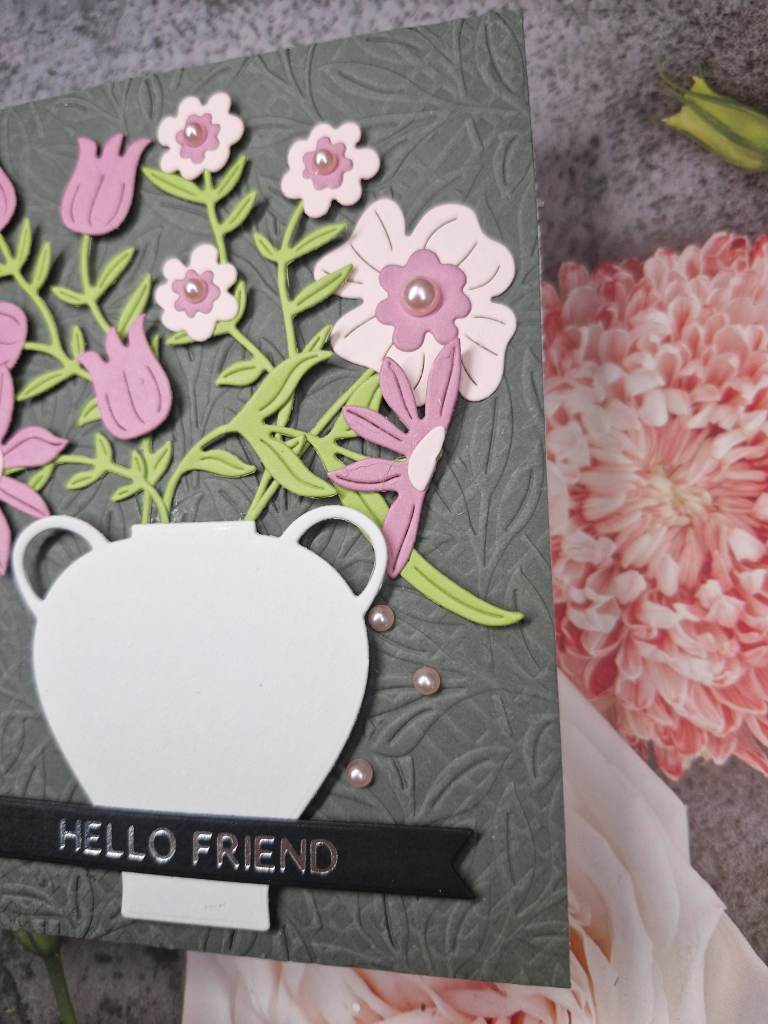
The sentiment was gold heat embossed, and die cut with the matching die set.
A final touch was to add some pink stocky thingies – the dots, star and heart which I found in my stash.
I hope you can come and join us with your pink creations. xx
I shall be entering the following challenges:
MMM Challenge – something metallic (frame)
Lil Patch Of Crafty Friends – anything goes
Pammie’s Inky Pinkies Challenge – anything goes
Die Cut Divas – die cuts and option of wet or dry embossing taken
Pinspirational Challenge – die cuts
Here Is A Place To Start – anything goes – option of diamonds/pearls/gold
Creative Fingers – anything goes
Ally’s Angels – anything goes