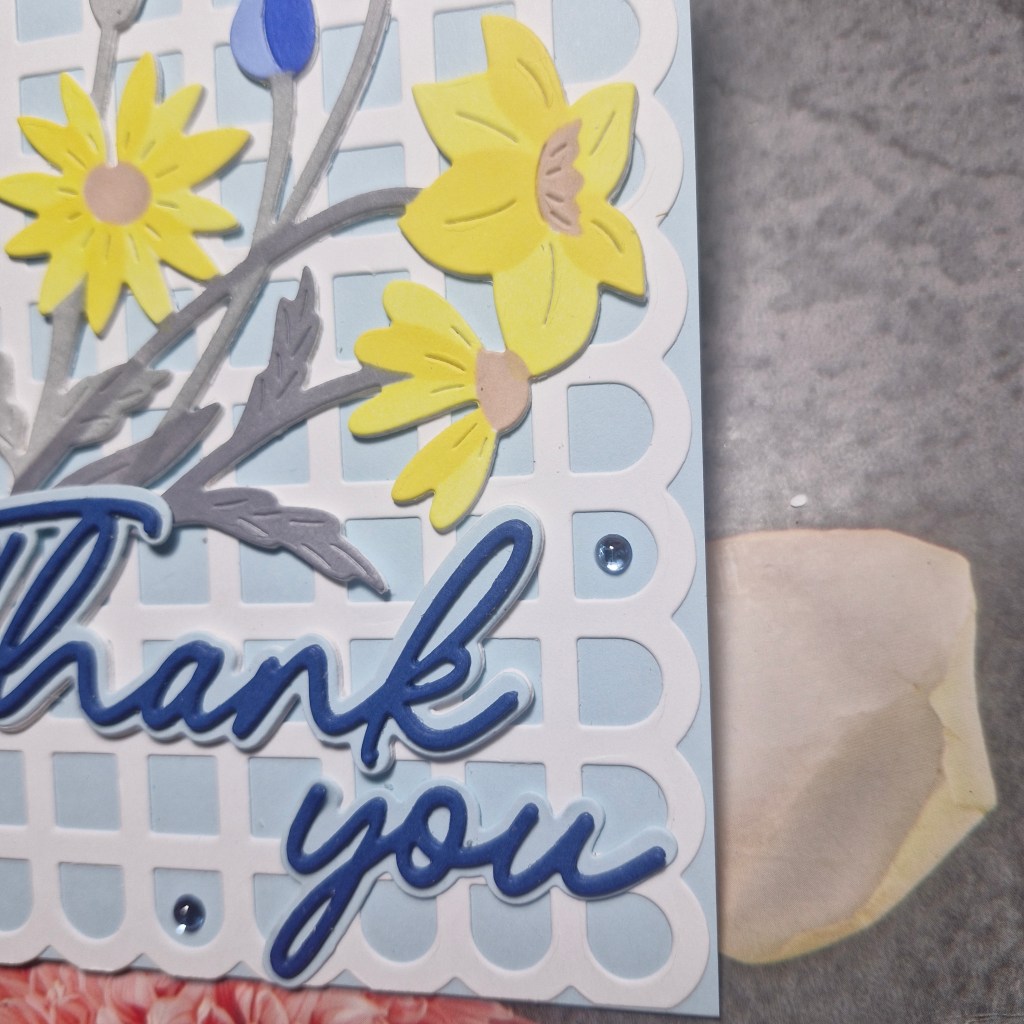
Hi everyone. I am here with a card to share following the inspiration theme from As You See It, and using some layering stencils to enter the Stencil Fun challenge:
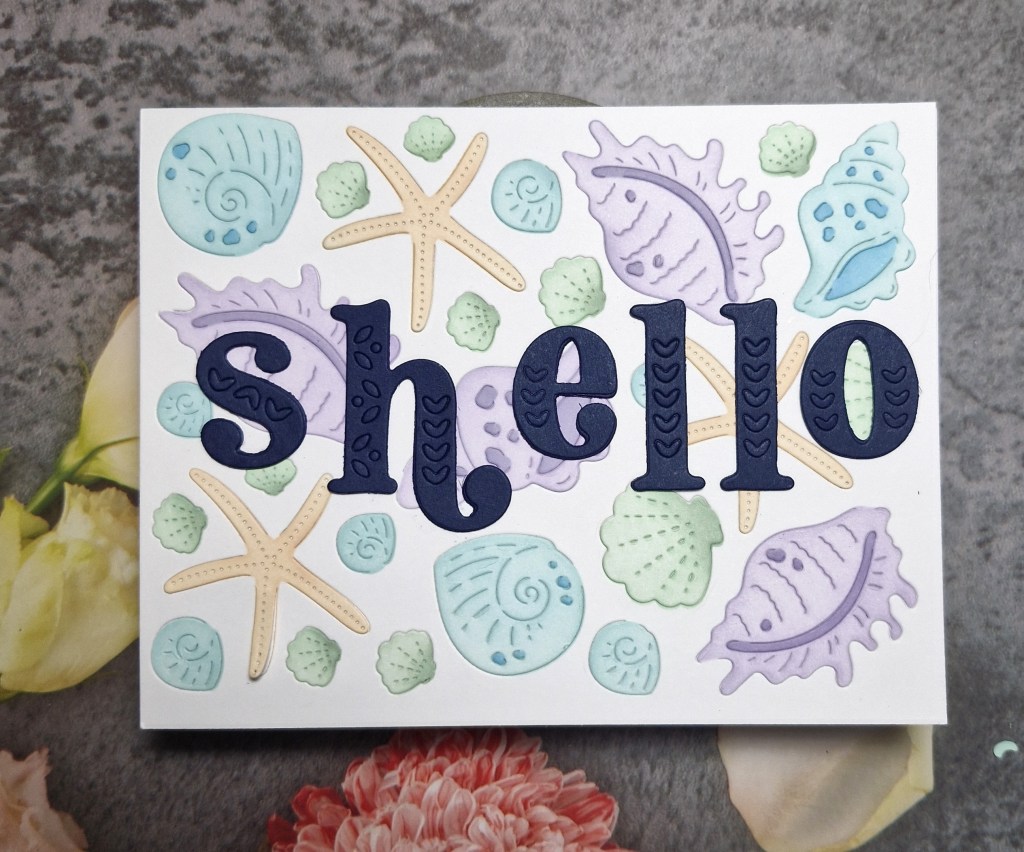
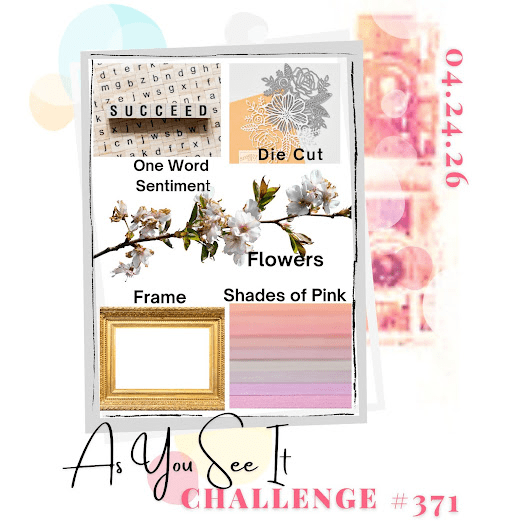
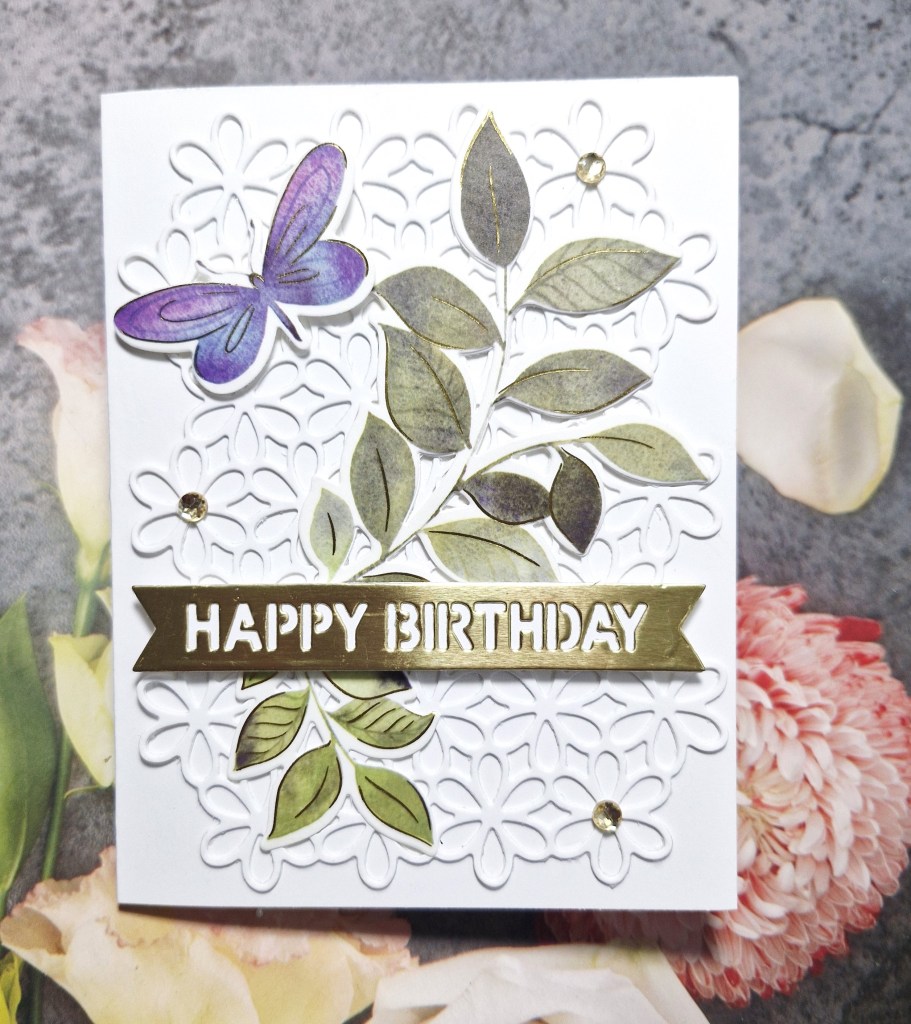
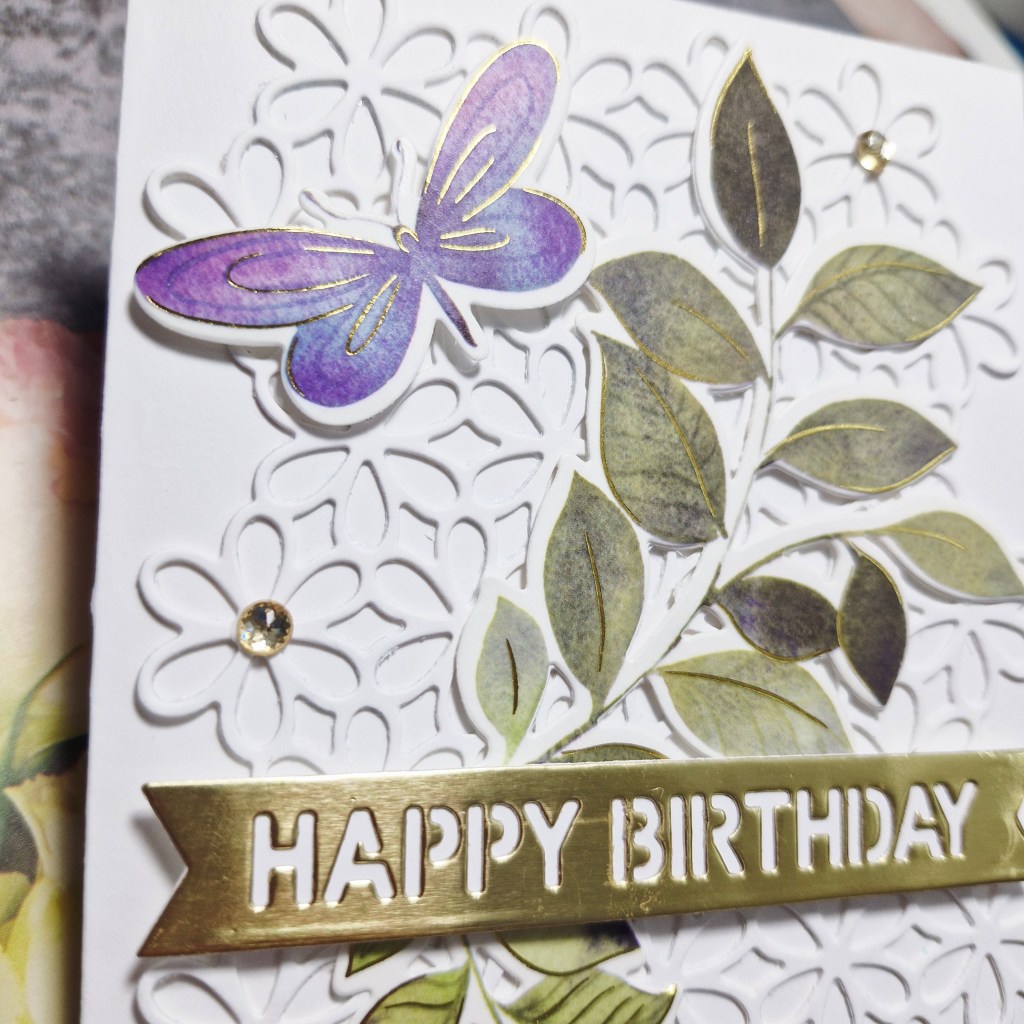
The theme for As You See It is ‘Beach Combing‘, and I knew I had plenty of shell ‘stuff’ in my stash, so I searched through the CML app and found this background die from Waffle Flower. The die is called ‘Seashell Texture‘ and comes with a layering stencil to colour the images in.
I used Neenah card stock, die cut the panel, then used Pinkfresh Studio inks in pastel or more muted colours for the shells. Some of the shells had layers with the stencils, but with the other smaller shells, I added my own bit of darker shading for a little dimension.
I searched again in the CML app for suitable sentiments – wanting a bigger and bolder look – but couldn’t find anything big enough. So – I used a Pinkfresh Studio alphabet die set ‘Kelly Alpha‘ and die cut the letters to create this word out of Concord & 9th ‘Blueberry‘ card stock.
The little hearts on each letter actually stayed in the die cut – so I left them there, and die cut each of the letters two more times and layered them together to create a make them thicker and more sturdy.
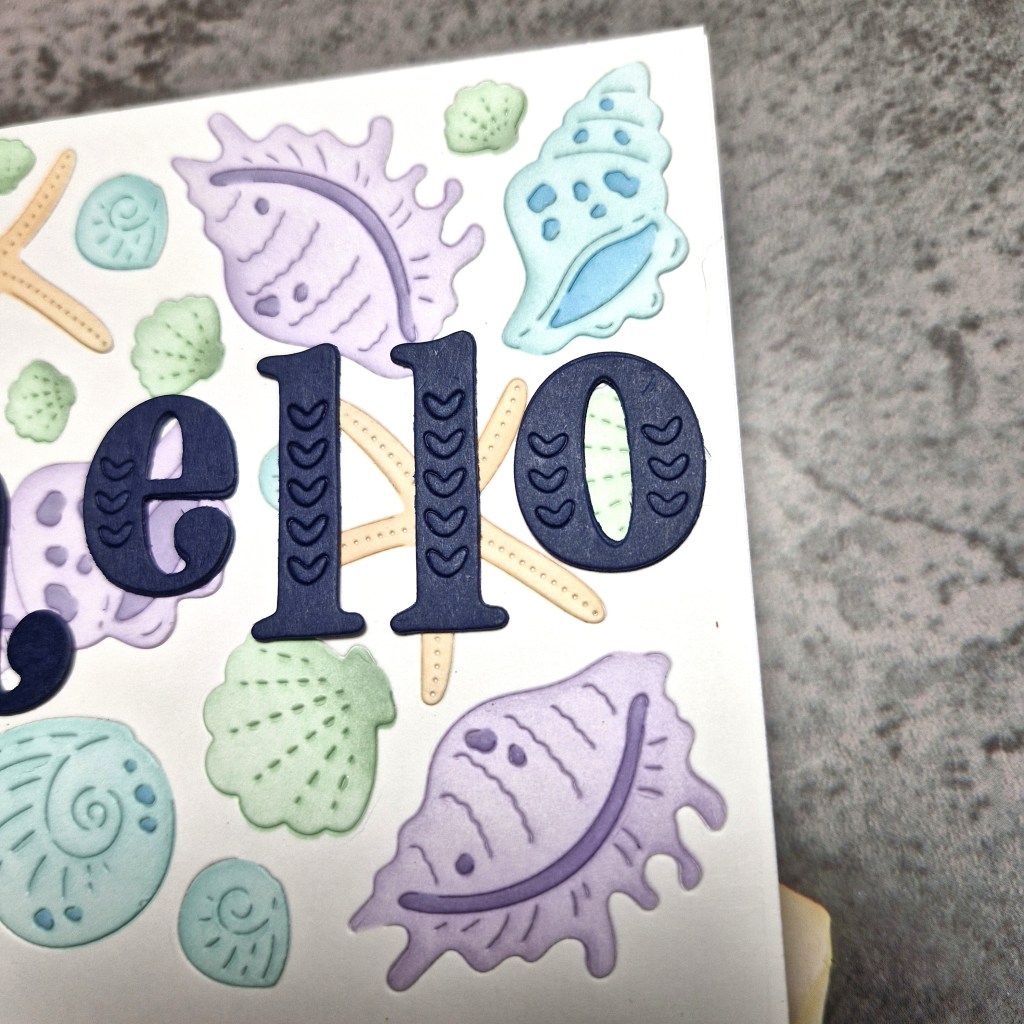
As the letters weren’t all the same height, and instead of placing them all on the same line – I went a little quirky and put the smaller three letters in the middle of the height of the larger letters.
I shall be entering the following challenges:
As You See It – Beach Bombing
Stencil Fun – use stencils, option of a see through element not taken