Hello once again. I am hosting the new challenge at The Alphabet Challenge. Having reached the letter ‘O‘, I chose the theme of:
‘O is for Ocean animals‘
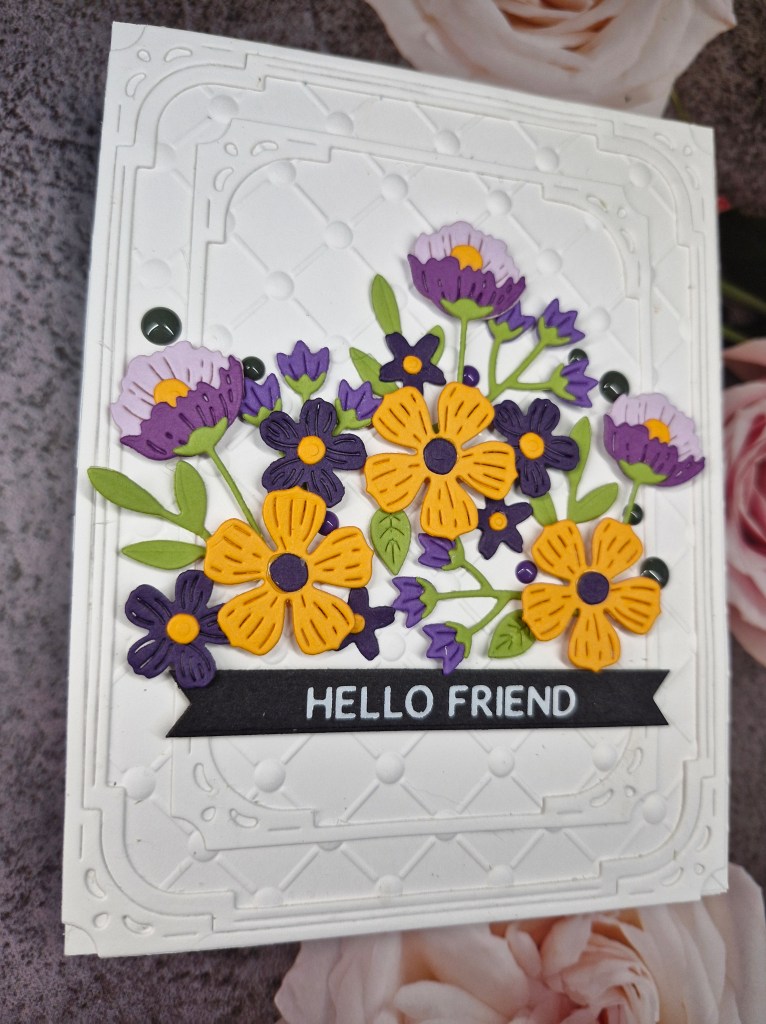
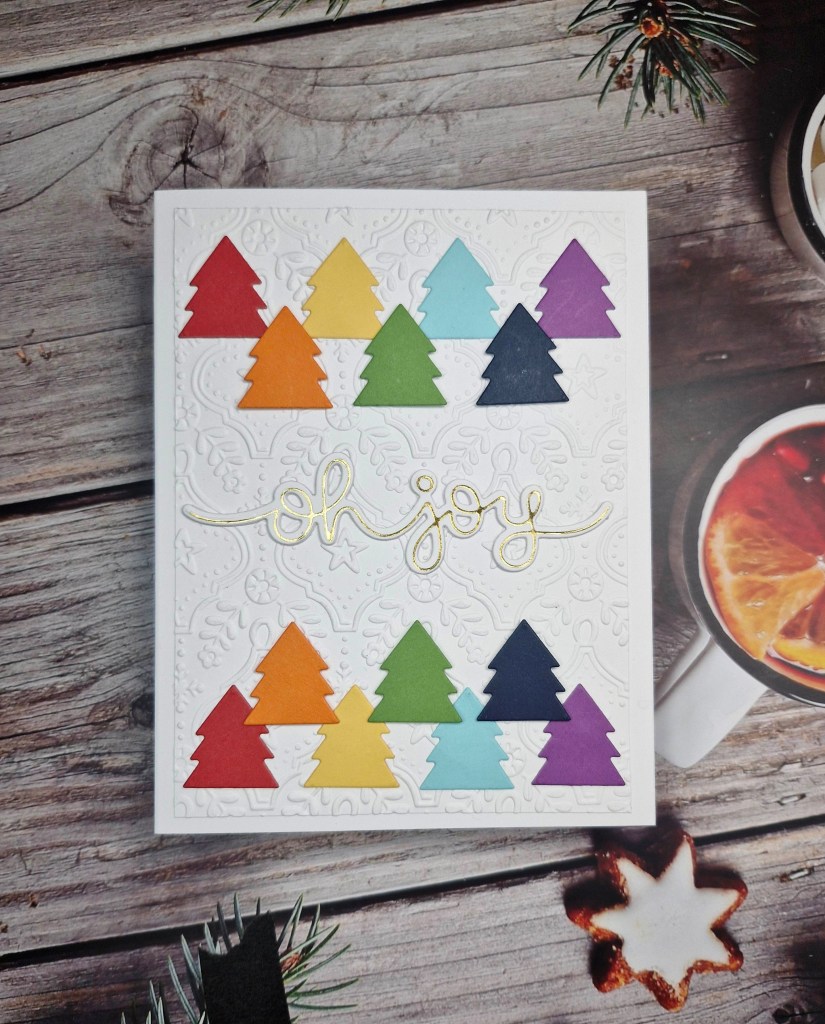
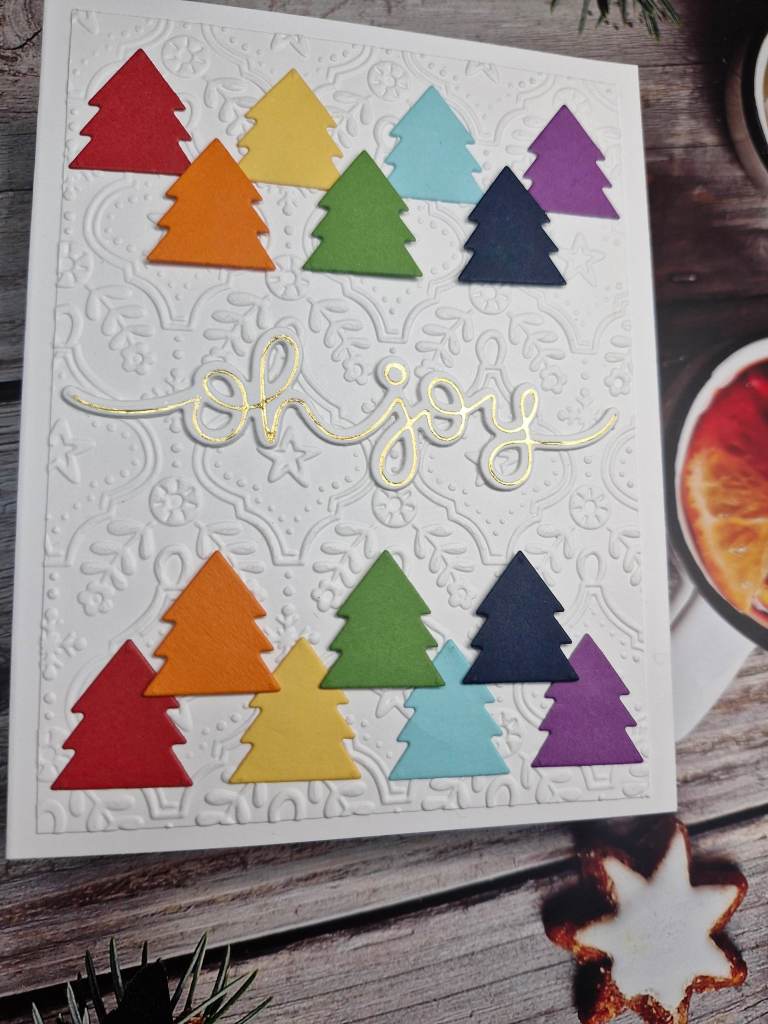
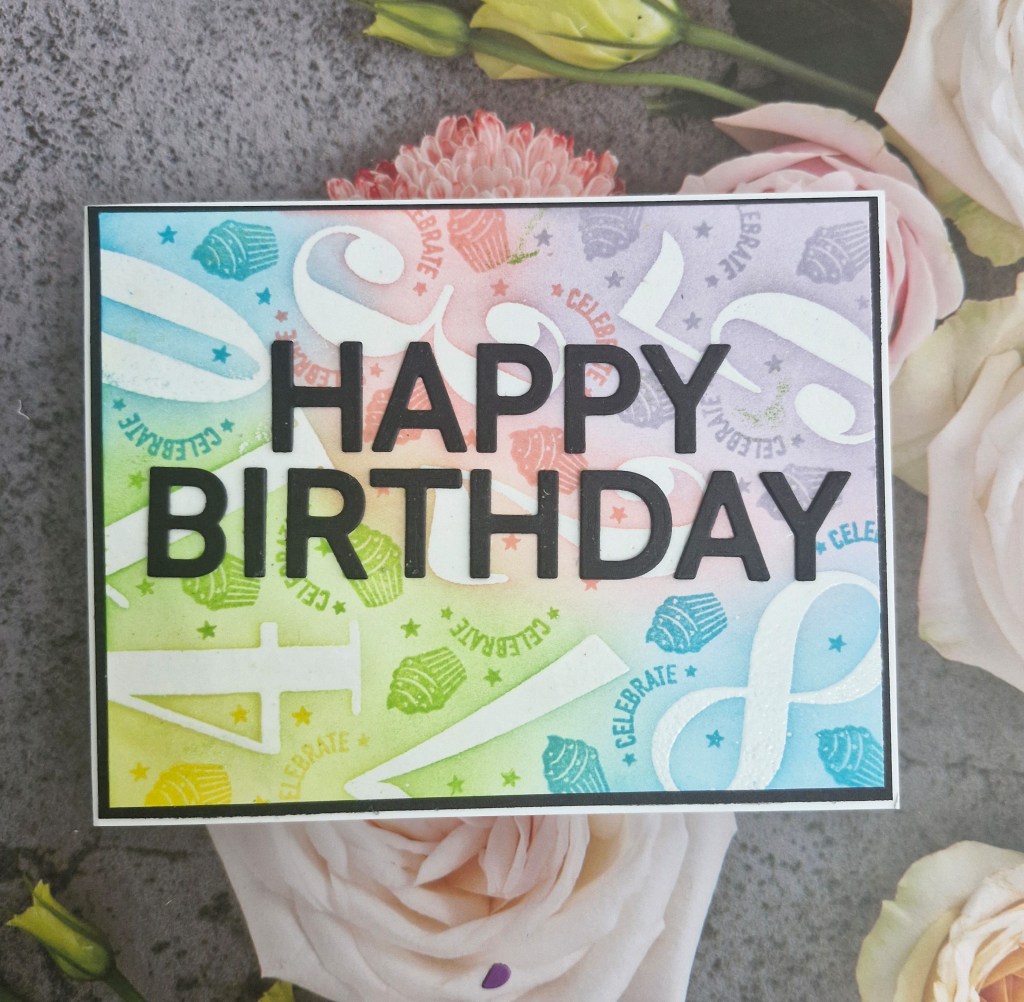
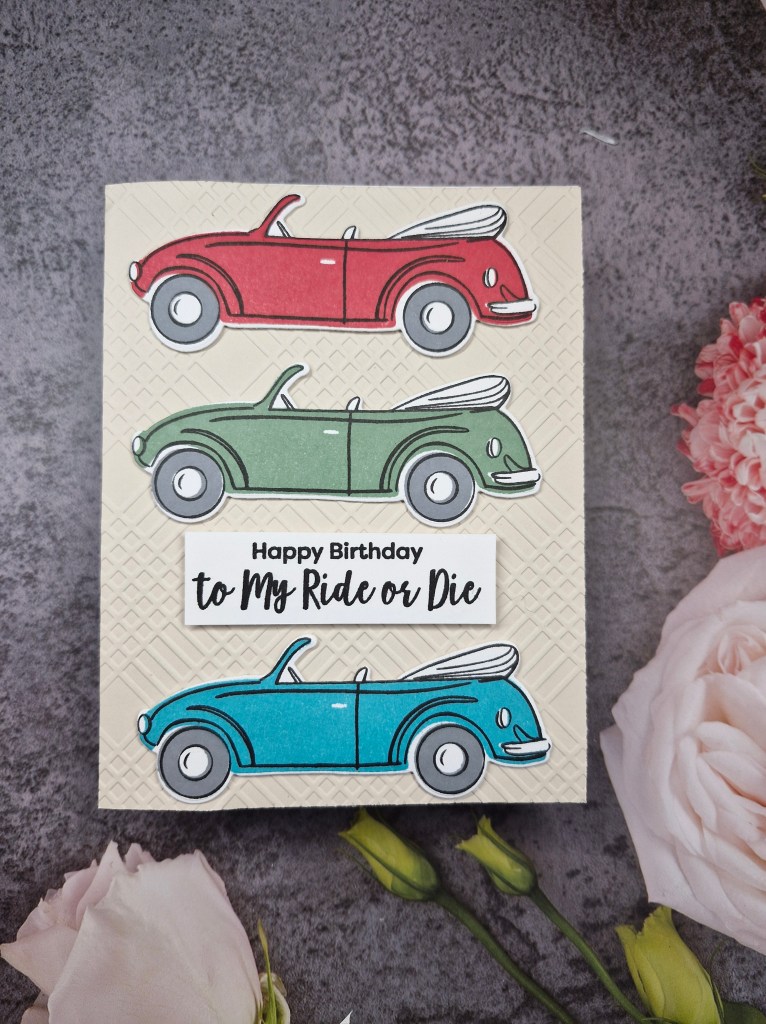
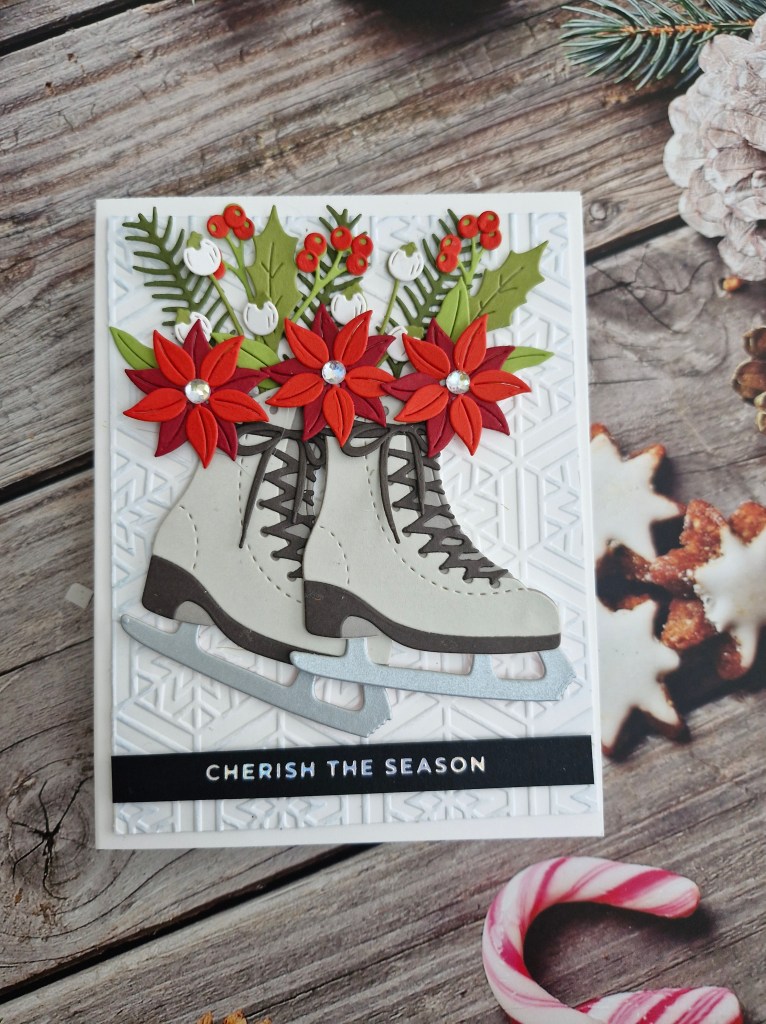
Here is my card:
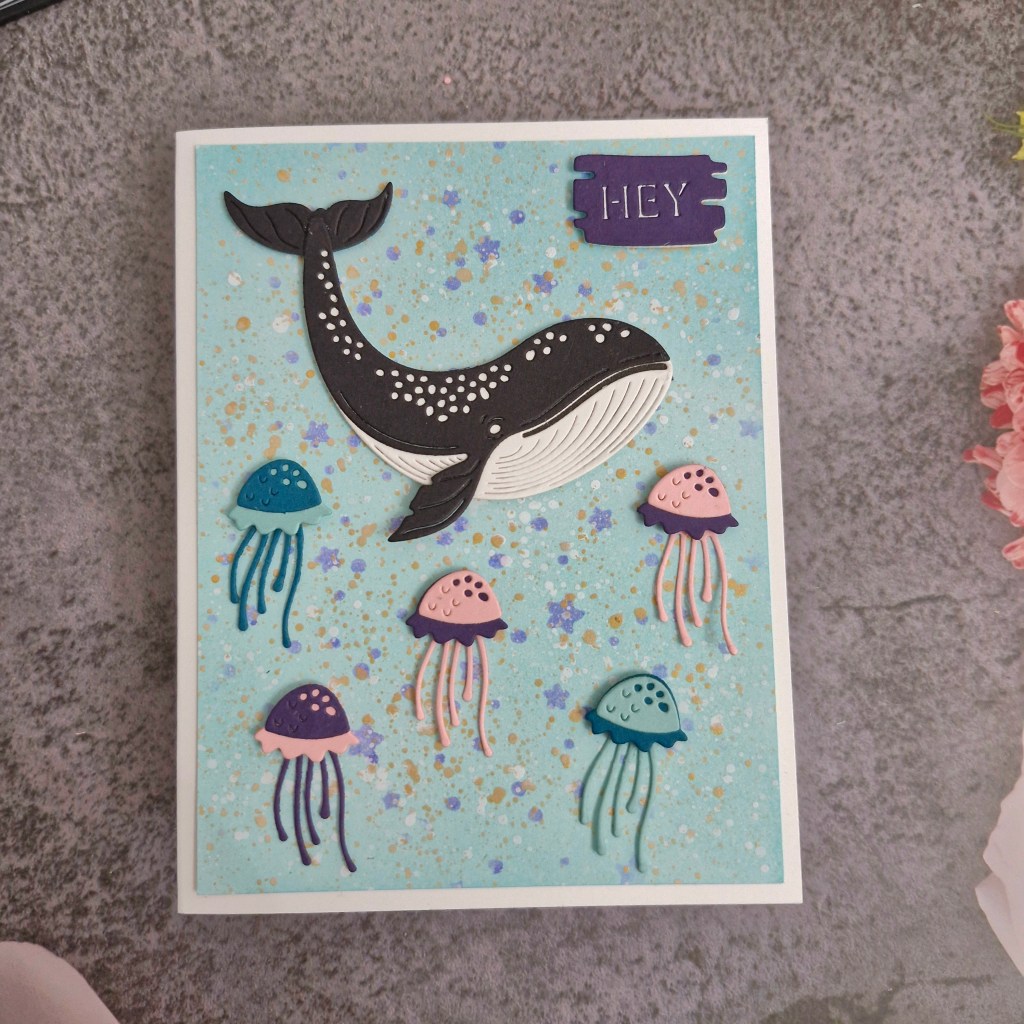
I first created the background panel by taking a light blue panel of card stock, then a Brutus Monroe stencil and ink blending some purple stars and dots. I then splattered white and gold shimmery acrylic paint.
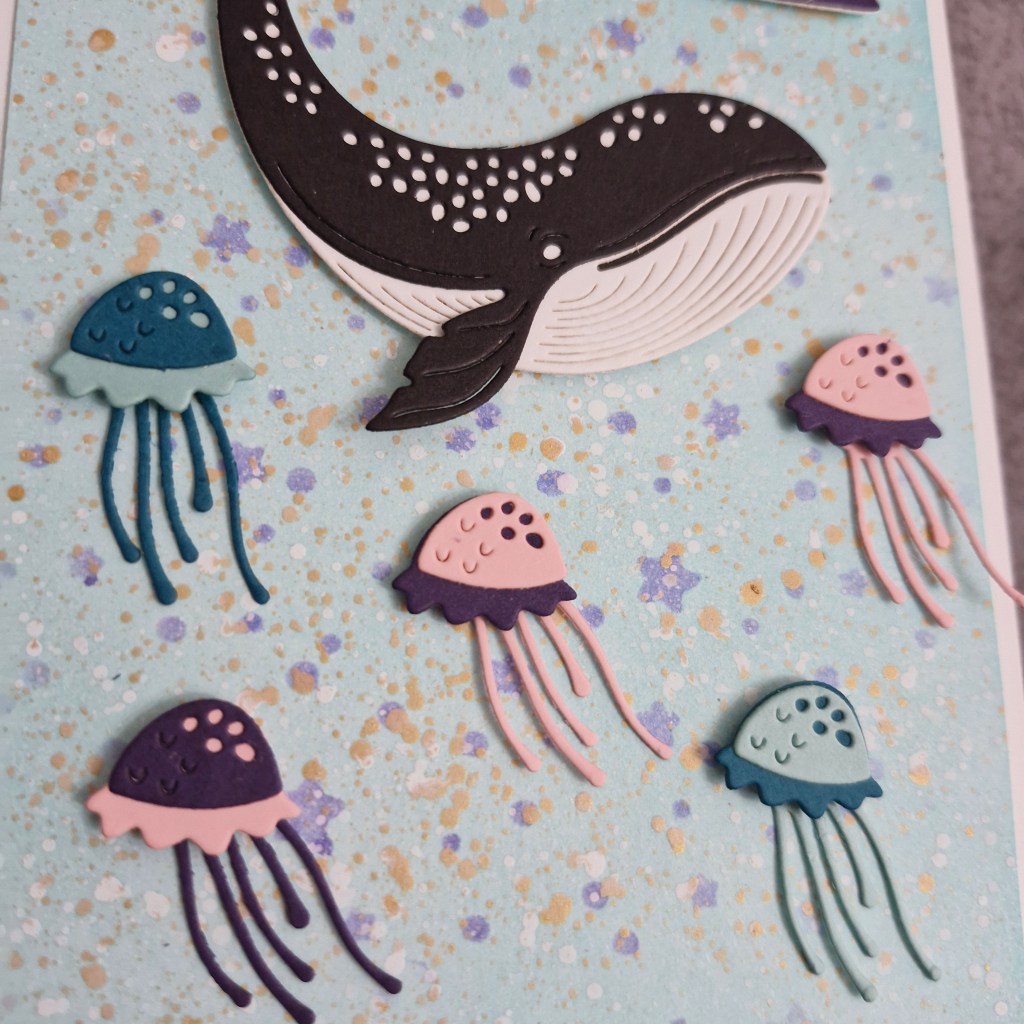
This panel was then put aside to dry whilst I die cut the whale and jellyfish from Spellbinders.
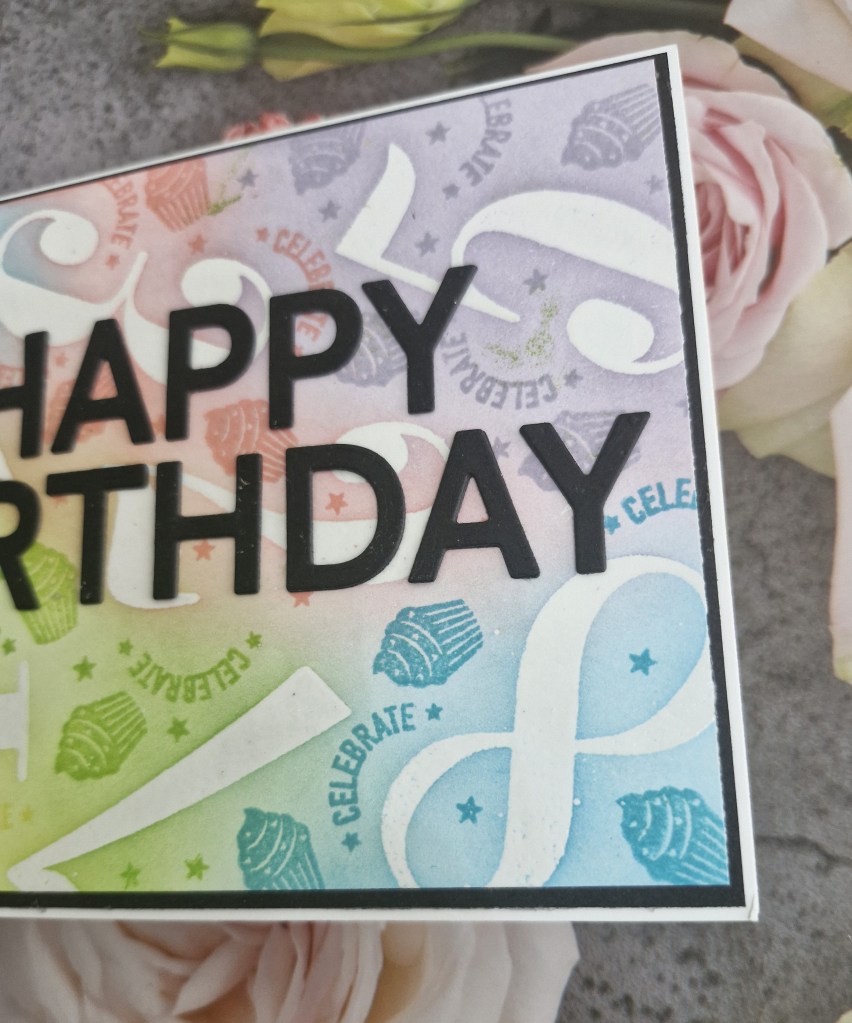
Placing the whale at the top of the panel, I then played with placement of the jellyfish. These are interactive/dancing jellyfish, so I made sure to place the tentacles in such a position that they didn’t get stuck on each other when moving.
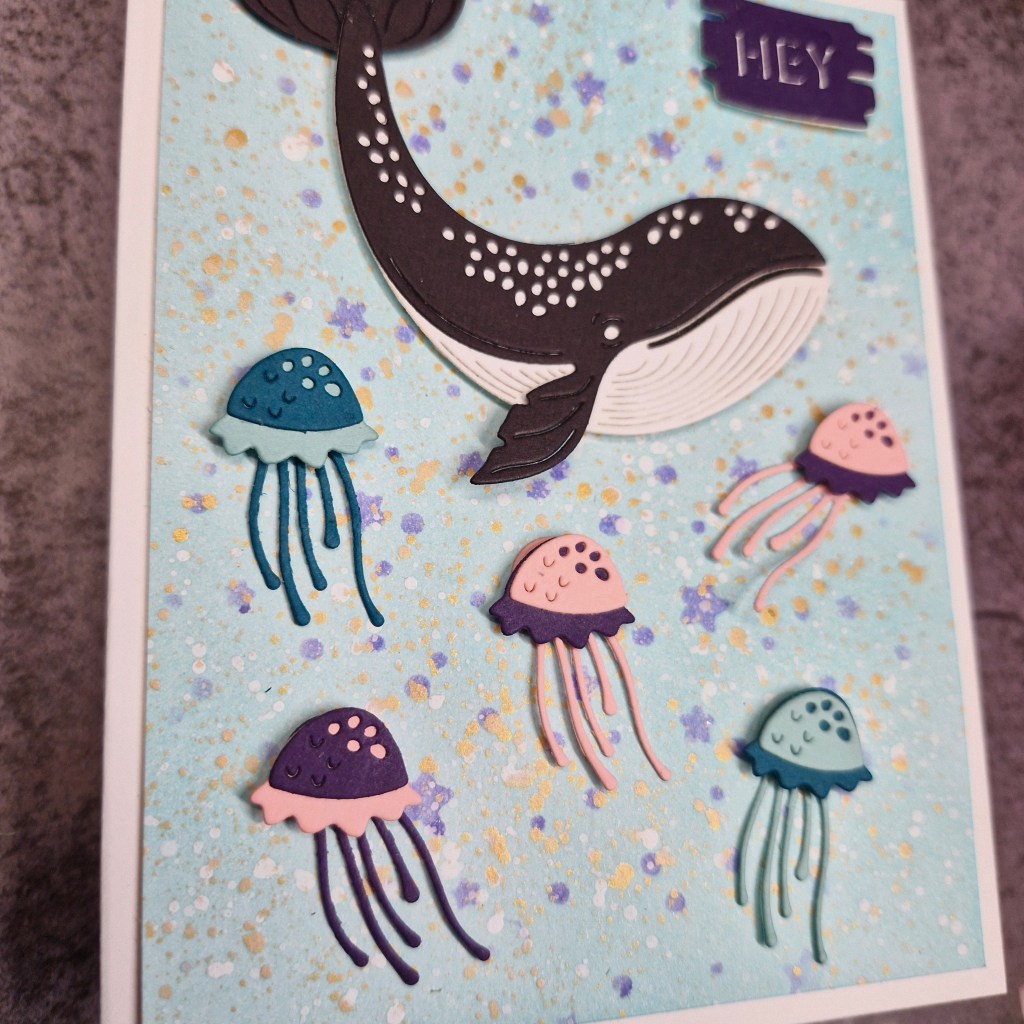
I then placed a little 3D foam circle in the middle of the tentacle layer, and stuck down the top – the umbrella of the jellyfish.
The sentiment was die cut and added as you see.
I hope you can come and join us with your creations featuring ocean animals. xx
I shall be entering the following challenges:
2 Crafty Critter Crazies – anything goes with a critter
Crafty Animals – anything goes with an animal
Crafty Calendar – anything goes
A Cut Above – anything goes with at least one die cut
A Perfect Time To Craft – anything goes
Die Cut Divas – anything goes with die cuts
Stencil fun – use a stencil – option of Halloween not taken