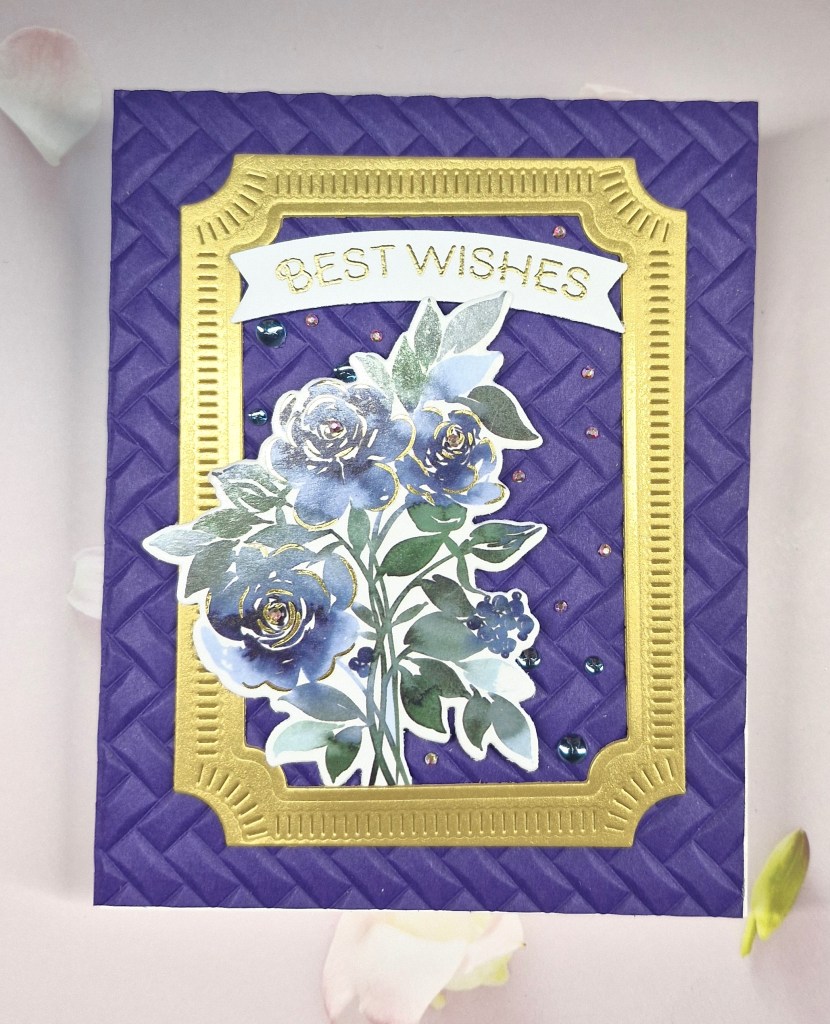
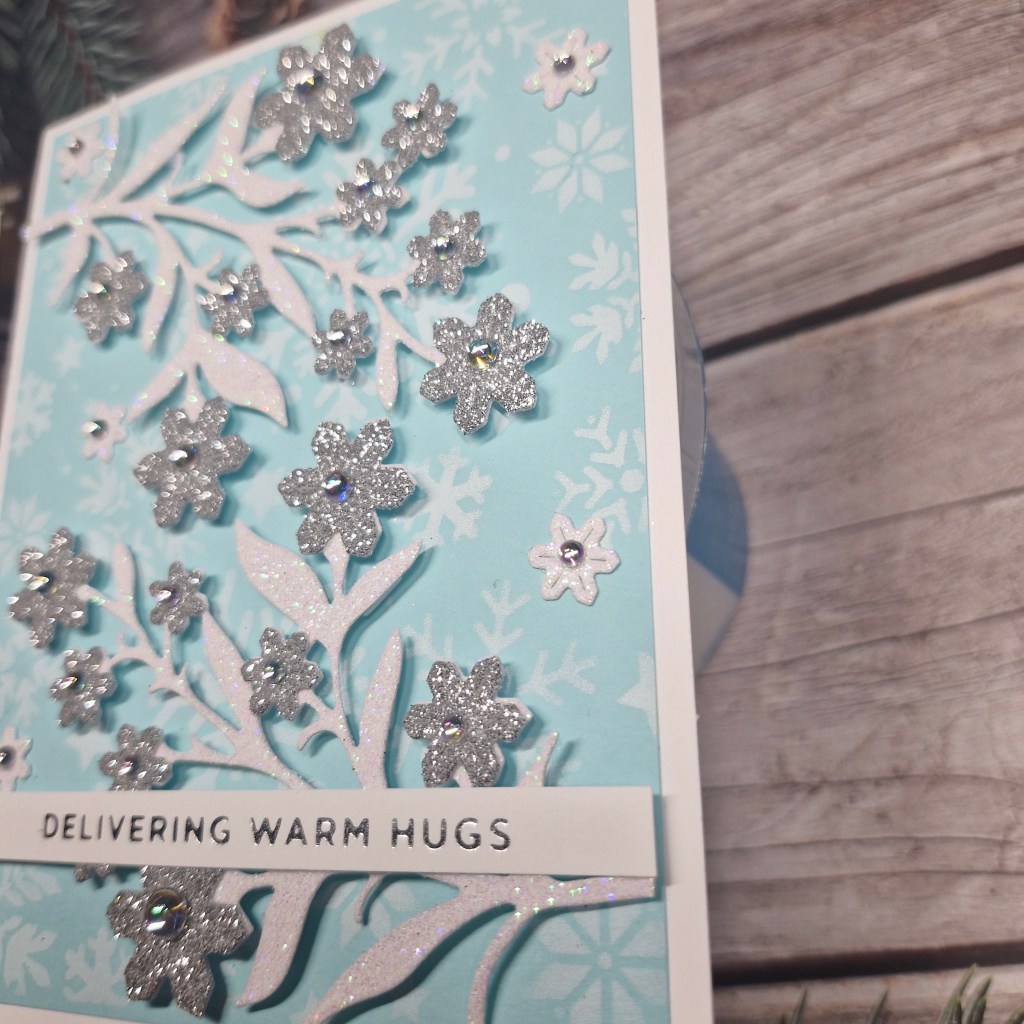
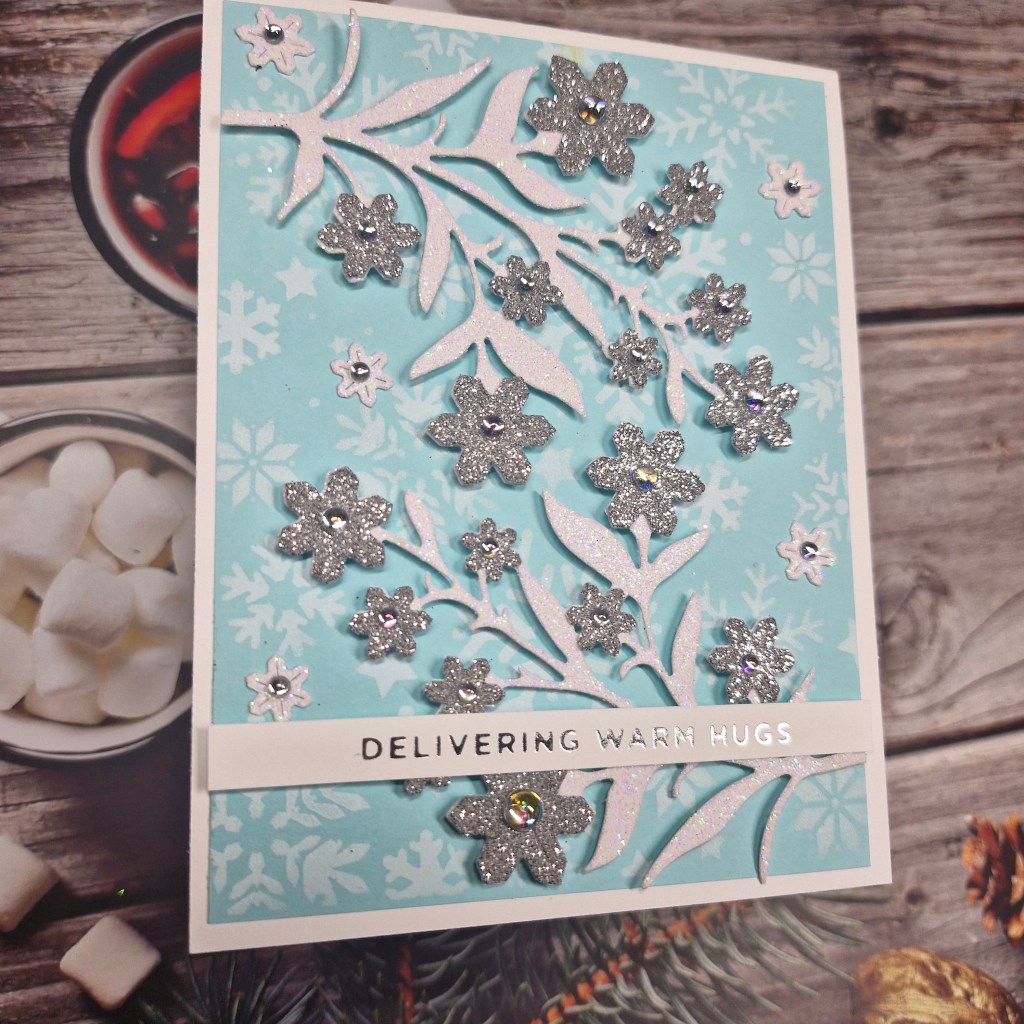
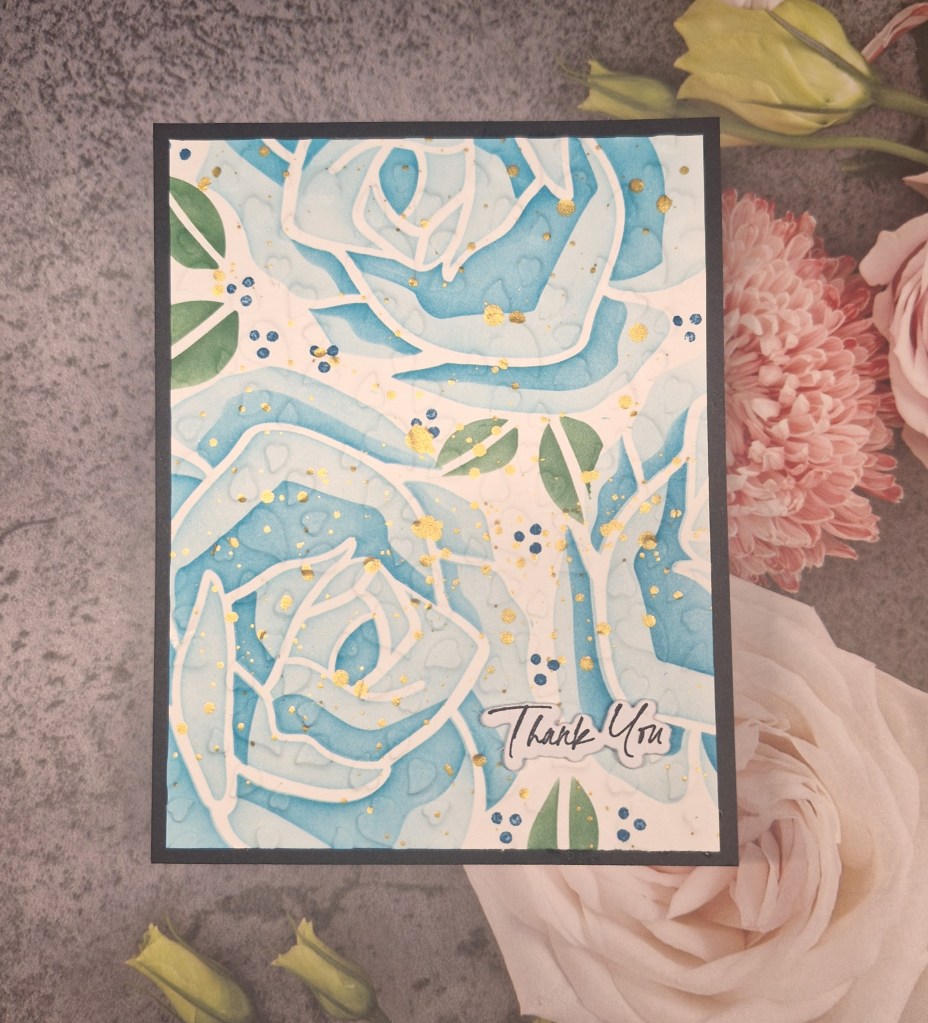
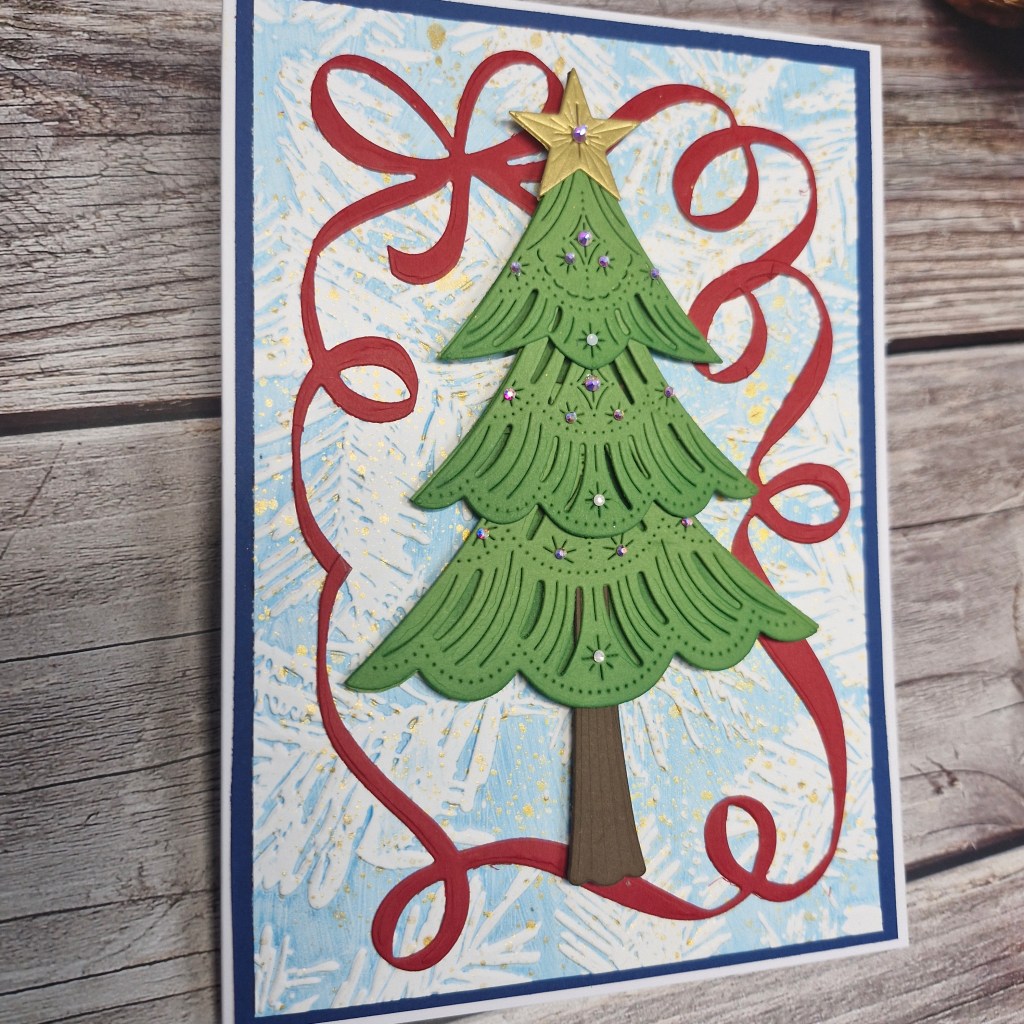
Hello everyone. The Holly and Ivy Christmas Challenge has started a new challenge – anything goes Christmas. Here is my card:
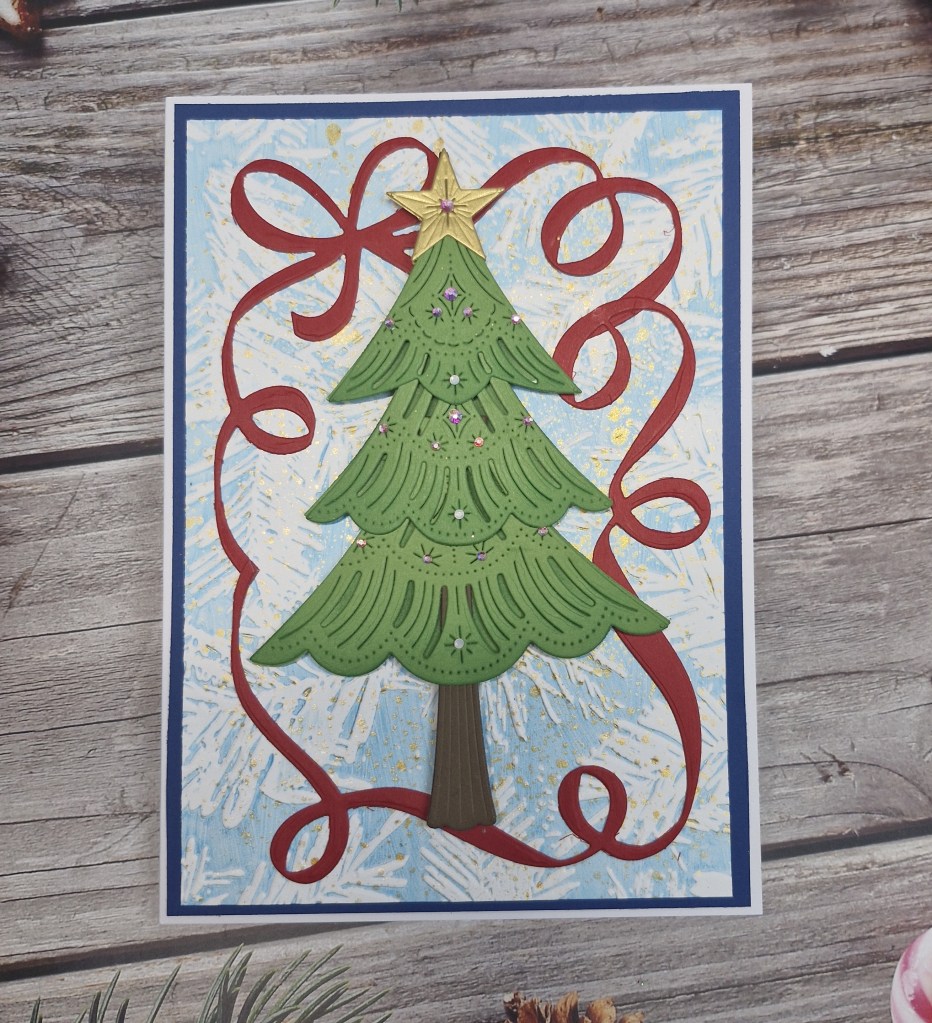
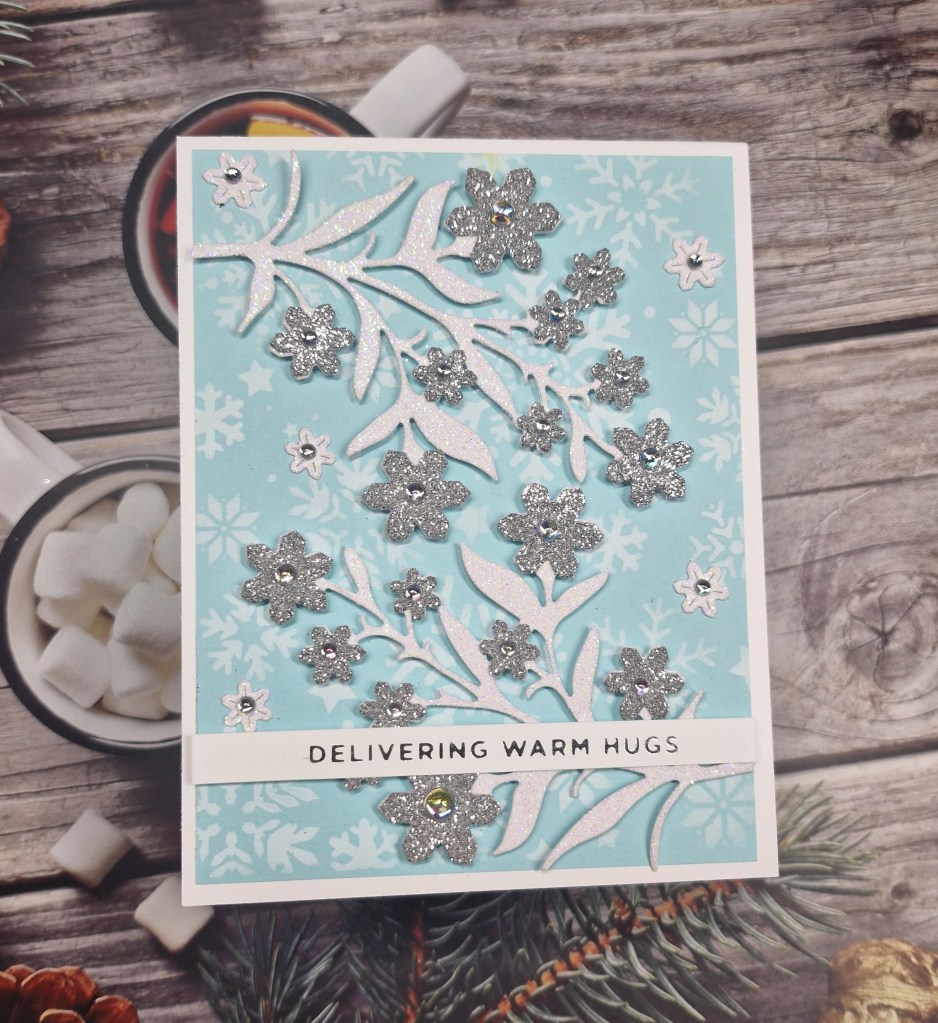
I started by creating the background. Using a Spellbinders embossing folder, I inked up smoother side of the folder, and an it through the machine with a white card panel. This created the embossed leaves, but the blue background to them. I then used gold acrylic ink and created some splatter.
The card base is 5×7 inches, a slightly smaller blue panel adhered, then the white and blue embossed panel was cut slightly smaller than that and glued down.
The tree is a die set from The Greetery, – an interesting die set and an interesting way to put all the levels together. All layers were die cut with the same green card stock, then a little ink blending along the bottom for a slightly darker look – some added dimension.
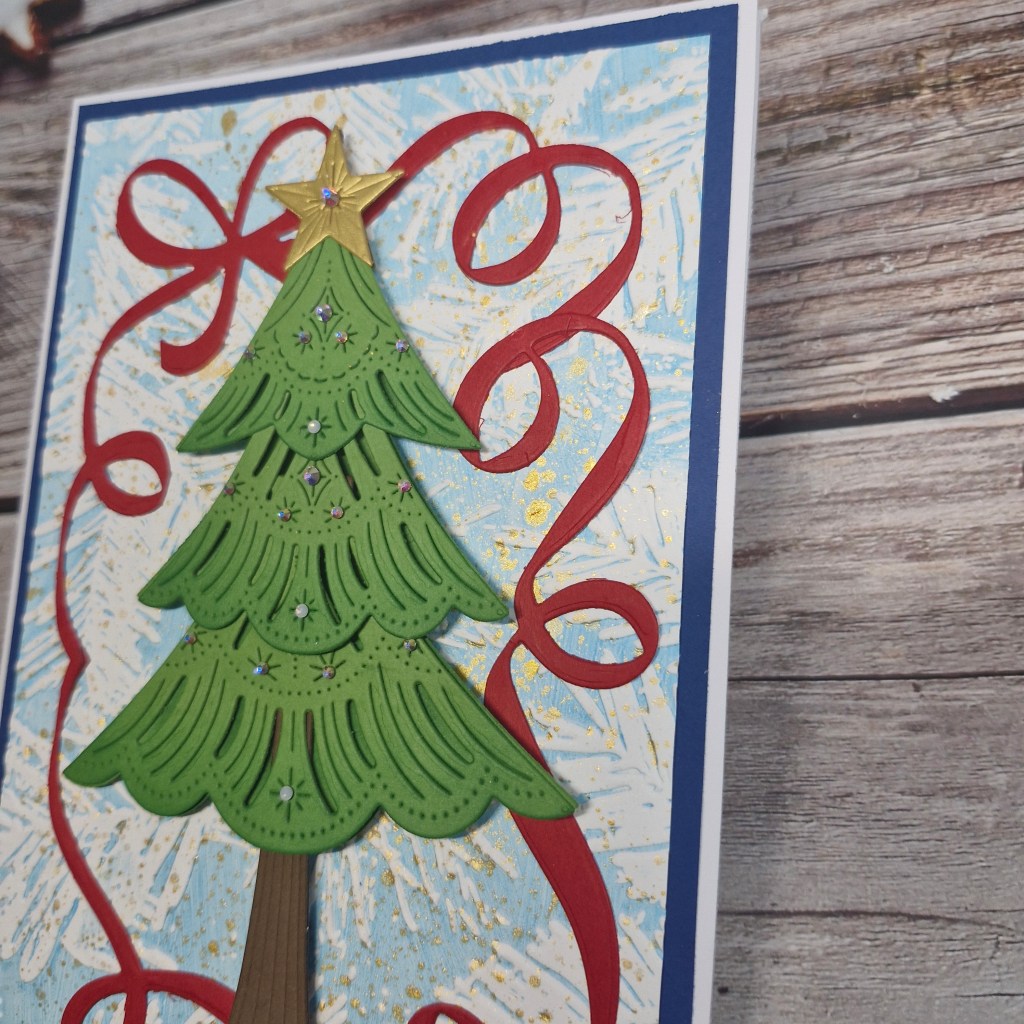
Once I had set the tree on the background, I though it needed a frame, so I also used the Ribbon Frame die set. As this ribbon frame was created for an A2 panel – I die cut two, did a little snipping, and elongated it to fir the 5×7 card.
The ribbon and tree were attached, and some very sparkly gems added to areas on the tree.
I shall be entering the following challenges:
Crafts Galore – anything goes
A Cut Above – anything goes with a die cut
Lil Patch Of Crafty Friends – anything goes
12 Months Of Christmas Link Up – anything goes Christmas – option of couples not taken
CYHTP – embossing folder – option of masculine not taken