Shaker Holiday Cheer

Hello everyone. I have a fun Christmas shaker card to share today as The Holly & Ivy Christmas Challenge has started a new challenge – anything goes Christmas. Here is my card:

I used a Tonic Studios shaker pocket to create this. I first cut a panel of red card stock, then adhered the shaker pocket to three sides, added just a small amount of sequins and beads (a lot actually!), then stuck down the last edge.

This shaker panel was then adhered to a white card base.

The frame image is using the Pinkfresh Studio ‘Joy of the Season’ suite, and foiling the image and sentiment in black foil, then using the matching layering stencils to colour them in with a traditional colour pallet. Once die cut, the frame and sentiment were glued to the shaker panel.

I hope you can come and join us with your Christmas creations. xx

I shall be entering the following challenges:

My Time To Craft Christmas – Christmas and use flowers

Peace On Earth – Anything goes Christmas with optional mood board

Creative Fingers – anything goes

12 Months of Christmas link-up – anything goes Christmas – option of blue and gold not taken

Christmas Bingo – column O – free/sequins/vellum or clear plastic overlay

Merry Little Christmas Challenge – anything goes Christmas

Butterflies – More Than Two

Hello again. Veronika is hosting the new challenge at The Alphabet Challenge. For the letter ‘B‘ she has chosen ‘Butterflies – more than 2‘. Here is my card:

I first started by ink blending the background panel. This is a layering stencil set from Spellbinders, and I used Pinkfresh Studio inks. This panel was cut down slightly so I could add it to a dark green card base allowing a small border.

I then used some Pinkfresh Studio washi tape ‘Fluttering Butterflies’, stuck down to white card, then die cut with the matching die set.

I chose three of the butterflies which would match but also be seen on the background and glued them down.

The sentiment was previously foiled, and I chose a black sentiment to stand out from the colourful background.

I hope you can come and join us with your creations featuring two or more butterflies. xx

I shall be entering the following challenges:

Make My Monday – things with wings

Crafters Café – anything goes – option of feminine

Ally’s Angels – anything goes

Crafty Animals – anything goes with an animal

Crafts Galore – anything goes

Holiday Cheer

Hello. The Holly & Ivy Christmas Challenge has begun a new challenge. The theme is always ‘anything goes Christmas‘. Here is my card:

I started off with a lilac panel, and Pinkfresh Studio cover plate ‘Stitched Pinwheels‘ to the stitched background.

The frame image was hot foiled, then coloured using the matching layering stencils. I went a little darker with the blending for the centre of the larger poinsettias.

Once coloured, I used the matching die to cut it out, and also cut out the sentiment from the same suite – also hot foiled.

The lilac panel was attached to a white card base, the frame image added, then the sentiment, and some gems to add some more interest.

I hope you can come and join us with your Christmas creations. xx

I shall be entering the following challenges:

My Time To Craft Christmas – Christmas and use foil/foiling

Time Out – choose 2 or more – I chose stencil and florals

Die Cut Divas – die cuts and flowers

Sparkles Forum Christmas – Christmas Foliage

12 Months Of Christmas link up – Christmas anything goes – option of vintage not taken

Art Deco Thanks

Hello everyone. Cardz 4 Galz has started a new challenge. Johanna is the host, and she has chosen the theme of ‘Art Deco’.

I had to do an internet search as I really didn’t know what that actually meant. I see that it describes bold colours, geometric or simple lines……I had a search through the products in my Color My Life app and came up items to create this card:
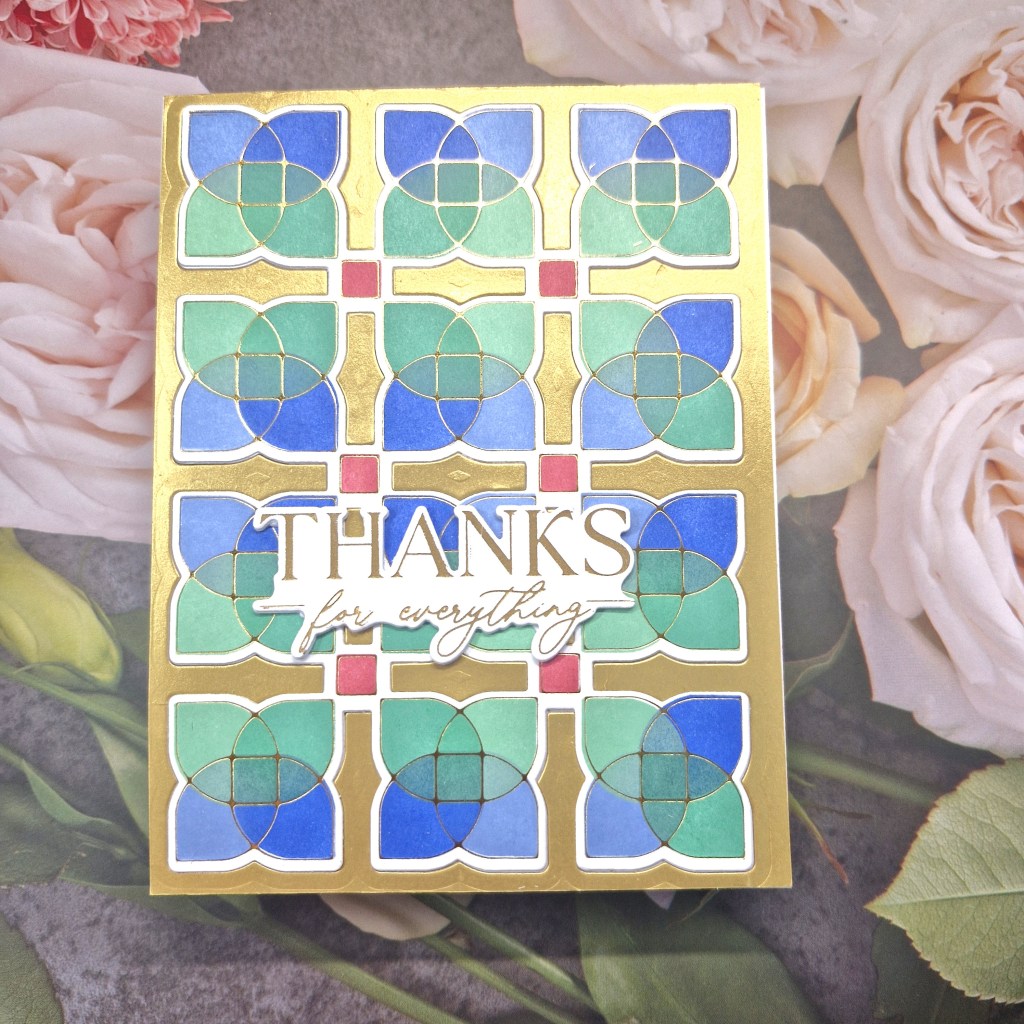
I used a Pinkfresh Studio suite of products (Overlapping Geo Leaf) which included a foil plate, layering stencils, and a die.

I first used the foil plate on white card stock, then the layering stencils, and then the matching die. The inks used were also from Pinkfresh Studio, and I chose bold colours which would work well when layered together.

Once die cut, I then used some Spellbinders brushed gold card stock, and used the die again, placing the gold outer frame ‘off cut’ onto a white card base. I decided to die cut again in white, and layered that with the ink blended panel then inlaid it into the frame, adding the smaller gold pieces. This made the ink blended piece stand a little proud of the background.
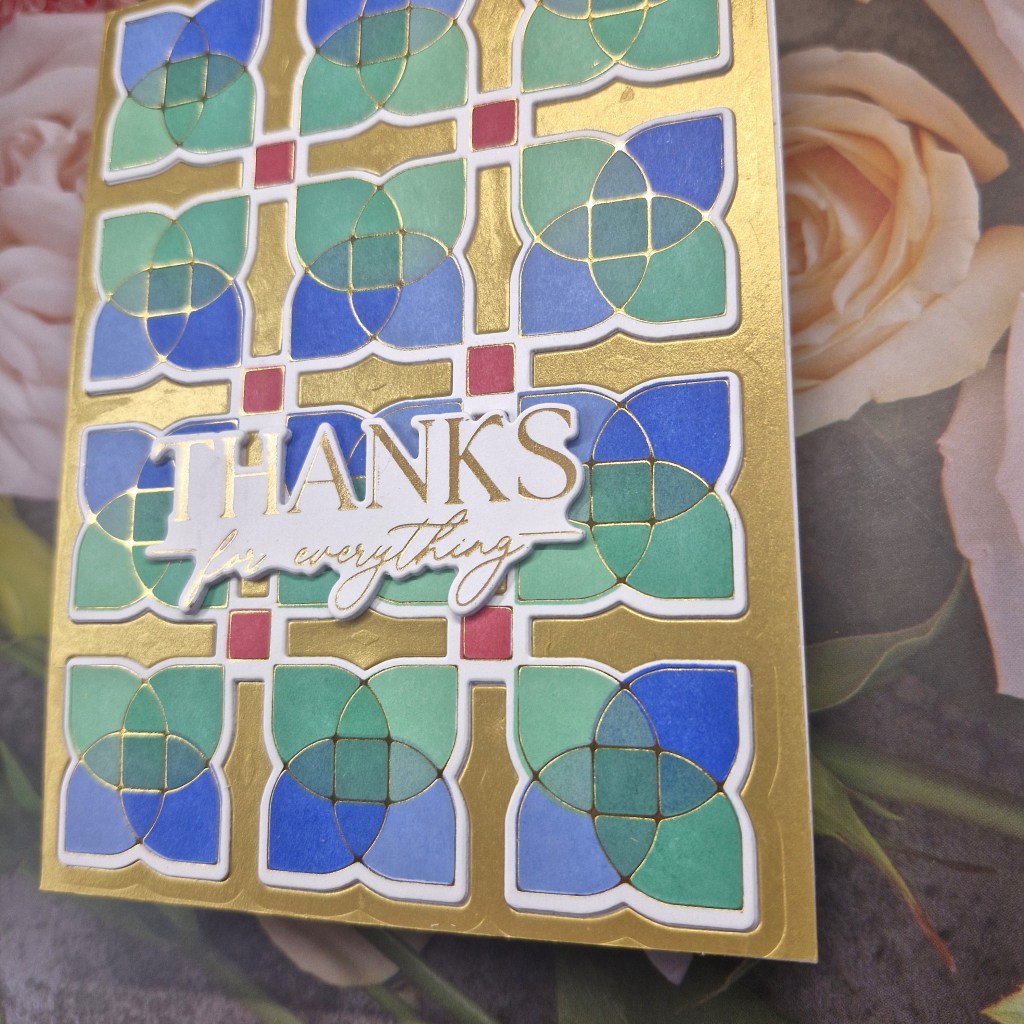
The foiled sentiment was added as you see.

I hope you can join us with your projects in the Art Deco style – I am looking forward to seeing all the bold and bright colours on our gallery. xx

I shall be entering the following challenges:

Lil Patch Of Crafty Friends – anything goes

Addicted to Stamps & More – die cuts and/or stencils

Crafts Galore – anything goes

Stencil Fun – use stencils – option of patterns taken

Ally’s Angels – anything goes
Bunny Thanks

Hello once again everyone. I have a card to share as Guest Design Team for this new challenge at Dragonfly Dreams. I was lucky enough to be chosen as one of the Top 3 for the January challenge and was invited to join them for a future challenge.

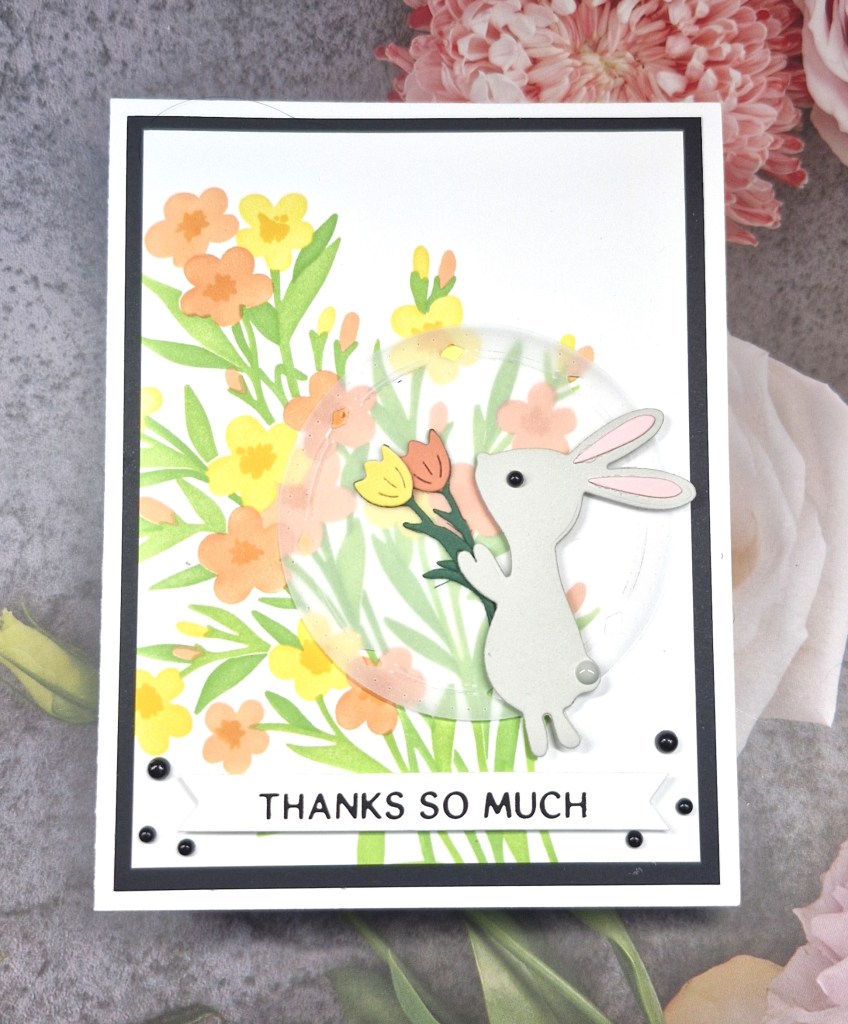
Their new challenge theme is ‘animals’. Here is my card:

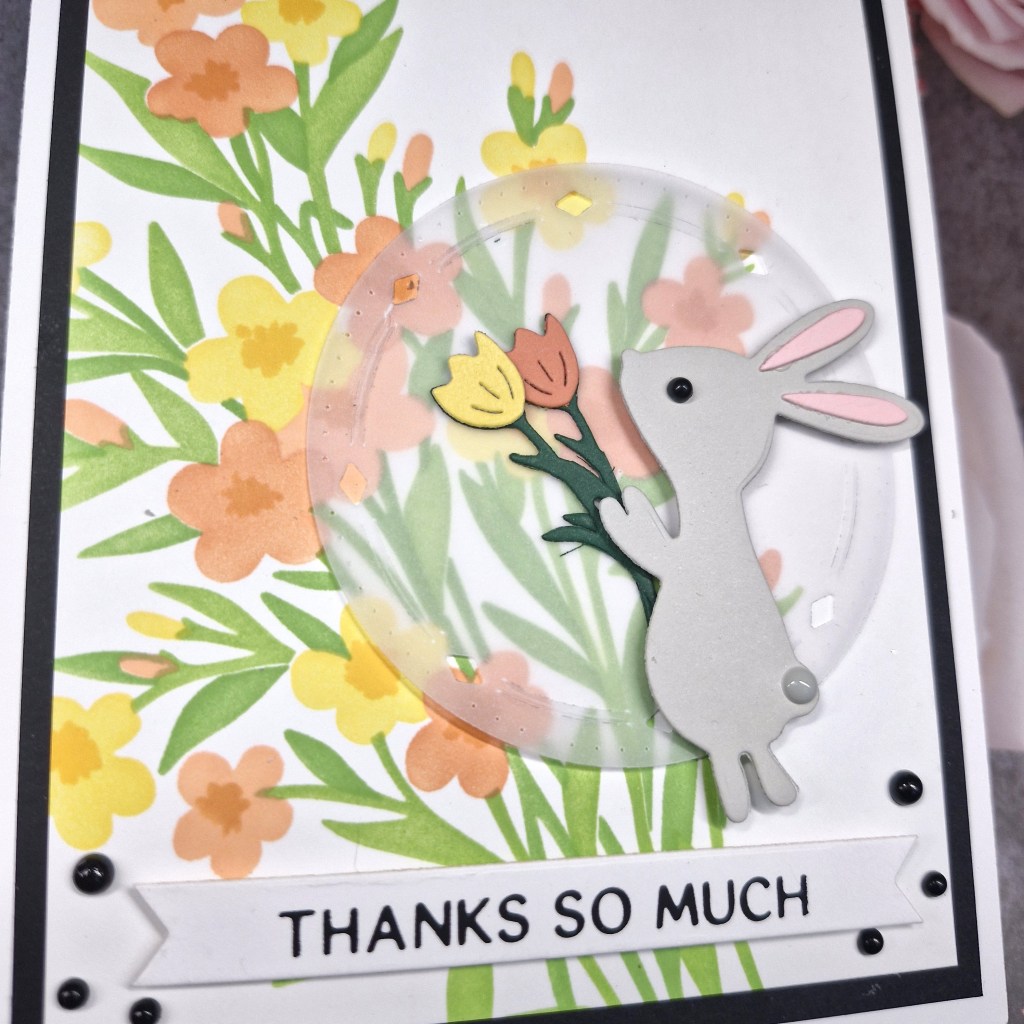
I wanted to use a new to me die set from The Greetery of this cute little bunny called ‘Bunny Kisses’. This die set includes the bunny and a few other elements for the bunny to hold – I chose to use the flowers for this card, but there are also some little eggs.

The bunny was die cut and assembled, and I also put several flowers together in different colours to be able to choose how many and which colours I wanted once the card was assembled.

I created the background florals using a layering stencil and Pinkfresh Studio inks, then cut that down so I could layer it with a black panel, and then layered that onto a white card base.

When I lay the bunny onto the background, I felt it was too busy behind him, so I added a circular vellum die cut, then the bunny. This circle die is also from Pinkfresh Studio.

I added the flowers then the black foiled sentiment, as well as some black enamel dots.

I hope I see you in the Dragonfly dreams gallery with your creations featuring animals. xx

I shall be entering the following challenges:

Beautiful Blossoms – flowers – optional mood board

Ally’s Angels – anything goes
Crafters Café – anything goes – option of CAS not taken

Mix It Up – anything goes – option of lots of layers taken

Love To Craft – anything goes

Crafty Animals – anything goes with an animal

Give A Crafter A Cookie – photo Inspiration – bunny was my inspiration

Z is for Zoom

Hello once again. I am here with a creation for the new challenge at The Alphabet Challenge. The theme has been chosen by Melanie, and she has chosen:

Z is for Zoom – anything which goes fast

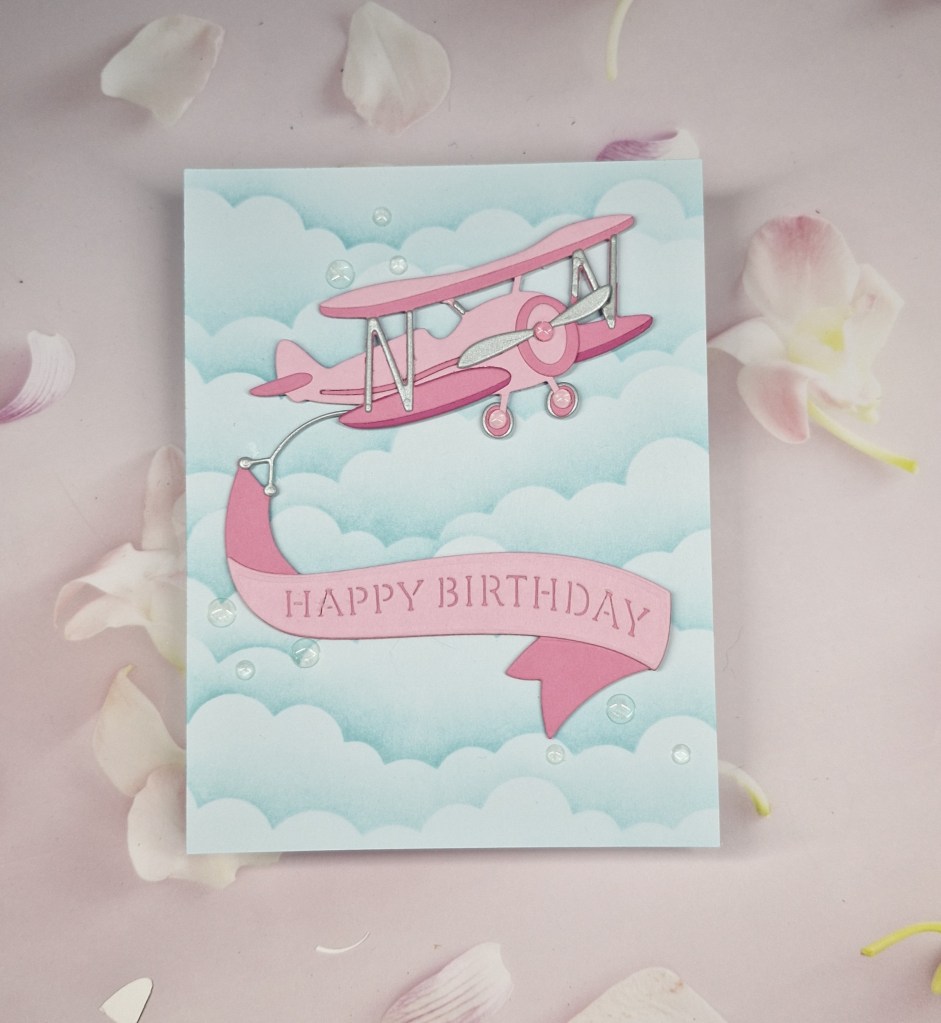
Here is my card:

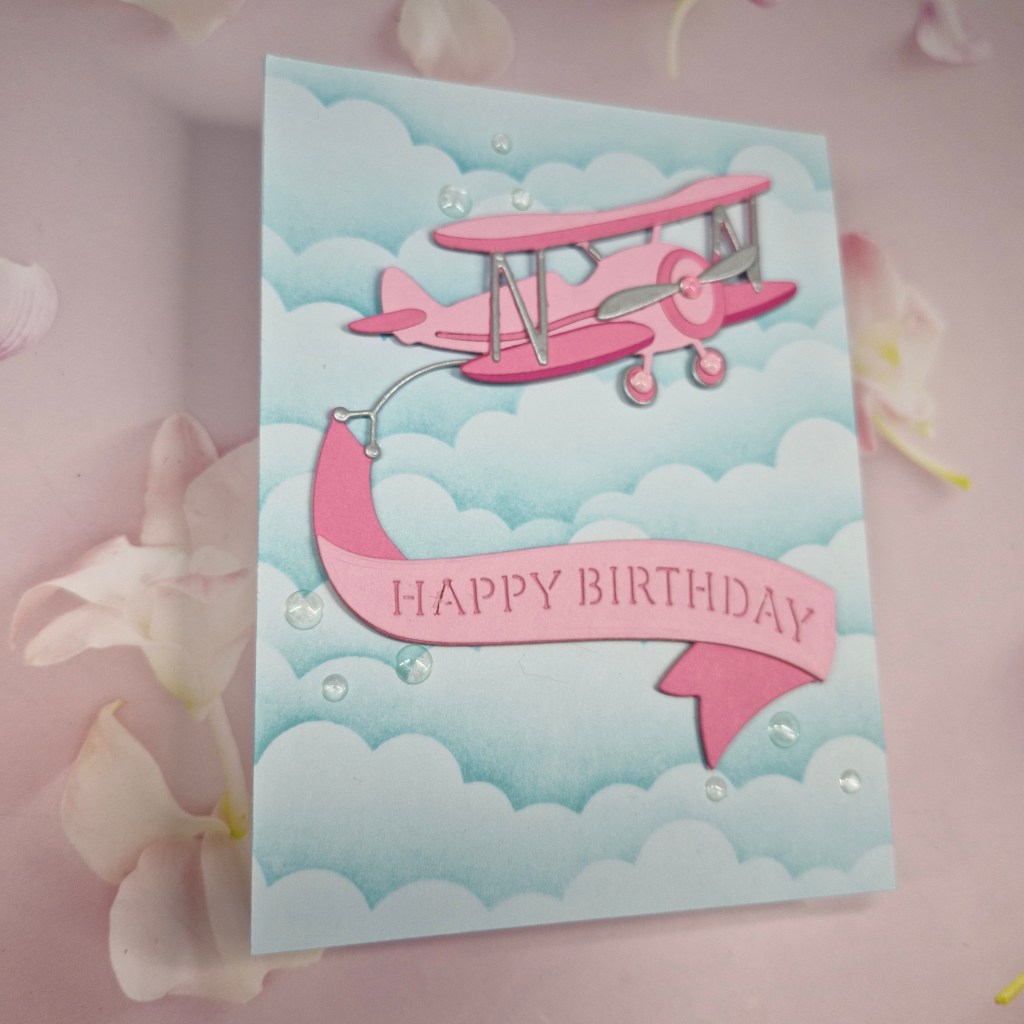
I used a Spellbinders die set to create the plane and banner, and a mixture of acrd stock from Concord & 9th and Spellbinders.

I did have to watch a YouTube video several times to be able to layer each part in the correct way – but I managed to achieve it – finally.

Once the plane and banner was assembled, I used an MFT stencil to create the background clouds. I wanted lots of clouds, and lots of dimension so I used a blue card panel and some slightly darker blue ink to create it.

The panel was adhered flat to the card base, the plane and banner attached with a thin 3D foam, then some clear enamel dots added here and there.

I hope you can come and join us with your creations following our theme.

I shall be entering the following challenges:

Addicted To Stamps & More – any occasion

Seize The Birthday – birthday – option of milestone not taken

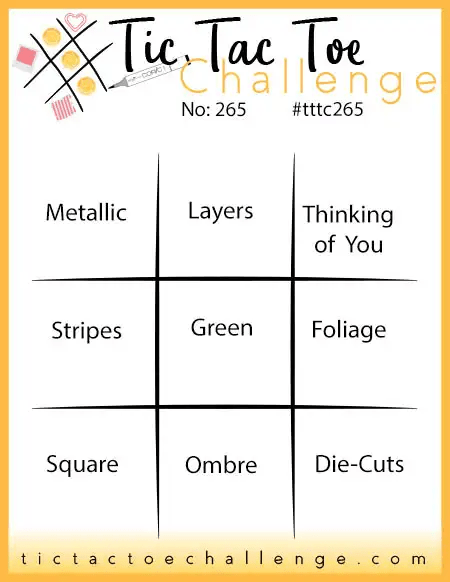
Tic Tac Toe – middle column – enamel dots, free, die cut

Ellibelle’s Corner – anything goes

Thinking Of You

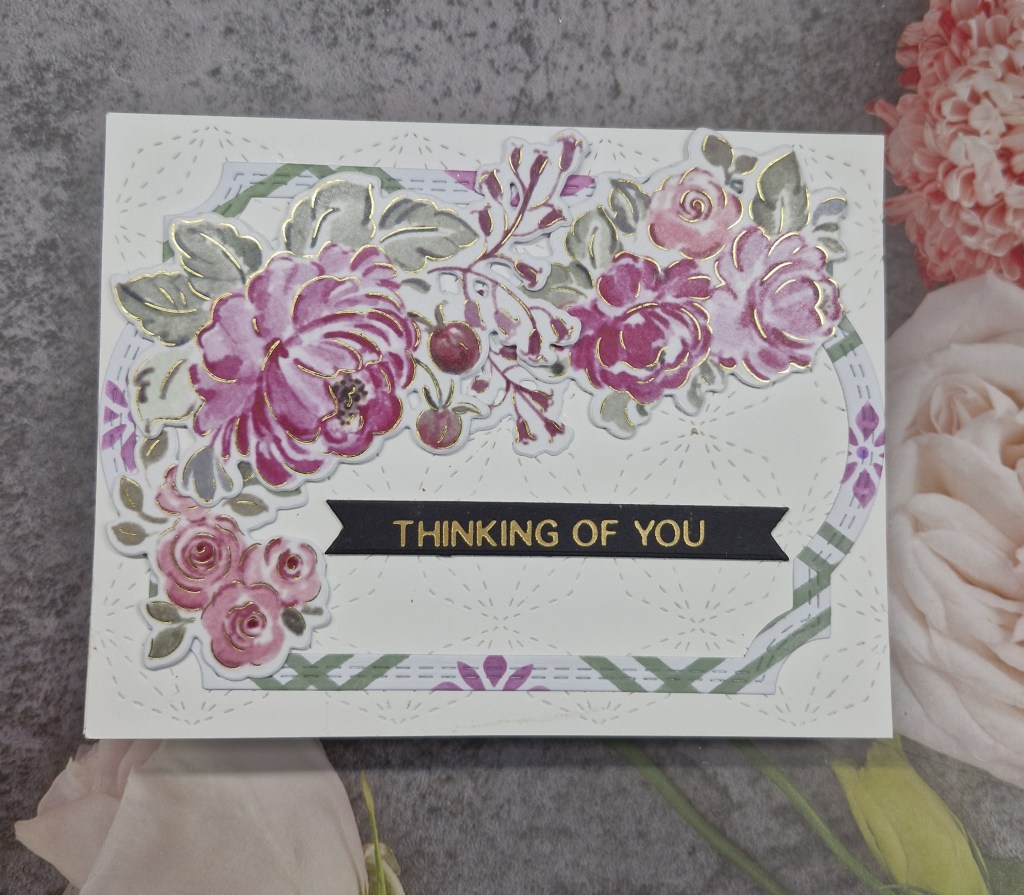
Hello everyone. I had – unfortunately – the need for a sympathy card. A close friend of mine lost her father this last week so I wanted something simple yet meaningful. Here is my card:

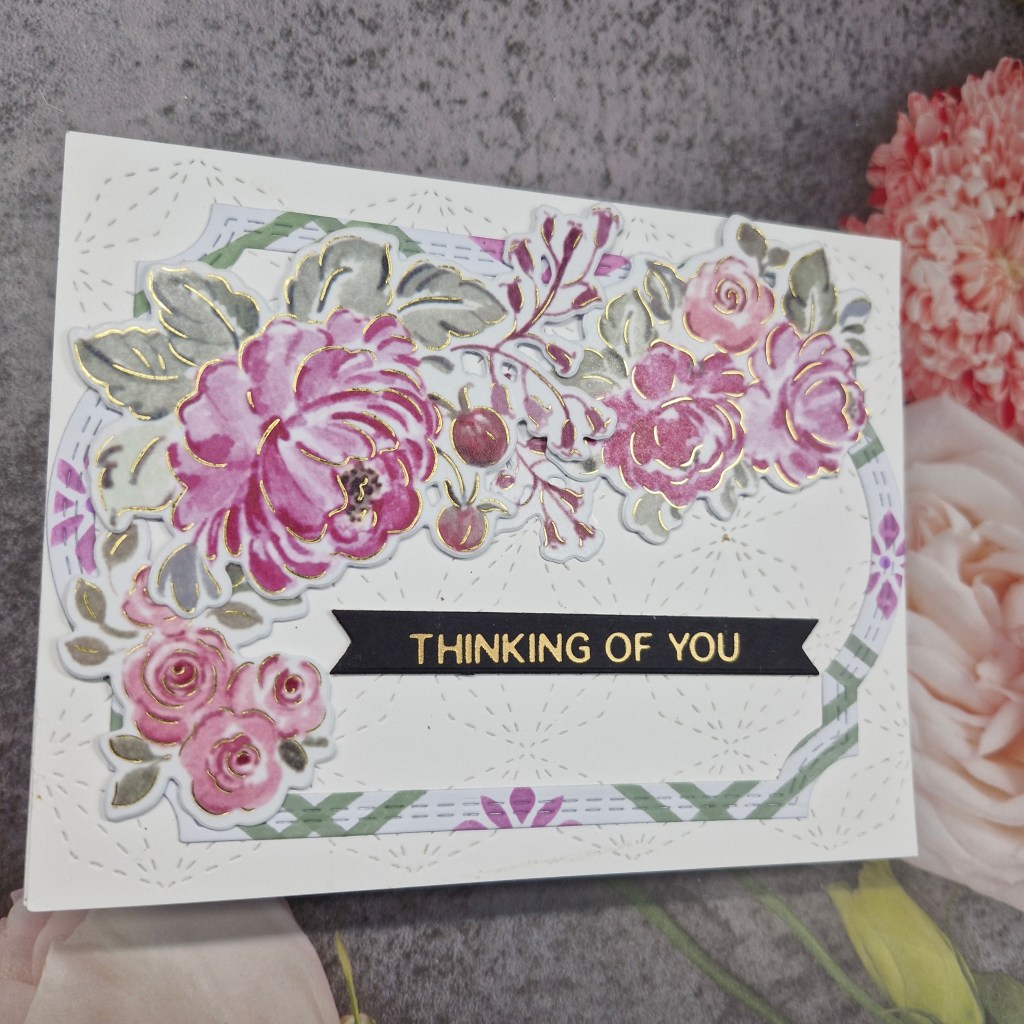
I started with the background, and used a Pinkfresh Studio cover plate to create the stitched panel. This was adhered flat to the card base. Onto that I attached a frame created using a layering stencil from a recent Pinkfresh Studio virtual event, and die cutting with a ‘Fancy Frames‘ die set – also part of that event.

I first stencilled a panel, then used the frame dies, and used this one piece adhered flat to the background stitched panel.

Using the washi tape from that event – stuck onto a piece of card then die cut with the matching dies – I chose the floral images I thought would best go around the frame, and adhered them with glue.

The sentiment is a previously foiled strip.

Having lost both my parents over the past 5 years of so, I can appreciate how she is feeling, but it is still very difficult to be able to put that into words, isn’t it?

I shall be entering the following challenges:

Just Us Girls – anything goes with a stencil

Creative Fingers – anything goes

Make My Monday – faux or real stitching (background panel)

Beautiful Blossoms – flowers – optional mood board

Tic Tac Toe – top row (metallic – layers – thinking of you)

Love To Craft – anything goes

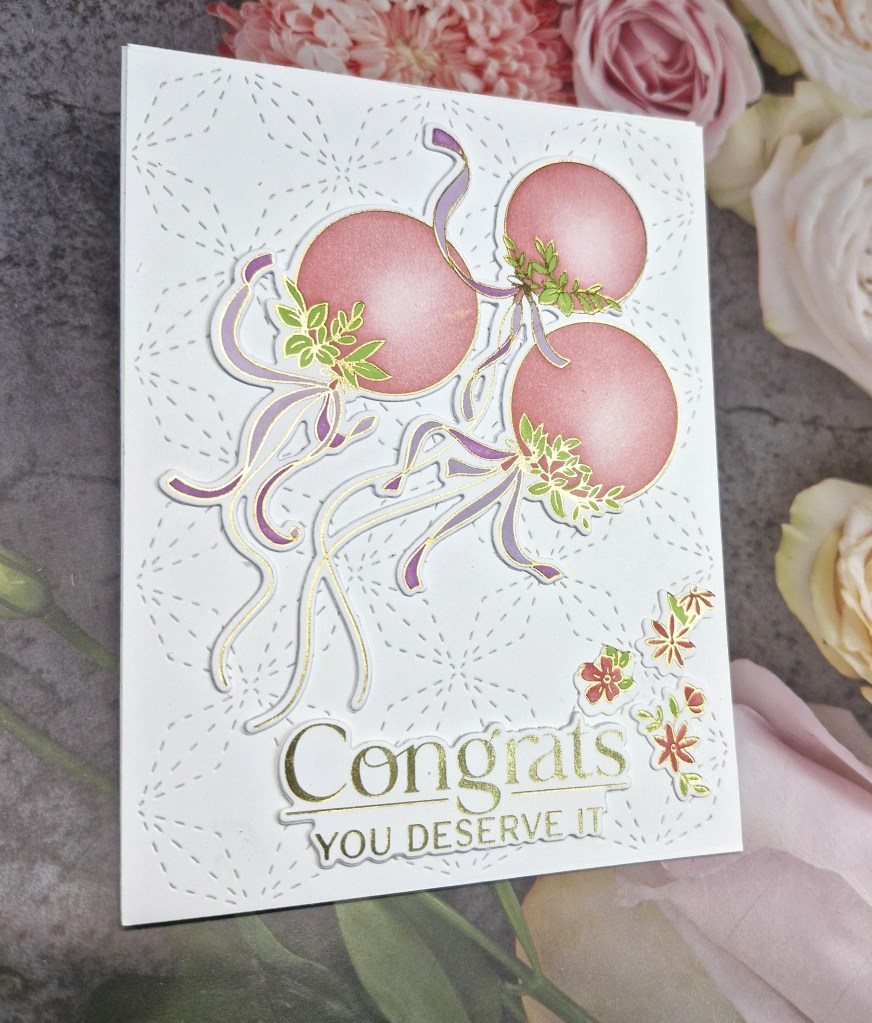
Congrats – You deserve It

Hi there. Popping in to share another project created using the products from this past weekend’s Pinkfresh Studio virtual event.

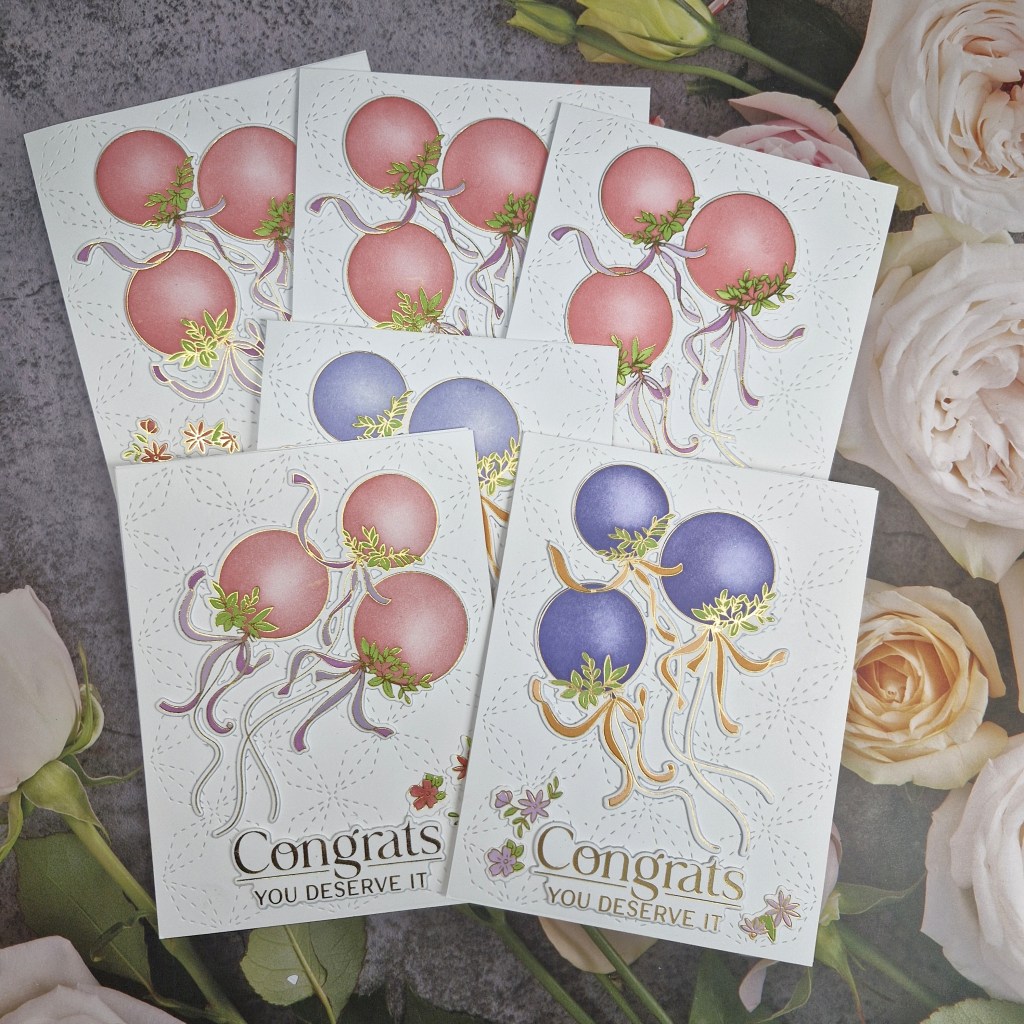
I have the need for 6 congratulations cards, as the rest of my nurse practitioner team have been given a higher grading/banding. In the UK, we have certain ‘band’ levels which rise with seniority and qualifications, so their hard work and university courses have really paid off for them.

It has taken them 2 years of a Masters course at university on top of doing their day-to-day jobs, all that writing and actually jumping through hoops – it has taken a while – but they have finally been successful. Congrats to them all.

Here is my set of cards:

It probably took me a couple of hours to create these, but once you get going, all that ink blending on all those panels just goes quickly.

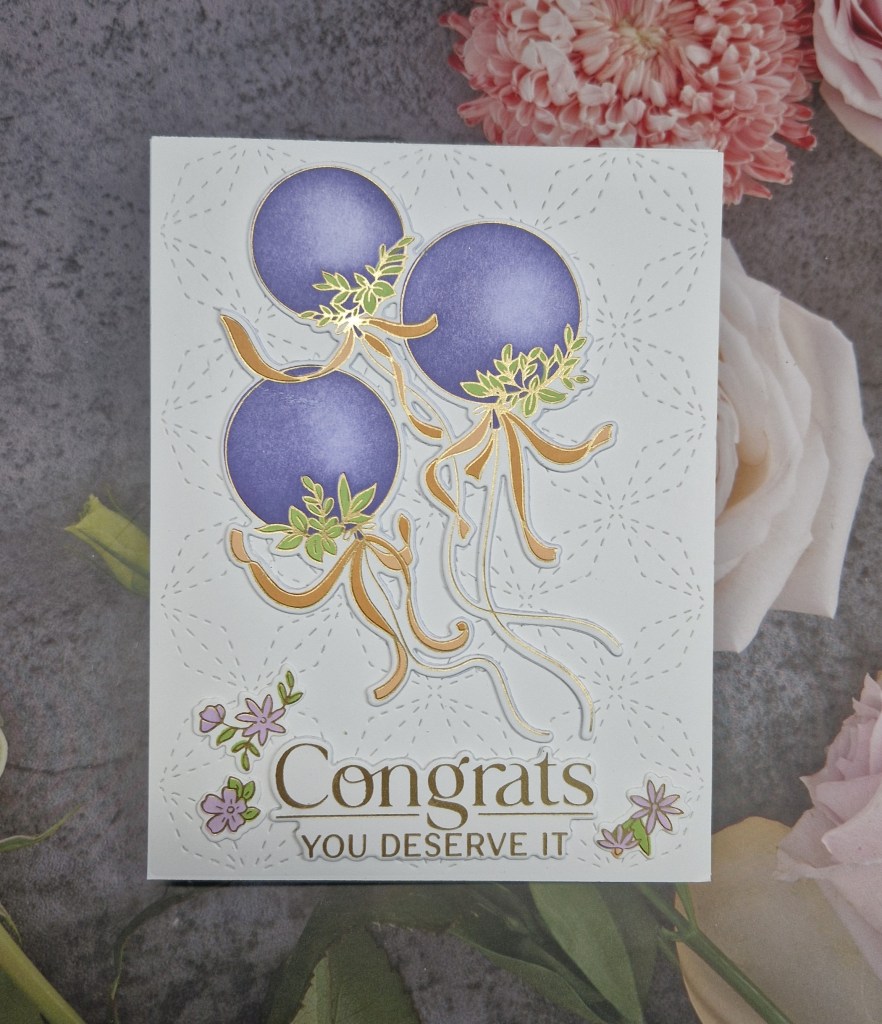
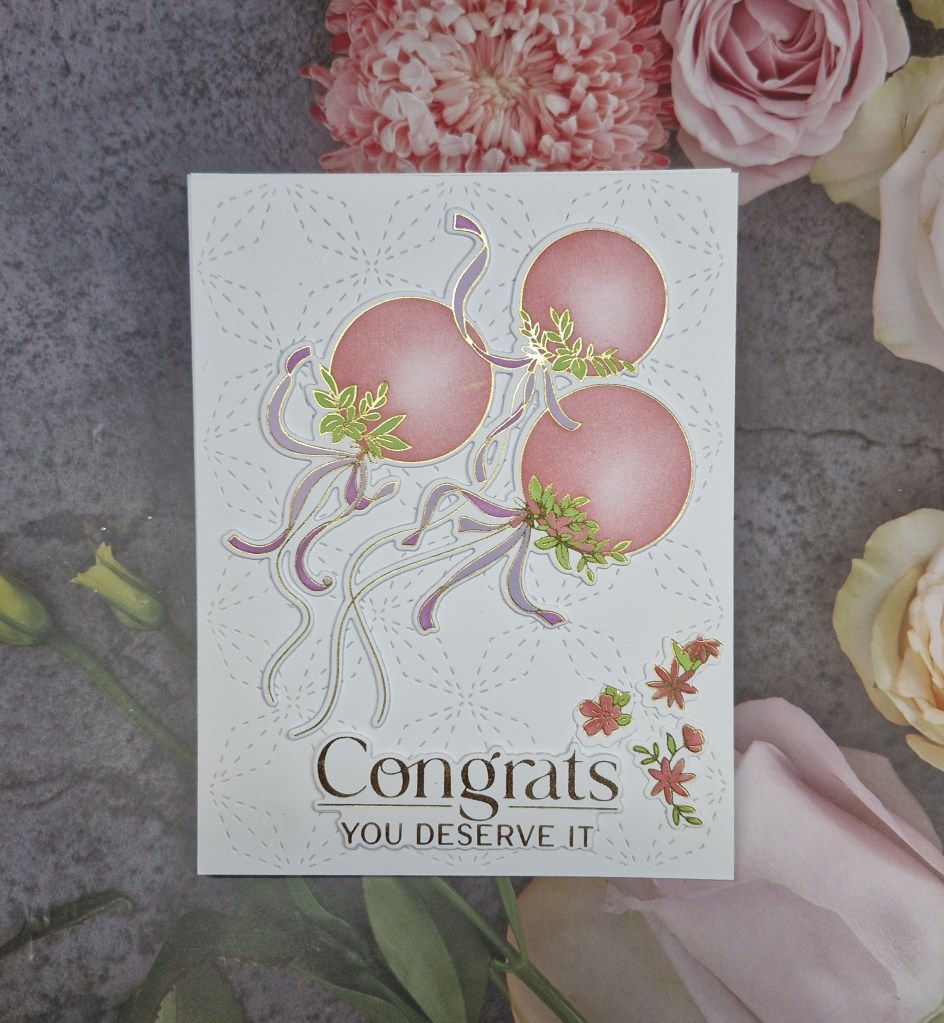
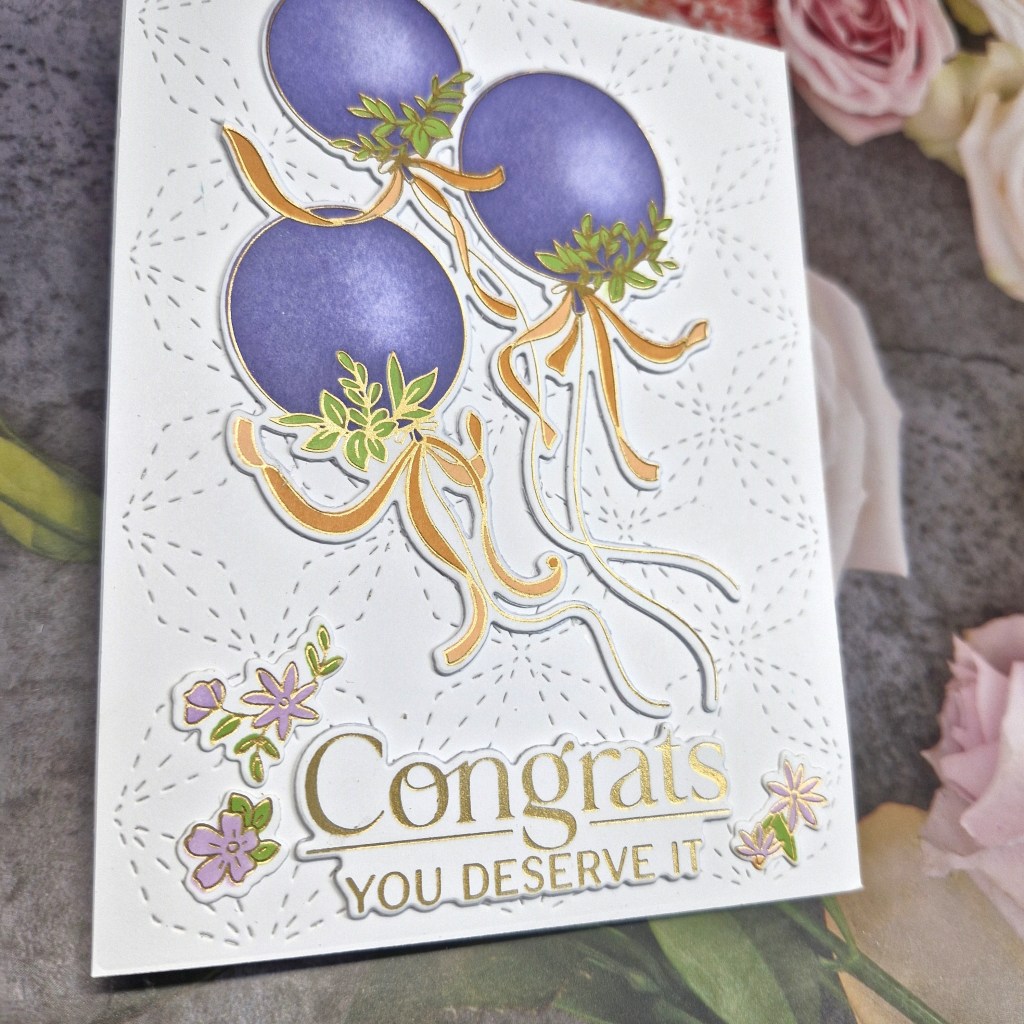
I first hot foiled the image, then started to ink blend. I did start with purple, but went to the coral colour and decided to keep them virtually the same after that. A couple of tones to create the dimension on the balloons, then each panel was die cut with the matching die set. I cut an extra of the balloon image for each one and glued together to create a little more stability.

I then hot foiled the sentiment, again used the matching dies, and added more blank die cuts behind those too.

The background panel was also a plate which had stitched detail, and adhered flat to the card base.

The extra little floral elements I added just for a little more colour.

This image – the stamp set, hot foil plate, layering stencils, and matching dies – are all just one set of products from one class – there are 4 other classes I have yet to do with other products………I can see a lot of Pinkfresh Studio projects coming your way….

I shall be entering the following challenges:

Fab’n’Funky – stitching – real or faux

Addicted To Stamps and More – make your mark

Ellibelle’s Corner – anything goes

Ally’s Angels – anything goes
Thanks For Everything

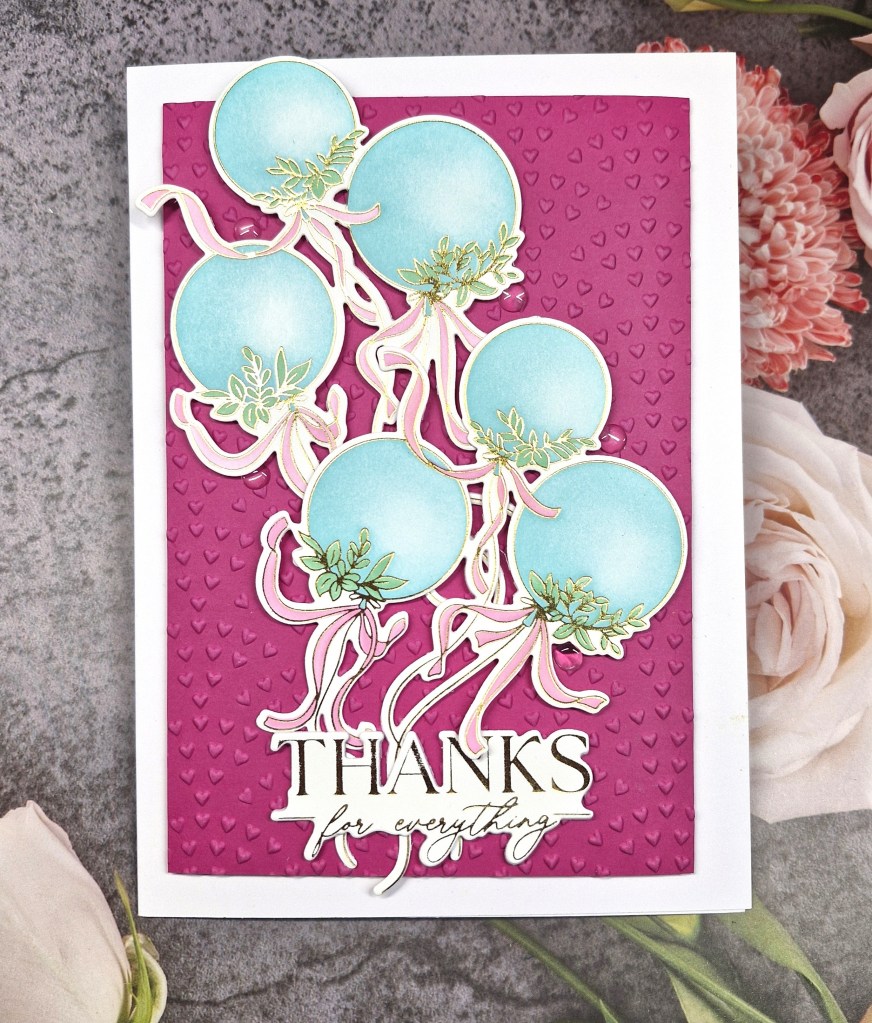
Hello everyone. I have a card to share using new products from Pinkfresh Studio. This press plate, stamp, die, and colouring stencils are from the Pinkfresh Studio event happening this weekend. I made this putting my take on the products whilst the live event:

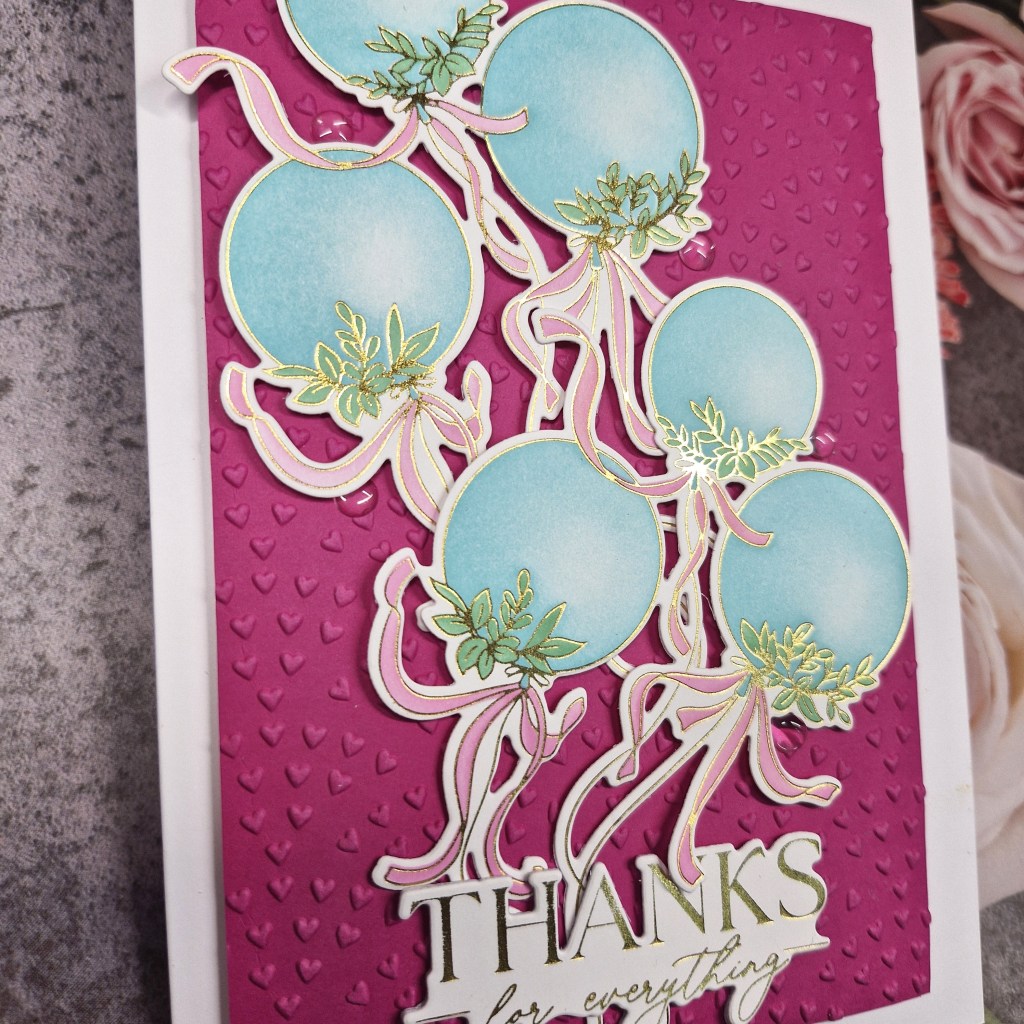
I began by hot foiling the press plate of the balloons, then used the layering stencils to colour them. I created some dimension with varying the pressure of the ink blending brush, and also added a slightly darker blue to the left and under-side of each balloon.

I then hot foiled the sentiment – also products from the event – then die cut it and stacked a couple more layers beneath that.

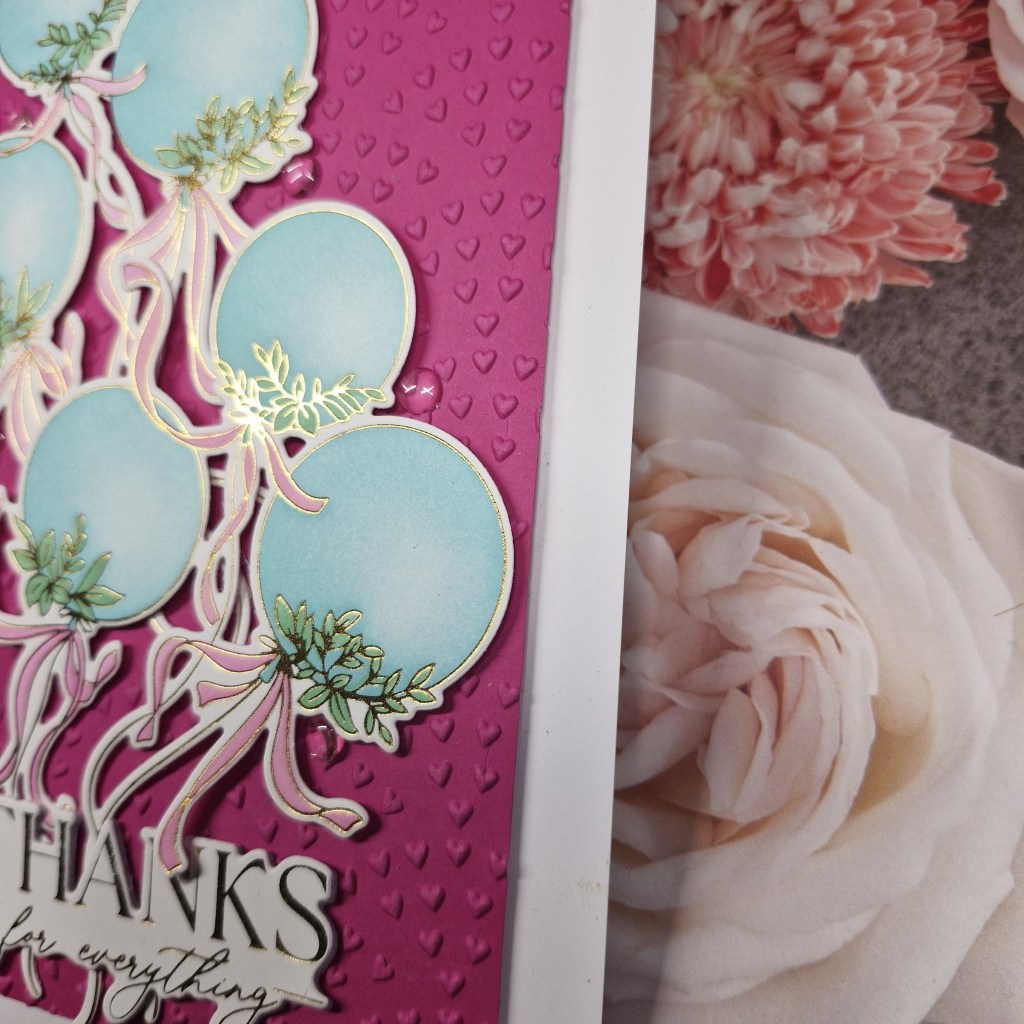
This is a 5×7 inch card, and I used a ‘Dragonfruit‘ piece of card stock and a Spellbinders embossing folder for the background, adhered with a layer of foam, and attached to the card base.

The two balloon images were adhered with 3D foam beneath each balloon, then the sentiment glued down.

I also added some clear drops from Altenew:

I shall be entering the following challenges:

Festive Friday – incorporate at least three items – pink, glossy drops, ink blending, words of encouragement/kindness, balloons

CYHTP – embossing folder, option of using something beginning with ‘F’ taken – foiling

Addicted To Stamps And More – make your mark

Stencil Fun – use a stencil – option of pink and/or red taken

ABC Christmas Challenge – C & D

Hello there. The ABC Christmas Challenge has started their second challenge of the year. The letters are ‘C’ and ‘D’ and we have chosen the themes of:

C is for Cute

and/or

D is for Die Cuts

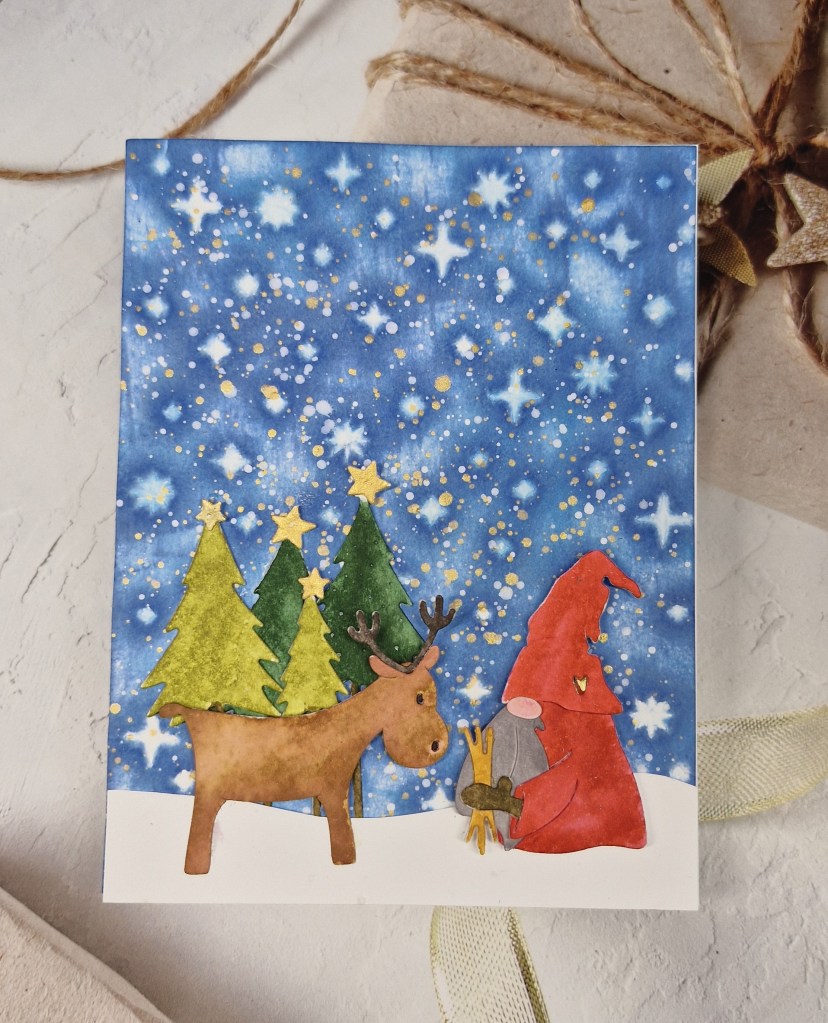
Here is my card which incorporates both of the challenge themes:

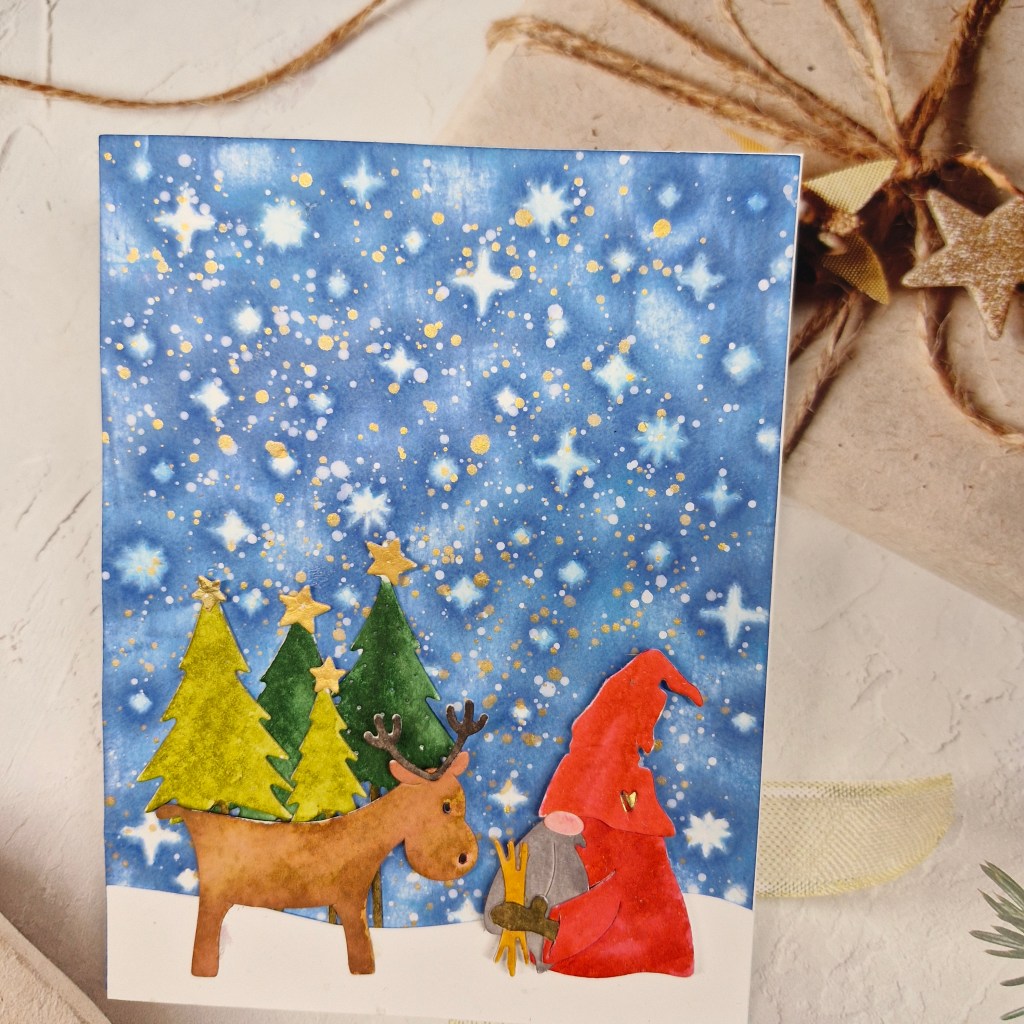
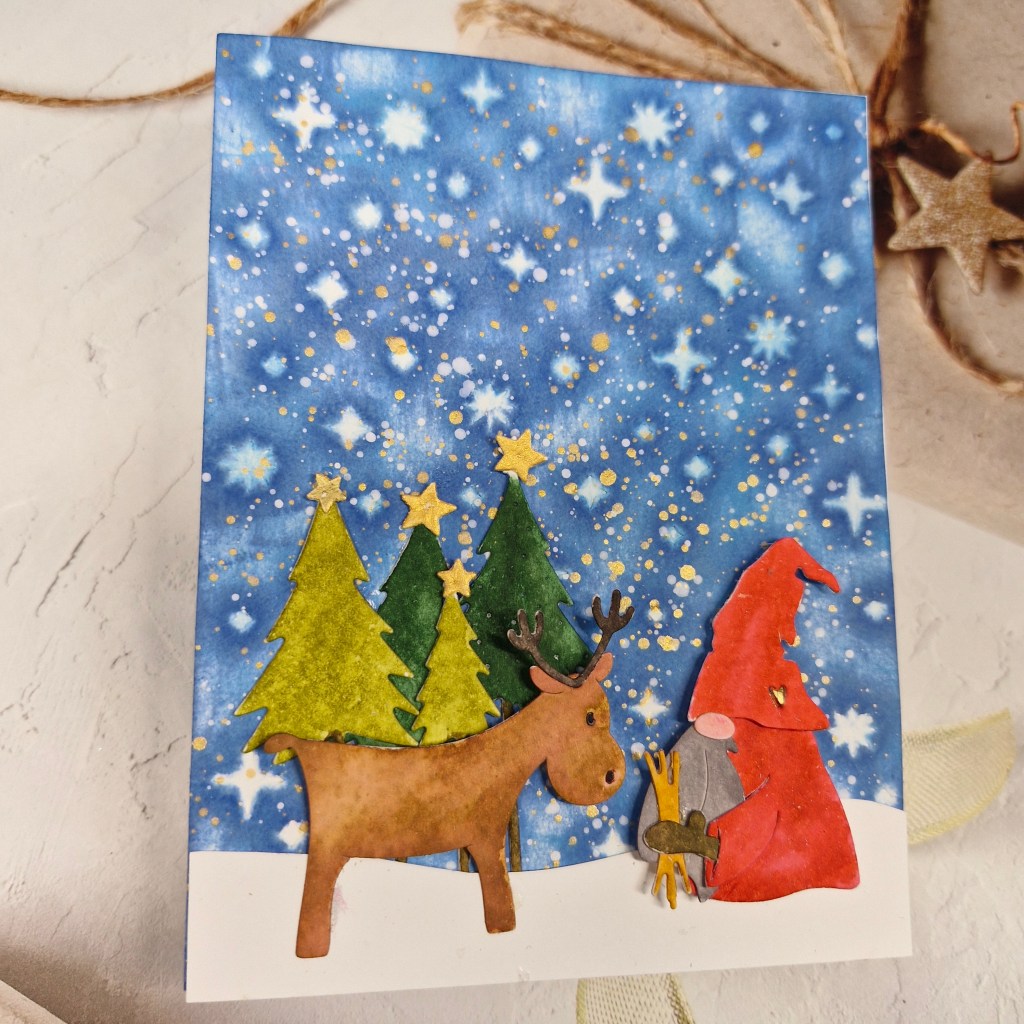
This was another mixed media card and using some products received as part of the Gummiapan Advent Calendar. I just loved the gnome feeding the reindeer, and as I already had the trees from a previous order, I thought they would work to create a scene.

I started with the background, and used a Pinkfresh hot foil plate to create an imprint in the card. I then used Distress Oxide inks to swipe across the back of the card so the details would remain white as they were deeper. I added some water – not too much as this was normal card not water-colour card – then when dry I splattered on some gold and white acrylic paint.

For the main images, I did use water-colour card stock and my Zig water-colour markers – something I haven’t used for a while.

The images were die cut then water-coloured, gluing together once dry. The gold stars were painted using my gold marker.

I cut the snow bank free hand and attached before adding the images.

I hope you can come and join us with your Christmas/festive creations following one of both of our themes. xx

I shall be entering the following challenges:

Love To Craft – anything goes

Lil Patch Of Crafty Friends – anything goes

Merry Little Christmas Challenge – anything goes Christmas

Cut It Up – die cuts – and this certainly makes me smile

Creative Fingers – anything goes

2 Crafty Critter Crazies – anything goes with a critter

Crafty Animals – anything goes with an animal