Cherish The Season

Hello everyone. I am back from my short jaunt to Tenerife for some sun and quality time with hubby. The weather here in the UK is gorgeous and yet here I am posting a Christmas card for the new challenge at The Holly & Ivy Christmas Challenge.

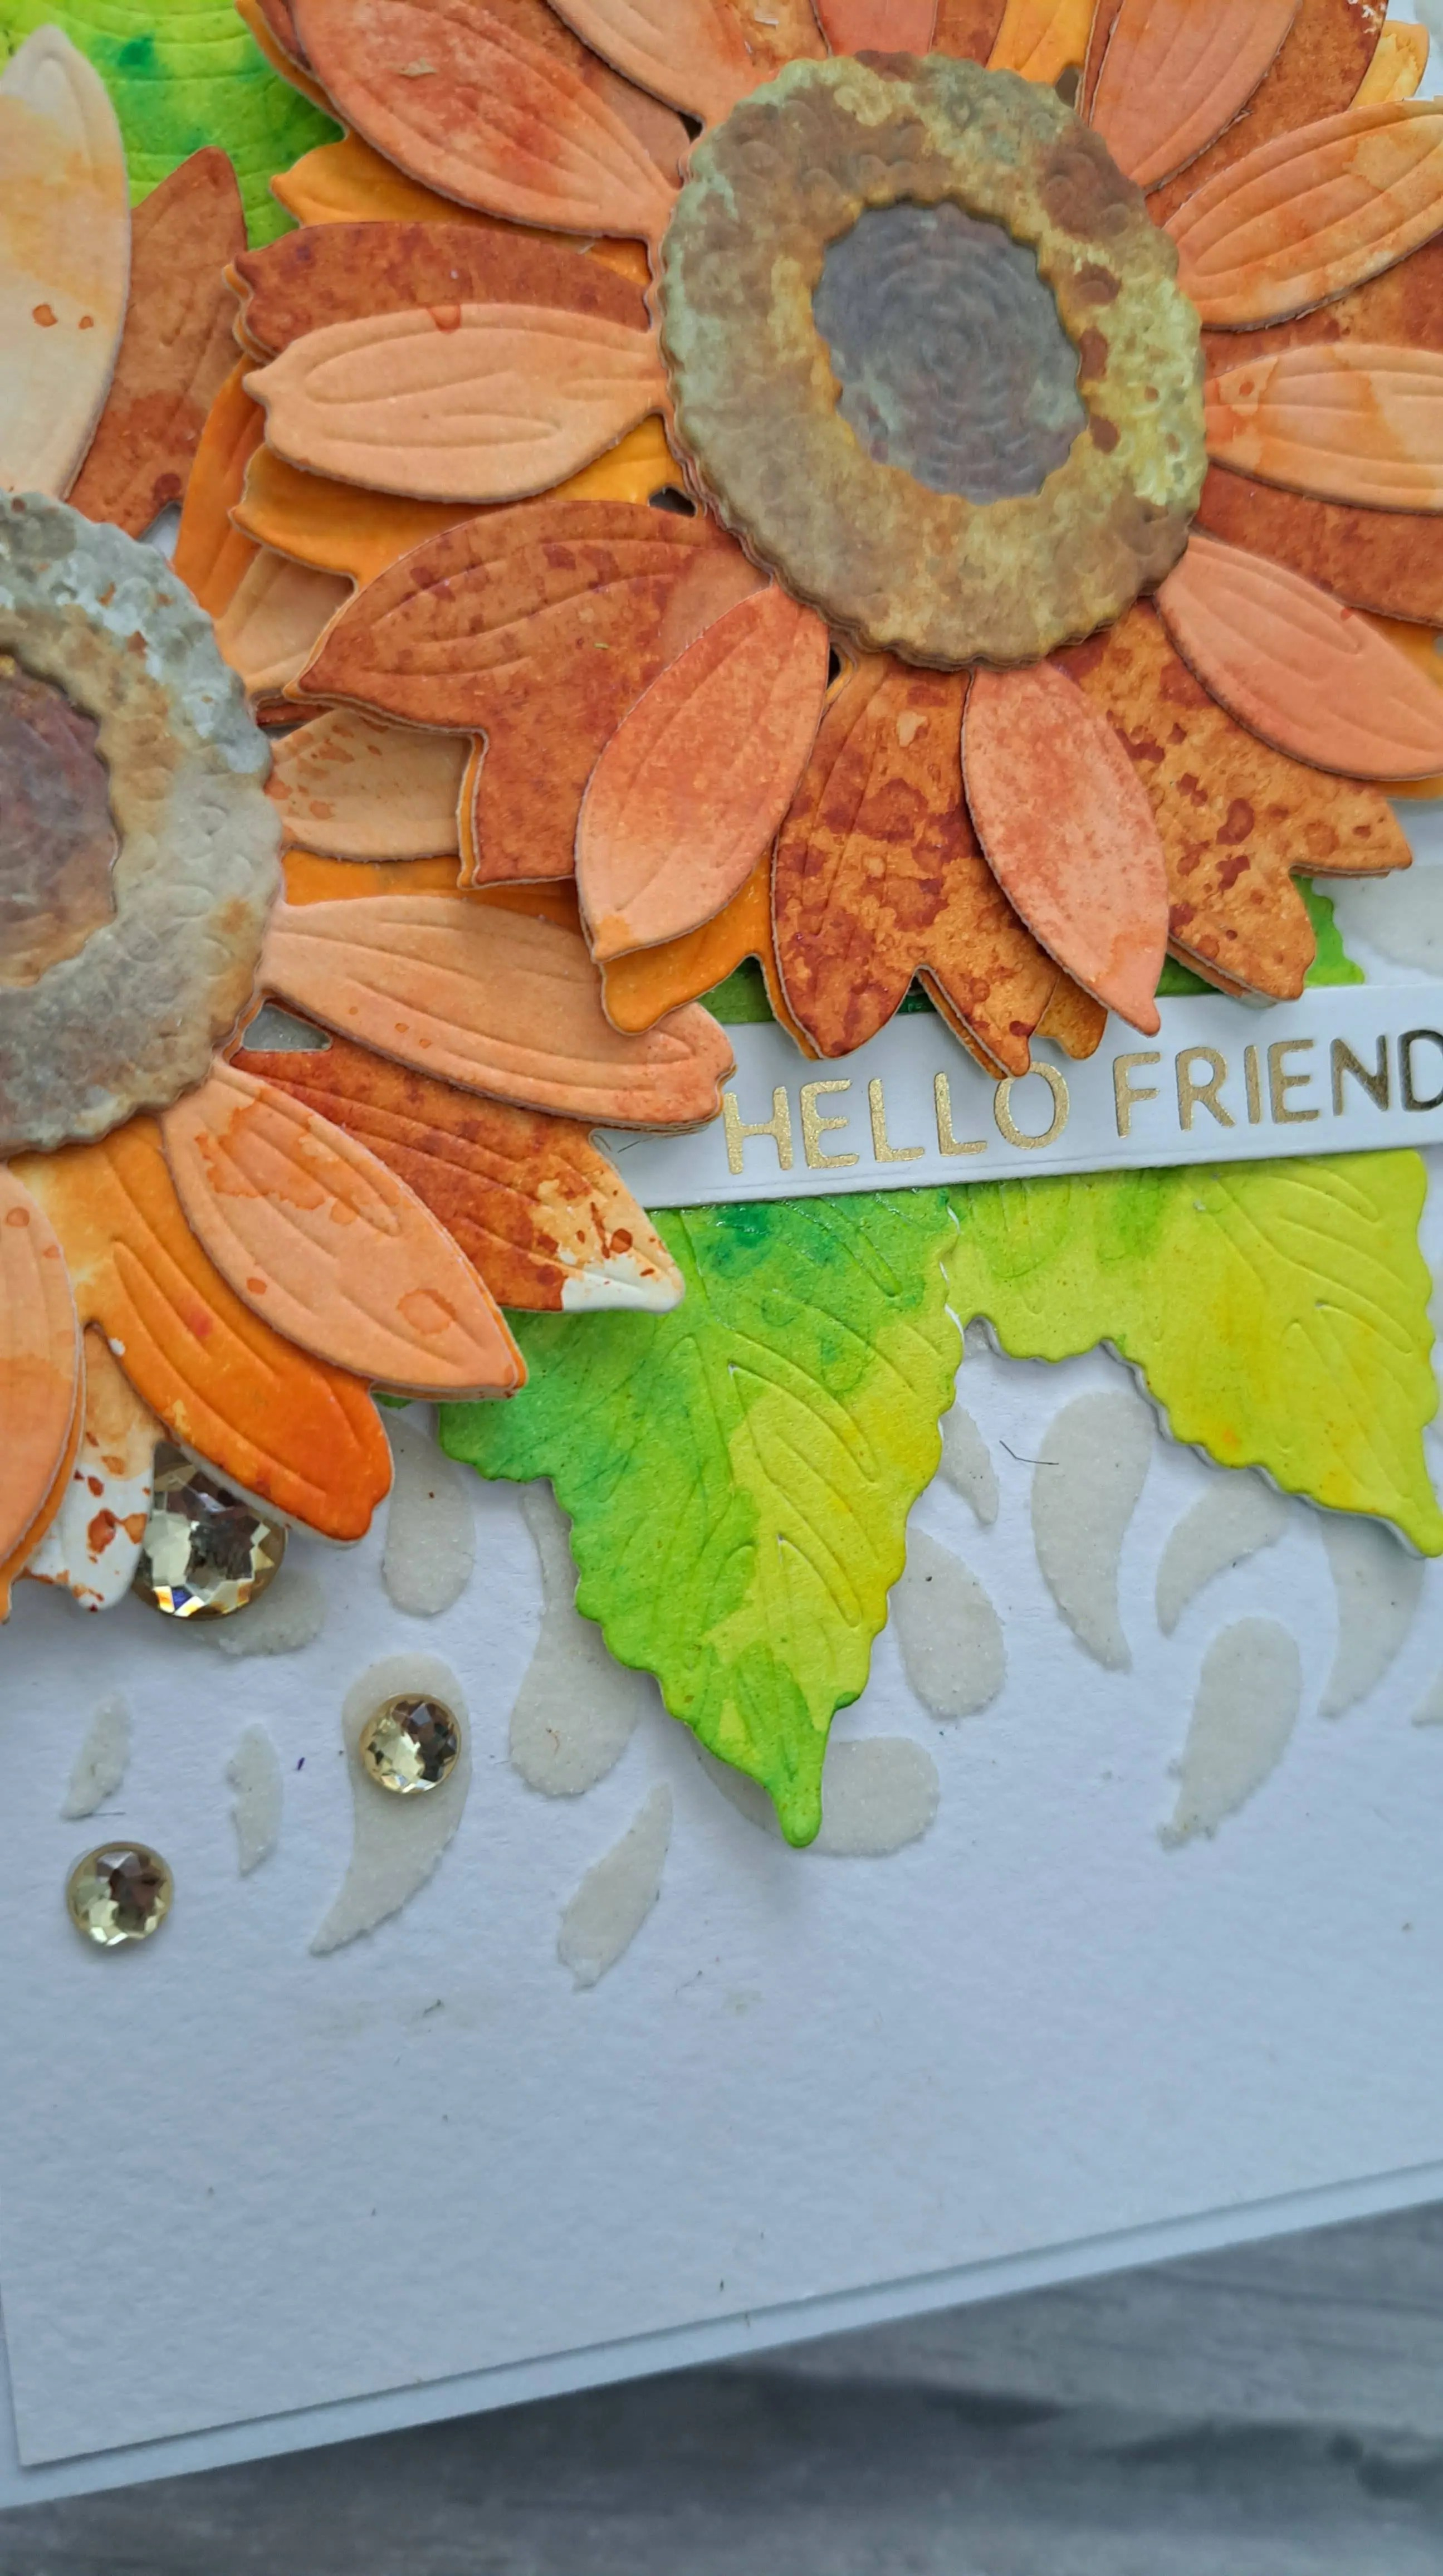
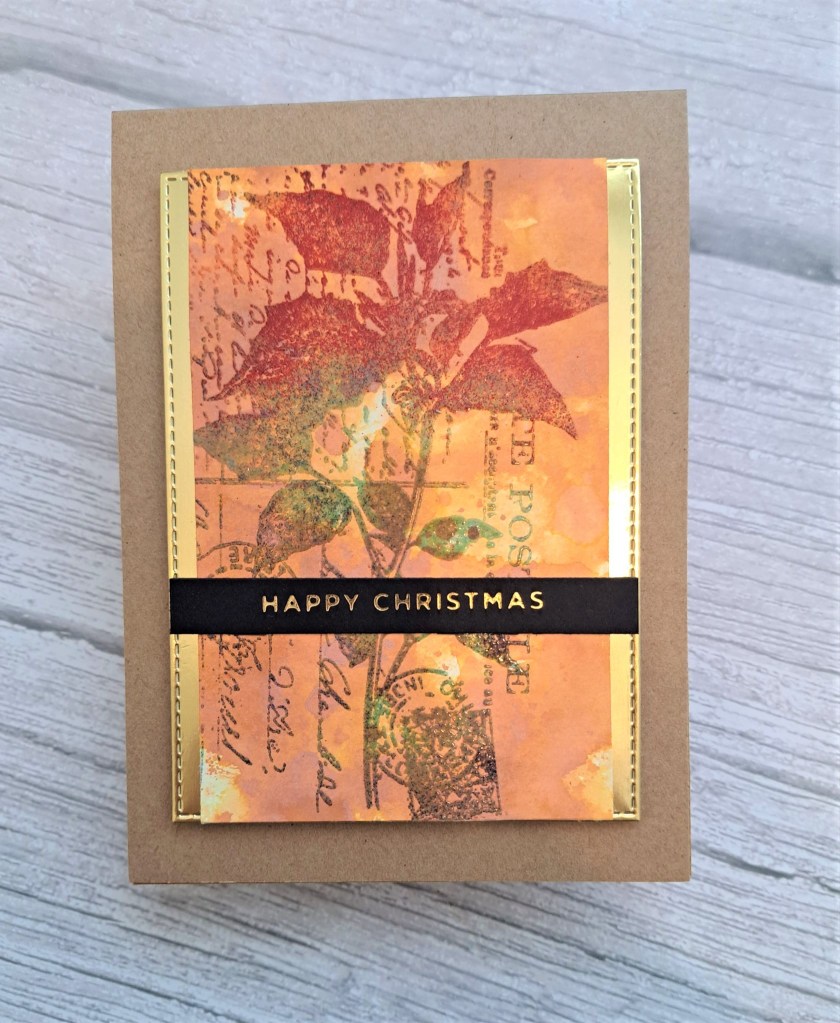
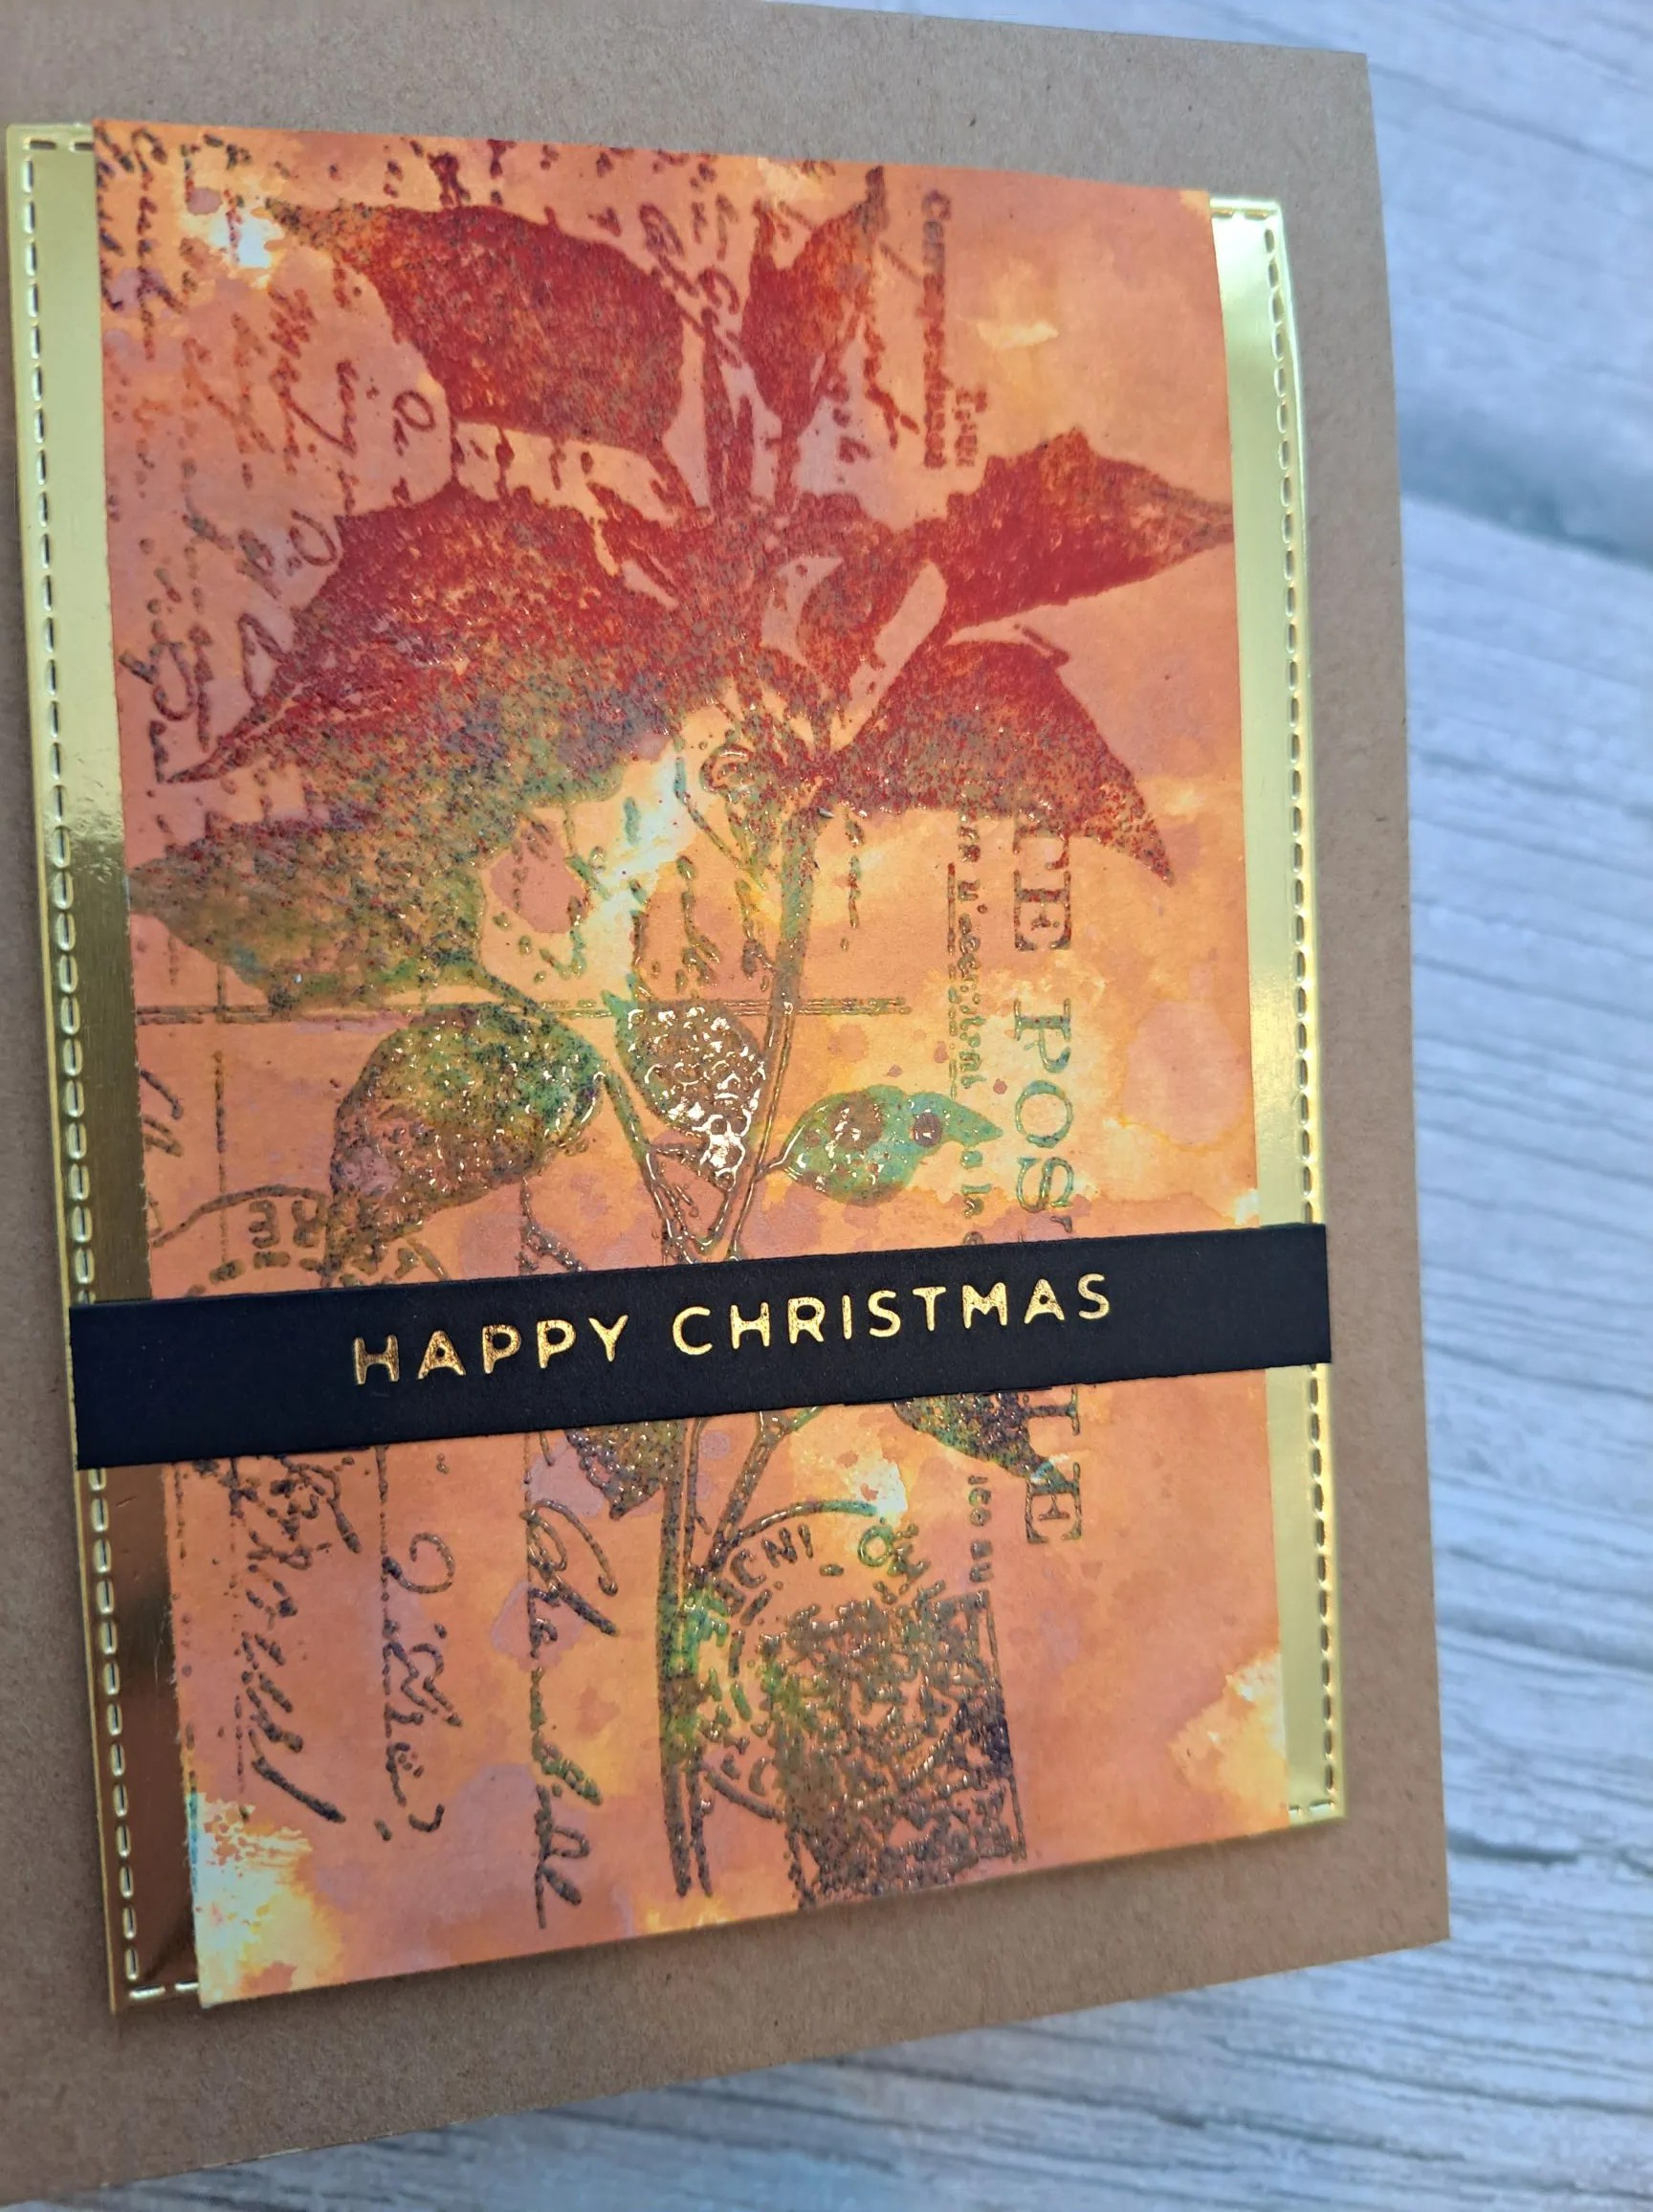
I certainly had some messy fun creating this card.

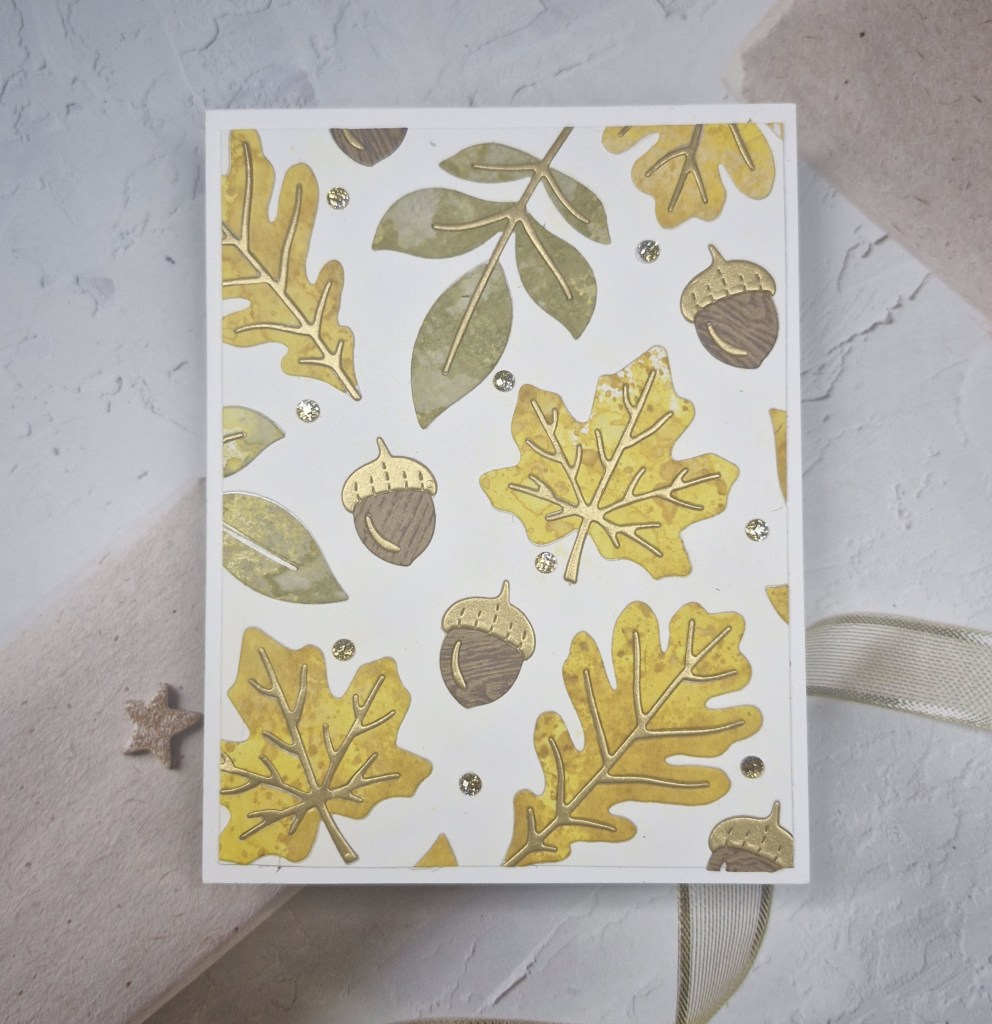
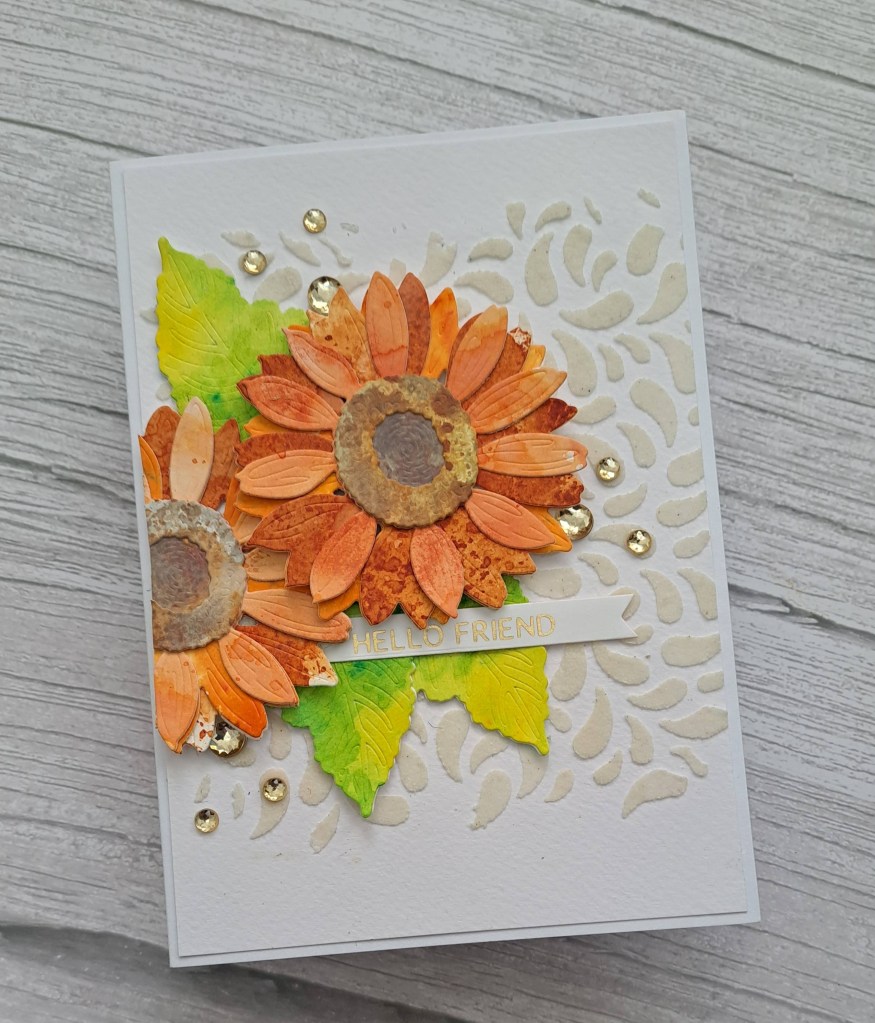
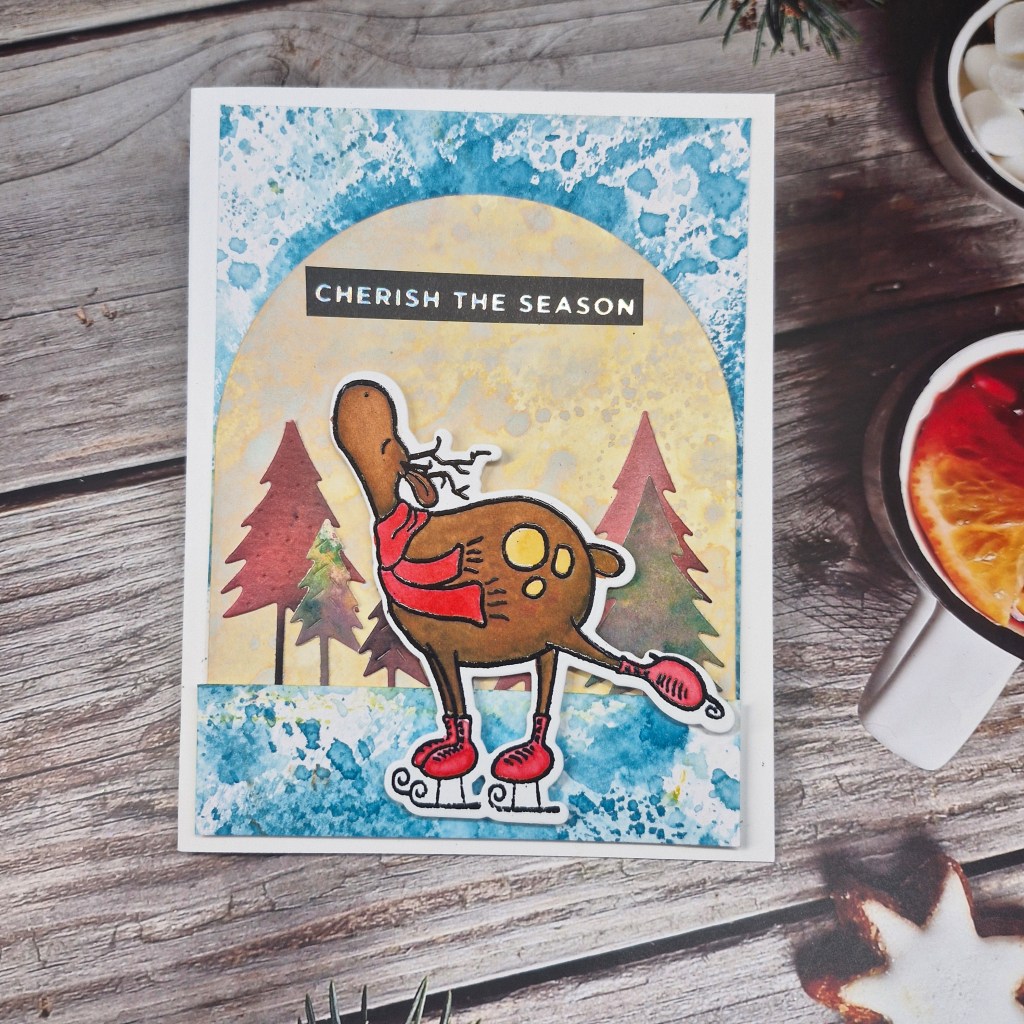
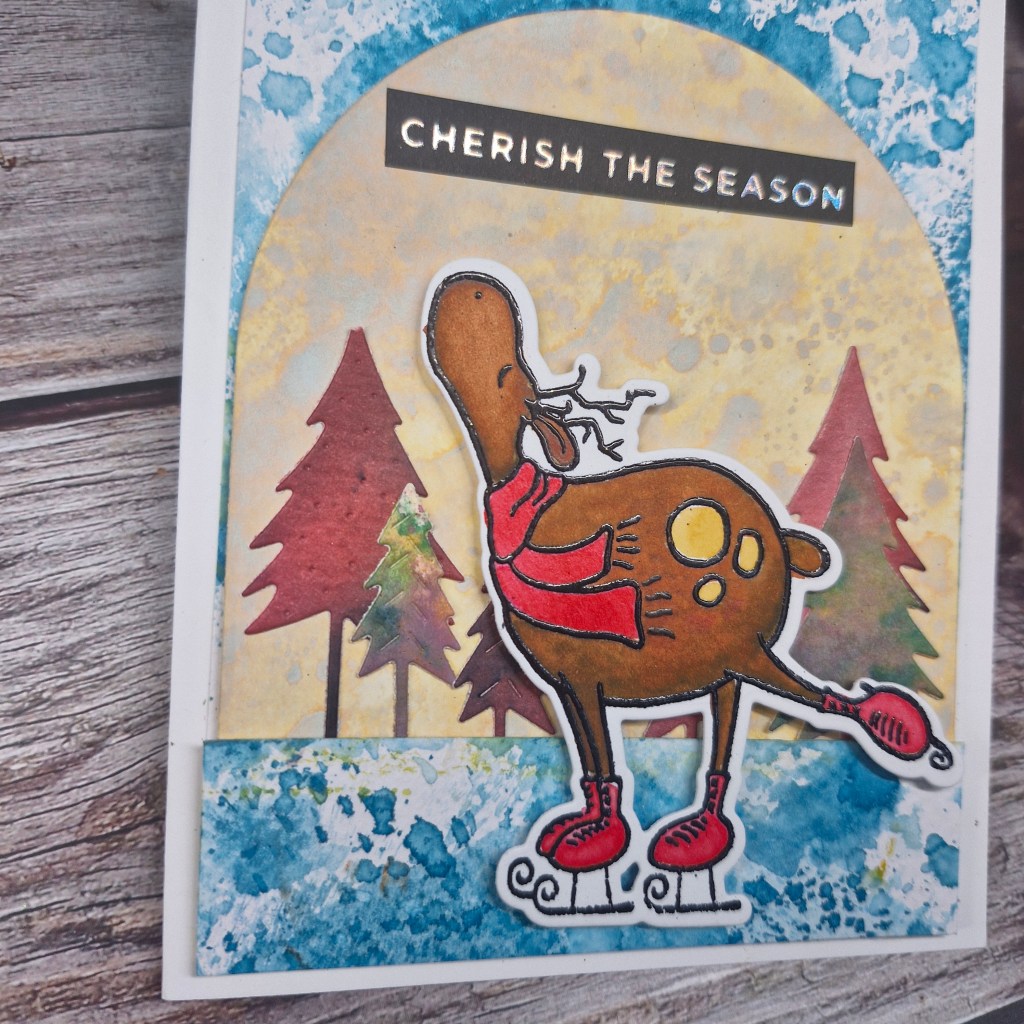
The cute ice skating deer is from Gummiapan, stamped and black heat embossed, then water-coloured, and die cut with the matching die.

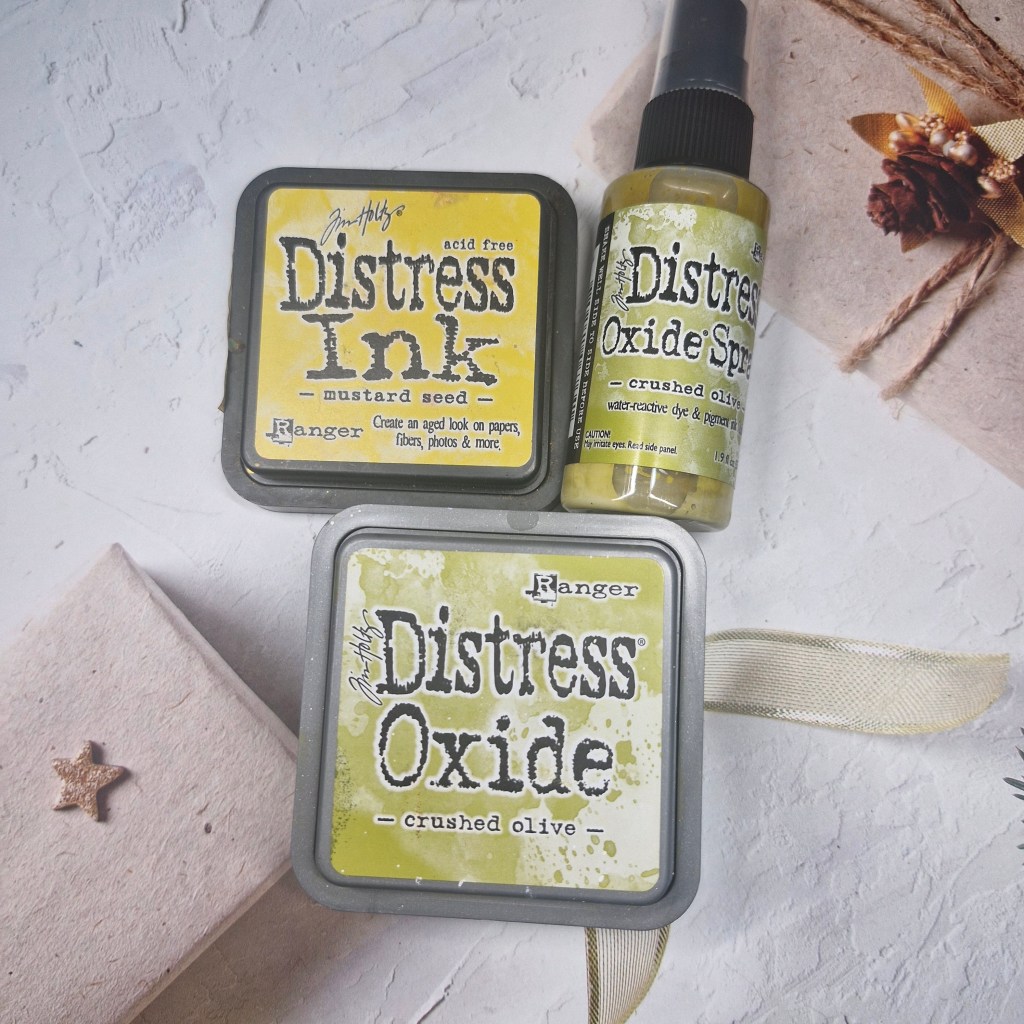
The background blue panel was created by ink smooshing Distress Inks, and cut slightly smaller than an A2 card base, then adhered with glue, saving a border to place at the feet of the deer to represent some ice….

The background to the scene was also ink smooshing, but with Distress Oxides this time round, die cut with an arch die, and adhered to the blue panel.

I added the blue ‘ice’ strip at the bottom, then used Gummiapan tree dies and die cut from other previously created ink smooshing panels, slotting them into the background.

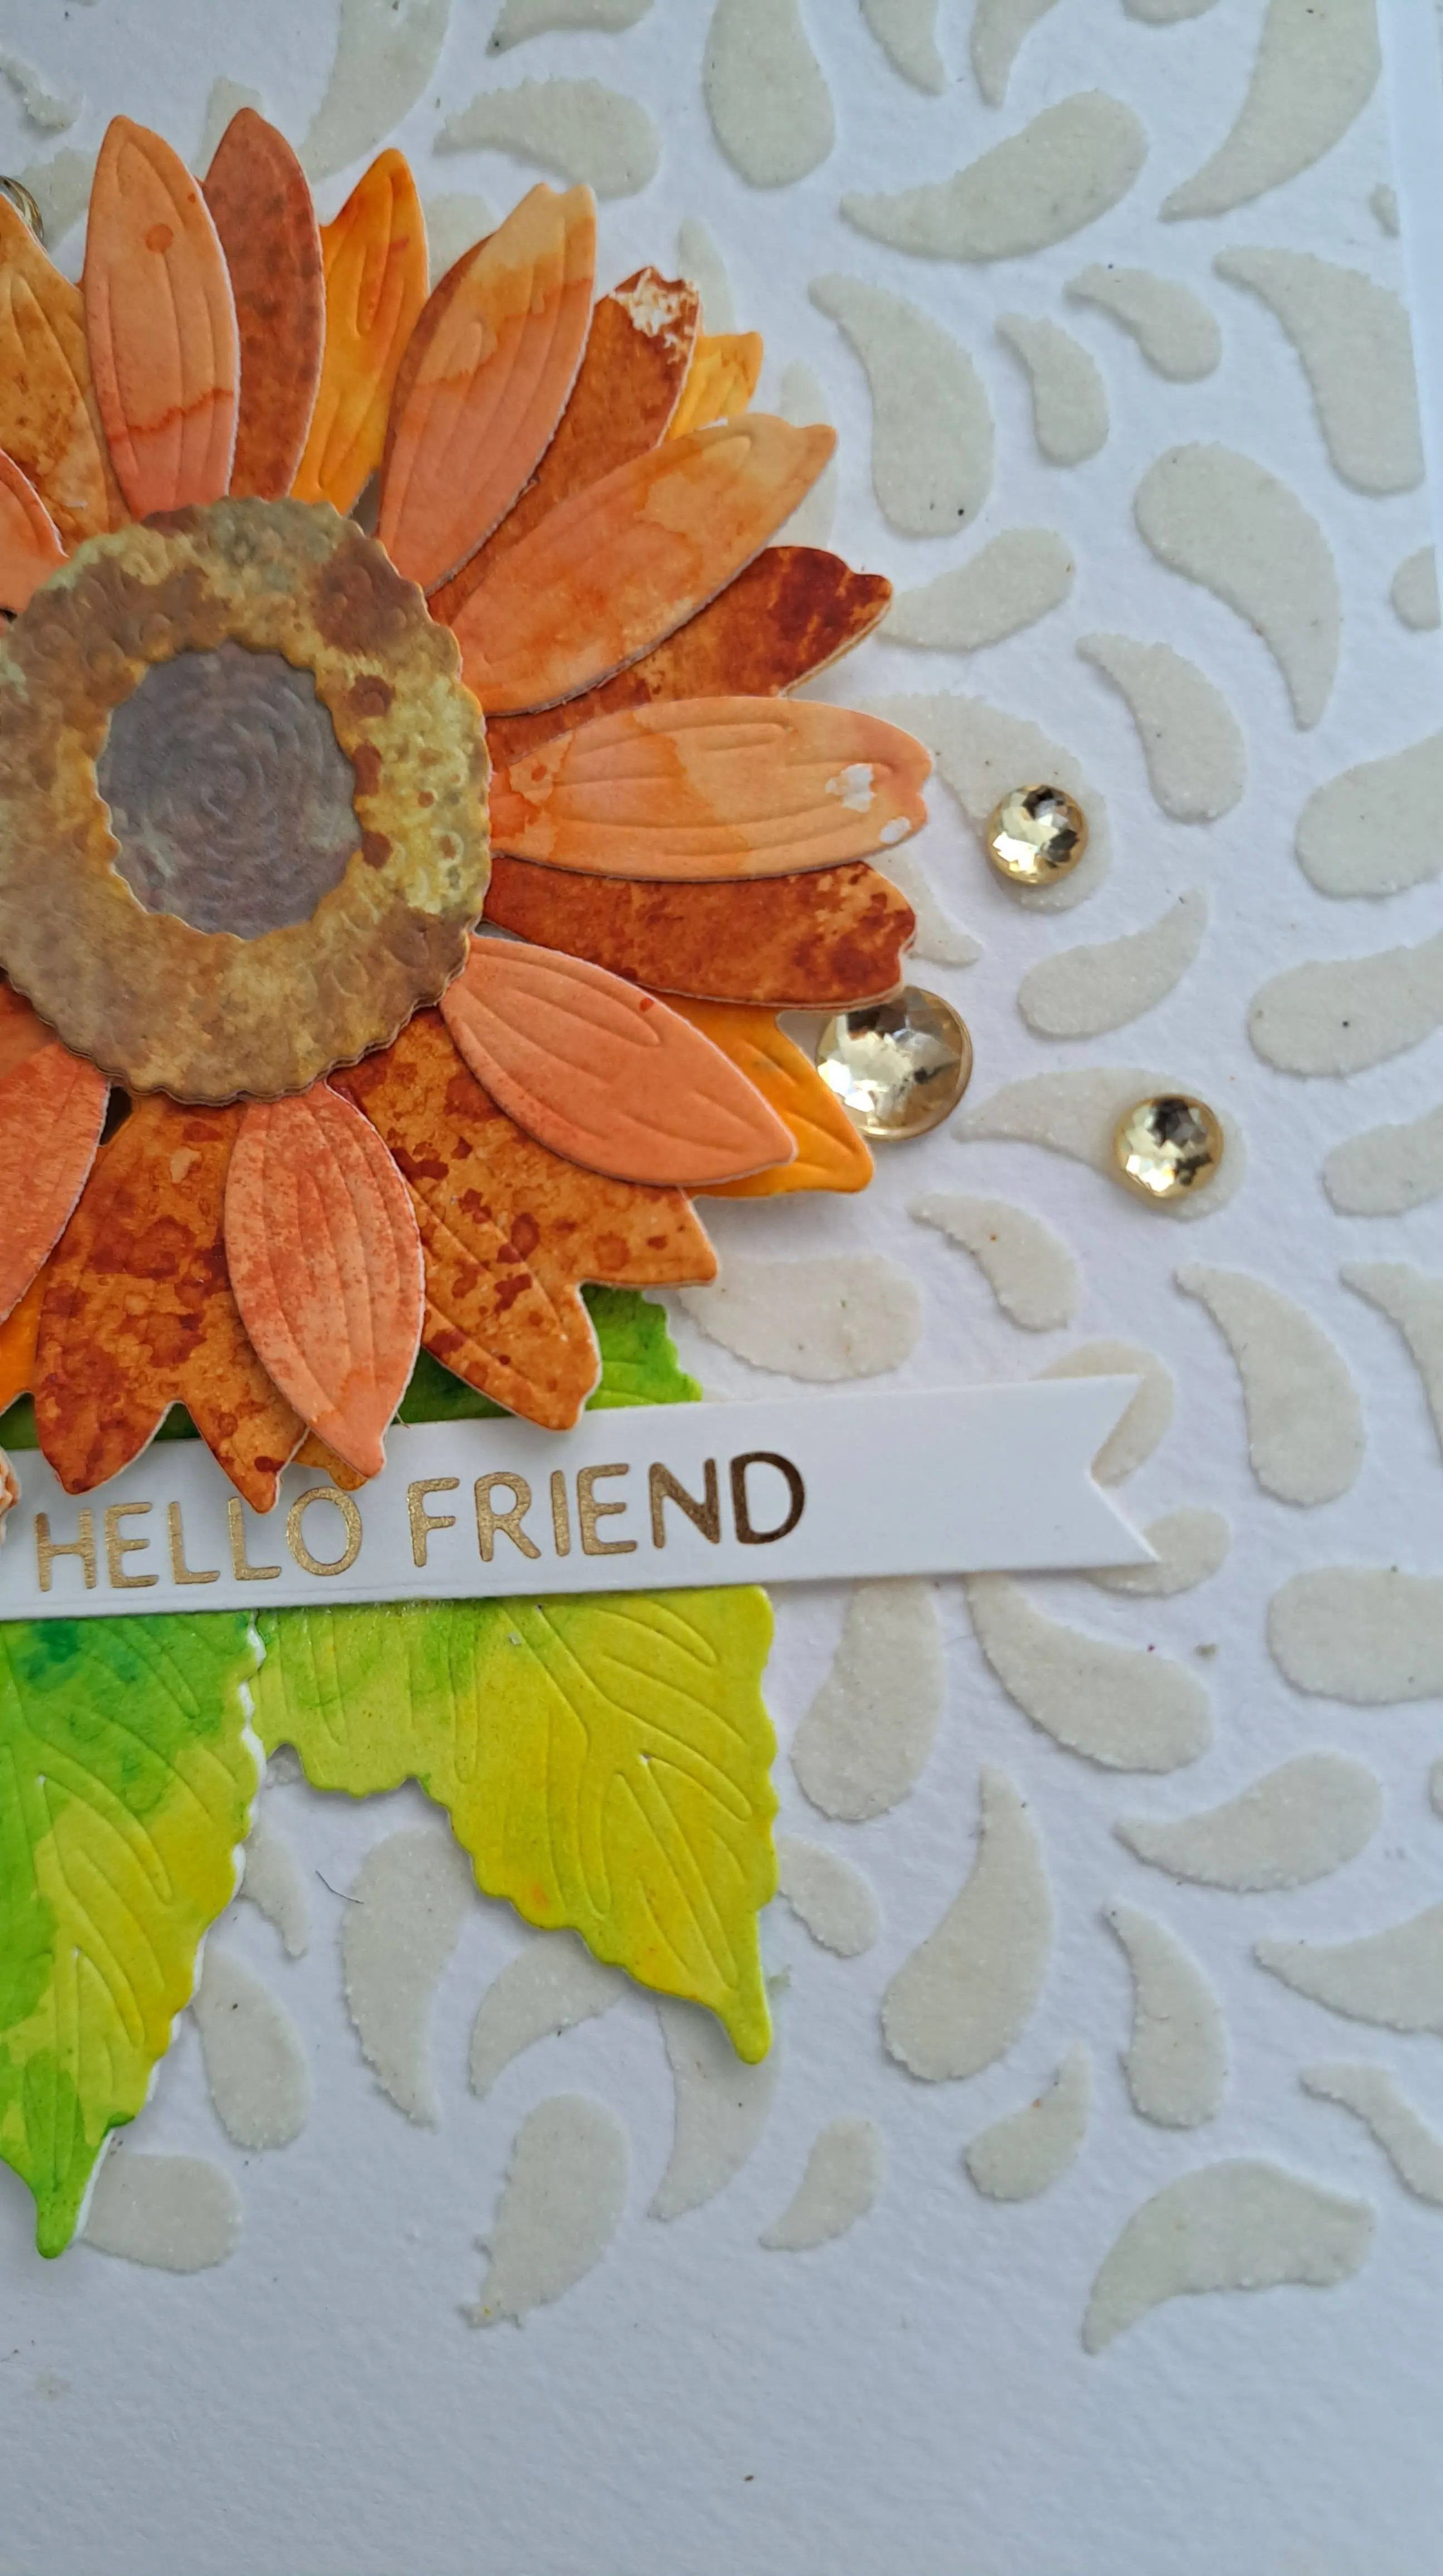
The deer was added, then the foiled sentiment.

I hope you can come and join us with your Christmas creations – the theme is always ‘anything goes Christmas’ xx

I shall be entering the following challenges:

Crafty Animals anything goes with an animal

Die Cut Divasdie cutting and water-colouring

Peace On Earthanything goes Christmas

12 Months of Christmas link-upChristmas – option of blue and gold not taken

Aud Sentimentswater-colouring and/or Spring and a sentiment

Merry Little Christmas Challenge anything goes Christmas

Hello Friend

Hello everyone. I have a fun card to share with you made as Guest Designer for the new challenge at Ellibelle’s Corner I Spy challenge. The new theme is ‘no designer paper‘ Here is my card:

When I saw this carrot house and bunny from Picket Fence Studio – ‘Welcome Home Bun Bun‘ – I just had to have it. Such a fun and different die set.

Rather than using different coloured card stock, I created some panels using Distress Inks and played with ink smooshing. I used a couple of orange and a couple of green ink pads, wanting the panels to have lots of texture, and lots of layers, also adding some brown to the orange panel, just for more interest and dimension.

Once these panels were dry, I used the dies for each section then used the back shadow layer to glue all the parts together. I am glad this back layer was added as it makes gluing all the layers so much easier.

The background panel was created using Speckled Egg and again ink smooshing to give a soft pale blue sky, and the clouds were die cut from an ink smooshed panel using Salvaged Patina – or was it the other way round……?!

The window frames and door – die cut from the orange panel – were rubbed into some dark brown Distress Ink to make then stand out a little more. The windows were also die cut from the light blue piece of card and the ‘glass’ areas inlaid.

The bunny was die cut from a light grey card stock with the pink areas die cut and inlaid, and the sentiment from Spellbinders was created by using some left over spare orange and blue ink smooshed panels.

This was actually quite a fiddly card to make – you can see where all the die cuts are, and making them different colours, inlaying some of the die cuts – a little time consuming, but I must have been in a fiddly mood as I enjoyed the process,

I hope you can join us with your creation following the new theme. xx

Snowman Tag

Hello once again. I have been busy making tags the past couple of days and I have one here to share:

This cute little snowman is one of the dies from the Gummiapan Advent Calendar. As soon as I opened him up – day one I think – I began thinking of how to use him.

I took a medium sized tag and ink blended with a couple of blue Distress Oxides. I then used the same blue Oxide pads and ink smooshed on top of the blending, also adding some water droplets. I used my heat tool and set it off ot the side.

The snowman was die cut from white glitter card stock, and another layer of white card for a little bit of stability for the arms. Before adding the white card stock layer, I stuck down some black card to go behind the eyes.

The hat was die cut from Spellbinders black glitter foam, and attached. There is a little slit in the base of the hat so the snowman head can be inserted just a tad.

The eyes and buttons are little black gems, and the glitter carrot nose was coloured with a Copic marker.

The background tag was dry, so I added some silver low-shed glitter card for a little hill, and added the snowman.

The snowflakes were die cut with a Simon Says Stamp snowflake tag set from the same glitter low-shed card and adhered with glue, snipping off where they hung over the edges. and an iridescent gem added to each of the centres, and few tiny gems around and about the background for more sparkle.

The final touch was to add some blue ribbon from my stash.

I shall be entering the following challenges:

Ally’s Angelsanything goes

Addicted To Stamps and More Christmas

Simon Says Stamp Wednesday Challenge – winter blues

Creative Fingersanything goes

Mix It Up anything goes – option of paper piecing not taken

Ellibelle’s Corner I Spy – something for Christmas

Creative Inspiration anything goes

MAWTT Christmas Characters

Dragonfly Dreams Christmas

2 Sisters On The BlogChristmas with blue tones

Autumnal Inlay

Hello. A little playtime – and fiddly – time today to create this card:

I was inspired by the current colours at Color Hues – olive and mustard. I took my trusty Distress Inks, Distress Oxides, and sprays and set to with ink smooshing, splattering and generally getting messy and inky. These were the products used:

I created three panels, one with Crushed Olive with Crushed Olive splatters, and the others with Mustard Seed with Crushed Olive splatters also.

Whilst these panels were drying, I found a [previously created piece of card I could use for the acorns. This was a piece of Kraft card, onto which I stamped a wood grain pattern – ideal for the acorns.

I die cut the Concord & 9th ‘Autumn Inlay’ die from each of the panels to get the colours of the leaves I wanted, and die cut again from Spellbinders brushed gold card stock to get the leaf veins, and the caps of the acorns.

Now for the paper-piecing……fiddly, but worth it. I took a white piece of card and added a double sided sheet to it, die cut the panel yet again from white and stuck that down. All the elements were inlaid and pieced where I thought the colours would work best.

The final touch were some Pinkfresh Studio jewels which have a gold and silver glitter to them and dotted them around.

I shall be entering the following challenges:

Color Hues olive and mustard – neutrals and gold and silver also allowed

MAWTTautumnal colours

Die Cut Divas die cuts anything goes

Creative Fingers anything goes

Avenue 613 Create anything goes – option of lots of leaves taken

Paper Fundayanything goes – option of colours of Autumn taken

Ellibelle’s corner I Spy – colours of the season

We’ve Got Chemistry….

Hello everyone. There is a new challenge just started at Cardz 4 Galz, and Dawn has chosen the theme of

‘Inspired by a book’

Here is my card:

I was inspired by the book ‘Dr Jekyll and Mr Hyde‘ by Robert Louis Stevenson. I had just received these products from Spellbinders for the propagation virtual class. I felt the test tubes and test tube stand were perfect.

The background is a previously created panel using water and alcohol inks. here is my original post using this technique.

For this background I also used an embossing folder to create a bubble effect/

The stand was die cut and assembled, and I did use some grey Distress inks to darken some of the angles.

The test tubes and markings were die cut, and I also found some ink smooshed and splattered backgrounds in yellow, green and pink which I thought would look good to depict that a chemical reactions were happening in them.

I hope you can come and join us with your creations inspired by a book. xx

I shall be entering the following challenegs:

Creative Artiste Mixed Media Challengeanything goes mixed media (inks, oxides, alcohol inks, white acrylic paint)

Cup Cake Inspirationsanything goes

Lil Patch Of Crafty Friends anything goes

Addicted To Stamps and More make your mark

Ally’s Angels anything goes

CYHTP embossing folder – option of sports not taken

Ellibelle’s Corneranything goes

Seagull Hello…

Hello again. A few days of no crafting – no idea why I didn’t feel like it – and then I created this card with a new Waffle Flower die set:

I used Crushed Olive Distress Oxide to create the ink smooshed background – several layers, drops and sprays of water, then I let that dry. When dry, I added some white splatters.

I die cut the seagull from some ‘Fog’ card stock, and die cut the beak from a cut-off of the ink smooshed panel.

The sentiment and it’s shadow layer are from a past ‘Let’s Stamp Together’ set – the letters die cut three times for added stability and dimension.

I actually die cut a couple of the larger seagulls, and a couple of the smaller ones – played around with the layout, and then decided I would have a large seagull just popping down to say hello – quirky I know….

I shall be entering the following challenges:

Color Throwdown gray, olive, white

Crafty Calendaranything goes

Ellibelle’s Corner anything goes

Creative Fingersanything goes

Lil Patch Of Crafty Friendsanything goes

Ally’s Angels anything goes

Christmas Bingo – or not column ‘N’ – create own background – free – splatters

Sunflowers For A friend

Hello again. I have a card to share from a very messy play time:

I first created the background panel by using stencil and grit paste onto water-colour card, so I could set that aside and let it dry.

I then ink smooshed some brown and orange Distress Inks onto different Distress White Heavystock panels and set those aside to dry.

I then found a piece of yellow and green paper, created during a gel plate session using either water-colours or acrylic paint (I can’t remember which), so I used that panel to die cut the flowers, and layered with another white die cut piece of card to add some stability.

Once dry, I die cut the layers from Honey Bee Stamps ‘Lovely Layers Sunflower‘, placing my dies where I wanted to add to get some white areas, solid areas, and some splattering from the ink smooshing.

The brown centres were die cut from some grey ink smooshing, but they were too grey, so I added some ink blending with brown Distress Oxides.

The next thing to do was stick everything down – I had forgotten what to use to glue things down onto the grit paste. My normal wet glue didn’t work, and I couldn’t find my gel medium – I must have a few containers stored ‘safely’ somewhere – so I used glossy accents….that seemed to have done the trick.

I then added the foiled sentiment and some gold facetted gems, stuck down with a drop of glossy accents.

I shall be entering the following challenges:

Simon Says Stamp Wednesday Challengestencil fun

FarmQuest Challengesunflowers

My Time To Craft In The Garden

We Love 2 Createanything goes mixed media

Ellibelle’s Corneranything goes

Die Cut Divaslayered die cuts or layer die cuts

Creative Artiste Mixed Media Challenge anything goes mixed media – use at least three mediums

Octopus ‘Hi’

Hello, I hope you are doing well. I have a card to share using some products from the June release at Spellbinders which I haven’t got around to using yet:

I started by ink blending my background panel using the two inks you see in the main picture. I splattered them with water and set it off to one side to dry.

This piece of card is an older Distress Heavystock – some of the batch which doesn’t take water well, so I had to be very careful with the amount of water I added – but the effect came out as I wanted.

Once dry, I die cut the bottle, and then used a Spellbinders embossing folder to create the bubble effect. Onto that embossed bottle I then rubbed – very gently – some of the Hero Arts white pigment ink so it would pick up some of the edges of the bubbles.

I then used a previously created ink smooshing panel of green – a lighter green panel and a darker green panel – to die cut the octopus layers and the seaweed.

I put the layers together, added some black for the eyes and mouth, and stuck them down onto the bottle.

The cork was from some brown cardstock, as was the board and sentiment, slotted into one of the arms of the octopus.

This was fun card to create, and I can see I’ll be playing with this die set again.

I shall be entering the following challenges:

Lil Patch Of Crafty Friendsanything goes

Color Throwdownpink, green, magenta, white

Cut It Updie cuts and under the sea

Shopping Our Stashany wild animal

Crafty Animals anything goes with an animal

Die Cut Divasanything goes with die cuts

Grab My Button

Hello Bee Friend

Cardz 4 Galz has started a new challenge. Sue is hosting and has chosen the theme of ‘cute animals or insects’. Here is my card:

I first stamped the images from Simon Says Stamp, then coloured with Copics, and cut them out with the matching die set.

I die cut the Sizzix honeycomb through a card panel, then die cut it again using the outer and detail die in a light Kraft card stock, and layered that on top.

I played with some orange and yellow Distress Inks and smooshing, and placed this behind the honeycomb, then added all to a card base.

I added the coloured bees and the foiled sentiment, and dotted some sequins around and about for more shine.

I hope you can come and join us with your cute animals or insects. xx

I shall be entering the following challenges:

We Love 2 Createanything goes mixed media (Copics, Distress Inks, foiling, stamping)

Crafty Animalsanything goes with an animal

Creative Artiste Mixed Mediaanything goes mixed media (Copics, Distress Inks, Foiling, Stamping)

A Perfect Time To Craft anything goes

Crafting Happiness anything goes

Creative Fingersanything goes

Ally’s Angels anything goes

Messy Play Poinsettia

Hello once again. The Holly and Ivy Christmas Challenge has started a new challenge – anything goes Christmas/Festive. Here is my card:

I used a few techniques for this image, having a little messy playtime in my craft room.

The background to the poinsettia is from a Distress Oxide ink smooshing session. I seem to have a lot of inky backgrounds from playing around with the inks and oxides which I must try and use at some point….

Onto the ink smooshed background, I stamped the Tim Holtz poinsettia image. This was stamped in embossing ink, then I added pinches of Distress embossing powder onto the image (a technique I’ve wanted to try since seeing Tim Holtz demonstrate it) using a red and a green embossing powder, then heat setting.

I added a gold layer then as I felt the panel was looking quite vintage, I placed onto a Kraft card base.

The foiled sentiment was added as you see.

I hope you can come and join us. xx

I shall be entering the following challenges:

We Love 2 Createanything goes mixed media

Most Magical Time Of The Year anything goes Halloween or Christmas

Creative Artiste Mixed Media anything goes mixed media

A Perfect Time To Craftanything goes

12 Months Of Christmas anything goes Christmas – option of stars not taken

Beautiful Blossoms flowers