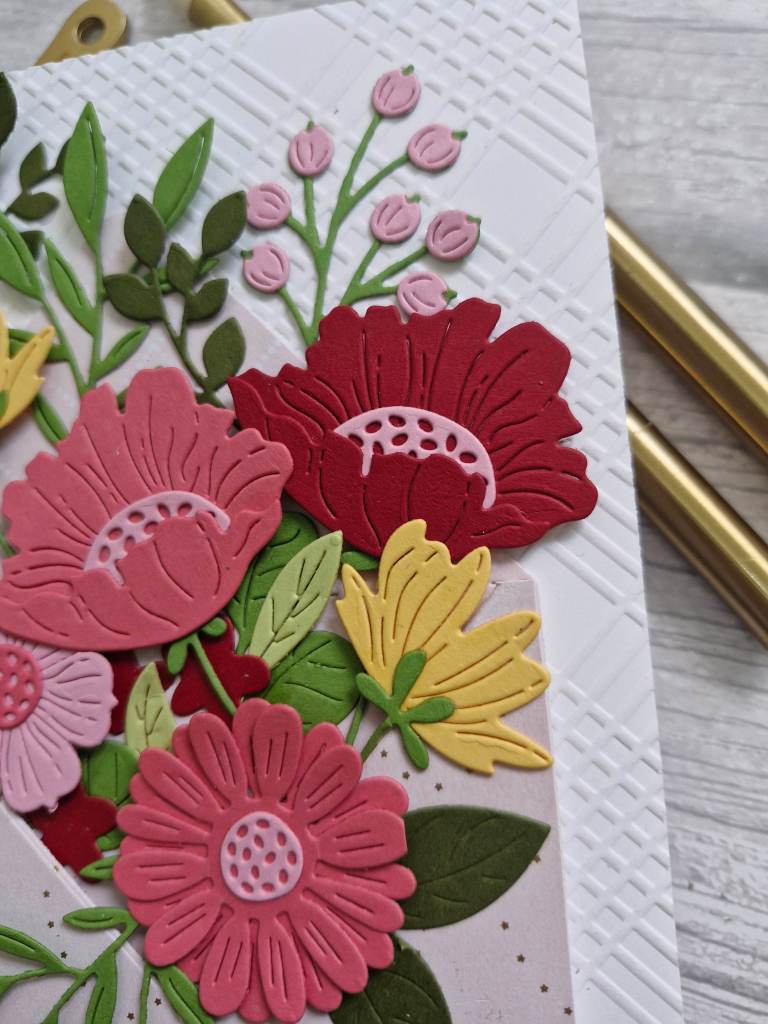
The Alphabet Challenge has reached the letter ‘F‘, and Melanie has chosen the theme of ‘Fruit’. Here is my card:
The background was created using a Spellbinders embossing folder, and as the fruit are quite a vivid colour, I went with a dark background again. I am liking a darker background behind strong colours of die cuts.
The whole arrangement was die cut and layered using Concord & 9th card stock, as well as some Spellbinders card stock. I am still in my fussy mind-set – liking repeatedly die cutting and layering all those itty bitty pieces…..and Spellbinders do their leaves and flowers so very well – my favourite die cutting elements to put together.
The sentiment was added and using gold card stock.
I hope you can come and join us with your fruit themed creations. xx
I shall be entering the following challenges:
CYHTP – embossing folder – option of beach not taken
Hello once again. Cardz 4 Galz has started a new challenge. The theme has been chosen by Sue J and is:
Summer Fun
Here is my card:
This die set with the girl and the swing is from Spellbinders, and I have been itching to put it together. What doesn’t say summer more than a tree swing surrounded by flowers….? (Not that the UK has had any type of summer yet – we are waiting impatiently…..!) The florals also come with the set, and I believe I added extra foliage.
It does take a lot of die cutting and layering – which suited my currently fussy mind – and getting the swing ropes placed just right was a challenge – I inserted them behind the background panel, but I am pleased with the result.
The background panel is also using an embossing folder from Spellbinders.
I hope you can come and join us with your creations following our theme – the design team has come up with great inspiration. xx
Hello everyone. It is my turn to host the new challenge at The Alphabet Challenge. Having reached the letter ‘E‘, I have chosen the theme of ‘embossing – wet or dry’. Here is my card:
I started by die cutting all the elements from a couple of Spellbinder die sets, and used a mixture of Concord & 9th and Spellbinders card stock.
Deciding to go landscape, and dry embossed a panel and adhered it flat to the card base.
I played around with the layout, knowing that the ampersand would be sat on top of the florals – which took a little figuring out when it came to 3D foam – where to place it, and how many layers………the ampersand was die cut a couple of times and layered together for added stability, and also ended up with 2 or 3 layers of itty bitty 3D foam pieces – I do like to make my life harder….!
I hope you can come and join us with your creations matching the theme – I look forward to seeing your creations. xx
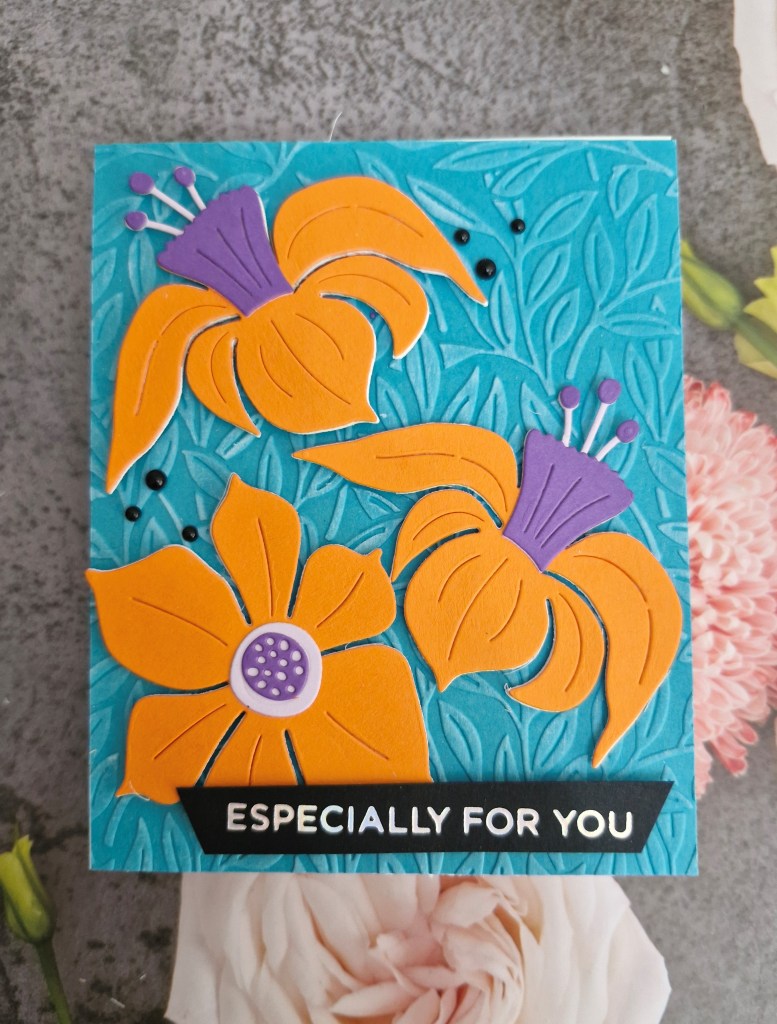
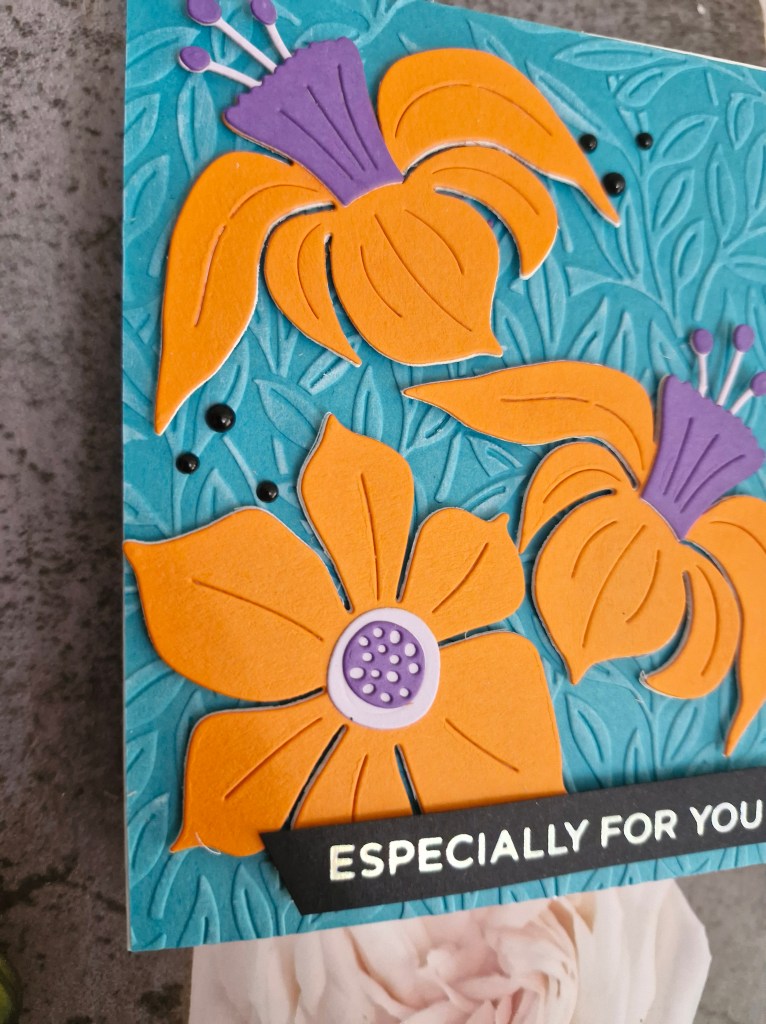
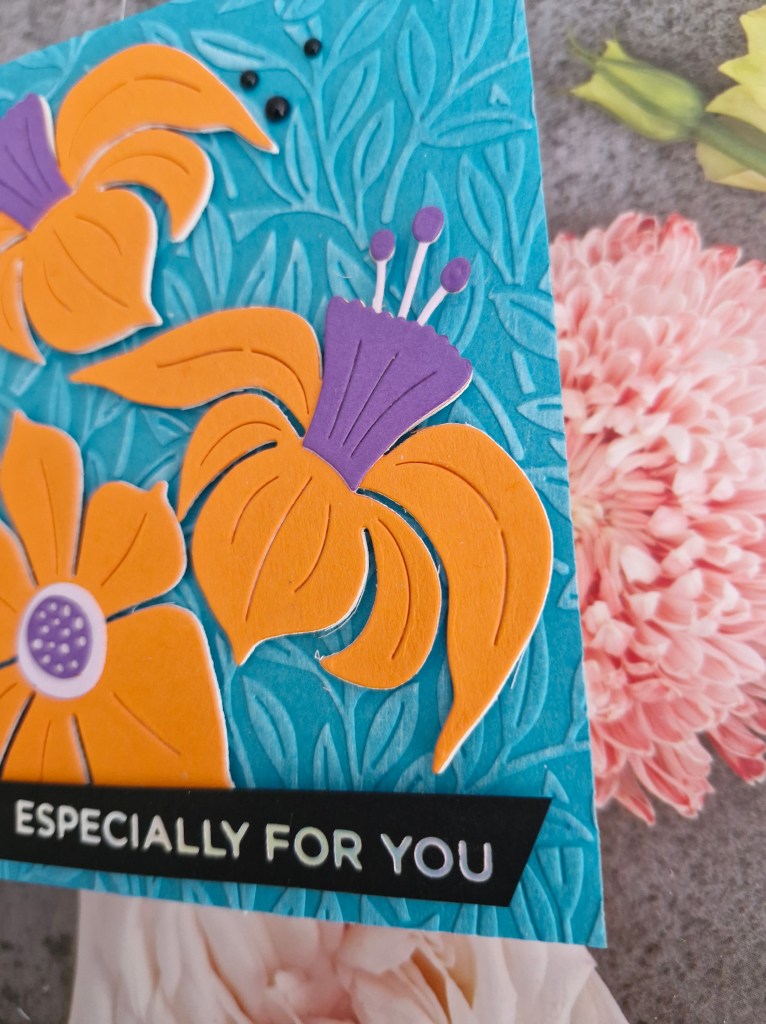
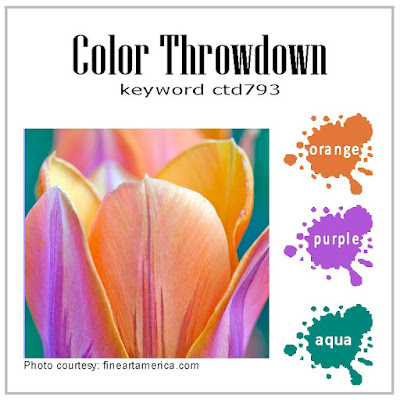
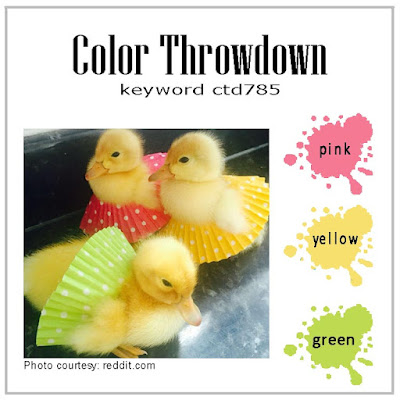
Hello everyone. It’s been a busy few days but I managed to find time to create this card using the colour scheme from the Color Throwdown Challenge:
The background is using a piece of card stock from Concord & 9th and a Spellbinders embossing folder. Once embossed, I used Hero Arts white pigment ink to swipe across, which meant it highlighted the raised areas.
I then used a Spellbinders die set to create the flowers, and some ‘Marmalade’ card stock from concord & 9th, which they discontinued last year – but I do have a stash of that still.
I also used two shade of purple for the stamens, and the centre of the larger flower.
Once adhered to the card background, I added a foiled sentiment. I also wanted that to pop, so used black with white foiling, and then added some black gems.
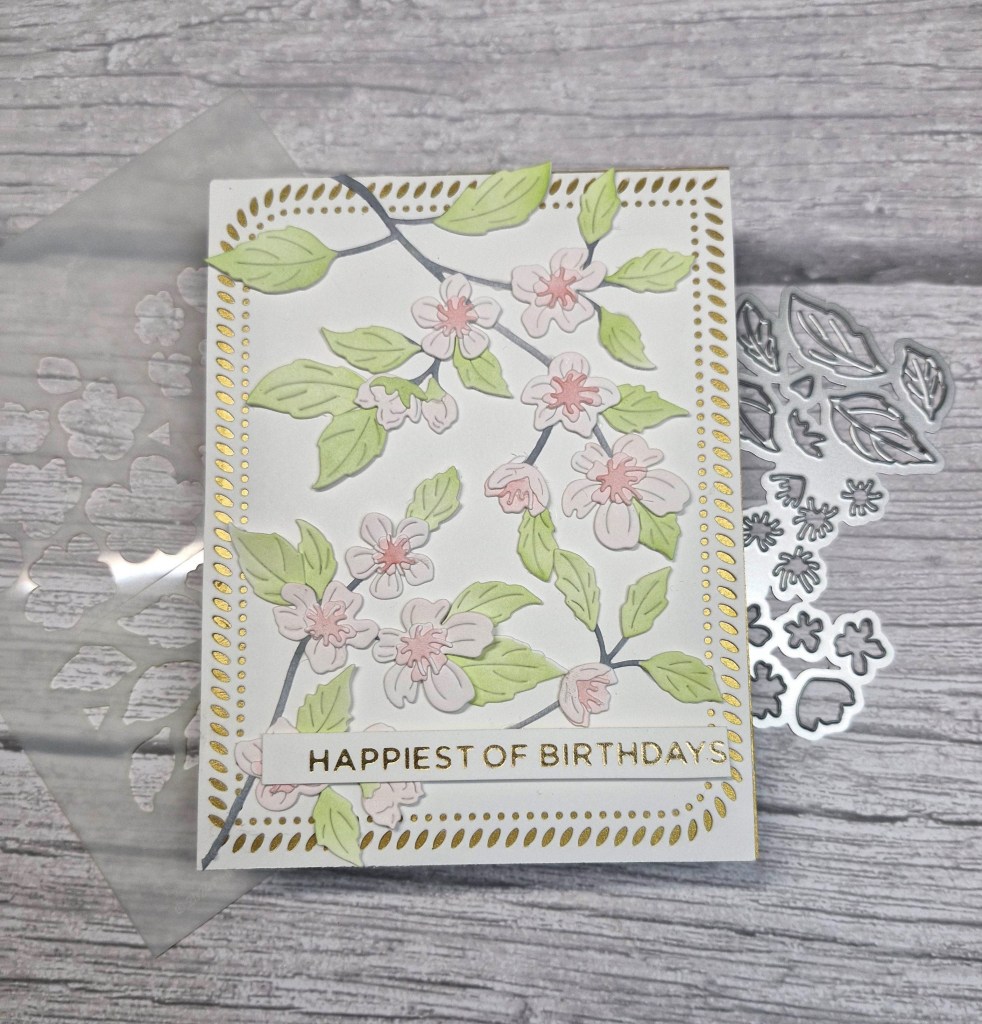
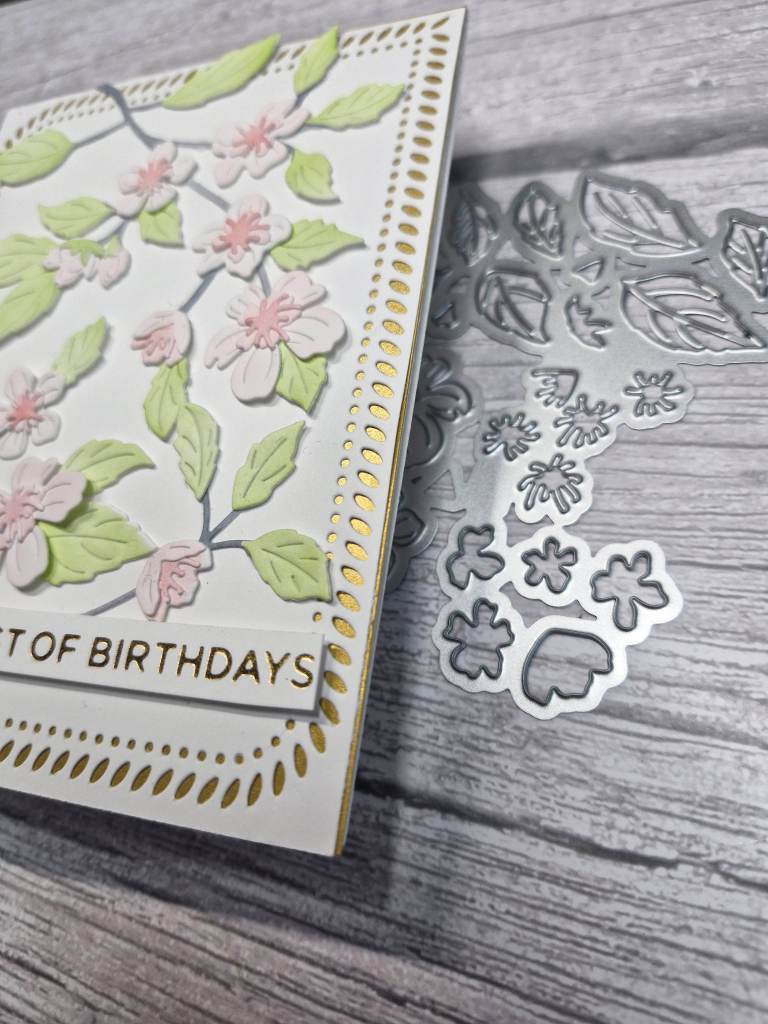
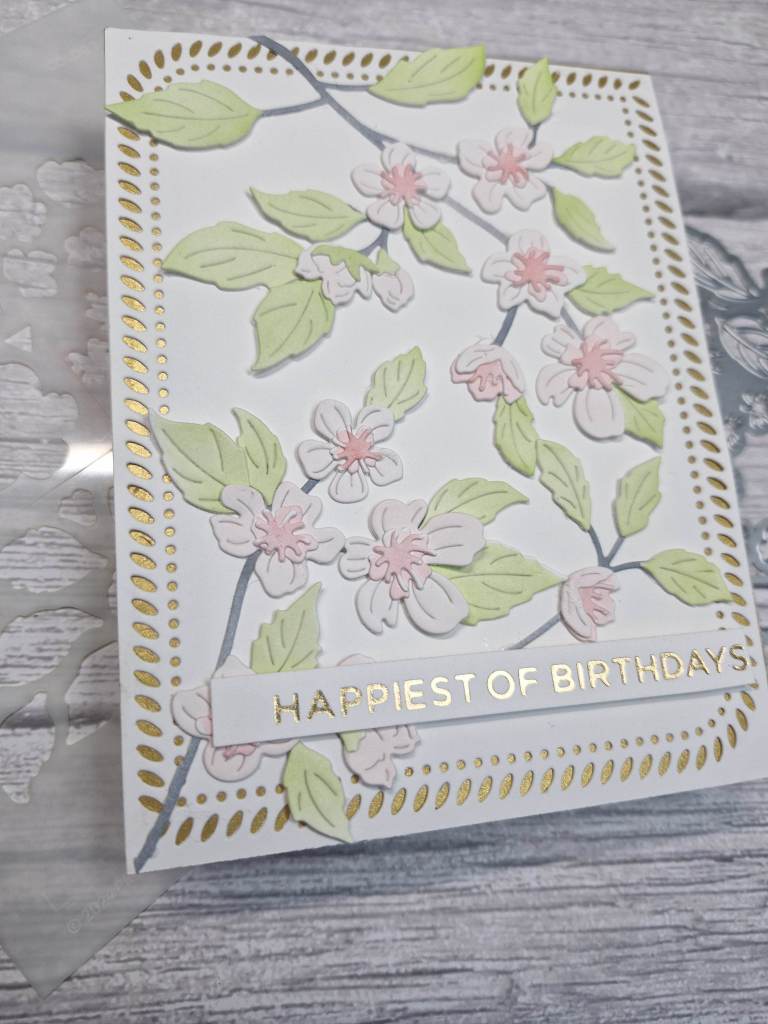
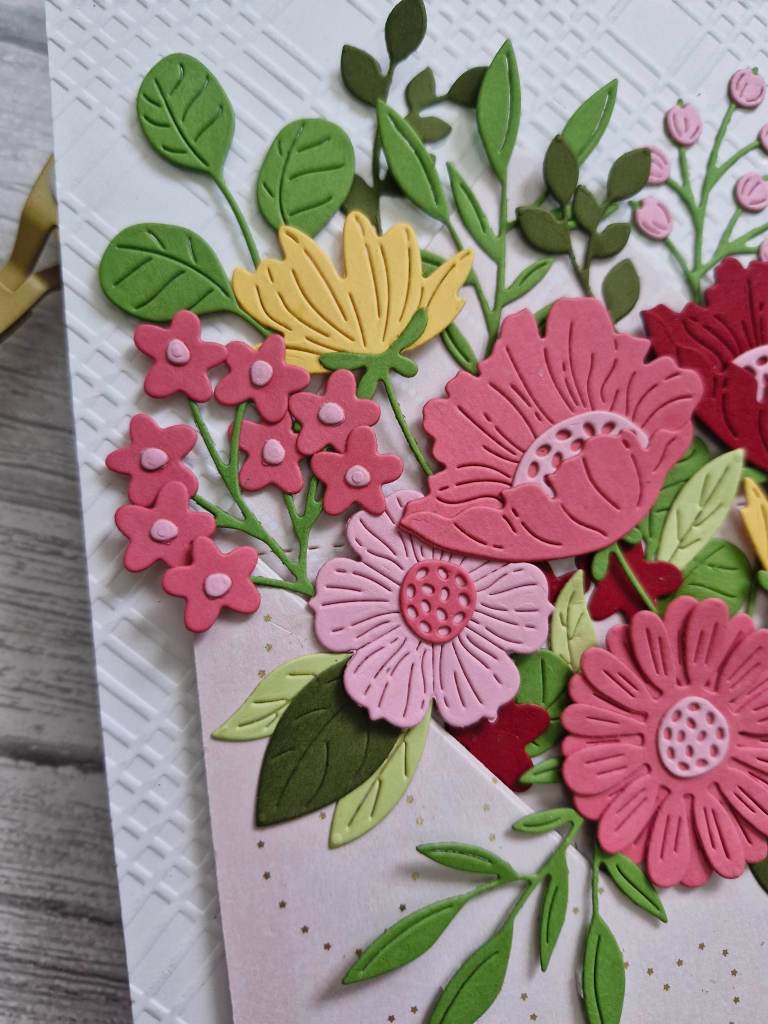
Hello there. I have another floral card today, created by using some layering dies from Pinkfresh Studio:
This set consists of layering stencils and dies. All the flowers and leaves are on one stencil with the different layers labeled and segmented. The die is one piece to cut the whole of the images out.
I used some pink and green inks, with grey for the branch. After die cutting the panel, I decided to do another so I had more images to play with and cover the card panel.
The background is a die cut with matt gold layered behind.
Once the flowers were arranged, I snipped any that were hanging over the edge, and added them also into some more open areas.
The sentiment was added – a previously prepared foiled strip.
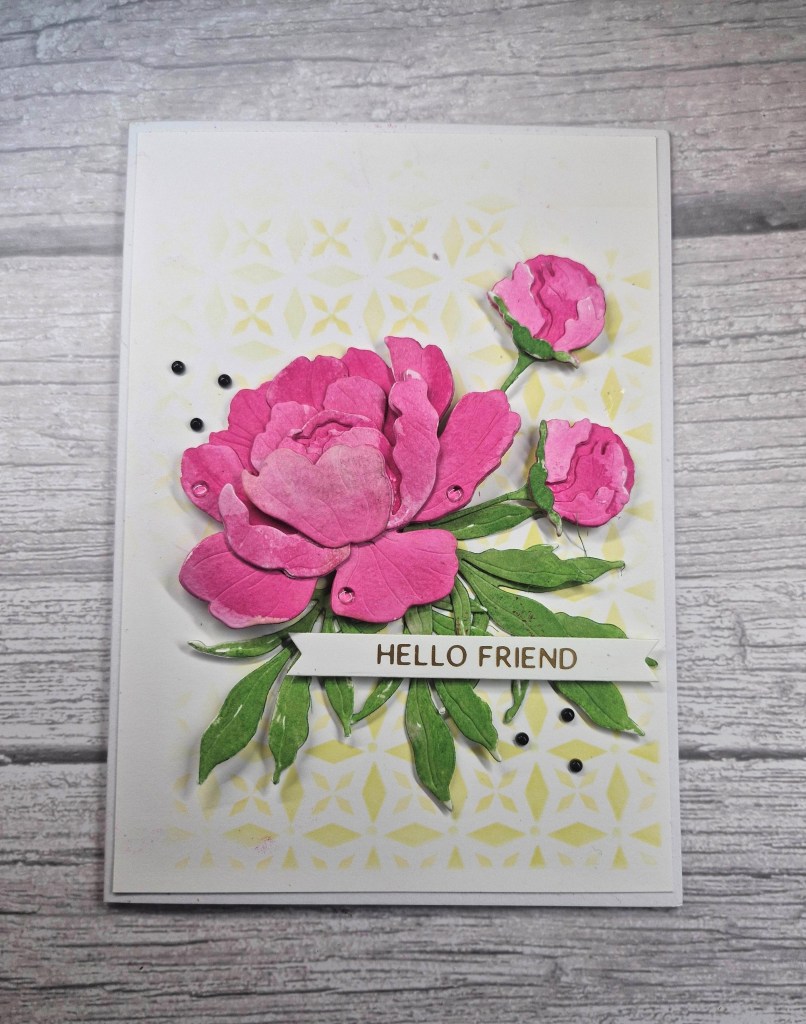
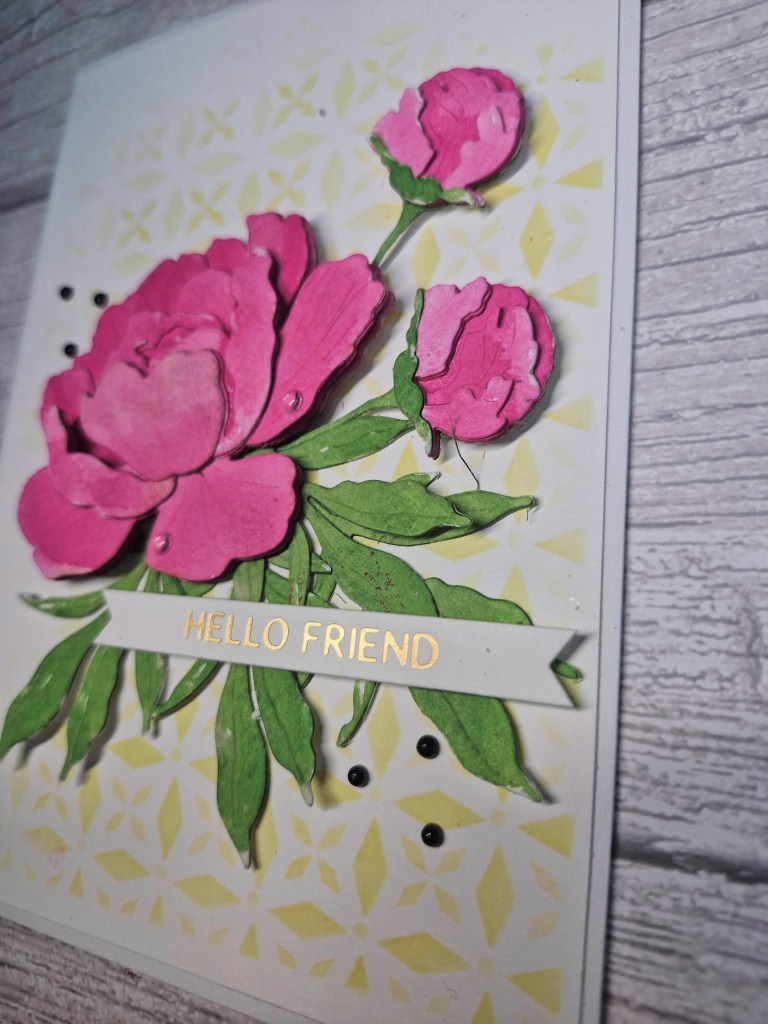
Hello again. A little messy play to create this card:
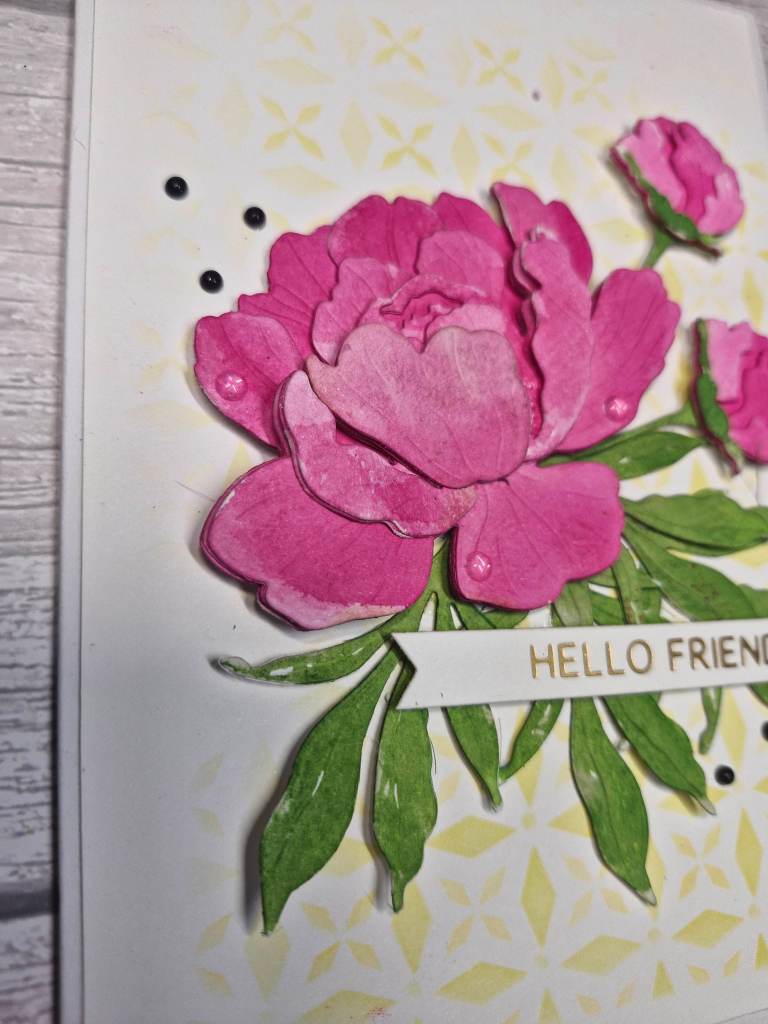
The peony was created using the ‘Lovely Layers: Peony‘ from Honey Bee Stamps, and the colour scheme from the current Color Throwdown challenge.
My first job was to die cut each of the layers for the flower, buds, and leaves from water colour card stock. I used Crafters Companion water-colour card, not one I would normally for water-colouring, but for this flower I was going with messy and imperfect.
I used Picked Raspberry Distress Ink, smooshed onto my glass mat, spritz of water, then just dolloped and swiped it onto the die cuts. I tried to keep the lower die cuts darker, and added a little more colour into the back areas I knew were going to come through and be seen.
I did the same with the leaves, a couple of shades of green – only because my first green wasn’t dark enough for me so I went darker – and even messier. I didn’t get full coverage, but that is what I was aiming for – just a dollop and a swipe of colour.
Whilst the die cuts were drying, I used a large panel of white card stock – this card is 5 x 7 inches – and used a Hero Arts layering stencil and some yellow Distress Ink to create the subtle background. I used all three layers, but the same colour.
I wasn’t concerned about getting full coverage with the stencil either – some areas softer than others, and an uneven edge.
Once that stenciled panel was adhered to the card base, I glued all the floral and bud layers – rolling the edges of the leaves round a pen to create more dimension in the leaves – and played around with the layout until I was satisfied.
The sentiment was added – a hot foiled strip – and I added some black enamel dots instead of splatters – and some clear dots onto some of the petals of the peony.
Every now and again I get into a messy playing mood, and just create backgrounds, use paste, and generally get my hands inky. That way I have panels I can use in the future, especially when I want to die cut for backgrounds, or die cut elements to add to a card.
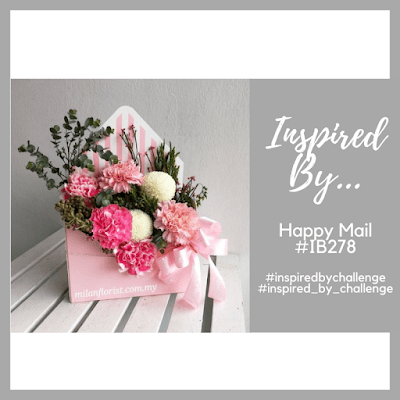
I used the photo inspiration from the ‘Inspired By…..’ challenge as a starting point.
The background panel is dry embossed using a Spellbinders embossing folder, and cut to the size of the card – 5 x 7 inches this time.
The envelope die is also from Spellbinders, using a couple of sheets from their paper pads, and comes from a pack that creates a 3D envelope, but I cut off the sides and adhered the front to the base of the envelop with 3D foam to allow insertion of the elements.
The flowers are from a mixture of die sets from Spellbinders and Scrapbook and Cards Today, layered as necessary, and using Concord & 9th card stock.
I then played around with the floral arrangement until I had what I wanted, and adhered with glue and 3D foam. I was trying to achieve the overflowing envelope as per the picture, and also used the colours of the flowers to match too.
No added bling on this card, I think there is a lot going on already, and there is a touch of gold from the hearts on the front panel of the envelope.
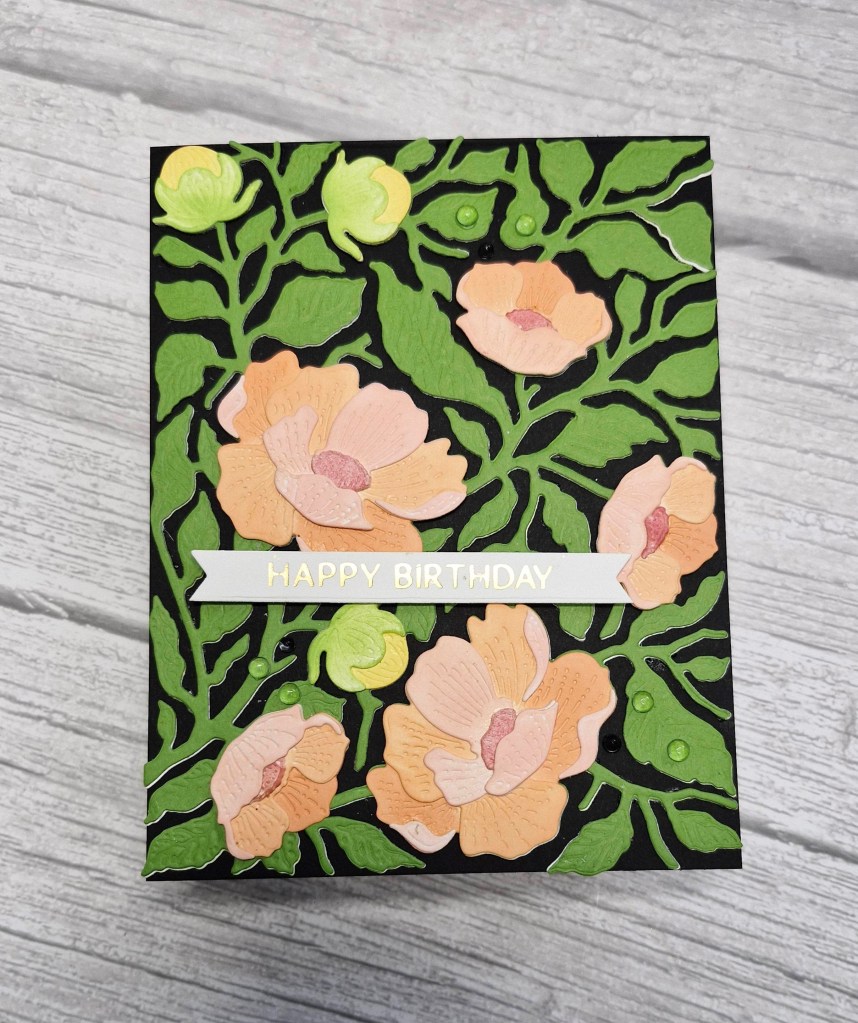
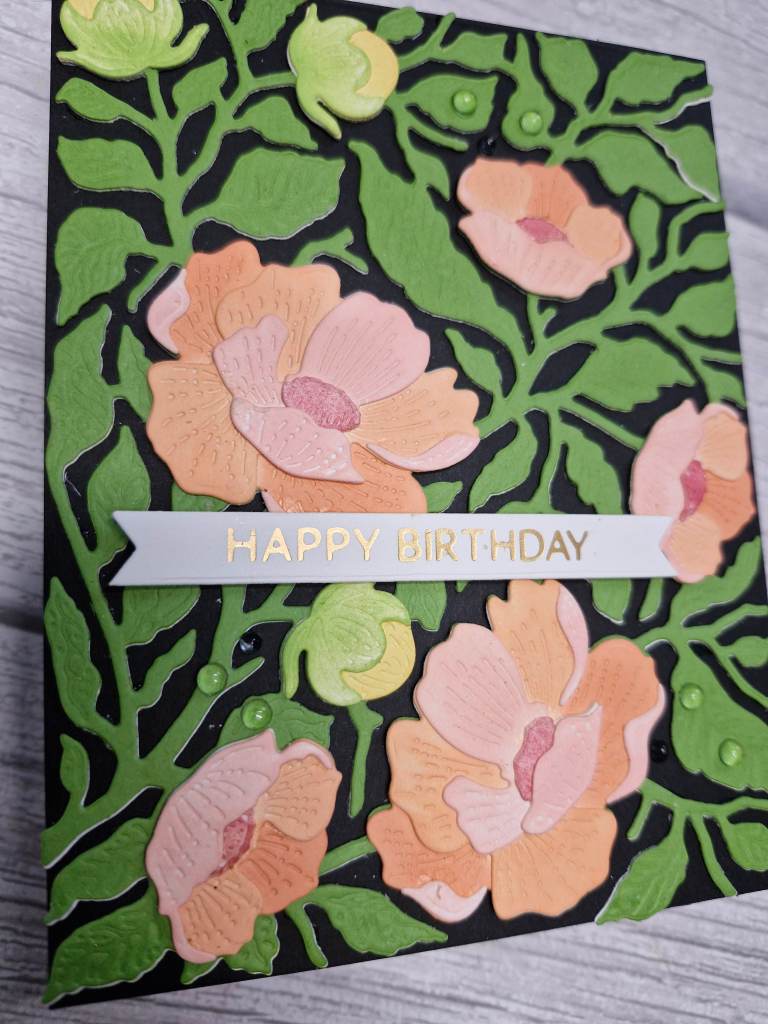
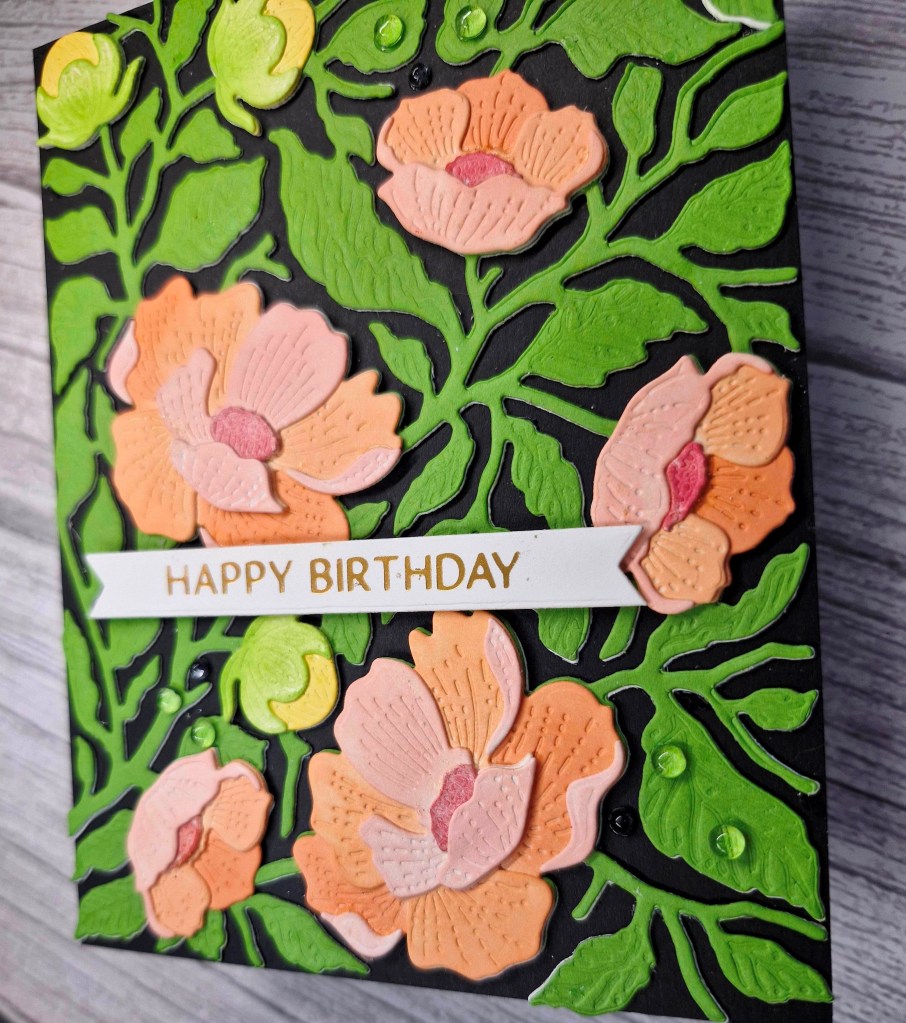
Hello. I created this card with some new products from Honey Bee Stamps:
I first die cut all the elements from the die set out of white, so I could see where everything went in this layering die set. I also went on Honey Bee Stamps web site where there is a layering guide.
The leafy background was then die cut again from Concord & 9th parsley card stock. I wanted a bright and vivid green. The details on the leaves weren’t as obvious as I wanted, so I ran it through again with the silicone mat to emboss those details a little more deeply.
For the two larger flowers I ink blended some peach colour tones from Pinkfresh Studio inks onto each layer – darker for the bottom, and getting lighter to the top.
The smaller buds I went with yellow flowers, and chose the make the top layer green for leaves, and a lighter green than the parsley card stock so it stood out more.
Once I had laid everything on tp of the leafy background piece, I glued the initial white piece behind it to give it more stability,
A white card base seemed to wash out the colours, and wasn’t quite dramatic enough, so I chose a black card base which I think works better.
All the elements were glued down, a foiled sentiment added, and some clear dew drops also added.
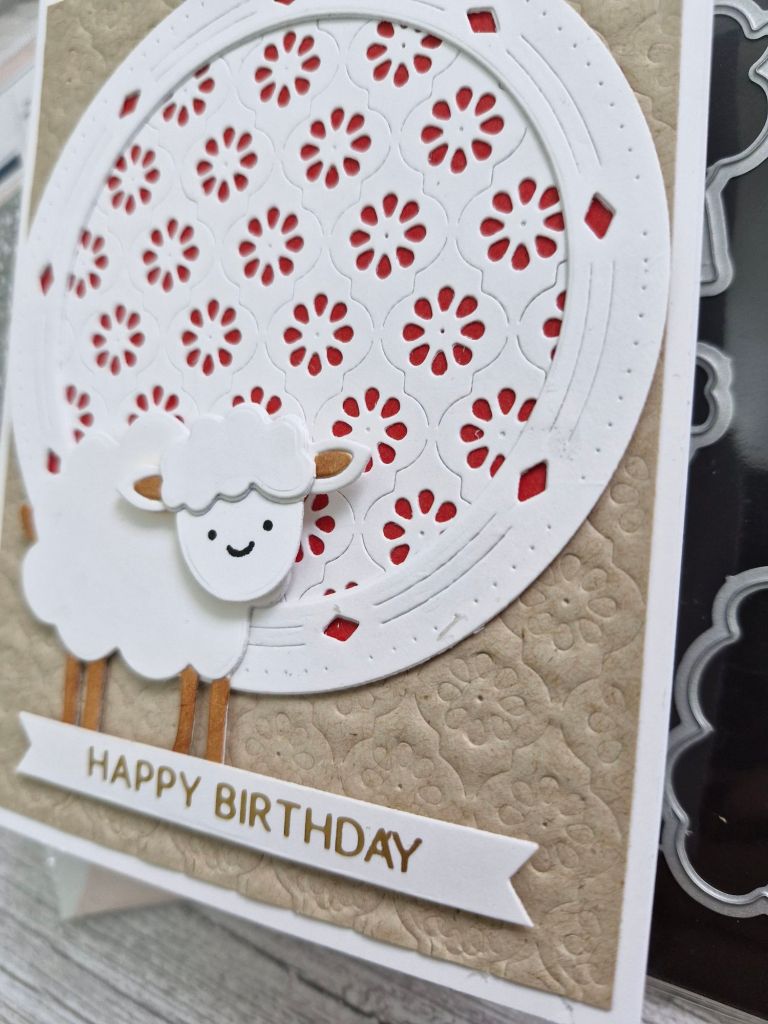
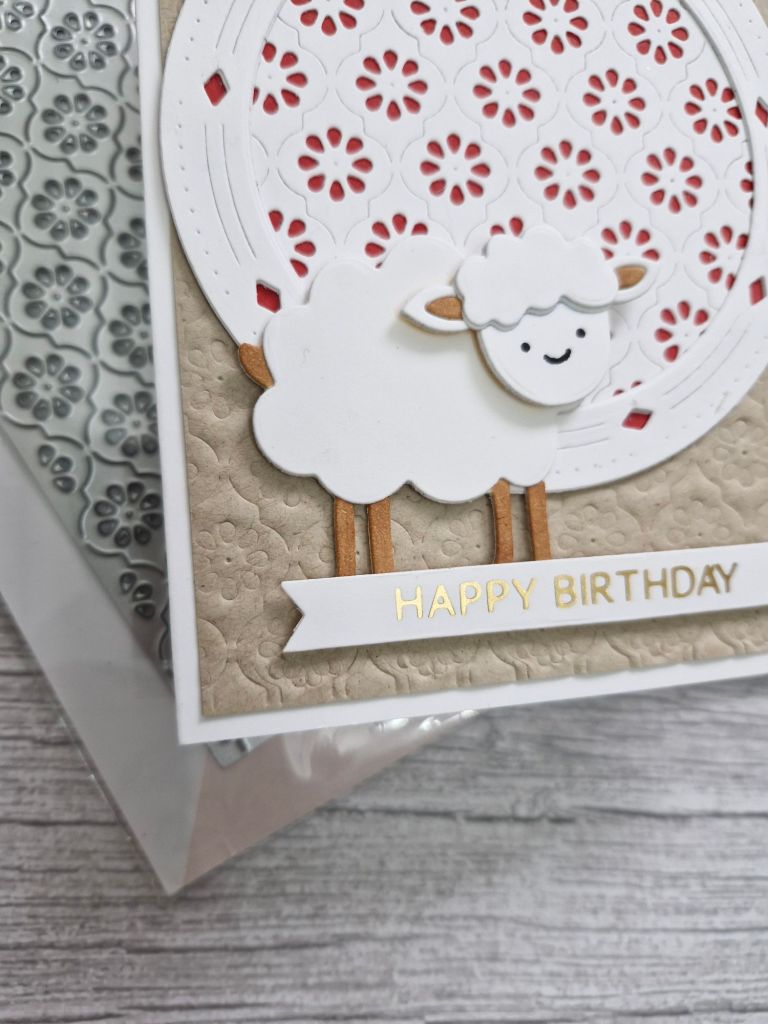
As soon as I saw this sheep die from the Greetery I was hooked. I love the cute little sheep – there are two in the die set, one smaller than the other, but I just used the larger sheep for this card.
I started by die cutting the sheep out of white card stock, coloured the legs, tail, and ears with a light brown Copic, and started to glue the layers together. When I got to the face, I realised there are no features in there, so I searched the CML app to see what little face features I had. There are several from Lawn Fawn stamp sets, and I used one of the faces from their ‘All The Clouds’ stamp set – that way I didn’t make a mess when I tried to draw them!
The circle die cut is from Pinkfresh Studio. as is the ‘Daisy Chain‘ cover plate. I die cut the cover plate out of white a couple of times and layered together, then used some circle nesting dies to cut the cover plate panel, and a circle of red as backing.
The background Kraft was dry embossed using the cover plater die – it worked first time! I usually put the layers down wrong for embossing dies and end up with a mess, but this time it worked straight away.
All the elements glued onto the white card base, and a foiled sentiment added.
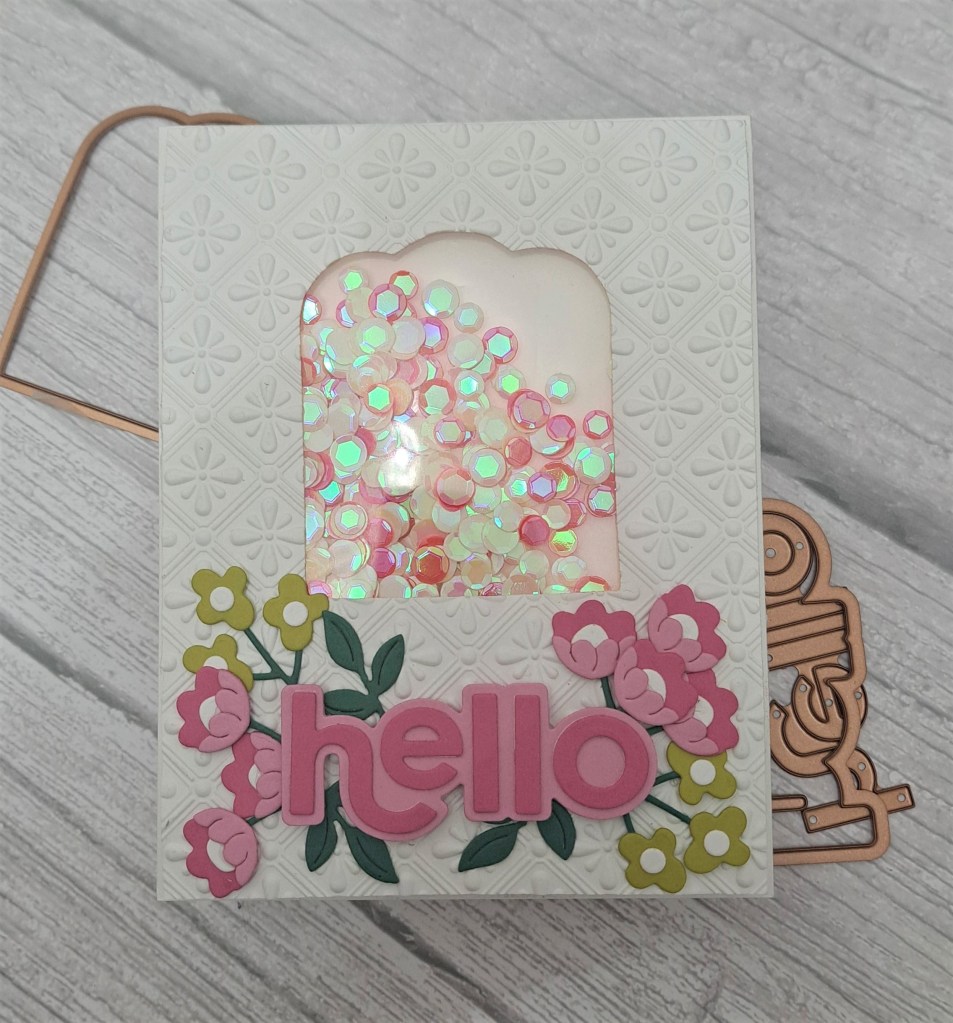
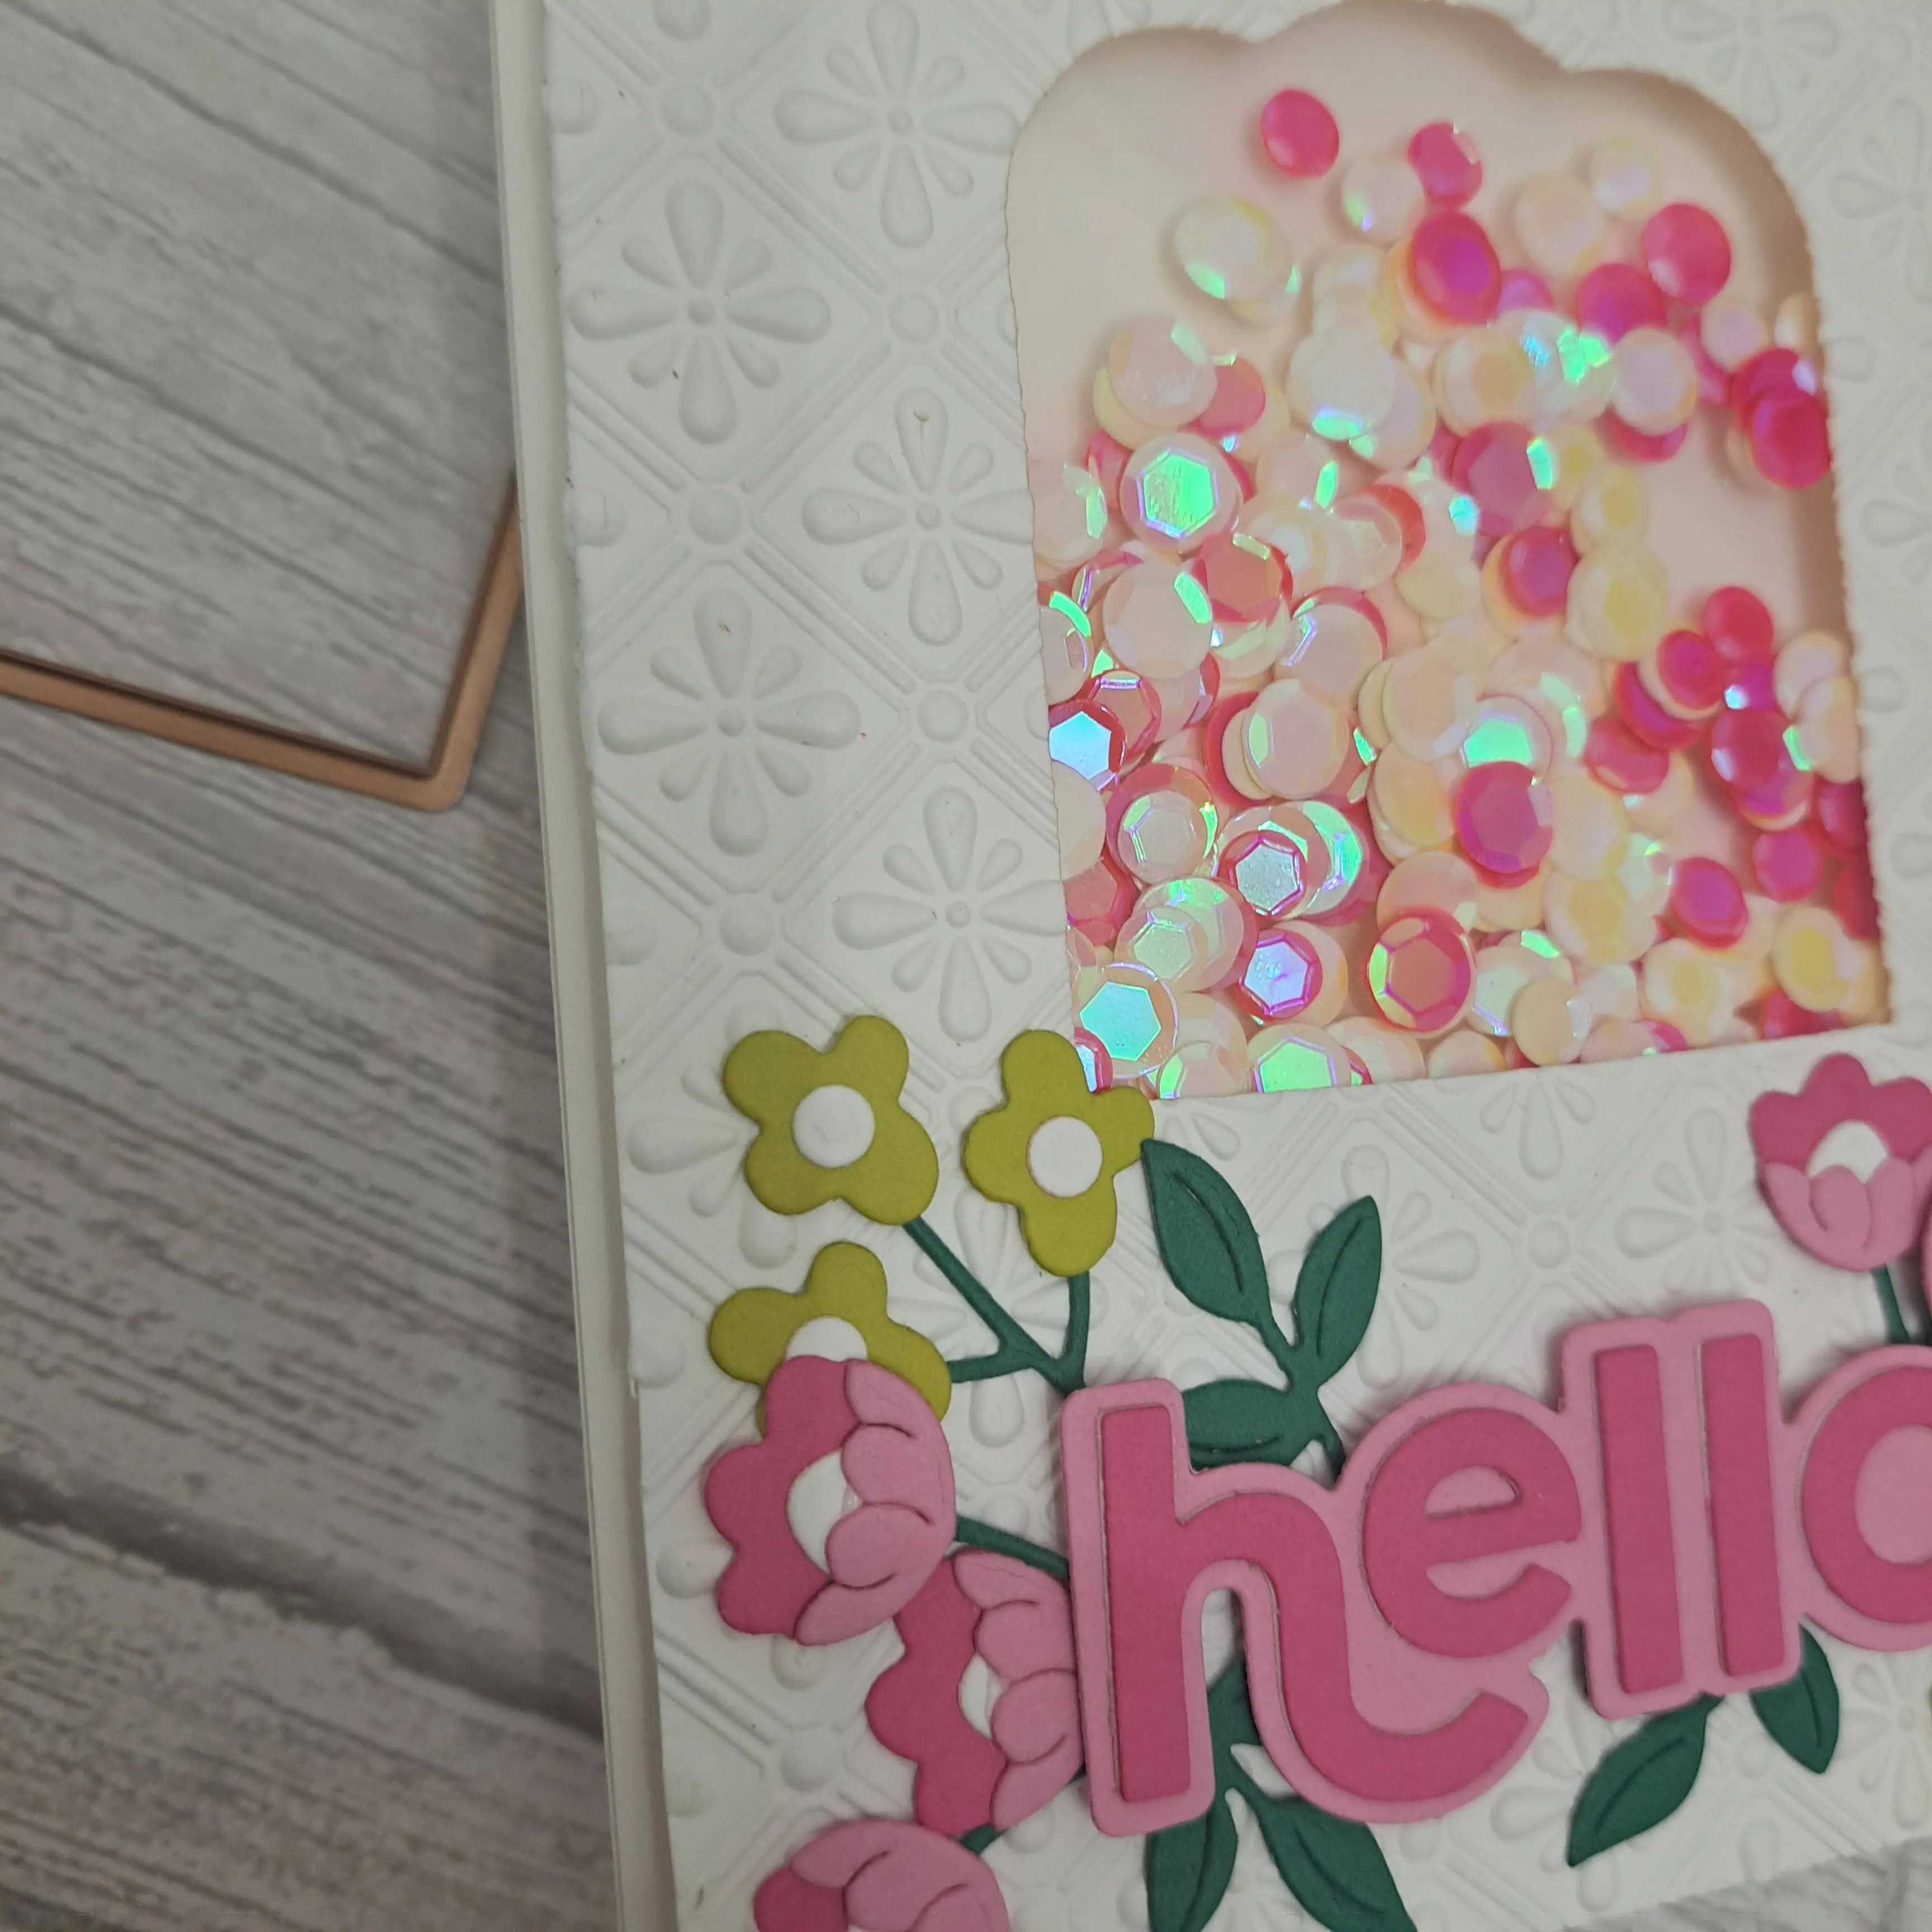
Cardz 4 Galz has started a new challenge, and Dawn has chosen the theme of ‘sequins’. I went with a shaker card:
For the shaker window, I used the largest nesting die from a set from the Spellbinders 2023 Advent Calendar, Once that was die cut, I dry embossed the panel using a Spellbinders embossing folder.
The acetate was adhered to the back of this panel, 3D foam strips applied all over, added some sequins from my stash, then adhered to the card base.
The ‘hello’ sentiment is also from that Advent calendar, and the florals and foliage are from some other Spellbinders die sets, and using a mix of Concord & 9th and Spellbinders card stock.
I hope you can come and join us with your creations using sequins – the Design Team has come up with a wide range of inspiration for using them. xx