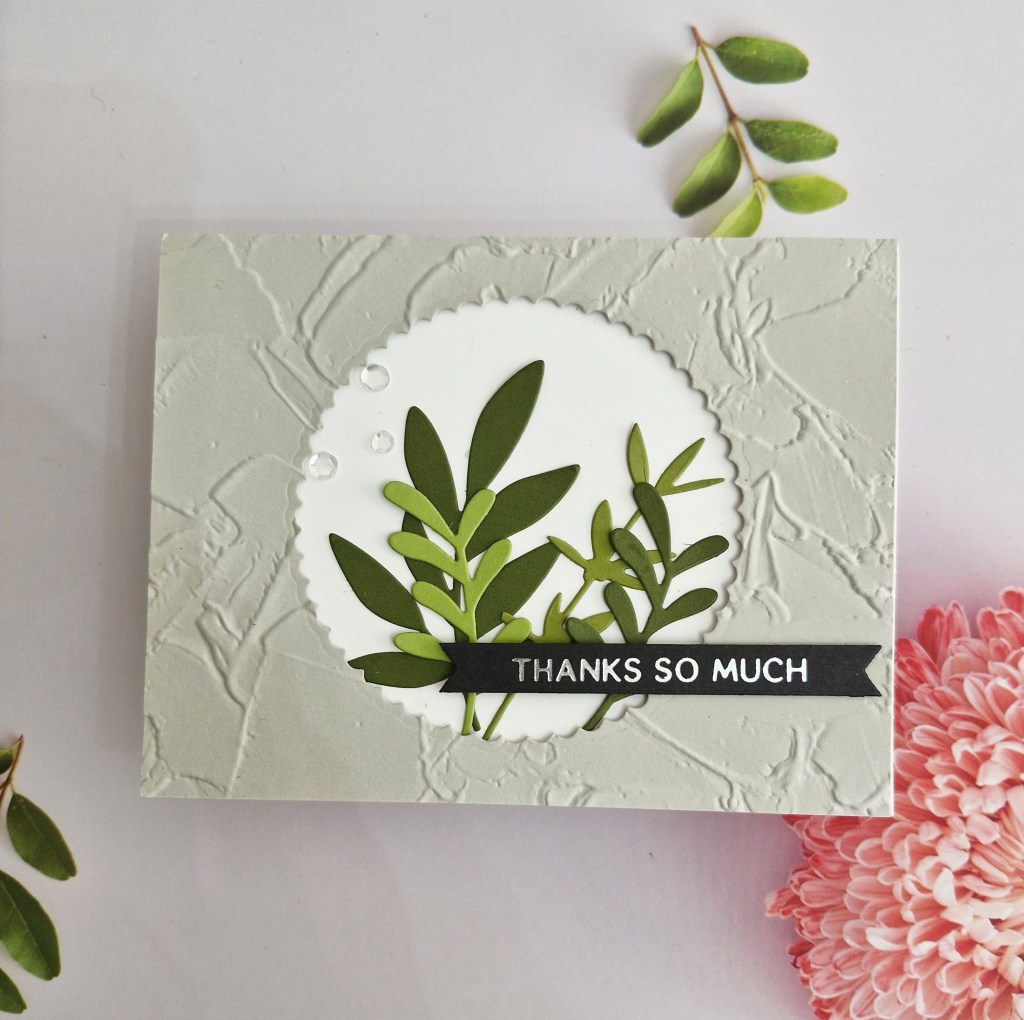
Hello. I was inspired by the sketch – quite literally – at the current Altantic Hearts Challenge to create this card:
As I said – quite literally……
I have juts bought a Sizzix die in a sale and it was sitting on my desk ready to be catalogues in the CML app. It was perfect for the leaves.
The background panel is in a ‘Fog’ cardstock, a scalloped circle die cut from the centre, and then dry embossed using one of my all-time favourite embossing folders from Stampin Up’. I raised this with thin 3D foam tape to a white card base.
The leaves were die cut from three shades of green card stock – Spellbinders and Concord & 9th – then inserted into the aperture, glued using wet glue.
The sentiment is a previously foiled strip, and then three silver sequins added to the top right to compliment the silver of the foiling.
It has been absolutely ages – possibly years – since I entered a sketch challenge – I might have opened Pandora’s box here….
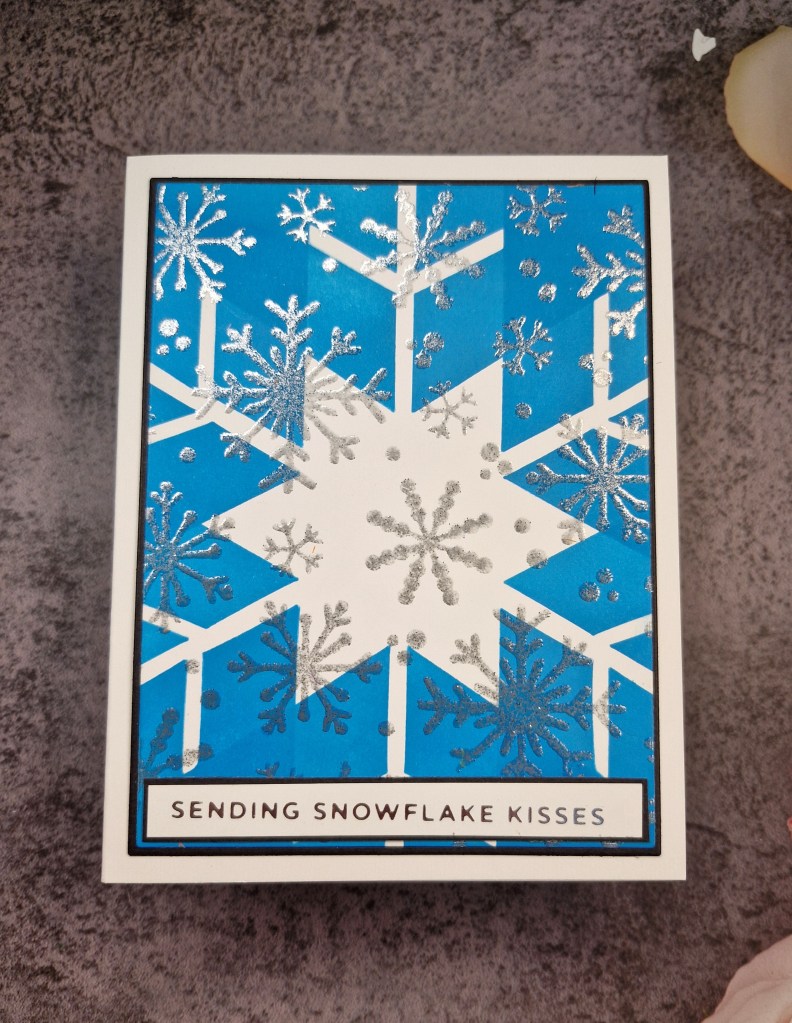
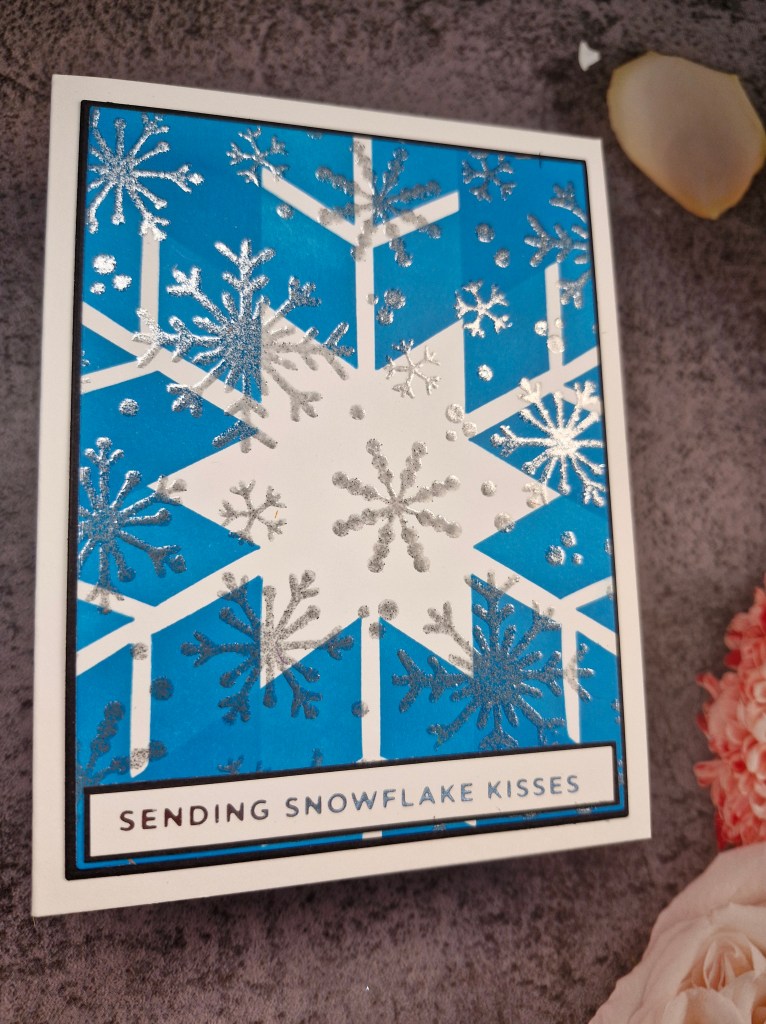
Hello once again. The Holly and Ivy Christmas Challenge has finished their summer break and we start another challenge. The theme is always ‘anything goes Christmas’. Here is my card:
The blue star background was created using a new product from Uniko. An ink and flip stencil. I did have to watch YouTube videos made by the owner – Bev – to get my head around it.
I used one shade of blue Distress Oxide, and by flipping the stencil and ink blending again, you get the different tones, and the snowflake shape. I still have no idea how it works – but it does. There are a few of the ink and flip stencils on the web site, and I did buy a couple of them, so I’ll be playing with them at some point.
Once the background snowflake was done, I decided to heat emboss some snowflakes on top. I did make sure the inked panel was completely dry before doing this, of course.
I randomly stamped the snowflakes in the background – no rhyme or reason – and used a silver embossing powder.
The snowflake panel was cut with Gina K Master Layouts, a black layer added, and then adhered to the card base.
The foiled sentiment was also layered with black, and adhered flat to the panel.
I hope you can come and join us with your Christmas themed creations. xx
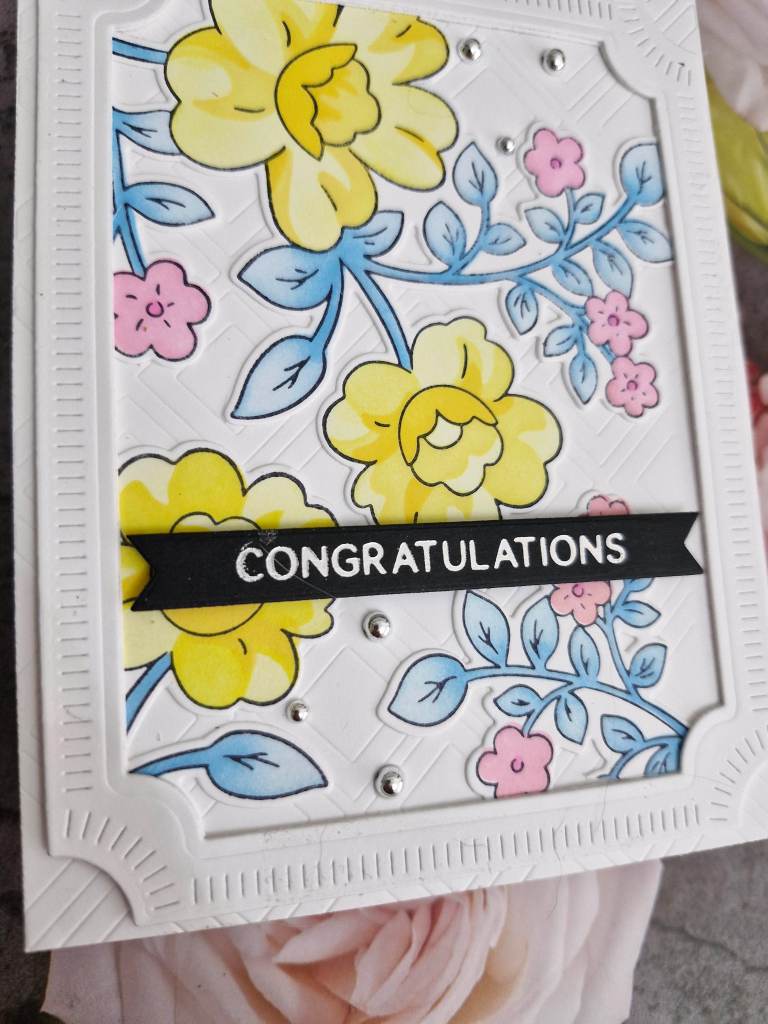
Hello once again. I have had some time to create today:
This product quite is from Pinkfresh Studio, and includes the press plate, stamp, stencils, and a die. As I finally gave in last week to buying the Spellbinders Letterpress machine, I thought I would give it a whirl…
The press plate was inked with black ink, ad instead of using the Spellbinders card stock, I used Hammermill, and it worked perfectly fine for me.
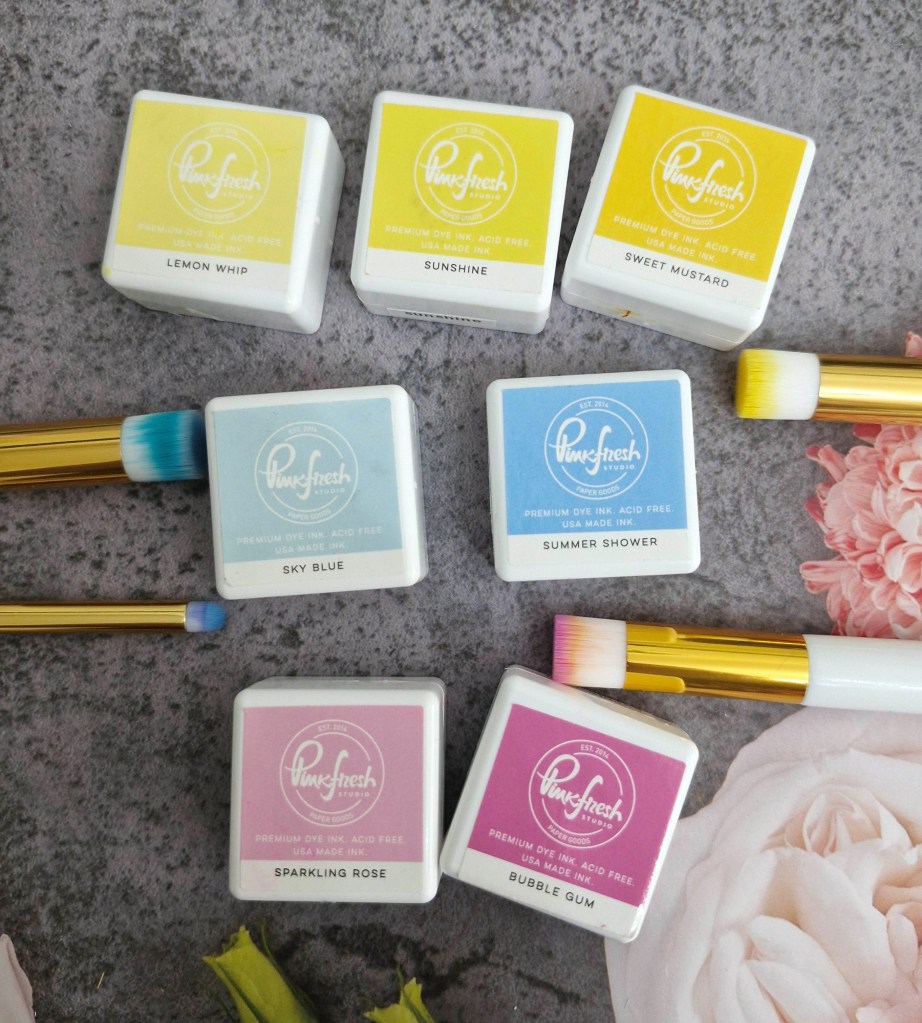
I used the press plate twice, then took the layering stencils and coloured them with the colours from the current Color Throwdown Challenge – yellow, blue, and pink.
I used the very small blue blending brush to colour the branches darker, and also the base of all the leaves.
Once die cut, I played around with the arrangement, decided it needed a frame, so I used a Pinkfresh to create the frame, die cutting three times for dimension, and added the inner detail to the top frame.
Once placed on the card base, I then decided to use another cover plate to create some detail on the back. This plate is part of the Pinkfresh Studio virtual event happening at the moment, and I think I may well be using it more in the future – some subtle detail, but it is there nonetheless:
I snipped parts of the coloured floral image to place them inside the frame, attaching them to the back of the frame, then adding to the embossed panel and card base.
The sentiment is a previously foiled strip, and I chose black as the outline of the floral images is in black, then added some silver gems.
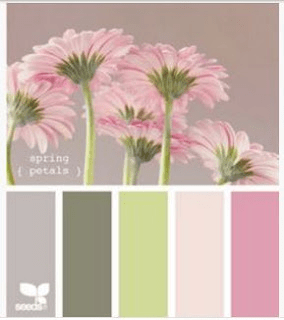
Hello once again. The Alphabet Challenge has started a new challenge, our leader Caz is hosting, and she has a colour mood board for you to base your creations on. Here is the board:
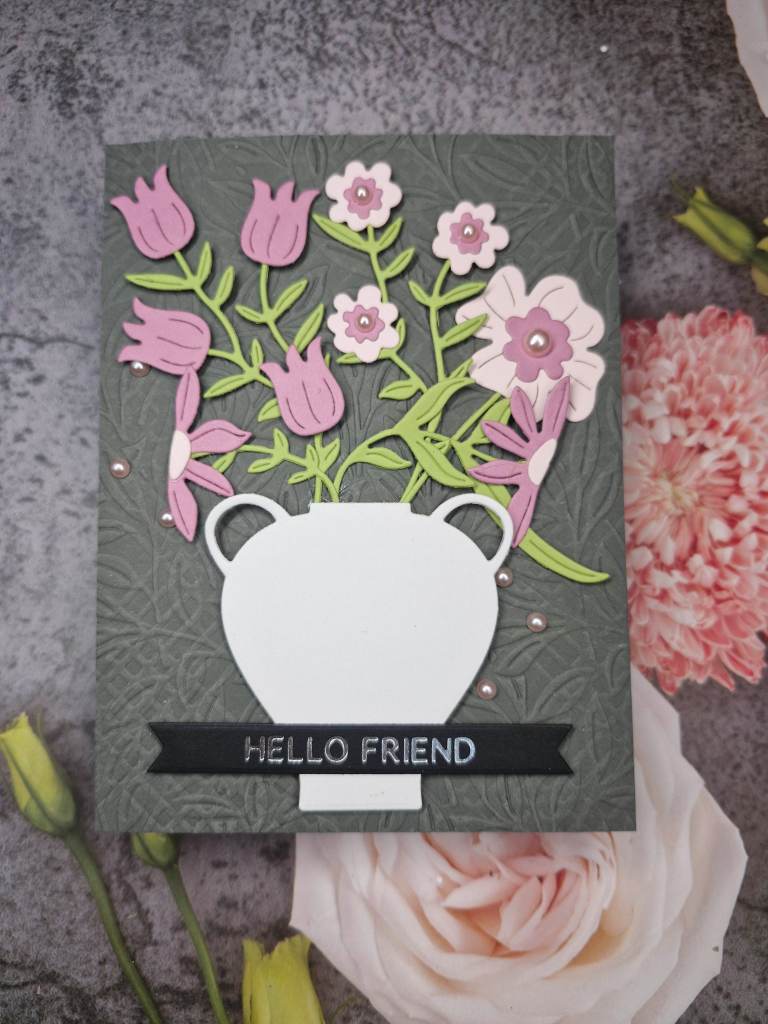
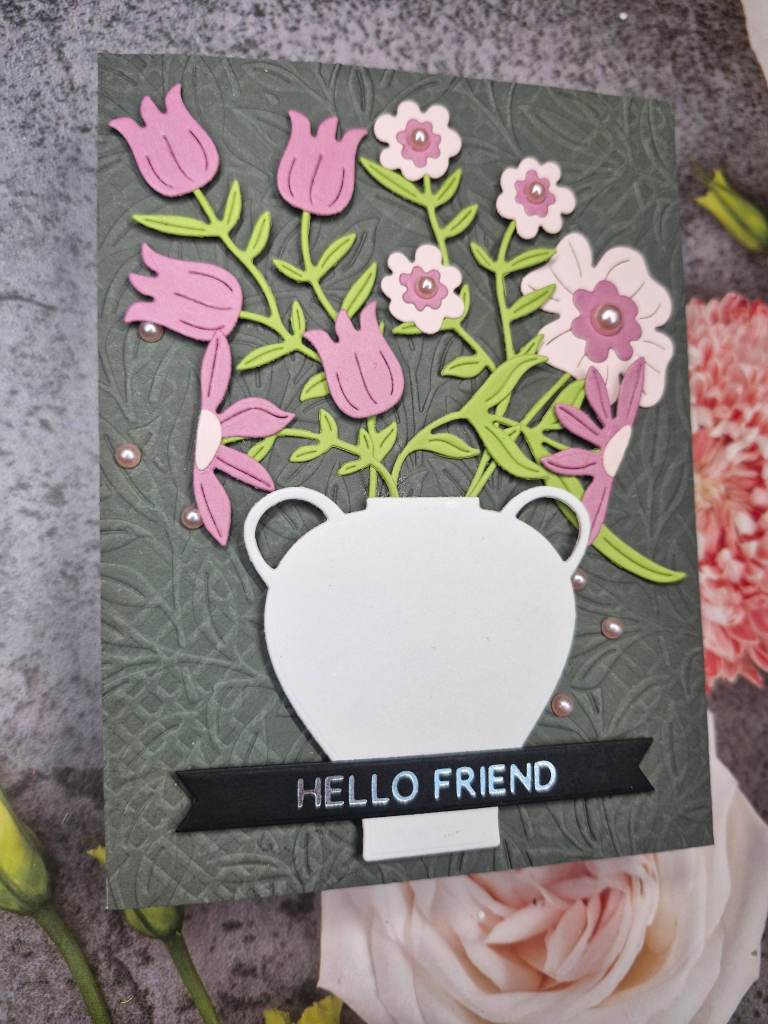
Here is my card:
I chose to make the background the darker grey to highlight the pink of the flowers, and the lighter grey of the vase.
I dry embossed the background panel with a Spellbinders embossing folder, and die cut the vase and foliage from various colours of Concord & 9th card stock using Spellbinders die sets.
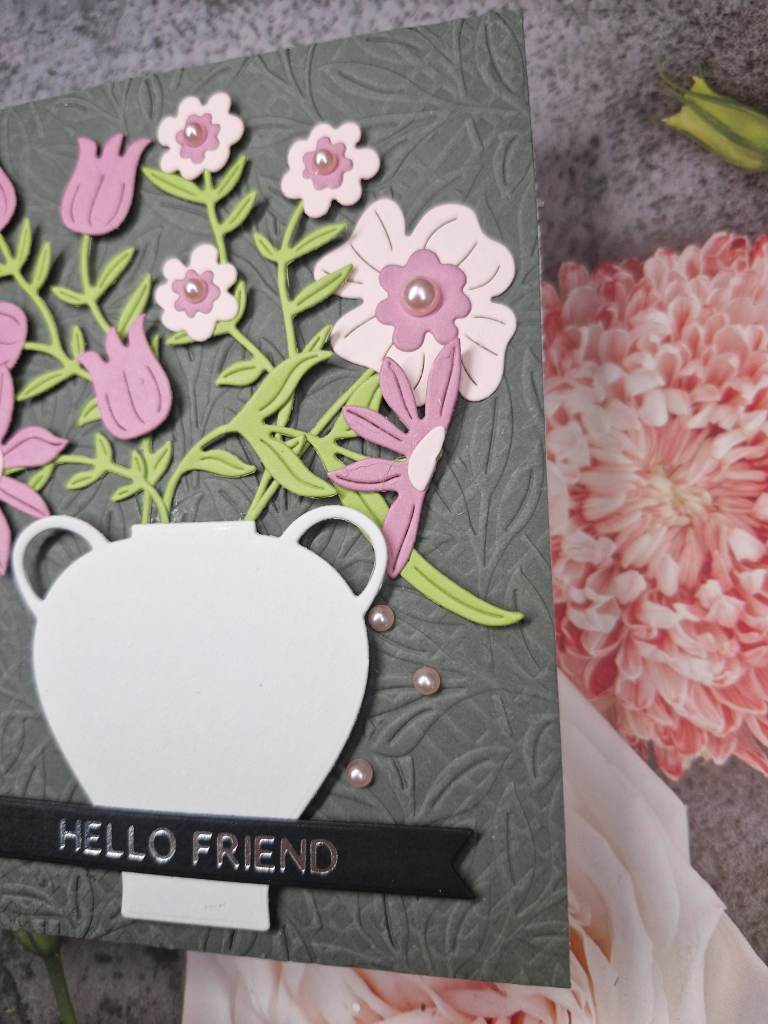
Once the flowers were layered together, and the vase adhered with 3D foam, I arranged them as you see. It usually takes me a while to figure out arrangements like this, so this actually took longer than die cutting and gluing….
Once arranged to my liking, I used glue and little pieces of 3D foam, then added a previously foiled sentiment.
Some pink pearls added to the flower centres and the background for extra interest and dimension.
I hope you can come and join us with creations for which the mood board colours are most prominent – neutrals can be added too.
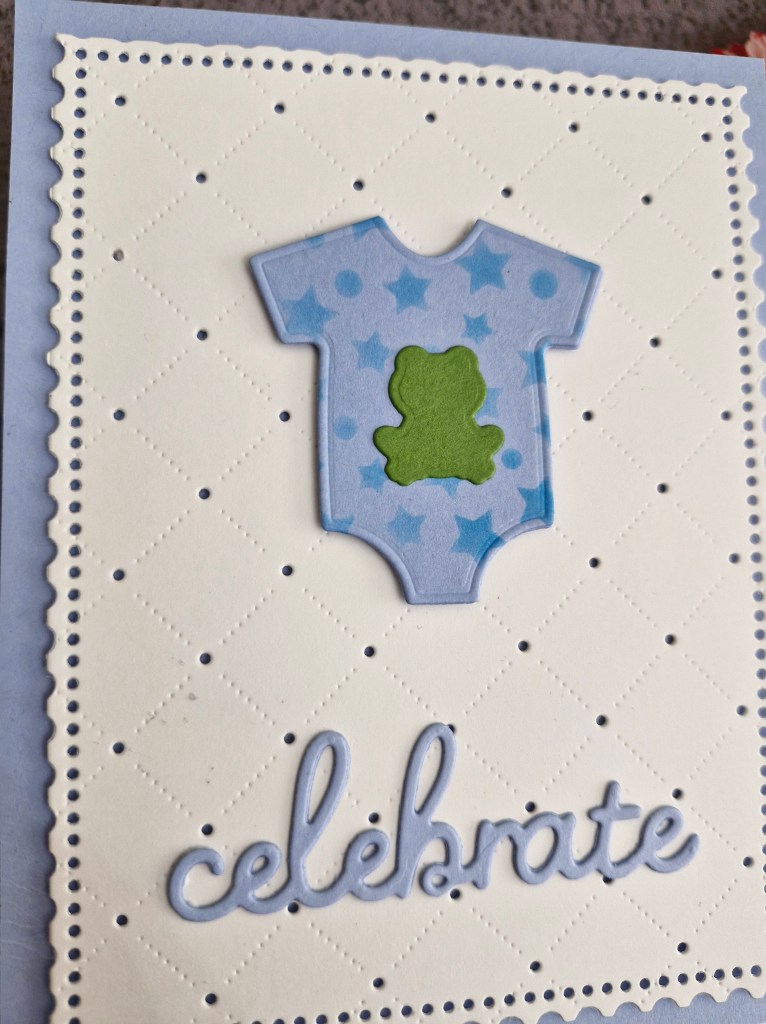
Doesn’t time fly? It seems to have been a while since I posted, so I will try and correct that over the coming days. The post today is to share a card for the new challenge at Cardz 4 Galz. Billie A is hosting and she has chosen the theme of ‘For a baby’. Here is my card:
I don’t make baby cards at all, but this die set was from an online event run by Scrapbook and Cards Today in February of this year.
I first chose to make a blue card and started with a blue card base. Onto that I layered a cover plate die.
The onesie was die cut, then ink blended over the top to create the star detail. The frog was die cut and adhered.
The word was die cut several times and stacked for dimension, then all glued together.
I hope you can come and join us with your baby themed creations. xx
I shall be entering the following challenges:
Stencil Fun – use a stencil – option of shades of blue taken
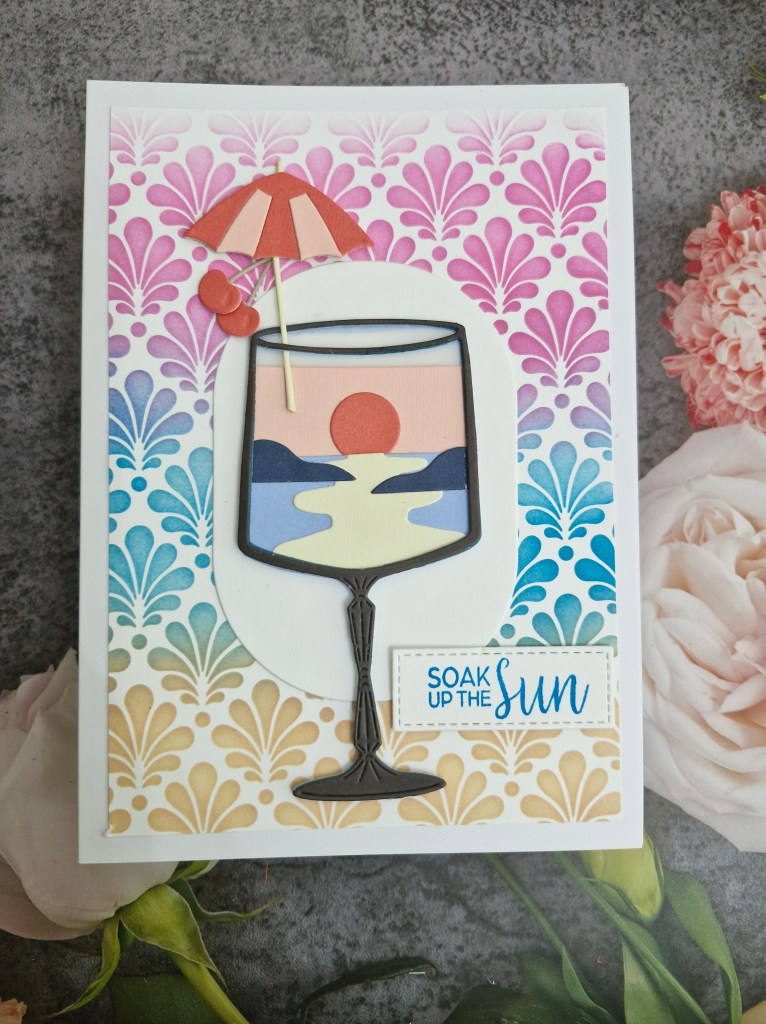
Hello once again. The Alphabet Challenge has reached the letter ‘H‘, and Helen has chosen the theme of:
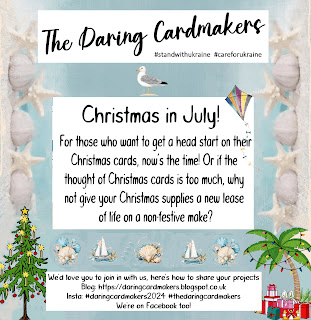
H is for Holidays – summer or Christmas in July
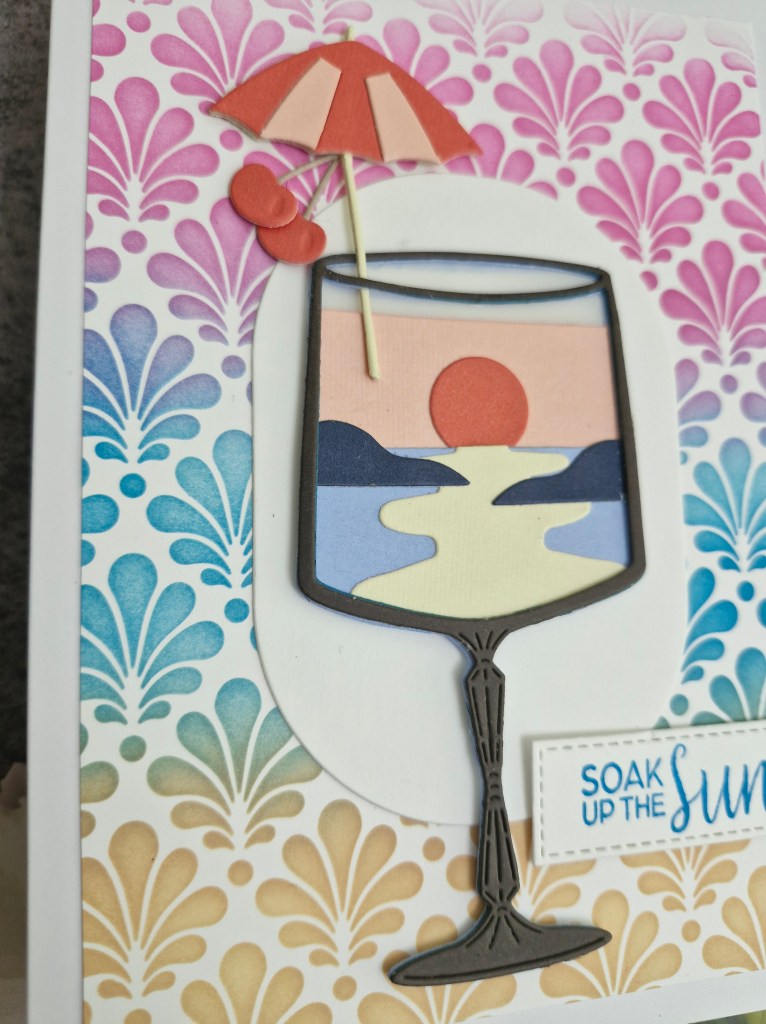
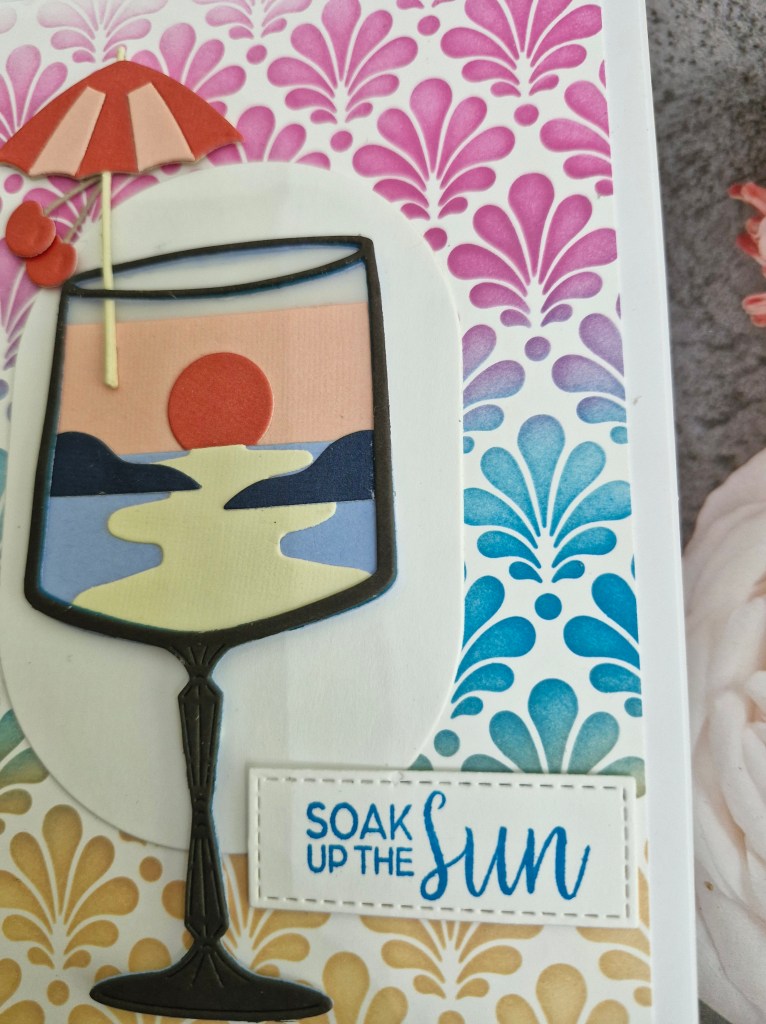
Here is my card:
This die set and stencil were part of a virtual class hosted by Spellbinders, and I thought would suit the summer theme for this challenge. Though we haven’t had much of a summer in the UK, and it is still raining, it did give ne hope that we could have some warmer weather soon……
The background is ink blending through the stencil, a rainbow kinda look using only three colours of ink, but ensuring they overlapped to create a five colour look. This panel was cut down a little and glued straight to the 5×7 inch card base.
The elements for the glass and scene were die cut and glued down, and the umbrella and cherries and added. That’s why I chose a larger card base, as I wanted to get the height for the added elements.
I tried the glass against the background panel, and felt it got lost in the colours, so I added a plain white oval.
The sentiment was stamped then die cut using a stitched rectangle.
I hope you can come and join us with your holiday themed creations – summer or Christmas in July. xx
Johanna is hosting the new challenge at Cardz 4 Galz, and she has chosen the theme of ‘Shades Of Blue‘. Here is my card:
Using a newer die set from Spellbinders, I created the openings using 4 different shades of blue card stock. There are a few of similar tunnel die sets from Spellbinders, this one is ‘Cloud Tunnel’.
It is very easy to place the dies in different positions on each piece of card to create the size and shape of the opening, and also the create as much or as little of each layer showing as you please.
The second darkest blue I layered with 3D foam, but the other layers were glued flat to each other.
The moon and stars are also from the same dies set, and I stamped an appropriate sentiment on the front piece.
I hope you can come and join with your creations following our theme. xx
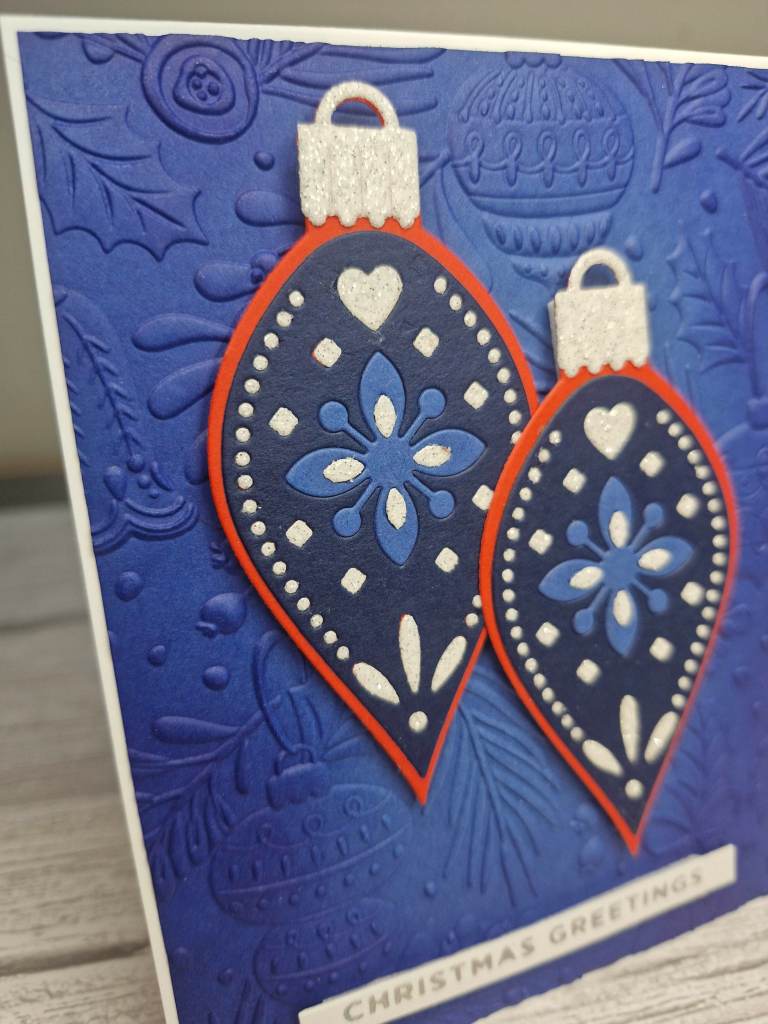
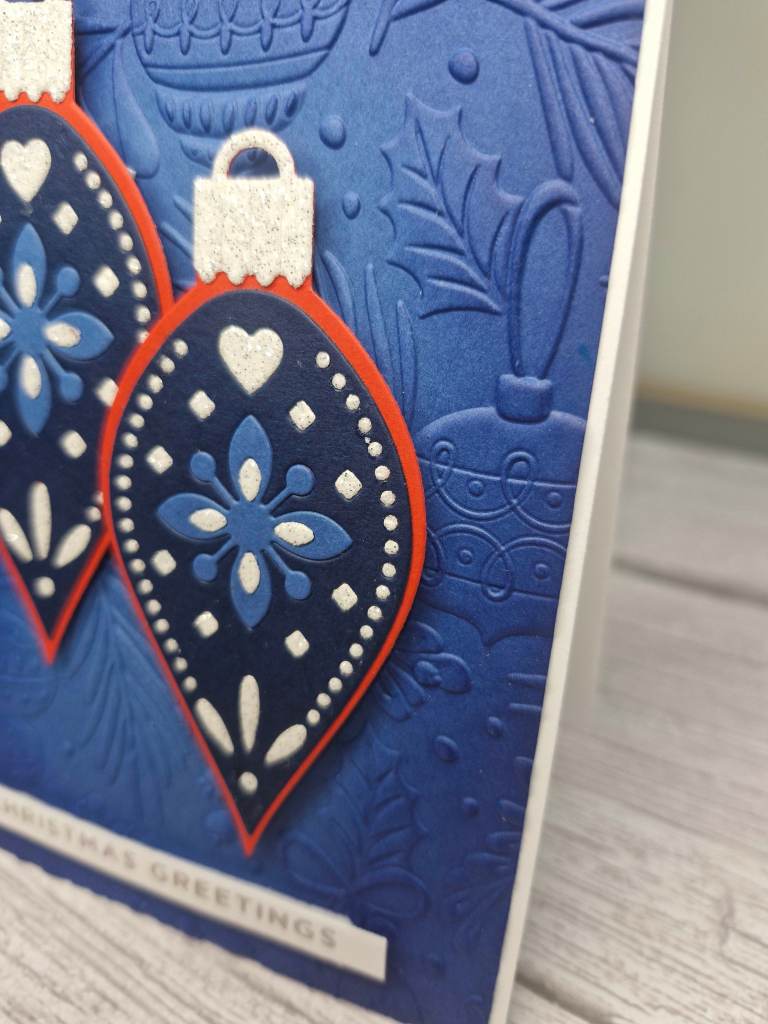
Hello everyone. The ABC Christmas Challenge has reached the letters ‘N’ and ‘O’, Fabiola is the host this time round and the Christmas themes are:
‘N’ for No Stamping and ‘O’ for Off The Edge’
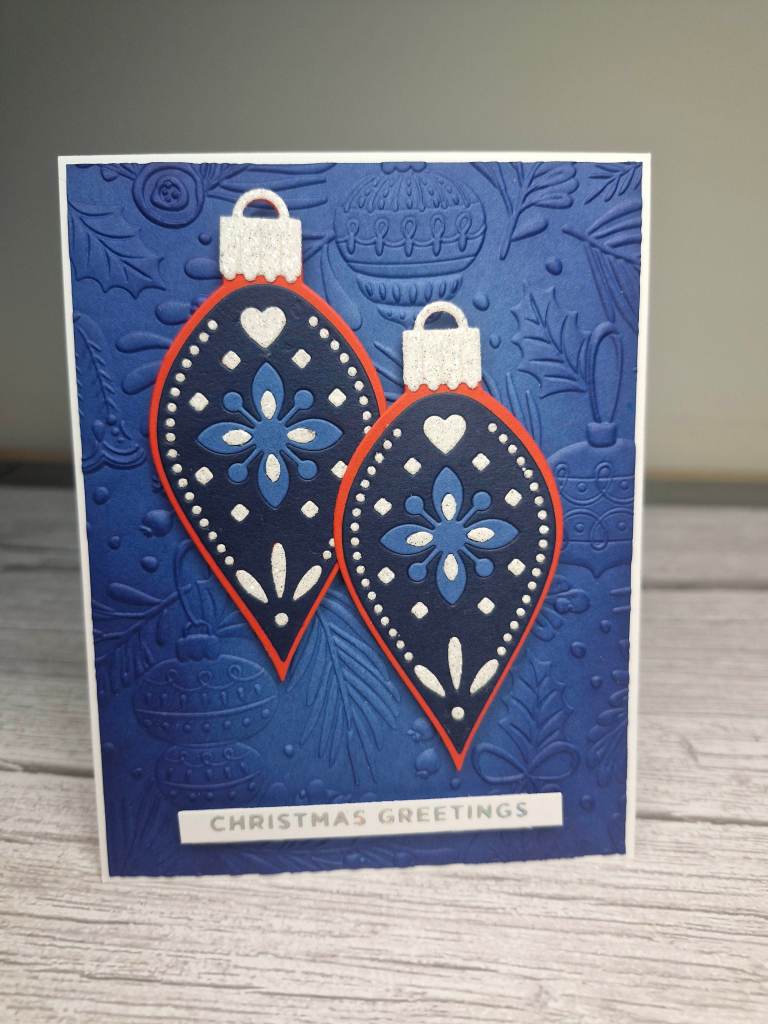
I went with the no stamping option. Here is my card:
I am sure you all know by now that I am a Spellbinders fanatic, and this card was created using one of their die sets and one of their embossing folders.
The background was embossed and then a darker blue ink blended around the outside edges to create a halo effect.
The baubles were all die cut, and all those little pieces of white and blue were die cut and inlaid back into their little places – a fiddly job, but I treated as a therapeutic endeavour.
I also used some white glitter card stock for some portions of the die cuts.
The sentiment is from a previous hot foiling session.
I hope you can come and join us with your Christmas creations following one or both of our two themes. xx
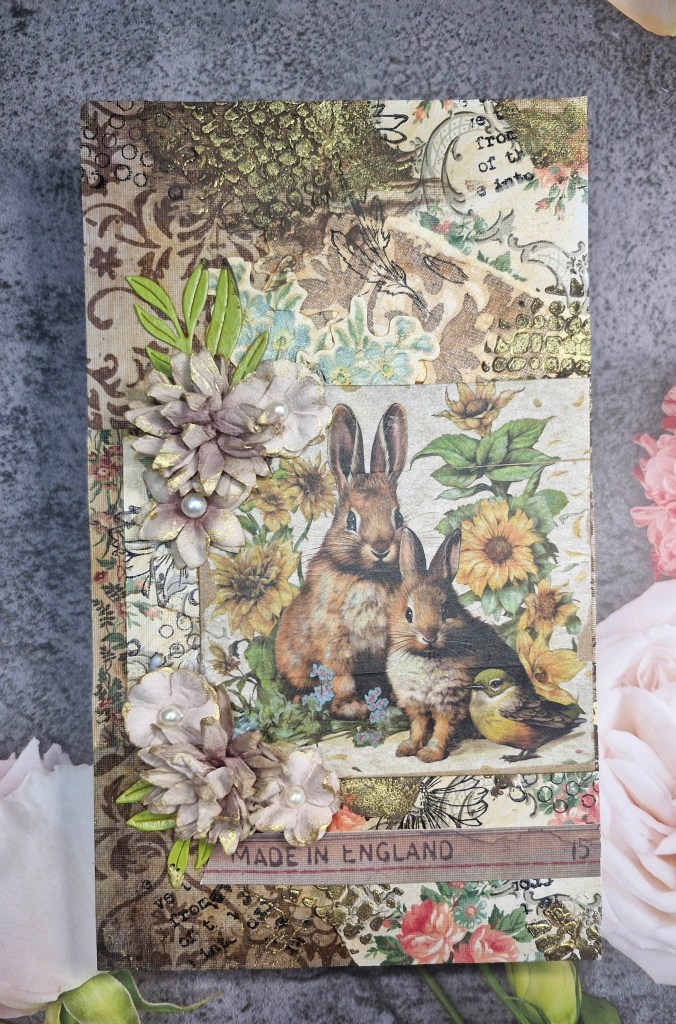
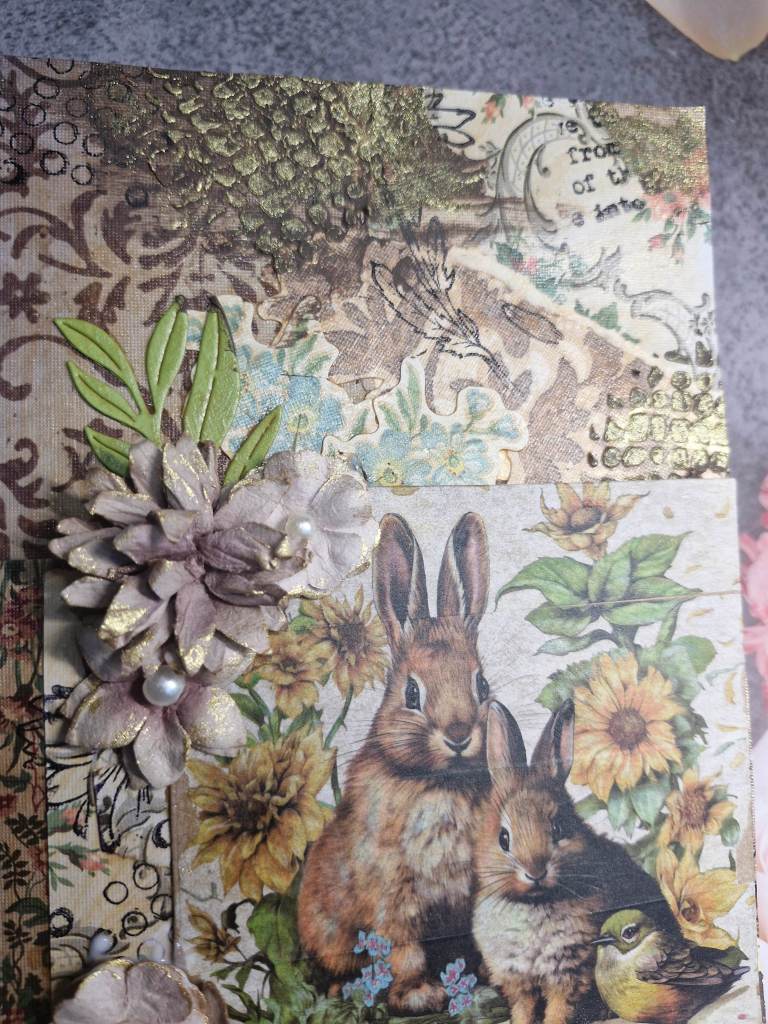
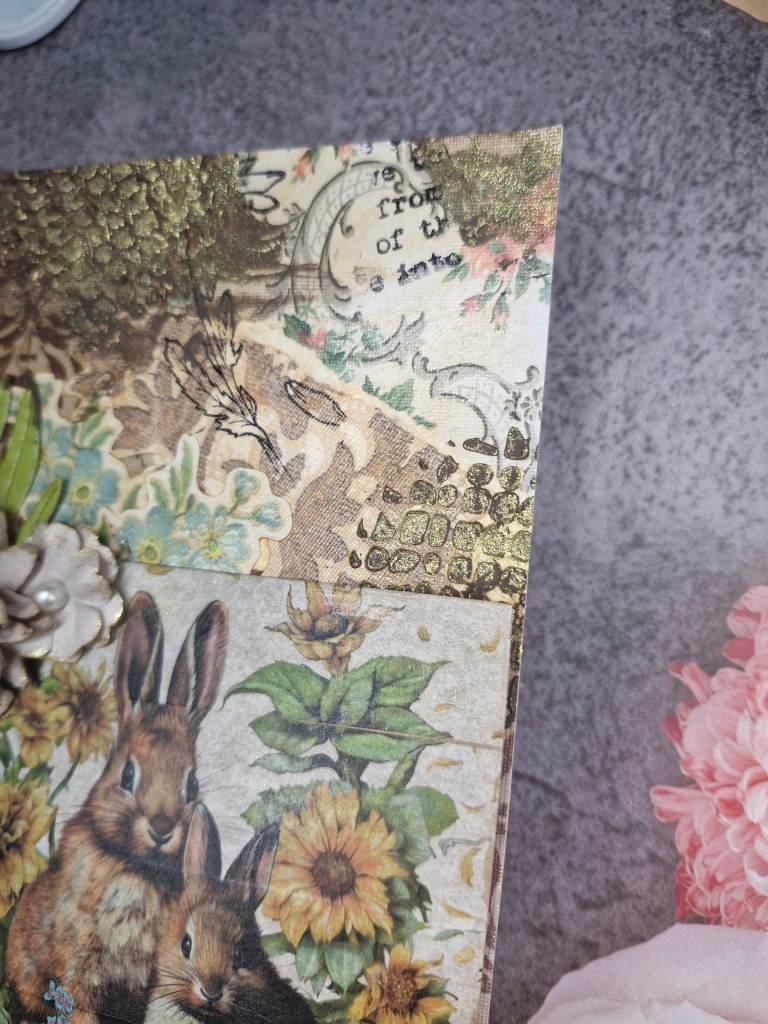
Hello everyone. Whilst I was watching the England football this evening, I decided to create something using techniques and mediums I rarely – if at all – use. Like most of us, I have them, but am unsure of how to use them, so today I just went with it to create this collage mixed media panel:
The starting off point was the image in the centre. This is actually a layering washi tape from ‘AALL and Create’. I have never seen these before, and one of my go-to shops showcased them recently – so I bought a few different ones to try.
This is the ‘Sunflower and Hares’ washi, and I layered it onto some Distress Kraft Heavy stock and cut it down into a square.
Now to play with ‘stuff’…..I took a spare piece of white card stock and some Tim Holtz papers and went to town. Using the vintage collage medium to give a sepia tone, I created layers on the background.
I then took an Indigo Blu red rubber stamp and Archival ink to stamp partial images over the dried collage. I created a brown stencil paste using Altenew embossing paste and brown Impasto acrylic paint, a Tim Holtz stencil, and added detail to the background.
When the paste had dried, I took some gold wax and rubbed it over the top – I wanted some vintage yellow to somewhat match the sunflowers.
I then added some green die cut leaves I had laying around on my desk, covered them with the vintage distress collage medium to tone down the green a little,
Once all that was dry, I added the square with the images with the other collage medium, then found some light brown paper flowers, adding some of the gold wax to the petals, and stuck them down as you see.
As I was putting some of the papers away, a strip dropped out ‘Made in England‘ so I added that to the bottom.
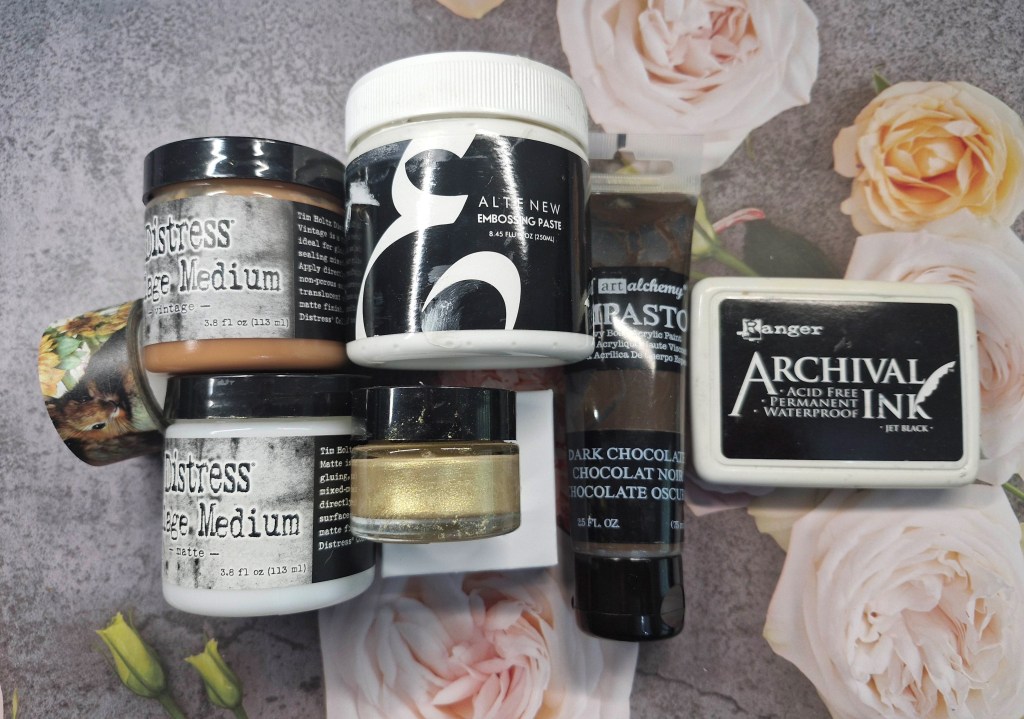
Here are the products I used, and you can see the roll of washi tape off to the side:
All-in-all, a fun but messy creation. I still have no idea what I’m doing – but I did enjoy the process.
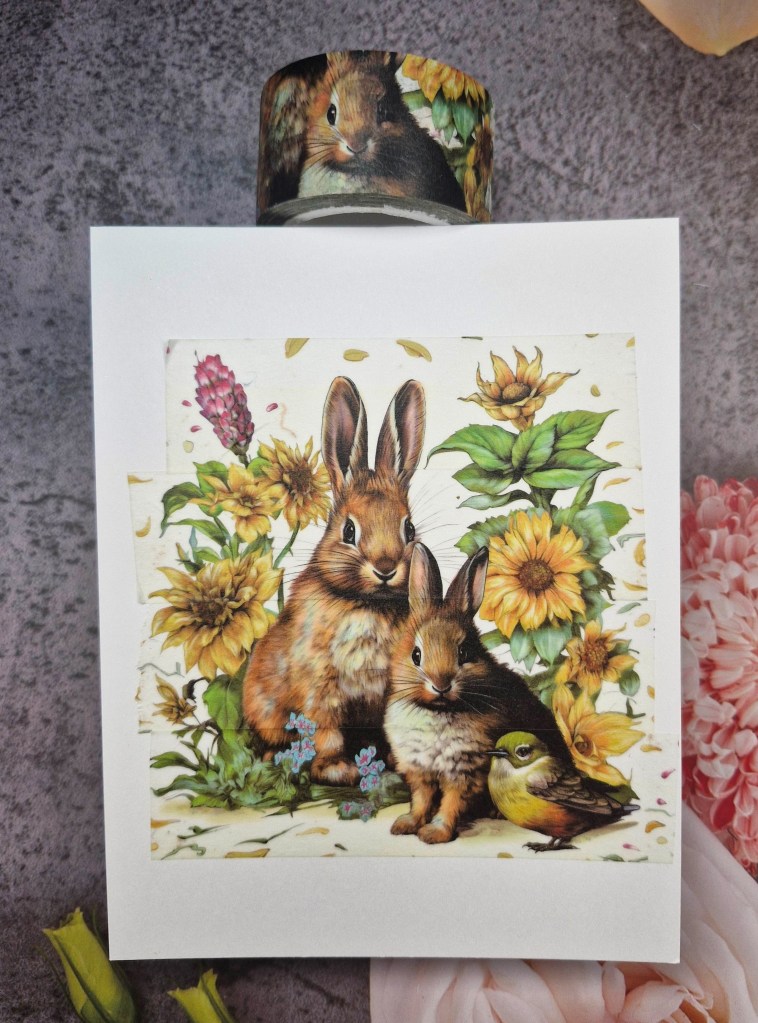
Here is a picture of the washi tape just attached to white card stock and the image the four layers create, ready for making into a card: