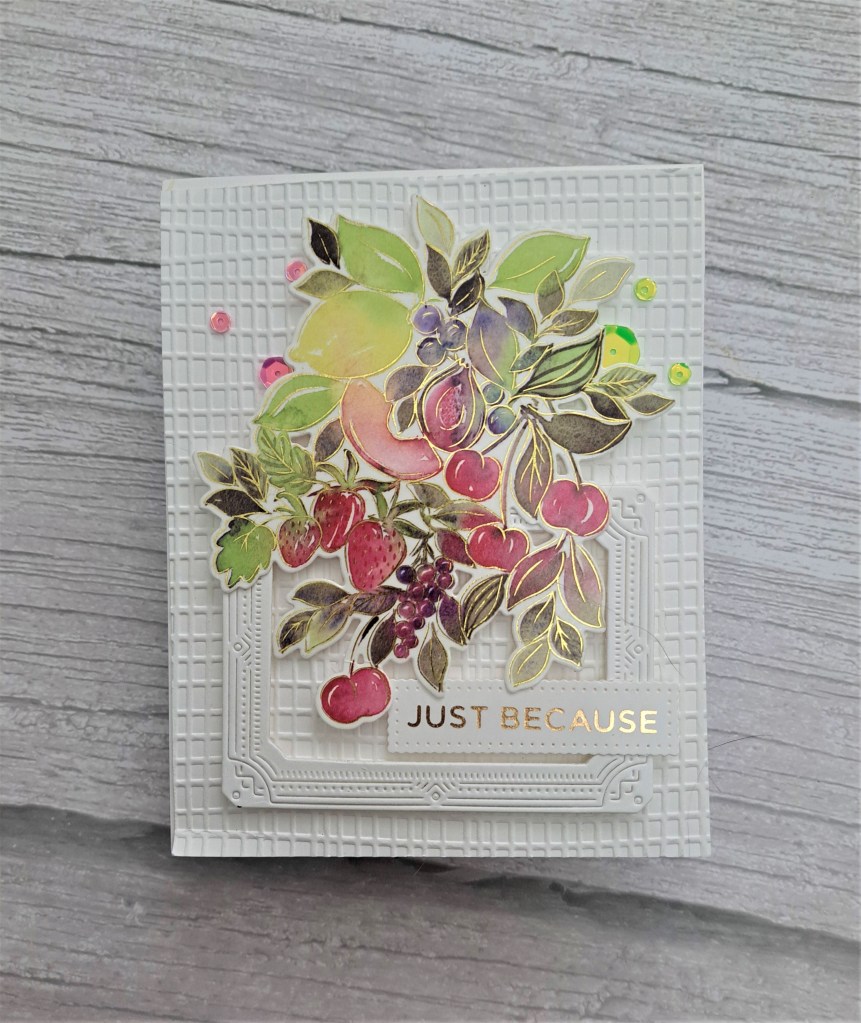
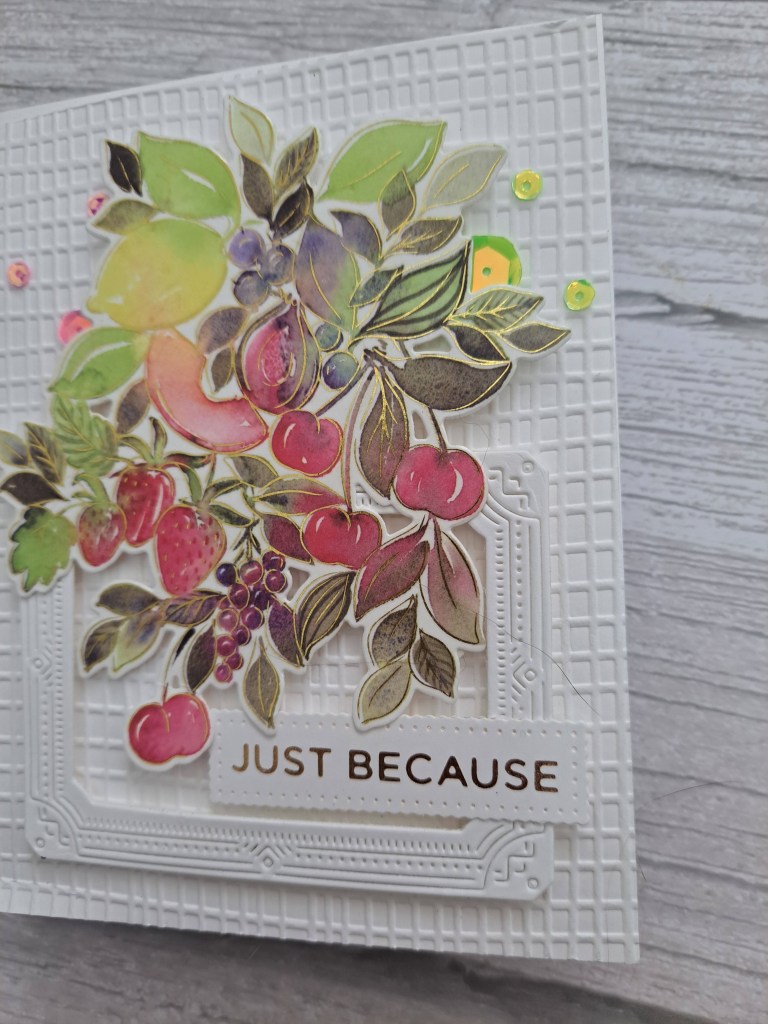
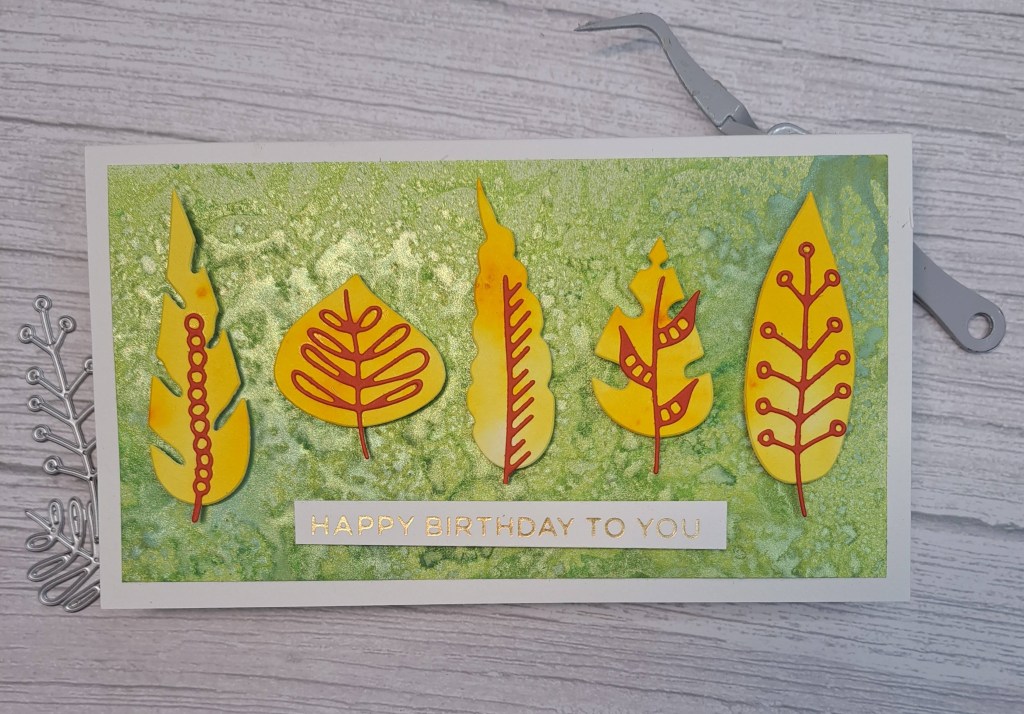
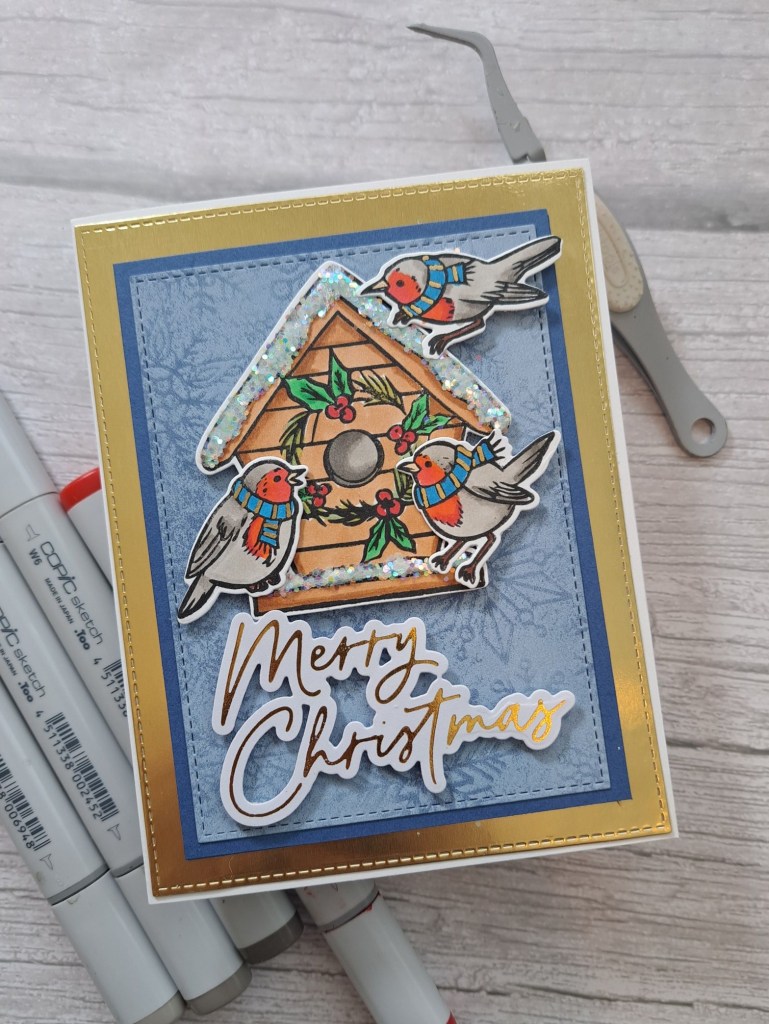
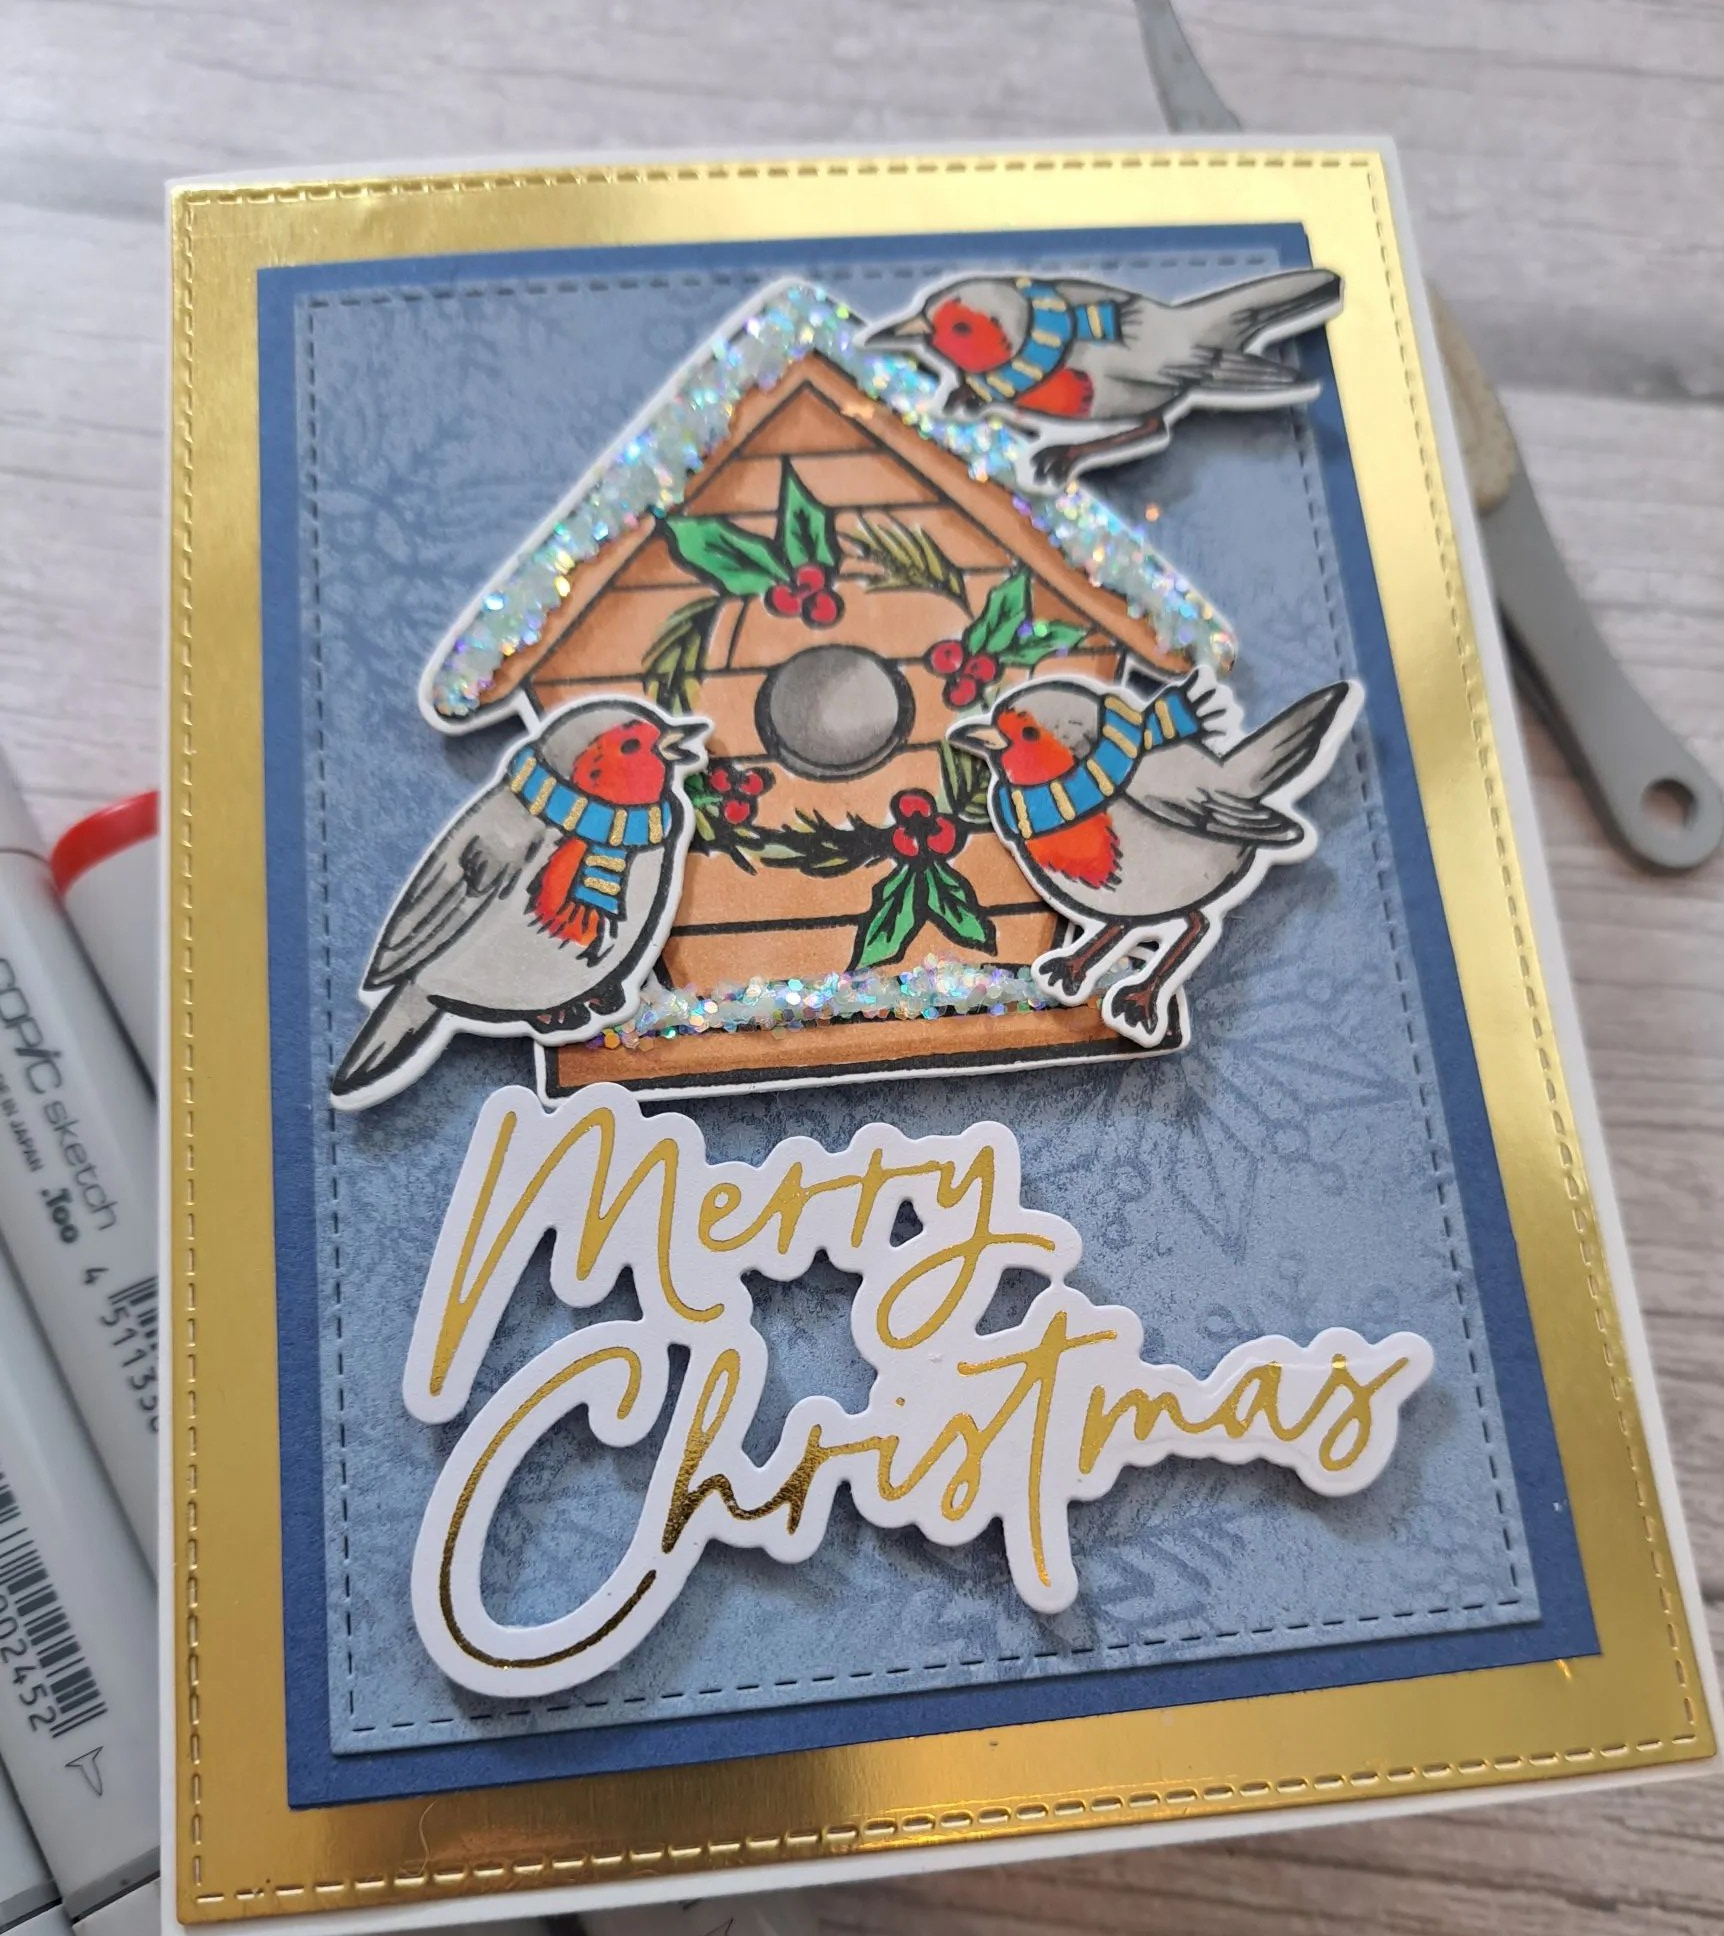
Here is a card I created using several Spellbinder die sets:
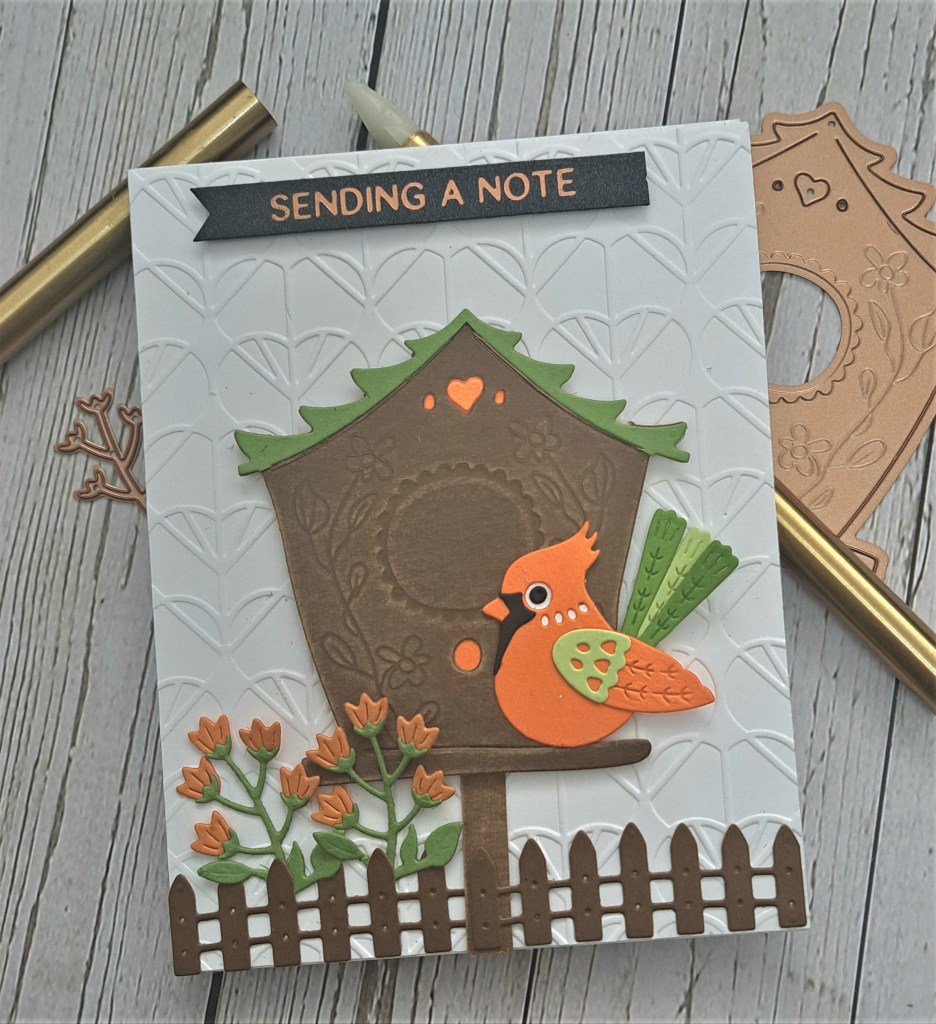
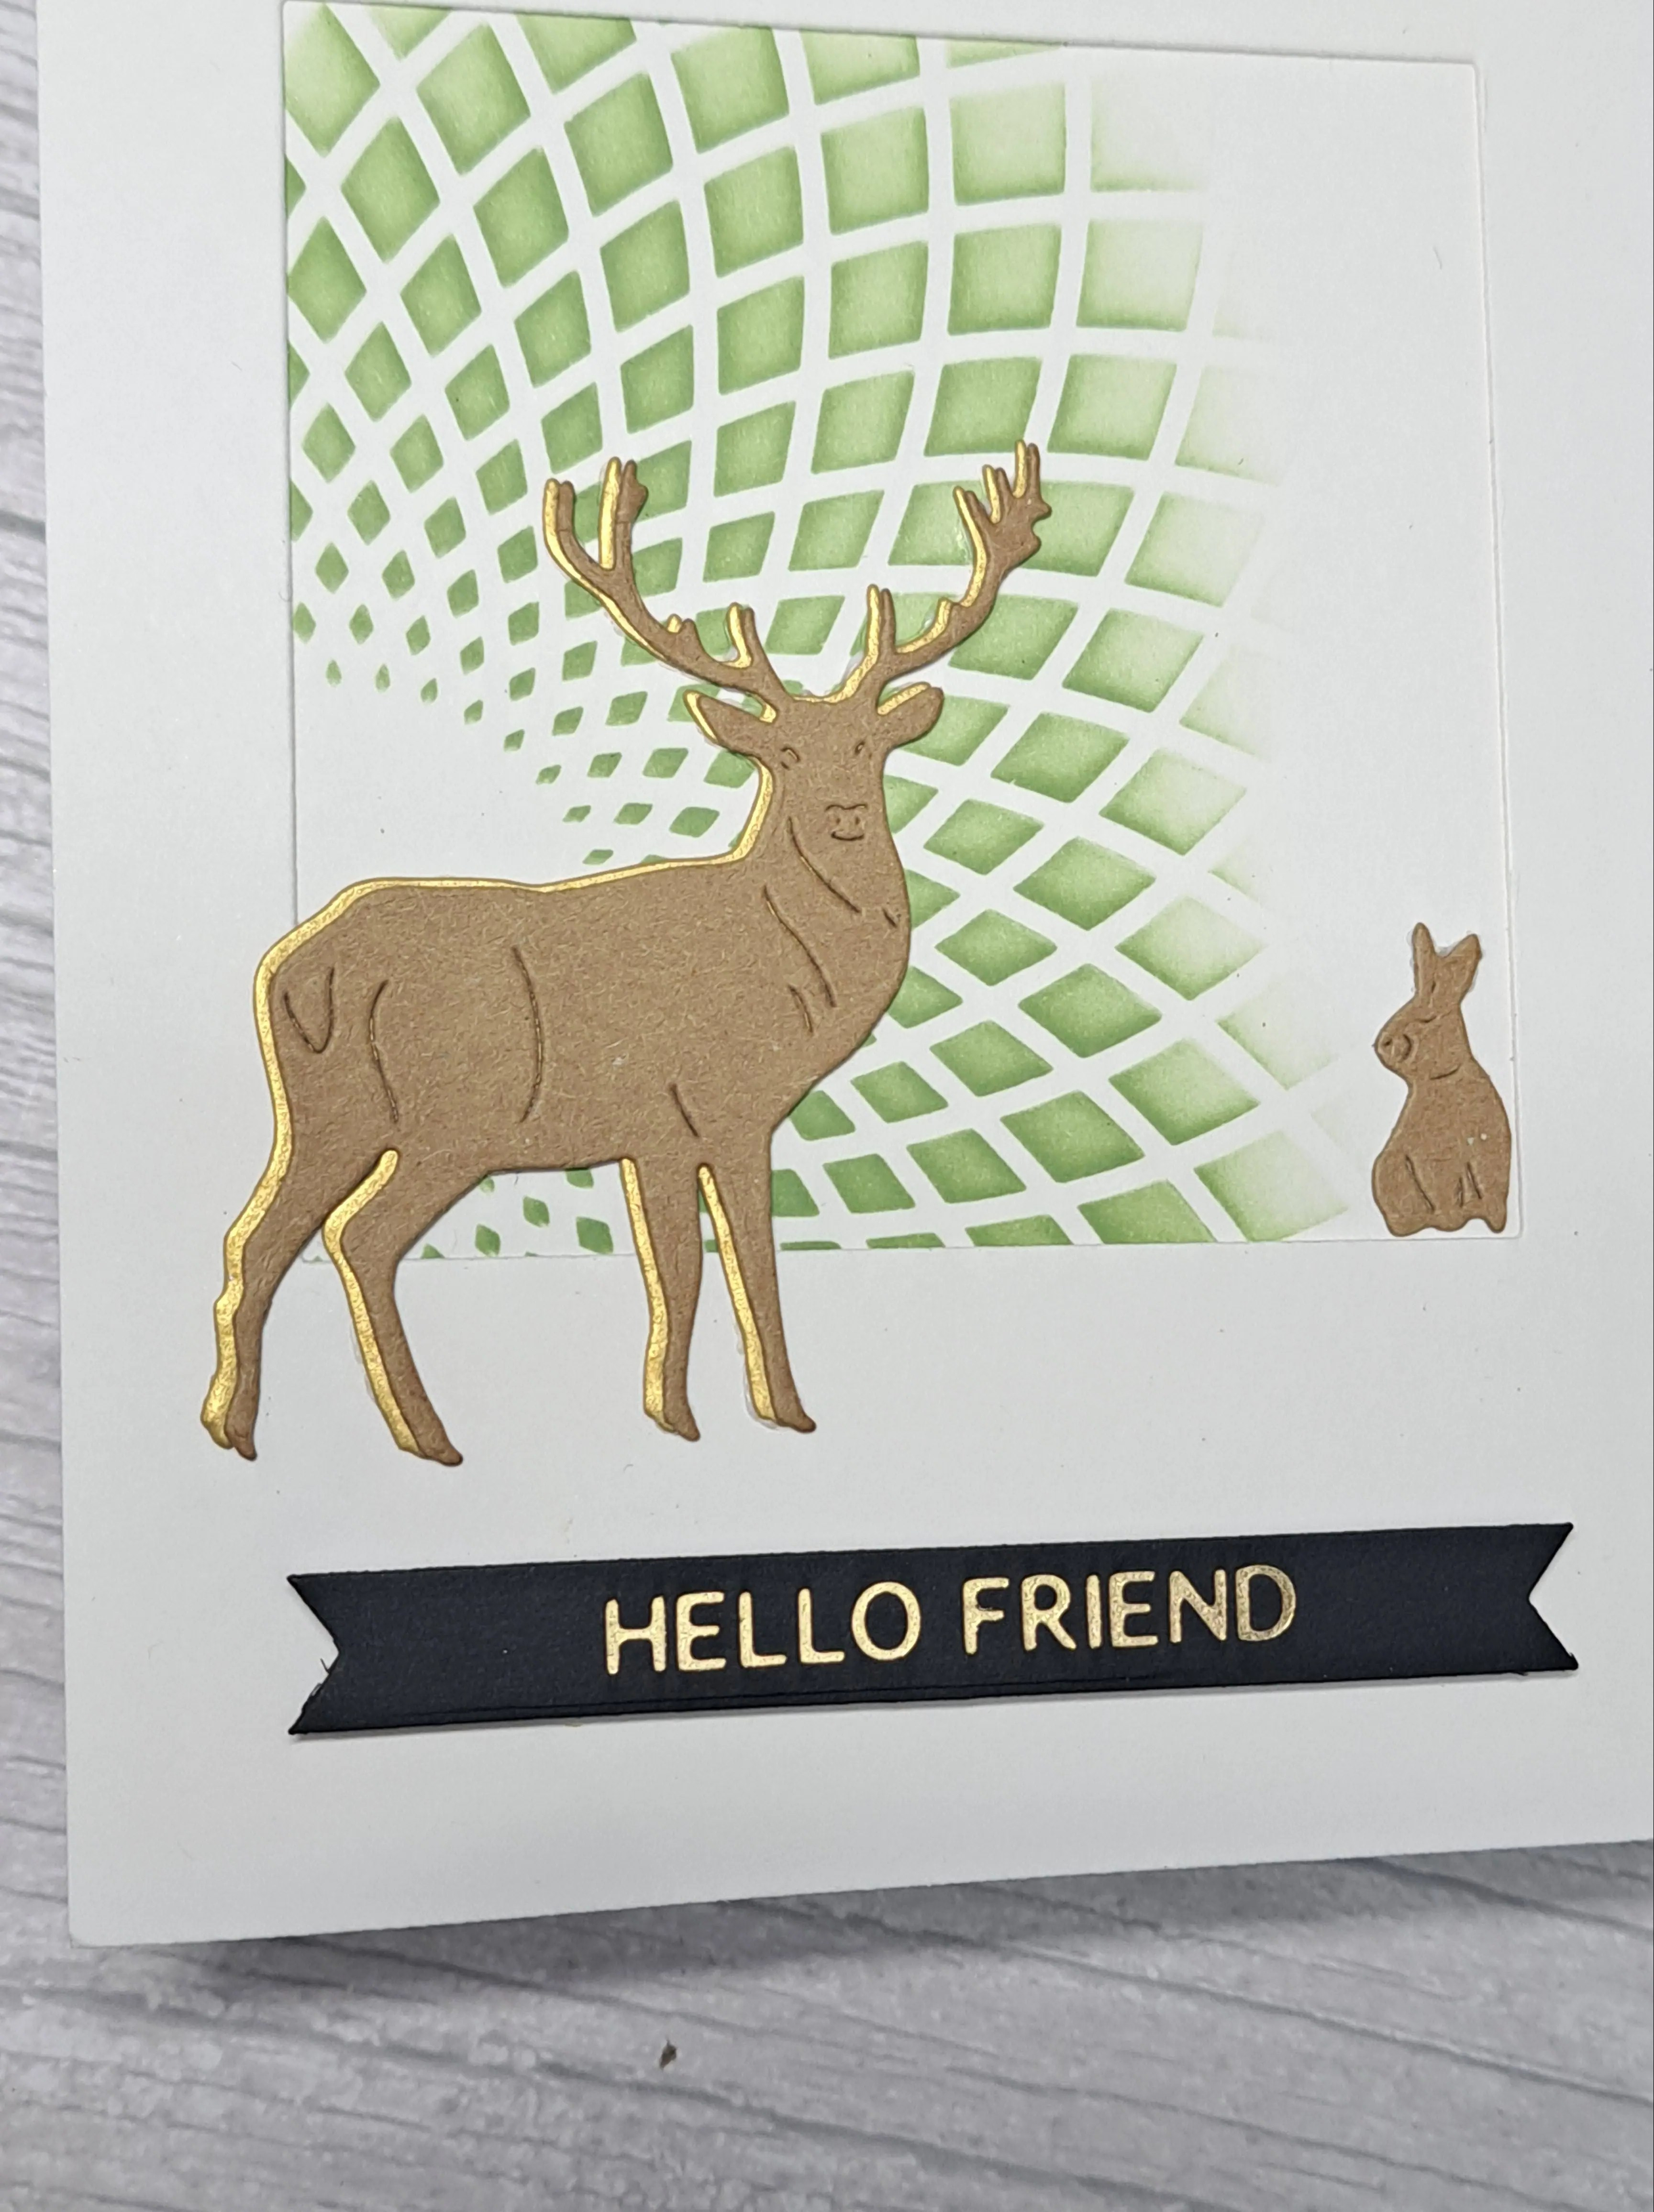
The background is dry embossed using a Spellbinders embossing folder, and adhered directly to the card base.
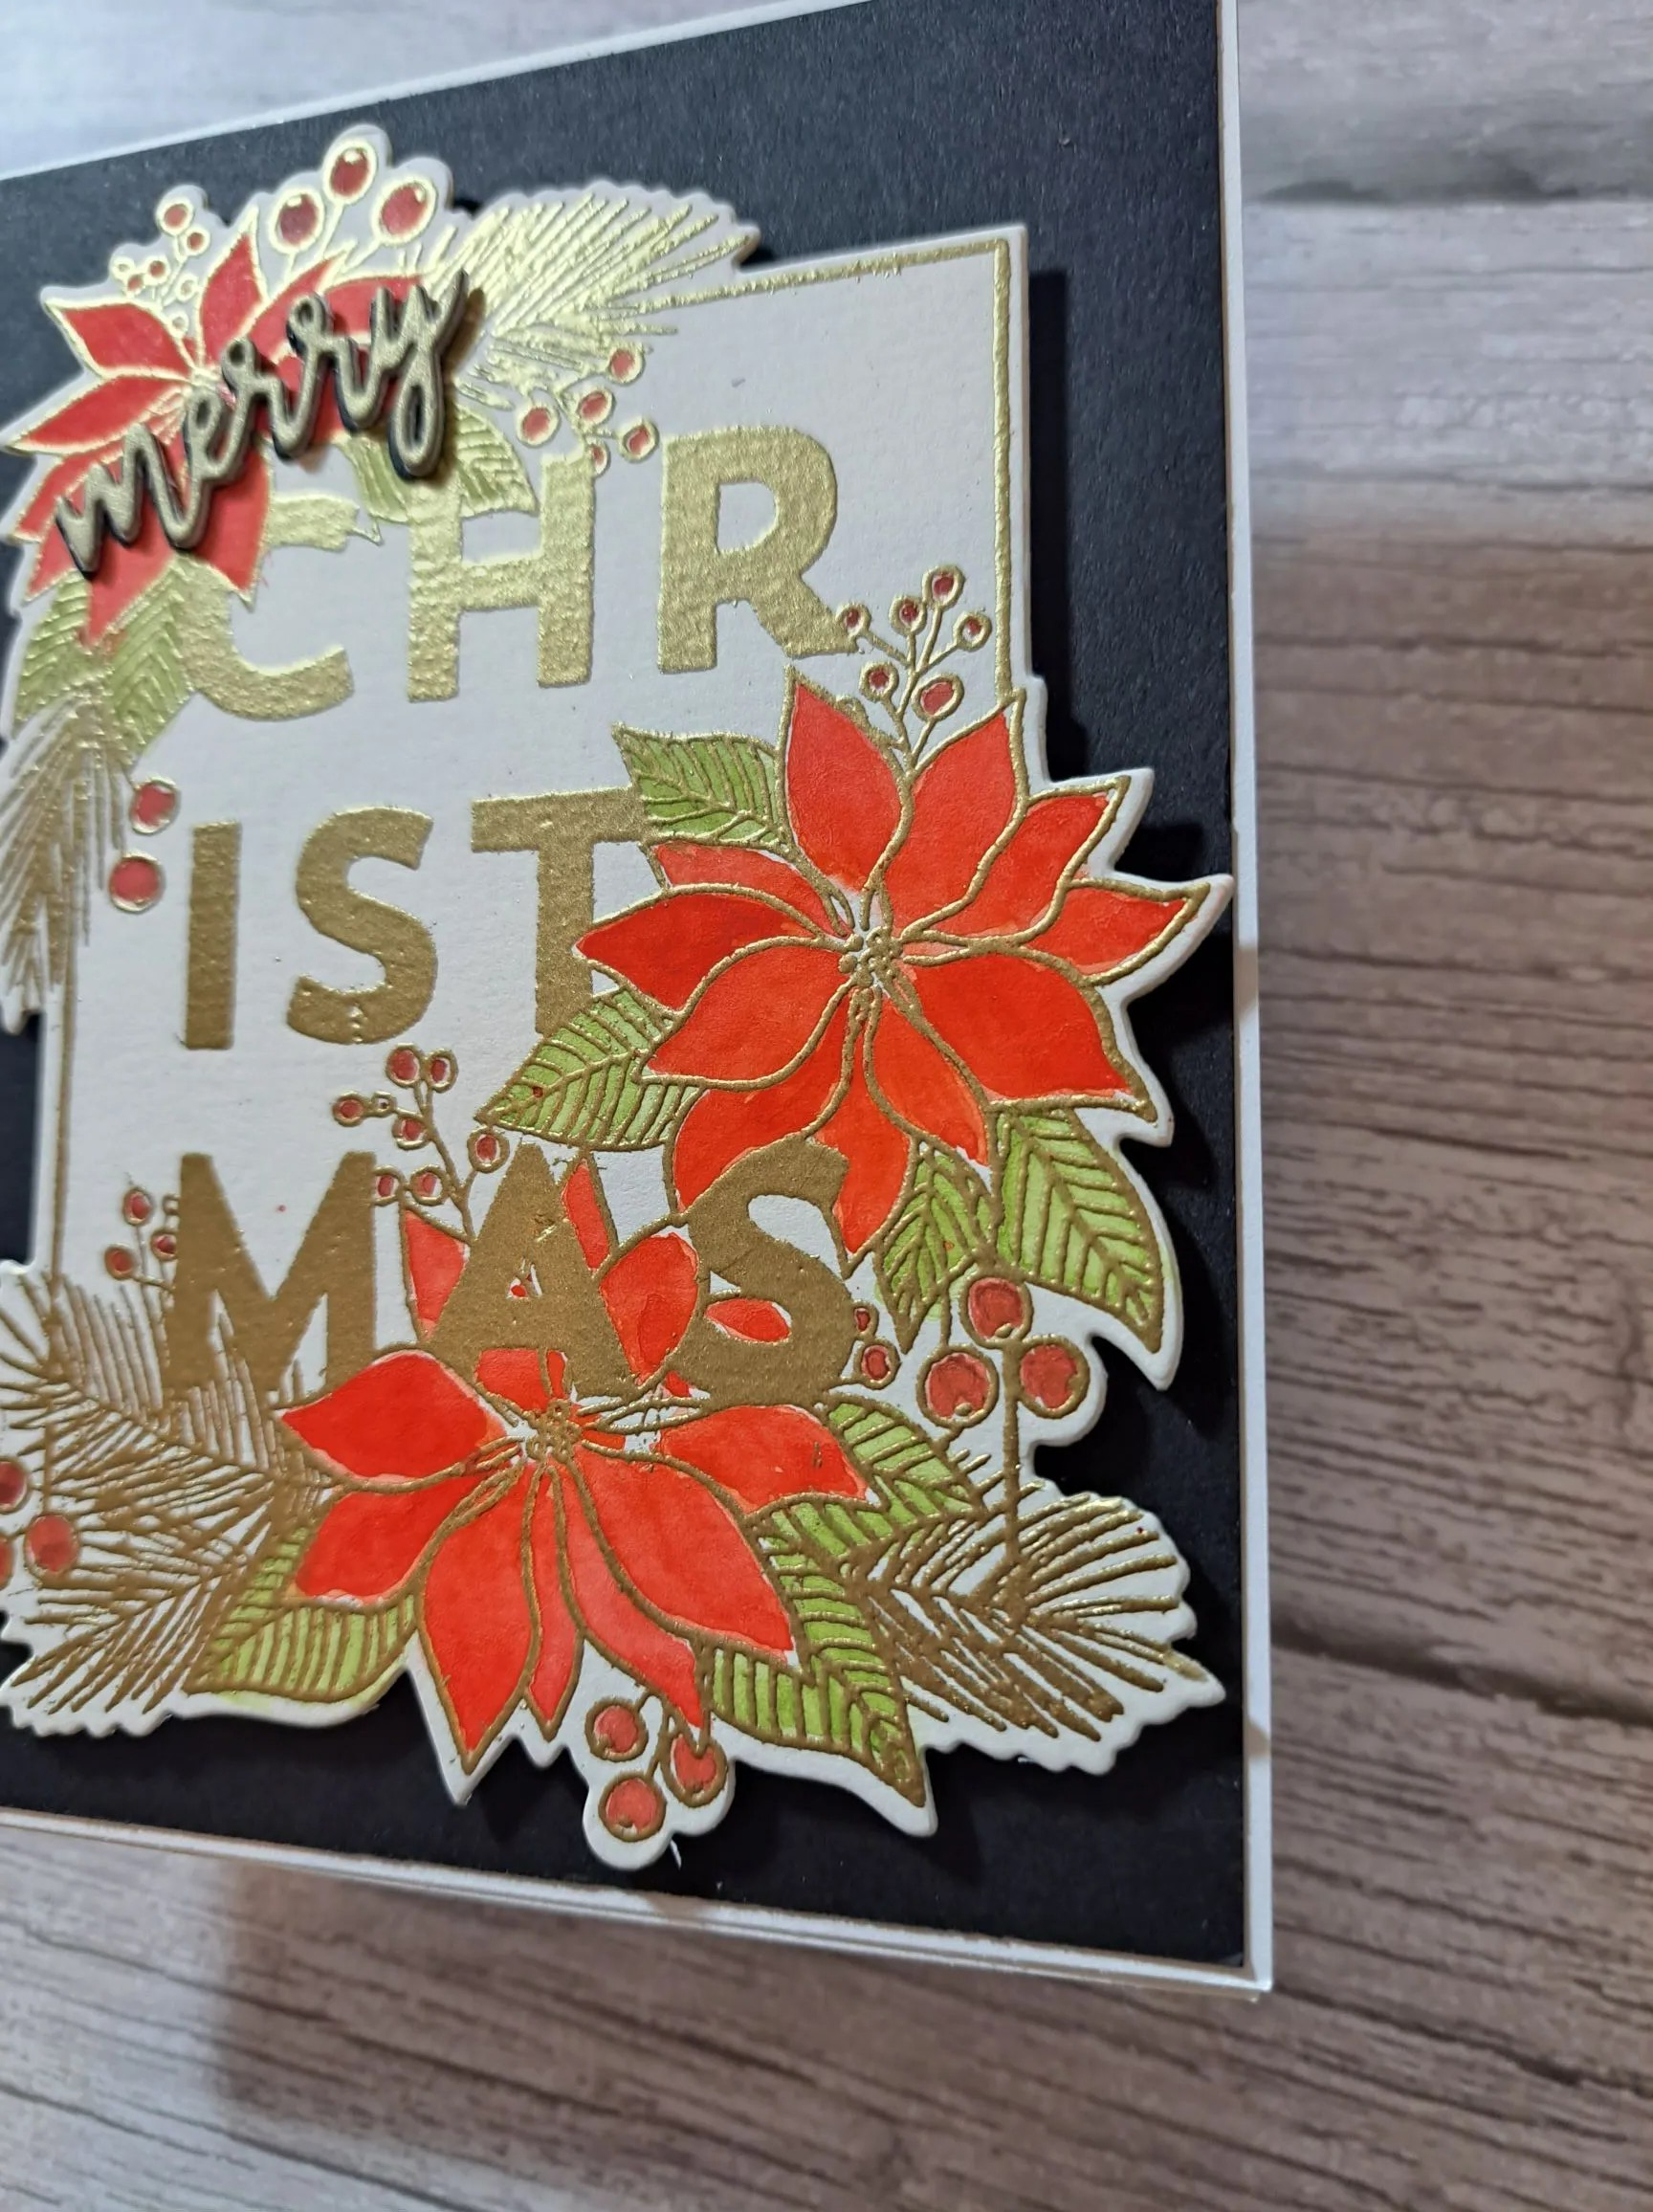
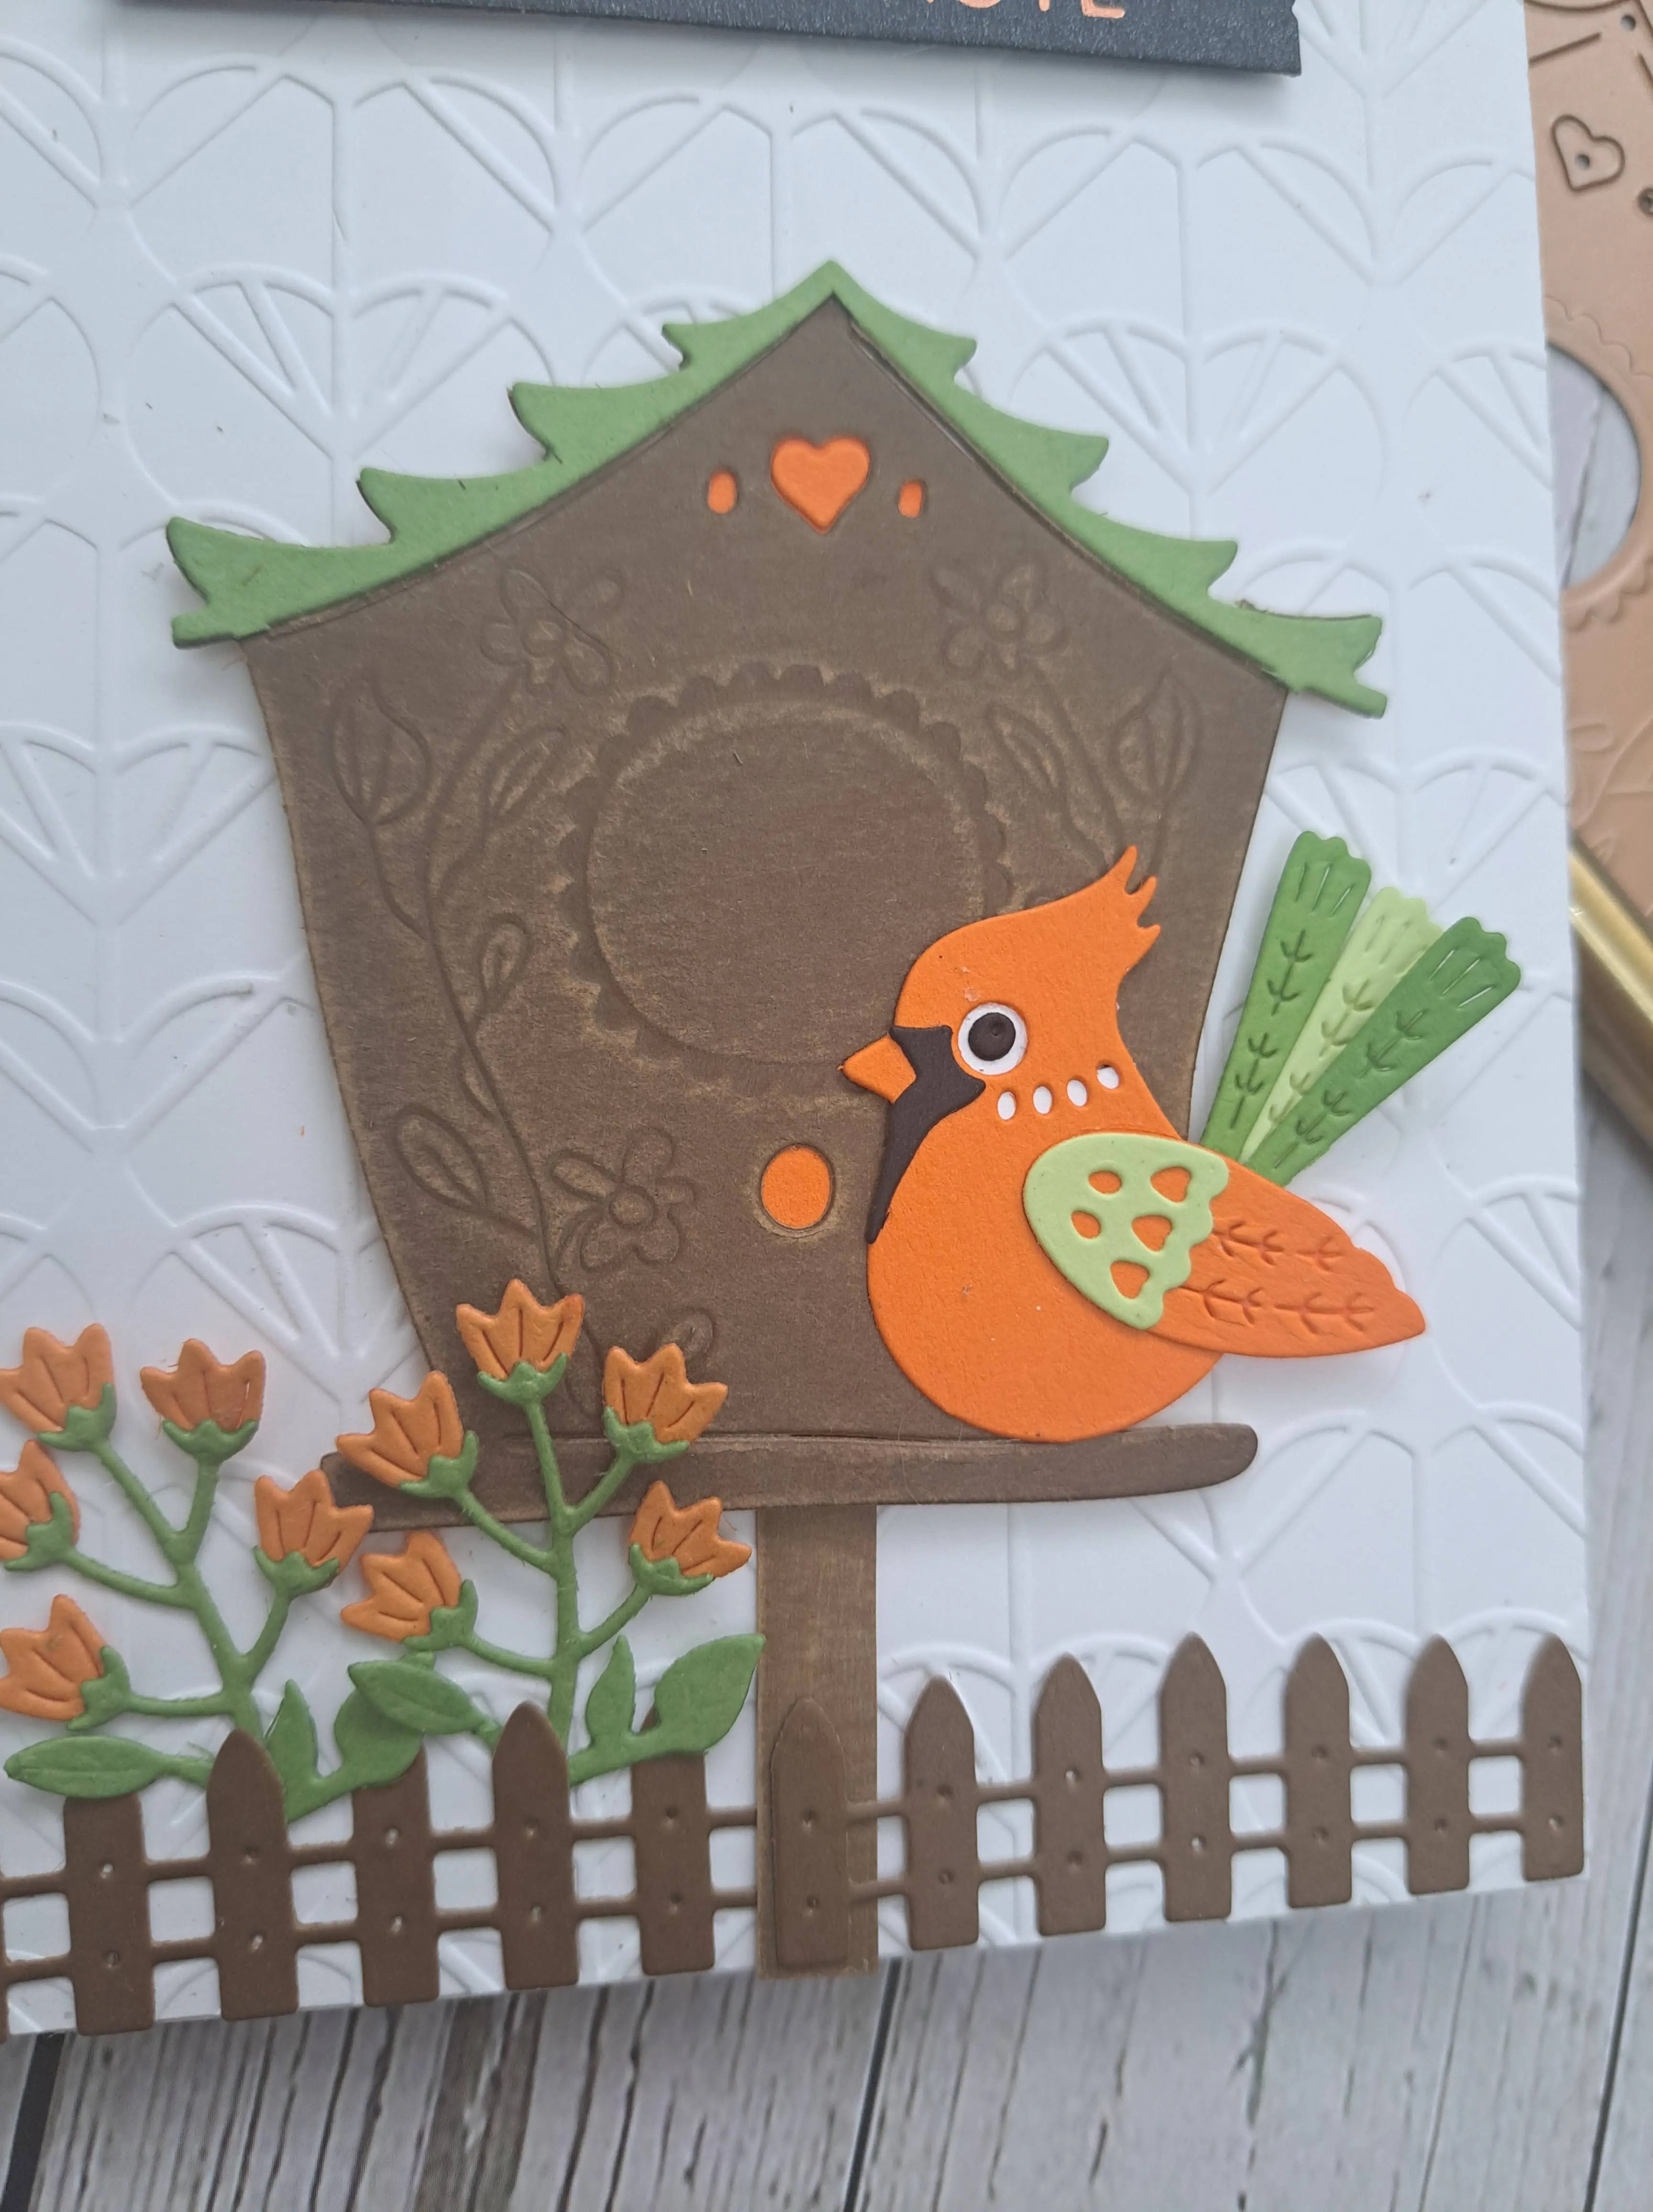
The bird was assembled – the die set is a cardinal but I have used artistic license here – and all the other elements die cut and assembled.
I used Concord & 9th card stock – the bright orange is the good old ‘Marmalade‘ card stock, which they aren’t making any more, but I happen to have a little secret stash. The slightly duller orange is the new ‘Clementine‘ – which is a lovely orange, just not as bright as ‘Marmalade‘…….
The bird house was die cut from Tim Holtz card stock, and I used the rubber mat to enhance the details of the die – then used a sanding block to distress it, making some of the details a little lighter in colour, and giving the appearance of being a little weather-worn.
All the elements adhered with glue or 3D foam, and the foiled sentiment attached at the top.
I shall be entering the following challenges:
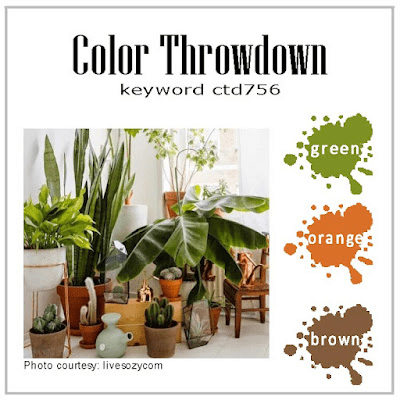
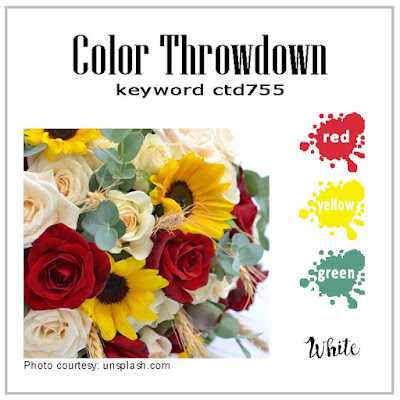
Color Throwdown – green, orange, brown
Cut It Up – die cuts – create a scene
CYHTP – embossing folder – option of stripes not taken
Allsorts – anything goes with a real animal
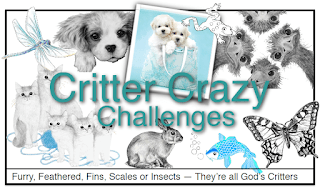
2 Crafty Critter Crazies – anything goes with a critter
Crafty Animals – anything goes with an animal
Craft Rocket – animals
Triple B – birds and/or butterflies and/or blooms