Hello. A short but sweet post to share a card for the the current challenge at Cupcake Inspirations:
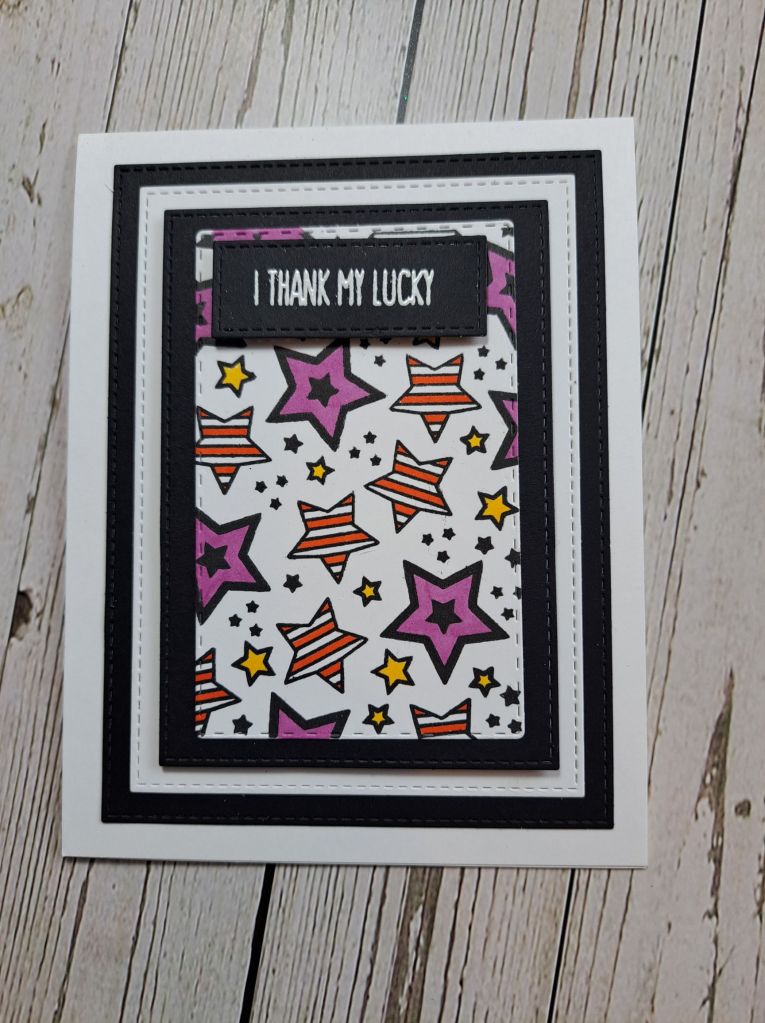
I had stamped the star image yesterday, and this morning took some Copics and coloured them as you see. The sentiment was heat embossed and all layers die cut with MFT stitched rectangles.
I was going for a dramatic look with all the black and white – with pops of colour on the stars themselves.
More crafty play today, then off for a meal out with hubby tonight to celebrate our 34th wedding anniversary – 34 years! Where has all the time gone? I obviously got married very young! :)
Hello once again. The Alphabet Challenge has started a new challenge, having reached the letter ‘G’, Melanie has chosen the theme of ‘Giggle’. Here is my card:
The sentiment is from an old set from Indigo Blu – a UK based company – and one which I believe suits me – from what people say…… I am quite blunt, I choose to call myself being clear, and precise – but sometimes words just come out my mouth when I only think I’ve thought them….anyone else do that?
I began by stamping the sentiment onto a piece of patterned paper, then distressed the edges, and added some ink blending to tone the white core down.
I then matted onto another piece of patterned paper – distressed and inked – at a jaunty angle, and placed those two layers onto yet another piece of patterned, distressed, and inked paper.
I also added some pearl swirls from my stash – onto which I inked again to tone down the ‘pearlness’ of them, and added another smaller sentiment – and – you guessed it – inked the edges too.
I was going a more vintage look with this card, which I think I achieved.
I hope you come and join us as I’m looking forward to having a giggle looking through our gallery. xx
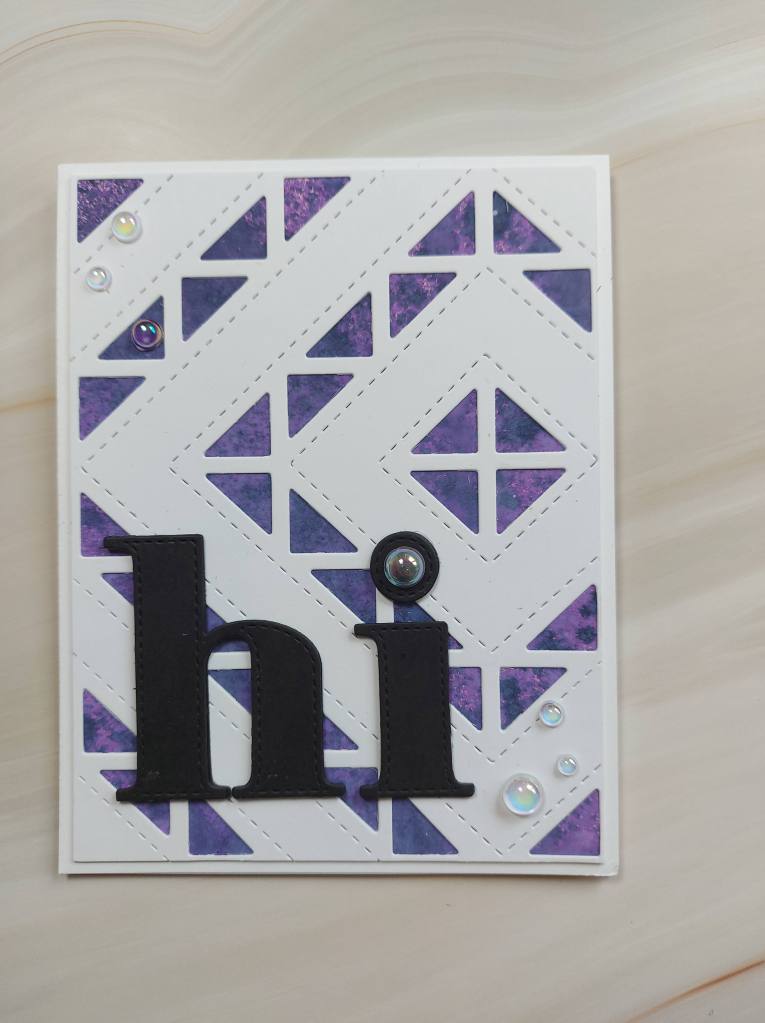
Dawn S has chosen the theme for the new challenge at Cardz 4 Galz. She wants to see ‘Triangles’. Here is my card:
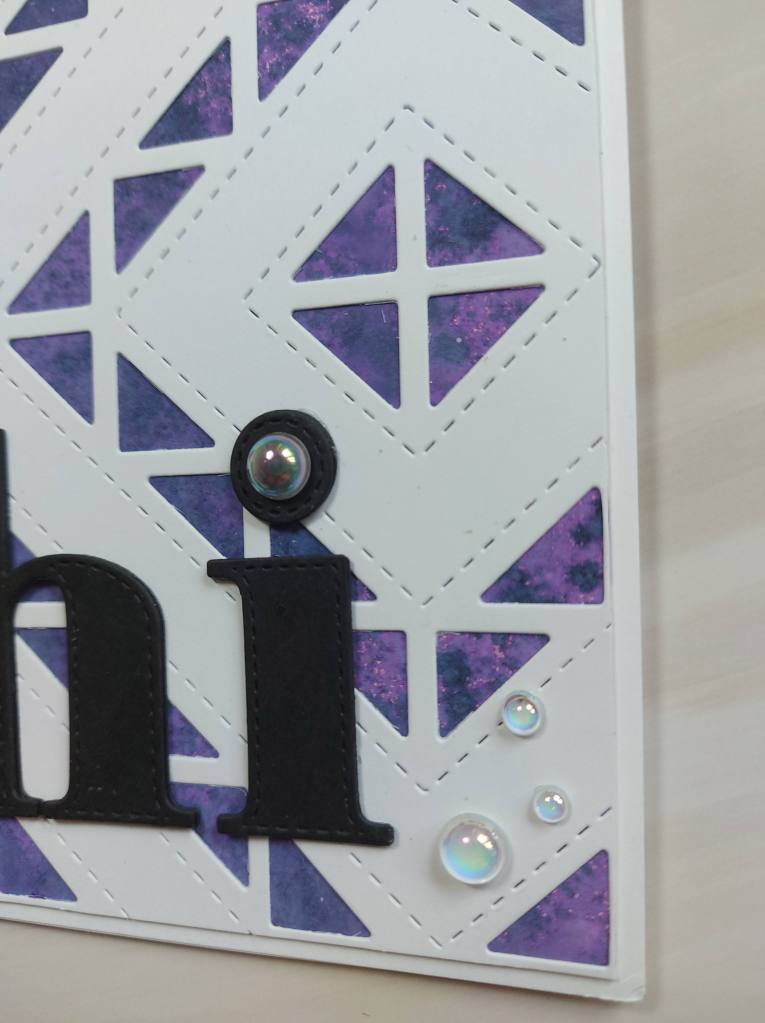
I die cut the white panel using a Catherine Pooler background panel I’ve had for absolutely ages, and then attached this to a previously created purple ink smooshed panel from my stash.
I have quite a few of these panels – I love to create a whole bunch of them ready for using – either die cutting or for backgrounds like this one.
I then die cut the ‘hi’ out of black card stock – layered 4 times for dimension – and added some clear gems as you see.
I seem to be using my little gems and accents quite a lot lately – I can’t seem to stop. At least I’m not hoarding them – though I do have a lot more to use!
I’m looking forward to seeing your creations incorporating our theme. xx
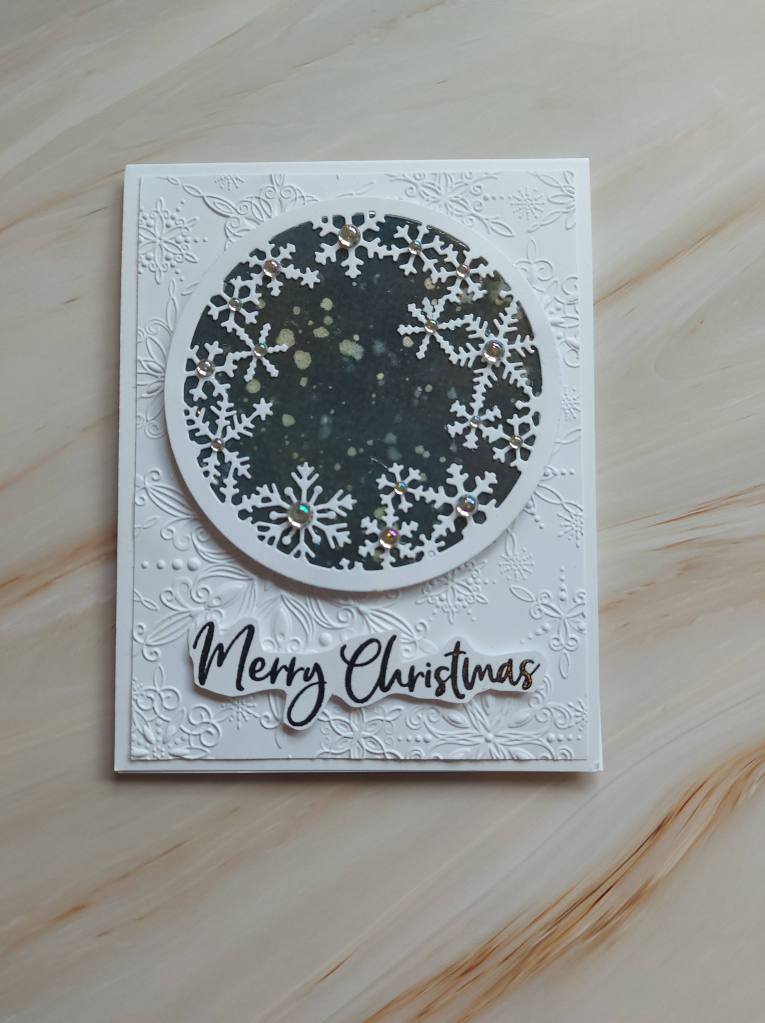
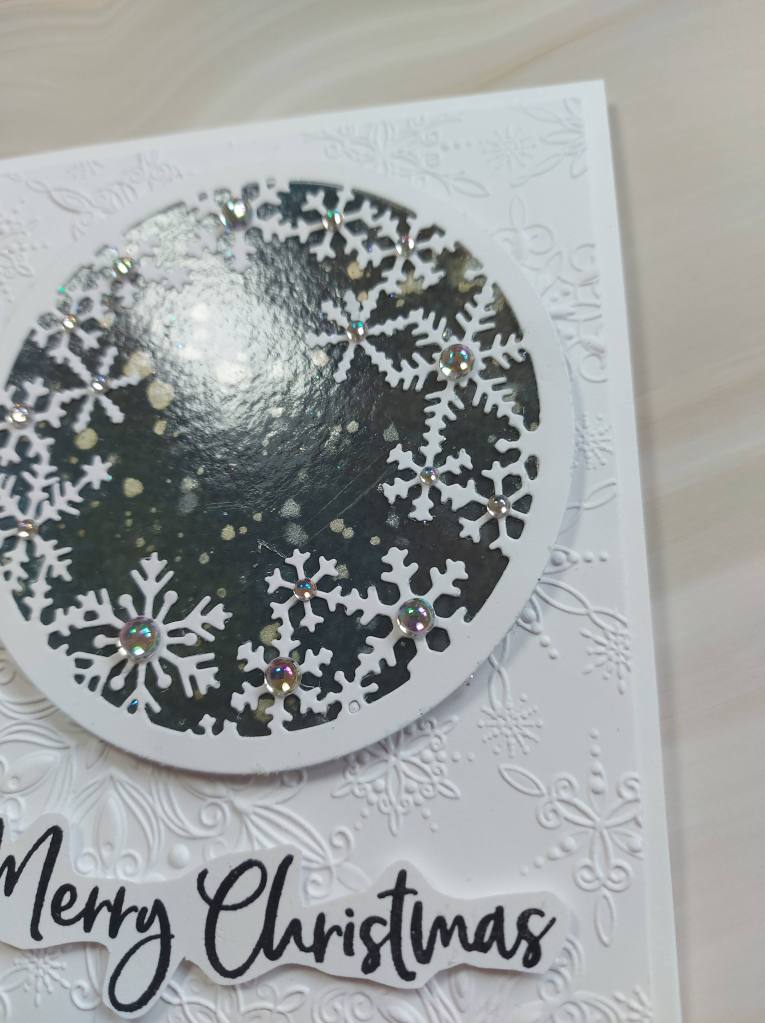
I started by dry embossing using a Simon Says Stamp embossing folder – I knew I wanted a lot of snowflakes on this card and this folder fitted the bill perfectly.
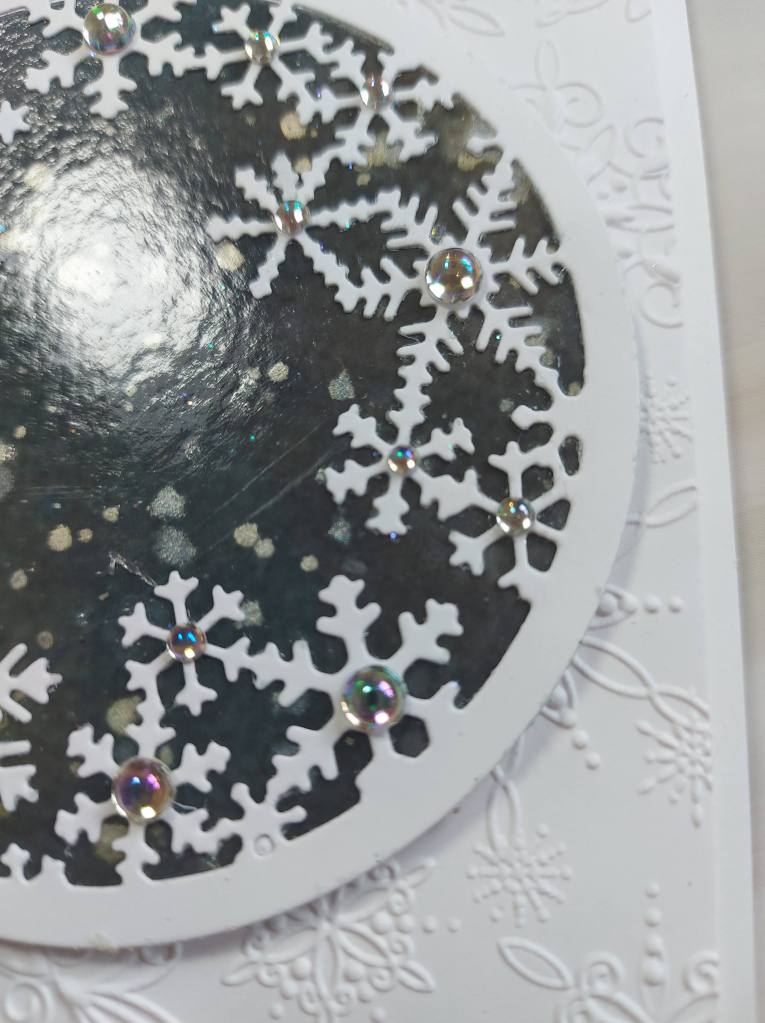
I then die cut the Hero Arts snowflake die out of a larger circle of white card and adhered it to a previously created background. If I remember correctly, the background card was sprayed and splattered, and then a shiny coat added – but I can’t remember what the shine is from as I did this soooo long ago – just waiting to be used!
I then stuck some varying sizes of gems into the centre of each snowflake and stuck the whole circle down onto the embossed panel.
The sentiment was stamped in black and clear heat embossed – to give this a shiny look too – then fussy cut around the general shape – not too fussy and fancy – just the overall shape of the sentiment.
I hope you can come and join us this time round. xx
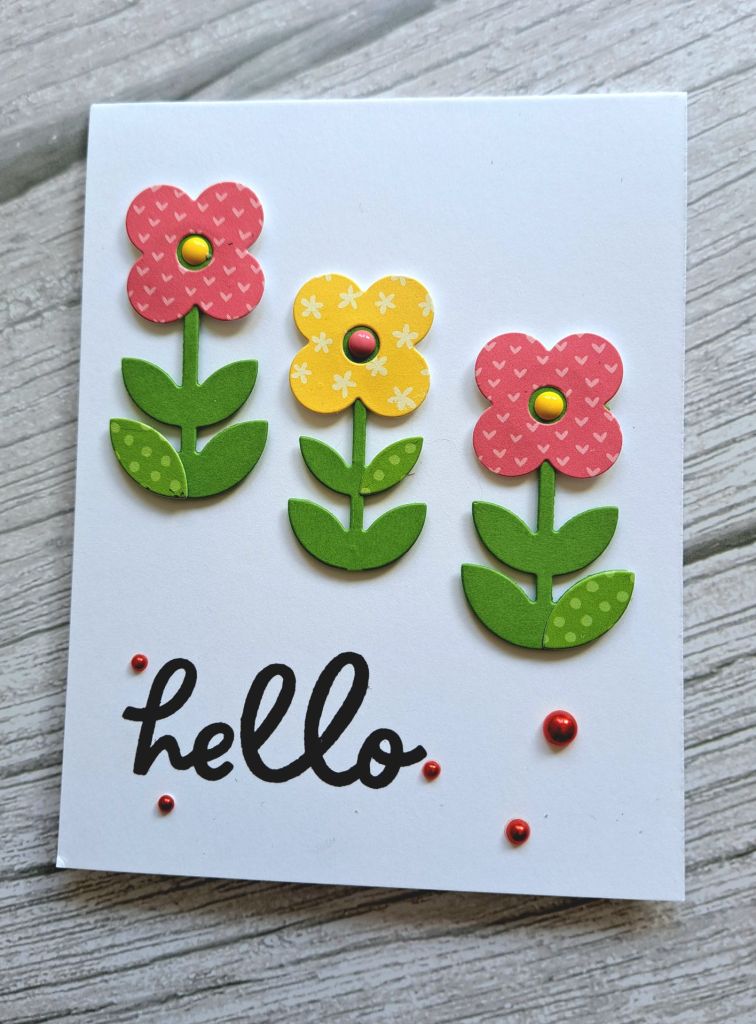
Hi there. I have created a card using some of the products received as I am attending the virtual Concord & 9th Summer Camp 2022 this weekend.
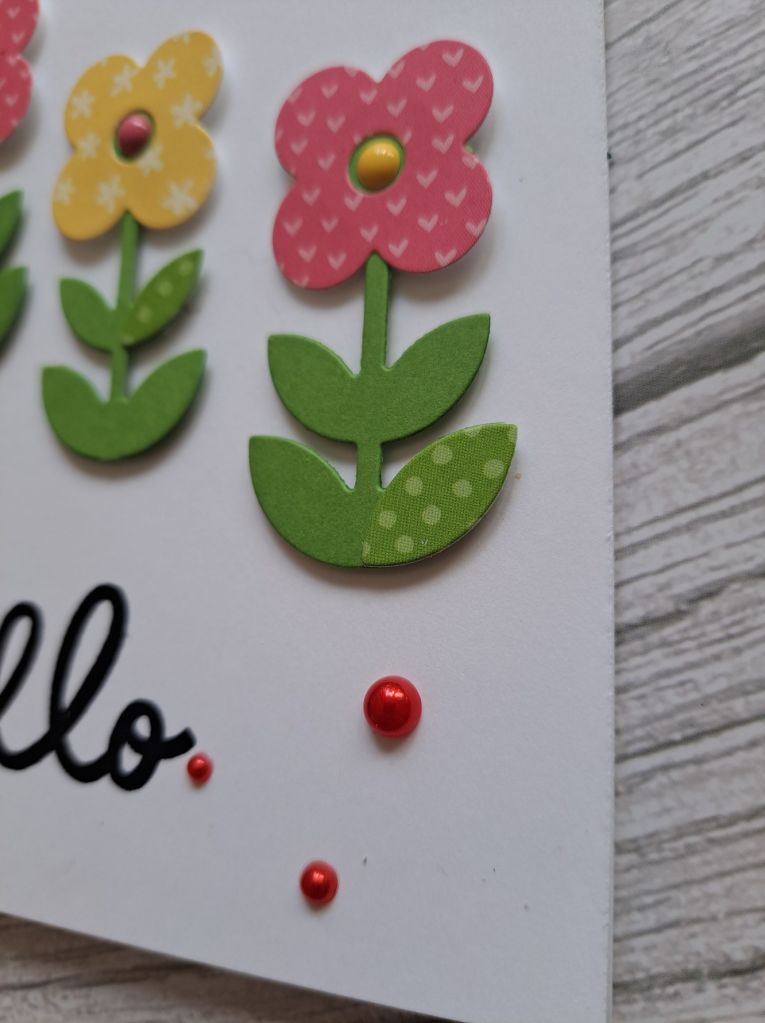
This die set was used by Cathy Zielske to create a couple of cards, so I used the ‘left-overs’ and some added die cuts – waste not, want not…..
I first stamped the sentiment in Versafine Onyx Black ink, then whilst that was drying I assembled the flowers.
The die set, the card stock, and the patterned paper are supplied as part of the kit, as were the pink and yellow gems in the centre of the flowers. I also added some Pinkfresh Studio red gems around the sentiment.
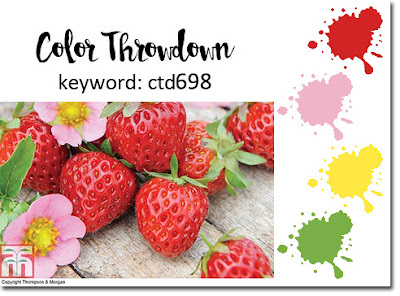
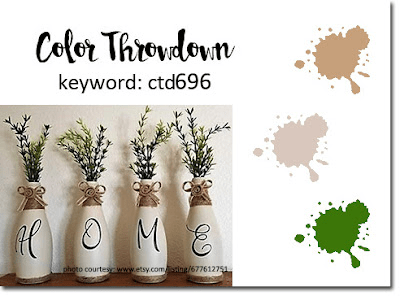
I couldn’t let the die cuts go to waste, and they happened to fit in with the current challenge at Color Throwdown.
Hello once again. The Alphabet Challenge has started a new challenge, the letter is ‘F’ and the theme is ‘Friendship’. Deborah is hosting this time round. Here is my card:
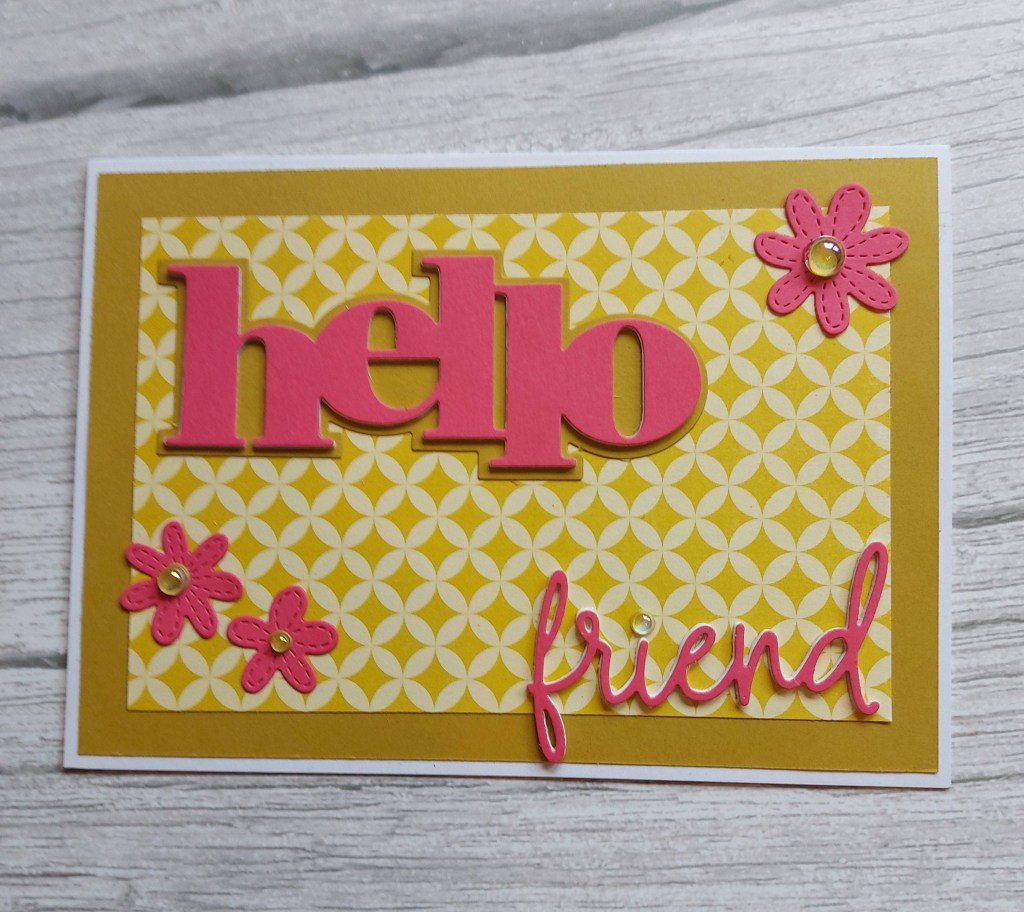
I went with a two colour combination for this card for some reason. I didn’t plan it that way, but it certainly came out that way.
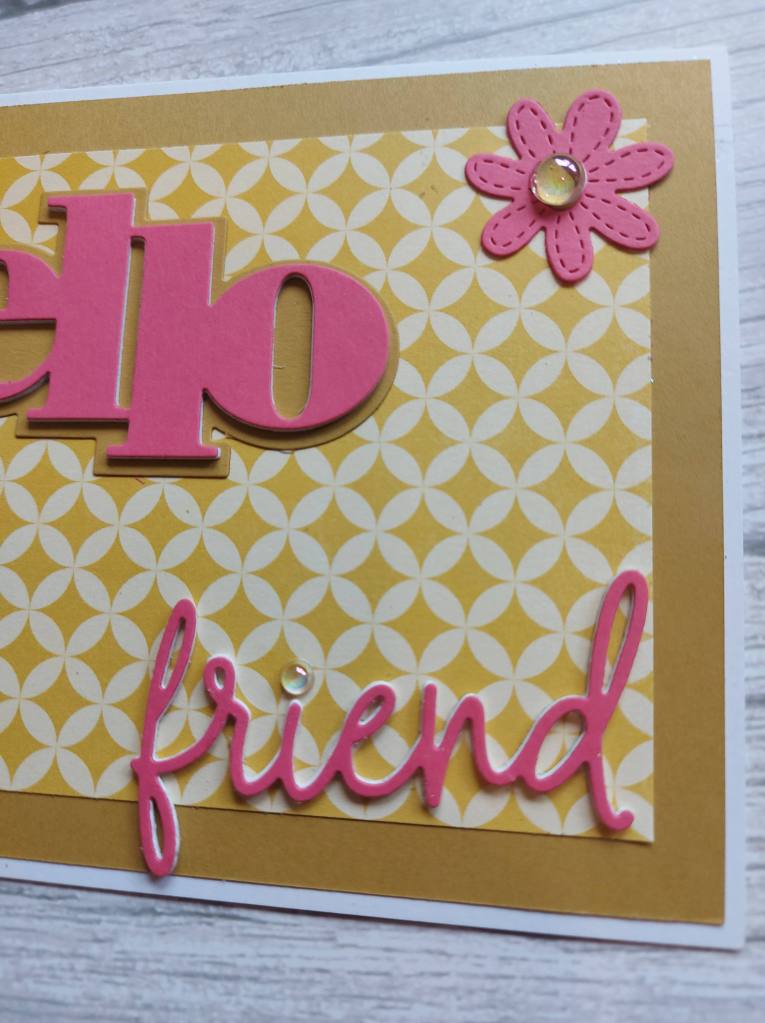
I layered some patterned paper with a matching colour of card, and added some MFT stitched flowers with clear gems in the centre of each. I did toy with the idea of some leaves but decided against it.
The words are from Concord & 9th, die cut and layered 4 times to create some dimension.
I hope you can join us with your creations following our theme – I look forward to seeing you in our gallery.
Hello. I am hosting the new challenge at Cardz 4 Galz, and I have chosen the theme of ‘die cuts and/or punches‘. Here is my card:
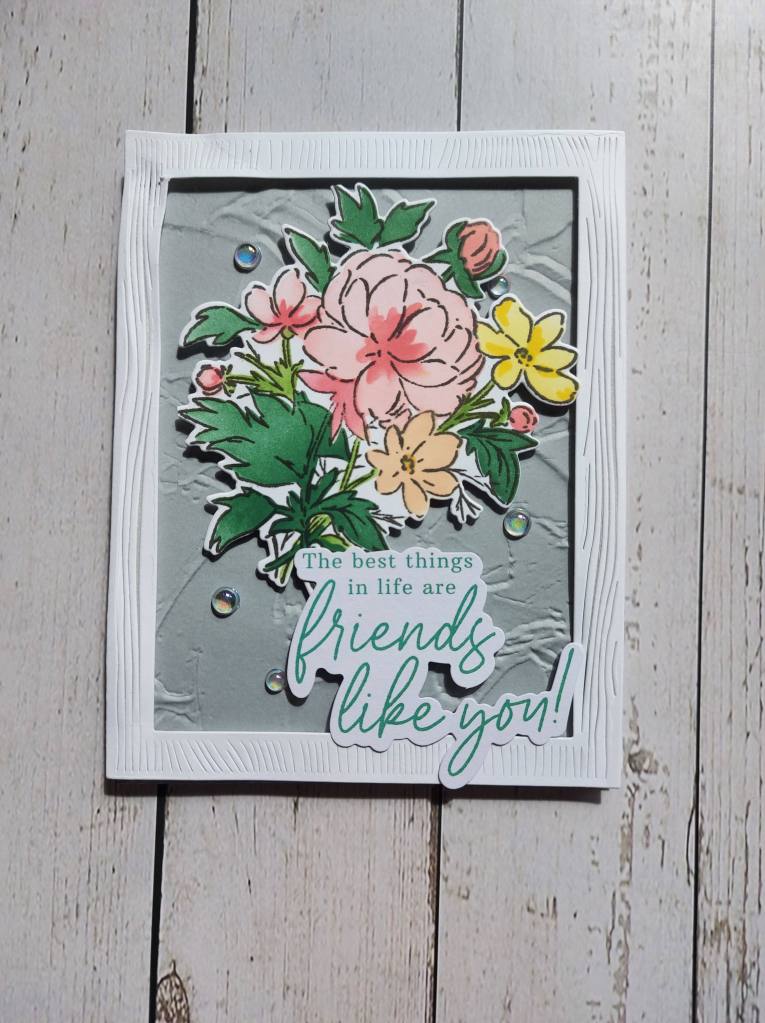
I recently ‘attended’ a virtual craft weekend with Pinkfresh Studio. This floral bouquet is from that weekend, and I didn’t use it on a card at that stage, but knew I could use it for when made a card for this challenge.
The image was stamped, and then the matching stencils used to colour it in, and then die cut.
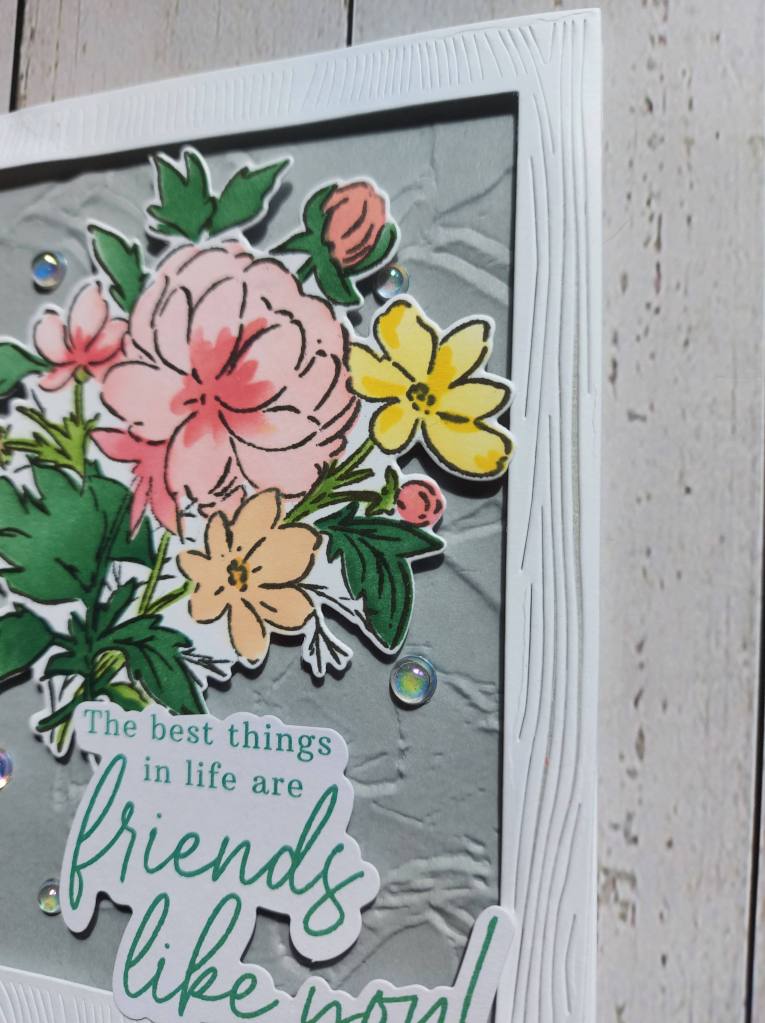
The grey background panel was dry embossed with a Stampin Up folder, and then the Hero Arts wood frame attached.
The flower bouquet was added, and the sentiment – also from Pinkfresh Studio – attached as you see.
I added some gem droplets for more inteest.
I hope you can come and join us -I’m looking forward to seeing your creations – I know you are going to make it difficult for me to choose the winners. xx
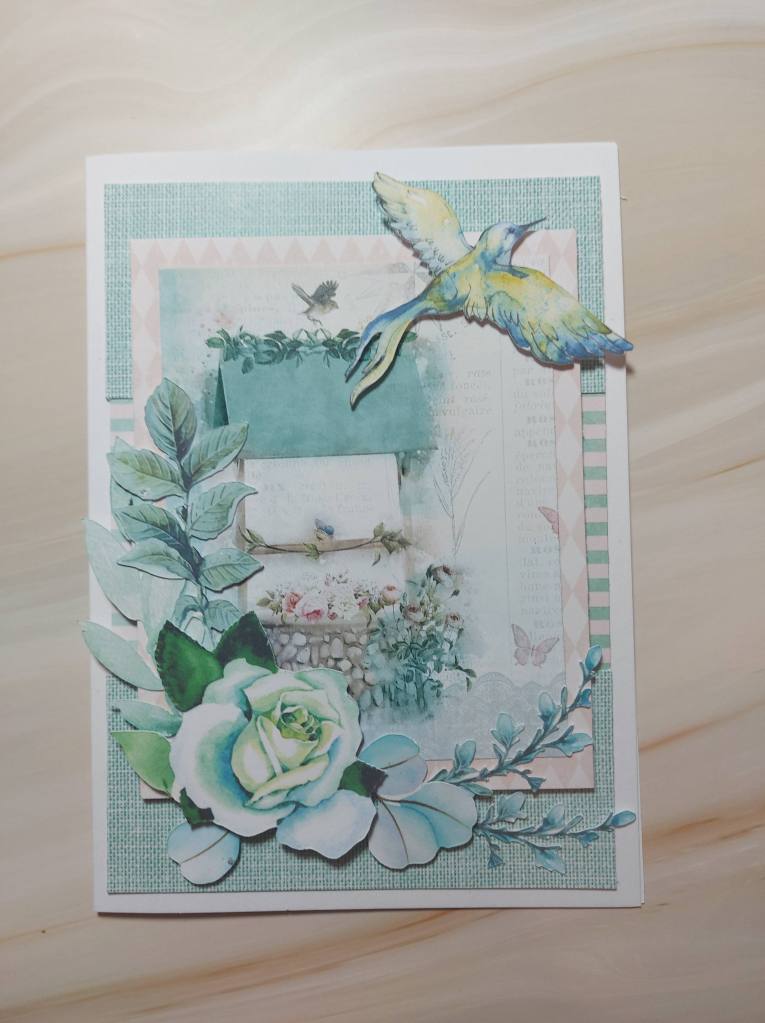
Hello. I have a card to share today completely out of my own comfort zone. I have lots of patterned paper, and lots of ephemera which I really struggle to use. I decided to gird my loins and give it a go:
I started by finding a 6 inch paper pad and then looked for the ephemera and other die cuts which would match the colours of the pad. My first decision was how to use 6 inch paper on a 5 x 7 inch card – so I looked through some sketch ideas on Pinterest and went with what you see – top and bottom strips with a middle coordinating strip of paper.
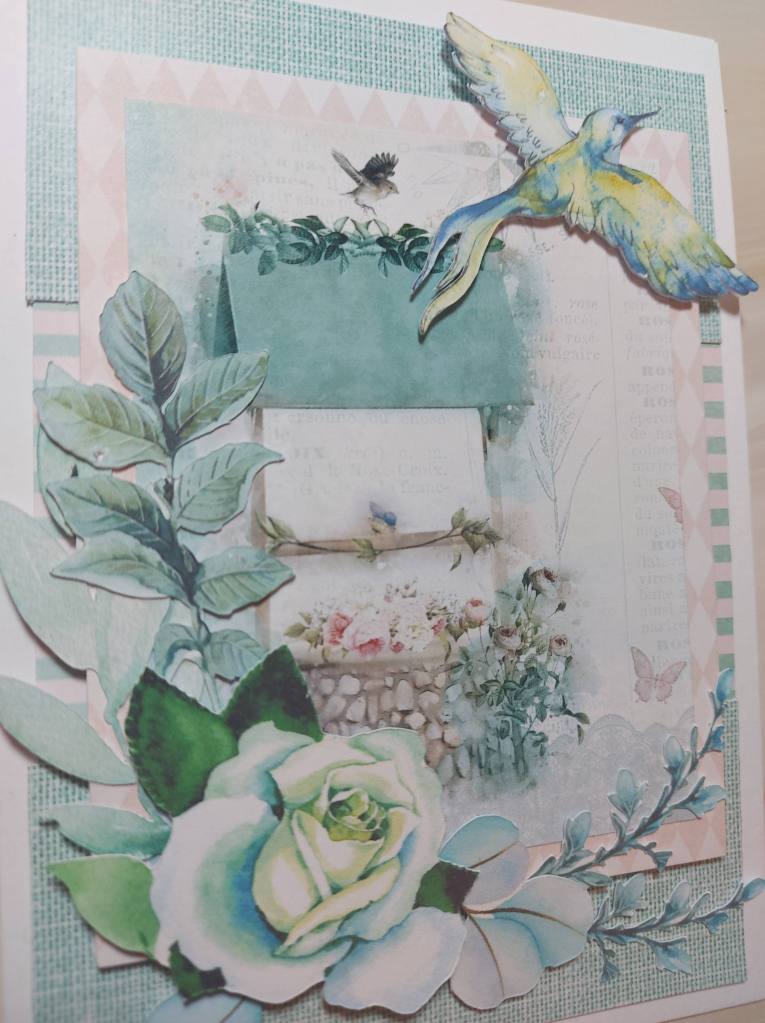
I saw the main image, cut that out of the corner of the paper, added a pinkish harlequin layer behind and adhered with 3D foam.
Then onto the flowers and leaves, playing around a little – not covering the main image too much – and stuck down with foam or glue, depending on the layering.
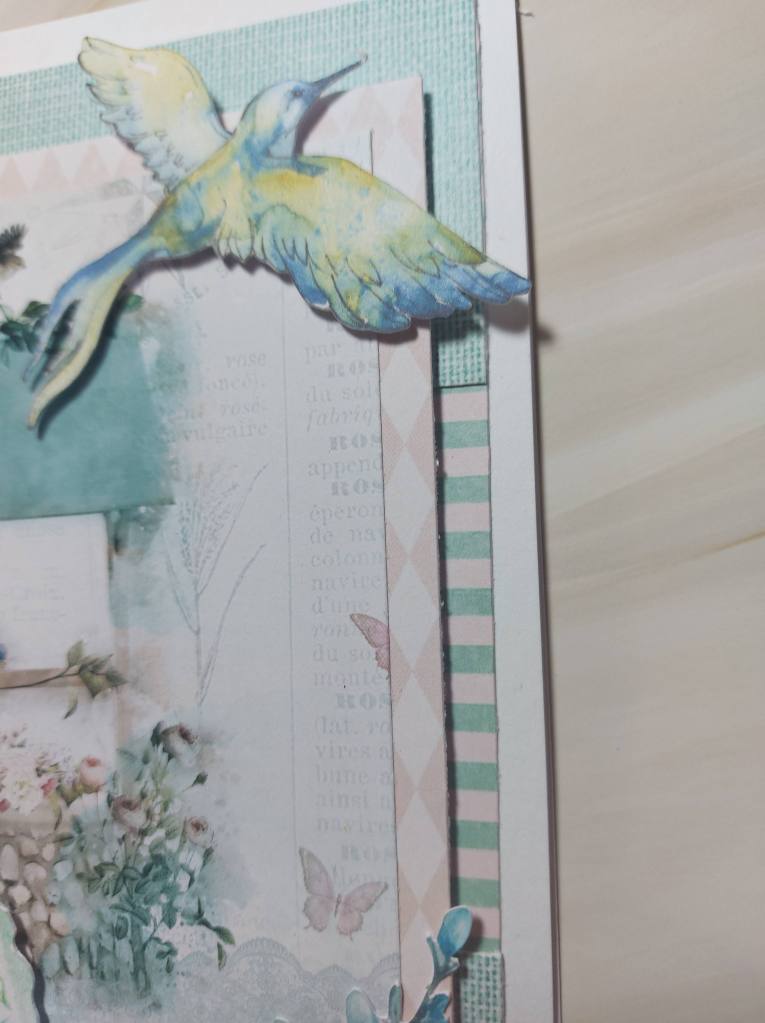
Something was missing from the top corner, so I had a another look through my stash and found this bird – perfick! (Love this little word from Darling Buds of May – back in the day!)
So there we are – experimenting and layering – the outcome………
I think the best tip for me is having the elements share the same colours and tones – but when I get more practice, I am sure you can change things to match using inks etc – for me a more advanced experiment!
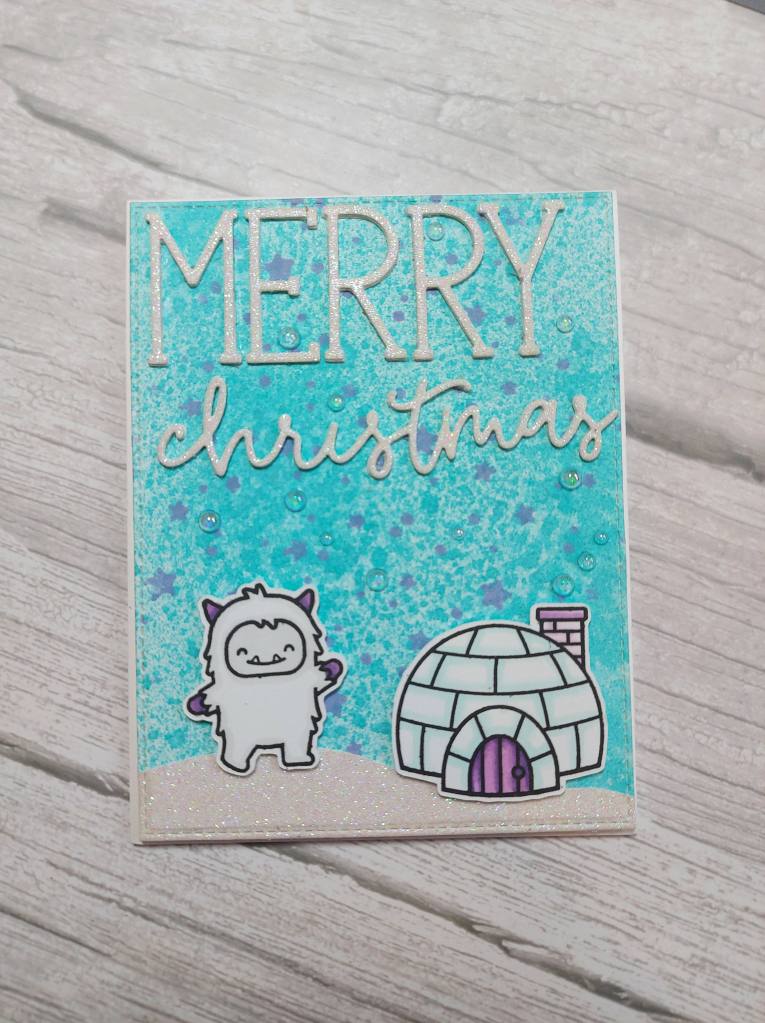
I chose a previously created background from an online class with Jenn Shurkus, and the images were coloured during that class – but – again – not used……so I decided to piece them all together for this card.
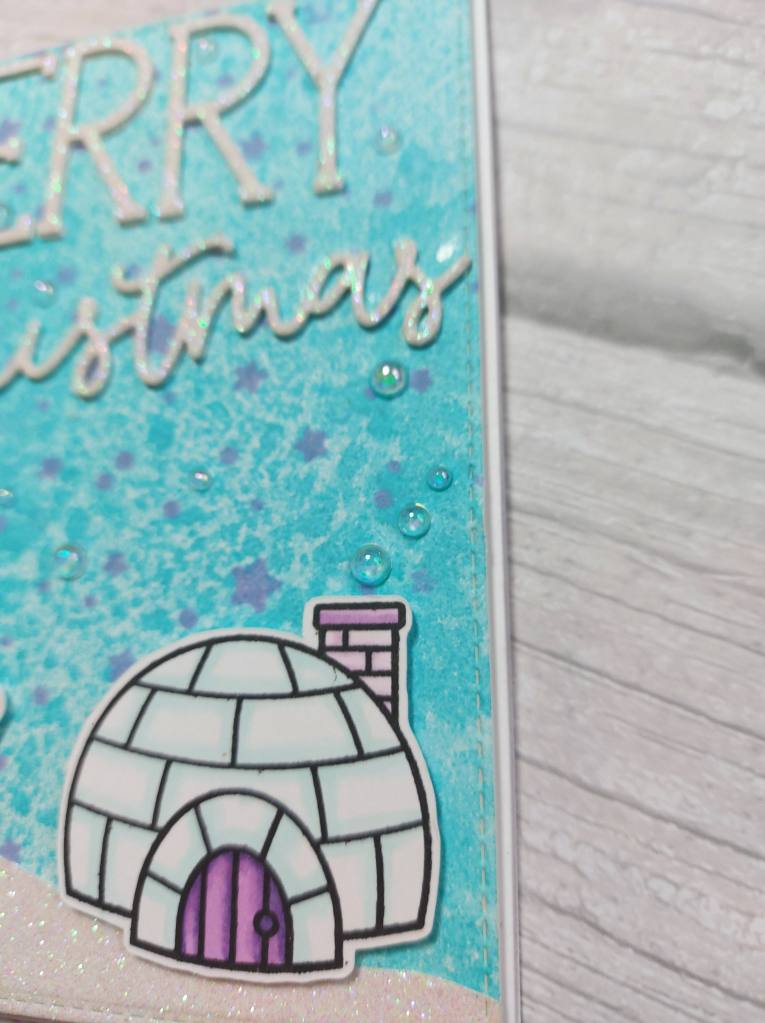
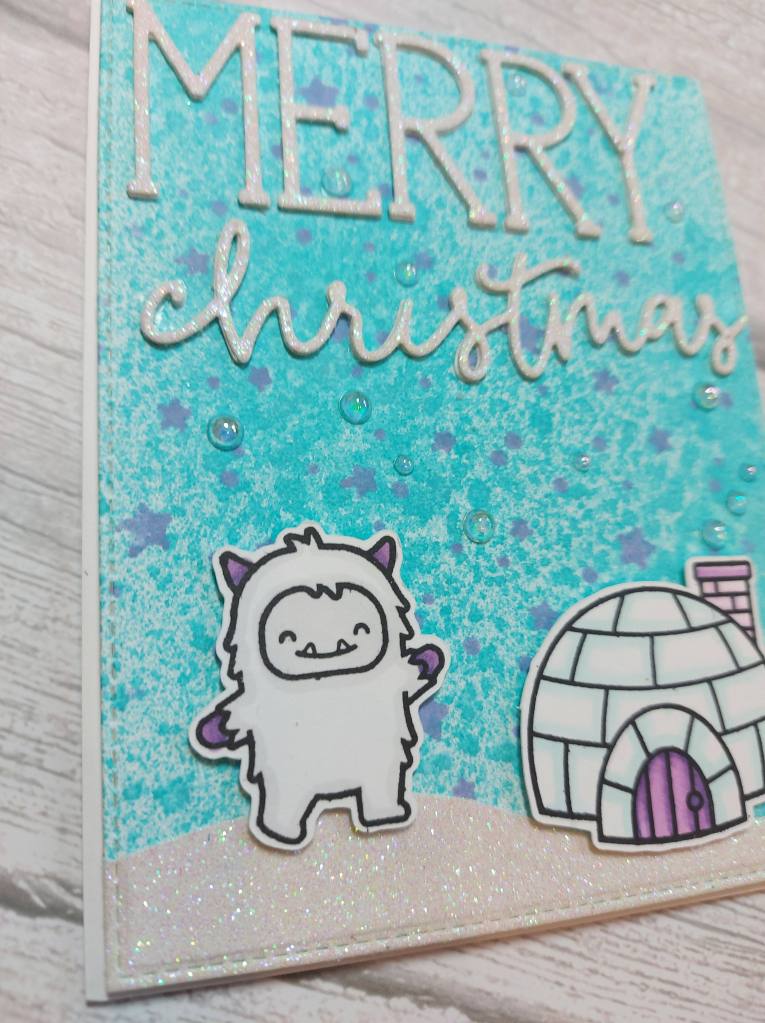
Ink smooshed and sprayed background, a star stencil using some purple ink.
I die cut the words from Concord & 9th is silver glitter card – layered a couple of times – and that was fiddly, let me tell you!
A hillside cut in the same glitter card, the igloo and yet attached with 3D foam pads, and some iridescent little water droplets for added interest.
I hope you can come and join us with your Christmas makes and increase your Christmas stash. I look forward to seeing you in our gallery. xx
Hello. I’m just popping in to share a card created for several challenges:
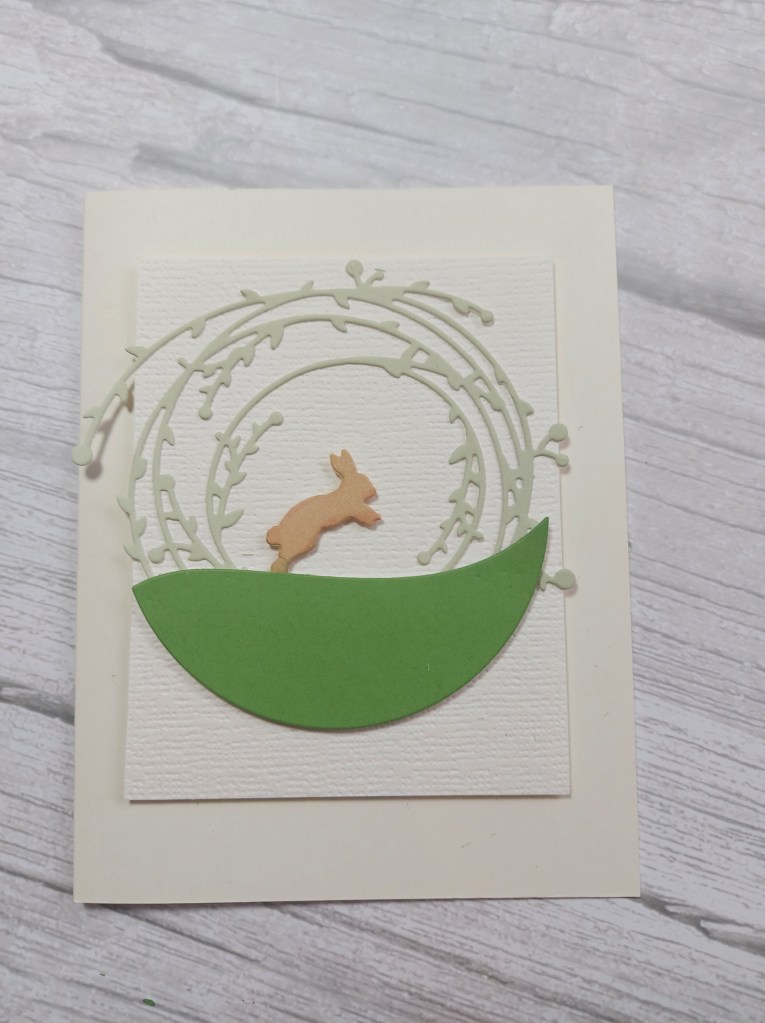
The card base and the smaller panel are from a cream card stock, with the panel being a textured piece of card.
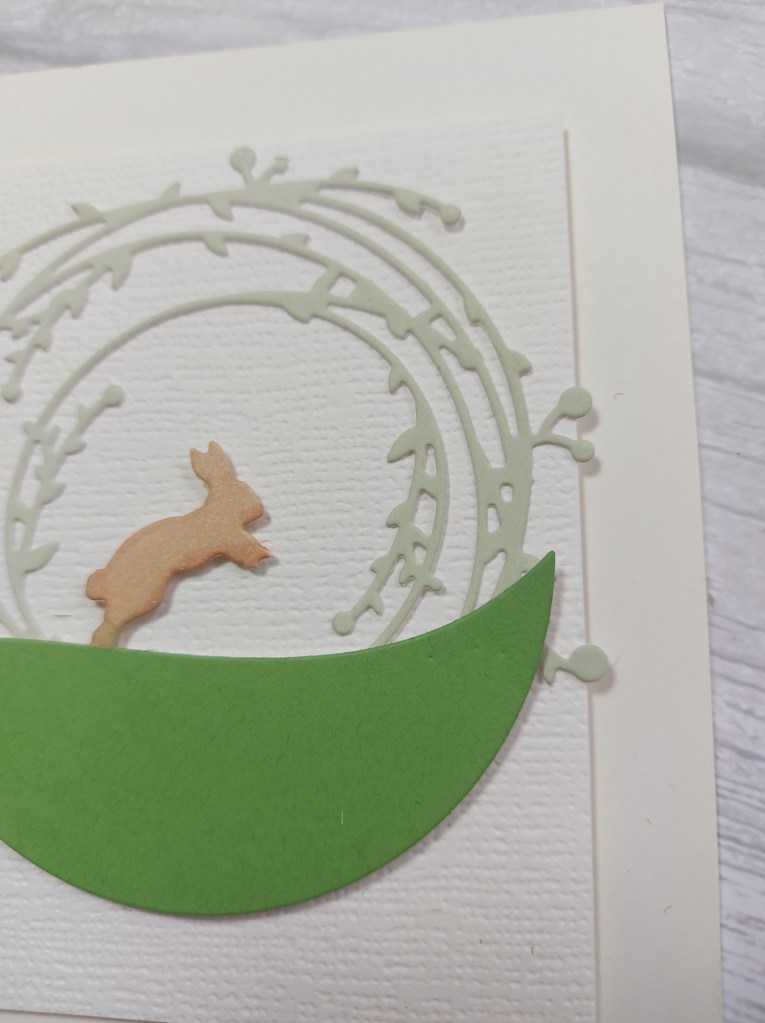
I die cut the leaping bunny out of white and coloured the bunny using a couple of brown Copic markers, then die cut the bunny die again in green card – cutting off the bunny and layering the green on top of the white.
The wreath was die cut using a lighter green card, cutting off the bottom of the wreath so it frames the top and not the bottom of the semi-circle piece.
I thought about a sentiment, but I couldn’t find one that I liked – despite have many, many sentiment stamps and even dies – but I like this clean and simple and I also liked the ability to be able to send this as a ‘just because’ card……














 loopyloocards